When you click on links to various merchants on this site and make a purchase, this can result in this site earning a commission. Affiliate programs and affiliations include, but are not limited to, the eBay Partner Network.
My alternator gave up on me tried to search for diy on how to do it but seen some I found it quite helpful but there's somethings I needed answered.
So here's my take on it! I did it within 30 minute or less by myself the day before but ordered the wrong year for the alternator and the next day did it within 30 minutes while lolligagging with a help of a friend. How auto-savvy do you have to be to do this? I'd say a beginner.
Tools Used
- Socket Wrench
- Breaker bar
- Deep socket 14
- Short Socket 14,12
- Open Box Wrench 14
- Jack / Jackstand
Step 1
Jack the car up on the passenger side. (That's where the alternator is located. You should be able to see it from the engine bay to the left side of the engine)
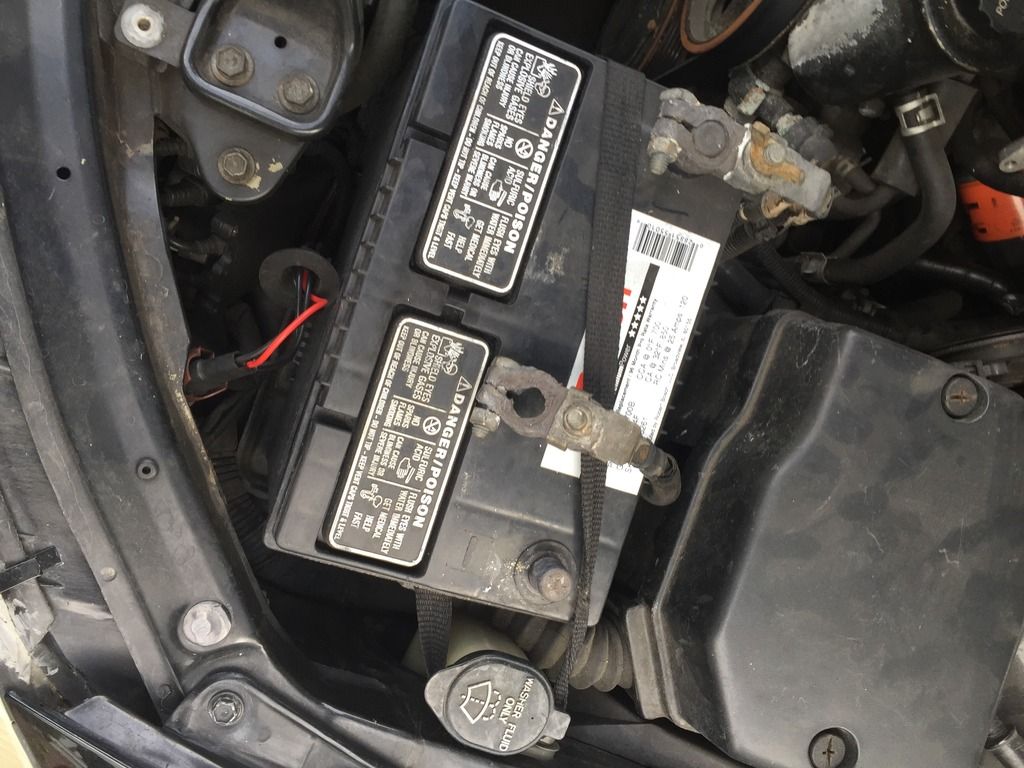
Unplug the negative of your battery.
Step 2
There are two plugs on the alternator one uptop labeled as 2 and 1 is kind of behind the alternator facing the firewall.
2 has a plastic cover that'll come off easily and is held by a 12mm nut
1 is just a plug with a clip that you just have to pinch and it should pull out smoothly
Here's how it looked unplugged from the bottom
Step 3
We are going to take the belt off the alternator. You can do it on your own or with a person if your arms length can't reach.
Have your breaker bar and use a short socket 14mm I only had a 14mm that fit 3/8 so I had to use an adapter which kind of made it a little hard for me since it was kinda hitting the fan but anyways It'll be the only pulley with no tracks.
You will put the breaker bar on to the nut on the pulley and pull it clockwise (from top to down/ from left to right) like you're tightening the nut. This will cause the pulley to pull down and release tension from the belt from all pulleys and keep pulling the breaker bar while you take off the belt from the alternator. Should come off quite easily. The coolant hose and the fan might bother you a bit but it'll all fit if you're using the right length. Be careful and hold on to that breaker bar tight, you don't wanna pinch your finger.
Once you pull the breaker bar to the right the pulley lowers and gives the belt some slack
And slip the belt right off the alternator!
Step 4
Take the bottom nut off. Go under the car and you'll find a 14mm nut go ahead and unscrew that with a deep socket because the strutbar might get in your way
go ahead and unscrew that with a deep socket. I only used a deep socket since I'm too lazy to use an open box and it won't reach with a short socket due to the strut bar getting in the way.
Step 5
Removing the Top Bolt
Go back to the top and find the 14mm bolt on the alternator. I used a open box wrench 14mm cause no room
and you can pull the bolt out once its fully unthreaded
Step 6
Pulling the Alternator Off and Out
The 14mm nut you removed earlier from step 4 was keeping the alternator held on to a long bolt. Since everything is now disconnected and nothing is holding it except that bolt. Pull the alternator towards the front of the car and it should get the bolt out completely to remove the alternator. You can come from the top or from the bottom. I found the bottom easier since (gravity works on my side) once you rotate the alternator to the right angle all you have to do is scoot the coolant hose a bit and it should drop out of the car compared to pulling it out from the top with the intake in the way.
Sorry I forgot to take pics I was busy keeping the alternator from hitting my face
Step 7
Put your new alternator in! And plug everything up! get it into position and lining it up with the bottom bolt to go into the hole is easier to do from the bottom, you'll get a clear view.
Once bottom bolt is aligned and holding the alternator up you can insert the top bolt tighten that then tighten the bottom and the replace the plug 2 back and same with plug 1
Remount the belt the same way it was dismounted,
attach the negative on to your car battery and voila car is up with a brand new alternator!
In no way am I claiming that this is the RIGHT way to do it but this is what worked for me. I hope it helps y'all and feel free to add any tips and tricks and correct me for any mistakes!
This is great work man! Next to control arms the alternator is the one thing we all will run into at some point. Unless the power steering leak is tackled first. Also, please make sure the pictures are somewhere that wont get deleted in the future. Ideally you'd load them all in the Gallery and then reference them from there.
Thanks chnk I'm subscribed to your new build thread. Looking great lol I was reading it yesterday 3 hours after your most recent post, its coming along and I'm digging the wire relocations man!
What you can do also which I did to my 1JZ is wire up both year plugs for the Alternator. (round) and (oval) so you can use both if you're ever in a bind
 10-21-15, 12:47 AM
 tried to search for diy on how to do it but seen some I found it quite helpful but there's somethings I needed answered.