
Suprus's 1JZ swap thread

 04-30-12, 02:37 PM
#63
Driver
Thread Starter
Join Date: Sep 2009
Location: arizona
Posts: 121
Likes: 0
Received 0 Likes
on
0 Posts
Yo Yo Yo,
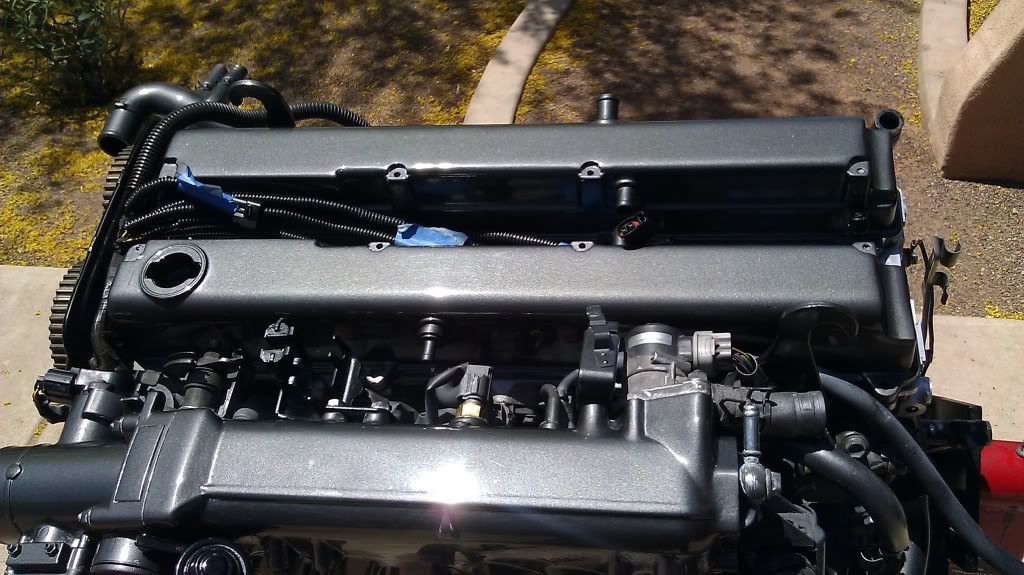
Whats up everyone long time no update huh? Sorry about that. I've been working my *** off so I haven't had a whole lot of time for much else. But, I have made some progress so I suppose I shall share. I finished the whole painting process that I took my sweet *** time with, and I gotta say it came out perfect. Wasn't easy and my patience ran very thin sometimes because I don't like watching paint dry, but I couldn't be happier. I was able to acquire the rest of the parts that I was missing and start putting the motor back together. And so far that's about it. I've taken soooo long to finish cleaning and painting everything I kinda forgot how some stuff goes back together or what bolts go to what so I'm trying to be careful not to screw it up. MAYBE IF I HAD SOME HELP *COUGH COUGH* ARBALIST, I would be further along right now. But its all good you don't really learn till you screw something up anyway right. So blah blah blah check it out:
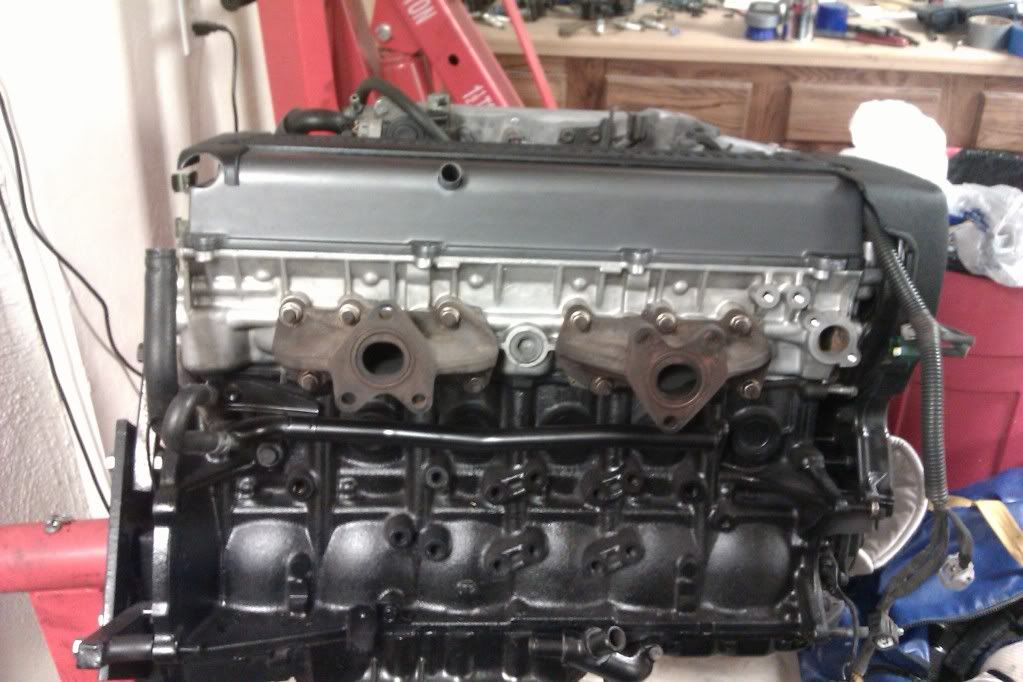
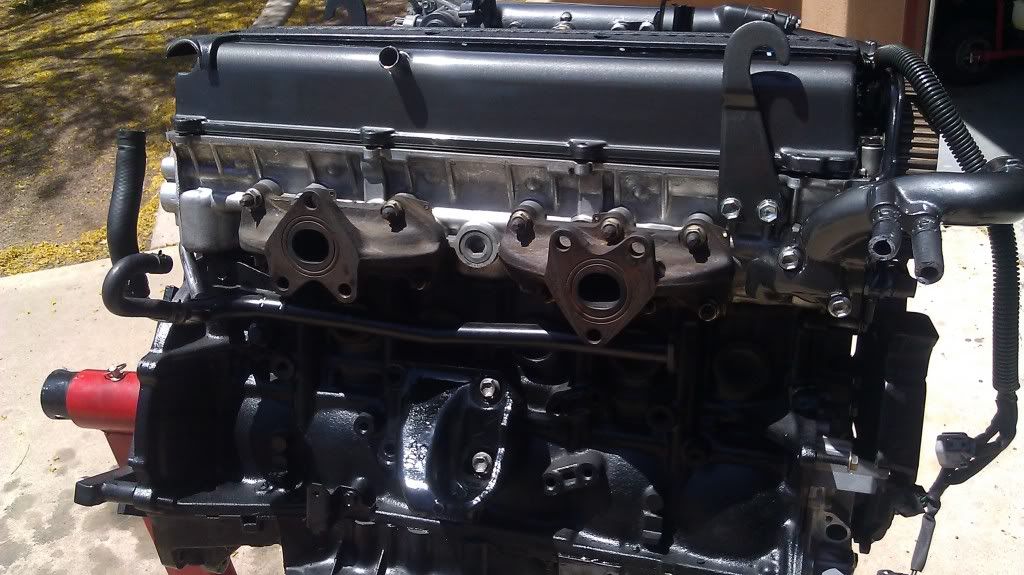
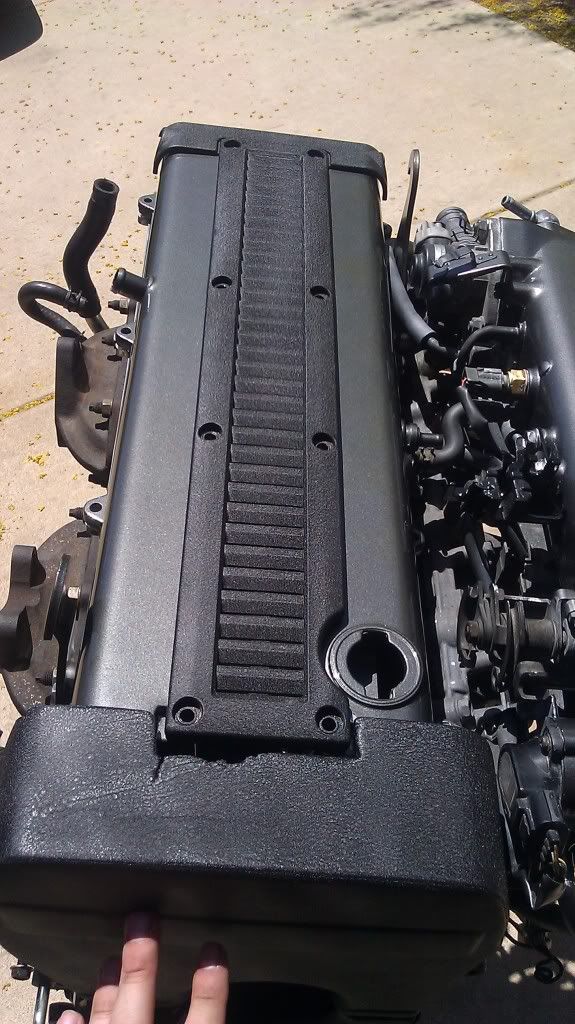
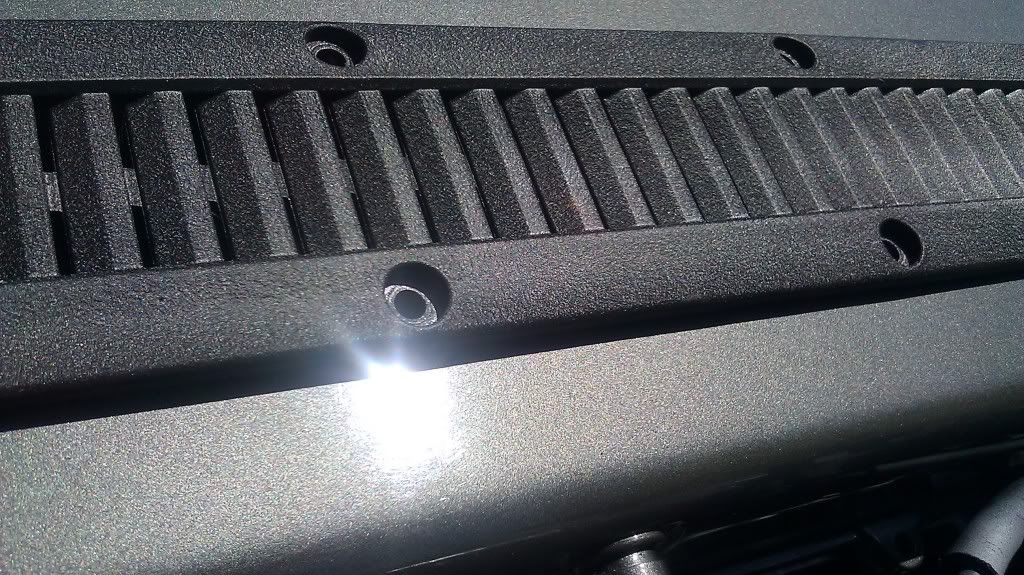
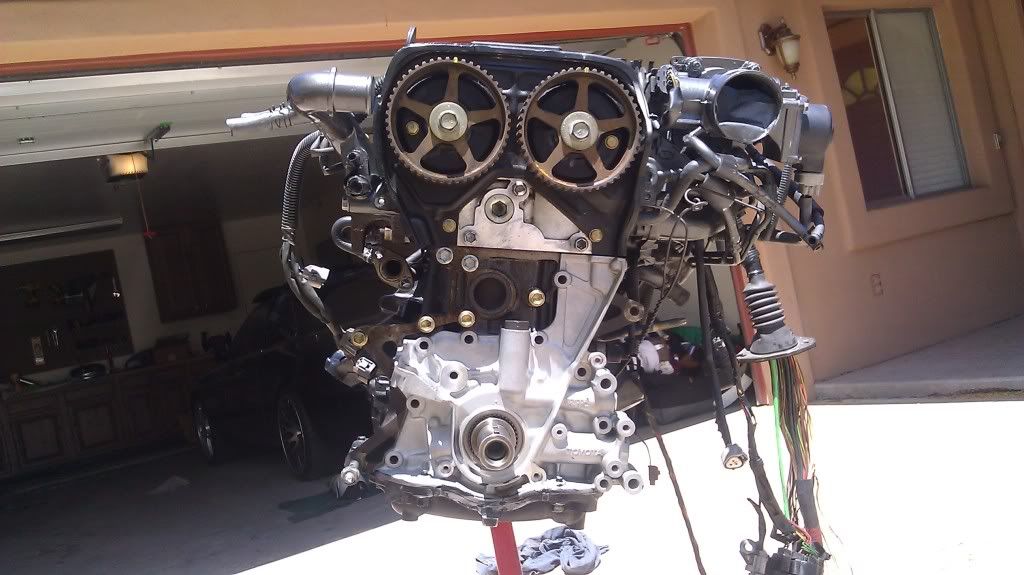
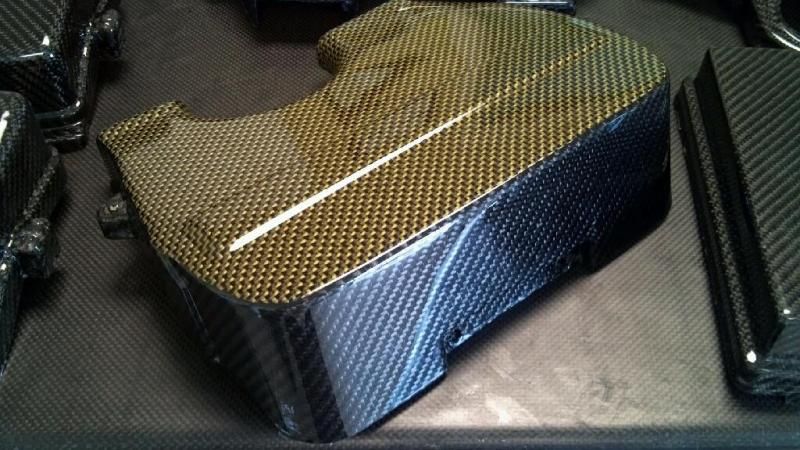
Here's the painted valve covers with no clear coat and intake mani stripped.
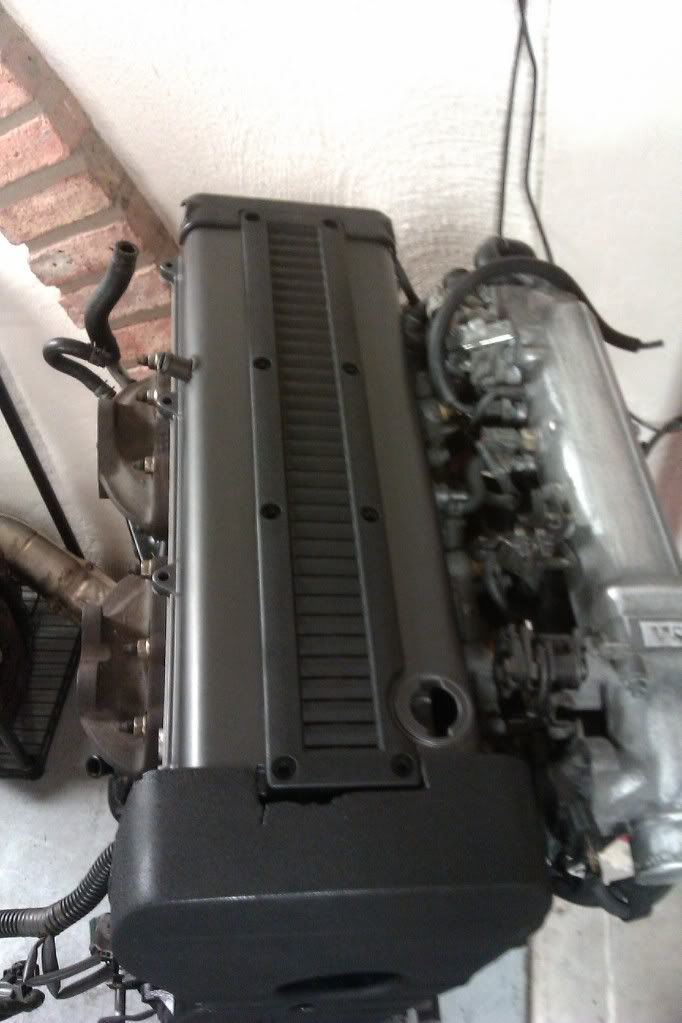
Intake mani with a couple coats of paint no gloss. And yes I painted it attached to the motor but I did an extensive masking job so it turned out okay.

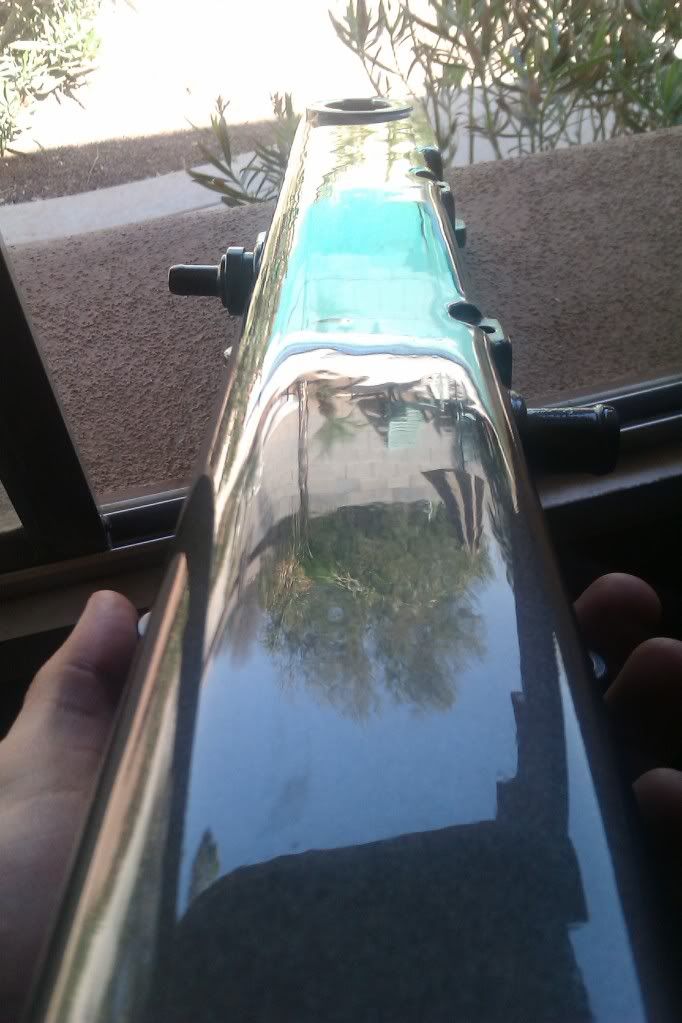
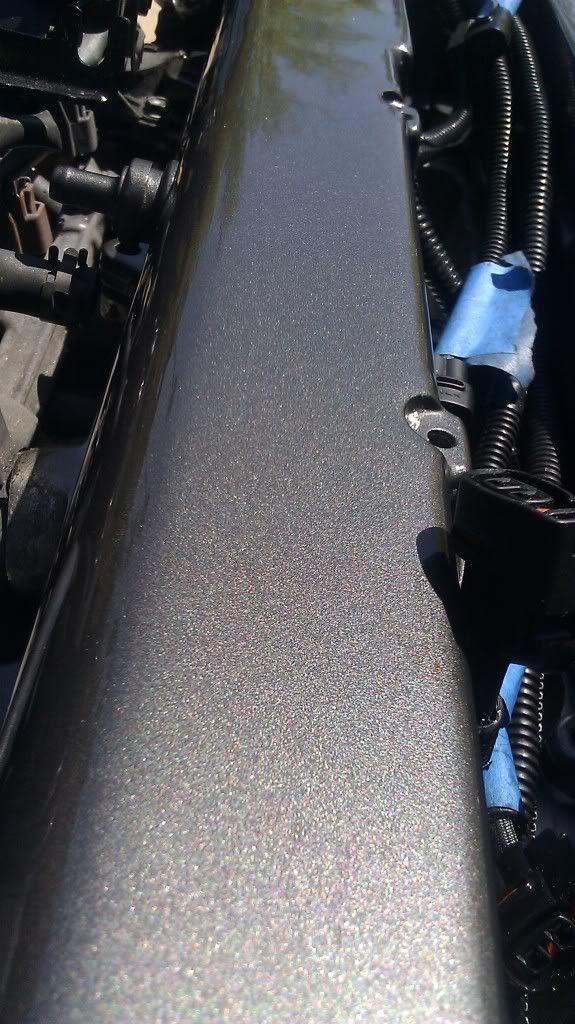
Couple coats of gloss
Wet sanded then polished to a mirror finish

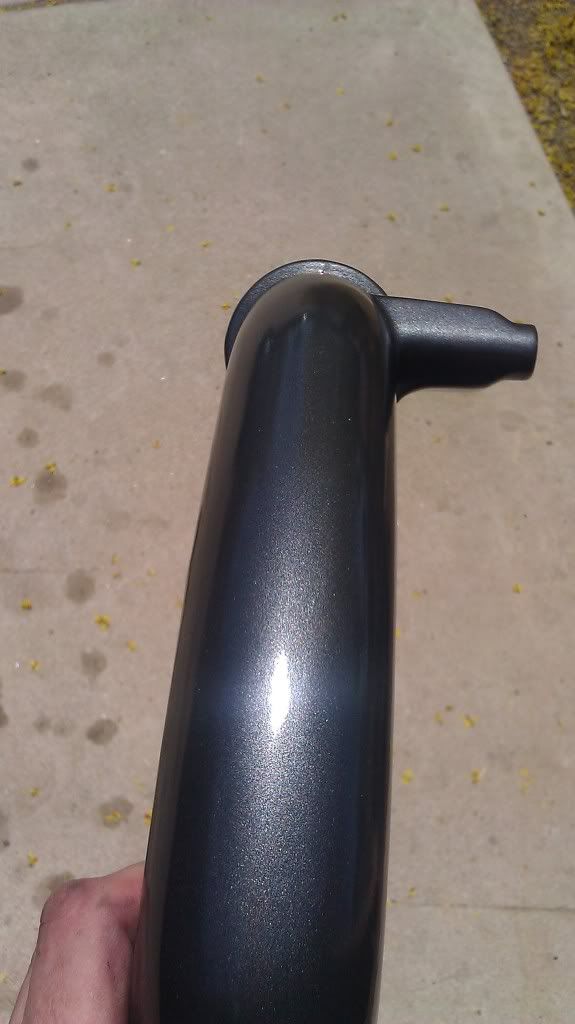
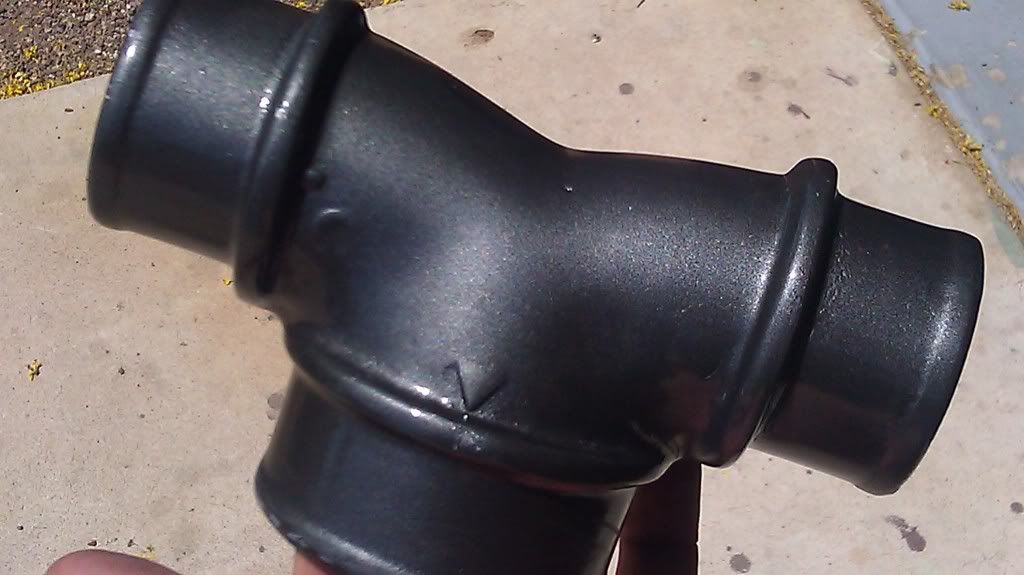
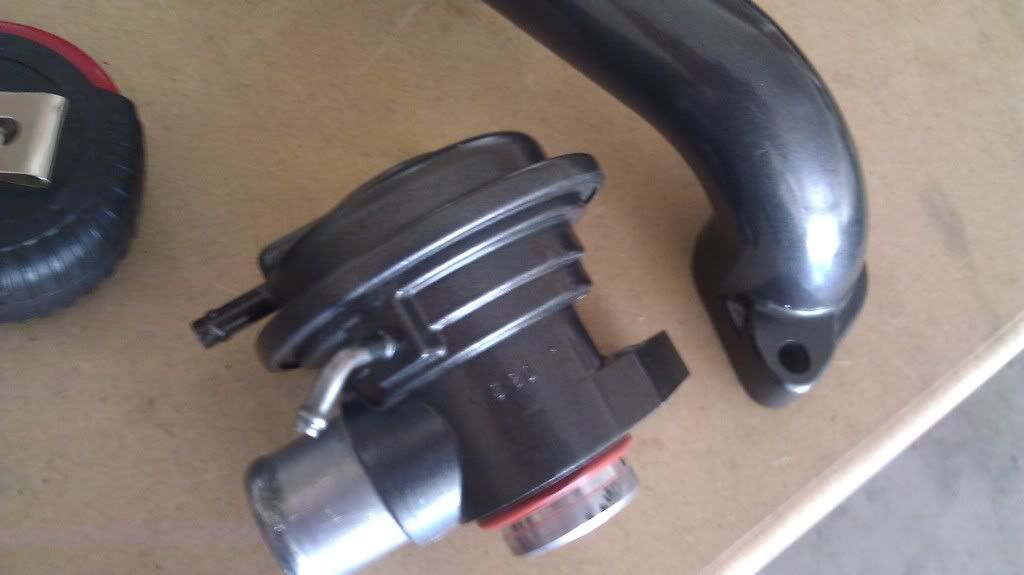
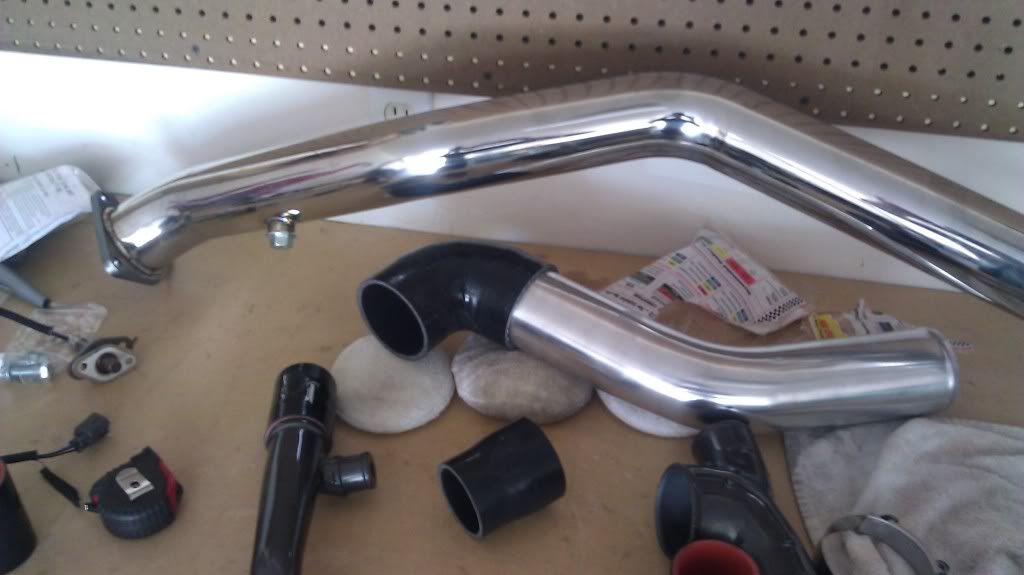
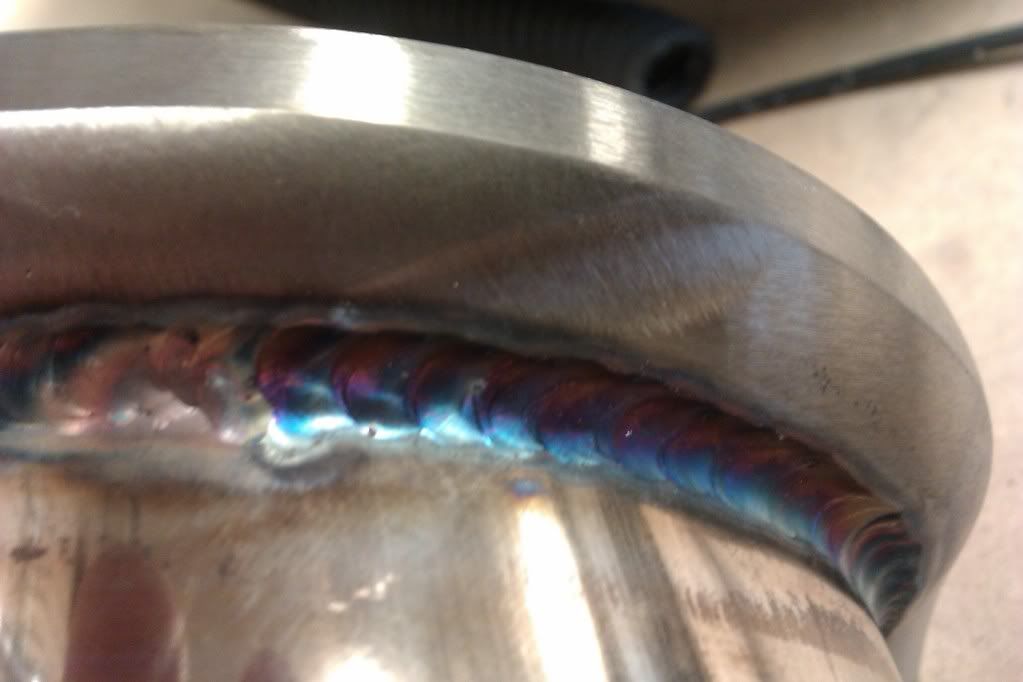
Stock twin piping
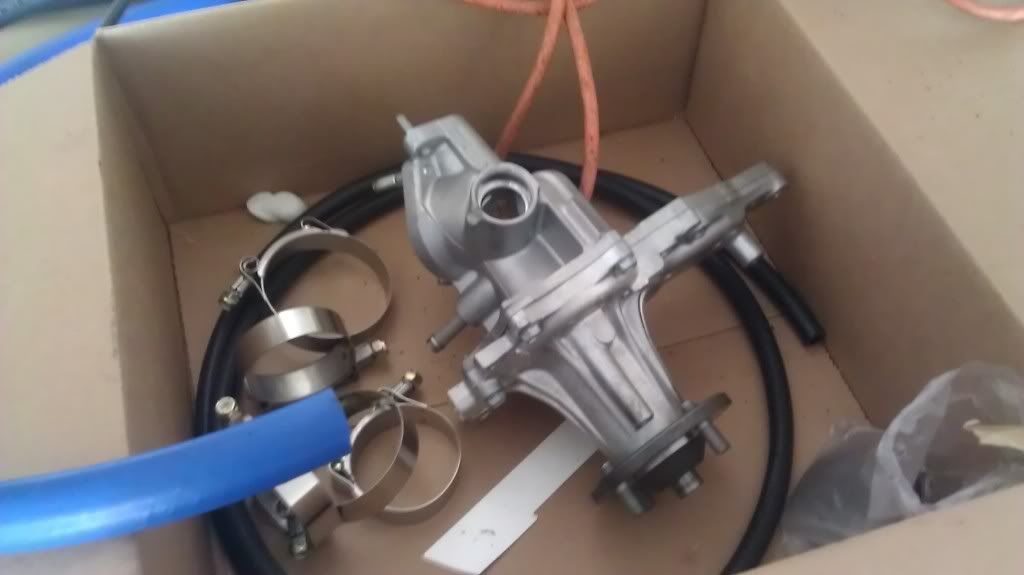
New oil pump
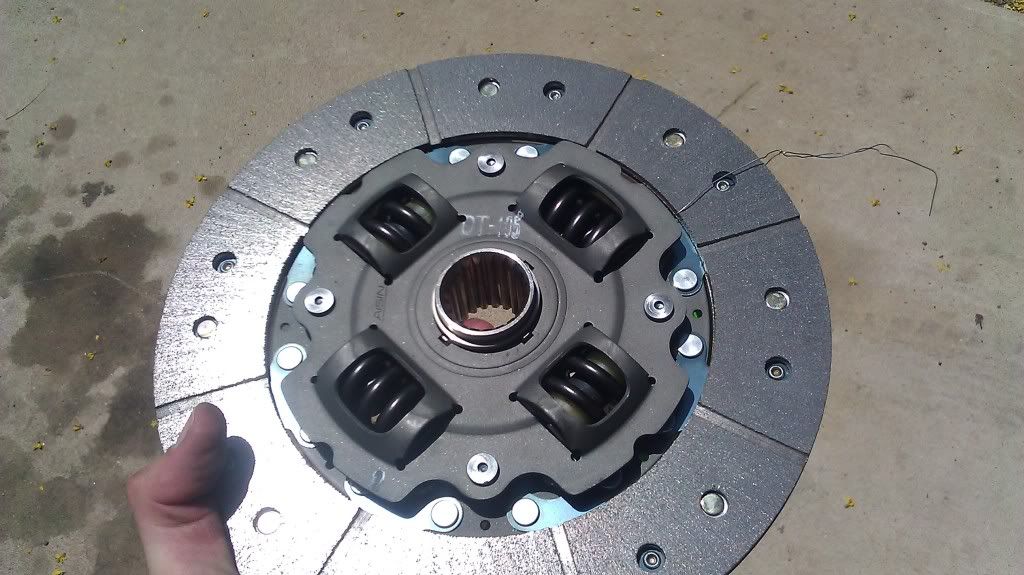
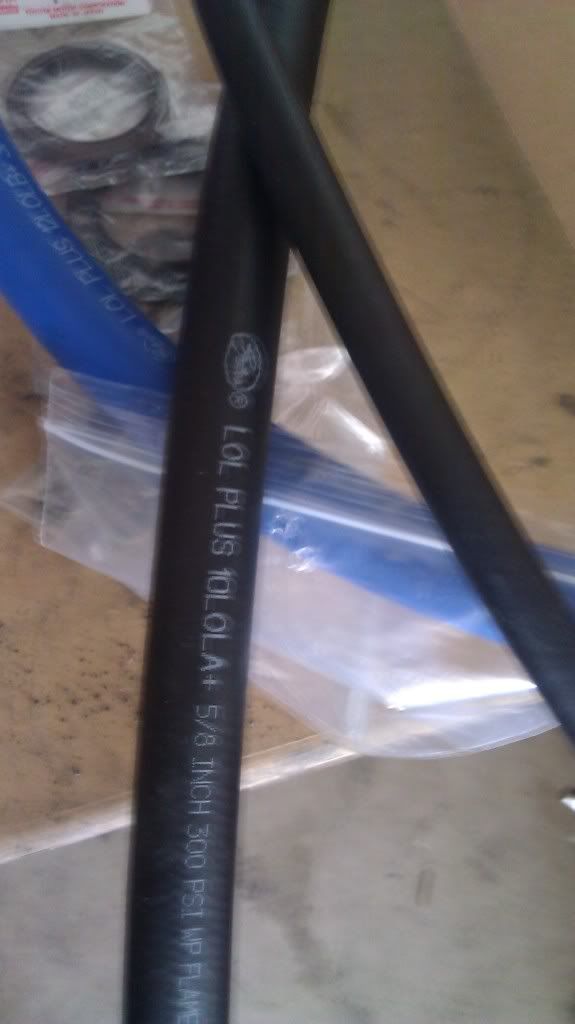
And here is some of the remaining parts I needed:
Horsepower Freaks full face feramic clutch

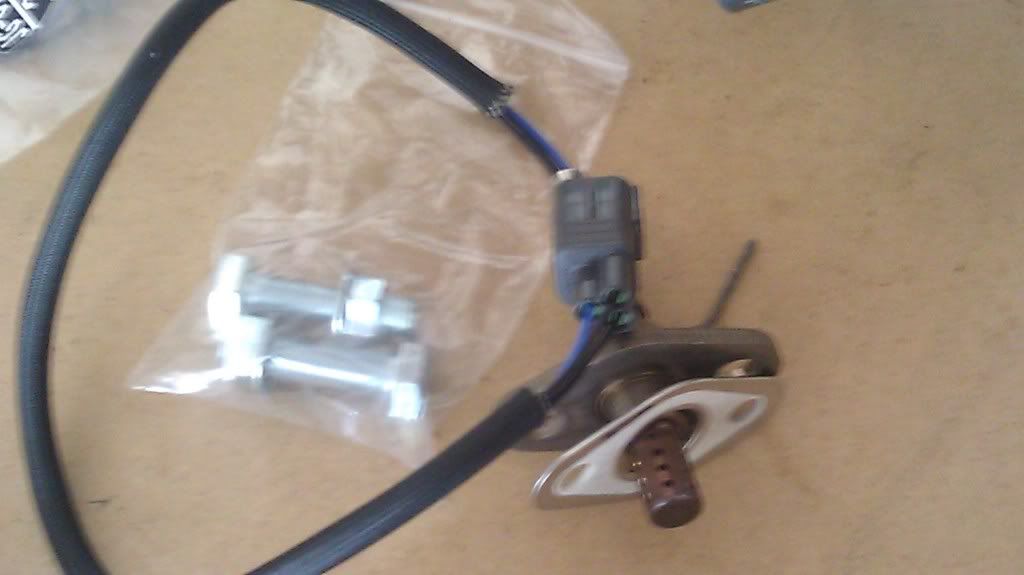
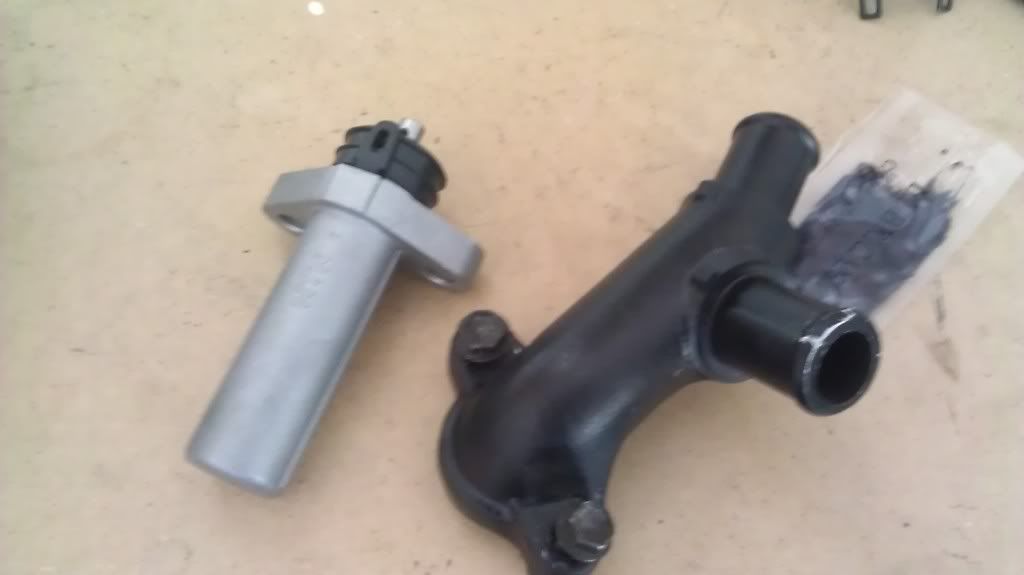
SOrry for the fuzzy pictures on a couple of them. Its hard to tell if they came out clear or not before I get them on to my computer. But I think that is about all for now even though I feel like I'm forgetting something... Oh well if I remember I will be sure to post. Later!
Whats up everyone long time no update huh? Sorry about that. I've been working my *** off so I haven't had a whole lot of time for much else. But, I have made some progress so I suppose I shall share. I finished the whole painting process that I took my sweet *** time with, and I gotta say it came out perfect. Wasn't easy and my patience ran very thin sometimes because I don't like watching paint dry, but I couldn't be happier. I was able to acquire the rest of the parts that I was missing and start putting the motor back together. And so far that's about it. I've taken soooo long to finish cleaning and painting everything I kinda forgot how some stuff goes back together or what bolts go to what so I'm trying to be careful not to screw it up. MAYBE IF I HAD SOME HELP *COUGH COUGH* ARBALIST, I would be further along right now. But its all good you don't really learn till you screw something up anyway right. So blah blah blah check it out:
Here's the painted valve covers with no clear coat and intake mani stripped.
Intake mani with a couple coats of paint no gloss. And yes I painted it attached to the motor but I did an extensive masking job so it turned out okay.
Couple coats of gloss
Wet sanded then polished to a mirror finish
Stock twin piping
New oil pump
And here is some of the remaining parts I needed:
Horsepower Freaks full face feramic clutch
SOrry for the fuzzy pictures on a couple of them. Its hard to tell if they came out clear or not before I get them on to my computer. But I think that is about all for now even though I feel like I'm forgetting something... Oh well if I remember I will be sure to post. Later!
04-30-12, 07:18 PM
#66
Driver
Thread Starter
Join Date: Sep 2009
Location: arizona
Posts: 121
Likes: 0
Received 0 Likes
on
0 Posts
Ya Ive been debating about what Im going to do about that. The one the motor came with is busted and makes the rest look like crap. I may just get some black cam gears and run no cover. But I dont really want to do that either. Do you know what kinda price hes asking?
05-01-12, 08:04 AM
#68
Driver

Join Date: Nov 2009
Location: OH..IO
Posts: 105
Likes: 0
Received 0 Likes
on
0 Posts
@suprus: I'm in about the same place in my build I was just trying to avoid any painting on the engine but after seeing yours I may go do that. Have u finished your harness and what are you doin for a throttle cable?

 05-01-12, 02:34 PM
#70
Driver
Thread Starter
Join Date: Sep 2009
Location: arizona
Posts: 121
Likes: 0
Received 0 Likes
on
0 Posts
As for the harness I dont know yet. I havent crossed that bridge yet and I'm still trying to come up with a better solution than cutting all the wires and soldering in new ones. Just not my style. Ill let you know if I figure out something brilliant (wouldnt count on it).
And I just bought a supra throttle cable from Toyota
05-01-12, 02:37 PM
#71
Driver
Thread Starter
Join Date: Sep 2009
Location: arizona
Posts: 121
Likes: 0
Received 0 Likes
on
0 Posts
05-03-12, 05:32 AM
#73
Driver
Join Date: Nov 2009
Location: OH..IO
Posts: 105
Likes: 0
Received 0 Likes
on
0 Posts
Awesome bro its exciting right? I cant waiiittttt. But ya the painting process that I had to do was a long one. It was a lot of trial and error since it was my first time. The sanding and prep work was extensive and I dont even know how it is going to hold up in the long run yet. I used all high temp primer, paint, and clear coat so it should be okay but I guess we shall see.. If you decide to do that I can guide you along if you want. Honestly though if I was going to do it over again I would just have all the parts sandblasted then powdercoated. So simple. But I guess it depends on what you want the end product to like like and if you want to spend any money. Im broke most of the time so I decided to everything myself, but I ended up spending a good amount of money on sanding discs and paint and stuff anyway and it ended up taking weeks to finish.
As for the harness I dont know yet. I havent crossed that bridge yet and I'm still trying to come up with a better solution than cutting all the wires and soldering in new ones. Just not my style. Ill let you know if I figure out something brilliant (wouldnt count on it).
And I just bought a supra throttle cable from Toyota
