SC300 stereo system and interior rebuild
 08-03-11, 01:46 AM
#31
Driver
Thread Starter

Sorry I thought that was the next step but I got sidetracked into doing other things but that is coming up soon. I really want to start that


 08-06-11, 12:53 AM
#33
Driver
Thread Starter
Haha it's coming.
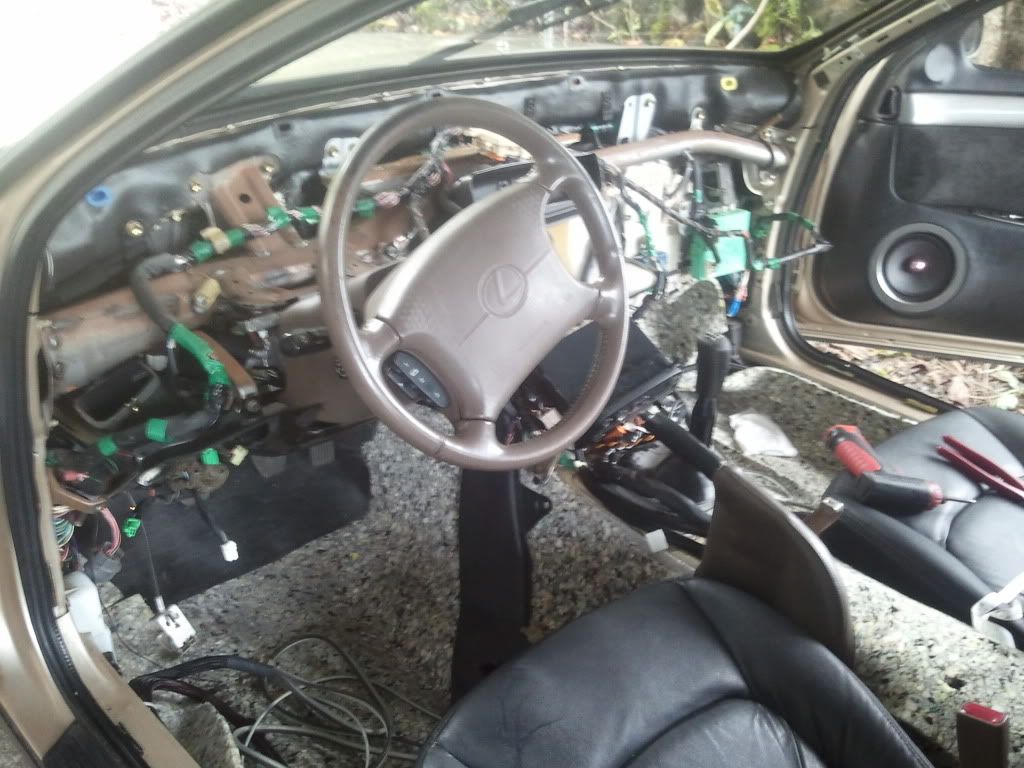
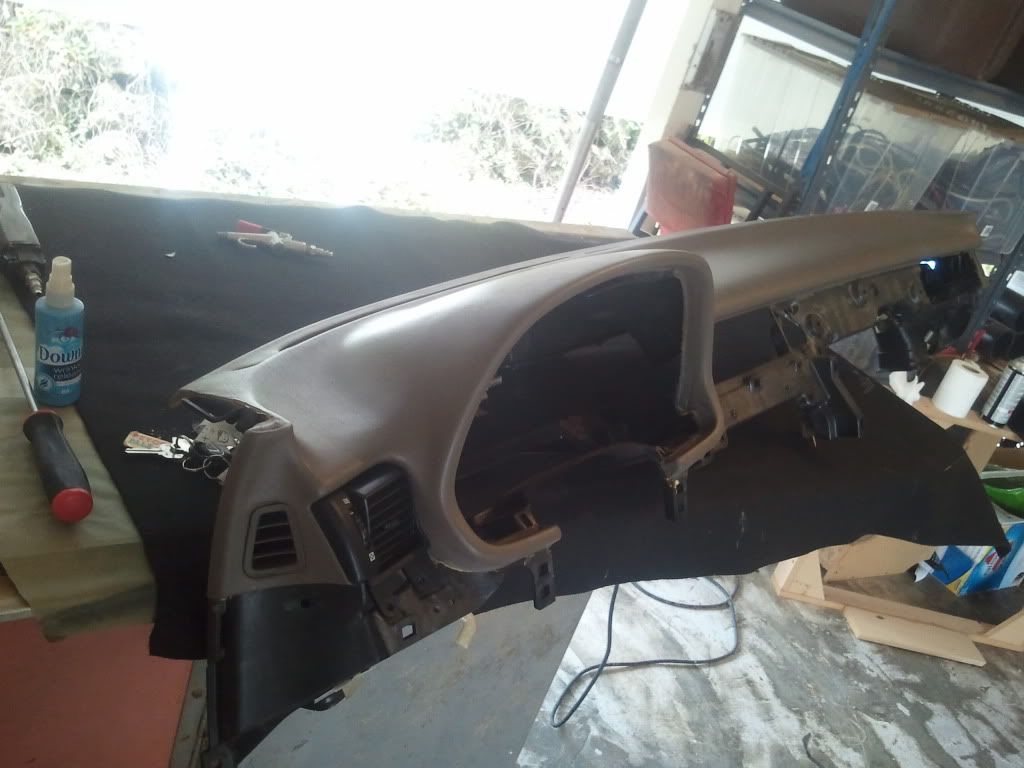
I just removed my dash and started dying it and some other pieces. Also doing an alarm since I have the whole dash out. After I get the interior back together I'll start the trunk
I just removed my dash and started dying it and some other pieces. Also doing an alarm since I have the whole dash out. After I get the interior back together I'll start the trunk

 08-06-11, 07:22 AM
#36
Lexus Test Driver
iTrader: (17)

Join Date: Sep 2003
Location: Texas
Posts: 849
Likes: 0
Received 0 Likes
on
0 Posts
Will you be using SEM paint on your dash? If so, which black SEM are you going with? I have used SEM paint on an old Toyota dash and I absolutely LOVED the paint. It's all about doing a good job with prep work and good rattle can spray technique but the paint goes on damn near perfect. It truly is great stuff in my opinion ($10 a can). BTW, how long does it take to remove the dash on a SC and is there a DIY on the procedure? Good luck on your redo. My adage....Do it ONCE, Do it RIGHT! It's looking good!
08-06-11, 10:09 AM
#38
 Hey I have a few questions for you about the removal of the wood dash pieces if that's cool? LMK....You can see what ive done to my interior:

and in my opinion the wood doesn't flow well anymore, so I was thinking of doing it in a high gloss black or a black wood grain overlay. Sorry don't mean to thread jack just let me know and i'll PM you.
 08-06-11, 10:47 AM
#39
Driver
Thread Starter
Will you be using SEM paint on your dash? If so, which black SEM are you going with? I have used SEM paint on an old Toyota dash and I absolutely LOVED the paint. It's all about doing a good job with prep work and good rattle can spray technique but the paint goes on damn near perfect. It truly is great stuff in my opinion ($10 a can). BTW, how long does it take to remove the dash on a SC and is there a DIY on the procedure? Good luck on your redo. My adage....Do it ONCE, Do it RIGHT! It's looking good!
Removing the dash is pretty easy. you have to remove the center console, glove box, panel under the steering wheel with the trunk switches, gauge cluster and a pillars. Once that's out getting the actual dash out is easy. There is 1 metal black tab on the bottom of each a pillar with a black plastic push tab holding it in, just pop those out and pull the metal tab back a little.There are 2 10mm nuts behind the gauge cluster, 1 under the airbag bolted to the crash bar and 2 on each bottom corner by the kick panel area. Once those are out just give it a good tug and it should pop out. Then you have to remove some wiring that is secured to the dash, Just cut the tape so you can take the harness off the tabs and there is a box in the center of the dash with 2 screws holding it on. After that just slide it out of the car. You can do it with the steering wheel in or out, I did mine with it in and you just have to guide it around the steering wheel a little just be careful.
Last edited by impact; 08-06-11 at 11:04 AM. Reason: added text
08-06-11, 10:53 AM
#40
Driver
Thread Starter
OK cool! Hey I have a few questions for you about the removal of the wood dash pieces if that's cool? LMK....You can see what ive done to my interior:
and in my opinion the wood doesn't flow well anymore, so I was thinking of doing it in a high gloss black or a black wood grain overlay. Sorry don't mean to thread jack just let me know and i'll PM you.
Hey I have a few questions for you about the removal of the wood dash pieces if that's cool? LMK....You can see what ive done to my interior:and in my opinion the wood doesn't flow well anymore, so I was thinking of doing it in a high gloss black or a black wood grain overlay. Sorry don't mean to thread jack just let me know and i'll PM you.
As for the dash wood grain you have to remove the glove box and there are wing nuts on the back of the wood trim that need to come off but they might be tight. Mine were super tight. Then a couple of 10mm nuts and then it should come out but just be gentle.
Let me know if you need any other help I'm always down to help out if I can
 08-06-11, 03:53 PM
#42
Lead Lap
Join Date: Feb 2011
Location: texas
Posts: 474
Likes: 0
Received 0 Likes
on
0 Posts
damn son!!!!! this is inspiration right here. i have a question about your glass work. i have been working on my door panels off and on for a while. what method did you use to bond the glass to the plastic? i have recently heard of something called durabond i believe and it is supposed to be for bonding to plastic. what i did was drilled a bunch of holes through the plastic to create glass rivits. it seems strong so far but where i am having an issue is i did not inlay the mounting rings like you did and smoothing out the edges is going to take a lot of body filler. so what should i use to get the body filler to bond to the plastic good? i have some plastic adhesion promoter made by duplicolor but i have been putting it off for better advice. thanks and the car is looking epic. way to keep it clean!
08-06-11, 04:05 PM
#43
Driver
Thread Starter
damn son!!!!! this is inspiration right here. i have a question about your glass work. i have been working on my door panels off and on for a while. what method did you use to bond the glass to the plastic? i have recently heard of something called durabond i believe and it is supposed to be for bonding to plastic. what i did was drilled a bunch of holes through the plastic to create glass rivits. it seems strong so far but where i am having an issue is i did not inlay the mounting rings like you did and smoothing out the edges is going to take a lot of body filler. so what should i use to get the body filler to bond to the plastic good? i have some plastic adhesion promoter made by duplicolor but i have been putting it off for better advice. thanks and the car is looking epic. way to keep it clean!
http://www.evercoat.com/productDetail.aspx?pID=38
It's what we use and we've had good results with it and then finish coat with normal body filler. Also very important to prep the plastic good. Sand it good and get it rough so the filler has something to grab on to. That should get you going pretty good