When you click on links to various merchants on this site and make a purchase, this can result in this site earning a commission. Affiliate programs and affiliations include, but are not limited to, the eBay Partner Network.
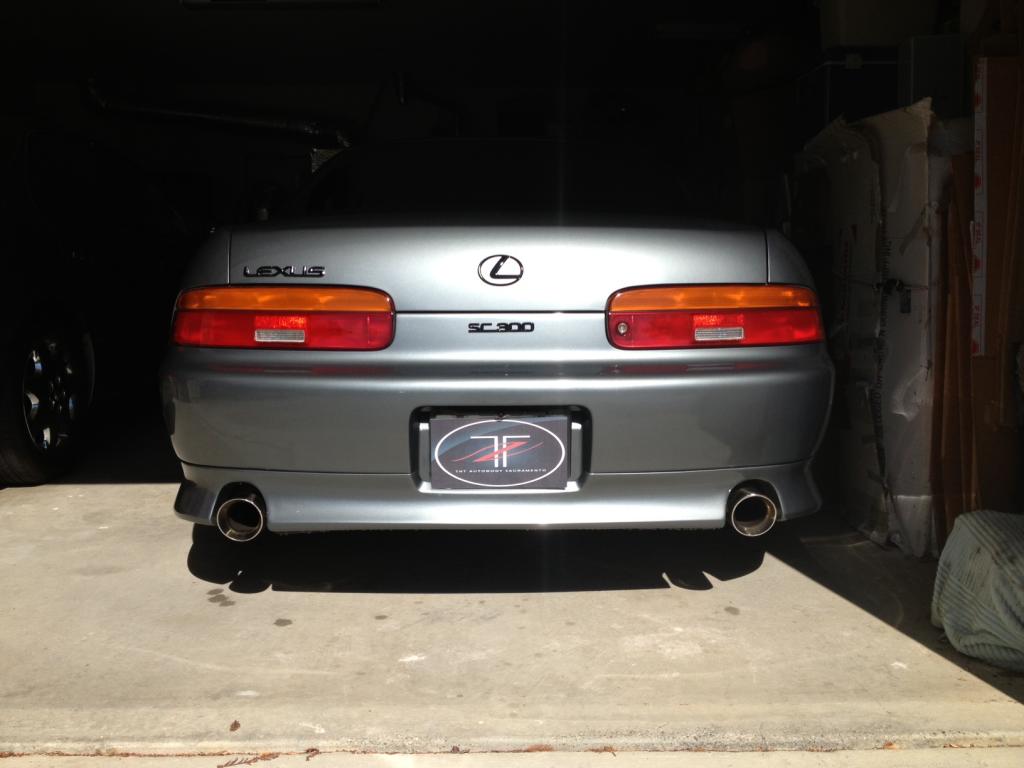
Why the dislike of the amber turn signals??? I think they are better than the gold trimmed versions....
I also don't care for the '97+ style tails. What I've noticed about the '92-94 amber/red ones are they work well on some body colors but look very dated on others. In general, they work best with darker colors.
Today I removed the intake and manifold to switch back to my old cold start injector, re-did crush washers and gaskets, ran some tests, and put it all back together in well under an hour (45 minutes?), working at a leisurely pace. It used to take MUCH longer than that just to get the throttle body off the stubborn coolant hoses.
I had previously bypassed that with a direct line below the TB, and last time I had it all apart for manifold porting I modified the IAC to use two bolts instead of studs + nuts. That allows me to now remove the IAC easily without draining the coolant. Soooooo much better this way.
Spent most of the day running around junk yards Pilfering various oddball panel clips , fuse covers , clips , & other misc. random stuff for my sc300 interier
still looking for one of those panel clips that holds up the panel on the bottom of the passenger side dash , under the glove compartment..( looks like really long door panel clips .
here is a picture ( hard to c ) of the one clip i do have ,i have a door panel clip co
vered in wax holding other side til' i get correct one correct clip (round one )
still looking for one of those panel clips that holds up the panel on the bottom of the passenger side dash , under the glove compartment..( looks like really long door panel clips .
They're pretty universal. Just measure the hole size and go to the auto parts store or hit up ebay. Get a few sizes while you're at it if ordering online. It's worth having extras of stuff like that for when you need it.
Separated aka baked my fog lights in the oven, took them apart, and removed the glare guards from inside them. Then put them back together using some Hondabond.
Used a sheet of cardboard for a tray, then put both foglights in for a little over 10 minutes at 180*F. At that temp if you leave them in longer it doesn't melt the lenses, but it does soften up the glue more. Just don't leave them in there for an hour lol. The hardest part was separating the lenses from the housing.
I run LED bulbs in my fogs, so I'm not worried about blinding anyone.
That was so easy that I should've taken the glare guards out 10 years ago.
It also helps with allowing the LEDs to reflect better inside the housings. This resulted in noticeable light improvement.
I might try this with my spare fog lights since the glare guard is already broken on one of them.
Separated aka baked my fog lights in the oven, took them apart, and removed the glare guards from inside them. Then put them back together using some Hondabond.


 07-03-16, 01:51 PM