DIY SC300/400 clear corners for $20. Lots of pics
 09-03-08, 05:26 PM
#1
Someone requested that I take pictures when I went to install/modify my gs300 side markers to fit my sc300. I had time to do it this weekend and took alot of pics. I think it turned out pretty well. I know that everyone doesnt like the clear look but here goes.
These are side markers you can buy on ebay that are made for a gs300. I bought these for 20 dollars shipped. They came with a chrome covered bulb that looks silver when its off, but lights up orange.


As you can see they are the same height. The clear markers are just a little bit longer than the stock ones. I took a sharpie and a peice of paper and wrapped it around to make an outline.


Take the paper back off the light and cut out the outline of the marker. Once you cut it out, take some clear packing tape and center the paper on the new markers. When you do this leave an even amount of space to be cut off on each side. You are going to basically just trim off what isnt paper. The tape also helps to hold everything in place and prevent chips.

As you can see you only have to trim off a little bit.

The trick is that you will have to grind the plastic down with the dremel at an angle. The very front of the marker will be the widest and as you trim towards the plug you need to go at an angle. You will also need to take the screws off the back of the new marker as they will not match up with the stock holes. One thing I would like to mention too is that grinded plastic is hot as %$@* so make sure you are careful not to get it on your hands.
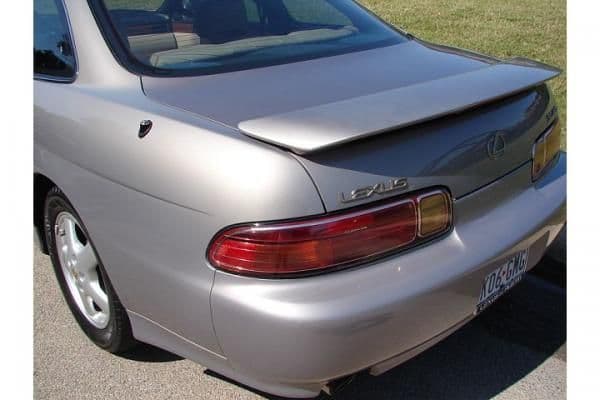
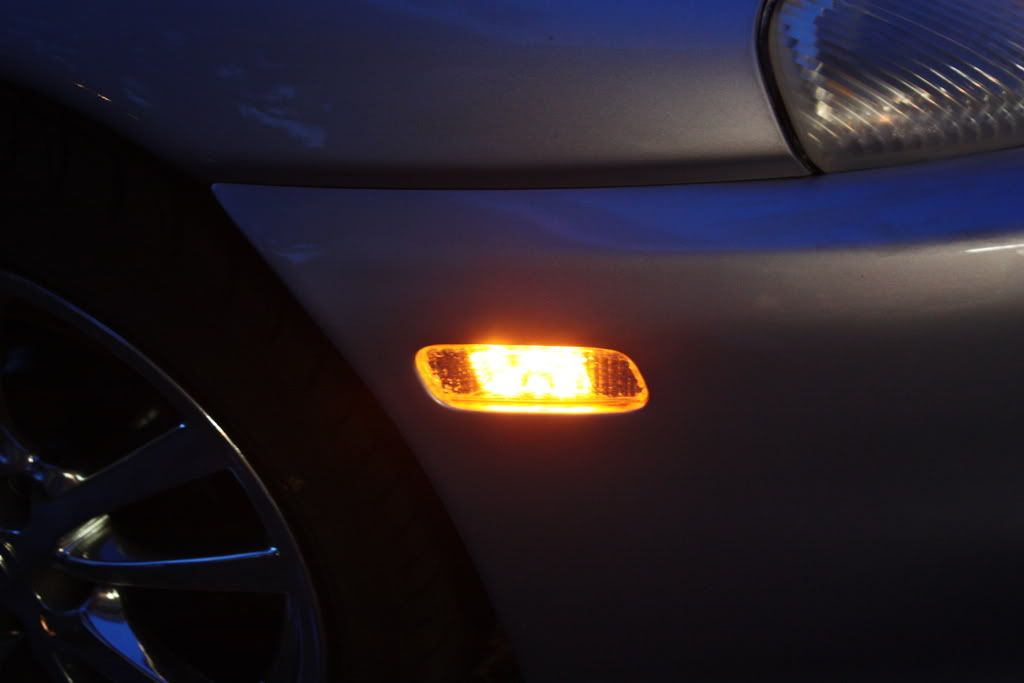
After grinding away and test fitting a couple times you will finally get it to fit in snug. I used an adhesive silicone to both seal and attach the marker to the car. You will need to seal up the sides where you grinded and then use the same stuff on the back and press it into place. I would recommend you let the car sit over night to let the silicone dry. Once installed heres how mine look day and night time below.
These are side markers you can buy on ebay that are made for a gs300. I bought these for 20 dollars shipped. They came with a chrome covered bulb that looks silver when its off, but lights up orange.
As you can see they are the same height. The clear markers are just a little bit longer than the stock ones. I took a sharpie and a peice of paper and wrapped it around to make an outline.
Take the paper back off the light and cut out the outline of the marker. Once you cut it out, take some clear packing tape and center the paper on the new markers. When you do this leave an even amount of space to be cut off on each side. You are going to basically just trim off what isnt paper. The tape also helps to hold everything in place and prevent chips.
As you can see you only have to trim off a little bit.
The trick is that you will have to grind the plastic down with the dremel at an angle. The very front of the marker will be the widest and as you trim towards the plug you need to go at an angle. You will also need to take the screws off the back of the new marker as they will not match up with the stock holes. One thing I would like to mention too is that grinded plastic is hot as %$@* so make sure you are careful not to get it on your hands.
After grinding away and test fitting a couple times you will finally get it to fit in snug. I used an adhesive silicone to both seal and attach the marker to the car. You will need to seal up the sides where you grinded and then use the same stuff on the back and press it into place. I would recommend you let the car sit over night to let the silicone dry. Once installed heres how mine look day and night time below.
Last edited by Billy305; 09-03-08 at 05:30 PM.


 09-03-08, 06:10 PM
#6
Finally someone posted a DIY thread about this. Great job. I ordered mine a few days ago so once I get them in I will put them on and post some pics as well. Did you get to the sidemarkers by going in through the front fenders where the tires are?
Last edited by P.R.S.22; 09-03-08 at 06:15 PM.

 on a job well done.A couple guys were talking about this at tower shop last Friday.

