When you click on links to various merchants on this site and make a purchase, this can result in this site earning a commission. Affiliate programs and affiliations include, but are not limited to, the eBay Partner Network.
So I just finished replacing the LEDs in the door sill and I thought I'd do a write up since I got a request for one with more details and pics.
Before I start, the usual disclaimer applies. You do this at your own risk and I will not be responsible for any damage or personal injury incurring from this project. If you are unsure about your soldering skills, practice and do some research. Soldering LEDs onto a board by overheating the components can cause the board to fail.
It was a little harder than I anticipated simply because it was a little more time consuming and detail oriented than expected. Overall it probably took me about 2-3 hours to get everything done. It was spread over a week since I had to wait for the LEDs and 3M tape to arrive. But hopefully this will help others so that they can get the materials ahead of time to do it in one shot.
Materials needed:
3M acrylic automotive tape (06377)
I tried to use some 45 mil thick tape but it was a little too thick when taping the metal plate to the lighted assembly, which you'll see later. The 30 mil was better. The 1/2" wide tape was not too expensive so I went with this option. If your pockets are deeper, I would opt for the 7/8" wide tape since it would be easier to tape than the strips I had to put down.
3mm LEDs
This can be purchased from Amazon, Ebay, etc. Just make sure it's the 3mm since the 5mm will be too big. I choose the cool white 6000k version which gives it a nice white with a hint of blue.
Acetone and Isopropyl Alcohol
The Acetone is for removing the residual tape left and the alcohol is to clean the surfaces before the new tape is applied.
Clear silicone
This will be used to seal the LED assembly where the wires stick out of the plastic housing. Lexus does this and so I just followed suit since they probably did it to keep moisture away from the LED electronics.
Super Glue
This is used to glue the clear cover back to the housing when you remove the LED.
Soldering Flux and Solder
This is obviously for soldering the LED back onto the board.
Tools Needed:
Razor blade
Soldering Iron
Solder sucker (solder removal tool) or compressed air with a blowgun
Sharp scissors for cutting the 3M tape. The reason it needs to be sharp will be explained later.
Heat gun
Flat head screwdriver (small and large)
Automotive upholstery and trim removal tools pictured below. These can be purchased from your local auto store or online.
NOW GET TO WORK!
To remove the existing sills, they just pull out. Grab the sill where it meets the carpet on the inside edge and pull it out. Then pull the sill up and it should come out.
Here's what the front sill area looks like with the sill removed.
Here's the back sill area with the sill removed.
The rubber trim will still be attached but don't worry. These are held on by metal clips that attach to the plastic tabs under the sill. Just reach behind and pull the tabs off of the plastic. If you start on the rears first, you can turn the sill to see how it fastens then do the front sills. The reason being is that the front sills are L-shaped and are a little harder to turn to see the clips. Here's what the metal clips looks like.
Then unplug the connectors with your fingernail or a small flathead screwdriver.
Here's the front connector.
Here's the rear connector.
Once all the sills are removed, you'll need to take out the metal plate. This is where the trim tools come into play. This is where you need to be patient and take your time. If you rush, you can bend the metal plate since the tape on the back is strong. You can also use a heat gun to soften the tape to make it easier to remove. But don't overheat it or the plastic LED housing or the surrounding plastic can melt.
Here's how I used the tools (without heat). In the back there are small plastic tabs grabbing onto the metal plate. This lightly holds the plate to the plastic trim. The larger front sill has 2 sets on each side while the smaller rear has only 1 set on each side. Here's what it looks like.
I used the small flathead screwdriver to move the tab slightly away from the metal so it would be free when the tape is removed in the next step.
I used the small flathead to pry one edge up just enough to get the metal trim tool under one end. Then, I gently pried up on that end until I could get the plastic trim tools under each end.
Then I moved the plastic trim tools together down the length of the metal plate until the tape is removed. I heard some popping as the tape releases from the metal but this is normal. If you heat it, you probably wouldn't hear this. The front sill is longer so take your time.
This is what it looks like with the metal plate removed. I already took off the double sided tape on the plate.
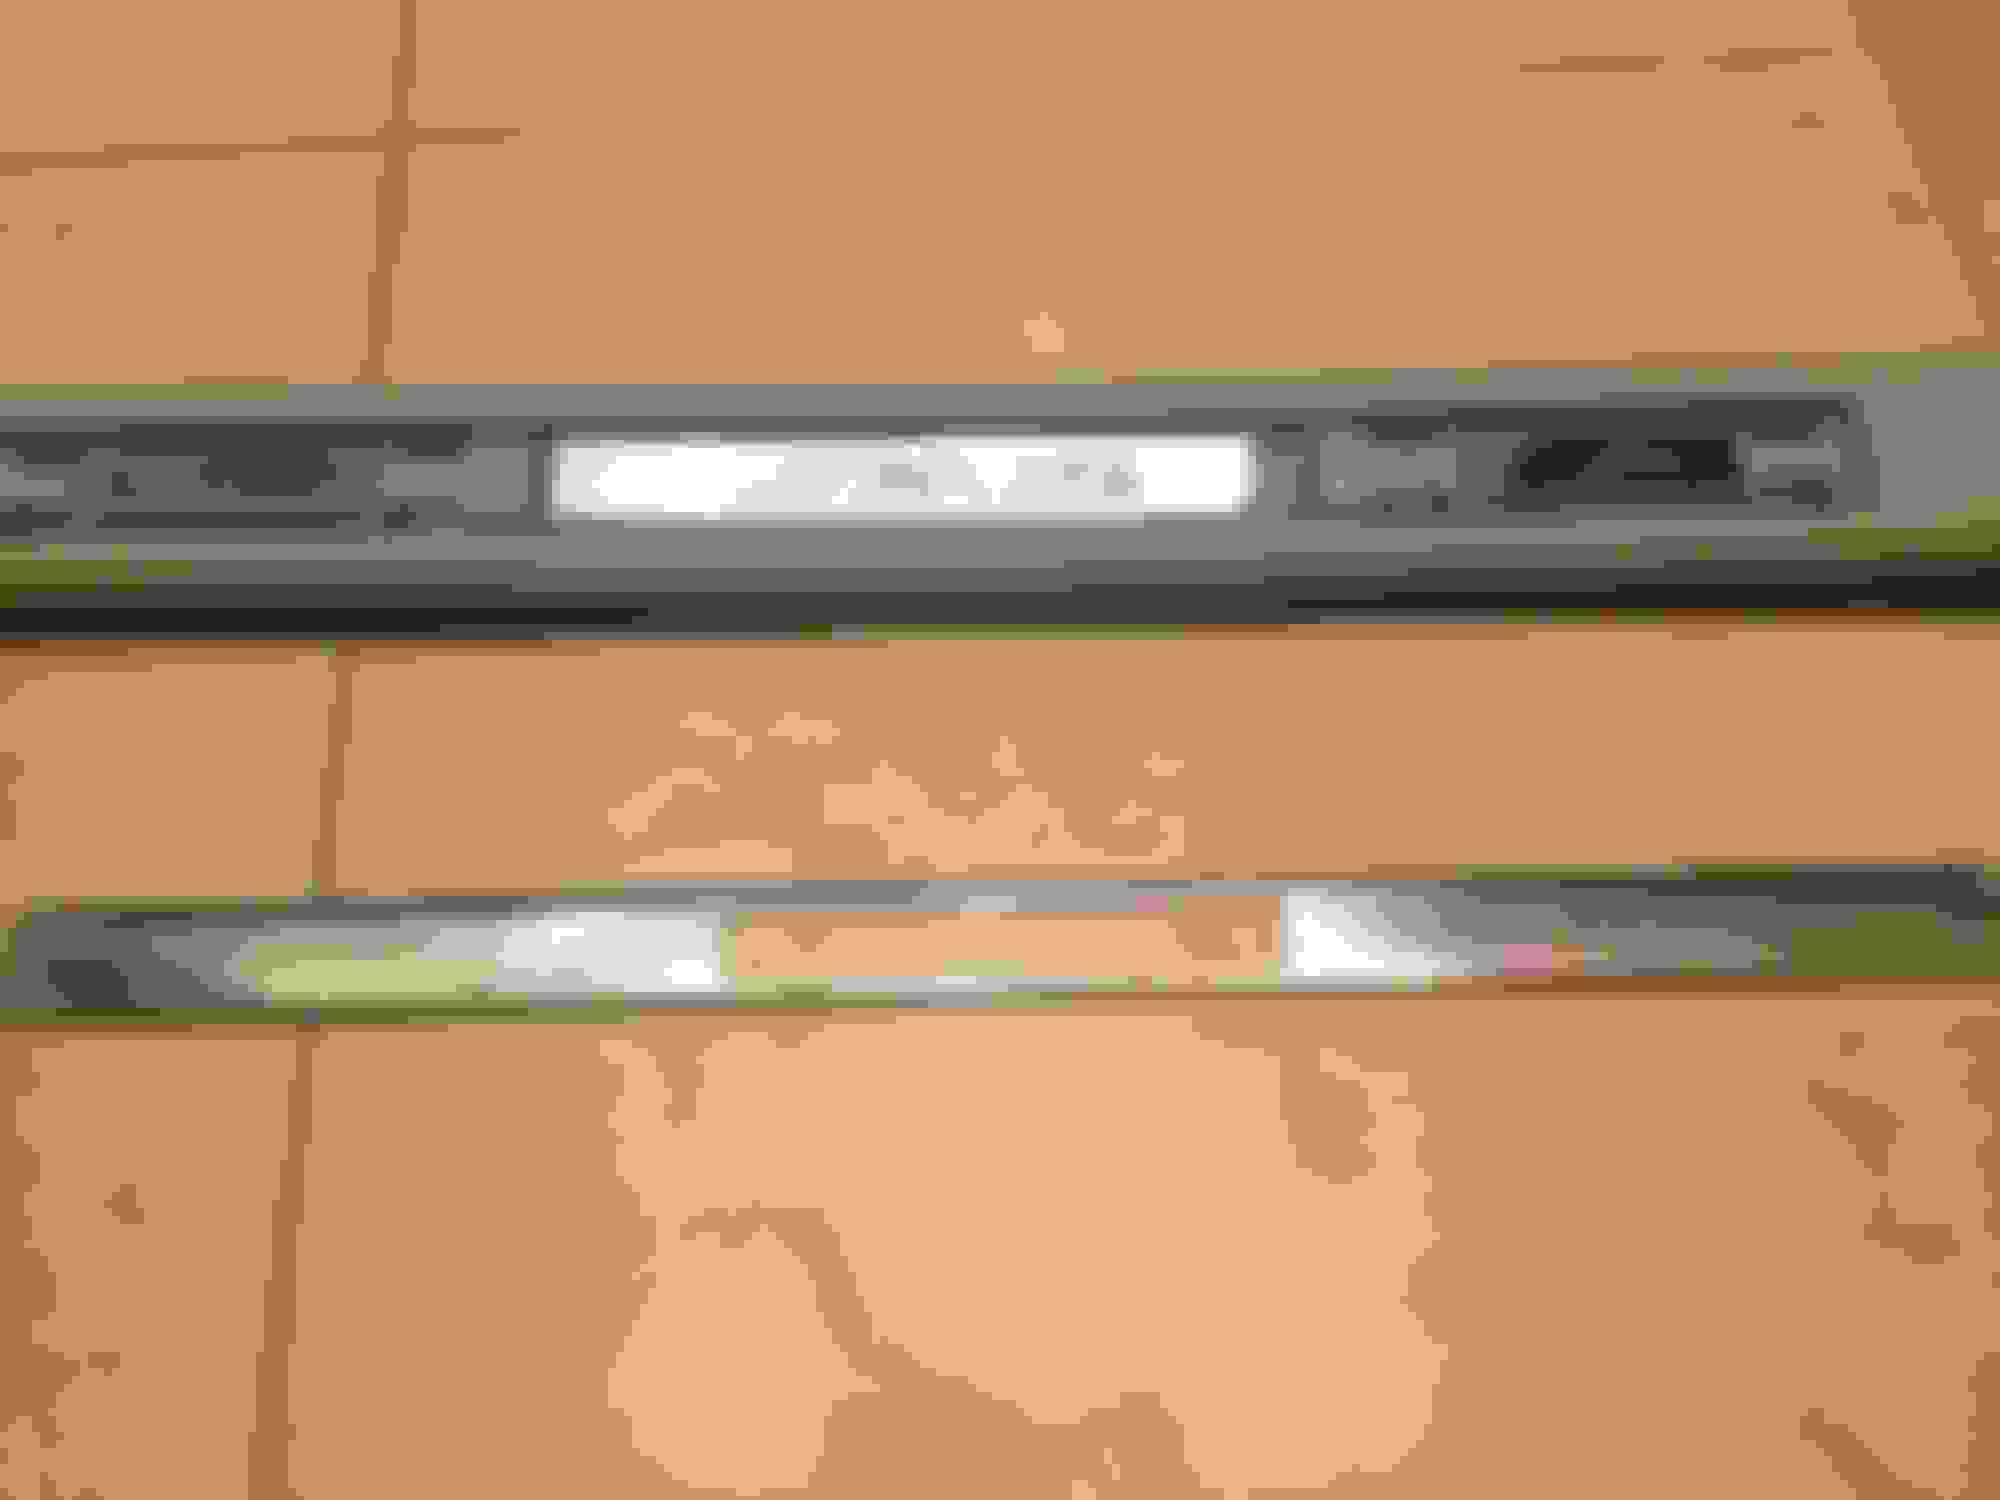
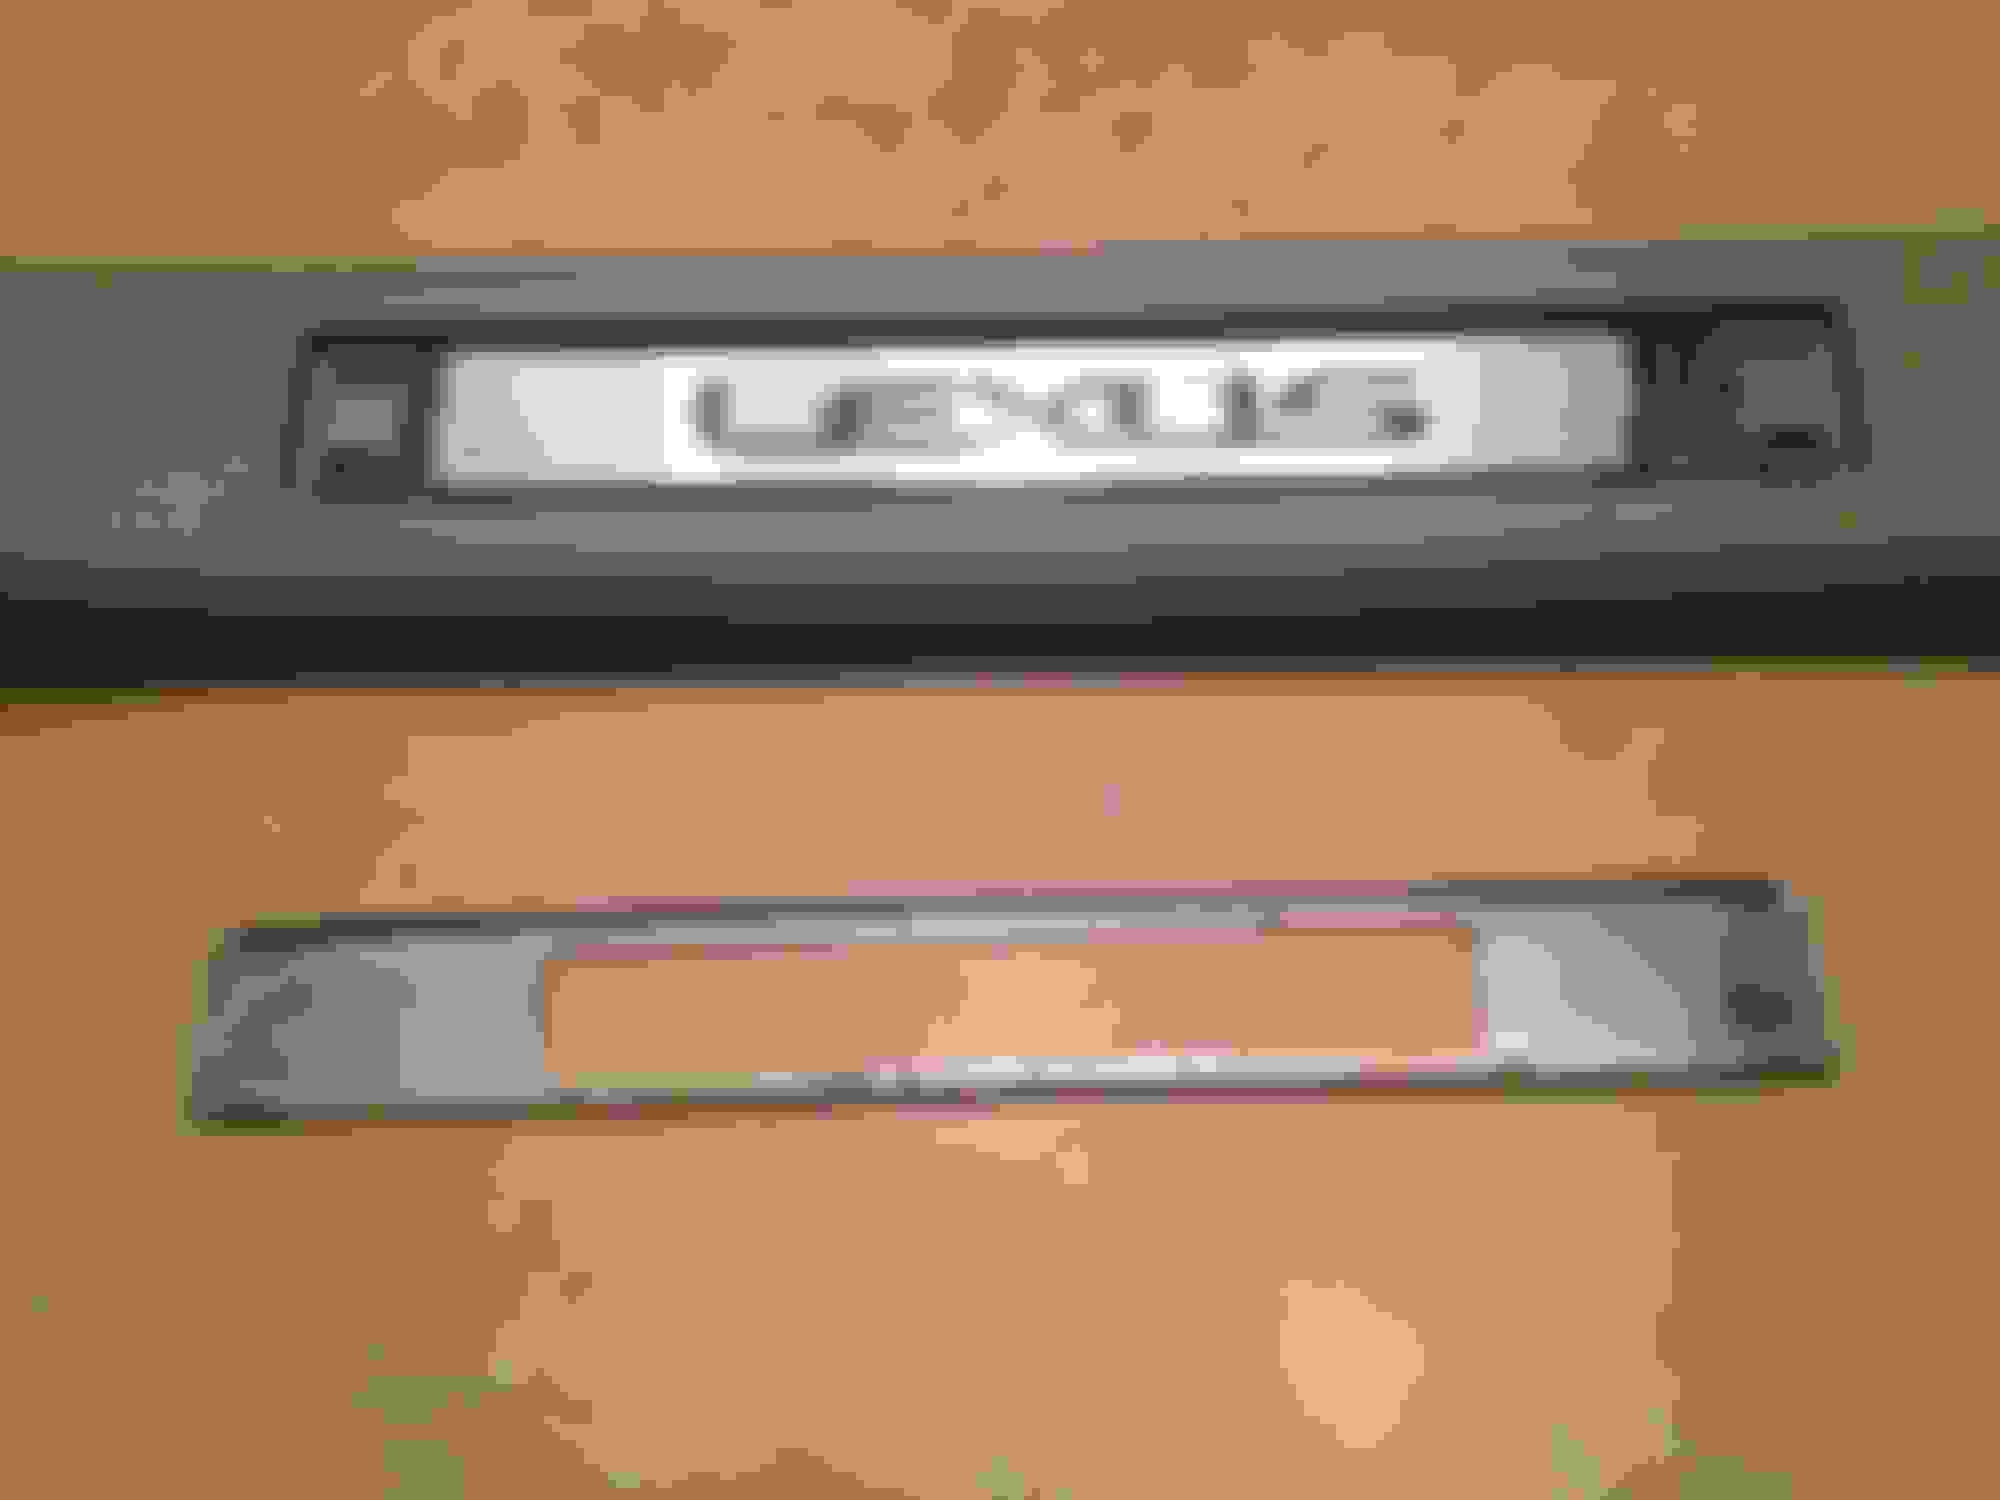
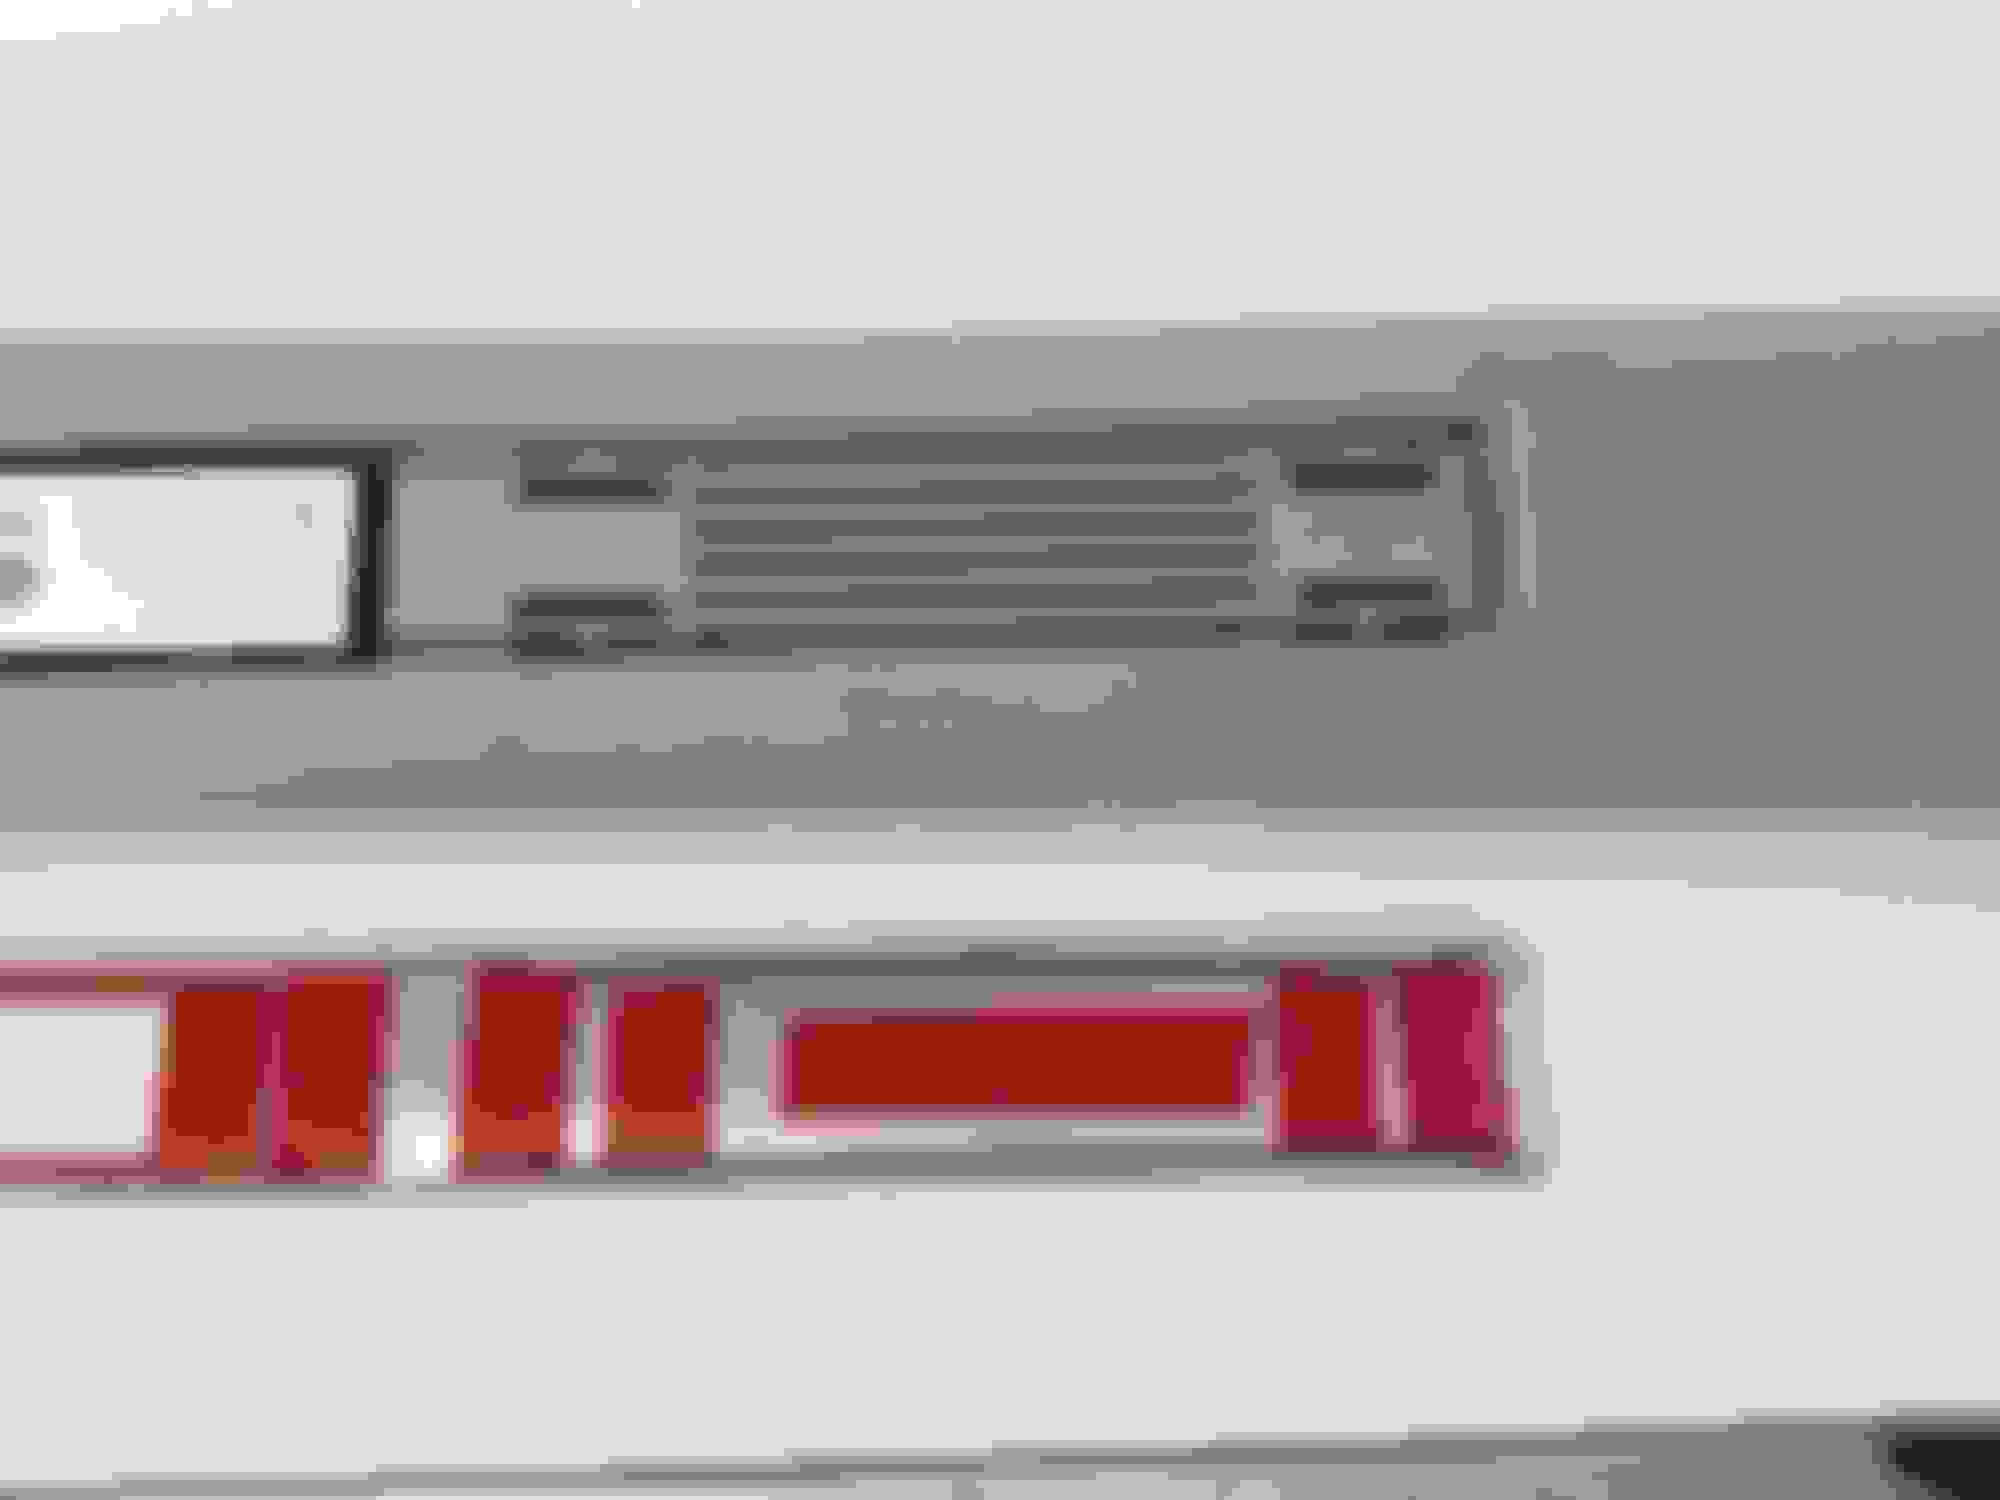
I applied heat to the plate to get the tape to soften and scraped it off with the large flathead screw driver. Then once the tape is removed, I used acetone to clean off the residual tape. Here's the comparison between a pre-acetone (top) and post-acetone (bottom) cleaning.
Then you use the metal trim tool again to remove the LED assembly from the plastic trim.
With the assembly out, you'll have to use the razor blade to gently separate the clear cover from the black housing. This will allow you enough space to remove the LED board. Here you can see how Lexus uses silicone to seal around the wires where it enters the plastic housing.
Silicone around the wires.
Clear cover after the LED board has been removed.
Once the board is out, you'll have to desolder the LED. I used a helper to pull on the LED while I heated the solder evenly on each lead. If you touch both leads evenly, then you can melt the solder at the same time and the LED will pull right out.
You will probably have excess solder in the holes and they need to be cleaned before installing the new LED. You can either get a solder sucker which works by sucking the solder after it's melted with the iron. Or you can use compressed air to blow off the solder after it's melted. If you do the latter, make sure there is no excess solder on other components which may cause a short.
NOTE: Remember to use the rubber spacer from the old LED before soldering the new LED into the board. This looks like it prevents the leads from shorting to the board.
Before you remove the LED, look inside of it to see where the large plate is (the anode). You'll need to solder in the new LED in the same orientation so you don't have to resolder it because it's backwards. After soldering the LEDs in, I would recommend plugging it into the car to make sure they light up. At this point it's easy to solder in a new LED if it's backwards or faulty.
Now the hard part is done and the rest should be easy.
I put the board back into the housing and used silicone to reseal the wires and super glue to glue the clear cover back.
Then I used the 3M tape to tape the LED assembly back into the sill trim, like so. Make sure that there is an even gap on both sides and on the top and bottom. If it's not exactly even then it's not that critical. When you install the metal plate, it should straighten out.
Now as for applying the 3M tape to the metal plates, I had to trim the tape lengthwise into thin strips to tape on the top and bottom around the Lexus logo. This is where the sharp scissors comes into play. If it's dull then, you won't be able to cut the thin strip needed for the top and bottom of the plates. If it's not taped like this, then dirt and water might get to the LED assembly.
Tape on one side of the front sill plate. This is the side without the wire harness.
Tape on the other side of the front with the harness.
Tape on the rear sill plate.
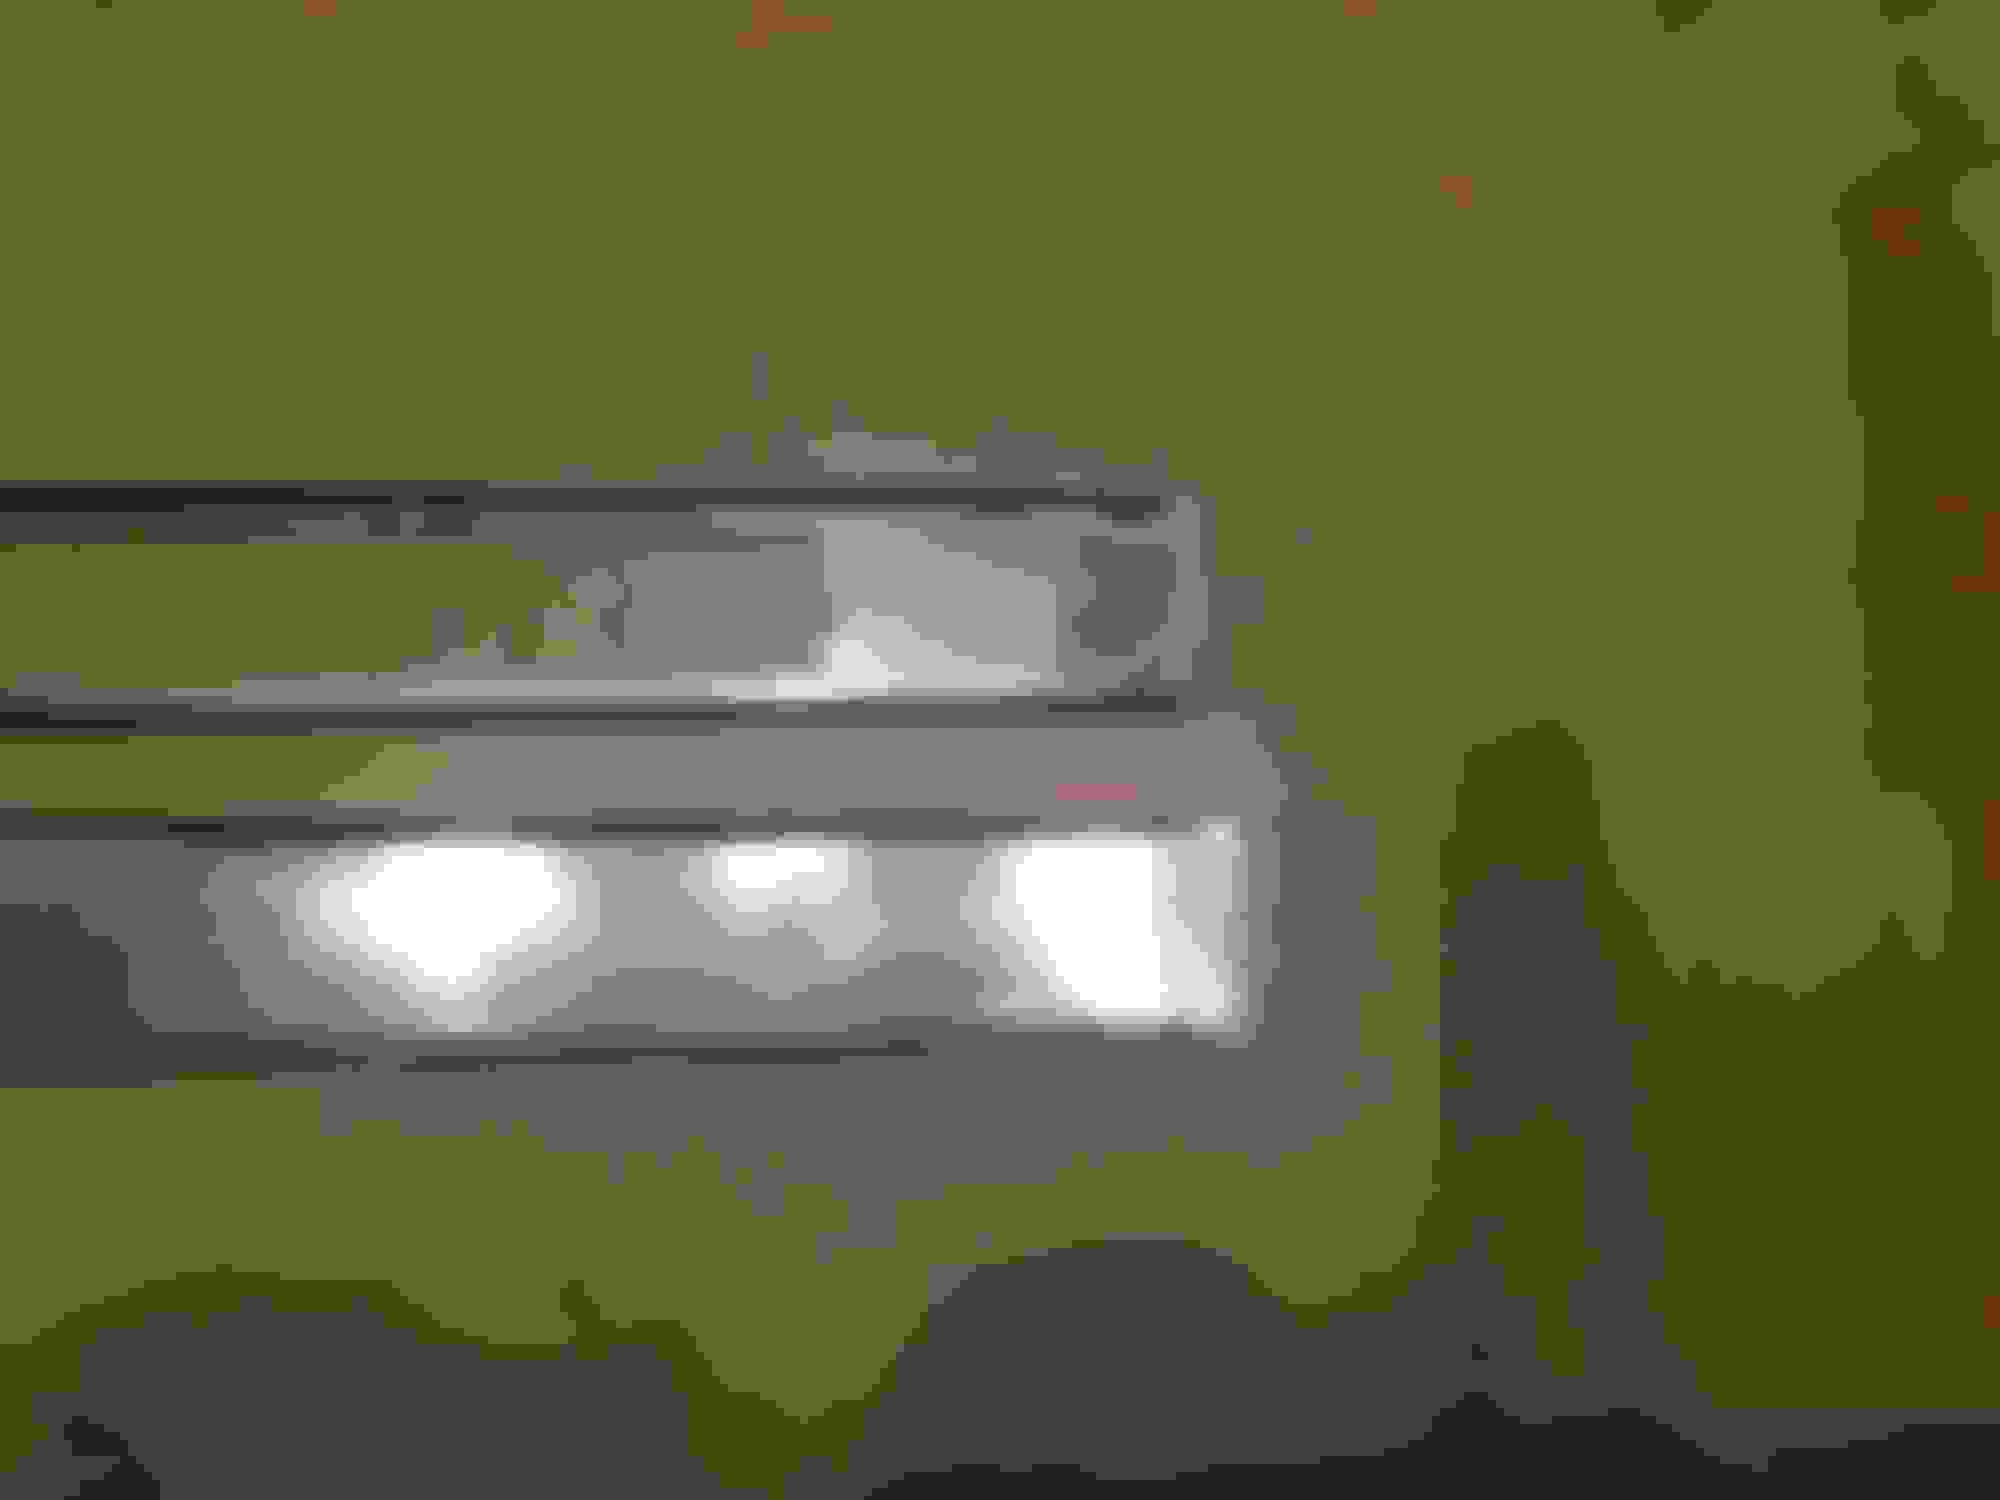
Now reinstall the sills and enjoy the nice white (or blue) Lexus logo!
It looks like it's brighter on one side but this may be just because I took the picture in the daytime. Either way, I still enjoy the white color instead of the stock orange.
Last edited by es808; 11-27-14 at 08:19 PM.
Reason: Grammar correction
Hey...Great write up. I have done this mod myself and thought I would give a little input myself. I couldn't find 3M tape thin enough at the store and was too impatient to order it so I used some JB Weld to put the aluminum covers back on. Also, for anyone who isn't a do-it-yourselfer and doesn't mind spending a little more money...The 2008 models went to blue colored LEDs in the door sills. You can order the 2008 door sills to avoid the work.
I too was impatient waiting for the 3M tape to arrive so I tried clear silicone. It adhered well to the lighted Lexus housing but didn't stick to the plastic trim. I had to scrap it off with a razor which wasn't fun. So if anyone has this idea, scratch it. It doesn't work.
The JB Weld is a quick and inexpensive option. Thanks jakenbake for the input! Just make sure everything works before you seal it because if you have to open it up with hardened JB Weld, then good luck.
I wanted the white look so I had to go this route. Plus I wasn't afraid of taking it apart and soldering. But the blue option is available for those that don't want to crack their sills open and just want to buy something.
Last edited by es808; 11-29-14 at 10:19 PM.
Reason: Added info
Old post and a great one at that. If OP is reading this, thank you for a detailed write up! I did this not to change the colour, but as a repair on a friend's recently purchased 2007 RX350 for the driver side front. I can also say that this job is an official PAIN IN THE ___, especially if corrosion/rust is involved. In my friend's case, water got in and completely disintegrated the circuit board, wiring and some of the aluminum plate.
A lot of patience and heat later and it's off. The patience part was a little harder for me!
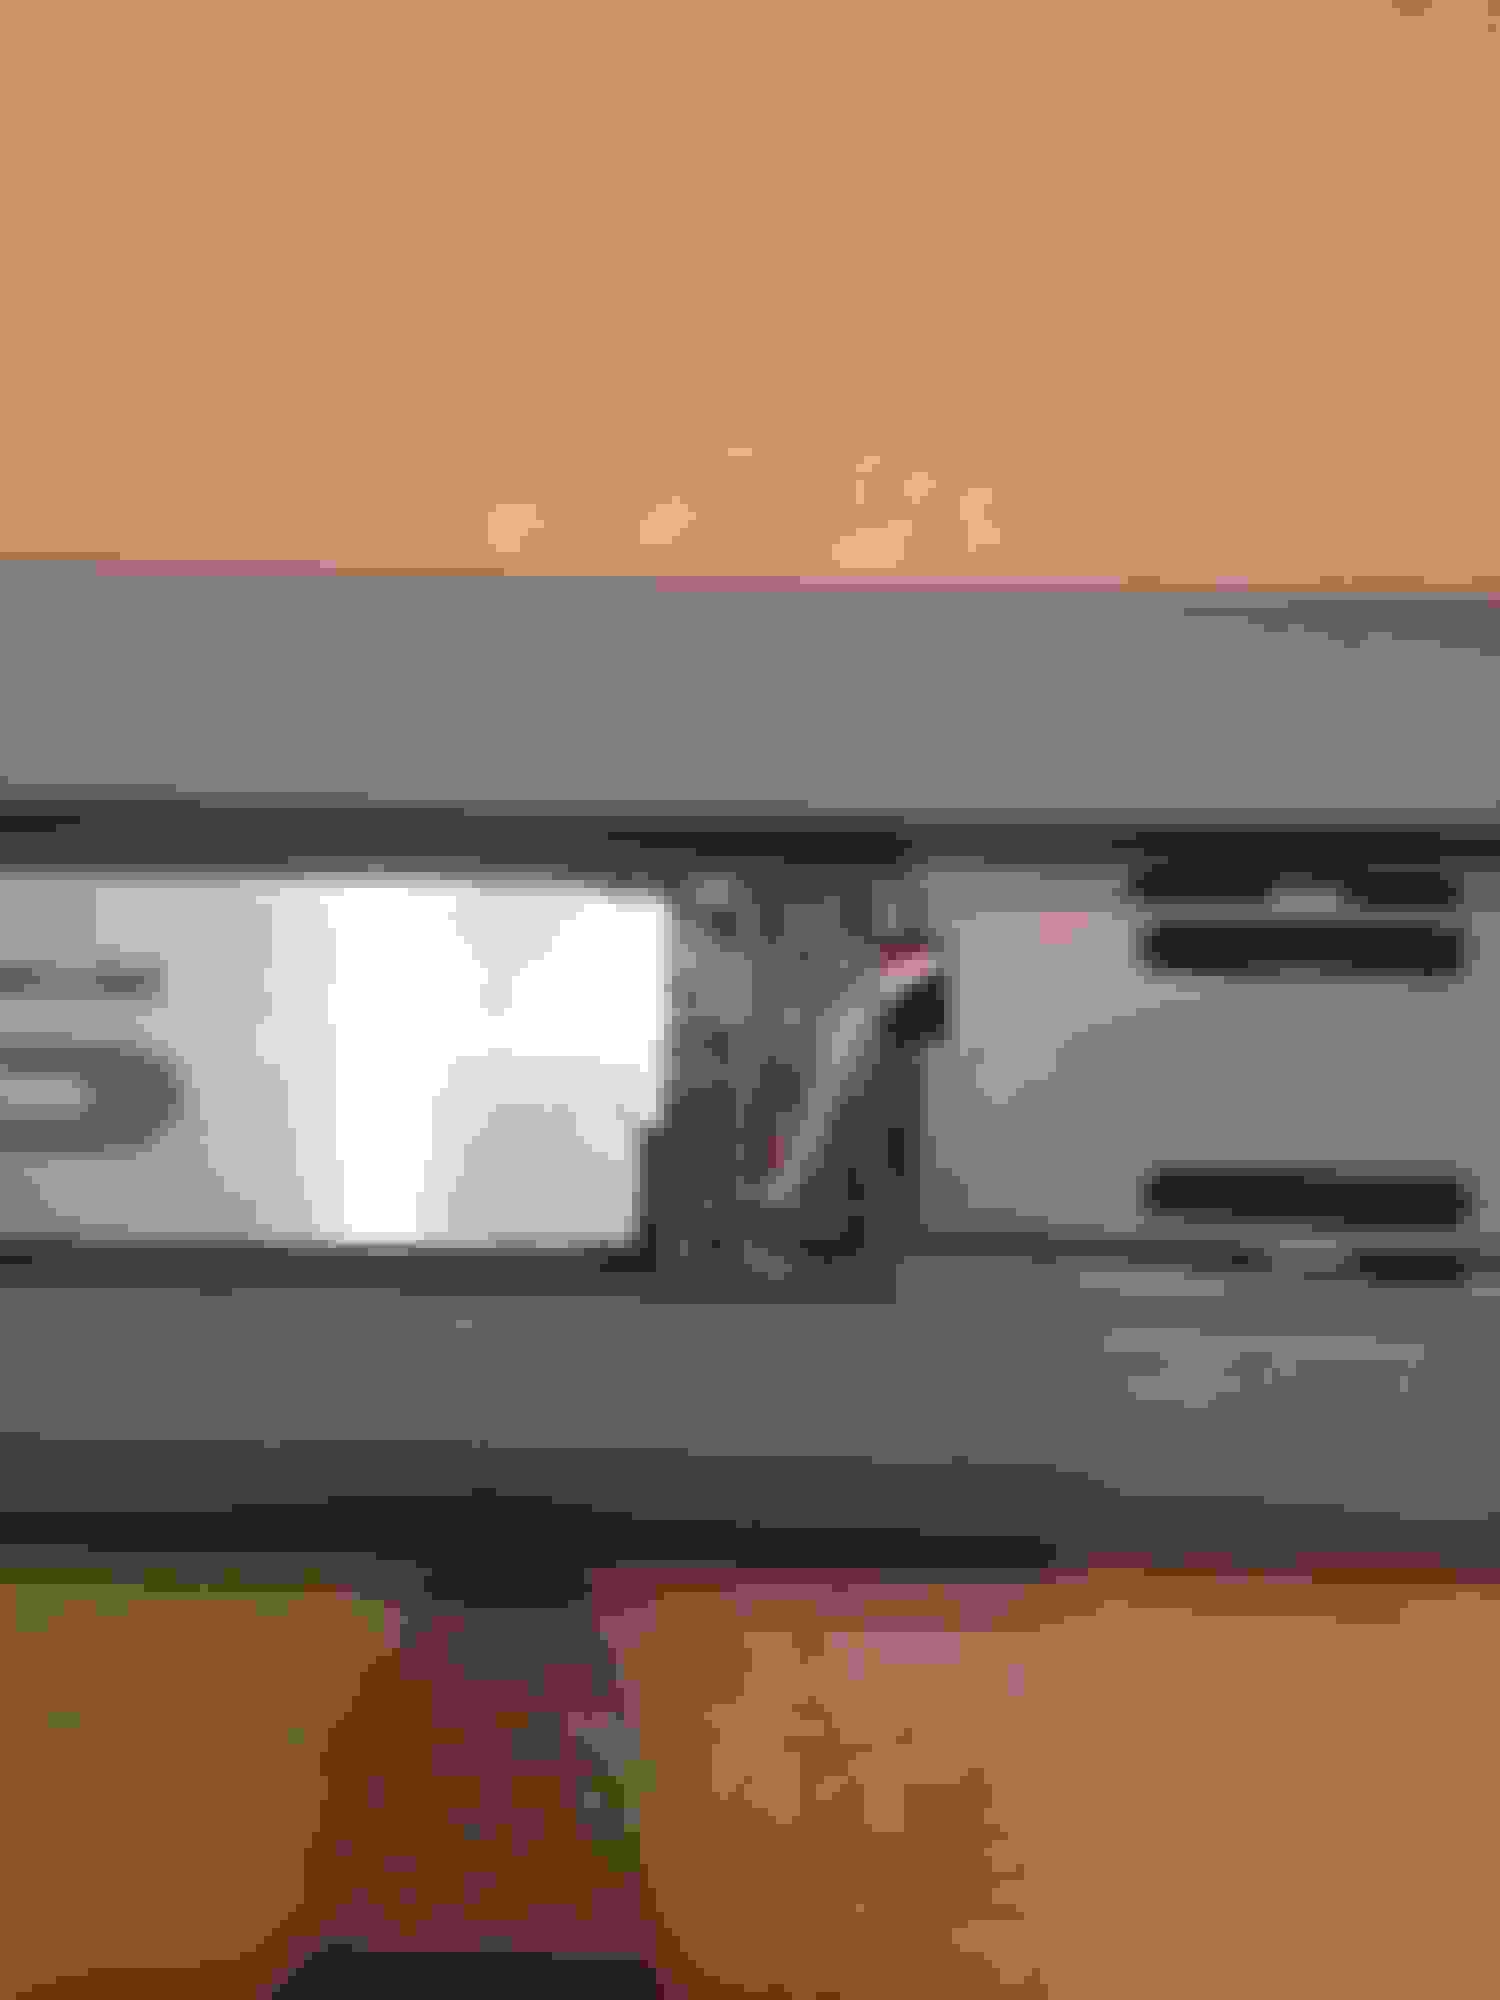
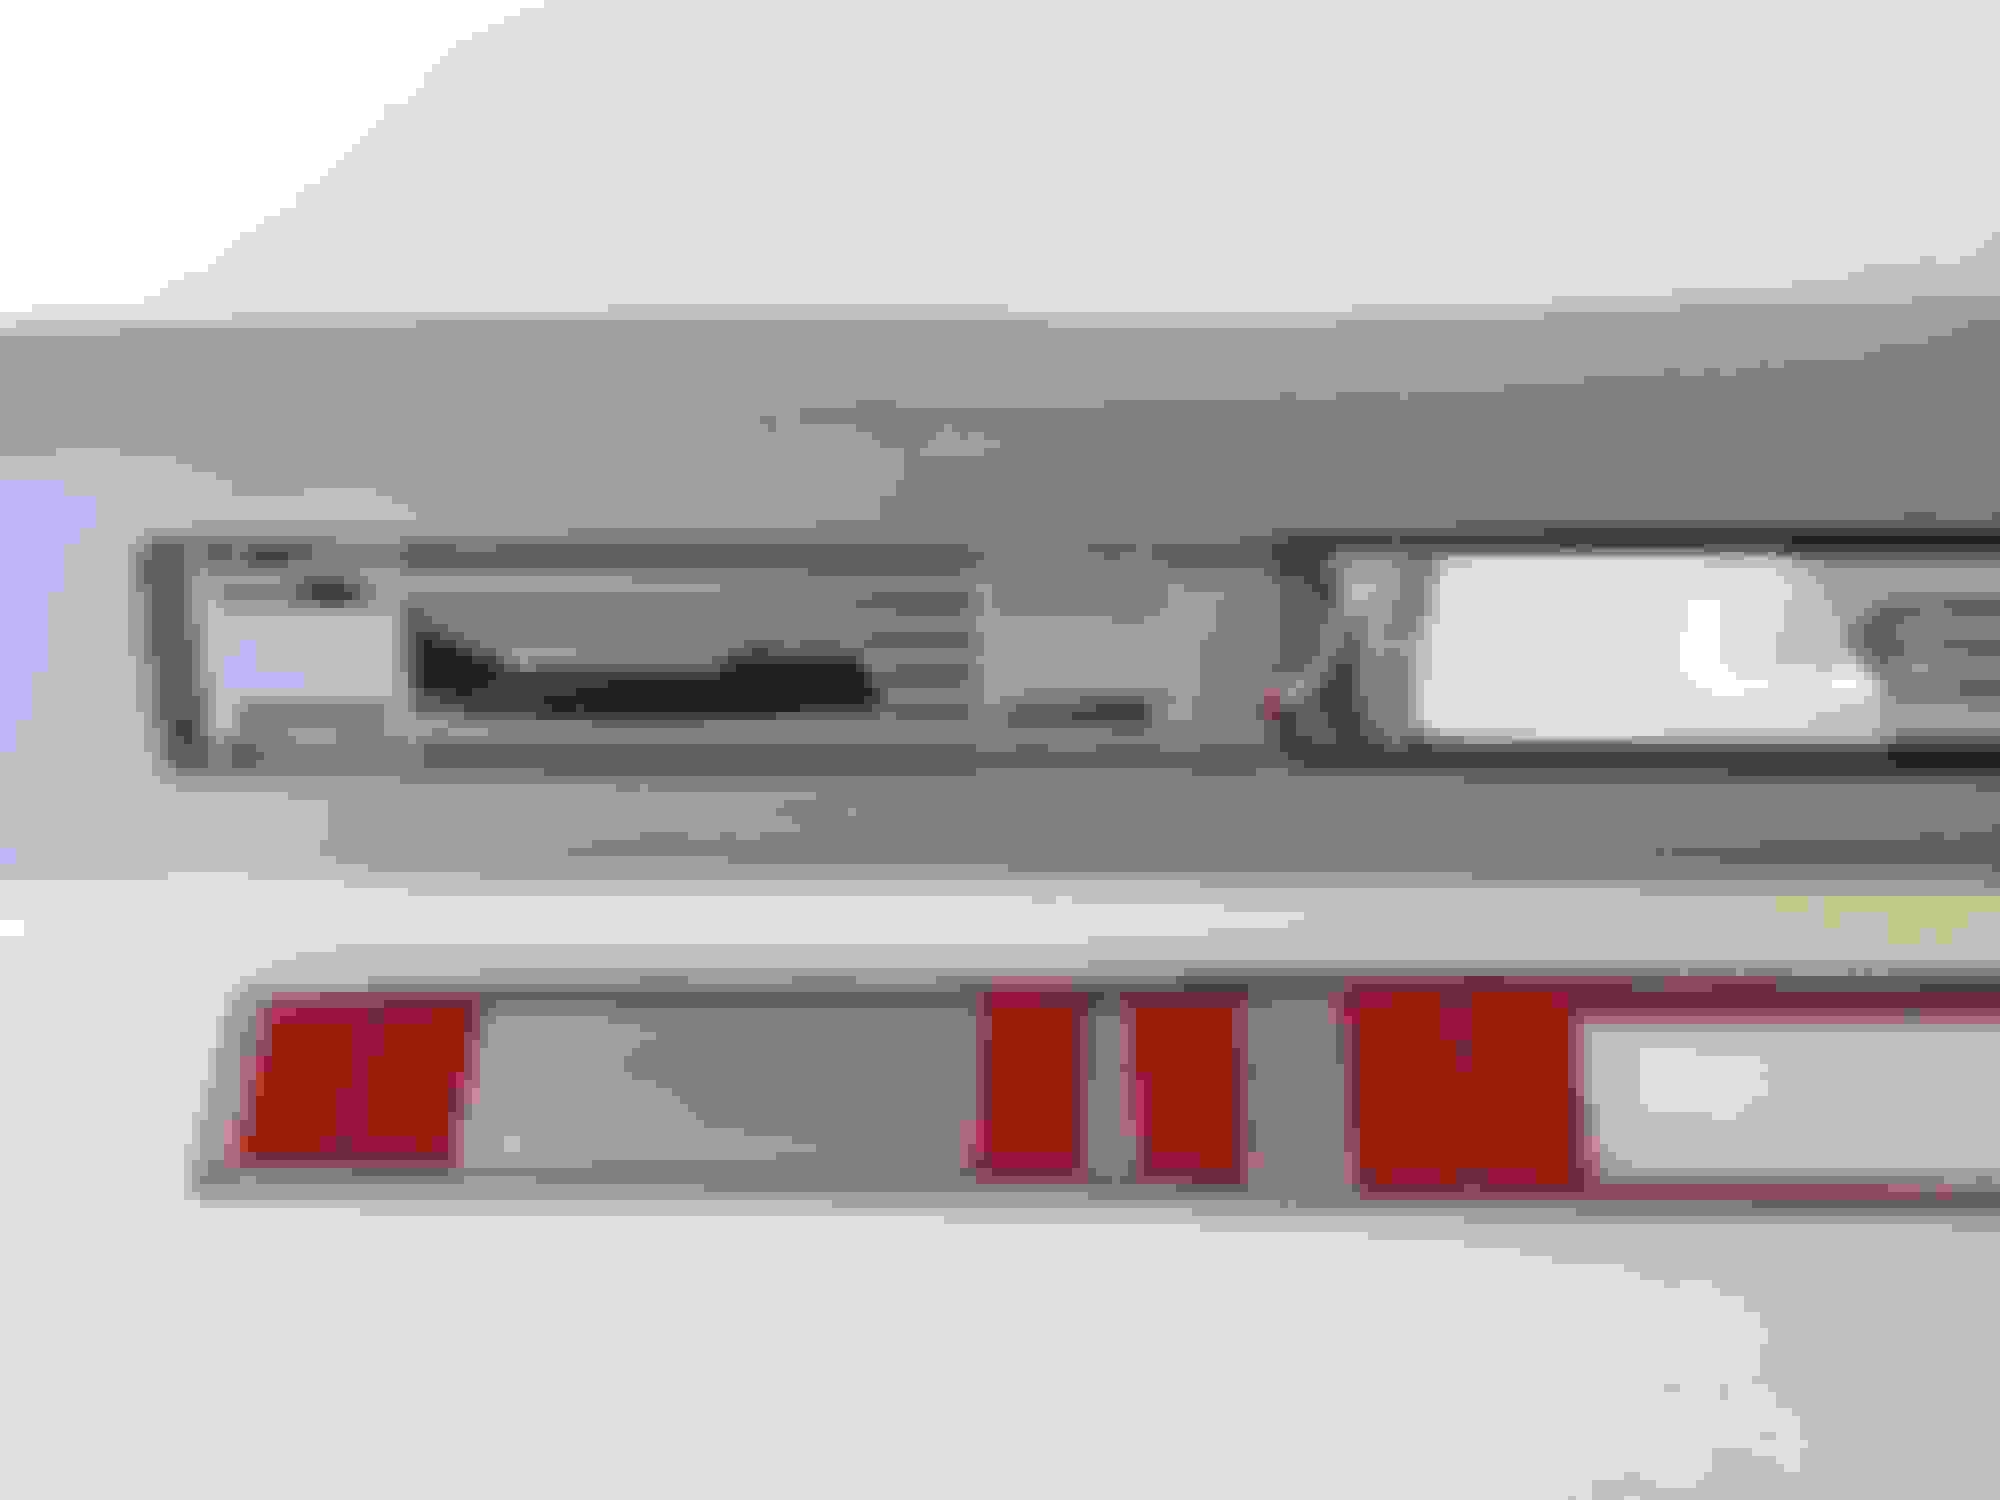
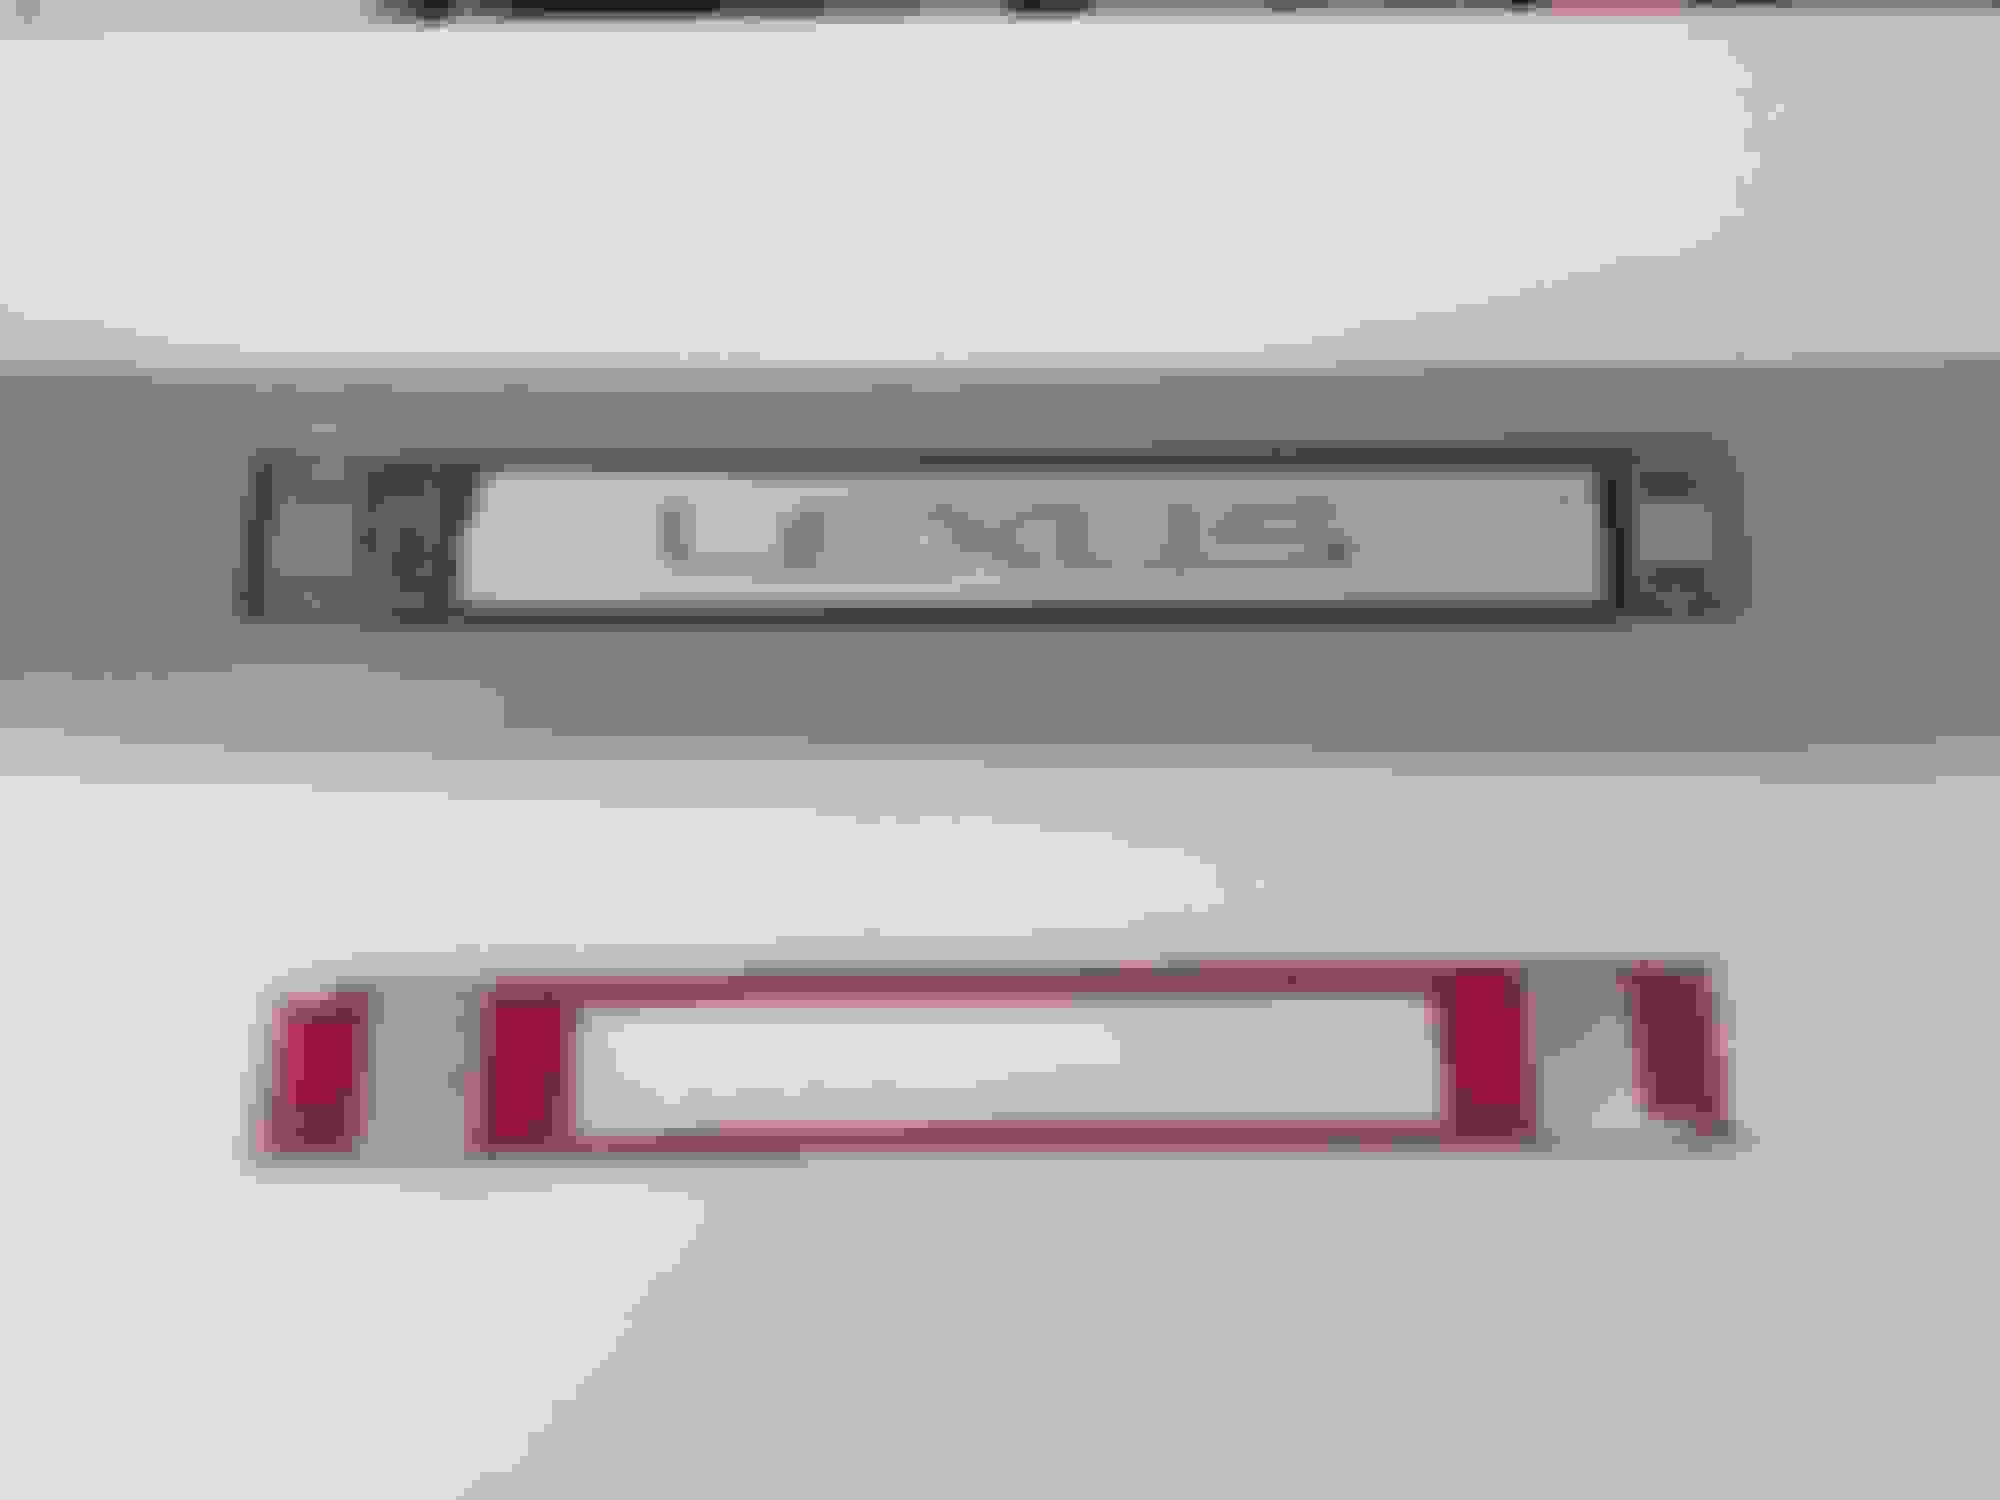
Old adhesive holding the aluminum plate on
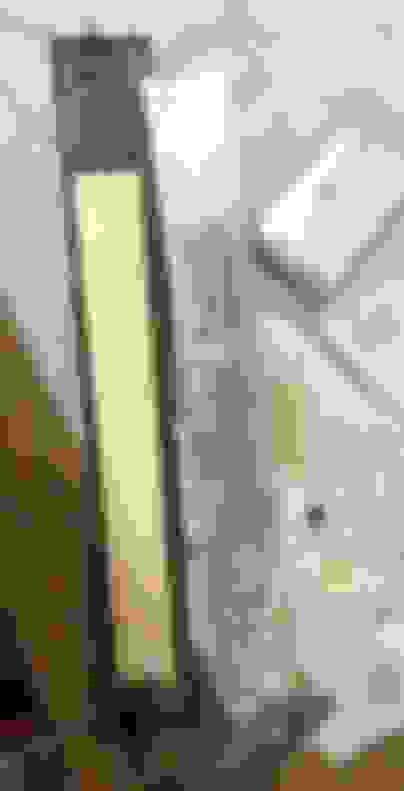
Adhesive holding on the "LEXUS" logo piece where the 5mm bulb resides
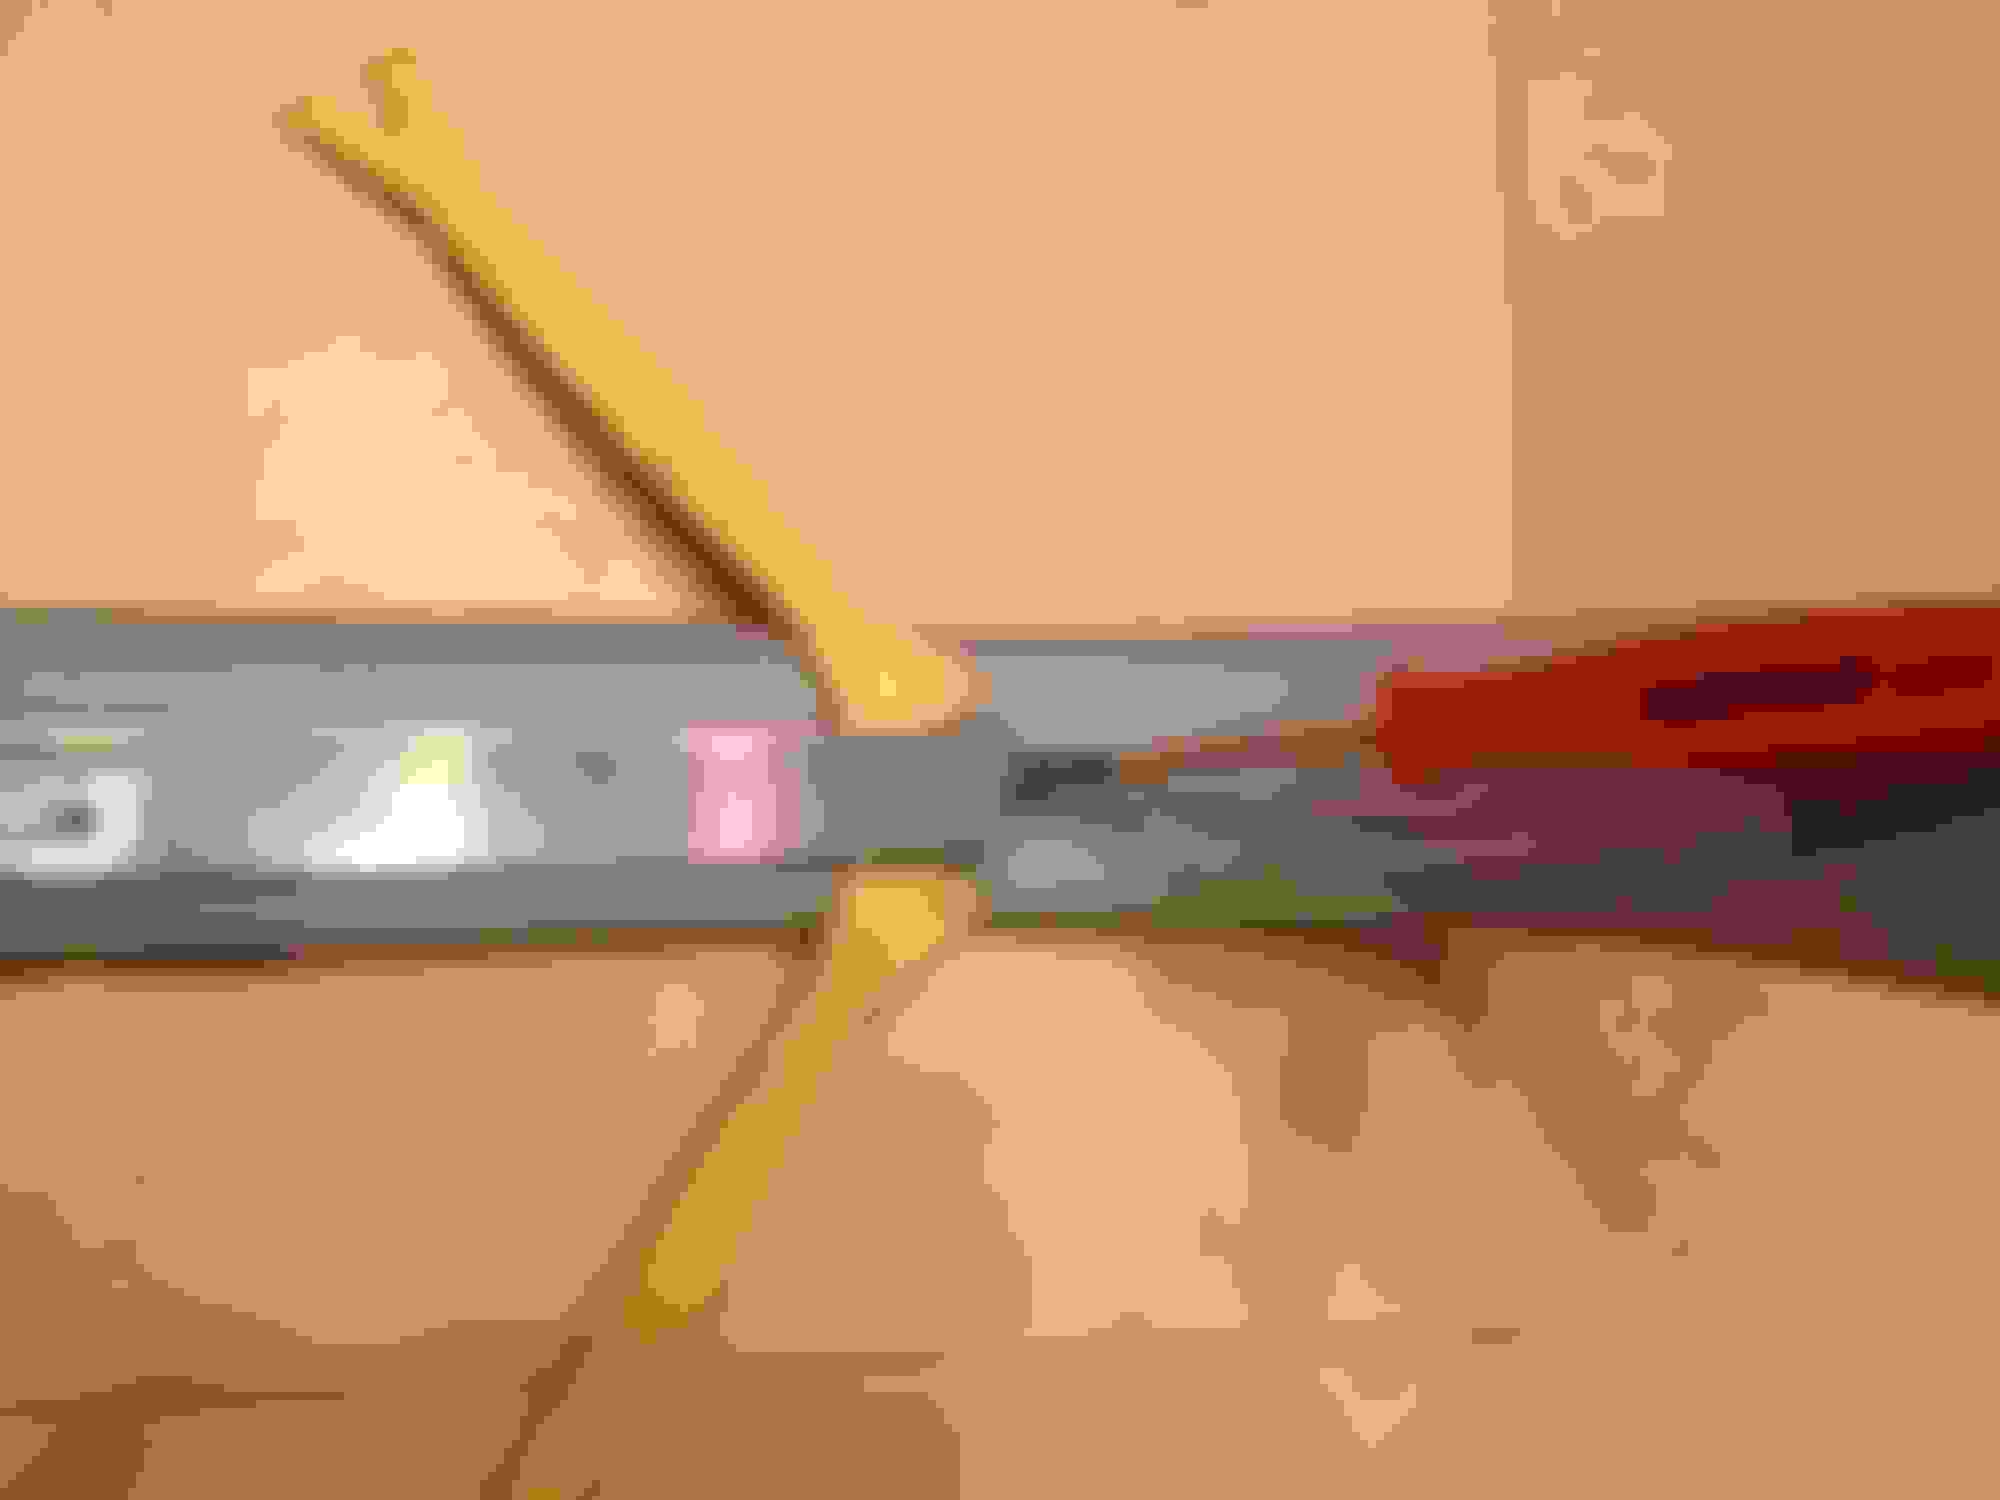
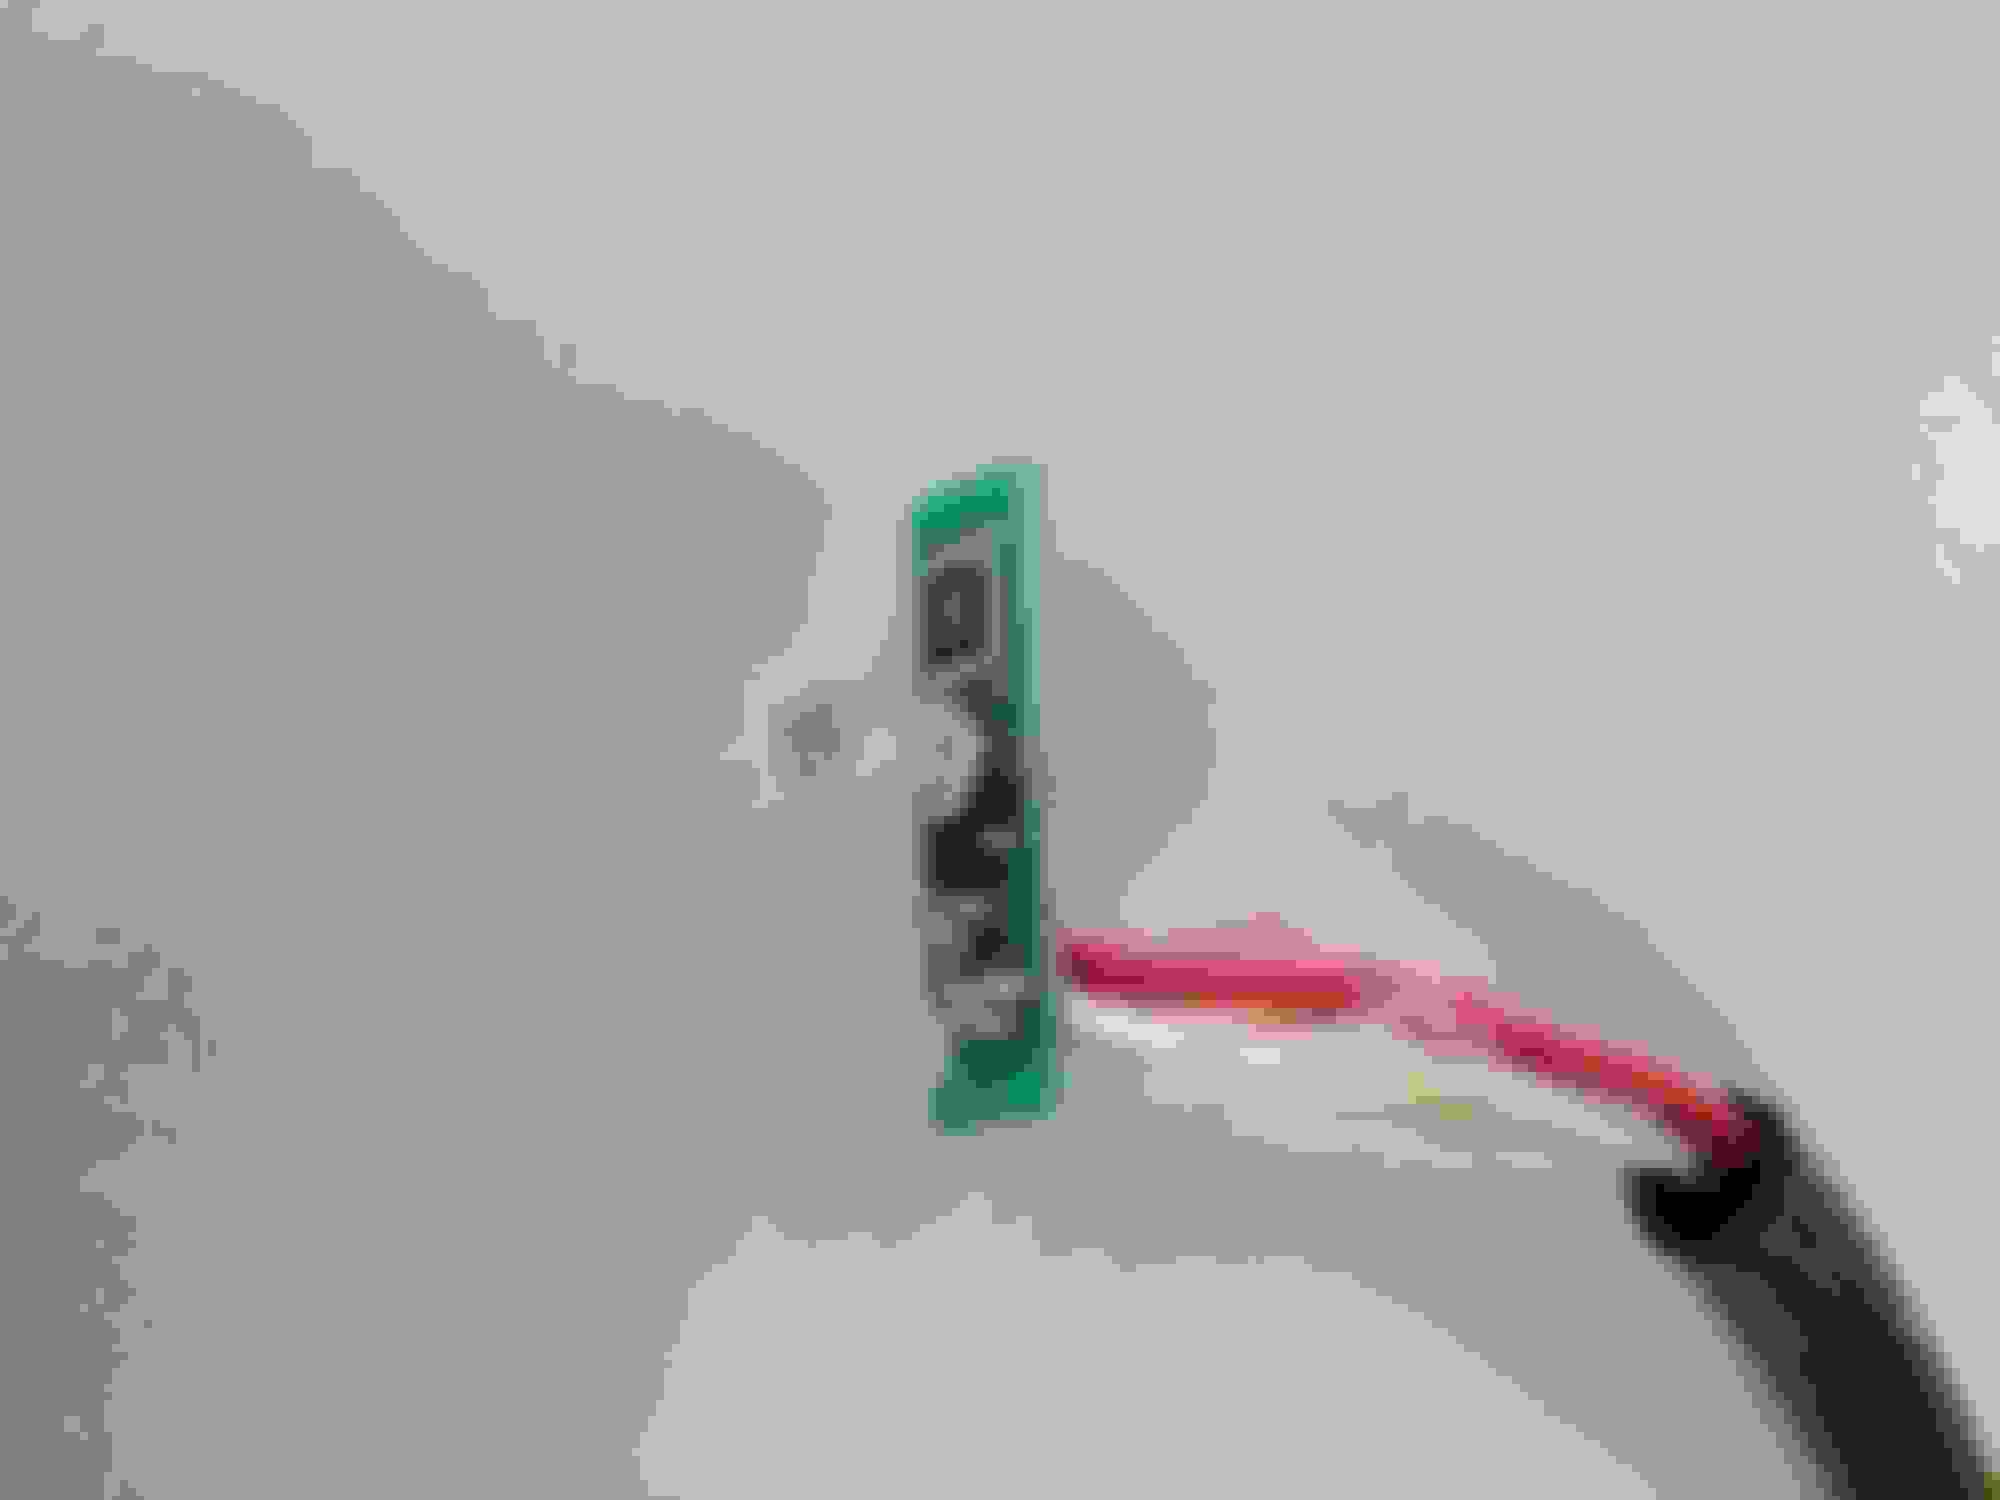
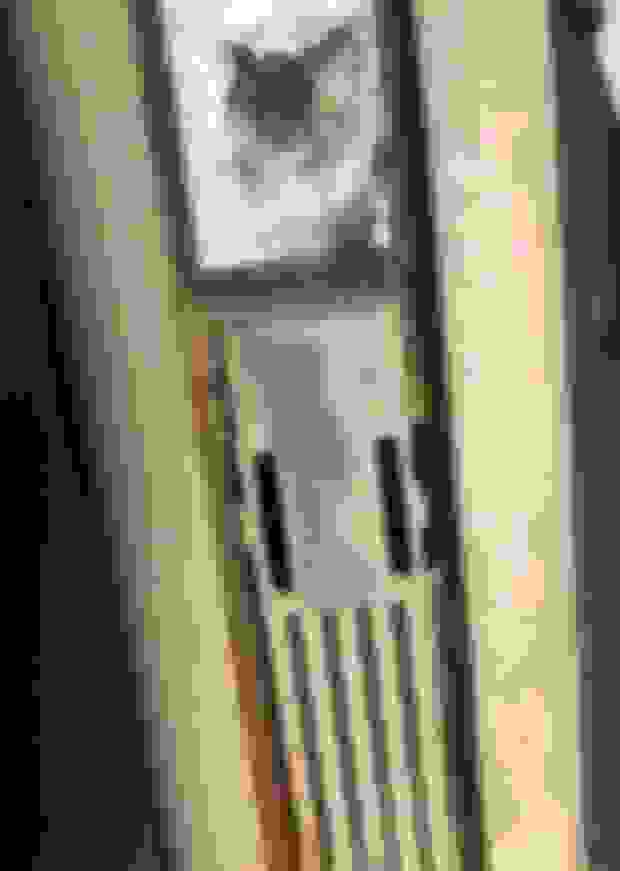
Since the circuit board and wiring were destroyed, I had to strip back the two wires and solder on a 12v 5mm LED bulb onto the wires (Red = Positive, White = Negative), the circuit board steps it down to 3v so a normal LED can be used, but there was no such board left as it had rotted away. I used a yellow bulb
All back together.. Bulb hot-glued in place as there was no where left to mount it
Is it perfect? No, but it should be a good temporary fix until I find a spare one from the junkyard. If your bulb is out, it is more likely that circuit board itself was damaged by rust rather than the LED going out. If water gets in, be prepared for a big fight as nothing will want to come apart easily. If I could go back, I would just wait until you find a new assembly, as usually the damage is not fixable. There is a few holes in the aluminum where the light shines through if you look closely enough.
The 12v LEDs are a bit of a compromise it seems, they have resistors built in which makes them exponentially more expensive to purchase and they're hard to find too. I think they're mainly used for hobby applications like RC cars, etc. They also generate more heat and probably have a shorter lifespan.
They can come on all 04-09 premium models. And the statement about the ones from 08-09 being white seems false. I got some off an 08 RX350 from the junkyard and they are still orange/yellow, not white. The only difference is that the 08-09 ones use a different electrical connector which is larger and has a white plastic body instead of black. They could easily be adapted to the older style if need be.
Maybe it's the 2008 RX400h that gets blue only then, that's pretty cool! The 2008 RX400h also is the only RX ever to get blue-tinted headlights, a body-coloured rear spoiler and a different shade of rear tail lights among other things.
Edit: 2007-2008 RX400h get a different part number for the door sills so that must be it. I was recently in a 2006 RX400h and can confirm they were orange as well. Although, I'm willing to bet just the 2008 RX400h has it, despite the part number.
2004-2007 ALL: Orange with black connector
2008-2009 350: Orange with white connector
2008 RX400h: Blue with white connector
 11-27-14, 02:58 PM