DIY : Flex Pipe Replacement
 06-27-14, 09:28 AM
#1
Lexus Test Driver
Thread Starter
Hey all, my flex pipe has been leaking for quite sometime but Tuesday it decided to fail completely. Using a discount code at Advanced Auto Parts I was able to pick up the flex pipe and seals all for only $64.69. It beat RockAuto's price by close to $10 and I didn't have to wait for shipping.
I soaked all 4 bolts in WD-40 for 3 nights in a row. Each night I'd come out and spray the bolts down before going to bed. This worked out well as I didn't break a single bolt, which was my main concern.
You will need:
Here's the old Flex Pipe, you can see where it broke:
First attack the rear bolts (14mm or 9/16), they are the most difficult to access. I had the most difficulty with the driver side rear bolt (the one with the socket on it):
Then go the front bolts (14mm or 9/16):
Here's the old nut on the rear flex pipe connection, there was just no way I was going to re-use this:

Comparing the old Flex Pipe to new Flex Pipe, ensuring proper fitment. As you can see they are exactly alike:
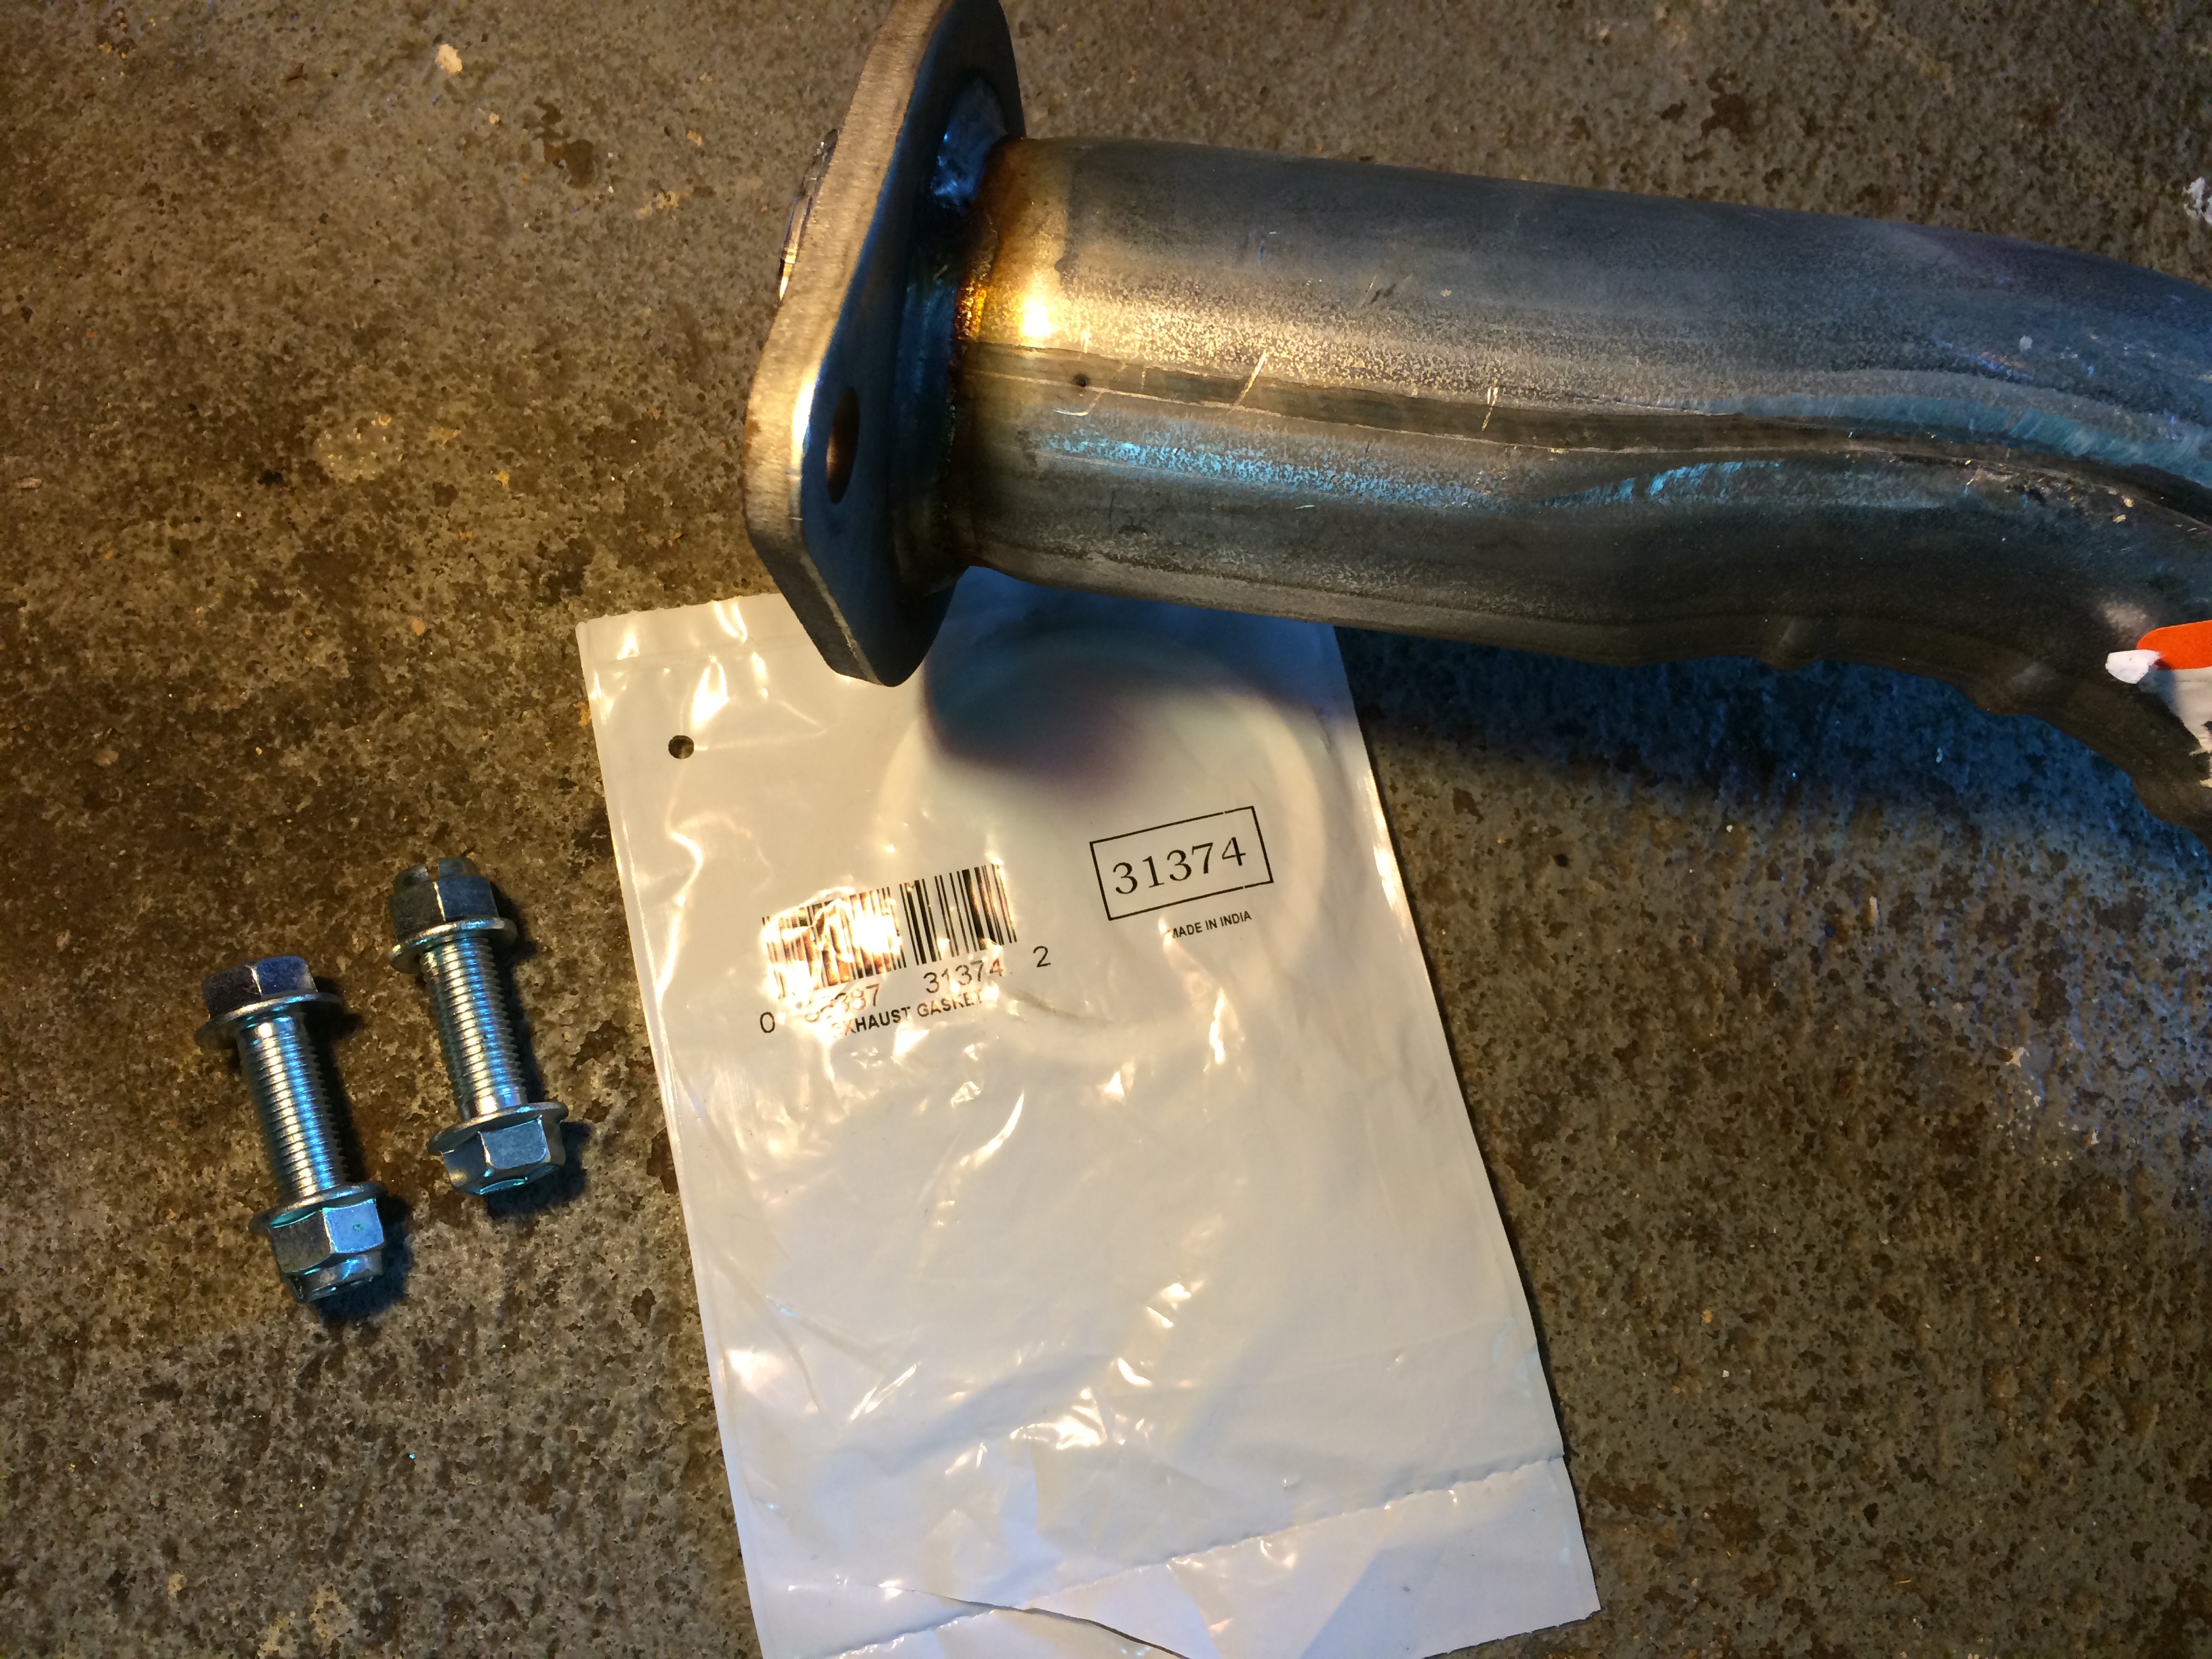
Gasket 31374 goes on the rear side, it's easiest to put the gasket onto this pipe first and then install it into place. I installed the rear side first, and then moved to the front:
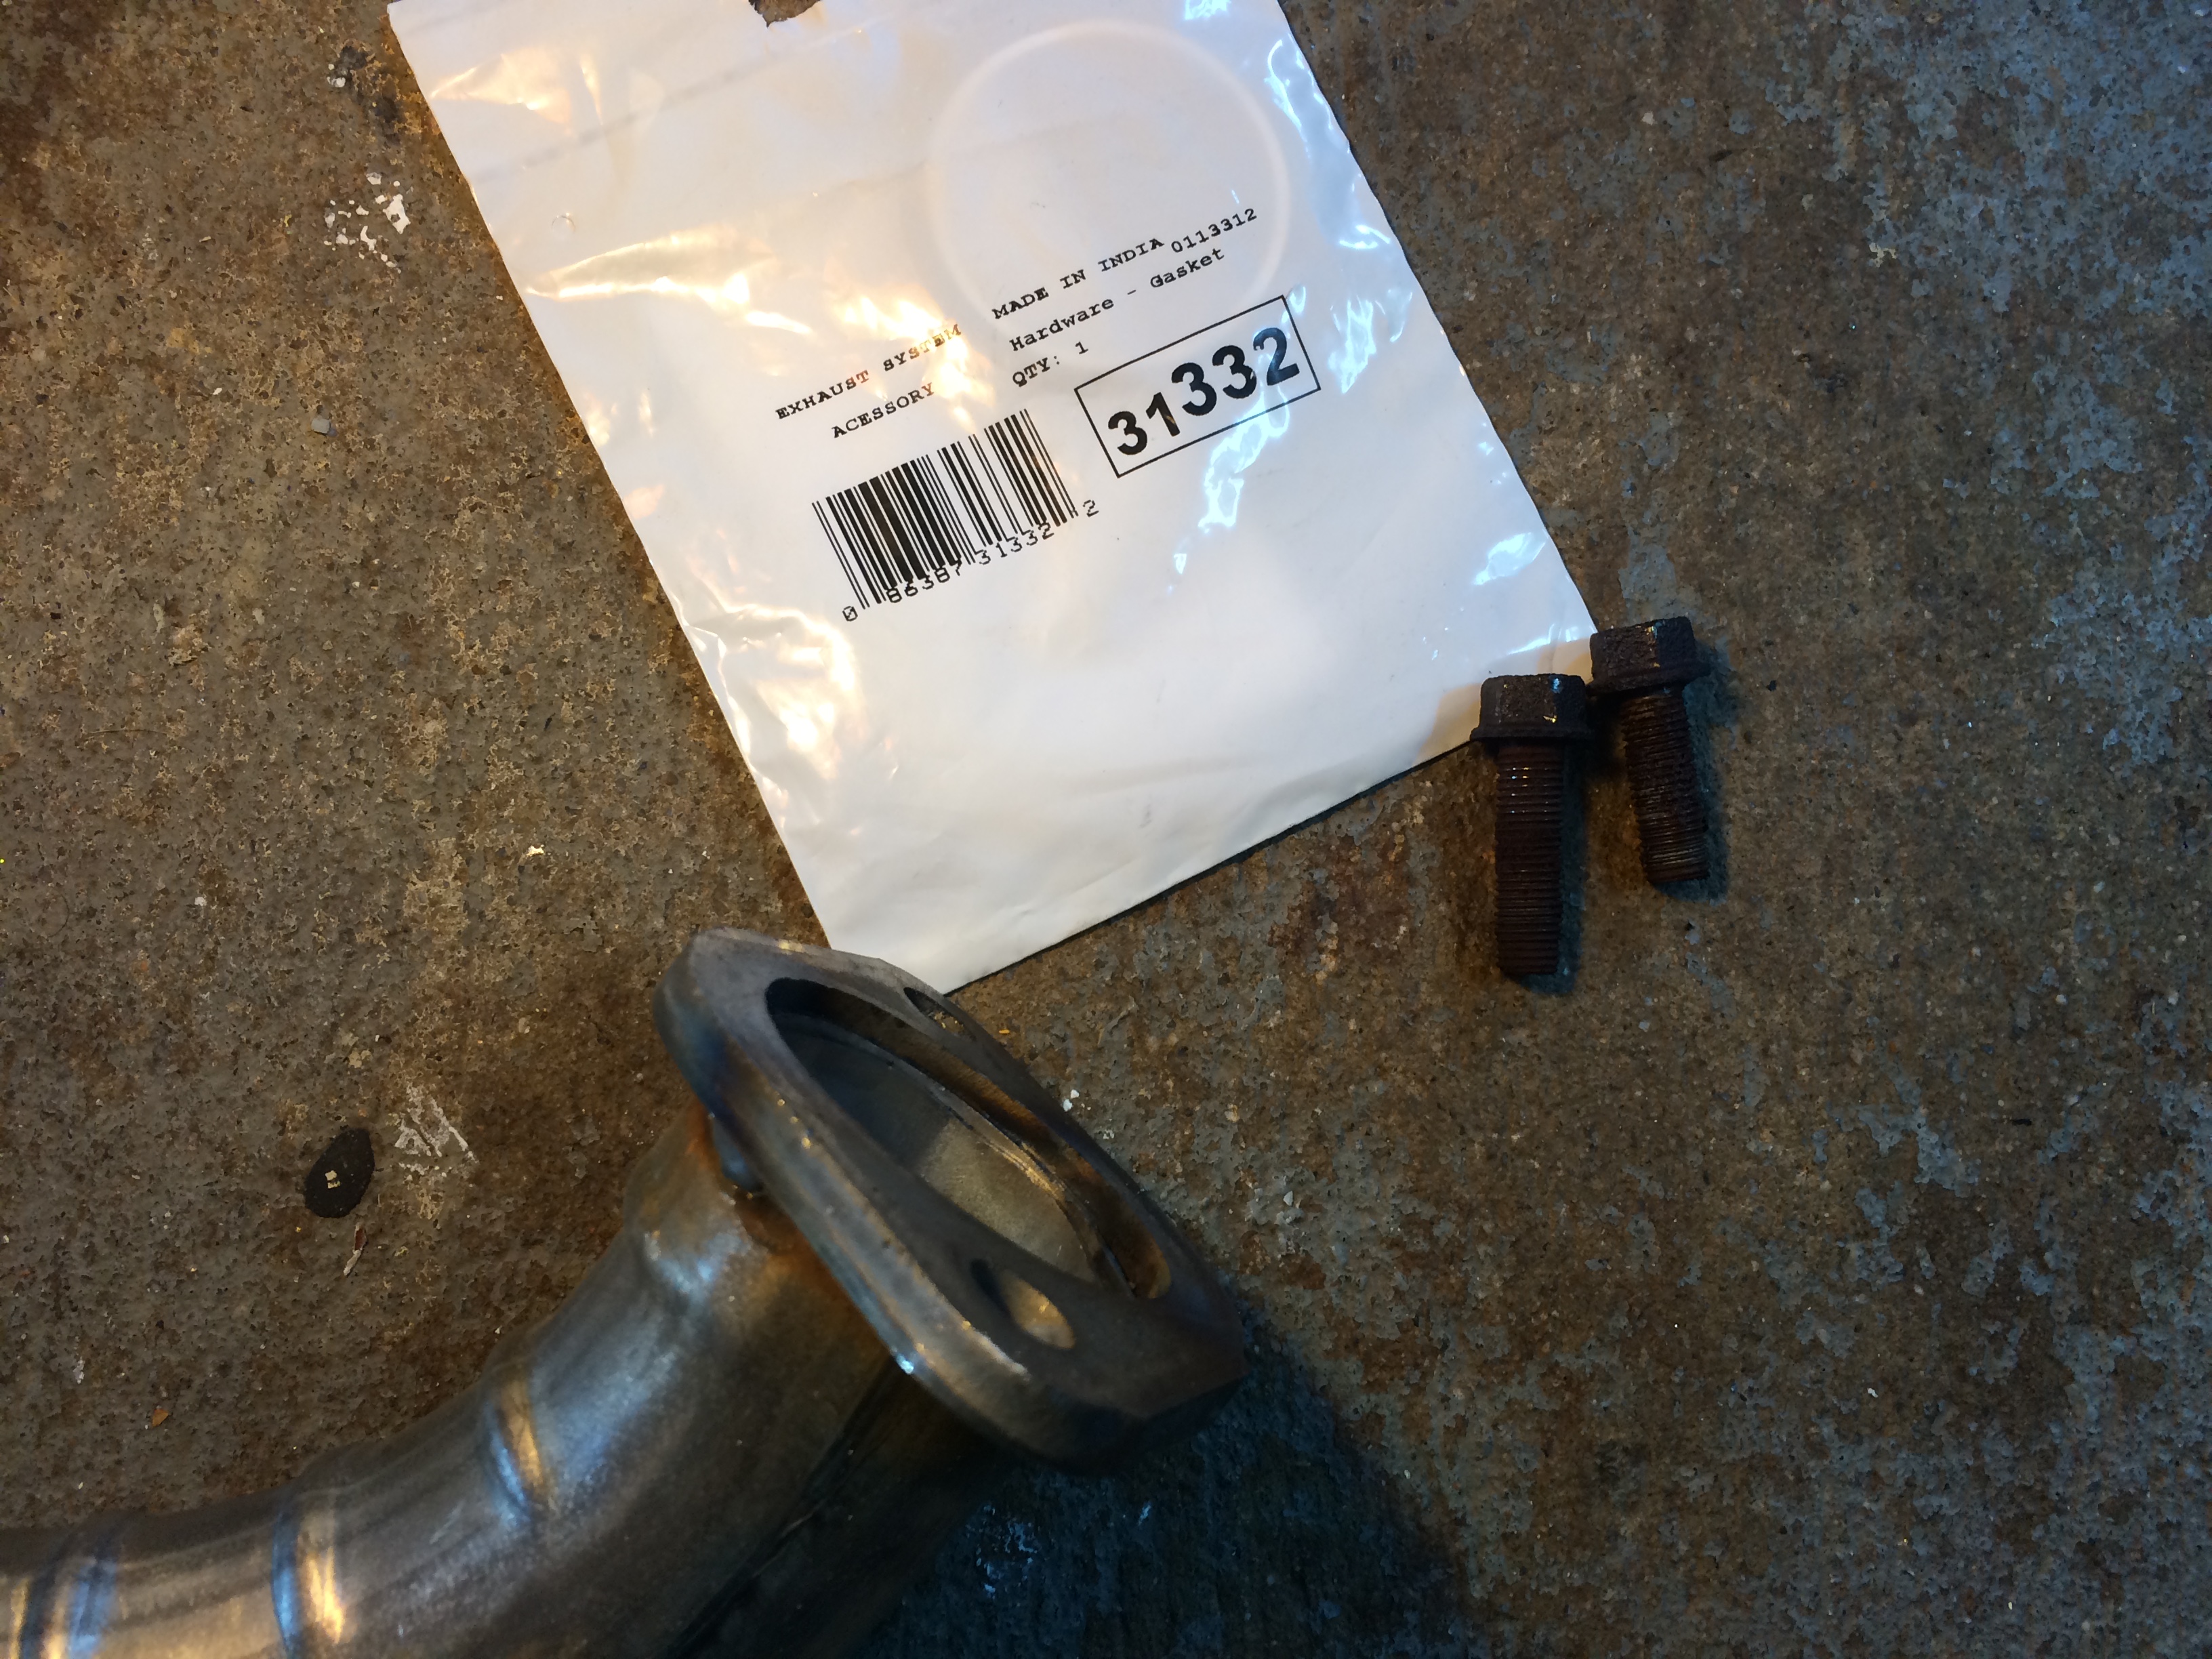
Gasket 31332 goes on the front side, easiest to place it on the exhaust flange and then place the flex pipe onto it during installation:
Start the car up and check for leaks!
I soaked all 4 bolts in WD-40 for 3 nights in a row. Each night I'd come out and spray the bolts down before going to bed. This worked out well as I didn't break a single bolt, which was my main concern.
You will need:
- WD-40 or PB Blaster
- Walker Flex Pipe - Part 53421
- Walker Exhaust Gasket - Part 31374
- Walker Exhaust Gasket - Part 31332
- 14MM or 9/16 Socket & Wrench
- 14MM or 9/16 Box End Wrench
- Optional But Recommended : Toyota # 90080-17187 (NUT for Rear Flex Pipe Connection)
- Optional But Recommended : Toyota # 91512-81035 (BOLT for Rear Flex Pipe Connection)
Here's the old Flex Pipe, you can see where it broke:
First attack the rear bolts (14mm or 9/16), they are the most difficult to access. I had the most difficulty with the driver side rear bolt (the one with the socket on it):
Then go the front bolts (14mm or 9/16):
Here's the old nut on the rear flex pipe connection, there was just no way I was going to re-use this:
Comparing the old Flex Pipe to new Flex Pipe, ensuring proper fitment. As you can see they are exactly alike:
Gasket 31374 goes on the rear side, it's easiest to put the gasket onto this pipe first and then install it into place. I installed the rear side first, and then moved to the front:
Gasket 31332 goes on the front side, easiest to place it on the exhaust flange and then place the flex pipe onto it during installation:
Start the car up and check for leaks!

 06-27-14, 01:41 PM
#3
Lexus Test Driver
Thread Starter
06-27-14, 03:01 PM
#4
Moderator

Good post. Generally the nut or the bolt is welded on Lexus exhausts. With that much rust it is hard to figure out which is welded.
Do add to the DIY please.
Salim
Do add to the DIY please.
Salim
06-27-14, 04:15 PM
#5

Also another tip that works well on those frozen exhaust nuts/bolts is to spray them while the exhaust is warm. The micro-expanded bolts allow the penetrants to seep in the threads a little better.
PBblaster, Liquid wrench and used transmission fluid work well. I find WD40 the least effective as a penetrant.
@Hypervish..how many miles did you have on your RX before the flex joint blew out?
06-27-14, 06:56 PM
#6
Lexus Test Driver
Thread Starter
Using a wire cup brush attachment on my cordless drill helps me often to clean up any rust on exhaust parts and help identify those hidden surprise welded nuts.
Also another tip that works well on those frozen exhaust nuts/bolts is to spray them while the exhaust is warm. The micro-expanded bolts allow the penetrants to seep in the threads a little better.
PBblaster, Liquid wrench and used transmission fluid work well. I find WD40 the least effective as a penetrant.
@Hypervish..how many miles did you have on your RX before the flex joint blew out?
06-27-14, 08:12 PM
#7
Moderator
Nice information. Mine still looks pretty good, so I wonder if it was replaced at some time???
Trending Topics
06-29-14, 06:27 PM
#9
Driver School Candidate

Join Date: Sep 2013
Location: Il
Posts: 11
Likes: 0
Received 0 Likes
on
0 Posts
That looks great and seems a lot of work. I paid $40 to my local muffler shop and he cut the old one out and welded a new on in. I definitely see NO performance difference. Just sayin. I guess I just took the path of least resistance.

Last edited by BertNelson; 06-29-14 at 06:34 PM.
 09-11-14, 06:36 PM
#12
Lexus Test Driver
Thread Starter
06-04-15, 06:32 PM
#13
Driver School Candidate

Join Date: Jun 2015
Location: CA
Posts: 2
Likes: 0
Received 0 Likes
on
0 Posts
hypervish, this is a great DIY thread. Thanks for all the pictures. I just joined the forum due to this issue on our '99 RX300. Local Lexus dealer wanted $400+ to do the repair. I ordered the Walker 53421 flex pipe from Amazon. Picked up the two Lexus/Toyota gaskets and four bolts from the dealer this afternoon. But, forgot to ask for the two nuts for the rear bolts. Will get them tomorrow.
Did you use lock washers on the rear bolts or just flat washers? And for the front bolts, are there any lock nuts or lock washers used?
Thank you.
Did you use lock washers on the rear bolts or just flat washers? And for the front bolts, are there any lock nuts or lock washers used?
Thank you.
06-04-15, 07:57 PM
#14
Moderator
Automotive industry has moved away from lock washers. The nuts and bolts have a large flat shoulder and when they are tightened per spec the flat surface provide enough friction to prevent unraveling. If there is no flat surface like the spring here then a flat washer and lock washer may be used.
When you go to Lexus parts, just ask the person behind the counter to show you the picture of parts. some of these parts may not be stocked and may take a day or two to bring them in.
Salim
When you go to Lexus parts, just ask the person behind the counter to show you the picture of parts. some of these parts may not be stocked and may take a day or two to bring them in.
Salim
06-04-15, 10:59 PM
#15
Driver School Candidate
Join Date: Jun 2015
Location: CA
Posts: 2
Likes: 0
Received 0 Likes
on
0 Posts
Automotive industry has moved away from lock washers. The nuts and bolts have a large flat shoulder and when they are tightened per spec the flat surface provide enough friction to prevent unraveling. If there is no flat surface like the spring here then a flat washer and lock washer may be used.
When you go to Lexus parts, just ask the person behind the counter to show you the picture of parts. some of these parts may not be stocked and may take a day or two to bring them in.
Salim
When you go to Lexus parts, just ask the person behind the counter to show you the picture of parts. some of these parts may not be stocked and may take a day or two to bring them in.
Salim
My first day as a member in this forum has been very beneficial. The posts in this thread, as well as some help from another member, thomas1, have me on the way to resolving a repair at a much lower cost than the Lexus dealer quoted. Thanks to all.

