When you click on links to various merchants on this site and make a purchase, this can result in this site earning a commission. Affiliate programs and affiliations include, but are not limited to, the eBay Partner Network.
i had the same problem. i drilled out the rusted screw.just get a tiny bit all u need to do is get the head of the screw to break and then i used pliers to turn it out of there once the plastic cover was out. i say try to drill it out and if that doesn't work just break it off like they said...
My 2002 has a burnt-out license plate bulb. The screws are completely ceased, and the heads crumbling.
A Toyota dealership tried to remove both lenses, and essentially told me that the only way to get them off is to break the lenses.
I questioned how how they get the screw out after the lense was broken. They told me vice grips.
It seems to me that if the screw is ceased, it it ceased all the way through...
Has anyone else encountered a similar situation, and if so, how did you get the lenses off?
My gut tells me to drill, but I also don't want to damage the threads.
Thanks
Having just been through this... I'm sorry I don't have any pictures. Gosh it would have been a perfect DIY.
Anyway, I couldn't get a drill in there at a good 90 degree angle. The drill rubbed against the license plate, wasn't straight and I just saw disaster looming. Oh yeah, the screw mounting brackets aren't exactly solid so push too hard on the drill and "snap."
Instead I took the body molding off where the trunk latch is. Once it is off, you can use a dremel tool to grind the back part of the screw where it comes through the mounting brackets. Then you can drill out the screw holes which is very easy at that point.
Replace with brass sheet metal screws so you don't have to deal with this issue again.
Here's the procedure to remove the molding. I'm going from memory, so I may be off a little. It's not that tough; I encourage you to try it, take lots of photos and post a DIY.
1. Open the trunk
2. Remove the lower panel on the inside. It's the one that's felt covered. Just pull it straight out. Start on one side, move to center and then other side. It's held in with plastic tabs that you can reuse.
As an aside, and as Salim has pointed out before, you don't want to do this all the time as it loosens up the tabs which will lead to creaks and rattles. But a couple of removals and reinstalls should be fine or you can get a package of new tabs from the dealer if you want.
3. Remove panel above it. It's held in with more plastic tabs and will be stiffer to remove, but there's no bolts holding it in place. Just pull it out straight. Start in the middle where there's the most play and move to the sides. Note: if some of the female tabs pull out with the male tabs, put them back into place leaving the male tabs on the panel.
4. The latch to open the trunk door is connected to a cable. There's small yellow plastic tab that holds the cable in place. Release the tab and let the cable dangle freely.
5. Disconnect the wire leading to the license lights.
6. This is where the photo would help. There's several 10mm bolts that you can see. You only need to loosen two of them.
Set A: You should see the bolts holding the latch assembly to the trunk and there are rubber grommets under them. The latch assembly can stay in place so no need to remove these bolts.
Set B: There's two 10mm bolts sticking out. They are just kind of there, coming through the body panel on the other side the molding. Those are the ones you want to loosen.
Set C: There's two 10mm bolts by the lock (keyhole.) They hold the lock in place. Don't bother loosening them. The molding has round holes that go over the ends of those bolts. But the ends are not six-sided nuts; they are round with criss-cross marks to simply hold the molding in place around the lock.
When it comes time to remove the molding, it may be a little stiff around the lock assembly, but trust me, those bolts are not holding the molding on. They are holding the lock on which doesn't need to be removed.
7. There's also two plastic squeeze tabs that hold the molding on. You'll see them protruding through the trunk. Squeeze with fingers or needle nose pliers.
8. At this point you can work the molding off the trunk. Pull the molding straight back; don't torque it as the plastic around the lock bolts isn't very strong.
9. Once it's off, I'd suggest cutting the back of the bolts with a dremel tool and then drill out the holes. Anyway, once it's off, you'll have the freedom to get those screws out.
10. Since it's off, give the latch spring assembly a good lubrication.
11. When you reassemble, start on the lock side, getting those two round bolts into the holes on the molding.
Good luck and let me know if you have any questions.
What size brass screw would you suggest be used? Will be attempting to drill out soon. I have a spare lens that I bought from a salvage vehicle, so I'm not overly concerned about breaking the lens.
What size brass screw would you suggest be used? Will be attempting to drill out soon. I have a spare lens that I bought from a salvage vehicle, so I'm not overly concerned about breaking the lens.
Thanks
Brass or stainless steel sheet metal screw
Philips pan head #8 x 1"
I recently did my 2000's plate lamps. The old screws were completely rusted in the mounting. I managed to break one of the heads with a phillips, but the other one was a fit, which caused the one lens to break. I super glued it together. Also broke a mounting tab as drilling didn't work too well. At any rate the tab is also plastic so don't hammer too hard or push on the drill too hard. Use patience. I also super-glued the tab. It held, but was very careful re-installing in the trunk. Don't tighten the new sheet metal screws too tight when re-installing.
I couldn't believe what a job that turned out to be. Probably 2-1/2 hrs. start to finish.
Last edited by Zieke; 11-23-10 at 03:21 PM.
Reason: change wording
With me, everything that is supposed to be a "simple" job turns out to be complex.
I took a reverse-drill bit & kept working at the screw that had the burnt-out bulb.
Finally, the head broke off! However, I still couldn't get the plastic lens out... I eventually took a flat-head screwdriver & got it to slide over.
Anyways, I then took a pair of pliers I tried to turn the body of the screw... I then heard a "snap" -- one of the plastic mounting tabs that Zieke spoke of broke off.
So here I am with the lens out, the screw still in the mounting hole, with the mounting hole being held on with just one tab. The lens would not stay in place without a screw...
Solution - super glue! I glued the lens in a few places. It worked! So the lens is being held in-place sans screw. I used a double-life bulb, so I'm hoping it'll last around 16 more years.
I tried getting the screw head for the other lens off (I have around 85% of it off), but then the drill slipped & took a chunk of paint with it... that's when I knew it was time to call it quits. Another project for another day -- perhaps I'll just wait for the remaining 15% of the screw head to totally corrode...
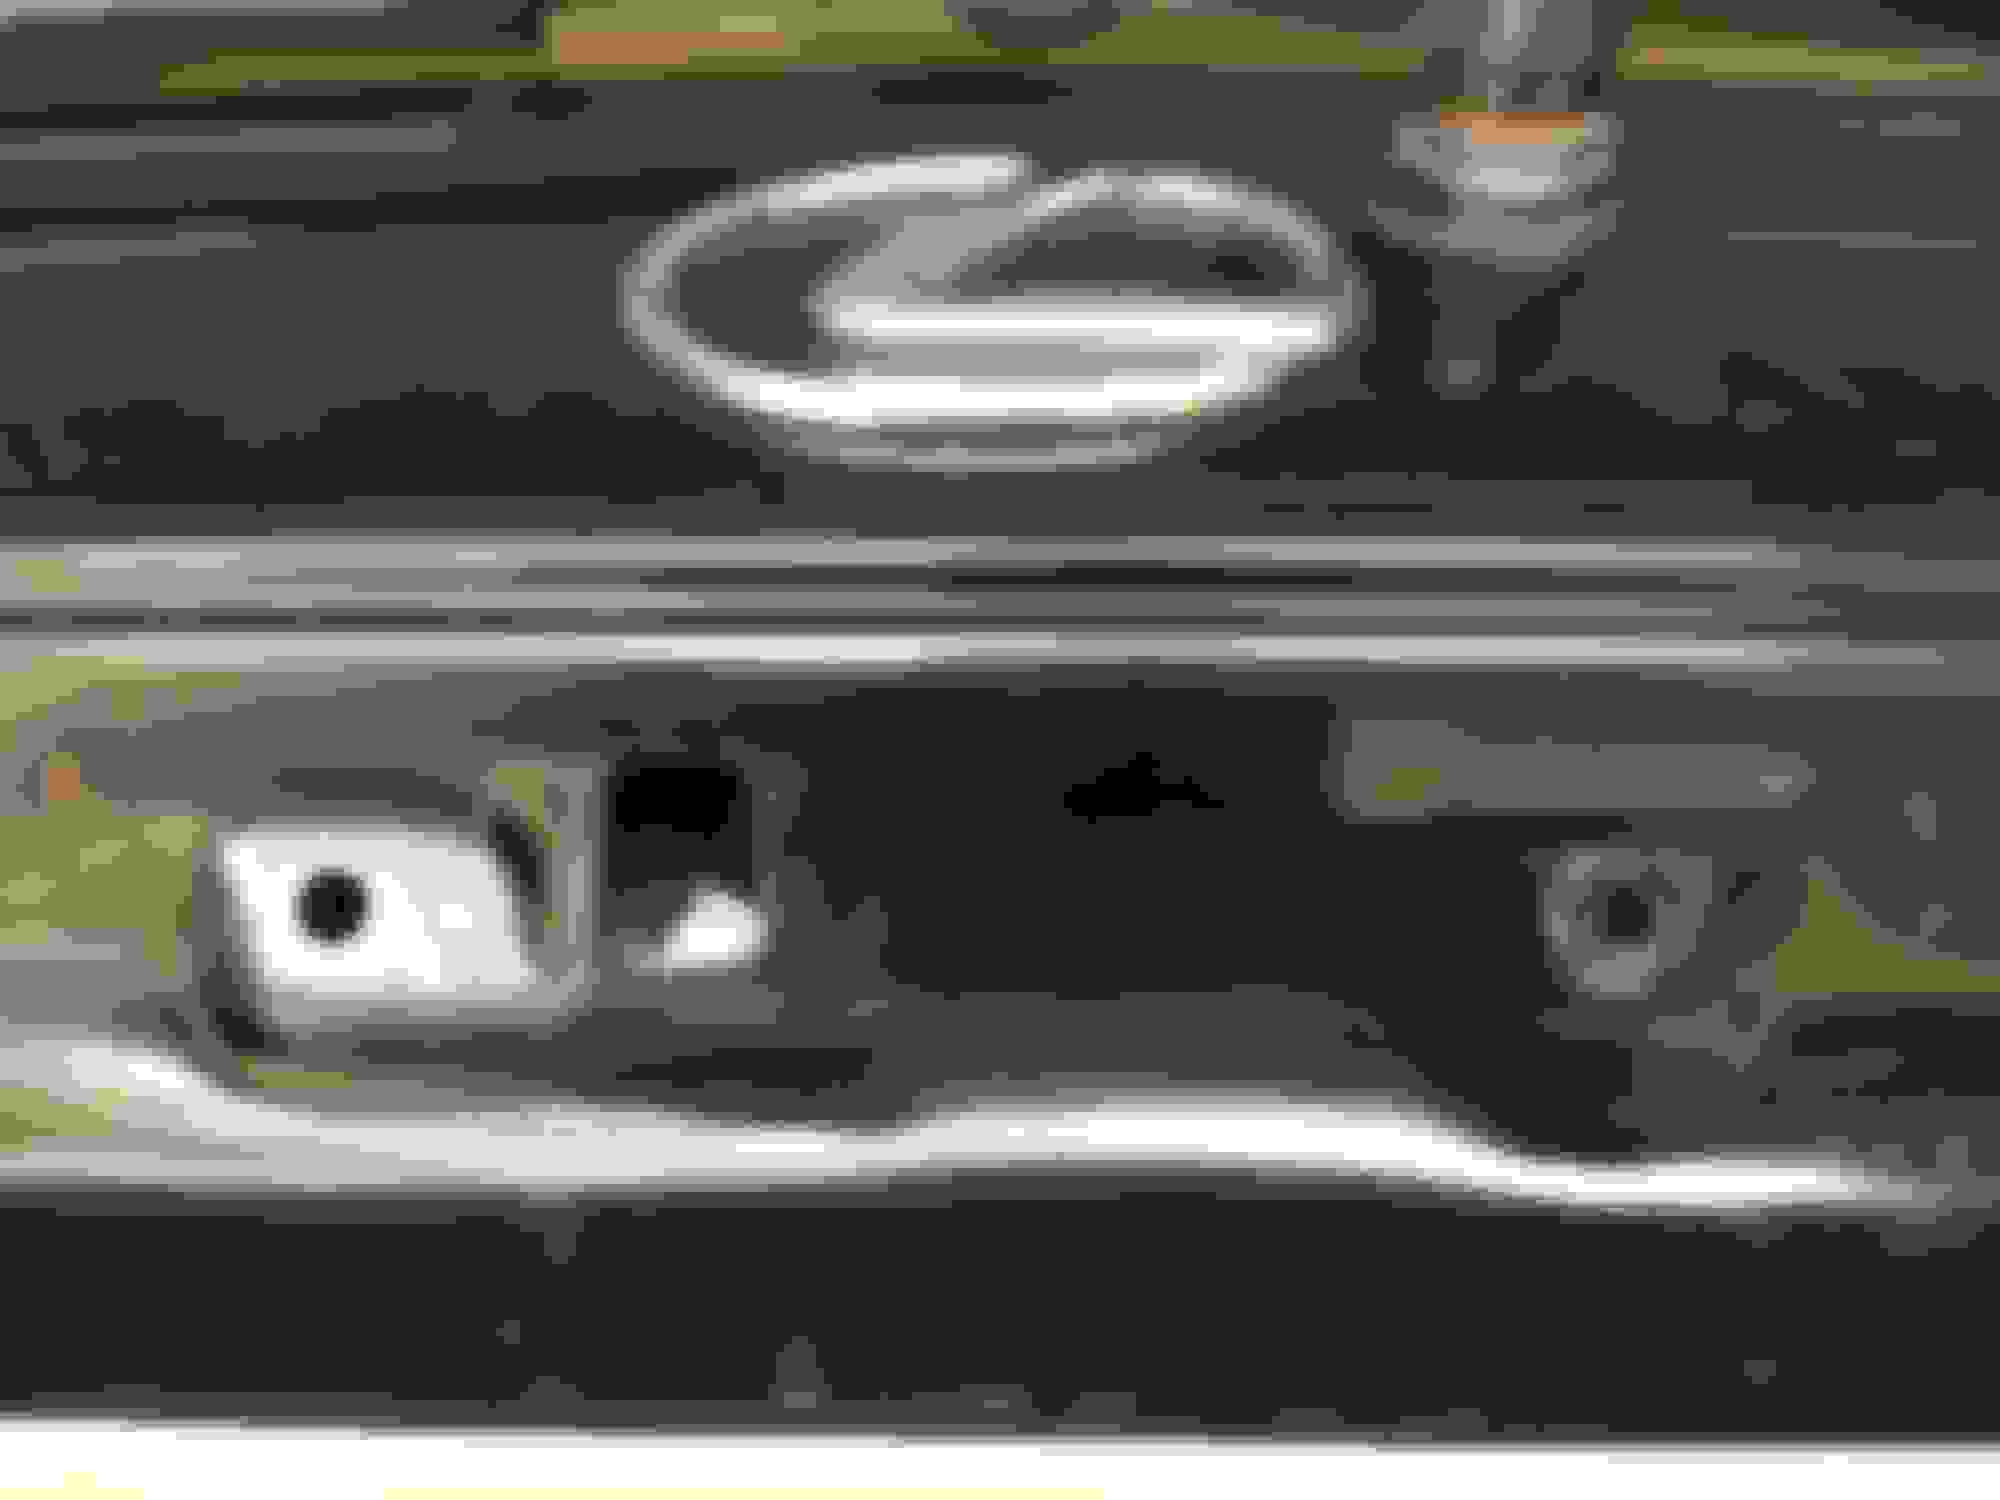
Just wanted to add onto the DIY in post #4 with some pictures.
There is in fact 3 bolts holding on the hatch molding. Not 2.
I initially did see the 3rd nut, but it wasn't coming out. It kept spinning, as the opposite side must have broke through the plastic. So I had to shear it off when pulling the molding. In doing so, I lost the plastic clip. I didn't go to the dealership for a replacement, as it went back together just fine without it.
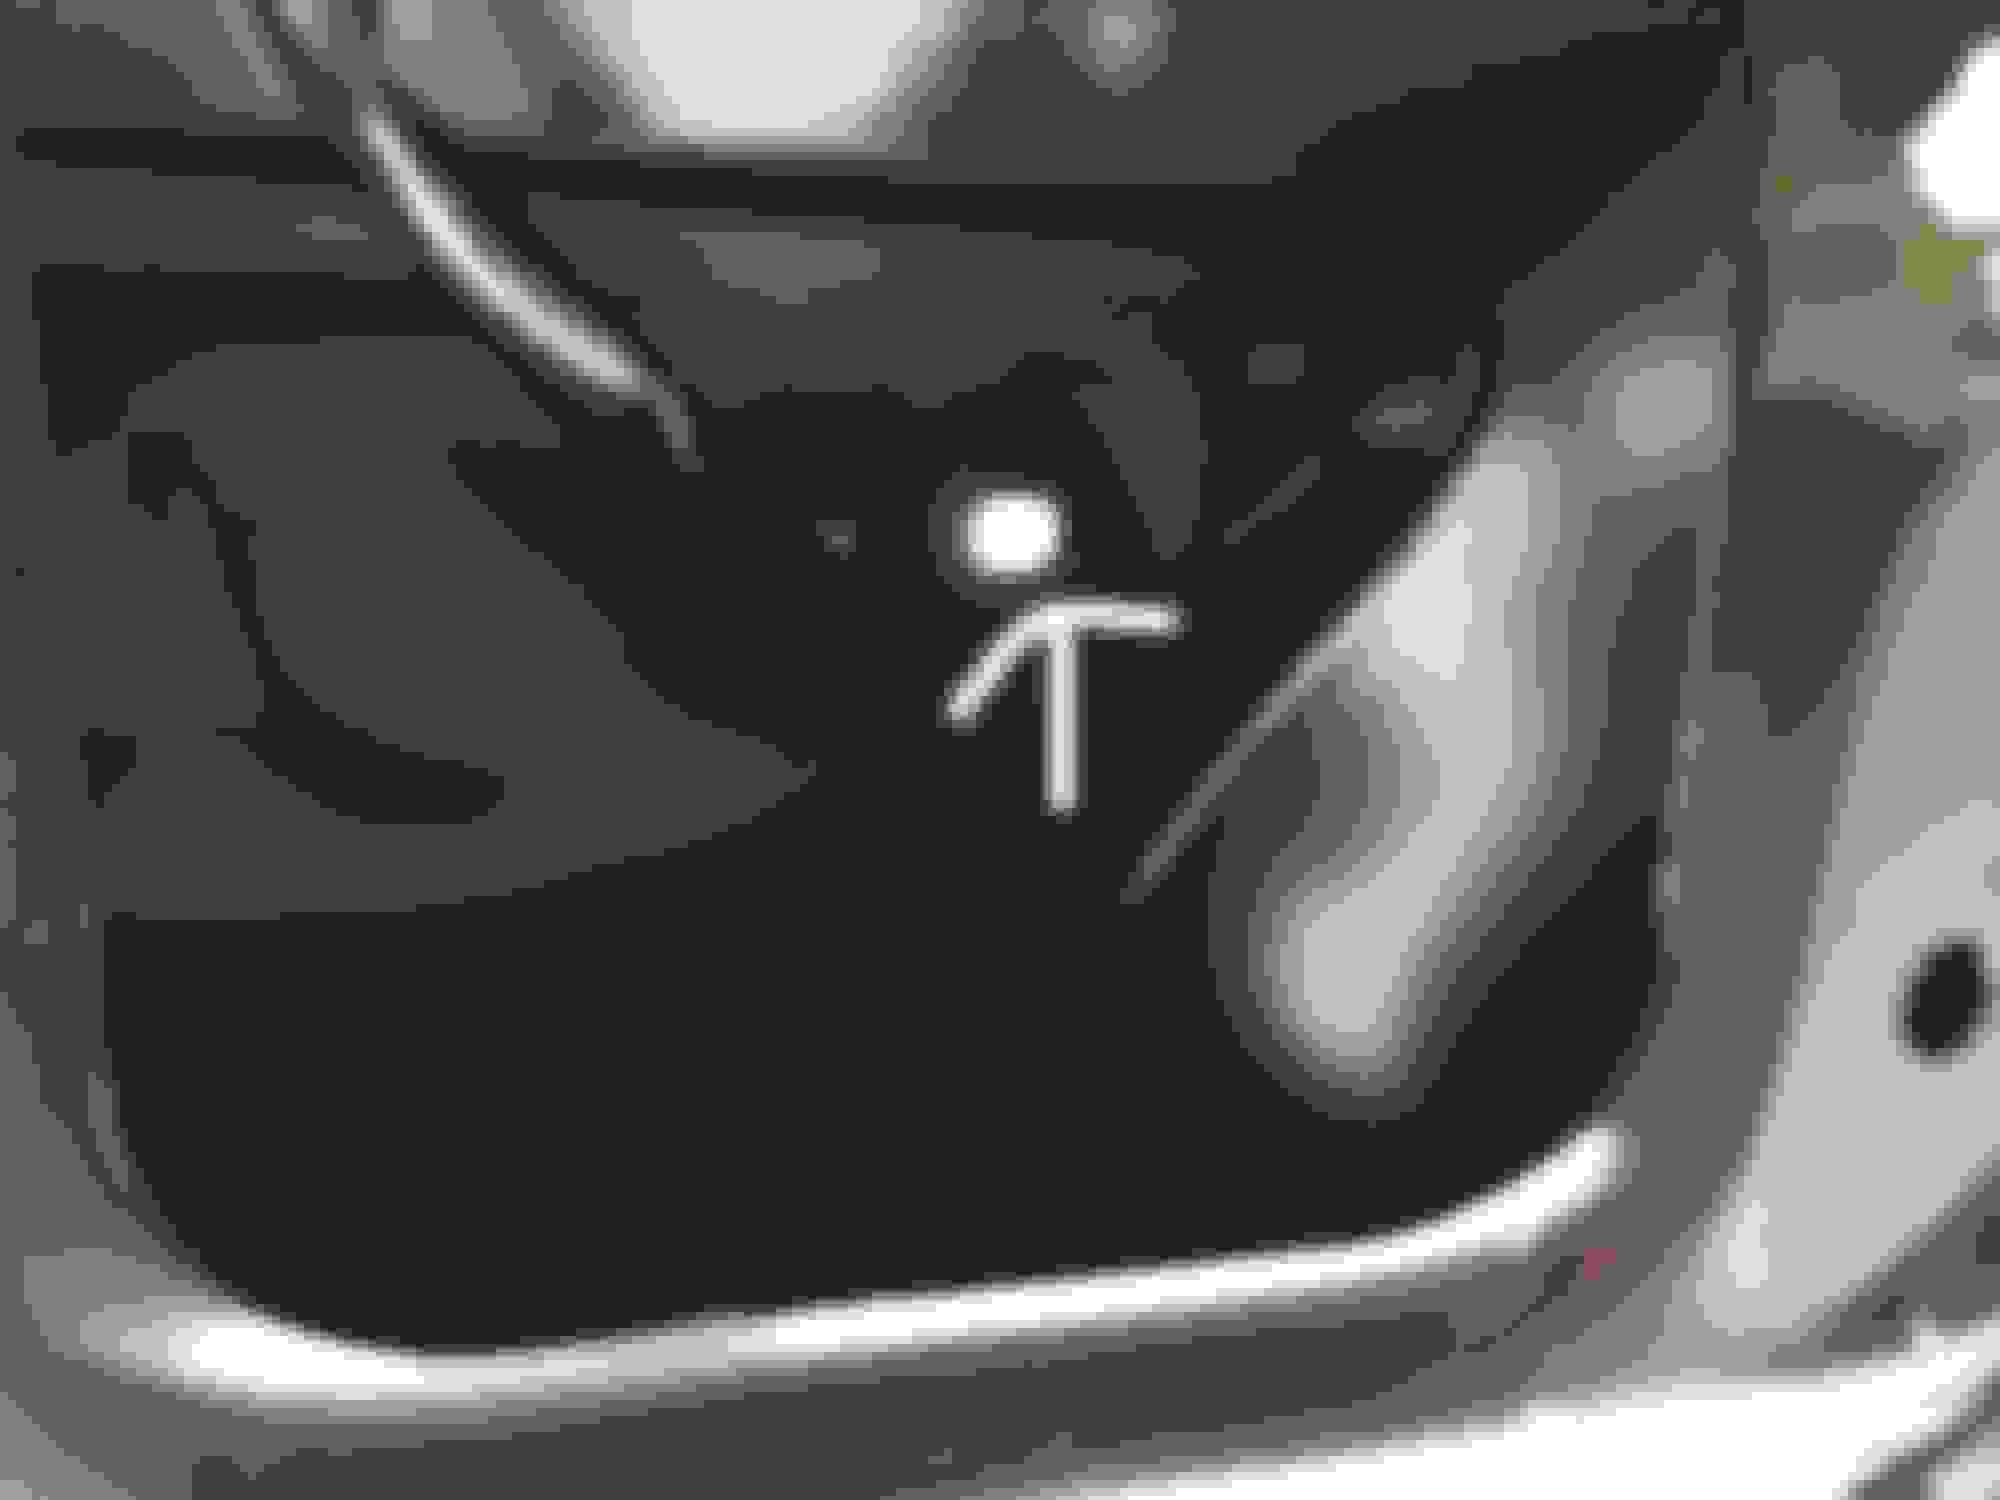
Here are the locations of the 3 bolts.
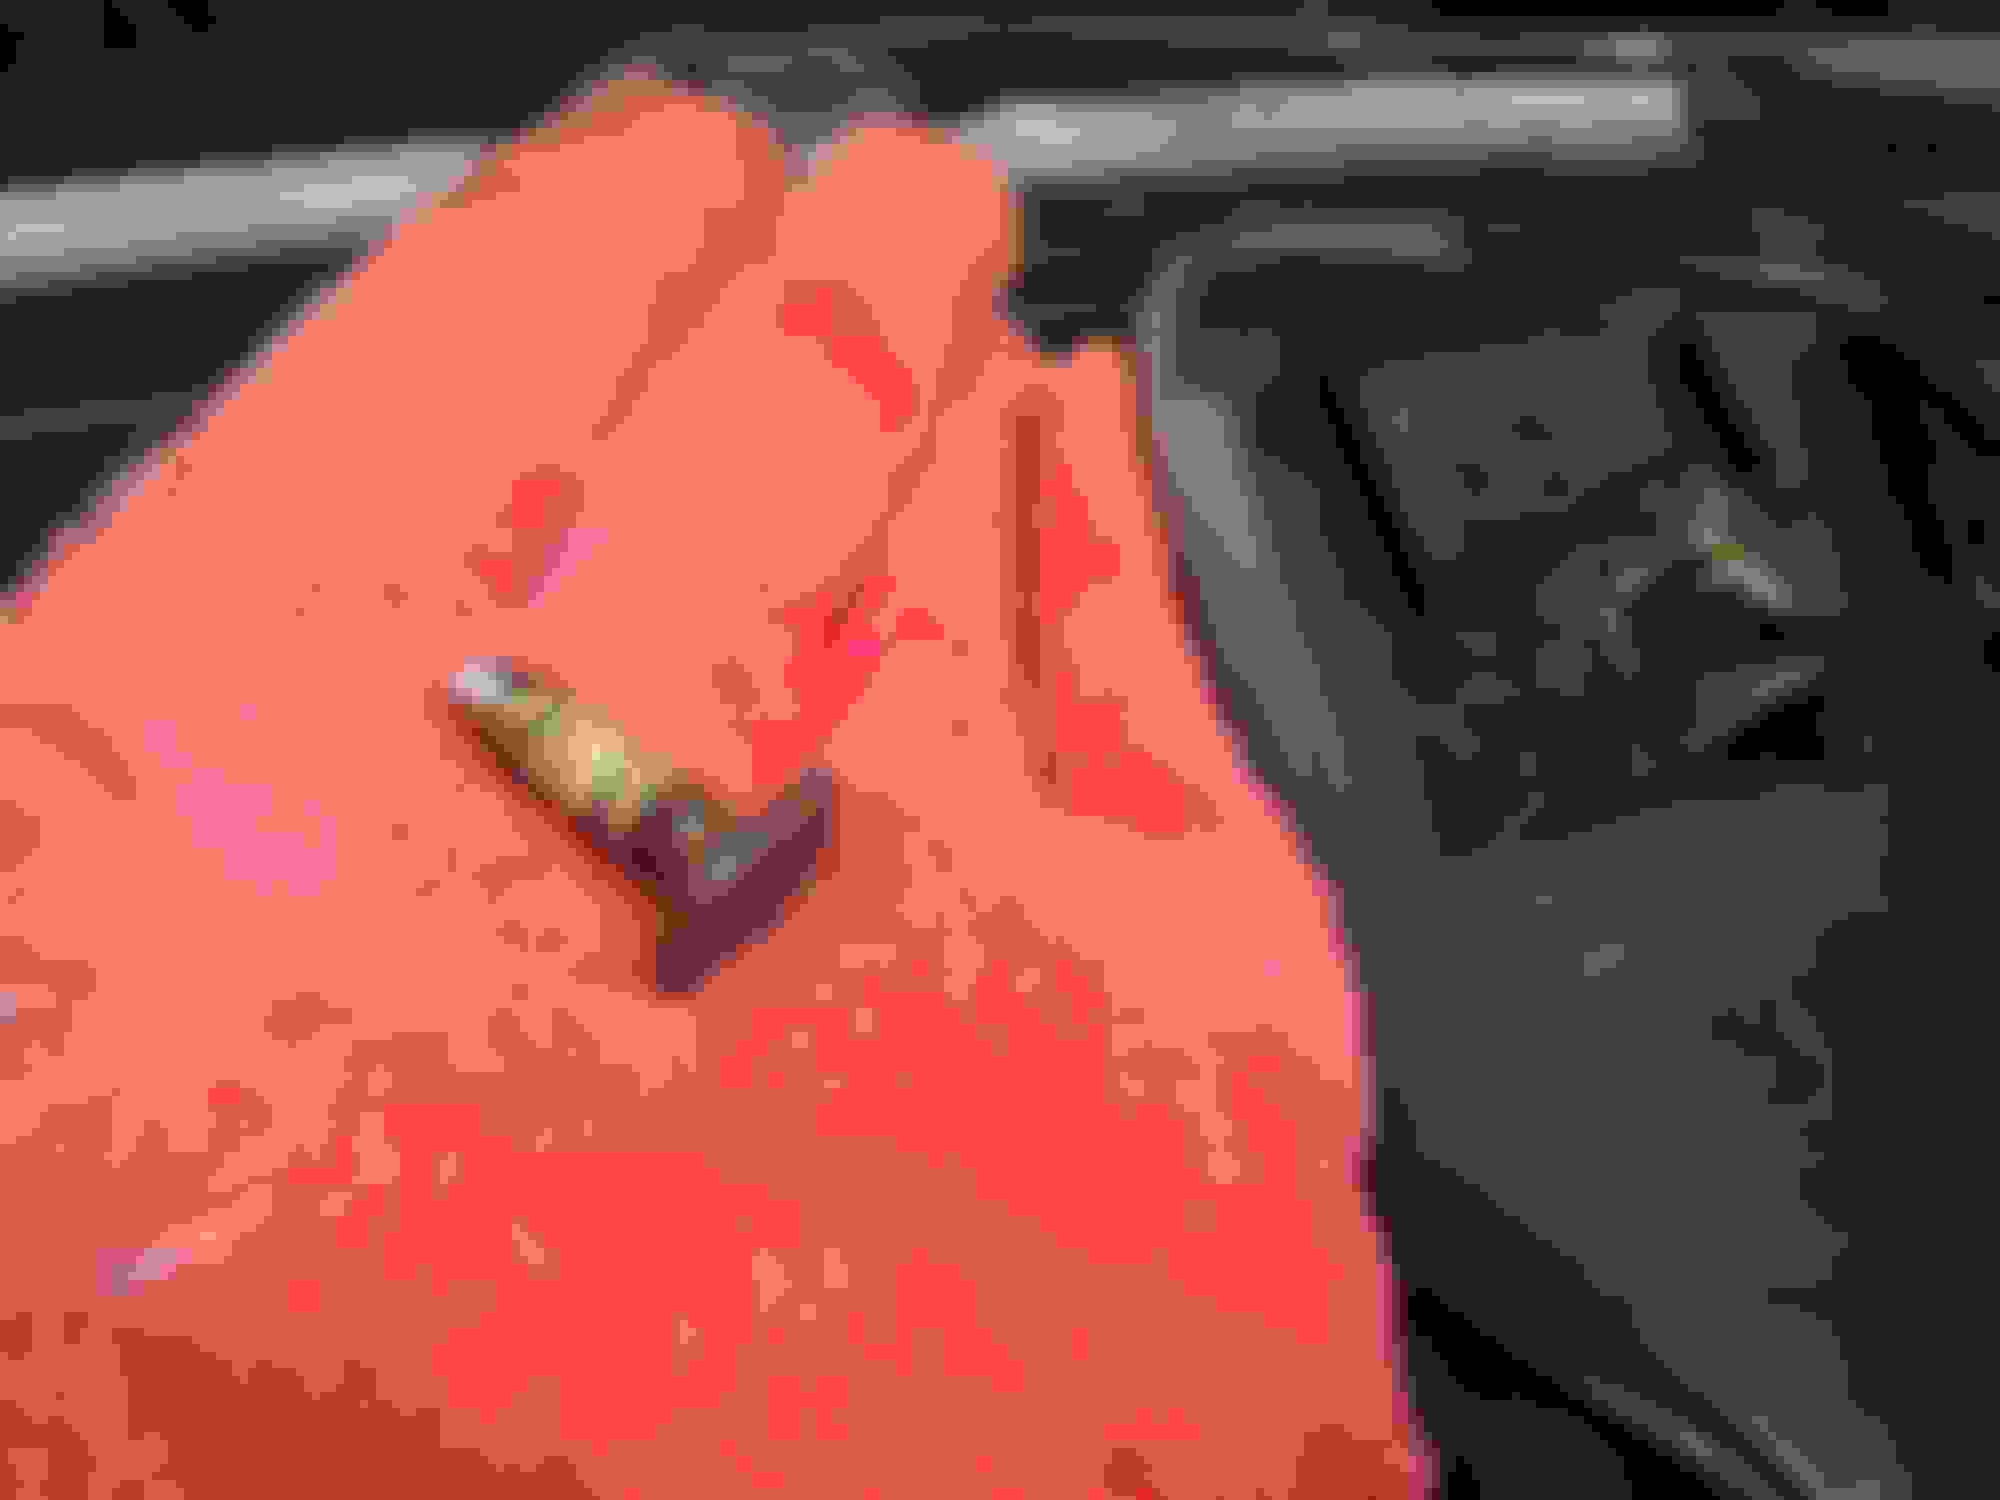
Here's the bolt that wouldn't come out, next to where it sits in the molding (which broke slightly,but still holds strong):
I didn't bother fixing the rusted screw, this isn't that hard to do again now that I now what nuts come out. And, I'd like to take it apart in the future (during the summer), and replace the lost clip.
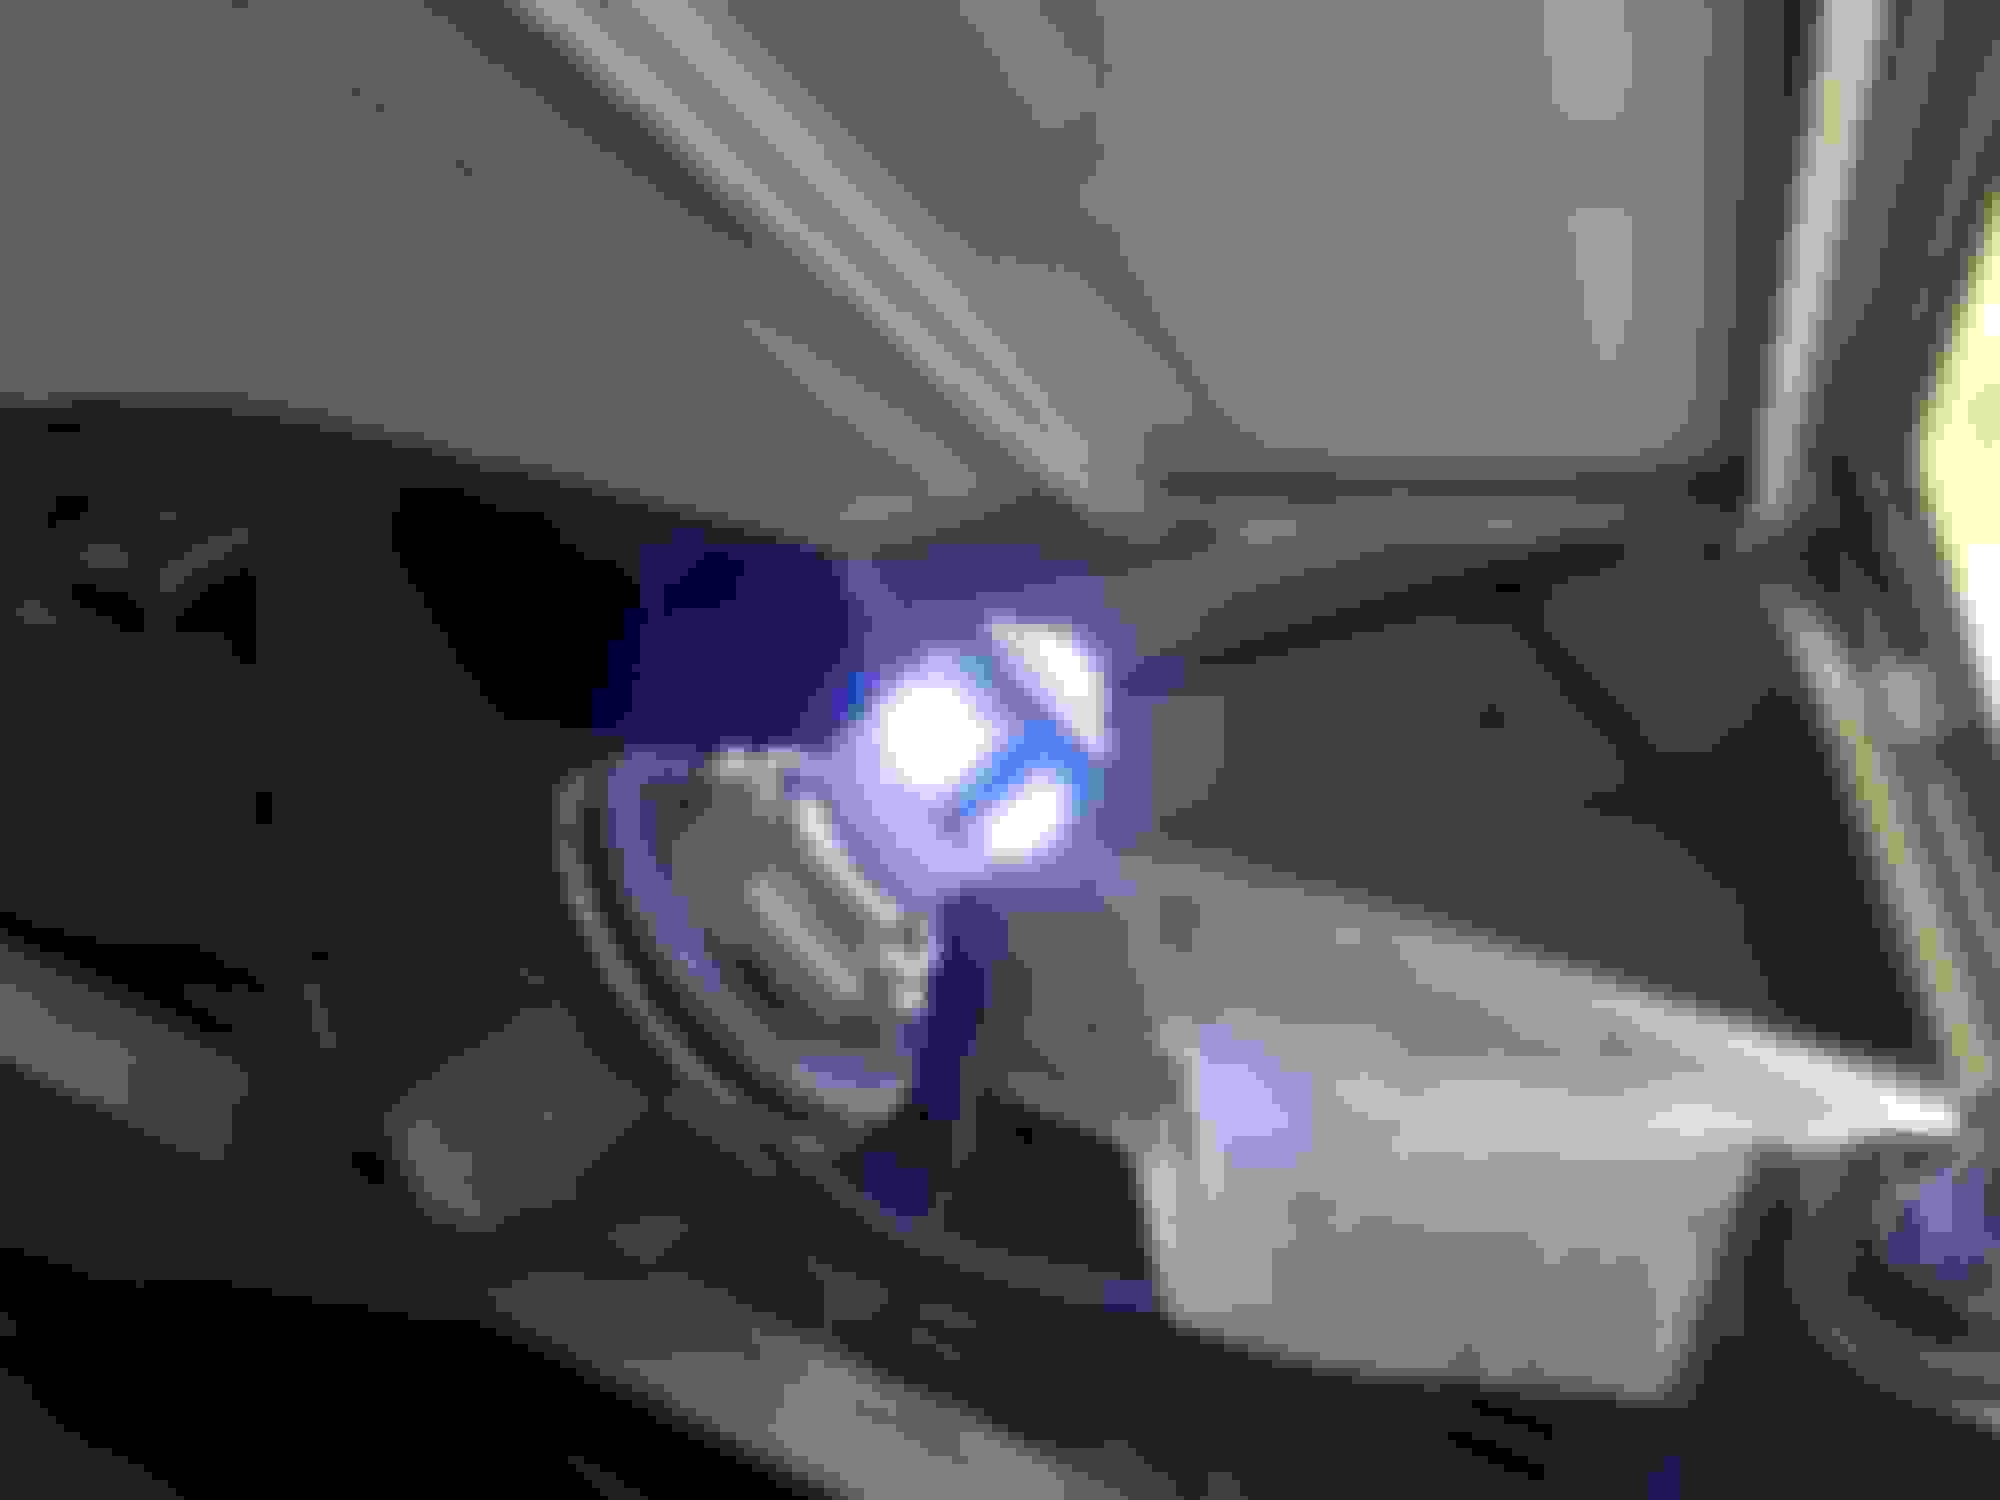
So I just went ahead and twisted the connector out of the plastic housing and pulled out the dead bulb, and inserted a new LED.
End Result... I don't have any before pictures since the bulbs were burnt out. I will try and take some better pictures at night with a wider angle if anyone is interested. Couldn't do that right now since I took these in the garage with the door closed.
 11-10-10, 10:15 AM


 I glued the lens in a few places. It worked! So the lens is being held in-place sans screw. I used a double-life bulb, so I'm hoping it'll last around 16 more years.