RX450h overhead panel removal
#1
Driver School Candidate
Thread Starter
Hi there
I'm trying to remove the overhead panel in my RX450 and have no luck. I've managed to remove the 2 screws towards the front of the panel and it seems to be held at the back. I have seeming pried in all spots to no avail - what s the trick with this panel? I have also pushed and pulled on a little tab at the rear of the unit thinking this is some sort of clip - again to no avail - HELP!
PS - I want to get inside to get 12v for a camera. Also in my efforts to get in one of the lamp holders is now inside the unit Doh!
#3
Driver School Candidate
Thread Starter
Ok - is it on "pull studs" towards the rear of the car/panel? There seem to be some quite long "tonges" on the front of the panel that don't want to come below the headlining and the retention seems to be at the rear. Apart from putting my full weight on the panel I have pulled pretty hard already! 

#4
Driver School Candidate
Thread Starter
Yay - managed to pull the overhead panel down. It really needs a bit of a sharp tug to release 2 plastic push pins. In fact the push pin on the RHS popped out but the LHS stayed in and it slid off the mating slot on the overhead panel. Now to find a suitable 12v source .......

#5
Driver School Candidate
Thread Starter
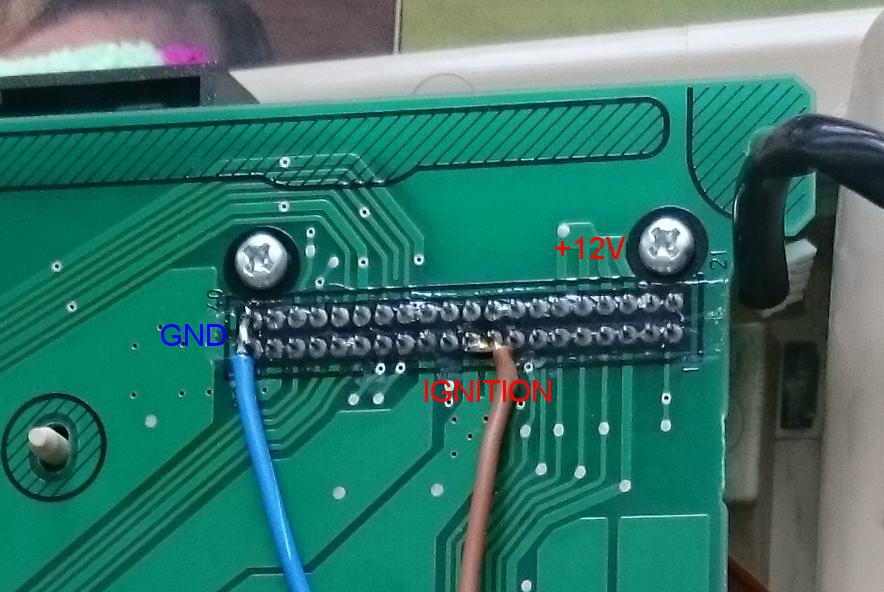
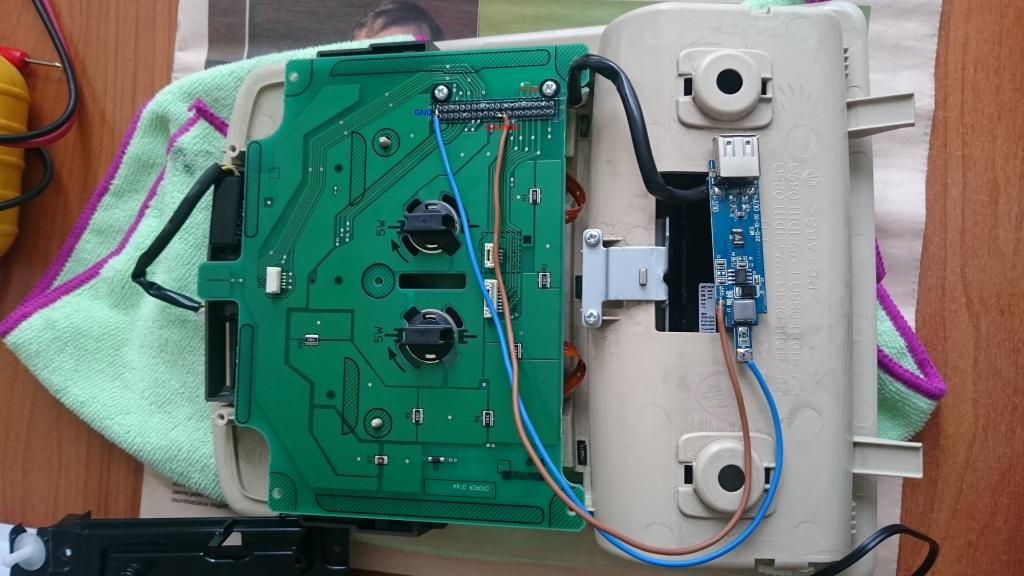
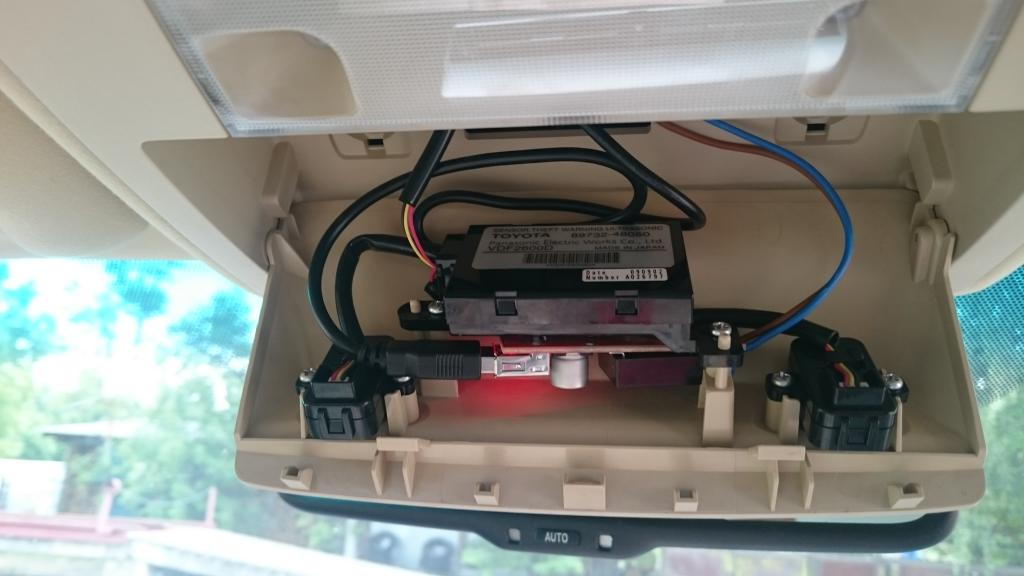
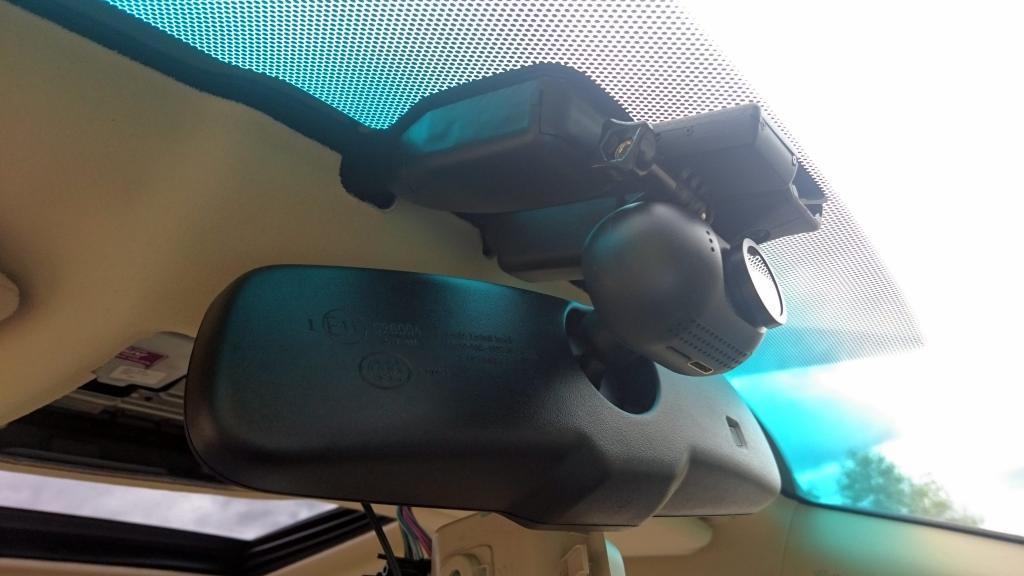
I installed the Car camera yesterday and tapped into a suitable supply on the moon roof connecter. I used a smalll 3amp DC-dc converter, checking the camera only draws 300ish mA @12v when running "full tilt",ie on and charging the internal battery. I fused the DC-DC converter with a 1amp inline fuse. The whole think was then covered in heat shrink and tape and then zip tied in position. All very neat!
I hope someone finds this useful if they are thinking of doing something similar
I hope someone finds this useful if they are thinking of doing something similar
#7
Driver School Candidate
Thread Starter
http://www.ebay.com.au/itm/171999598151?_trksid=p2057872.m2749.l2649&ssPageName=STRK%3AMEBIDX%3AIT
The footage can be watched either by removing the camera (on a slide mount) and then connecting to TV(via HDMI) or a computer(via USB). Alternatively the micro SD can be removed and put directly into your computer as you suggested.
The footage can be watched either by removing the camera (on a slide mount) and then connecting to TV(via HDMI) or a computer(via USB). Alternatively the micro SD can be removed and put directly into your computer as you suggested.
Trending Topics
#8
Driver School Candidate
I'm embarking on doing the same, but with an RX350. The goal is to power an always-on 5" rearview monitor, front cam, and possible even a GPS and get rid of the mess of power cables needed.
It looks like the overhead console is pretty much the same and I've been stumped at trying to get the damn thing down - I'm afraid of pulling too hard and breaking something!
At the moment I've hacked into power going to the rearview mirror and have been successfully using it for the always-on backup cam monitor... but for sure the draw is too great for anything else.
#9
Racer
iTrader: (2)
I'm embarking on doing the same, but with an RX350. The goal is to power an always-on 5" rearview monitor, front cam, and possible even a GPS and get rid of the mess of power cables needed.
It looks like the overhead console is pretty much the same and I've been stumped at trying to get the damn thing down - I'm afraid of pulling too hard and breaking something!
At the moment I've hacked into power going to the rearview mirror and have been successfully using it for the always-on backup cam monitor... but for sure the draw is too great for anything else.
It looks like the overhead console is pretty much the same and I've been stumped at trying to get the damn thing down - I'm afraid of pulling too hard and breaking something!
At the moment I've hacked into power going to the rearview mirror and have been successfully using it for the always-on backup cam monitor... but for sure the draw is too great for anything else.
The following users liked this post:
bkxit (03-31-18)
#13
Moderator

Please share details and experience.
I am toying with side-light diodes, small drilled holes and having a true backlight or external spot light. Each have their advantages and disadvantages.
forgot to mention florescent paint (simplest)
Salim
I am toying with side-light diodes, small drilled holes and having a true backlight or external spot light. Each have their advantages and disadvantages.
forgot to mention florescent paint (simplest)
Salim
Last edited by salimshah; 06-06-17 at 10:04 AM. Reason: paint option
#14
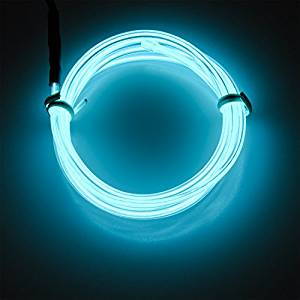
 Like this ...
Last edited by tn7con; 06-06-17 at 10:13 AM.
#15
Moderator

Maybe for the door mounted switches.
Salim
Salim


