When you click on links to various merchants on this site and make a purchase, this can result in this site earning a commission. Affiliate programs and affiliations include, but are not limited to, the eBay Partner Network.
So it's my first time changing brakes. Hopefully everything is okay and this could act as a guide towards other first timers. My rear brake pads were 3mm at the time of the change and rotors were 8.8mm. At that time I did not realize that the minimum thickness was 8.5mm so I did not replace them. I'll do so once the parts arrive and continue on this thread. Replacement for brake pads only took about 30min each.
Notes:
- New rear brake pads are 10mm thick. Minimum thickness is 1mm.
- New rear rotors are 10mm thick. Minimum thickness is 8.5mm.
Parts:
- Anti-Squeal Grease
- Lexus OE Rear Brake Pads (Part#: 044660E010 for Canadian built VIN# 2T, 0446648130 for Japan built VIN# JT.)
Tools:
- 14mm Socket
- 14mm Wrench
- 21mm Socket
- Brake Cleaner
- Breaker Bar
- Jack
- Jack Stands
- C-Clamp?
- Torque Wrench
1. Set wheel chocks on each of the front wheels. Jack up car, place jack stands and remove lugs with 21mm socket and a breaker bar.
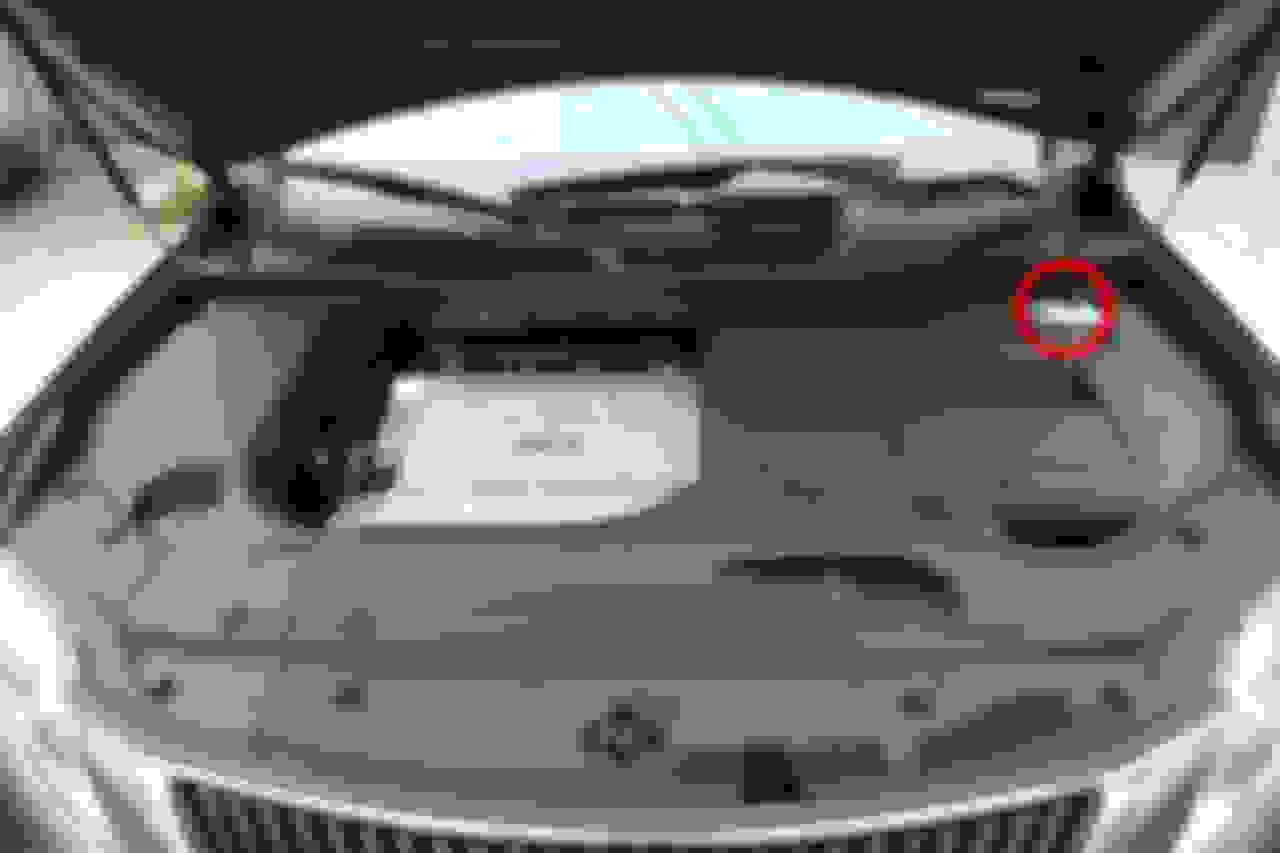
2. Open the hood and partially remove cap to brake fluid reservoir.
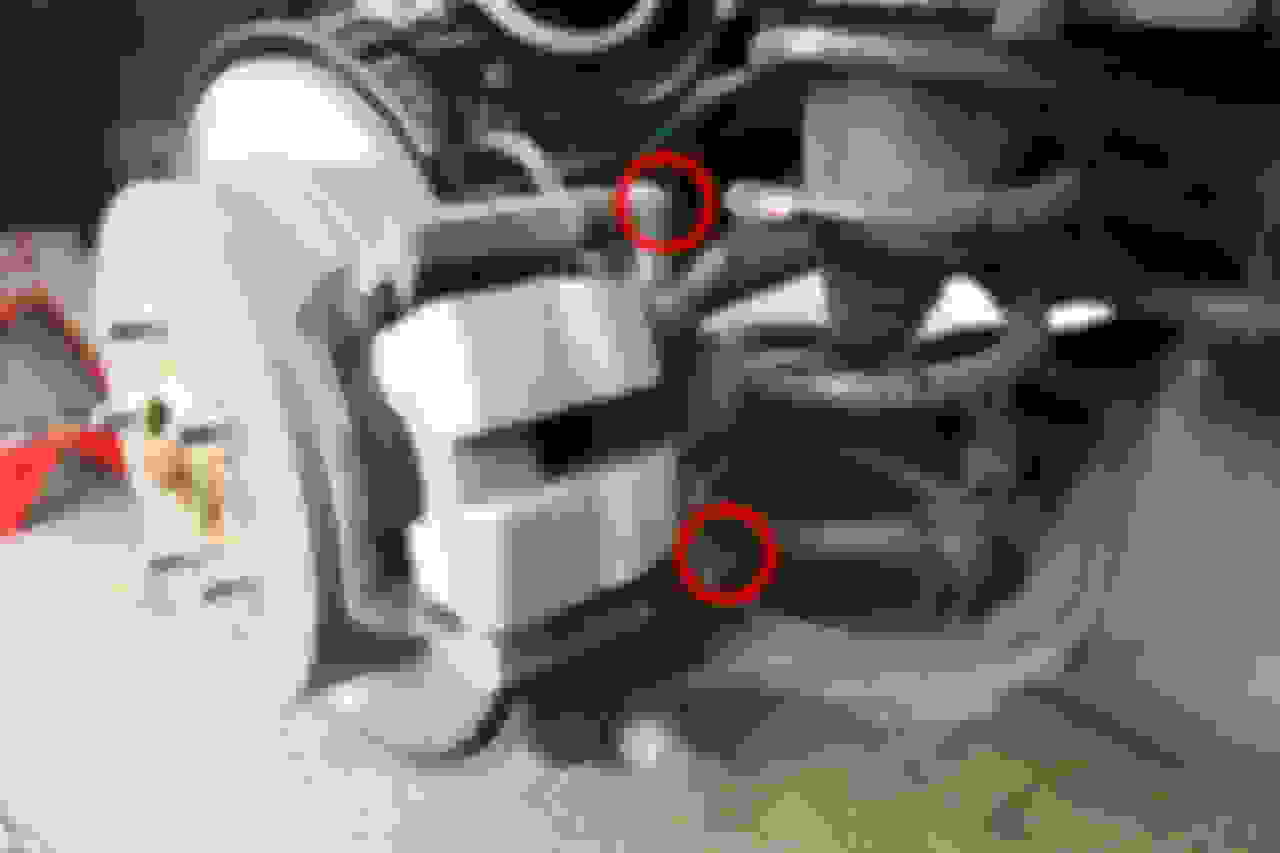
3. Remove two 14mm bolts at the rear of the caliper and carefully pull the caliper outwards as the brake line is short and shouldn't be strained.
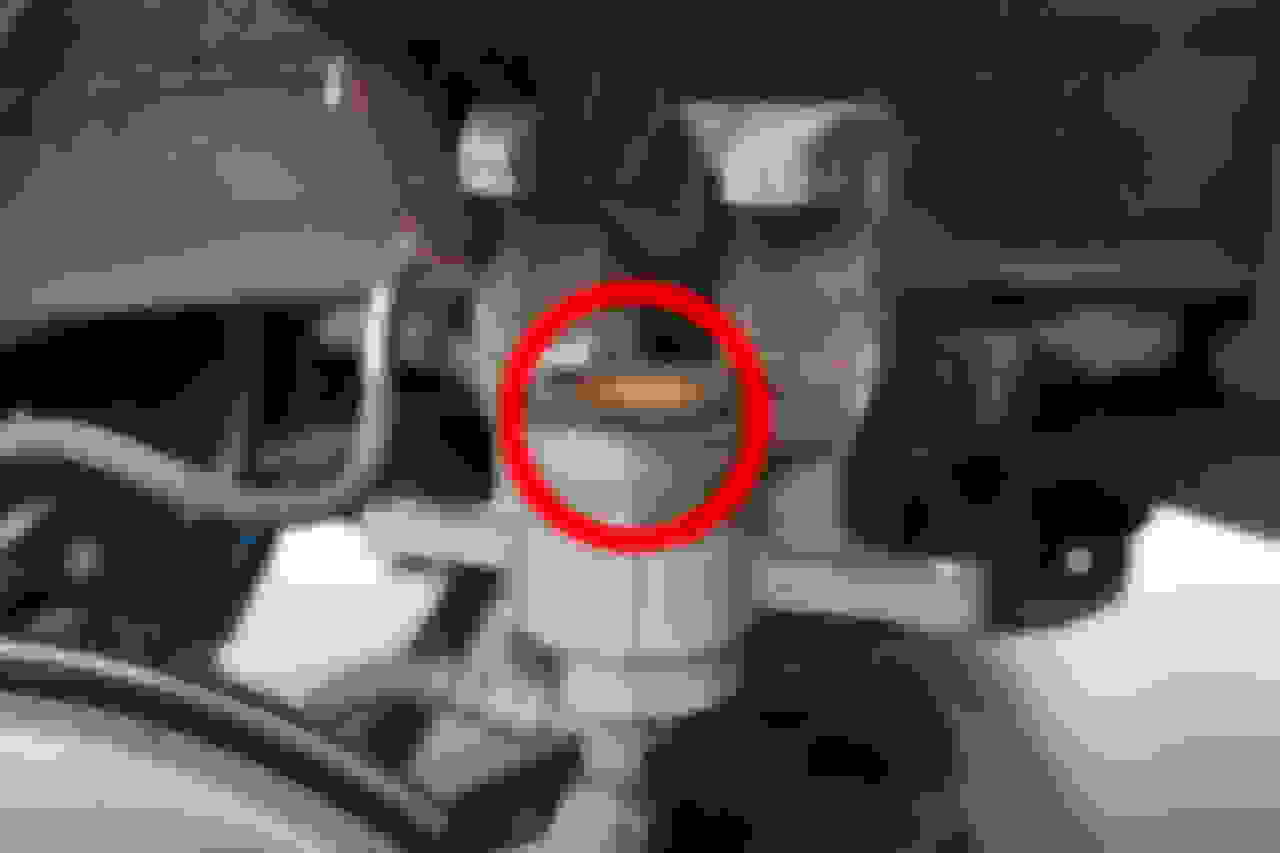
4. Push the piston back into the caliper. I have seen people recommend placing the old brake pad over the piston and using a c-clamp to push against both the brake pad and the back of the caliper however mine ended up being too small so I tried to use my fingers and just press and it worked. However, the dust boot around the piston doesn't look right afterwards but I left it as is. Hopefully it's okay. Maybe someone can chime in on whether or not I should fix it?
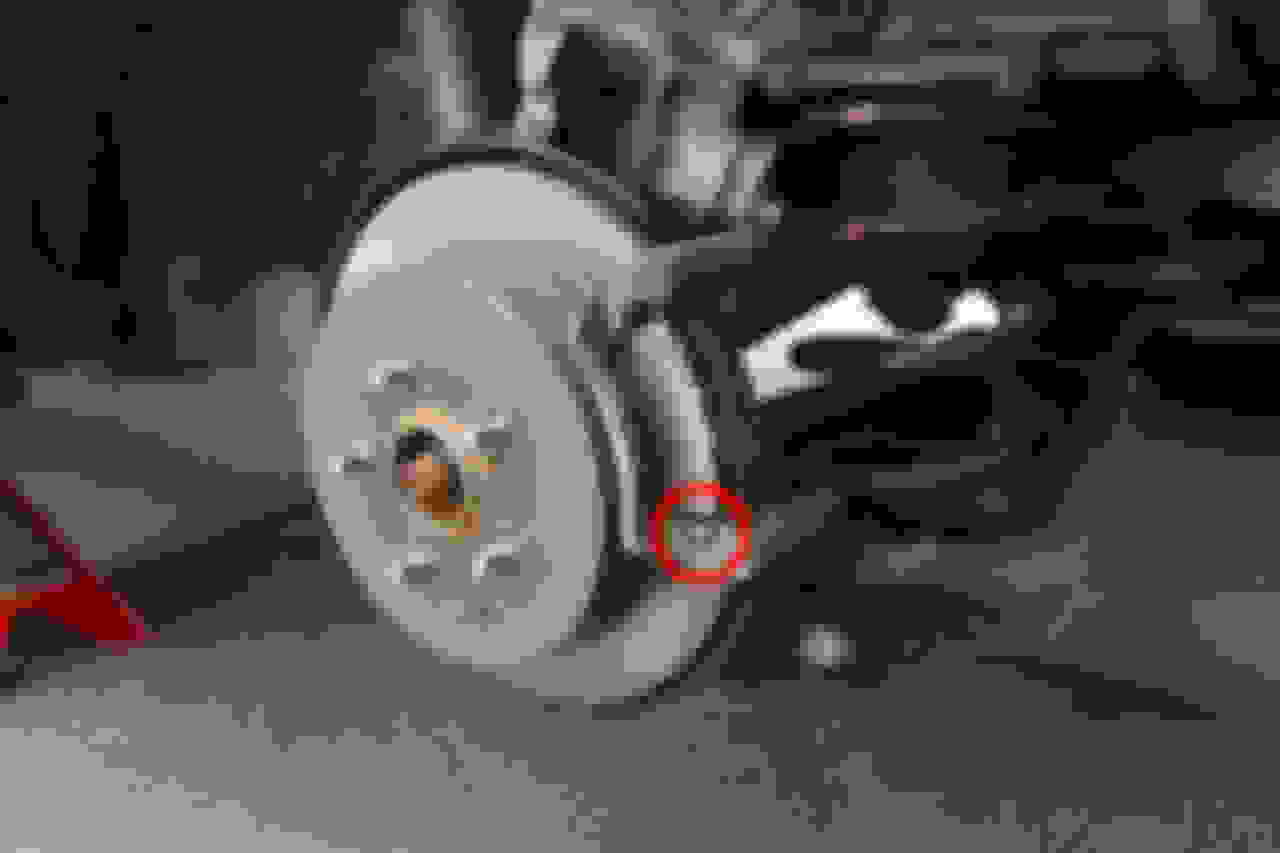
5. Hang the caliper nearby so the brake line is not strained or rest it on top of the brake rotor shield. It seemed to balance perfectly fine and a nudge wouldn't send it flying off. Carefully pull off the shims on each of the brake pads and clean with brake cleaner. A tool was not needed to pry them off. Next, remove the pad wear indicator plate by pushing outwards.
6. Spread a bit of anti-squeal grease on the backs of the brake pads and reinstall the shims. Reinstall the wear indicators onto the new brake pads. Note that the part that sticks out is on the same side as the shim.
7. Install the new brake pads with the wear indicators on the bottom end of the caliper. It probably works if it was on top but mine were originally on the bottom.
8. Reinstall the caliper and torque the nuts to 20ft-lbs / 27N-m.
9. Reinstall the wheel and torque the lugs to 76ft-lbs / 103N-m.
Good write up! You want to push the dust boot back so it is recessed a bit behind the caliper piston. You do not want the brake pad pressing against the caliper piston boot as it could be torn from the pressure. You just wiggle it back in place with your fingers and maybe use a flat screwdriver to help push it back into place. This happens on all cars. I have been replacing brakes for many years. Most floating single piston calipers are very similar. I have a caliper piston vice, but in the past found that you could take a hammer and press the handle end into the caliper piston. Then the hammer end gives you a good grip surface to push the piston back in. I also like to loosen the brake bleeder hose on the caliper and attach a bleeder hose with a one way valve to let the fluid out when the piston is pushed back. I find this lowers the resistance as compared to just removing fluid from the master cylinder. You also want to put a bit of caliper grease on the tops and bottoms edges of the pads backing where they slide - fit into the caliper clips. Only a tiny bit is needed. You can always use brake cleaner to remove any mistakes.
The Toyota Nation forum for the Highlander may have a similar write up. It is a mechanical twin of the RX. More of those folks do their own repairs and maintenance.
7. Install the new brake pads with the wear indicators on the bottom end of the caliper. It probably works if it was on top but mine were originally on the bottom.
On my 2 Hondas, the wear indicator is on the inside pad but not on the outside pad.
Since the inside pads often wear out faster than the outside pads, it makes sense to put the wear indicators on the inside pads.
I notice in OP's picture #7 it seems that the wear indicator is on the outside pad.
Does the inside pad also have the wear indicator ?
Clutchless, I tried to be careful when reinstalling the caliper so that the dust boot would not get pinched between the piston and brake pad. When I tried to push the boot back in, it would pop back out on the opposite side. Even if I held that end down.
txt, the inner and outer pads both have wear indicators.
Here is an excellent Highlander front brake replacement write up with photos (Same as our front brakes). It goes into detail on greasing the pads and cleaning then re-greasing the caliper slide pins.
Also some references to the rear brakes replacement farther down the first page.
Thanks for posting and great write up!! Pictures look like they were taken from a DSLR..lol.
Good eye! I took it with a Canon 5D Mark III.
I'll edit the post to add front brakes and rotors when they need changing but they prob wont need to be changed for a while. Rear rotors are arriving soon! Hopefully it stops raining so I can swap them out.
I had the same problem with the dust boots on my 2010 RX350 yesterday. Gently used screwdrivers to ease it back in place but excess air in the boot made that hard. It eventually went in but it was a pain. An Internet search seems to indicate that some recommend gently breaking the seal by prying an edge of the boot loose just to relieve air without perforating the rubber.
Why use a C-Clamp when you should use a caliper service tool, especially when doing the rear brakes?
It didn't occur to me to use special tools considering a c-clamp would be more useful in the long run. However, it probably is something that O'Reilly has for rent. Probably for free too. My last rental from them was for an inner tie rod tool. Paid a deposit for it and got it all back when I returned the tool the next day. Not sure how they make money to cover for wear and tear on their tools...
Sfcyclist, I replaced the pads at 51,875mi but it's not so much as to how many miles are on them but how you use them. If you often brake hard then they would wear down at a faster rate. New rear pads are 10mm and you must replace them by 1mm. I chose to replace mine at 3mm. There was probably still a bit of life left but since I was already in there I changed them anyways. It's up to you when you want to replace yours.
No need to rent the tool. An inexpensive one is about $15-20. A more expensive one is about $40. 2 brake jobs without damaging the boots is all well paid for. Many calipers need to be rotated back instead of being pushed in using a c-clamp, and that's what the tool is for.
... Many calipers need to be rotated back instead of being pushed in using a c-clamp, and that's what the tool is for.
not on RX350 - you can use a caliper. On my Q5 rear brakes you need the special tool.
One thing I now do is open the bleeder valve prior to pushing the caliper piston in - this way you do not push old contaminated brake fluid back into the master cylinder.

 12-22-14, 11:25 PM