
The Official "What have you done to your RX today thread" :)

 09-23-11, 03:00 PM
#183
A quick summary of what I've done so far
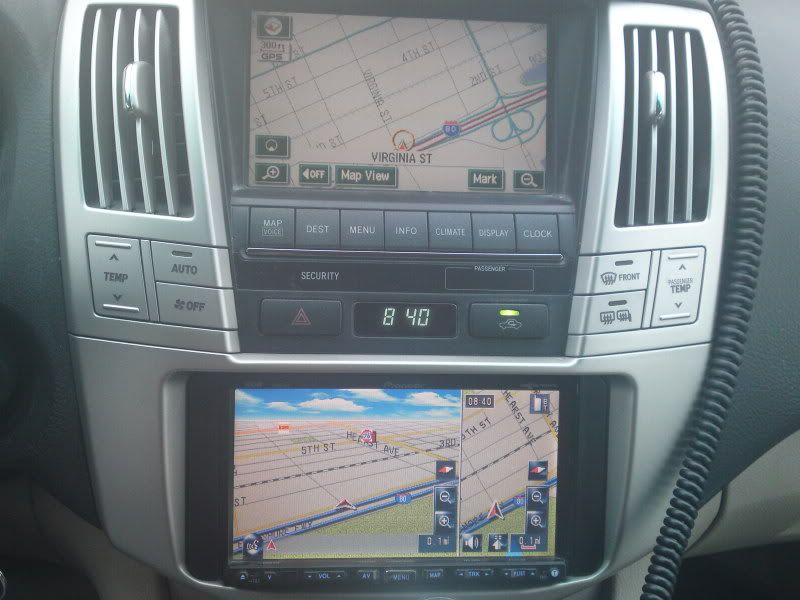
AVIC-Z1 with latest map update courtesy of AVIC411.com
Nav screen Comparison
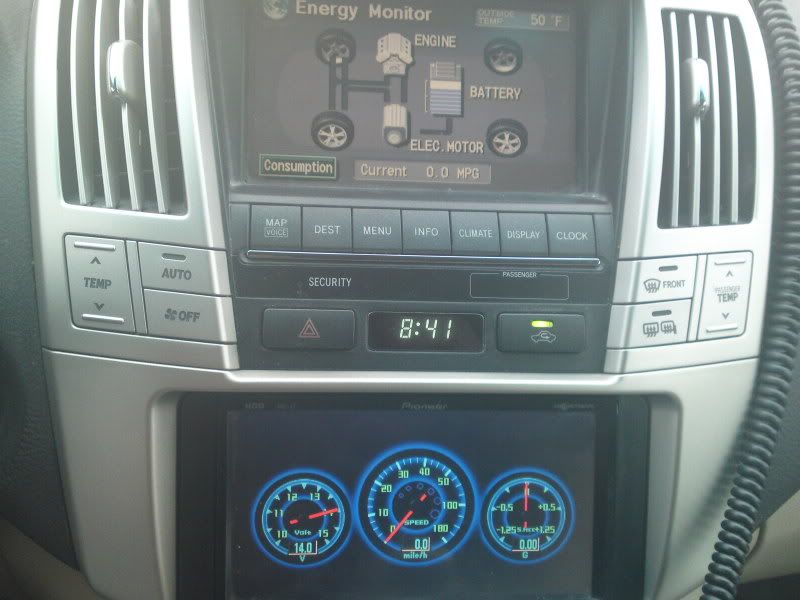
Vehicle information on display
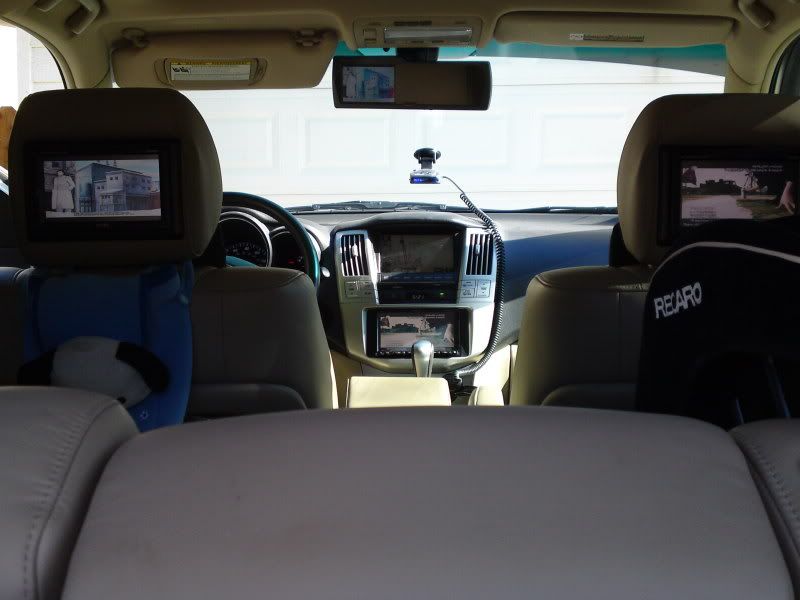
Headrest monitors & JJProducts' extra wide armrest & Savv 5" LCD rearview mirror
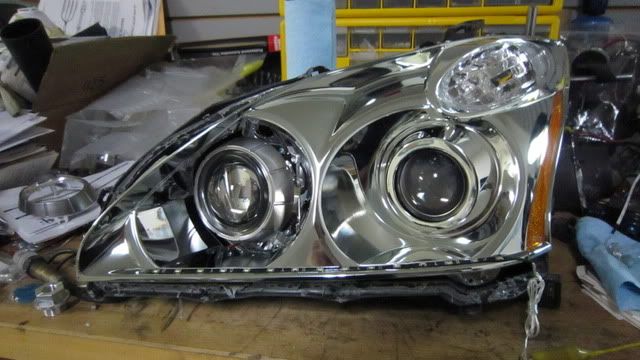
Quad projector with flat led
Flat led on as DRL inspired by 2011 IS
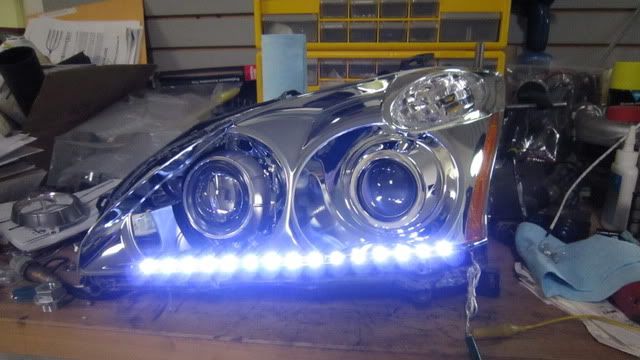
Status update: working on DRL issue to have correct 12V going in and not trying to burnt out the cylinder for high beam at the same time.
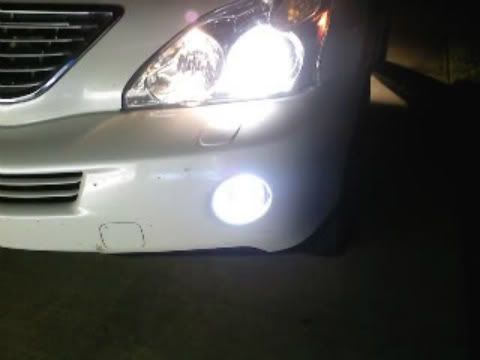
H11 conversion to HID fog light
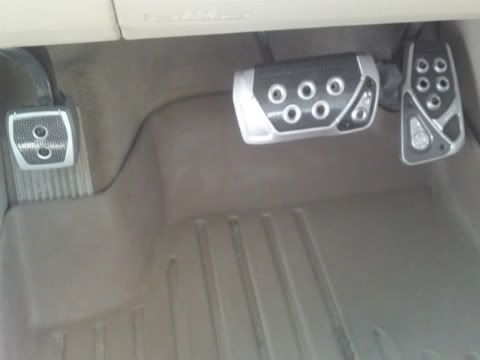
Razo CF inserts Sports Pedal
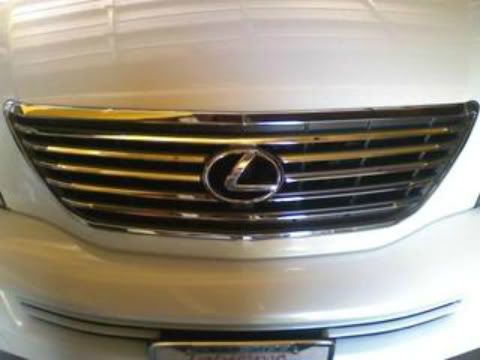
TC grille
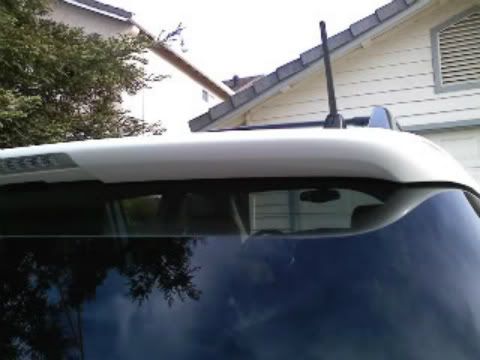
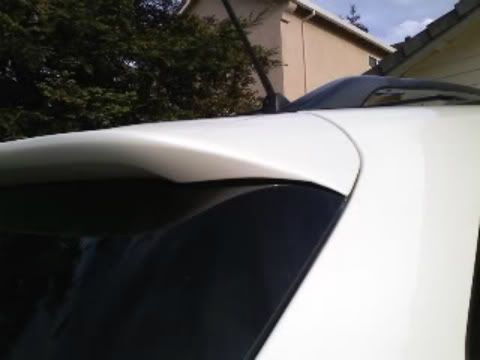
painted spoiler
side view
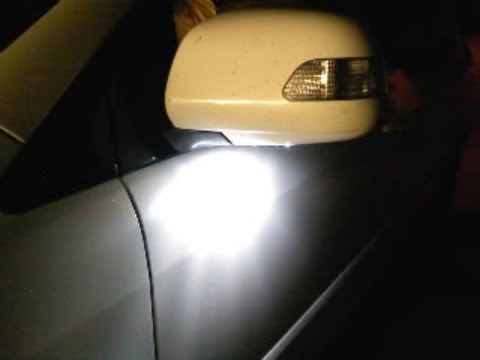
Nigel's led side blinker with puddle lamp

Different view

Puddle lamp close up
Other mods includes
- Escort Radar 9500ix blue with GPS chip, fully upgradeable
- Pioneer Ipod adapter for AVIC-Z1
- Pioneer BT ND-Bt1 adapter for AVIC-Z1
- Pioneer 6 disc DVD changer
- PIAA 9005 Extreme White bulb for highbeam while waiting for retrofit to finish
- PIAA 168 led reverse light
- Forumula 1 ceramic tint 15% for rear, sunroof and front windshield, 50% on driver and
passenger side windows
- 2008 rear door molding with Hybrid emblem
- 2008 rear Blue accent L emblem
- Weather tech digital fit all weather floor mats
- Weather tech rear all weather rear trunk liner
- Weather tech sun visors
- Recaro child seat
and more stuff to install
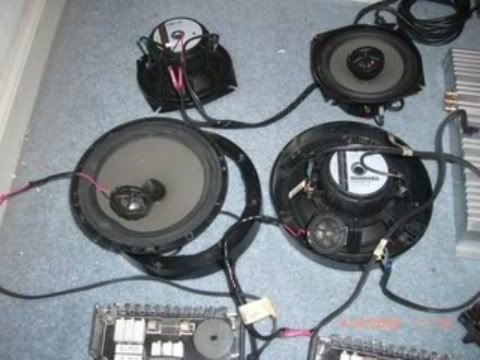
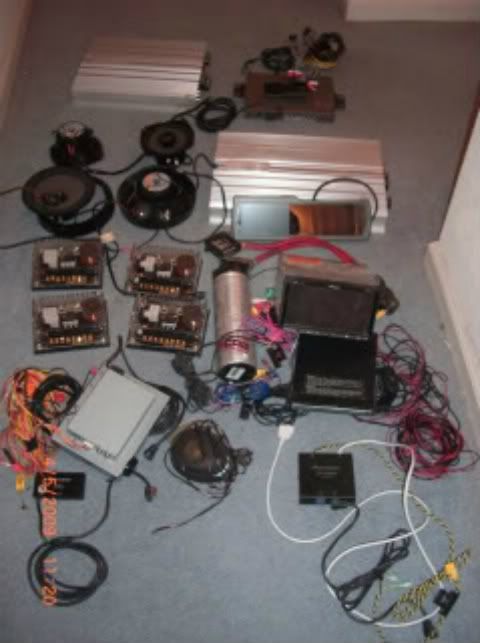
System Overview
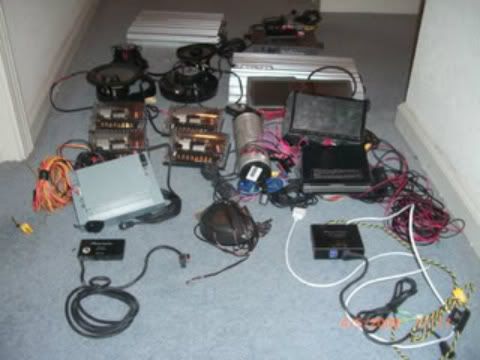
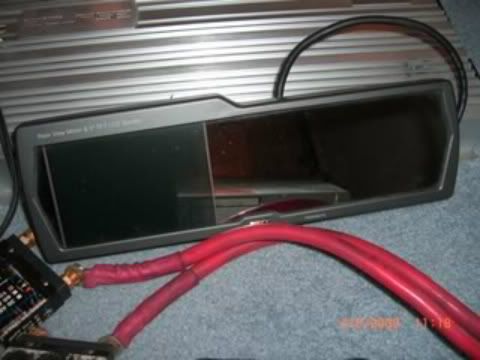
Savv auto dimm mirror with 5" LCD screen ( already installed )
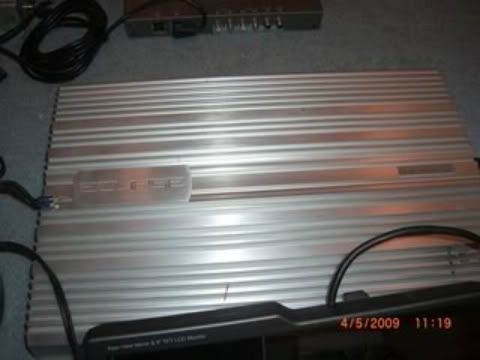
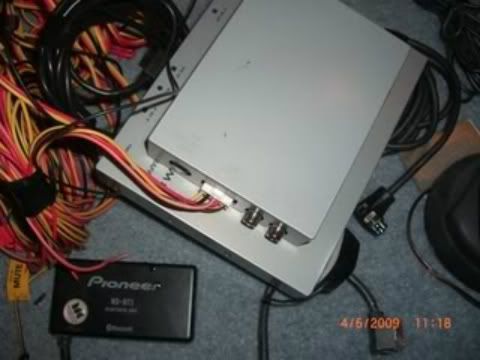
4 channel Eclipse Amp
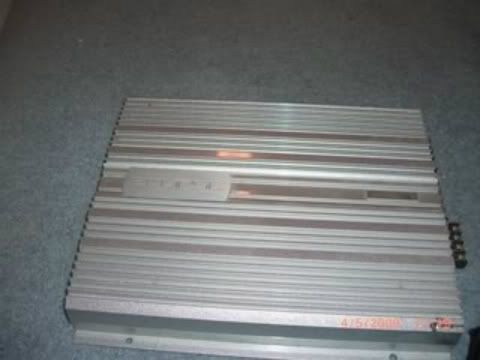
Competition grade class D mono block 1 ohm stable Eclipse amp
MB Quarts Premium cross over for component speakers/ Monster power digital Capacitor 1 Farad
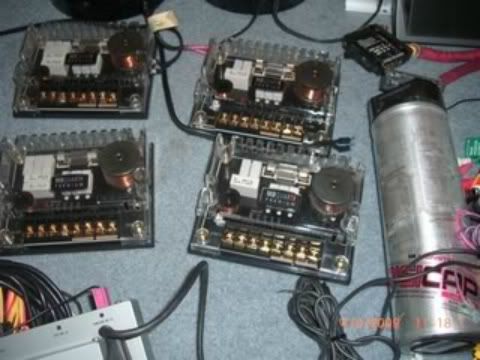
MB Quarts Premium Speakers 6.5" and 5 1/4" in size
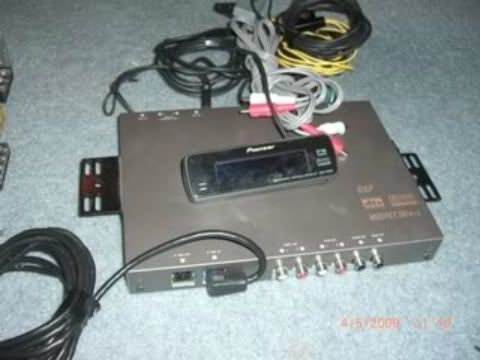
Pioneer 5.1 DTS surround sound decoder with DSP with 5.1 DTS controller
Pioneer center channel speaker
XM Nav traffic and tuner and ND-Bt1 bluetooth adapter
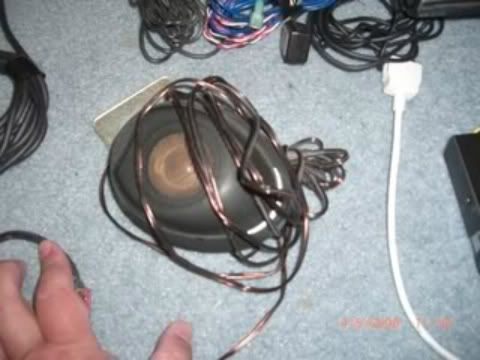
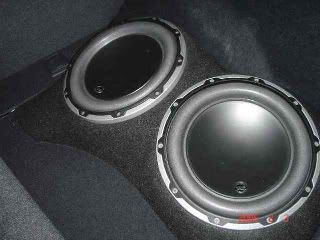
JL10w6v2 in custom fiberglass enclosure ( picture taken when it was in my old car, I still have it but need to build a new Fiberglass enclosure for the RX)
Vertical Overview
AVIC-Z1 with latest map update courtesy of AVIC411.com
Nav screen Comparison
Vehicle information on display
Headrest monitors & JJProducts' extra wide armrest & Savv 5" LCD rearview mirror
Quad projector with flat led
Flat led on as DRL inspired by 2011 IS
Status update: working on DRL issue to have correct 12V going in and not trying to burnt out the cylinder for high beam at the same time.
H11 conversion to HID fog light
Razo CF inserts Sports Pedal
TC grille
painted spoiler
side view
Nigel's led side blinker with puddle lamp
Different view
Puddle lamp close up
Other mods includes
- Escort Radar 9500ix blue with GPS chip, fully upgradeable
- Pioneer Ipod adapter for AVIC-Z1
- Pioneer BT ND-Bt1 adapter for AVIC-Z1
- Pioneer 6 disc DVD changer
- PIAA 9005 Extreme White bulb for highbeam while waiting for retrofit to finish
- PIAA 168 led reverse light
- Forumula 1 ceramic tint 15% for rear, sunroof and front windshield, 50% on driver and
passenger side windows
- 2008 rear door molding with Hybrid emblem
- 2008 rear Blue accent L emblem
- Weather tech digital fit all weather floor mats
- Weather tech rear all weather rear trunk liner
- Weather tech sun visors
- Recaro child seat
and more stuff to install
System Overview
Savv auto dimm mirror with 5" LCD screen ( already installed )
4 channel Eclipse Amp
Competition grade class D mono block 1 ohm stable Eclipse amp
MB Quarts Premium cross over for component speakers/ Monster power digital Capacitor 1 Farad
MB Quarts Premium Speakers 6.5" and 5 1/4" in size
Pioneer 5.1 DTS surround sound decoder with DSP with 5.1 DTS controller
Pioneer center channel speaker
XM Nav traffic and tuner and ND-Bt1 bluetooth adapter
JL10w6v2 in custom fiberglass enclosure ( picture taken when it was in my old car, I still have it but need to build a new Fiberglass enclosure for the RX)
Vertical Overview
Last edited by mowmow; 09-23-11 at 03:36 PM.
09-24-11, 09:27 PM
#186
Lexus Test Driver
Finished the install today. Had some issues and am still working out the kinks but this is pretty much it.
Static hidden sensor triggered front plate camera. Basically you tap on the dash and it turns on.
A couple of pics and vids for the sake of showing off what it does. It's a product from Beat-sonic. Same company that sells the After Market Stereo Double Din bracket and dash replacement plus the bypass 20 and 12 pin boxes. Quality tech here. Very simple as well.
Kind of having fun here. Needs to be adjusted a bit up. But wo great License plate reader lol!
http://youtu.be/SxRi1z1_Gsc?hd=1
http://youtu.be/HLkgaXiagsY?hd=1
Finally this is what I got it for. To protect my Wald Lip kit why parking! Out of focus Camera but still shows I got the best of both worlds. Very happy! Little surprise in the end
http://youtu.be/65XslT6m1z0?hd=1
Last edited by infinirx; 09-24-11 at 09:50 PM.
09-24-11, 10:22 PM
#188
Lexus Test Driver
Headlights if I can get them in Sunday. They are kind of complicated headlights it seems. Then prob. the HID's if I feel I still need them after about a week with the new headlights.
Then I got some stuff coming on from Japan almost every week till Nov? Plus I am replacing the front bumper, left fender and rear bumper. Plus plus plus..... list goes on till I run out of $$ or I get a GF!
Then I got some stuff coming on from Japan almost every week till Nov? Plus I am replacing the front bumper, left fender and rear bumper. Plus plus plus..... list goes on till I run out of $$ or I get a GF!
09-25-11, 02:21 AM
#189
Intermediate
Thread Starter
That is so sweet man, wish i had one of them, it'd really help in my tight carpark at work.
Say question for those of you who've run amp wiring in the rx, whats the best way to route a 8awg power cable through the firewall?
Say question for those of you who've run amp wiring in the rx, whats the best way to route a 8awg power cable through the firewall?
09-25-11, 05:57 AM
#190
No, I don't play soccer!
Now you can see the little animals when you first run them over from front and them from behind, infinirx  I'd be sick looking at the reverse camera up top and forward camera on the bottom. But it's worth it to keep your Wald kit safe. Good luck with the headlight install.
I'd be sick looking at the reverse camera up top and forward camera on the bottom. But it's worth it to keep your Wald kit safe. Good luck with the headlight install.
09-25-11, 08:40 PM
#194
Lexus Test Driver
I posted on my daylight headlight thread so I am only posting three pics to document the mod done today For allot of pics check out the thread: https://www.clublexus.com/forums/rx-...ml#post6705970
OEM:

JDM imported after market.


For allot of pics check out the thread: https://www.clublexus.com/forums/rx-...ml#post6705970OEM:
JDM imported after market.
09-26-11, 12:37 PM
#195
Lexus Champion
I've been using Leatherique for years on four different cars, four different leathers. I found it to be very effective on my RX300 (search 1st gen forum for report). This is the first time I have used it on my 330 and found yet another reaction than in the past.
The Leatherique process is to first use the "Rejuvenator" oil, then the Cleaner. That sounds counter-intuitive but the oil conditions and lifts dirt and sweat to the surface and the cleaner removes the residue. Optimally, you will make three applications of the oil over three days in 90 plus weather if your leather is old, dirty and stiff. On newer cars one or two applications seems to suffice.
My leather is in good condition so I made one application of Rejuvenator and left it on for three days to get as good a result as possible. On the 300 the oil began soaking in immediately upon application, on the 330 it seemed to bead on the surface and required more "massaging" it in before it began to disappear.
Here's the process...
First, lay in provisions. As you'll see, one of the perks of using Leatherique is driving around on a 55 gal trash bag for a couple of days. To preserve your dignity, this is to be avoided as much as possible so stock up!

The key to prep is making sure all that salt (and other detritus) from those french fries you've been stuffing down is vacuumed from the seams. So get the Dust Devil out and make sure the seams are french fry residue clean.

I apply the Rejuvenator by hand. It gives you good control and you can feel when everything is coated. Use plenty, make sure the seams get a good amount as the stitches allow the oil to wick into the leather.
This is what you want to see, shiny and covered...

You can see in this shot of the back seat the Rejuvenator is already beginning to soak in...

Here's the hobo part of the process, a necessary evil if you can't leave your car to sit for three days...

After three days, use the Cleaner to remove the residue from your leather. Again, use generously, soak a clean towel and clean the seat. After I use the cleaner I go over the seats with a damp cloth and finish with a clean, dry cloth to buff to a soft matte shine.
Everyone has their favorite leather cleaner and frankly, most people find the Leatherique process to be too difficult and time consuming to consider. If you plan to keep your car for an extended period of time I can recommend it.
The result is beautiful, soft, good smelling leather that is strikingly cleaner than you thought it could be again.


The Leatherique process is to first use the "Rejuvenator" oil, then the Cleaner. That sounds counter-intuitive but the oil conditions and lifts dirt and sweat to the surface and the cleaner removes the residue. Optimally, you will make three applications of the oil over three days in 90 plus weather if your leather is old, dirty and stiff. On newer cars one or two applications seems to suffice.
My leather is in good condition so I made one application of Rejuvenator and left it on for three days to get as good a result as possible. On the 300 the oil began soaking in immediately upon application, on the 330 it seemed to bead on the surface and required more "massaging" it in before it began to disappear.
Here's the process...
First, lay in provisions. As you'll see, one of the perks of using Leatherique is driving around on a 55 gal trash bag for a couple of days.
To preserve your dignity, this is to be avoided as much as possible so stock up!The key to prep is making sure all that salt (and other detritus) from those french fries you've been stuffing down is vacuumed from the seams. So get the Dust Devil out and make sure the seams are french fry residue clean.
I apply the Rejuvenator by hand. It gives you good control and you can feel when everything is coated. Use plenty, make sure the seams get a good amount as the stitches allow the oil to wick into the leather.
This is what you want to see, shiny and covered...
You can see in this shot of the back seat the Rejuvenator is already beginning to soak in...
Here's the hobo part of the process, a necessary evil if you can't leave your car to sit for three days...
After three days, use the Cleaner to remove the residue from your leather. Again, use generously, soak a clean towel and clean the seat. After I use the cleaner I go over the seats with a damp cloth and finish with a clean, dry cloth to buff to a soft matte shine.
Everyone has their favorite leather cleaner and frankly, most people find the Leatherique process to be too difficult and time consuming to consider. If you plan to keep your car for an extended period of time I can recommend it.
The result is beautiful, soft, good smelling leather that is strikingly cleaner than you thought it could be again.