When you click on links to various merchants on this site and make a purchase, this can result in this site earning a commission. Affiliate programs and affiliations include, but are not limited to, the eBay Partner Network.
I've promised a few that I would do this DIY. So hang with me the next couple of days as I complete this task. I understand Toyota bumper covers better than most because I work in the injection molding dept. of TMMK home of the Camry, Avalon, Venza and this fall the Lexus ES. They all share the same basic design.
This is to preceed the F-Sport exhaust swap. Other mfg's rear exhaust kits coming out soon may also use this Lexus round tip diffuser as well.
The diffuser has 8 clips and 4 push pins to attach it to the bumper cover that cannot be reached any other way but by removing it. I tried and its just not possible to get any type of tool needed to remove the clips in the space available. This was a 5 minute job for me once I understood the attachment points and type of fasteners. So follow this and feel comfortable in doing this very easy procedure.
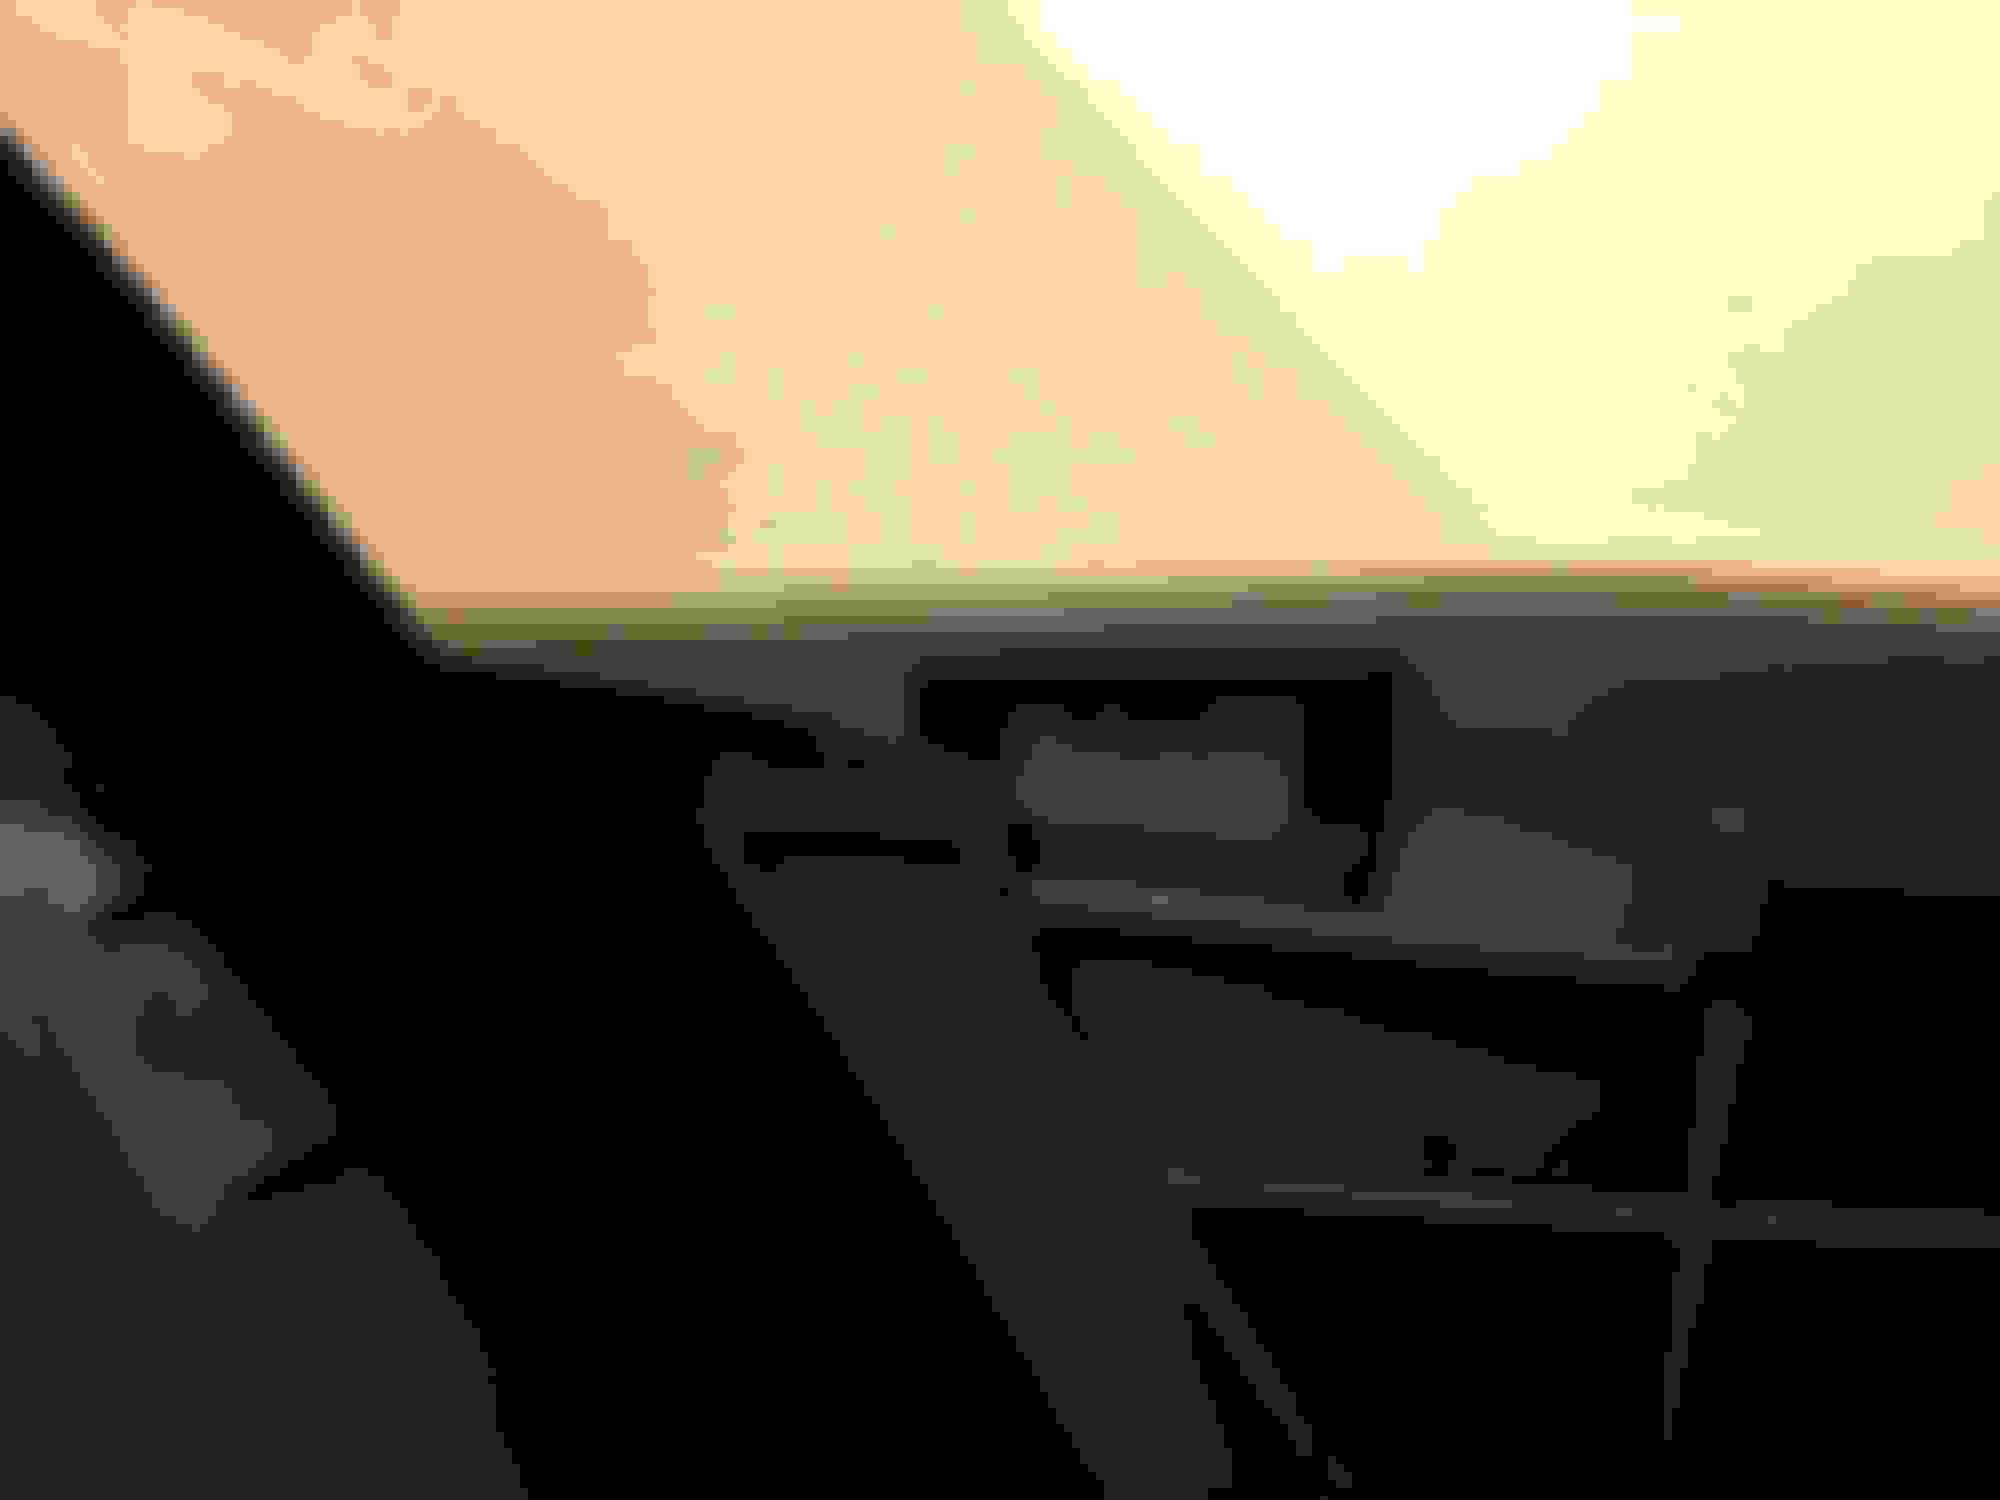
At the bottom of the left and right sides of the bumper. ( I call them wings ) You will need to remove one push pin from each side. I have already removed the bumper cover in this pic but you should get the location easily enough from it.
On each side of the left and right wings. You will see a black flat looking plastic rectangle shaped holder of sorts. Its on the brim of the cover right in the middle of the bumper cover well. There is a "tab" that locks in place there. It will pull out with a gentle tug. Grip slightly above with one hand and slightly below with the other and pull. It will make a pop sound but do not be alarmed.
Last edited by Pearlrider; 04-23-15 at 04:08 PM.
Reason: Spell check
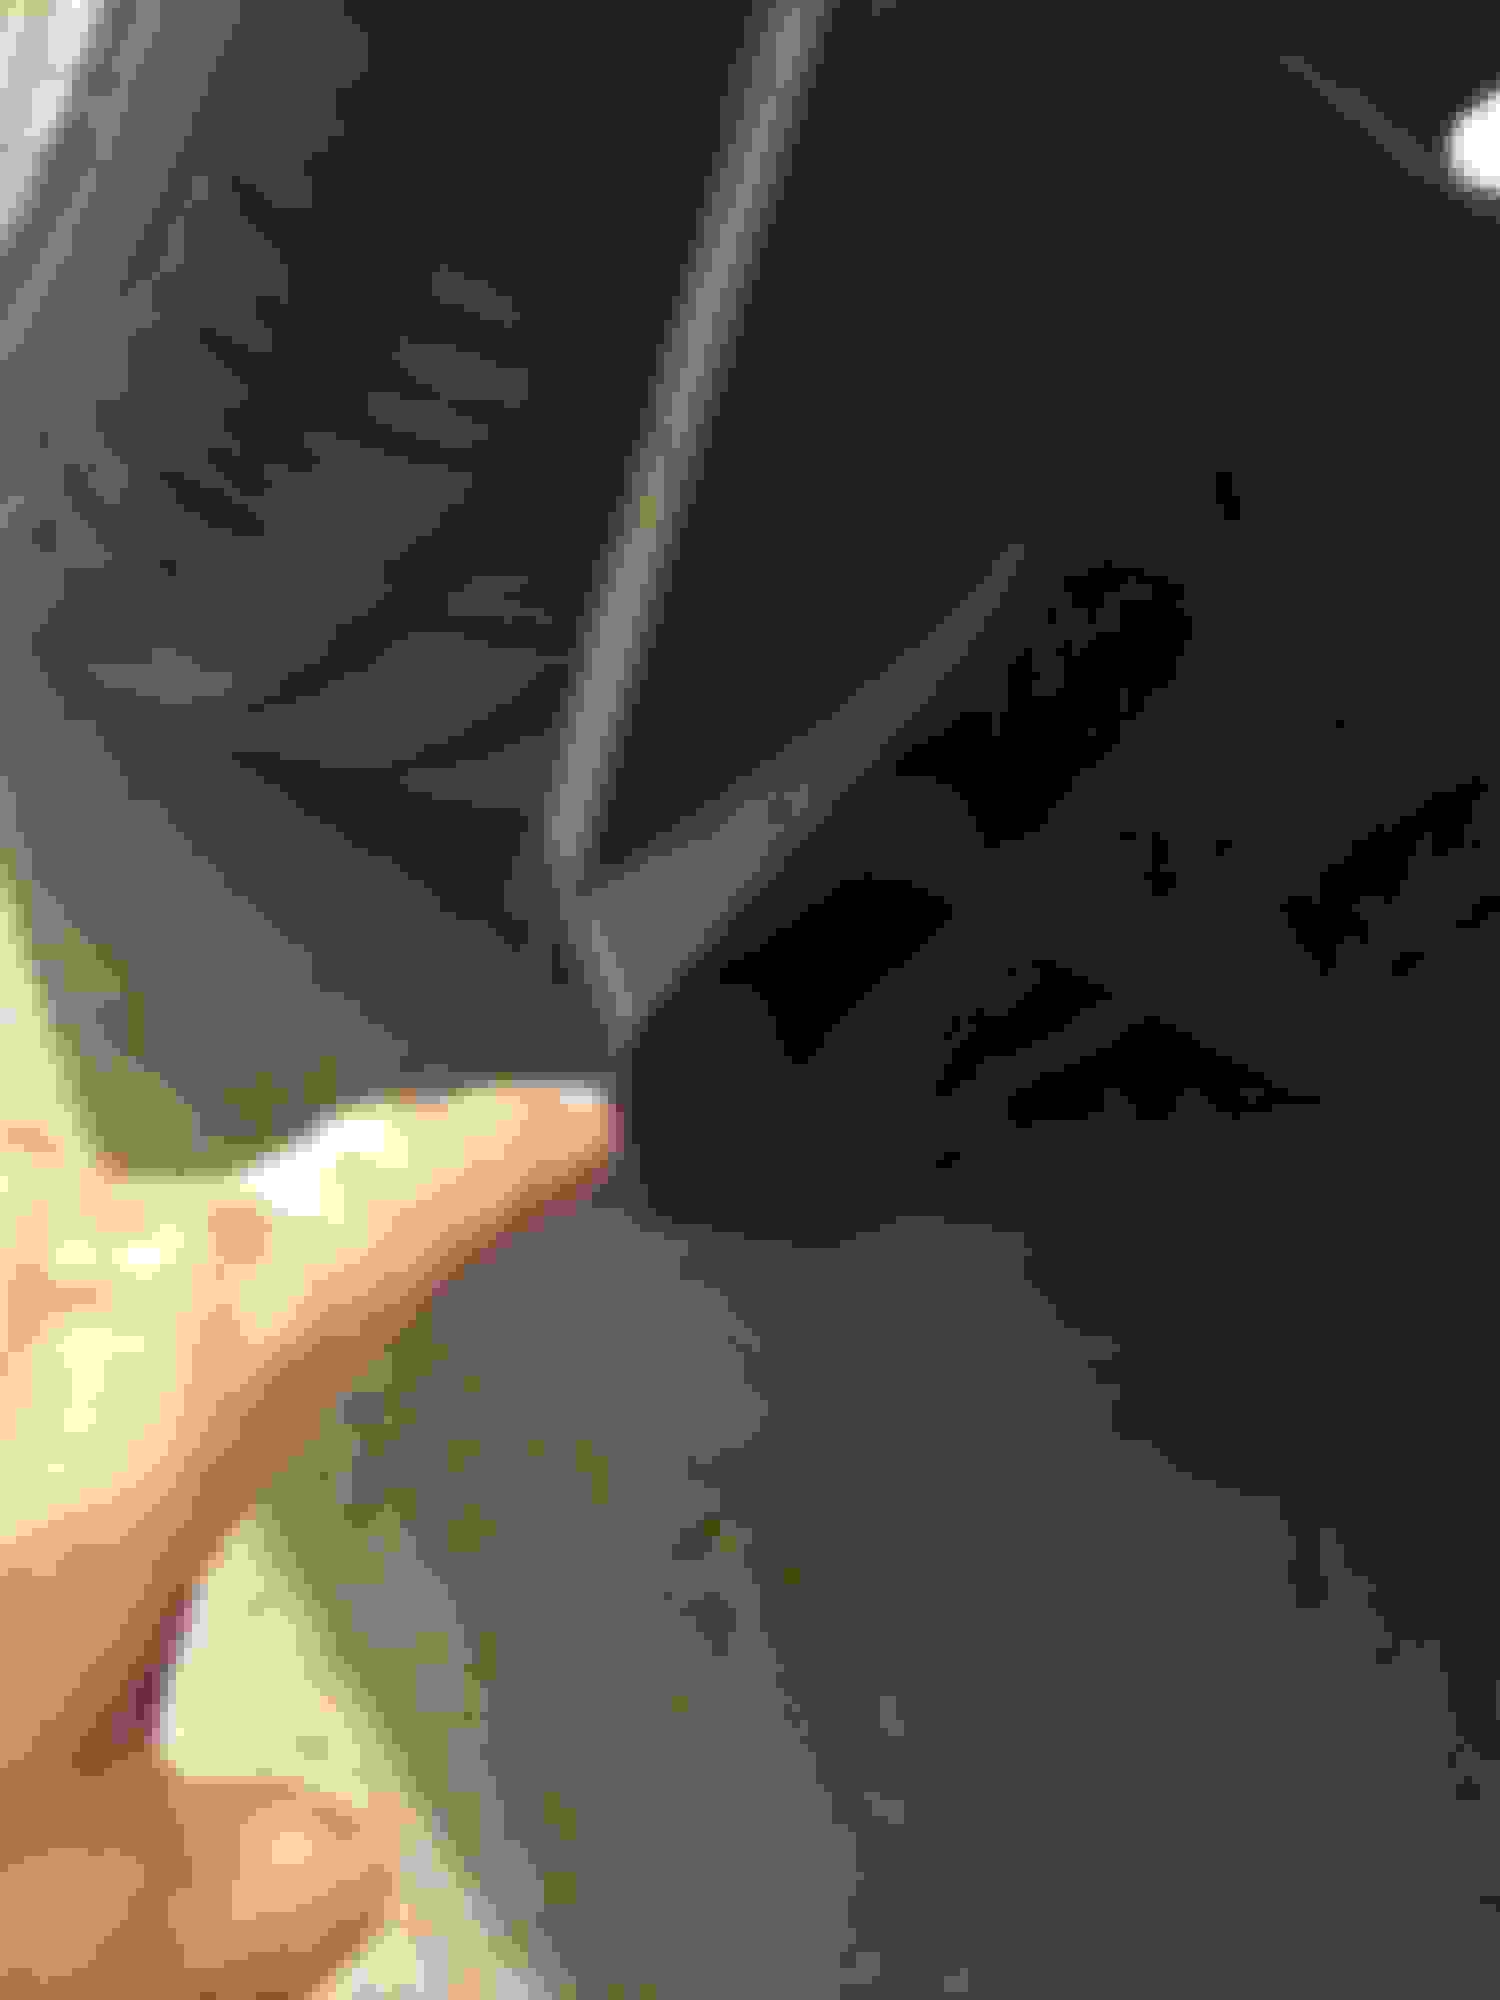
At the top of the left and right wings is a 10mm bolt. To access this bolt you must pull back the fabric wheel well cover near the top of the wing. It makes it easier to have the wheel removed but not necessary. Study the picture and notice the angle of the socket wrench and you will find the bolt access hole. Its about an 1-1/2 " back from the wing edge. Use a 10mm socket with an extension to poke around and you should feel it slide up into the clearance guide hole. Once acquired remove it from each side.
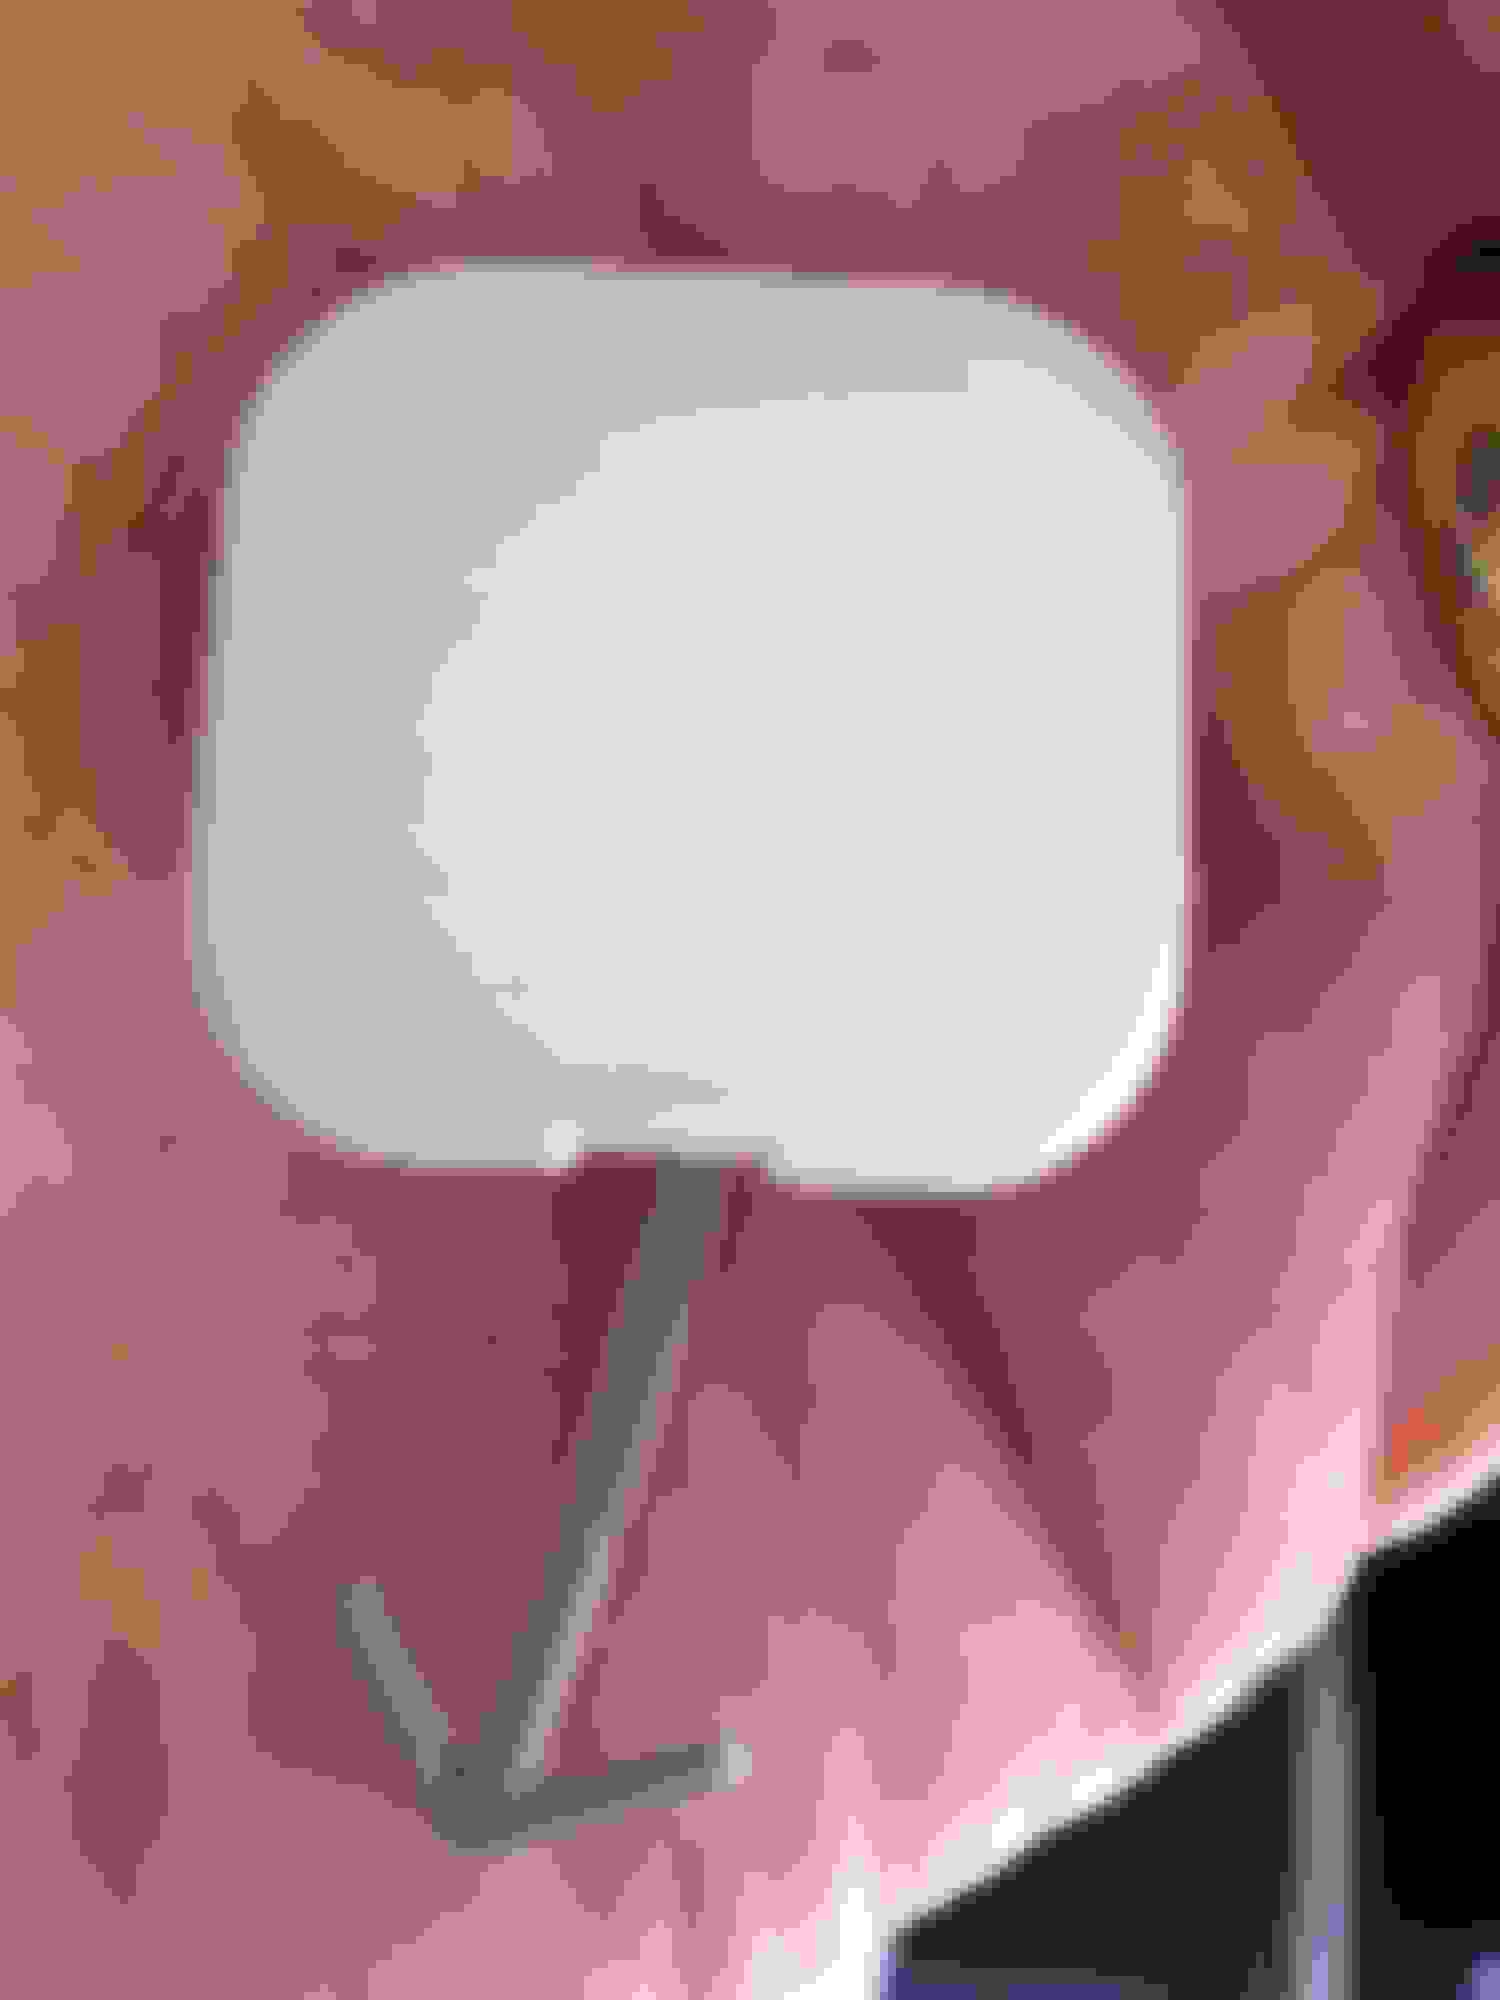
Open the trunk. On your left and right sides you will see a 1''x1" square cover. Follow the trunk lid rubber seal around the bottom near the tail lights to find them. You need to pop these open. Use a small screw driver on the side which has the small recessed slot to pry open with. You might wrap the blade with some tape as not to scratch the paint. ( Often the covers will come off completely. Don't worry they have a molded tongue shaped arrow that holds them in place for safe keeping. Simply push them back in the hole if they come out).
Remove the 10mm bolt that is now exposed on each side.
This is the part that will make you most nervous about doing. It involves pulling on the bumper cover and popping the attachment points off. To make you feel better about this I will attempt to explain the design in which holds the cover to the bracketed portion and how it works.
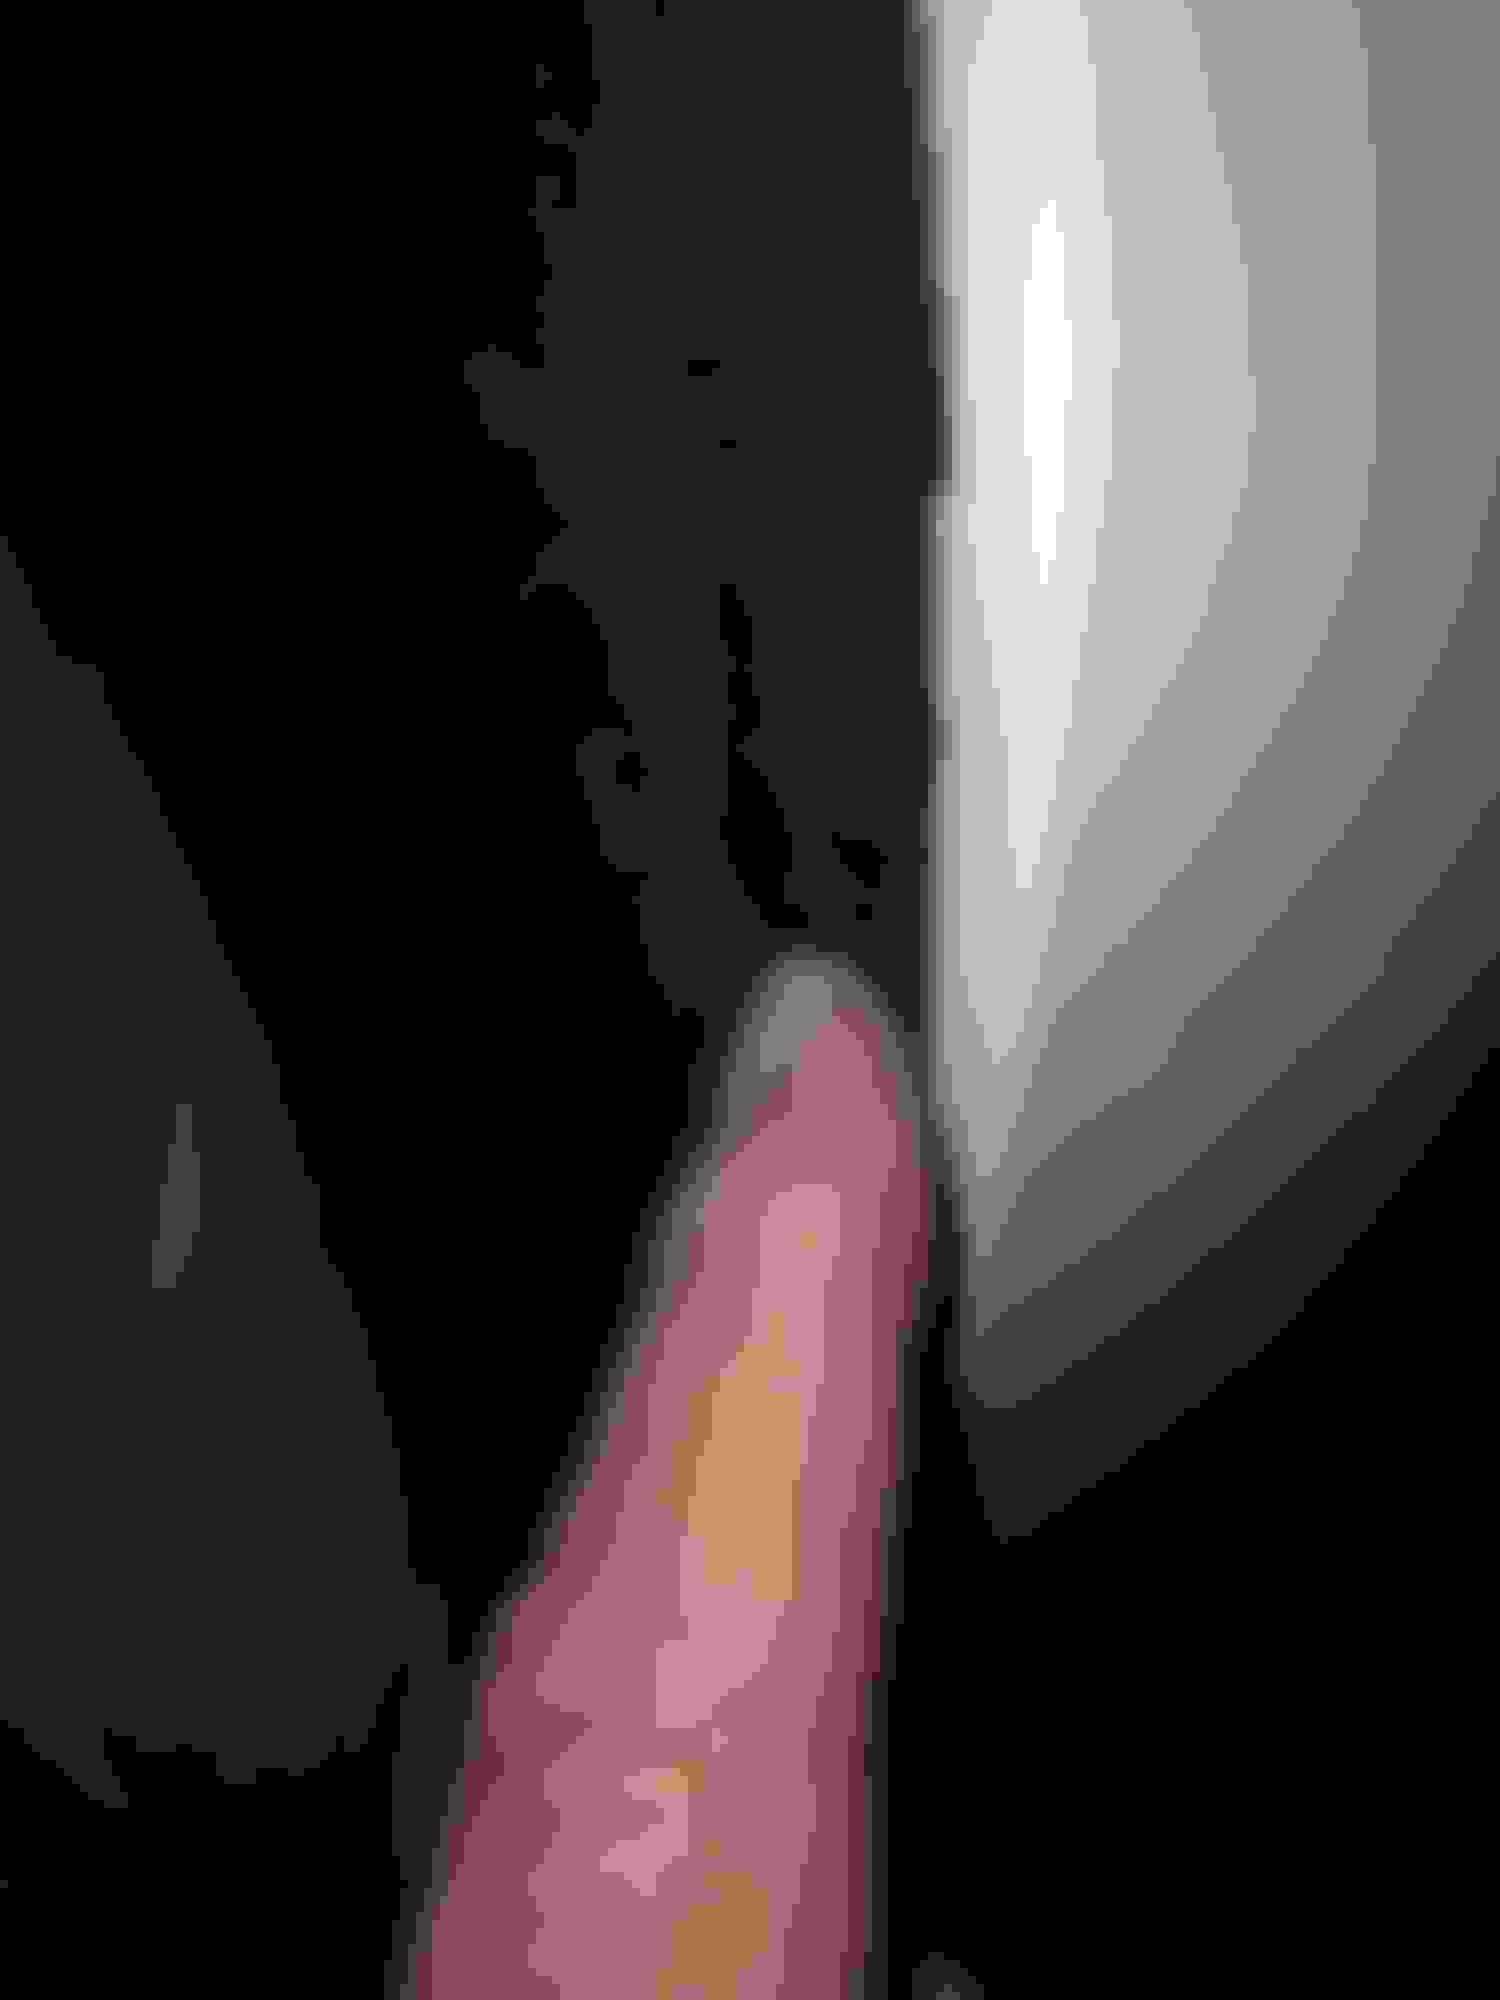
The cover and the sheet metal meet with a very small gap that is very concise. A Lexus must for top quality ! ( Plug for my employer) Looking at it you would never know that there are hidden fasteners behind there.
And here is how it works. The shell body has a plastic molded rail attached to it. On that rail is a series of clip points of sorts.
Now the bumper cover has molded bumps on the top leading edge of the "seam". These bumps lock into the clip points. They snap in and snap out with light force. The nature of this snapping sound is scary at first. But is normal to remove and replace. Its just how it works.
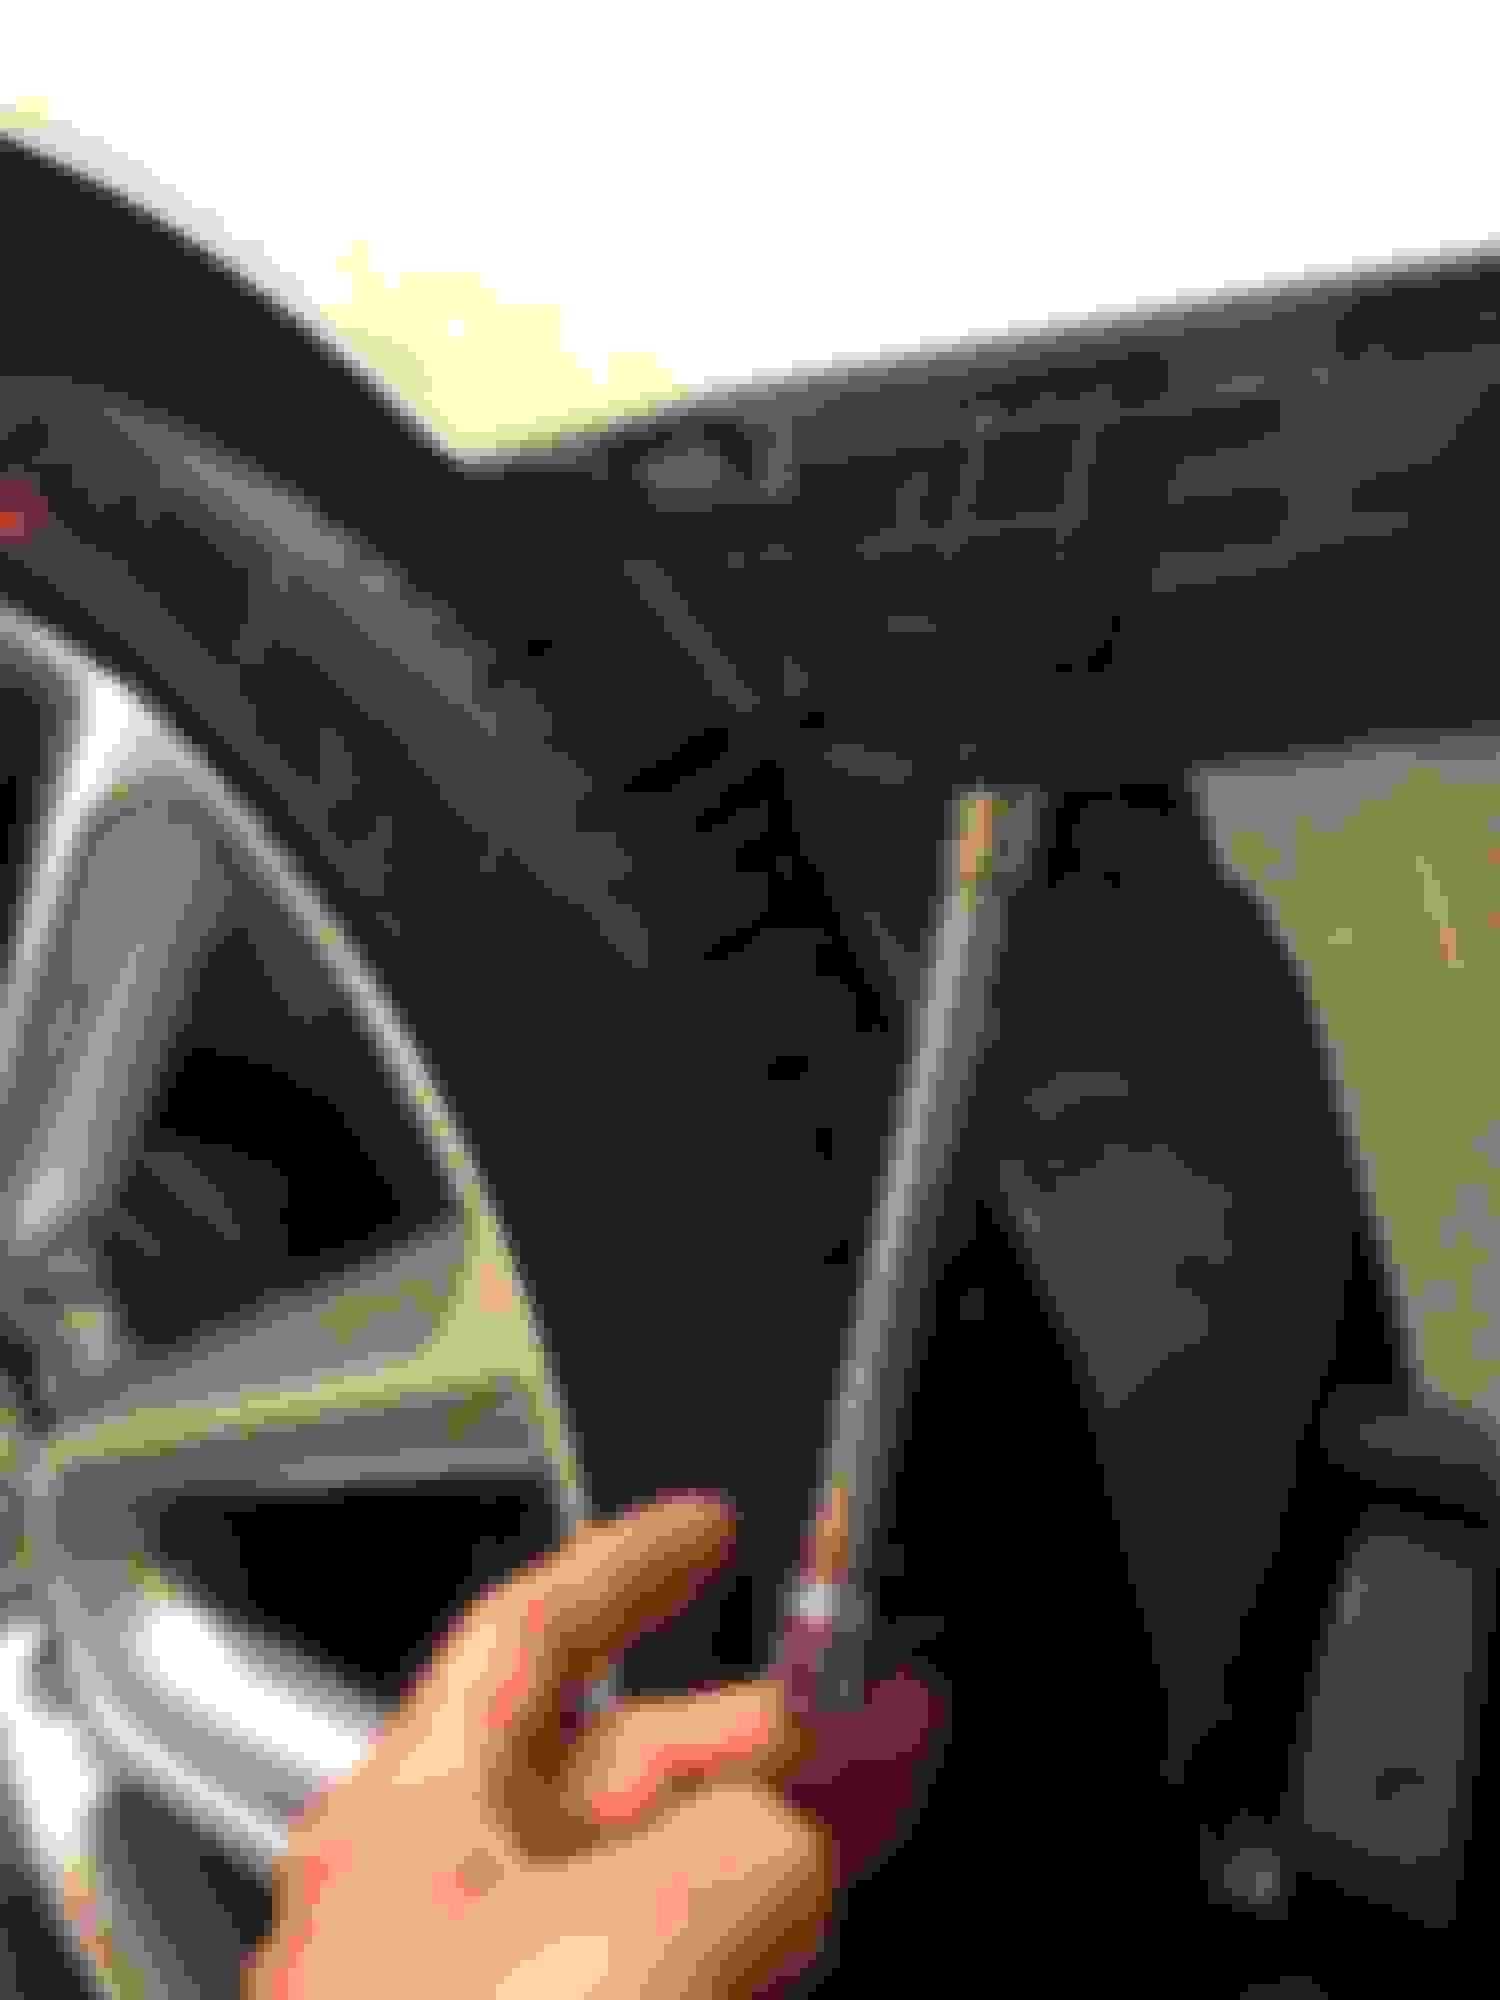
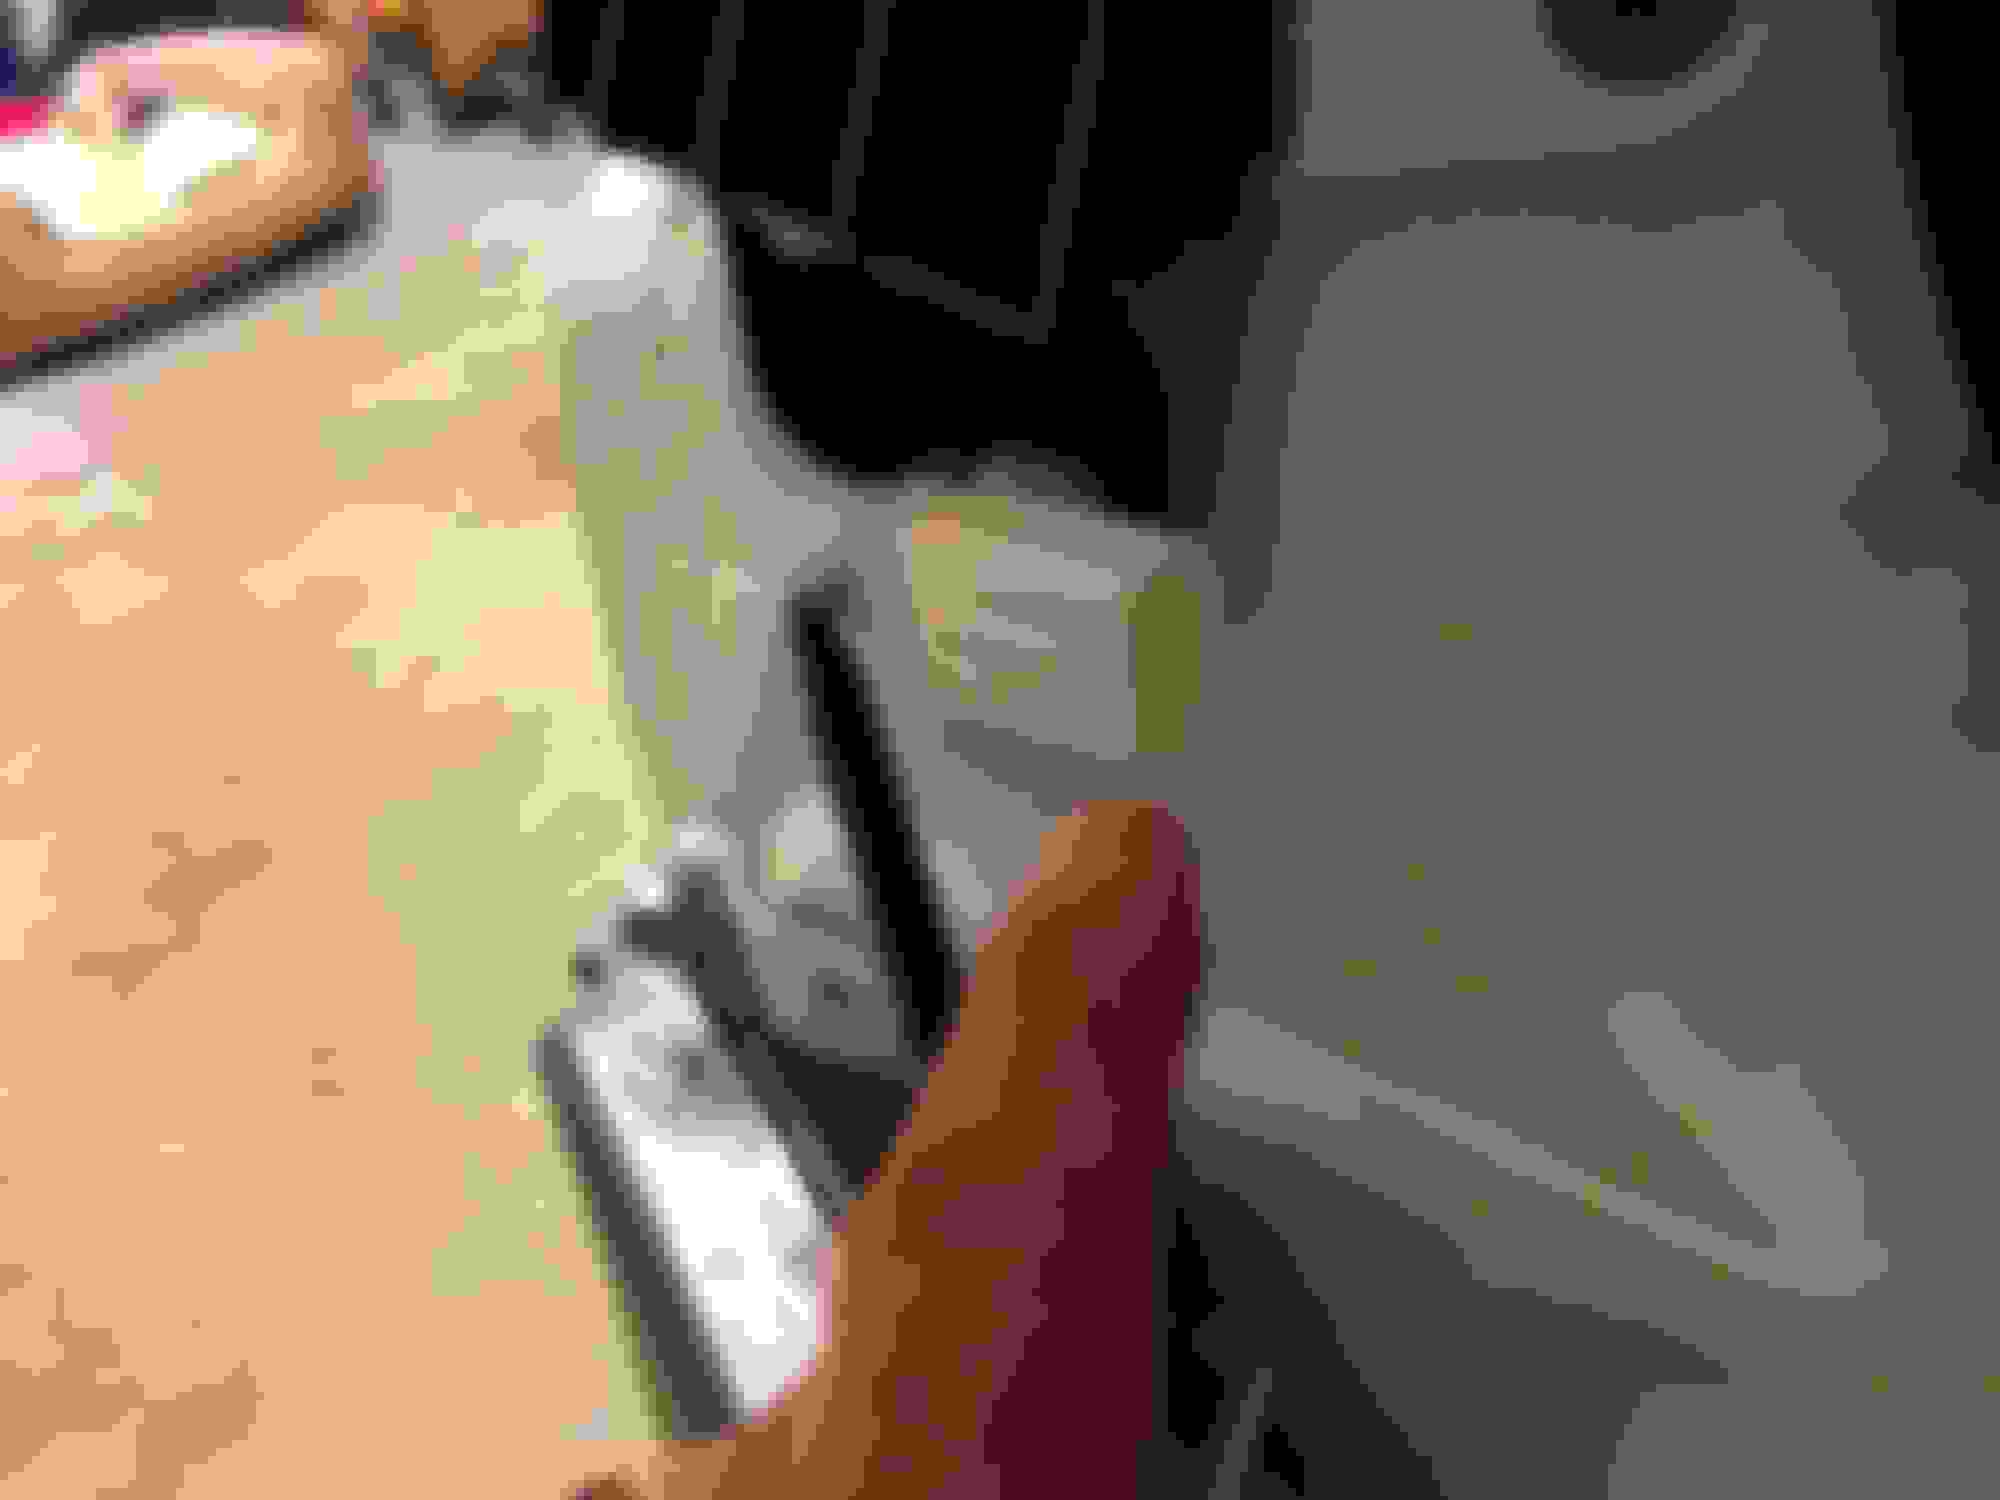
Study pic 1. This clip is near the wing tip just in front of the 10mm bolt area. You will have about 4 of these clip points used on each side on the rail.
Last edited by Pearlrider; 04-23-15 at 03:27 PM.
Reason: typo
I would suggest lying a blanket behind the trunk area to lay it on once it comes off. There is a wiring harness which will need to be disconnected and its a tricky balance holding the awkward cover once its separated. And make sure you have room to work in. The last thing you want to do is bang it into something. Its very flimsy once removed.
Pick a side and start at the wing tip. Pull on it straight out. It should begin popping off the clips one at time until you get closer to the tail light. At that point they may all pop at once and surprise you.
Stop once you get to the leading edge of the back side of the tail lamp.
Go to the other side and repeat the procedure.
Now that both wing tips are de-fastened all the way to the tail lamps. Begin on one side and wiggle off the cover from beneath the lamp. You may have to pull some. Repeat for other side and you should see the center top section separating by now. Hold the cover and back it off slowly. On the left hand side ( Drivers ) there is a wiring harness connection for the sonar back up sensors. It needs to be disconnected. A flat head screw driver will do the trick to disconnect at the plug connection. There is a threaded stud / bolt that the wiring harness loom attaches
to. Pull it off and the cover is now separated !!
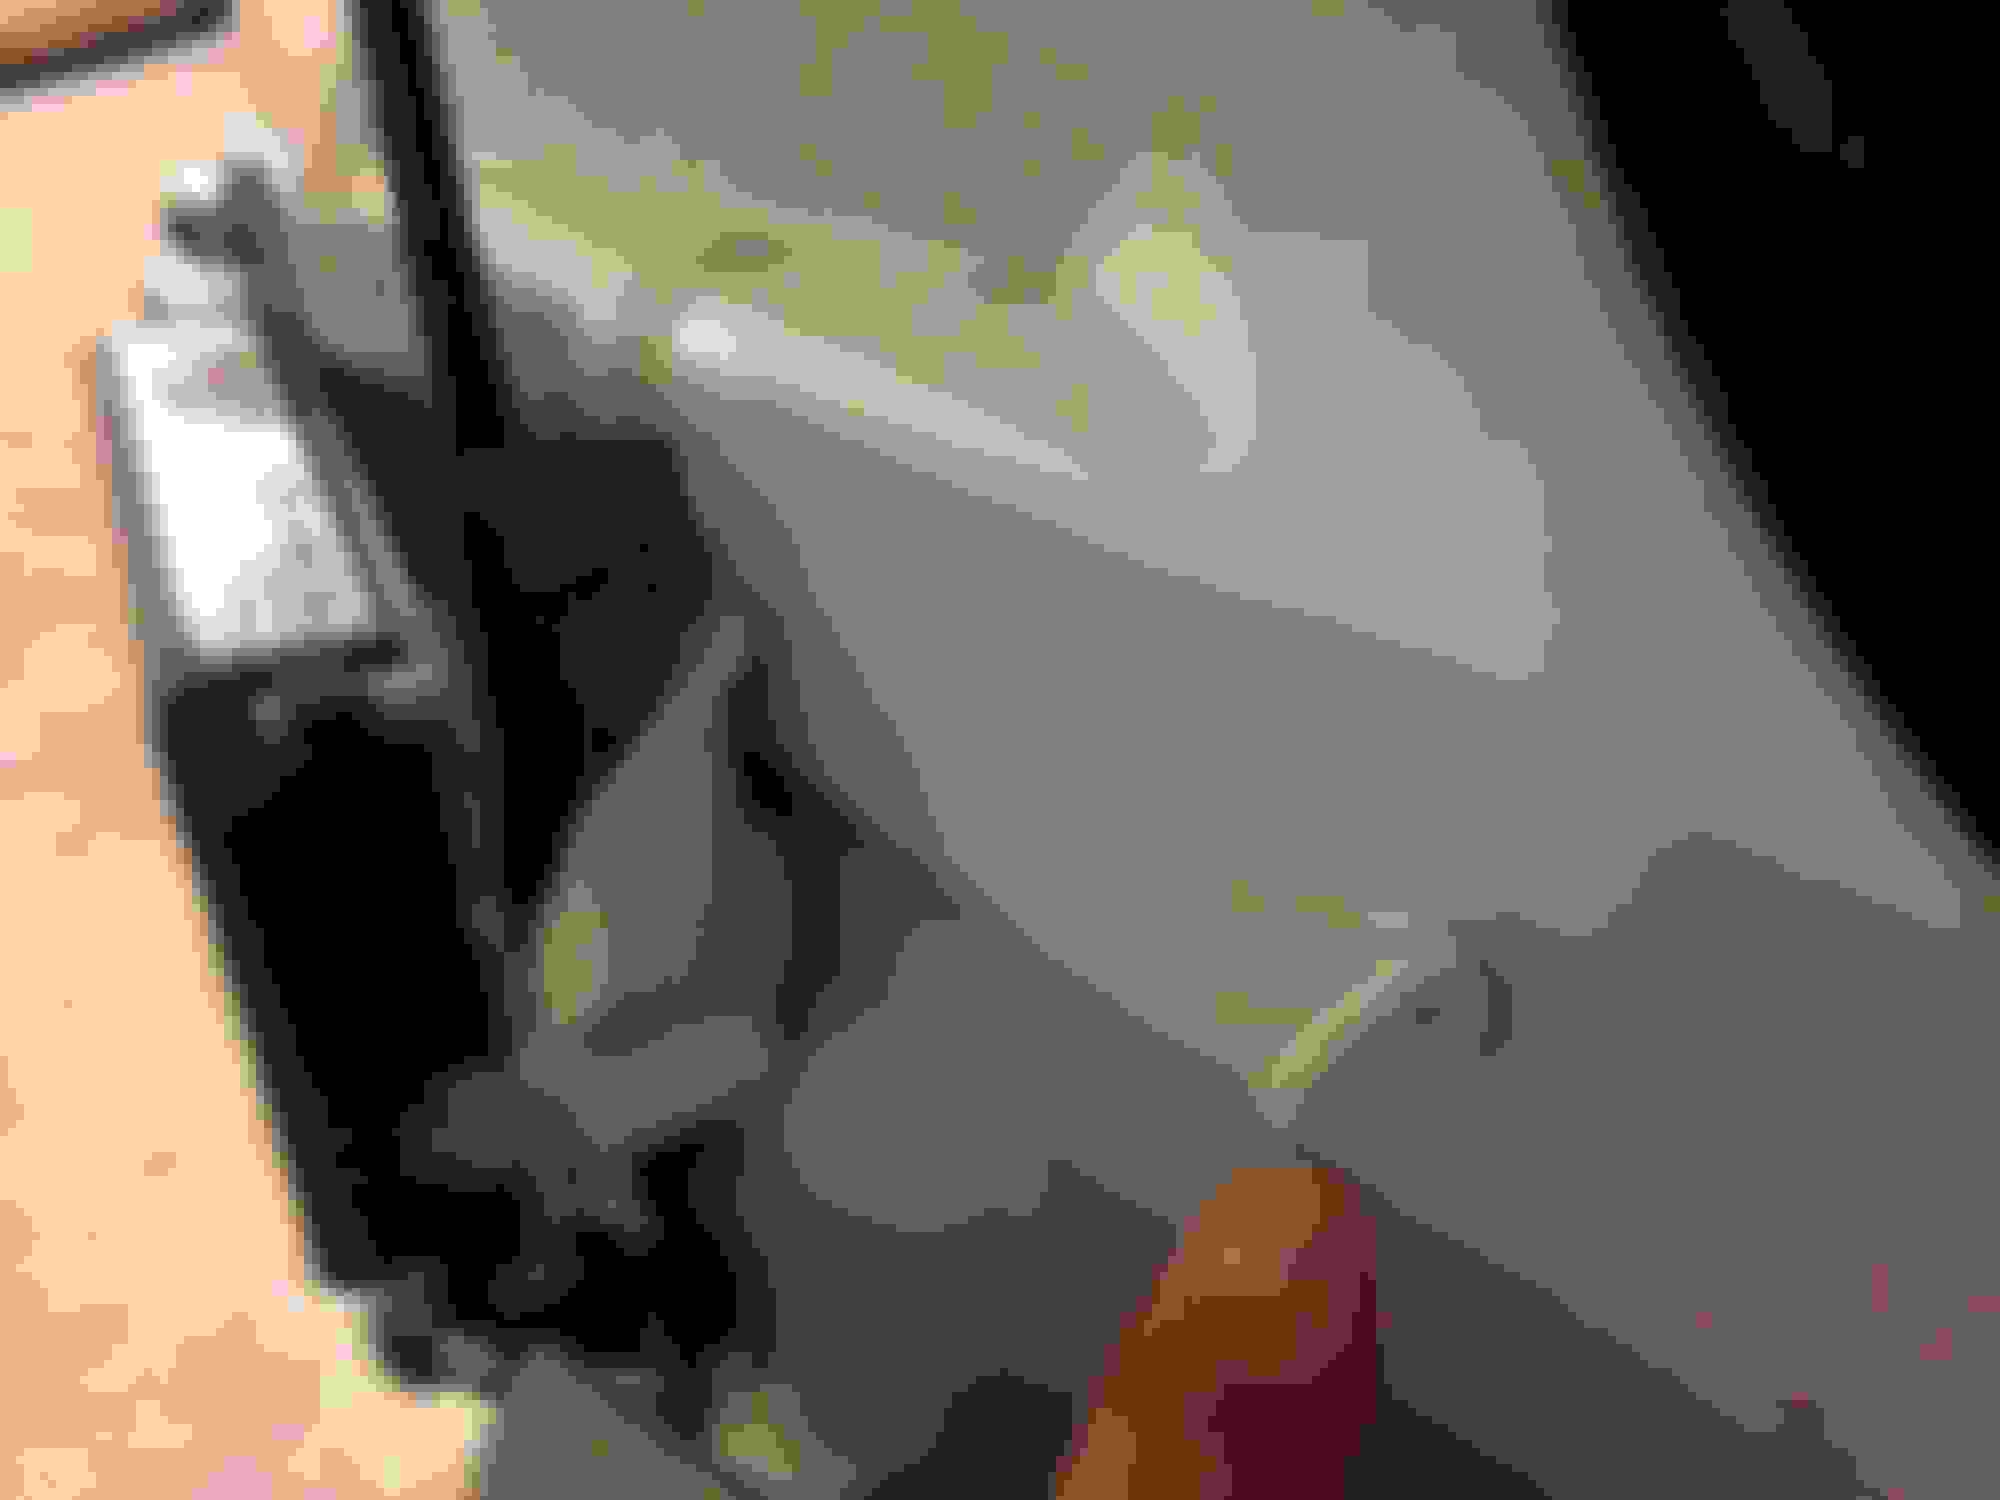
Re installing is just backwards of removal. Start at trunk area and work out. Pick a center point for alignment. But be sure that the inner lip or ledge that is molded on the inside top of the cover is inserted into the stamped steel slot. See the two pics above and below. That long flat edge on the cover should slide right in between the stamped portion with the arrows. You don't want it going over or under that area.
Once you get to the wings / tail lamp area with the clips. Make sure not to use your fist to bang them back on !!! Doing this will cause an impression to be left on the top side of painted cover. This is caused by the bracketed area underneath . Simply push inward with your hand until they clip. Do not hammer on them. Push only , with force if needed.
I don't have any pics of pulling the cover wings off. It went by so fast I found it not to be necessary at the time.
Swapping the diffusers is so easy now that the cover is removed. And it allows the exhaust swap to go smoother having that extra space to work with.
PM me if you have any further questions. Hey I finished it up in one night after all.
Thanks to ZeroG , for I used a couple of his pics to make this happen.
 04-23-15, 02:05 PM