When you click on links to various merchants on this site and make a purchase, this can result in this site earning a commission. Affiliate programs and affiliations include, but are not limited to, the eBay Partner Network.
OK, so now that you have the door apart, time to install new speakers, right?
First, I went to Car-Speaker-Adapters.com and spoke with Mike in detail about how no one makes adapters for this car.
I removed and sent him a door speaker for prototyping and after about two weeks, this is what he manufactured CUSTOM for our cars and is now available for everyone on his website! How awesome is that!
Website and Model number are at the bottom of this write-up should you need a set!
Preinstall the speakers and trace a line around them for the speaker tape.
Tape installed.
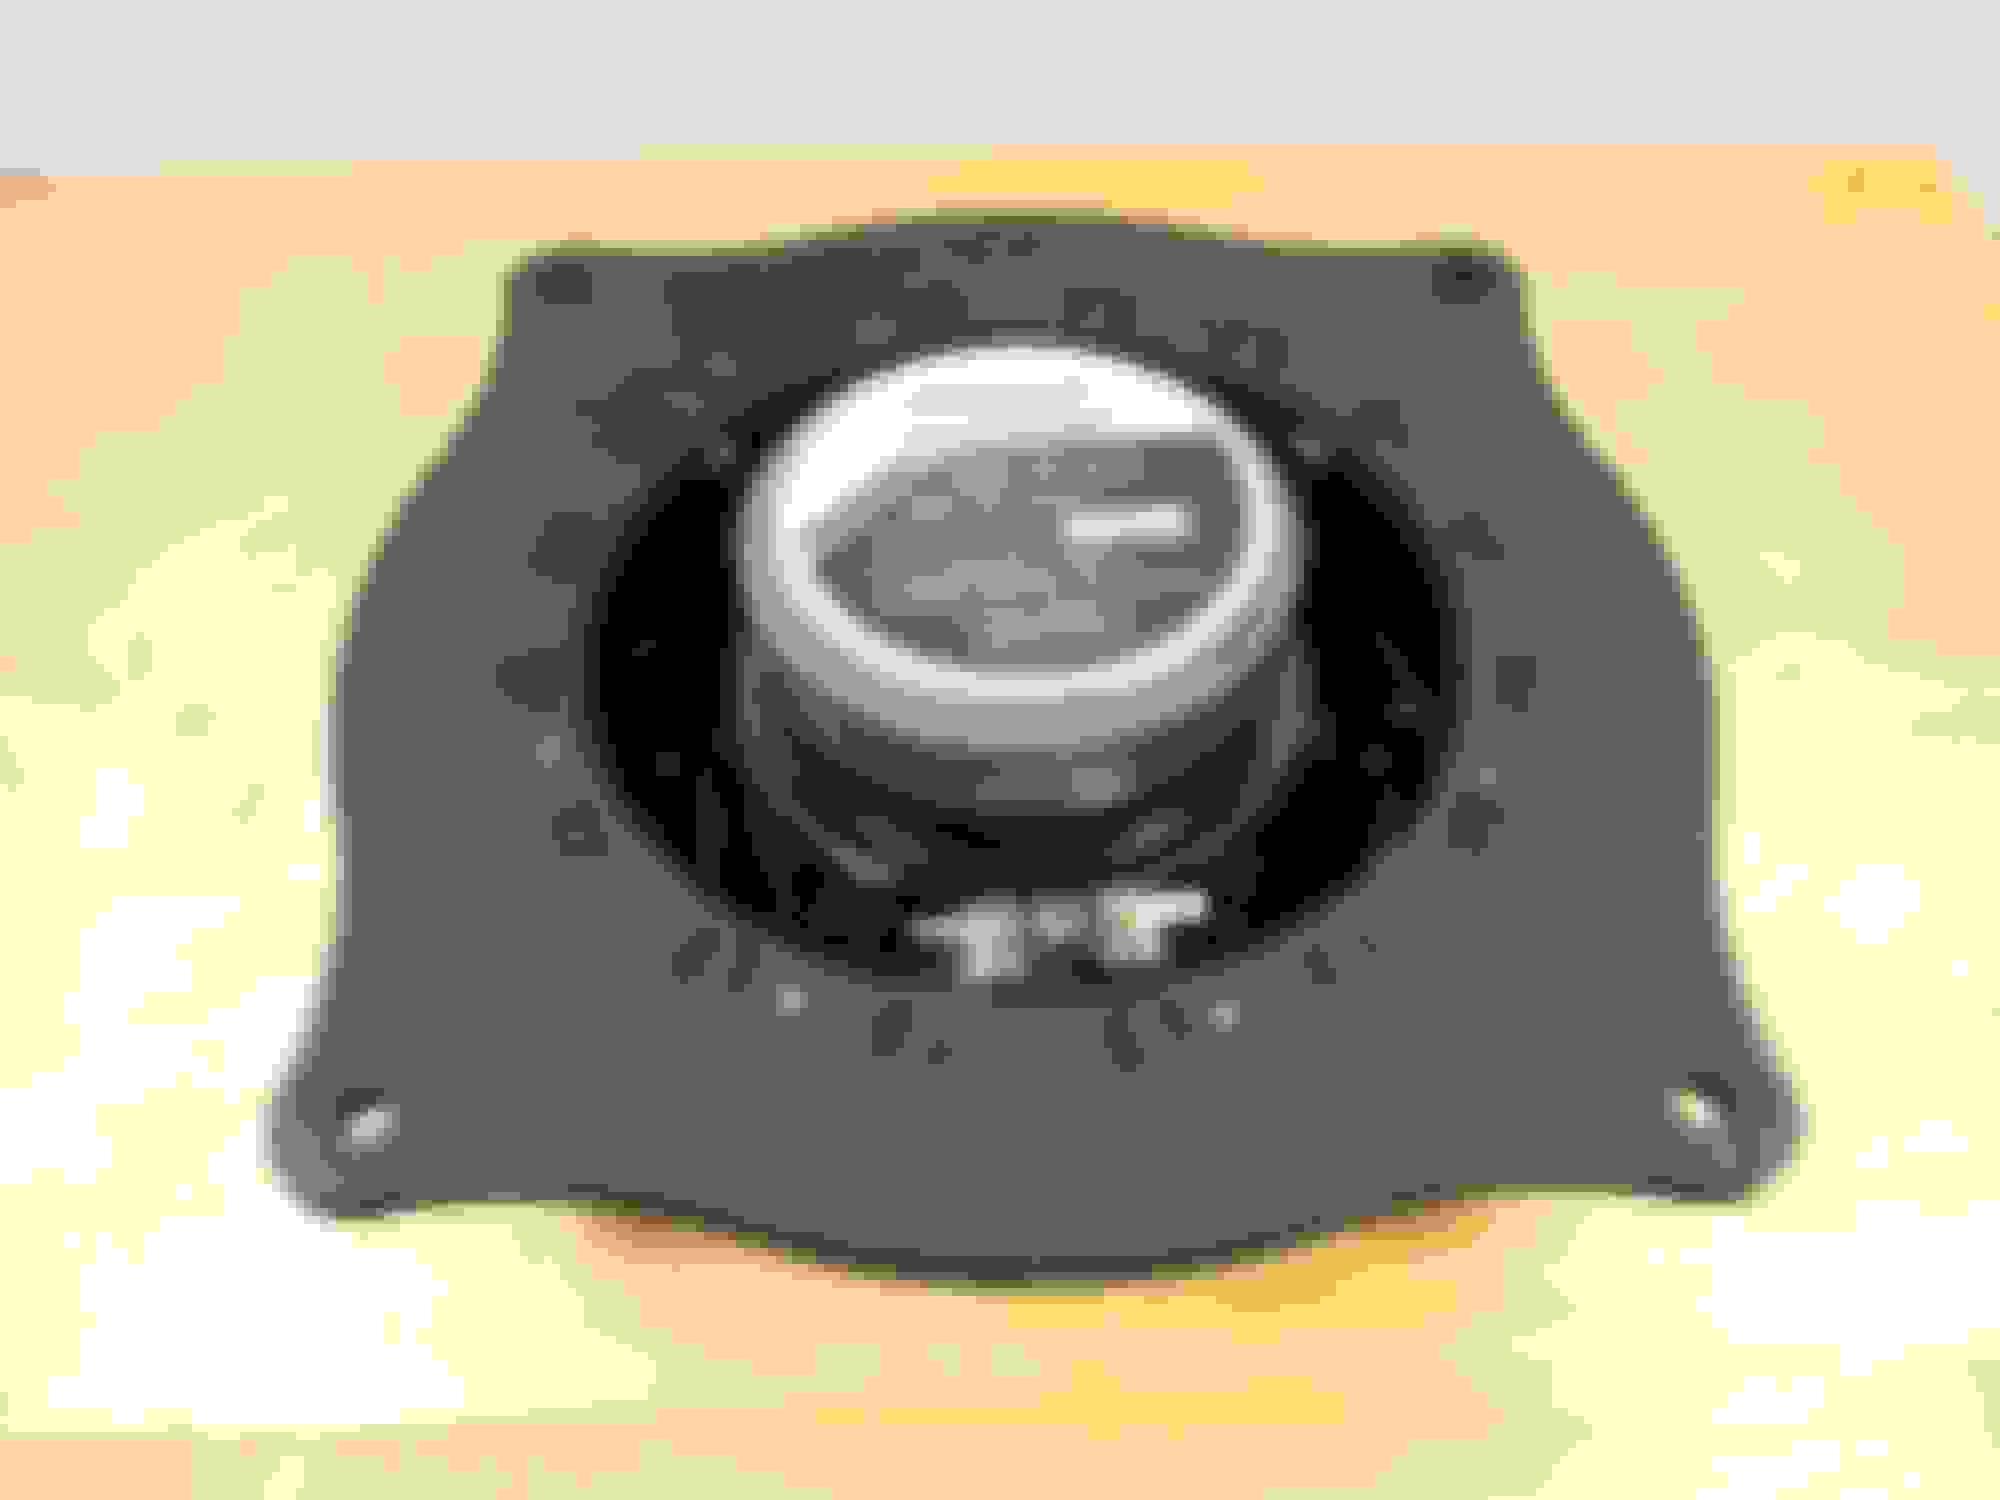
Speaker installed, don’t forget to use thread locker on the screws so they don’t back out and rattle around in your doors. These also have slots around the perimeter to allow the wires from your Metra 72-8104 to pass from the rear of the speaker to the cars adapter.
Speaker installed. Look at the size of that new magnet!
Notice this time I didn’t put the foam backing on. This is because we can easily access this part of the car and put the foam on the car itself.
I routed the Metra connector through the hole in the adapter that is about 30 degrees from TDC towards the back of the car. This allowed a more natural bend for the wires to meet the cars connector.
And that is about it. Just test it out before assembling the door and you are good to go!
Total time was about 30 minutes per door, including assembling the speaker to the adapter, taping things to quell rattles, and being generally careful.
Again, a special thanks to Mike for his quick work on turning these around for us. These are now available on his website: www.car-speaker-adapters.com Model number: SAK132 and the rears per my last write-up are SAK036.
So how does it sound now that there are 2+1+2+4+4+3+3+1=20 speakers in the car?
Short answer, Better. But it still needs work. It seems like the small front dash speakers are low power and get louder than the rest of the car sooner but with poorer quality sound, so they tend to drown out these speakers unless it is balanced more to the rear. More to follow as I come up with more solutions. It looks like even the non-ML stereo may have an amp in the trunk. Also the small fronts may be replaceable with aftermarket as well. Again, more to follow.
Thanks so much for these How-To posts. Just purchased RC 350 F Sport two weeks ago. Had all options I wanted but ML stereo (may end up better). Have been looking at exact Pioneer speakers you selected. Have also looked at their TS-A878 3.5 speakers for front dash corners. Not sure what to do with that front center 2.5 inch 5 ohm or pulled trunk section to view rear sub for width/depth. Look forward to your thoughts and will post if I find something first. Thanks again
Funny you should mention this. I popped the grills off the dash and checked these out this weekend. I went on the pioneer website looking for 3.5" speakers and they weren't listed so I ordered some Rockford Fosgates. My belief is that with the primaries needing min 5 watts, the stock fronts are already blasting by the time I can hear good sound from the primaries. So I ordered a set that needs a min of 6 watts to start. These pioneers don't state a min but if I had seen them I would have grabbed them instead. My plan for the center one is to move one of the stock 4 ohm speakers to that spot. Or leave it or disconnect it. I will place an order for the Pioneers and try them as well. You will need to watch that connector as it is proprietary and Metra doesn't make an adapter.
OK, so I ordered a set of Rockford Fosgate P1675 Punch 6.75" to go with the P132's, but also got a set of Pioneer TS-A878 3.5" as well. I put in the Pioneers and the problem was solved. The sound is now balanced and matching across the car. I thank you for pointing out the A878's because they matched the system perfectly.
I also tried the Punch 132 and P1675 and they could not compete. The Pioneers had better bass and could reach the higher notes more clearly as well.
I had an independent party (wife) get into the car and tune it left to right, front to back, with both sets of speakers installed (Pioneers on the right, RF on the left) with the audio completely centered and everything at zero. She came within one tick mark on each (treble, bass, mid) of where I had previously set it and told me she couldn't get the range out of the left side that she could out of the right.
The Pioneers are staying, and the RF's are going back.
Lastly, I would like to recommend that since the connector to the front is proprietary, and Metra doesn't make a matching connector, you get a set of Metra 72-7400's. I took a gamble at the size of the pins in the small speaker and these matched. Not the connector, the pins! I was able to pull the pins out of this connector by pushing up a flap on the plastic and then going into the connector with a sharp pointy object and flipping up a piece of plastic that was holding the pins in place. Once out, these matched the car connector. Just tape them up so they don't make contact with anything on the car, and insert the pins into the cars connector. Tape in place and done.
Also, the RF speakers had VERY wide connectors on them. The Metra adapter blade connectors do not fit, so anyone looking into using the Metra connectors, do your homework. The RF's also did NOT come with blade connectors like the Pioneers did. The RF's did come with padding on the back of the bolt flange, which was pretty cool and could have saved me a step on getting speaker tape.
Installation notes:
1) the speaker grills are a bit of a pain to get out, the dashboard is quite rubbery and does NOT warp, so feel free to use some muscle. I used the same orange removal tools shown in my photos, digging straight down on the leading edge and then pushing down on the tool to pry the grill up. Go deep and put padding like tape around edges in you are worried about marring the surfaces! There are also white clips on the back of the grill. Once the grill is out, you can pop off the white clips while test fitting everything to make them easier to take in and out. And so your car doesn't look ghetto between attempts to get it all done.
2) none of the 3.5" speakers I ordered had the bolt holes match up to the car. The bolt diameter is too large on the car. So I put one bolt through the speaker flange on one side, and the other one pinches the edge of the flange on the other side. Unfortunately, you need to be careful as overtightening easily cracked the fragile plastic of this speaker bolt flange. Use threadlocker once you are sure you like what you have.
3) the stock center speaker I left connected, it seemed to mesh well with the Pioneers.
Finally got warm enough here to work on speakers. As Jinx32 stated, the dash speaker connectors do not fit any aftermarket connector. He pulled the pins which seems to have worked well. I took the old stock speakers and cut the outer edge around the connector. There is a band that runs around the speaker will little holes that look like rivets. These are actually contacts with the connector pins. Outer ring is + and inner ring is -. I ran a short amount of the new included speaker wire and soldered it to the holes and then shrink wrapped to keep from shorting out. Self made connector seems to be working. Pioneers sound fantastic. As Jinx32 did, I left the center stock speaker alone.
Ok I got dashboard speaker cover removed and the speaker unbolted but I can not disconnect the plug. The wires are very short so you cannot grab the speaker out too much to inspect where to push or pull the locking bit to separate the male from the female part of the plug. If only I could see the whole connector I might be able to figure it out.
In the pic this connector will be on the underside of the speaker. The center slot you see is where the catch will be. Just take a small screwdriver and press on the catch while pulling slightly on the speaker and it should come off easily.
Thank you DKTK! Your instructions were spot on. I replaced the dashboard speakers with the Pioneer TS-A878s. The treble is much better. I used a Dremel to remove some of the plastic to get a better surface area for soldering. And since I looked at my pics I readjusted the washer to cover more of the speaker mount on the side that does not line up.
Nice work. Question. I am studying this car and I can't find much detail info about the car speakers. What is the mounting depth for the upper 3.5" speakers? Do you think you could have gone to a 4" driver in that location? Maybe 4.5? Also at the door. Do you feel you could have gone to an 8" driver? What is the mounting depth of that speaker mounting?
On the upper 3.5", the depth is pretty deep. Probably about 3" or more as the cable wraps under it and there was quite the cavity below it. The stock speakers had a bolt circle of 4-9/16". The speaker itself was exactly 3.5" diameter. The hole it went into was oddly shaped with angles and edges all around it, with the driver centering across the span of the bolt holes. You could try 4" but you may have trouble with the bolt holes.
Regarding the door, you will have to check the dimensions of the individual speakers you are going to purchase. Door speakers are 2-3/4" depth from the door bolting surface before you hit the window. Hole in doorframe is 7-7/8". The mounting adapters I purchased had room to spare when I bolted my speakers in. They added at least an inch to that depth. You can check the dimensions on his website and he can custom make other sizes for you if you send him the drawings of the speakers you want to install to make sure he matches up the bolt holes.
THANK YOU!!!!
I appreciate the detail response. To be honest I am trying to get a large woofer in there. I don't have the car yet and I am doing my homework. So my question for you is this. The speaker grill over your 6.5" speaker is large. Do you know the inside opening space of that speaker grill.? I am trying to see what can I get in there without jacking something up for sure. I would like get an 8-10", but with a mounting depth less than 3.75 with the spacer to mount on.
I appreciate the detail response. To be honest I am trying to get a large woofer in there. I don't have the car yet and I am doing my homework. So my question for you is this. The speaker grill over your 6.5" speaker is large. Do you know the inside opening space of that speaker grill.? I am trying to see what can I get in there without jacking something up for sure. I would like get an 8-10", but with a mounting depth less than 3.75 with the spacer to mount on.
On the upper 3.5", the depth is pretty deep. Probably about 3" or more as the cable wraps under it and there was quite the cavity below it. The stock speakers had a bolt circle of 4-9/16". The speaker itself was exactly 3.5" diameter. The hole it went into was oddly shaped with angles and edges all around it, with the driver centering across the span of the bolt holes. You could try 4" but you may have trouble with the bolt holes.
Regarding the door, you will have to check the dimensions of the individual speakers you are going to purchase. Door speakers are 2-3/4" depth from the door bolting surface before you hit the window. Hole in doorframe is 7-7/8". The mounting adapters I purchased had room to spare when I bolted my speakers in. They added at least an inch to that depth. You can check the dimensions on his website and he can custom make other sizes for you if you send him the drawings of the speakers you want to install to make sure he matches up the bolt holes.
For anyone still curious about this, I managed to fit a pair of Focal ISC100 4� coaxial speakers into the dash with VERY minor modification. Oddly, I didn�t have to modify the driver�s side at all but I did have to modify the passenger side slightly (literally shaved about 1/8� of plastic from one side to slide the speaker in). The speakers come with four (4) mounting tabs, i used a dremel to remove two (which is what the manufacturer recommends) and the two remaining bolt holes lined up perfectly.
Also, I decided after much internal battle, to just cut the connector off and solder in new connectors that would connect to the speakers. It was a long battle, but in the end I�m happy with the decision. I left myself enough slack that I can always solder the connectors back on in a pinch. I�m a bad person and didn�t take any pics during the install, but if anyone wants pics of the finished install, I�d be happy to pop the grill back off and shoot one.
For those curious, the Focal ISC100s sound noticeably better. I prefer warmer highs, but without sacrificing clarity and Focal has always fit that bill for me. I�m currently working on the front door midrange woofers and I can�t decided if I�m going to replace them or not. I bought a pair of Focal ISS165 components and intended to only use the woofer - but these factory speakers are so much bigger, I�m not sure if I�ll improve or hinder the midrange by replacing them. Thoughts?
With those Focals, you just hooked them up to the factory system?
 02-11-17, 08:44 AM