When you click on links to various merchants on this site and make a purchase, this can result in this site earning a commission. Affiliate programs and affiliations include, but are not limited to, the eBay Partner Network.
I recently replaced the rack and pinion and in order to flush my PS system, I was required to remove some old PS hoses that had become apart of the inlets on the reservior and the pump. Removing the hoses left the reservior not connected to anything, so I thought I'd take advantage of this and clean it out of the 22 years of grime and dirt. *Only do this if you are ready to pay 100+ dollars on new hoses. Also you will need to bleed/flush the PS system afterwards.
Tools/stuff required:
2 Vise grips
10mm wrench (to remove the 3 bolts on the reservior)
Tool with a very fine tip
Hammer
Rags
Pliers
Oil pan
Standard screwdriver
No pictures on the first few steps. If you have the reservior on-bench, you can skip to step 4.
Step 1:*Before anything, drain the PS fluid. The "return line" that feeds from the rack to the PS reservior is the one I used. Follow it underneath the car, to the passengers side where you will see a clamp. Jack up the car (safely support it with jack stands) and remove the clamp using pliers or vise grips. Remove the hose from the inlet and PS fluid will drain out. Have a container/oil pan ready to catch the fluid.
Step 2:Remove the 2 in and out hoses from the reservior. (chances are you will be replacing these if dry and crusty so I just cut them off the inlet directly. No pictures for this step...#sadpanda
Step 3: Remove the reservior from it's mounting bracket. There are three 10mm bolts that hold the reservior to the bracket. Remove the reservior.
Step 4:Empty remaining fluid from the reservior so it won't be so messy.
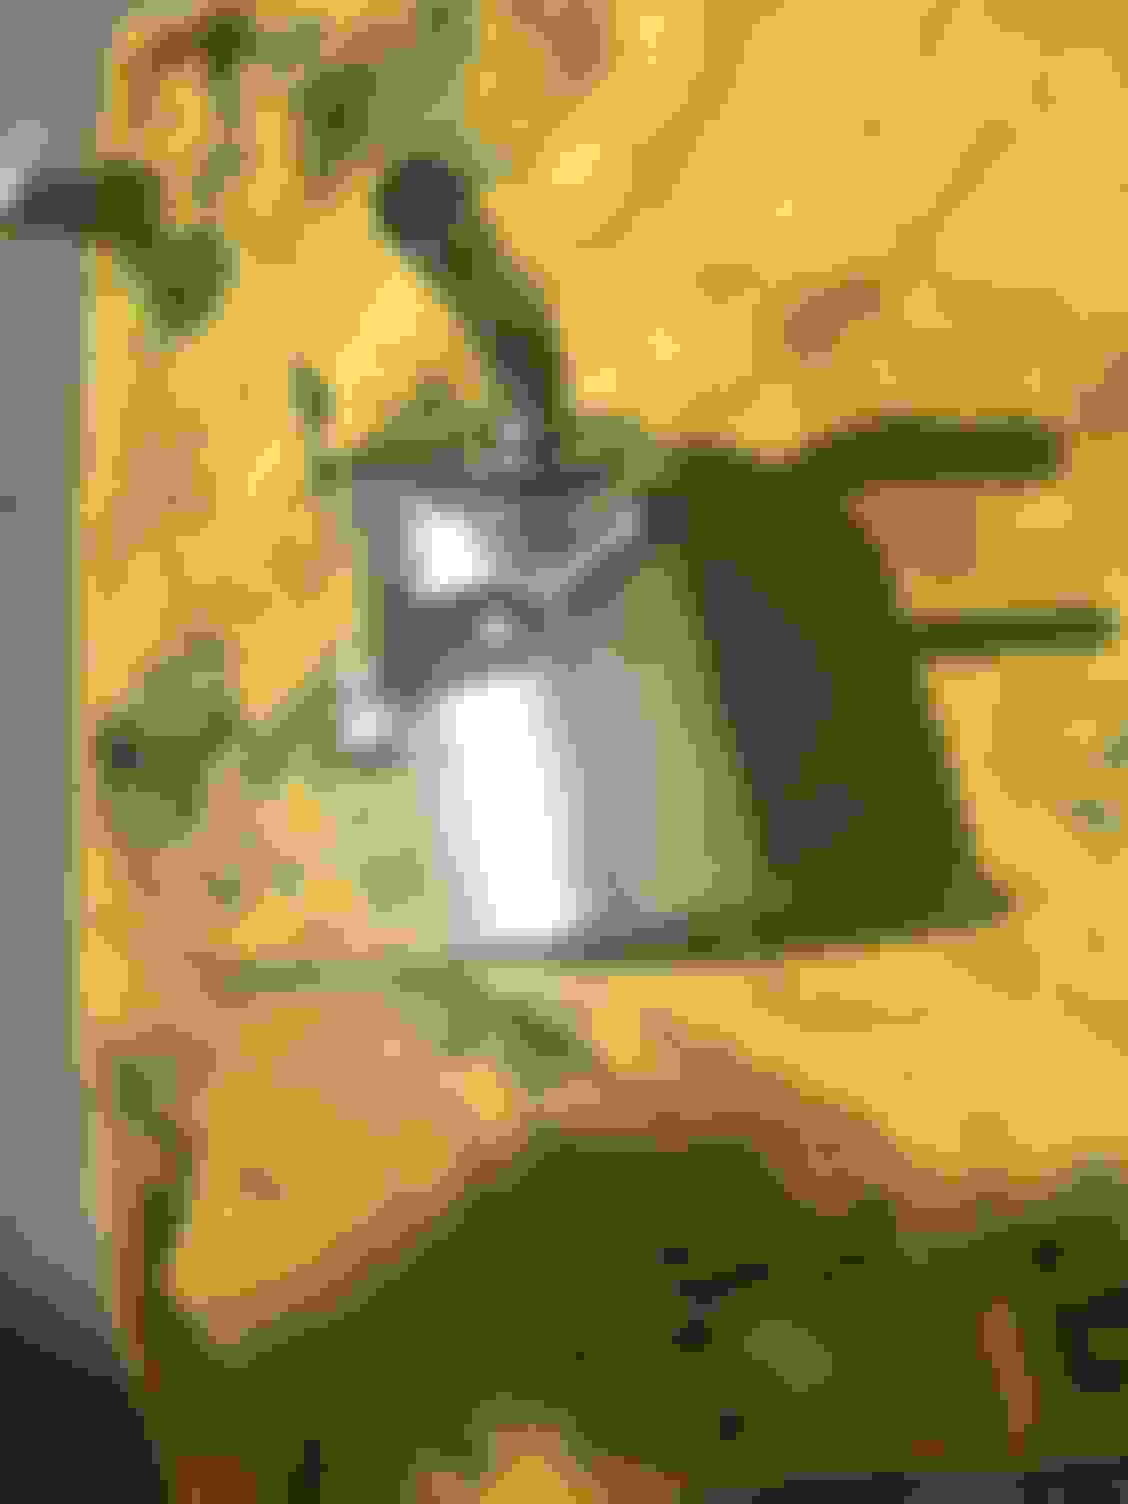
Step 5:Look at the inner edges of the reservior. You will see some 6 or so metal clips holding the lid assembly on the top of the container. Using the pointed tool and a standard screwdriver, bend these out.
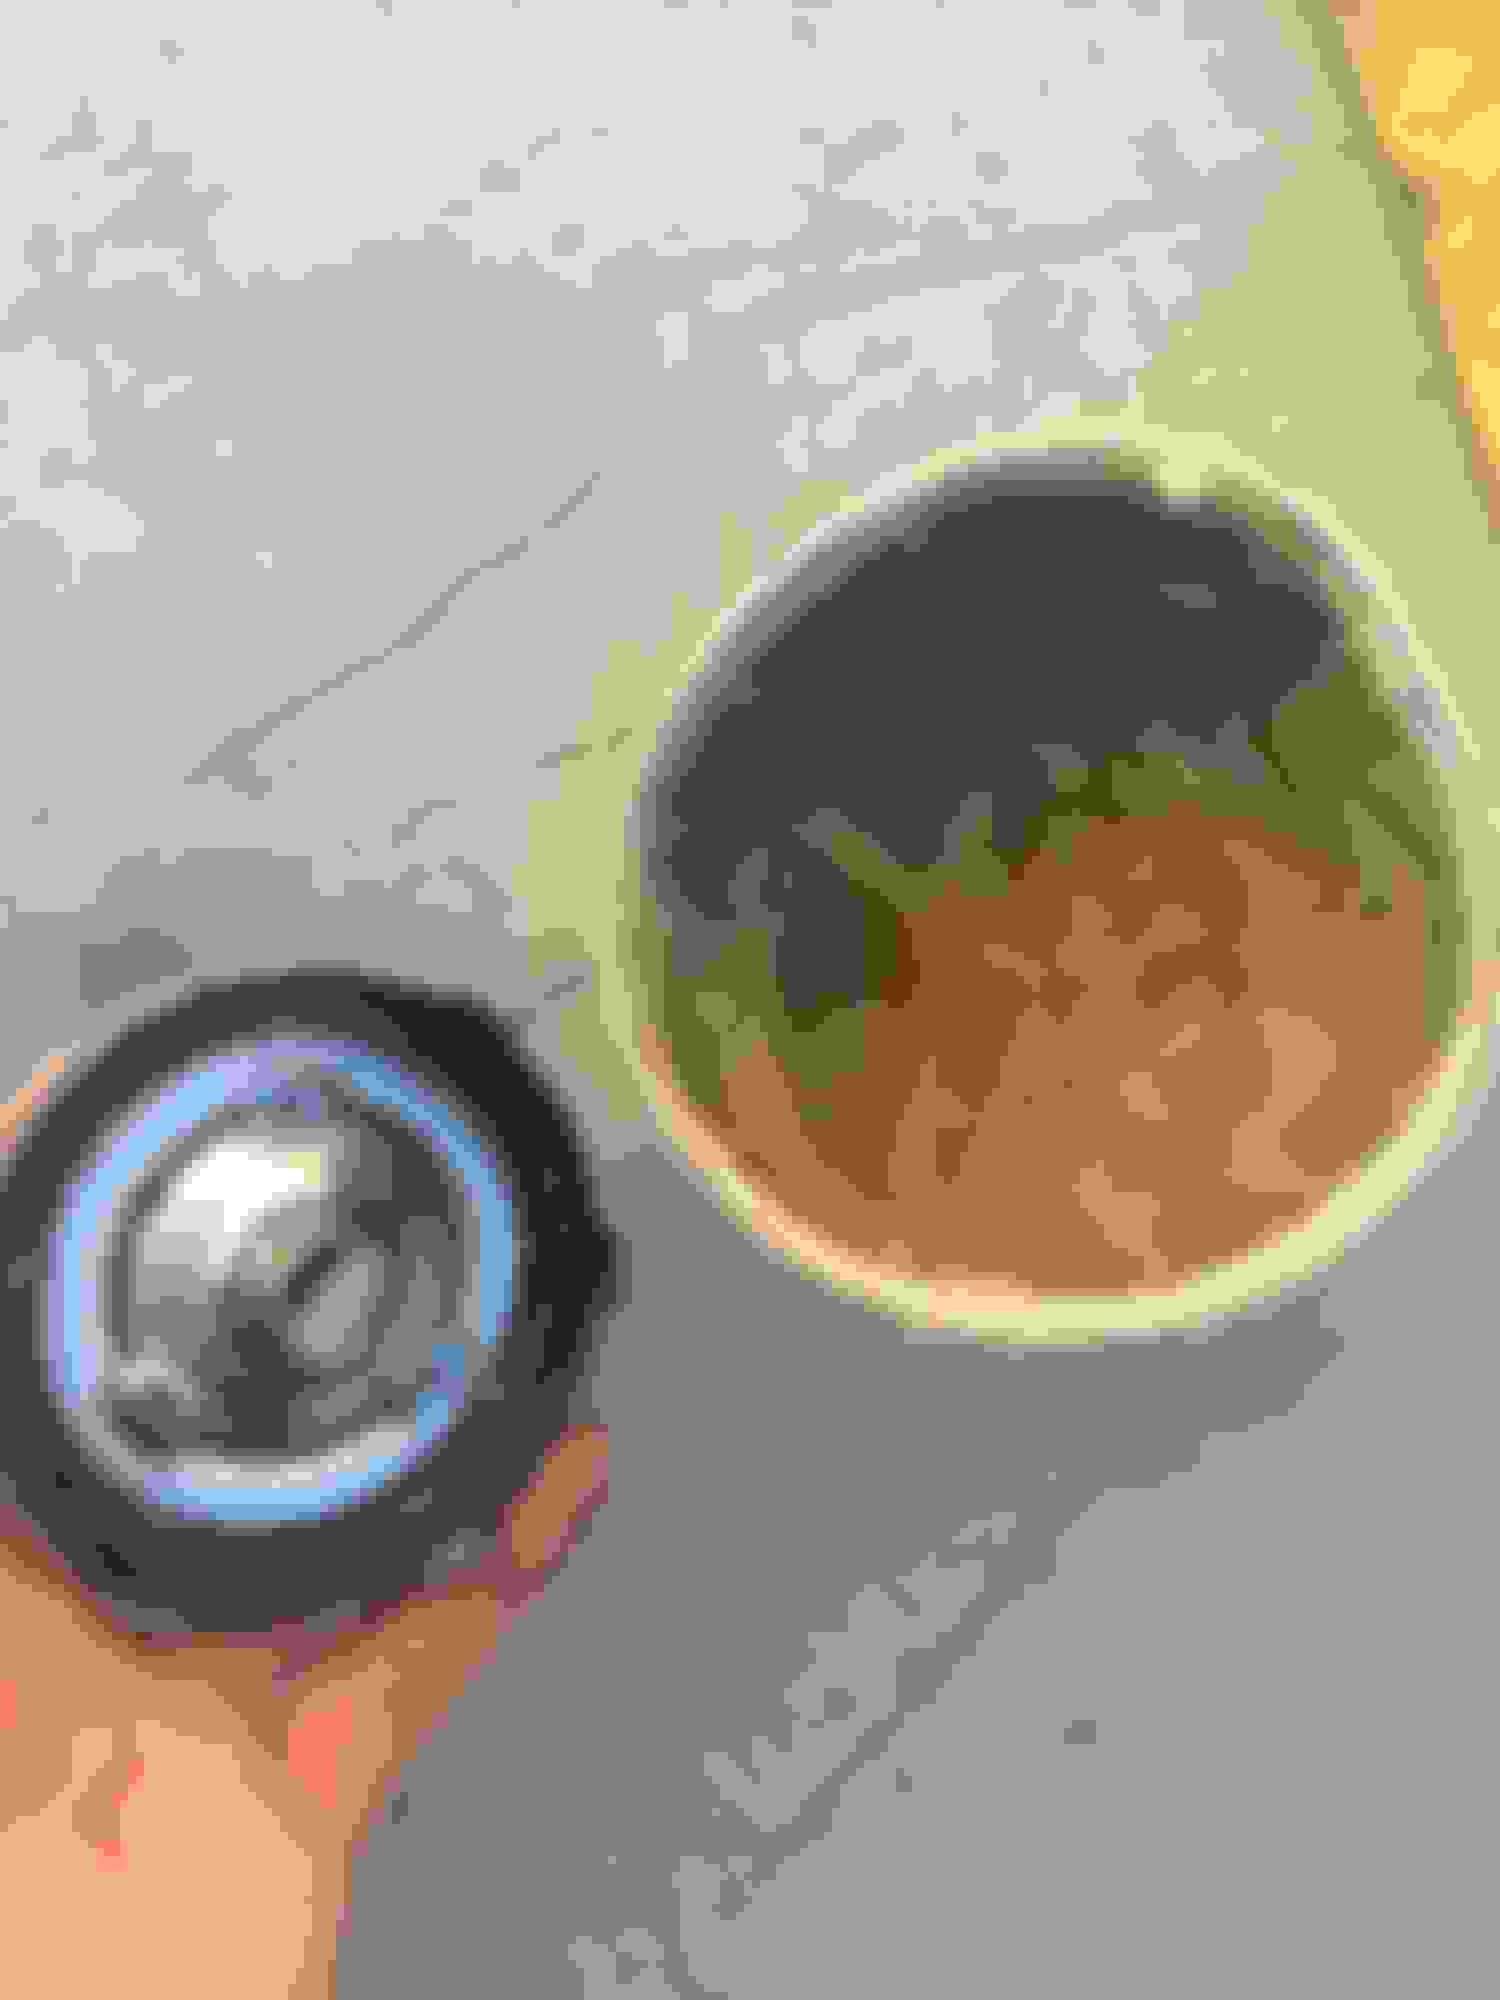
Step 6:Remove the top of the container.
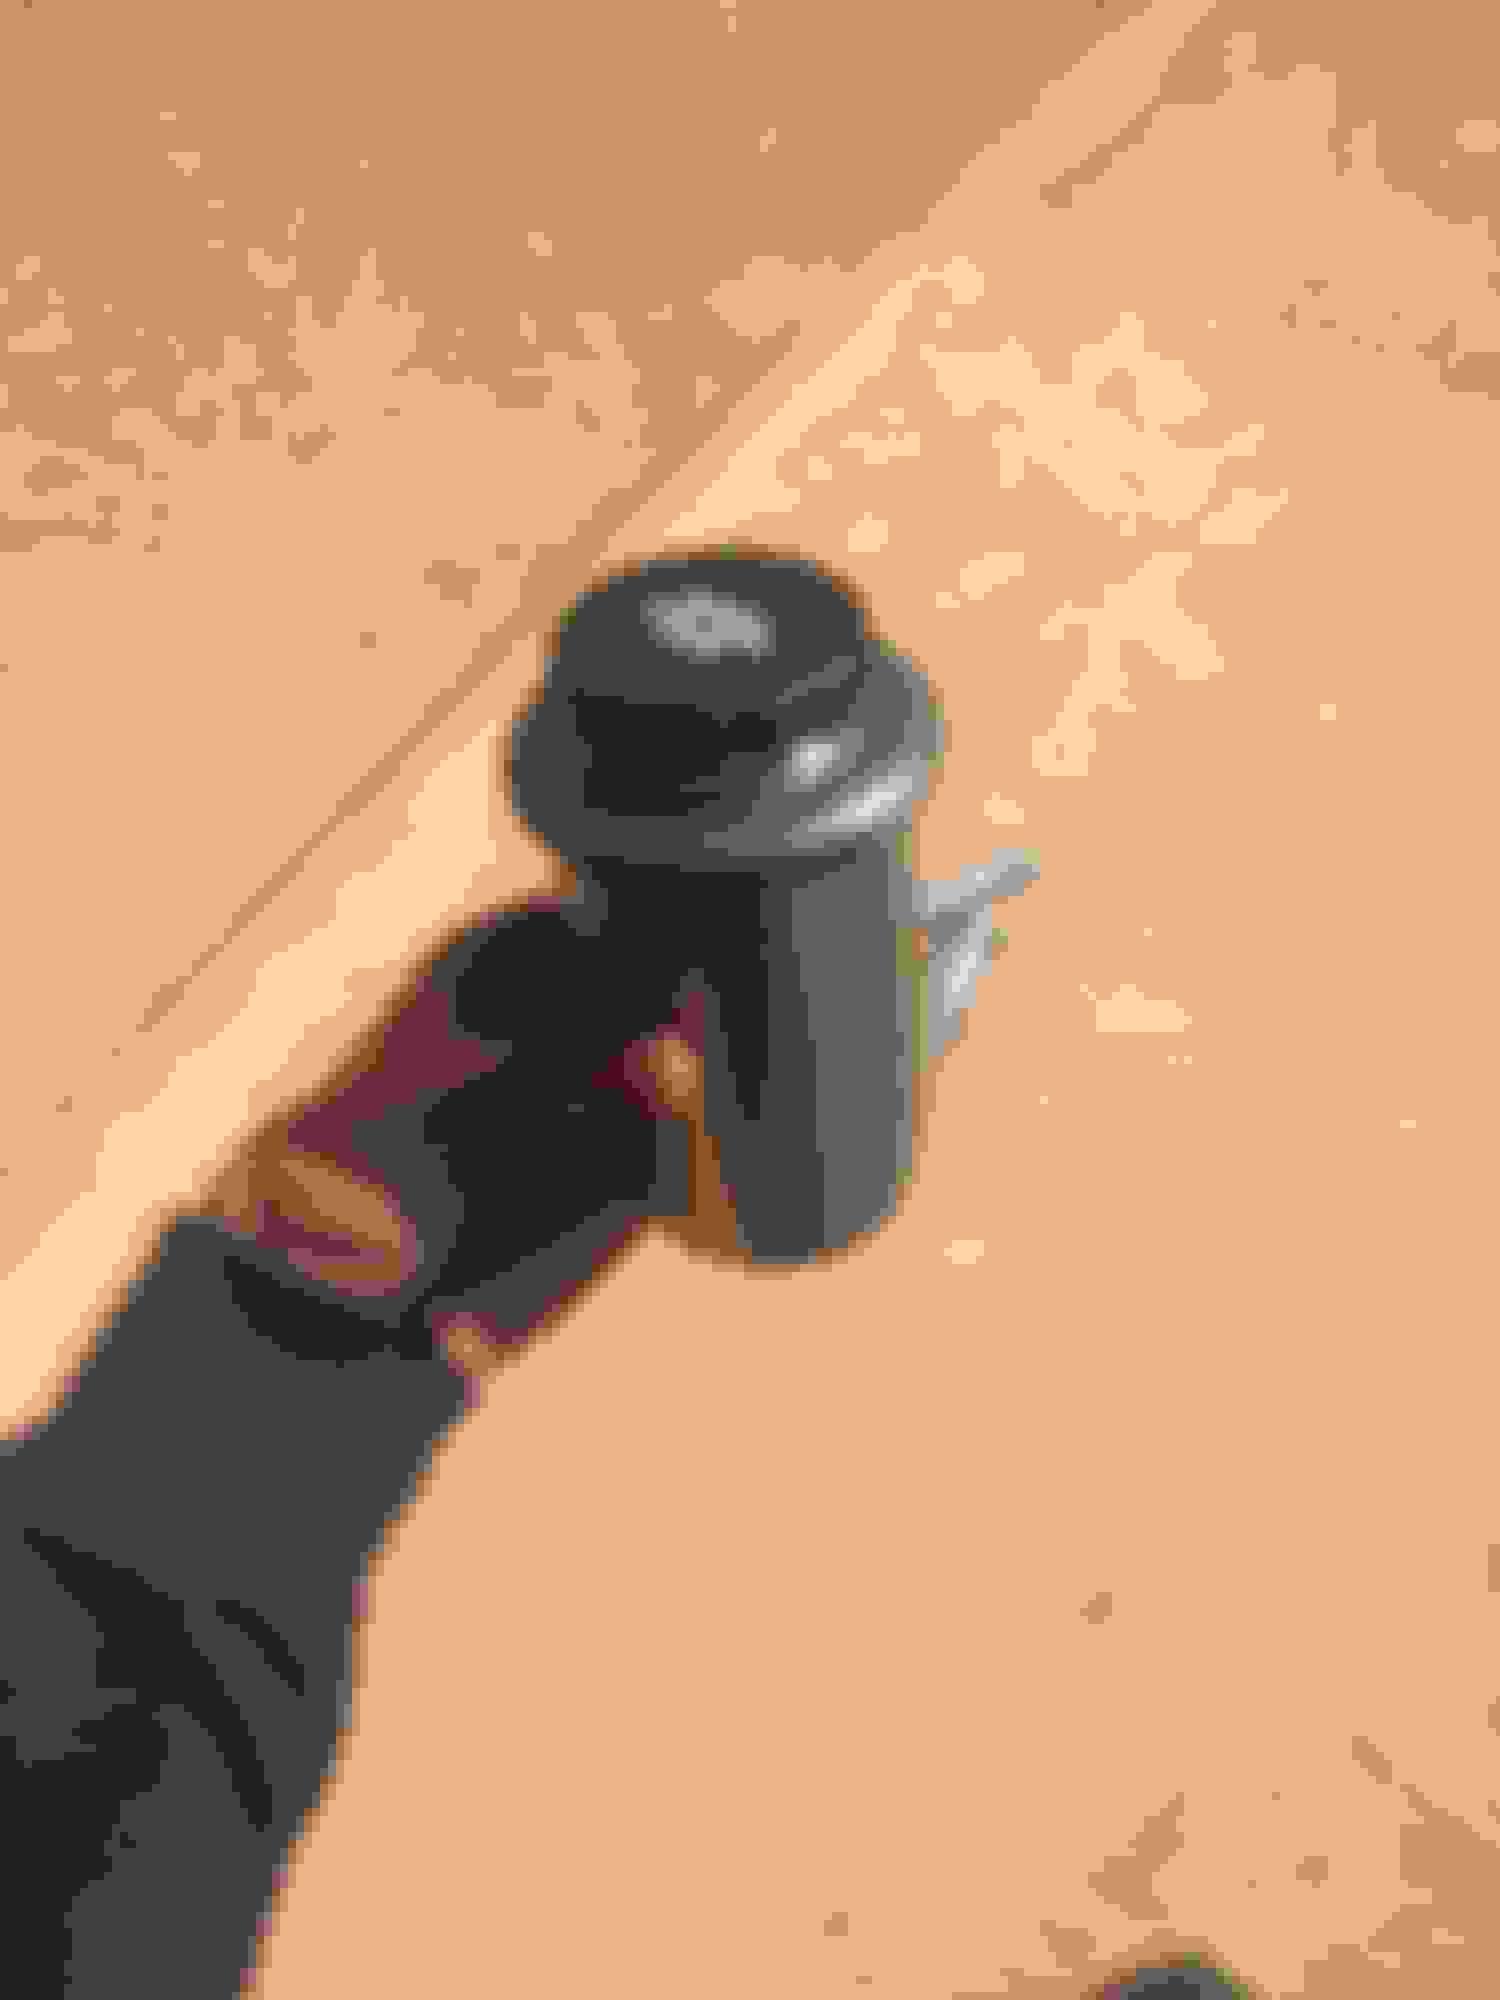
Step 7:Inside the reservior, you will notice a filter. This must come out to be cleaned and also to access the grime beneath.Get your vise grips, grasp one on the large raised area on the filter and use the other to grasp the other vise grips on the handle. The filter must come out at an angle due to three raised areas that hold the filter from moving. (sorry for the lamesauce pictures)
The filter is removed.
Step 8:Clean out the reservior of all the debris. Mine was pretty bad, but that's because my filter was violated in which the netting meants to catch the particles was torn from age.
I just used a rag to clean the bottom of the container. It looked much better afterwards, as it should.
Step 9: Clean the exterior of the container (if you own a Lexus) and clean the filter as well. Mine broke in two pieces but it didn't really matter as it didn't have any effect on the filter itself. *If anybody knows where one may acquire a filter, please make it known in this thread.
Step 10:Use the vise grips and straighten the metal clips. Replace lid on reservior. Bend the clips back by first using pliers and bending the clips a bit, then use a screwdriver and a hammer and pound the clips in place.
Step 11:Put everything back together as removed. Grease the rubber seal on the top of the reservior assembly before putting it back on, it will help seal it. Rebend the clips and you are done!
After that, re-install the reservior to the mounting bracket, connect the feed PS line (on the bottom of the container), and follow this tutorial on flushing/bleeding the air and old fluid out of the PS system. http://www.lexls.com/tutorials/steering/psflush.html
For reference, below is a picture of, well, what is left of my power steering hoses. (BTW, I purchased the 100 dollar hose at Sewell, and the lower feed hose from eBay) To remove them, I just cut through them, then cut length-wise like a half - moon. Installing the new hoses was easy, since the rubber was fresh and not crusty.
I was curious about how to drain PS fluid, if needed, so now I know!
"Step 5:Look at the inner edges of the reservior."
I would probably describe that as the outer edge of the cap, not inner. I was trying to spot the clips in the filler hole until scrolling down to the next picture...
Did you just use a flat head screwdriver or needle nose pliers to bend the clips back in place? I assume they're pretty soft metal.
Once bent back it becomes the outer edge, I suppose. Regarding the clips, I have edited the DIY as I forgot that step. Thanks for the heads-up.
Slide, great writeup. Since you have seen the inside up close do you think that soaking the resevoir in choke cleaner and blowing it out with compressed air will get most all the gunk out. Not sure I want to force the filter out.
Slide, great writeup. Since you have seen the inside up close do you think that soaking the resevoir in choke cleaner and blowing it out with compressed air will get most all the gunk out. Not sure I want to force the filter out.
I would recommend not touching the filter personally...only way you can get a replacement is by purchasing a new reservior. Most of the gunk will be on the bottom of the container, so using carb cleaner might get a majority of it out through the feed inlet on the bottom...if you want a deep cleaning removing the filter is the only way. Removing it isn't that hard, it's putting it back.
yeah.. that's good for a 400 but those with the 300 its a different ball game. LOL. i have the spare reservoir to do the clean up and a separate pump and pulley to do a stand alone when i convert to the new blue line that i built. other than that it will help. thanks for the write up!

 01-16-15, 05:13 PM


 Most of the gunk will be on the bottom of the container, so using carb cleaner might get a majority of it out through the feed inlet on the bottom...if you want a deep cleaning removing the filter is the only way. Removing it isn't that hard, it's putting it back.
