When you click on links to various merchants on this site and make a purchase, this can result in this site earning a commission. Affiliate programs and affiliations include, but are not limited to, the eBay Partner Network.
DIY Aftermarket Fuel Rail Installation on 1JZ w/ Pics
This is how I installed my aftermarket fuel rail WITHOUT removing the intake manifold. I have searched all over the net, including other forums, but could not find a thread or step by step, so I did it and made one for Club Lexus!
Please know what you are doing and know how to use basic tools and be safe, because we will be touching gasoline. Make sure to use gloves, safety glasses and other Personal Protection Equipment. Cheesy disclaimer: I and/or Club Lexus is not responsible for blown up cars or injuries.
Parts needed (for my installation as noted):
Item# (Part Number) DESCRIPTION:
1) (670490) -8 AN TO 14X1.50MM FITTING (FOR CONNECTING -8AN LINE TO STOCK FUEL FILTER)
2) (any) AN FITTINGS -8 AN FITTING ALUMINUM 90 DEG. HOSE END, BLACK ANODIZE (CONNECTS BRAIDED FUEL LINE TO ABOVE AN FITTING ON FUEL FILTER)
3) (any) -8AN STAINLESS BRAIDED LINE (I BOUGHT 20FT)
4) (any) AN FITTINGS -8 AN FITTING ALUMINUM 90 DEG. HOSE END, BLACK ANODIZE (AT END OF BRAIDED LINE INSIDE ENGINE BAY BY FUEL RAIL)
5) (any) -8 AN FLARE TO -6 AN THREAD STRAIGHT FITTING (FOR FUEL RAIL INLET, CONNECTS TO ABOVE FITTING)
6) (any) PRO SERIES STRAIGHT ADAPTER 6 AN TO 1/4 NPT FITTING BLACK NEW (FOR CENTER HOLE ON FUEL RAIL, WILL BE PLUGGED, BUT IS THERE TO USE FOR RETURN LINE IN DUAL LINE FEED APPLICATIONS)
7) (60629-BLK) -6 AN MALE FLARE CAP BLOCK OFF FITTING BLACK (CAP FOR ABOVE FITTING)
8) (any) -6 AN THREAD TO 3/8 HOSE BARB (FOR FUEL RETURN ON FUEL RAIL)
9) (Fuel Rail) FUEL RAIL - AFTERMARKET FUEL RAIL FROM EBAY, PURPLE ANODIZED (I PAINTED BLACK HOWEVER), 750CC INJECTORS
NOTE: Please make sure that your fuel rail that you purchased has the same threaded ports as mine, otherwise you will need different fittings than item 5, 6, and 8. My rail has -6 AN ports (9/16-18) on the ends, and 1/4NPT in middle.
First, remove gas cap to vent pressure out of system, and then screw back on. Remove battery. Take HIGH QUALITY pics of current setup all around the manifold, throttle body, etc. so that you have good reference pics of how everything was so that you can look at them later when you forget
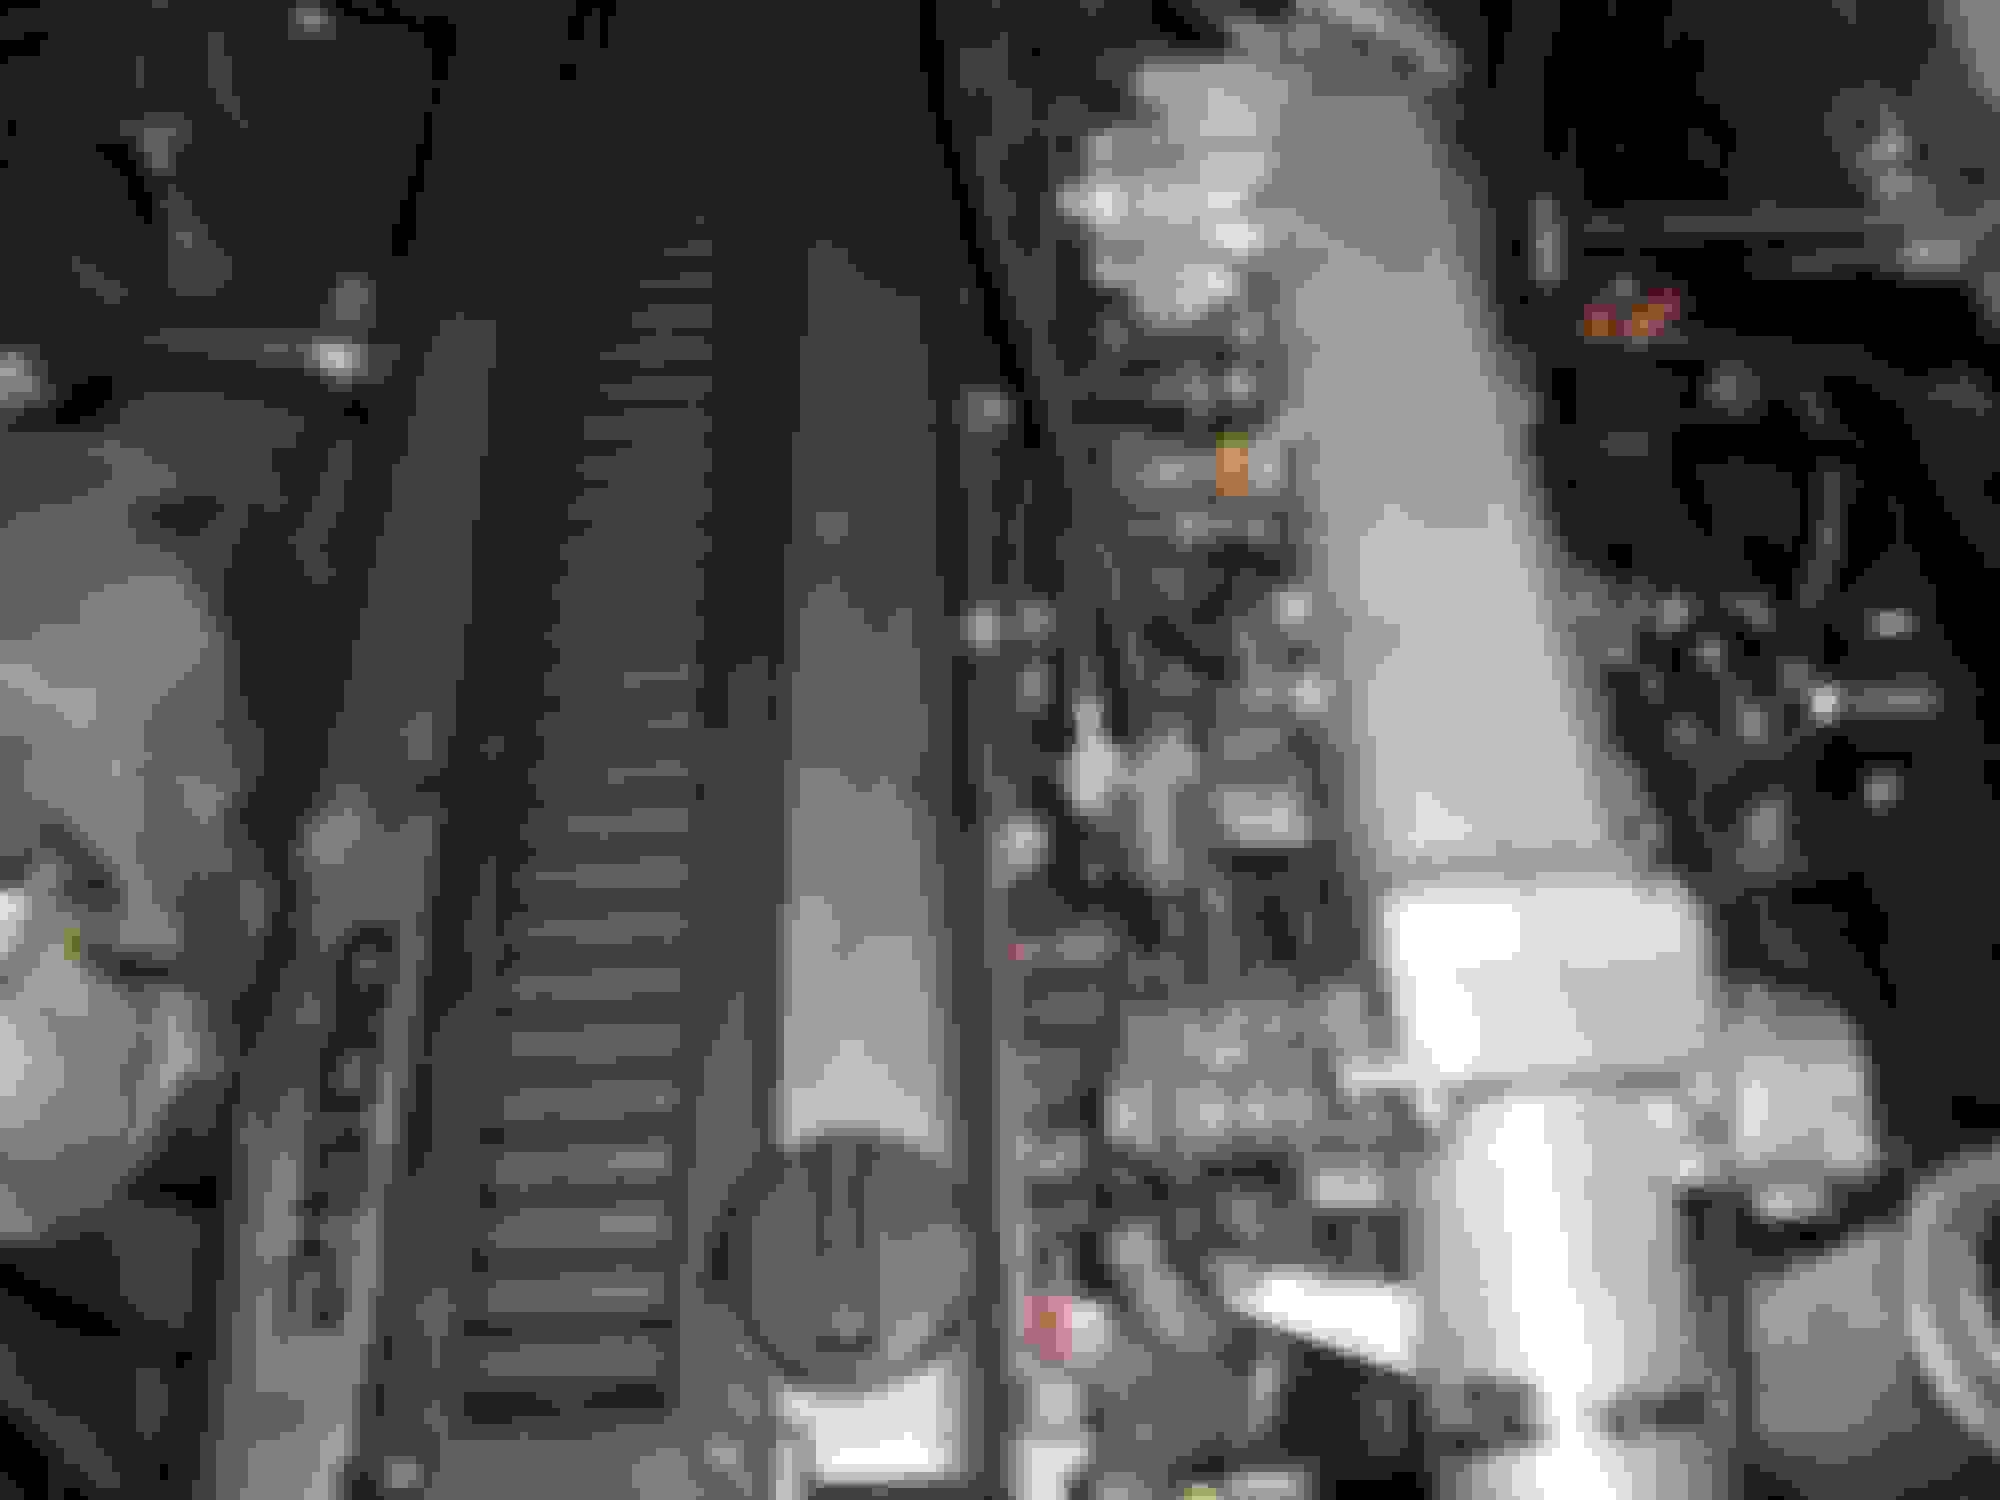
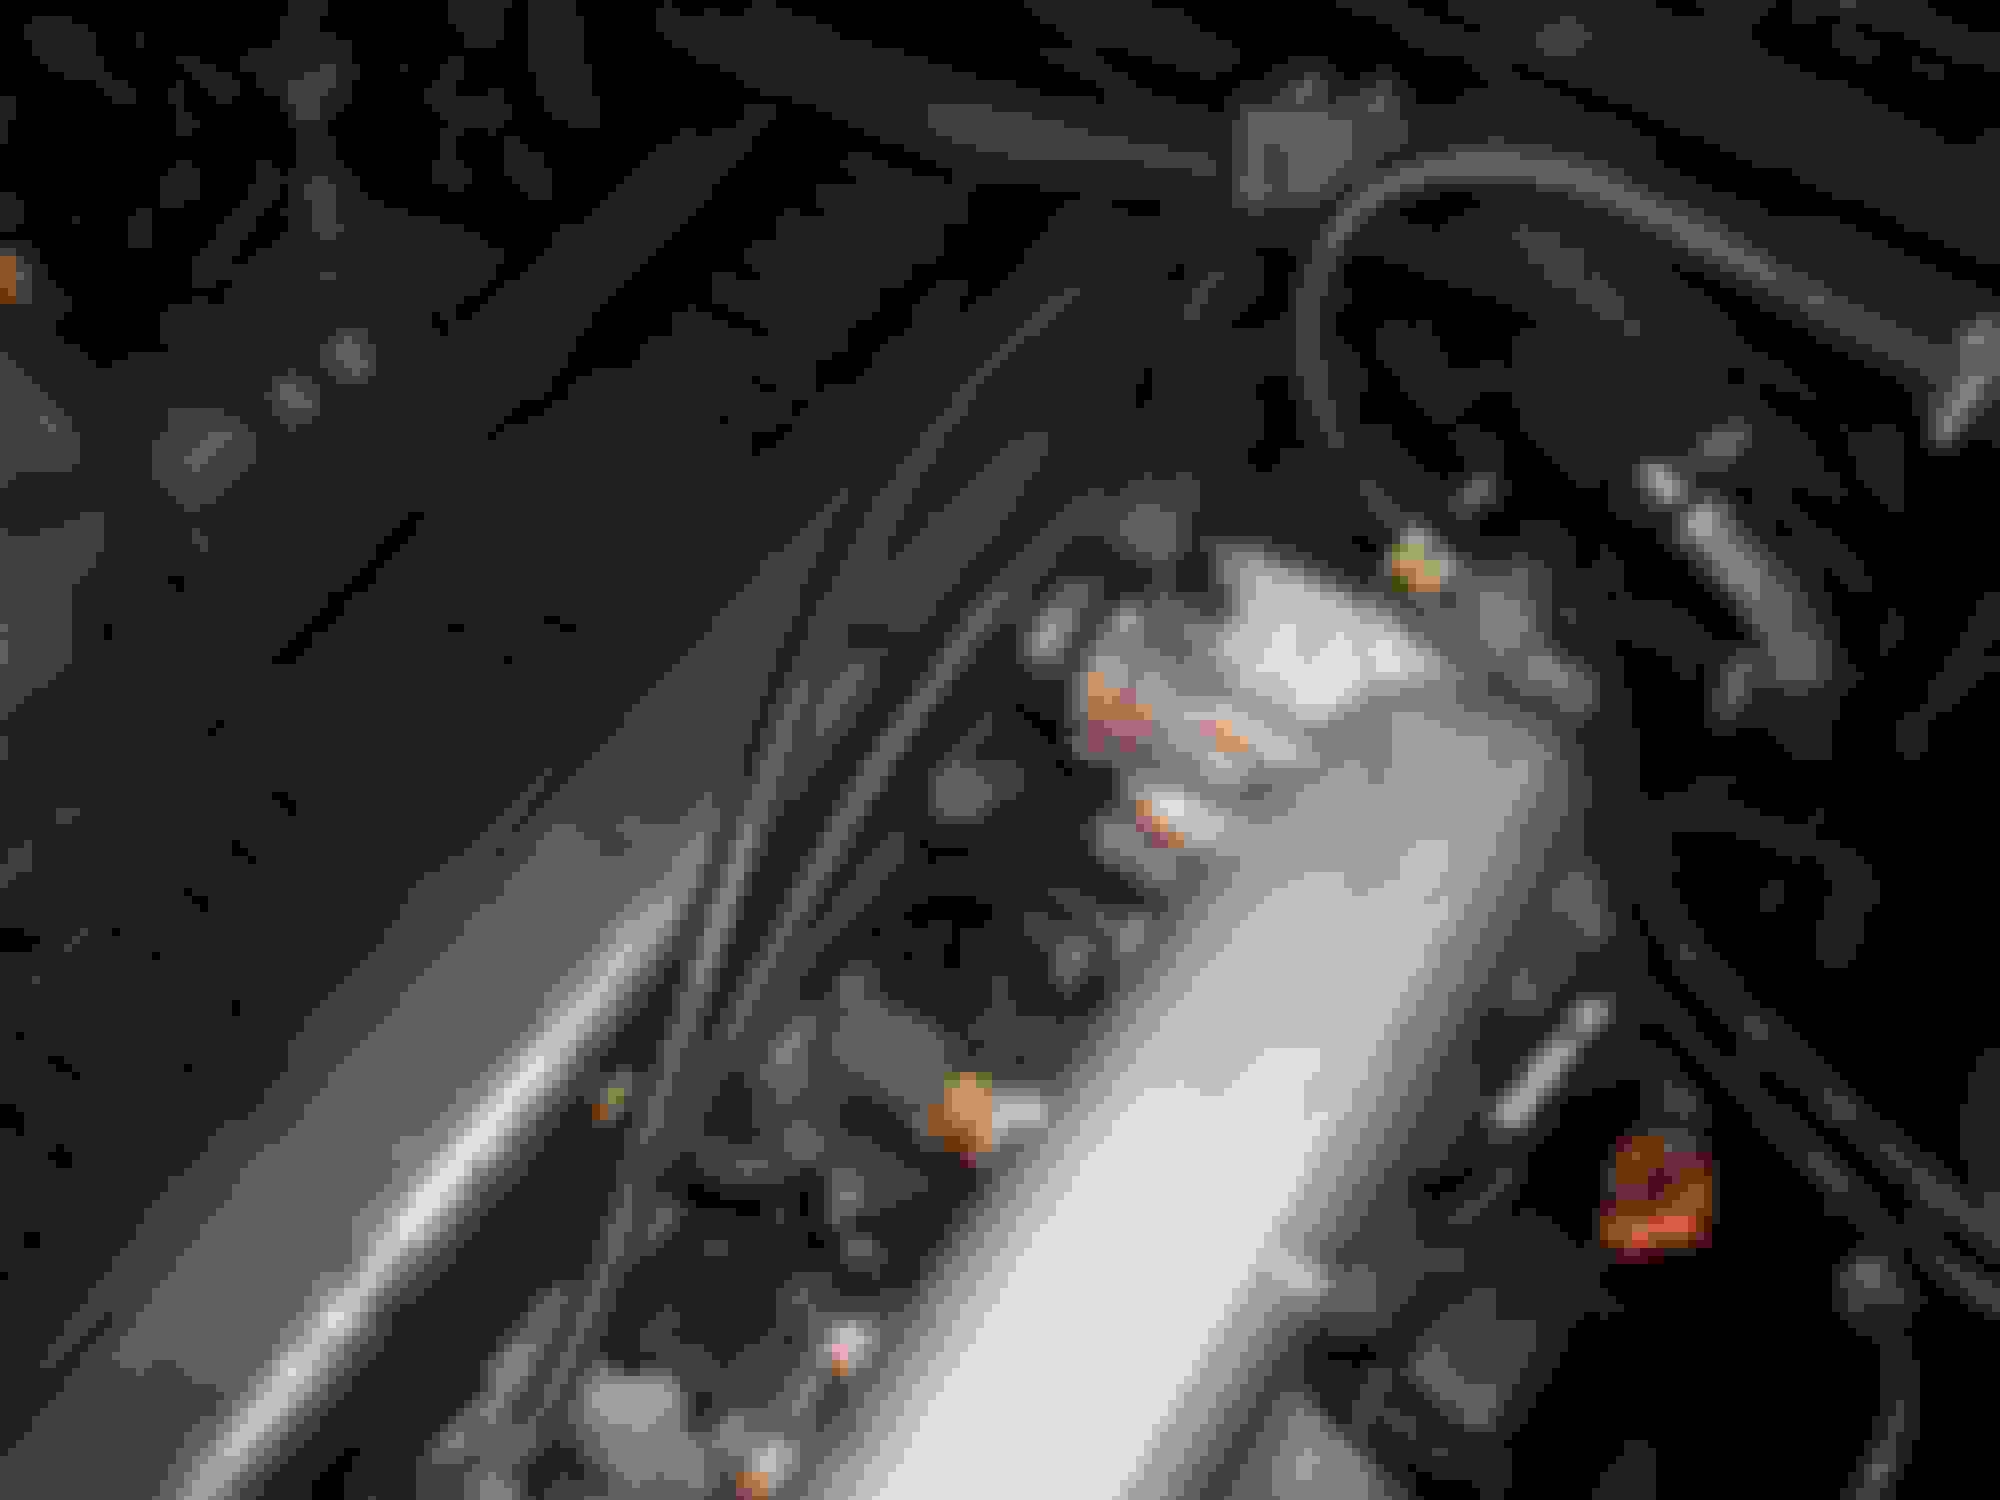
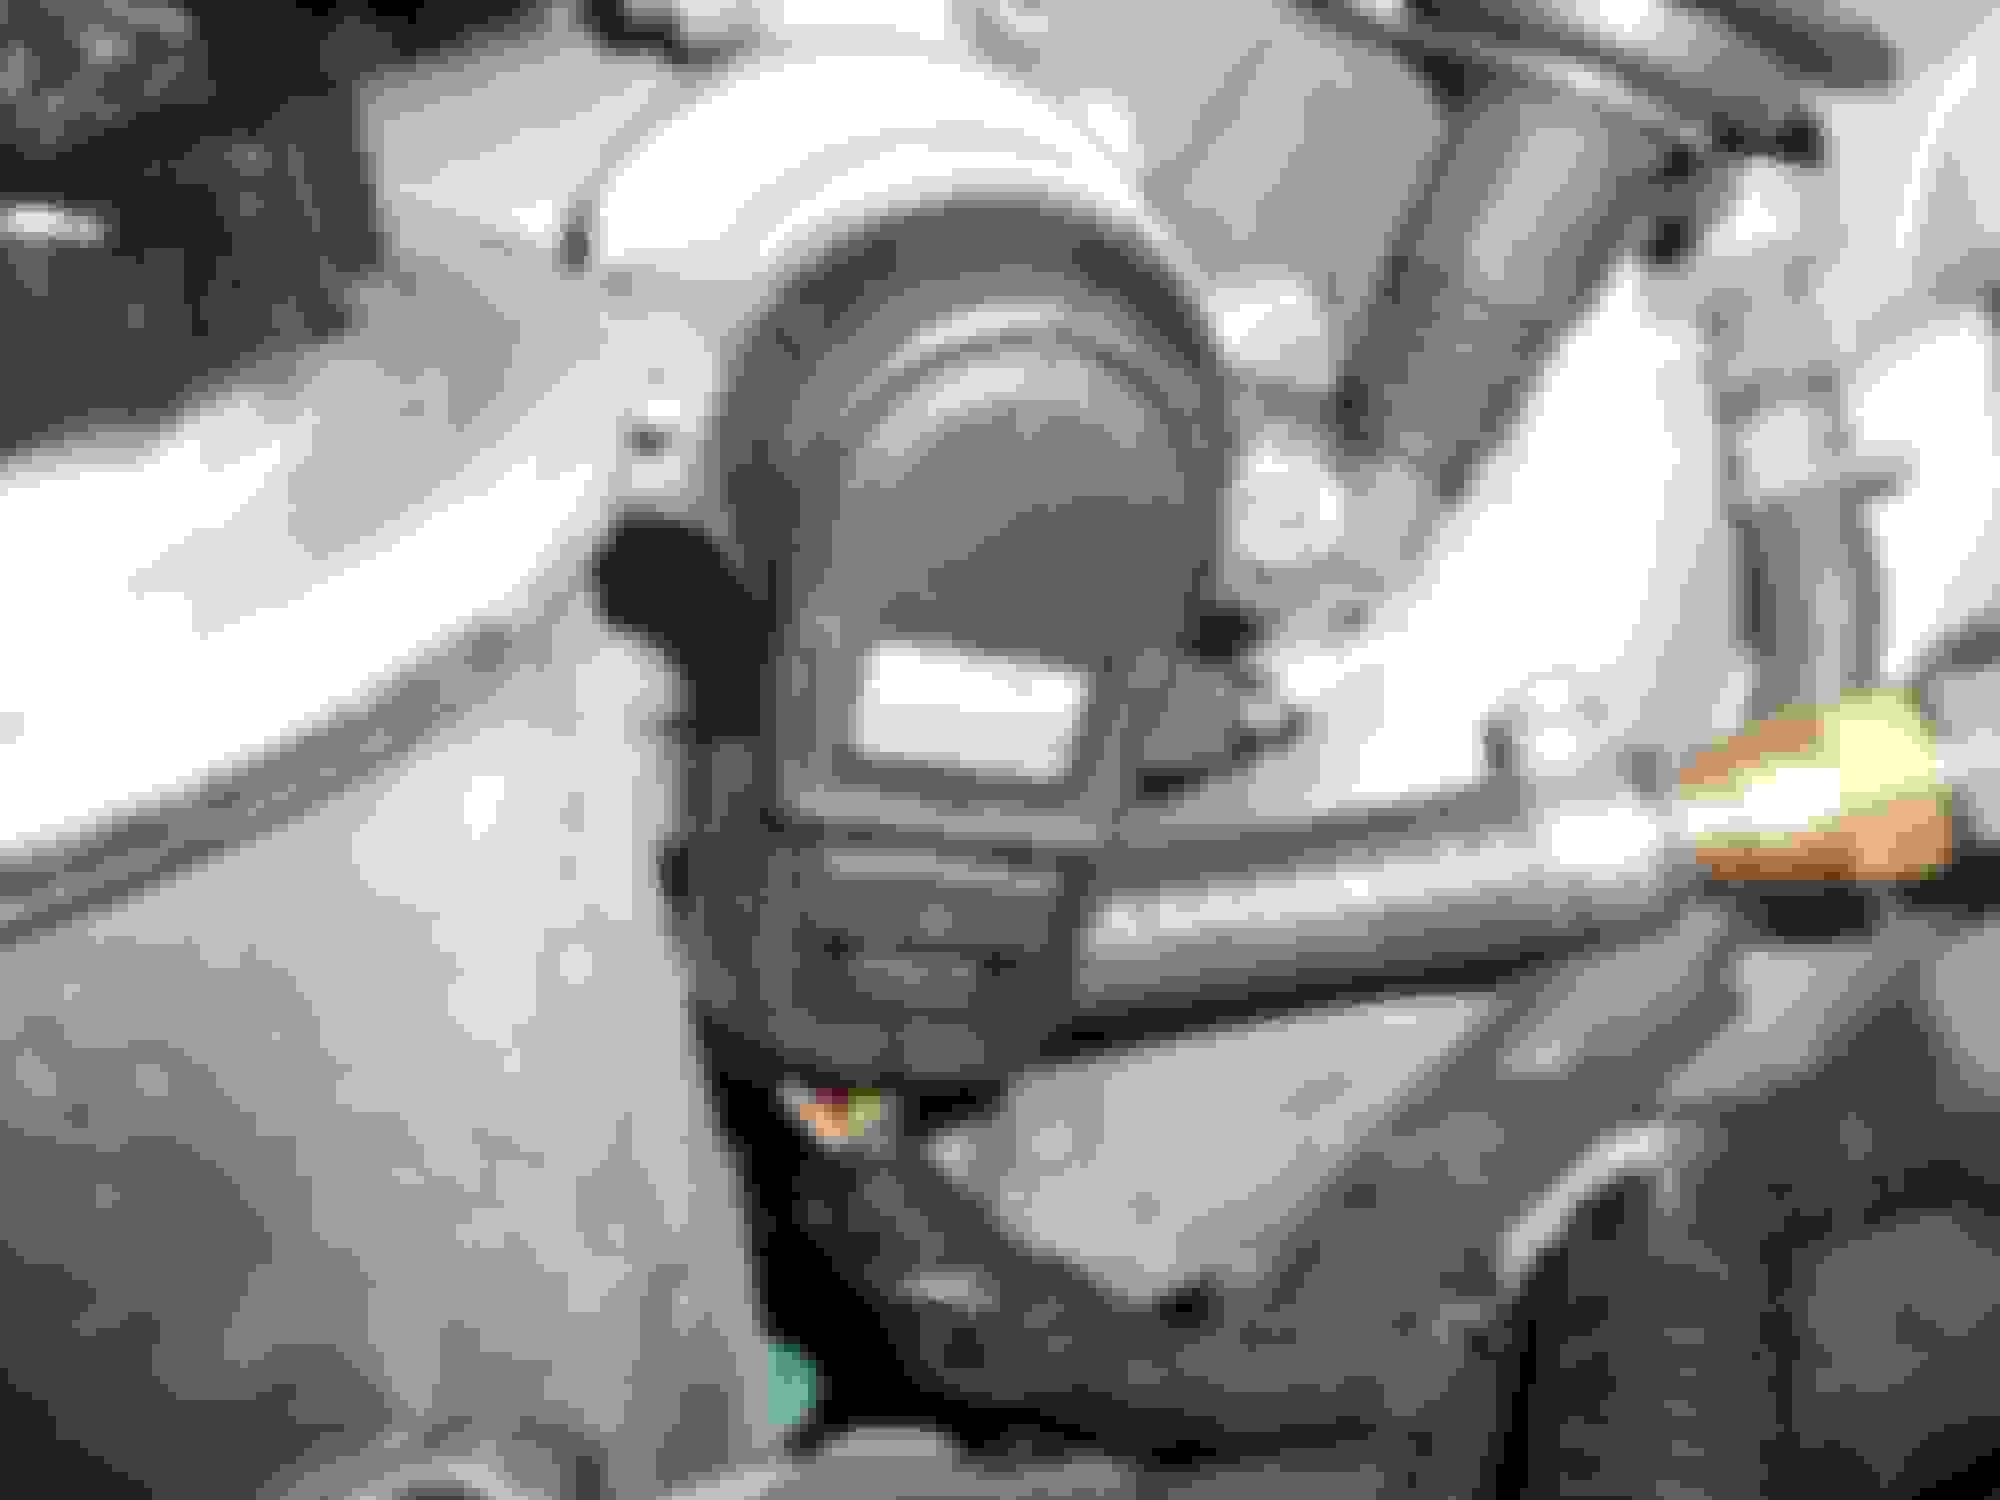
Remove all connections from the inside of the manifold (IACV, IAT, vacuum tubes, PCV, etc) and also remove throttle body. IACV comes off with 2 nuts and two coolant lines. Throttle body comes off with the 4 fasteners on the front side (two nuts on top, 2 bolts on bottom) and the 2 bolts on inside of manifold by the throttle cable. Note, I made a tiny mark on the manifold and on the bracket by these two bolts so that I knew where to fasten it back down. Also on the throttle body are two coolant lines and a vac line that need to be removed. I removed the TPS (pic 3) to make it easier to access the coolant lines. Pic 2 shows the brake booster line that should be removed and also 2 hose clamps that I loosened and relocated to make it easier to squeeze my hand in to loosen the banjo bolt for fuel feed into stock rail.
After all these are removed, unclip the fuel injector harnesses, and number them with a sharpie as you remove them. Next, Remove the three bolts on each plate that holds the injectors in on the rail.
Next (in my case), remove the fuel return line fitting that leads to my aftermarket fuel pressure regulator (FPR). In your case, it might be the stock FPR. I cut the bottom of a 20oz plastic mountain dew bottle off and had that handy to collect any gas coming out. Also, remove the banjo bolt on the fuel rail infeed by the firewall.
Next, remove the bolts that are fastening the fuel rail itself (bolts going through black spacers). Remove the fuel rail! This is a good time to get a shop vac with mini attachments and vacuum out all around the injection ports to pick up any loose debris.
Next you will need to remove the wire trough that the wires are routed through. There is absolutely no way to complete this install with it in place. To remove it, there are a couple bolts on the backside of the intake manifold by the firewall, and one up front I believe (mine was missing it)
After removing the bolts, you will have to FIGHT to remove the wire trough. When removed, you will have your bundle of wires.
Next, take cable ties and tie the wire bundle up nice and tight about every 1.5 to 2 inches. Then, take your high temperature fusing tape (item 10) and start at the front of the wire bundle (where it is the skinniest) begin to tightly wrap the bundle, cutting the zip ties off as you approach them. You will need to do this using 8-10 inch strips of the tape. Make sure to allow the fuel injector harnesses to exit the bundle where required. After all taped up, take the high temp spiral wrap (item 12) and spiral wrap the bundle, again letting the injector harnesses exit where required.
The bundle should look like this:
NOTE: YOU DO NOT NEED TO REMOVE CAM COVERS I only did so to take advantage of the car's downtime while I waited for parts, to paint them and install new cover gaskets
Next to do is build your fuel rail using a bench mounted vise using items 5, 6, 7, and 8. Item 5 screws into the fuel rail feed port on end near firewall, and uses a metal washer which should have been included in your rail kit (NOTE: the fuel rail end with 2 mounting tabs is the firewall end). Item 6 screws into the middle port. Item 7 is a cap for fitting in item 6. Item 8 screws into fuel rail end towards front of engine, which in my case will be the return line to FPR since I am only using a single fuel line feed. Item 8 also requires a metal washer.
Once the fuel rail is assembled, take your braided hose out to the car and place one end in the engine bay where the fuel rail inlet will reside and route the rest underneath the car and back to the fuel filter. Route it as desired and mark it and cut it to the length required so that it reaches the fuel filter. Leave a little slack just in case..
Once cut to length, remove the hose and install the 90 degree AN hose fittings (items 2 and 4) on the hose ends. Youtube has lots of videos showing how to do this if you do not know how.
Next, take your fuel rail and hose to the car. Place your hose through the bay and lay the fuel filter end on the ground. Fasten the rail end connector to the rail. Make sure it is nice and tight because you do not want to have any leaks, especially on this fitting because there isn't much room to get a wrench back there once installed.
Next, grab the long metal barrel spacers and fastening bolts (from rail kit). Feed the bolts through the rail mounting tabs and the spacers, just until the bolt threaded tip reaches the end of the spacer. Take masking tape and tape the barrels and bolts in place on the rail mounting tabs. This will keep them in place when you go to fit the fuel rail in.
Next, take your fuel injectors and the adapter pieces with O-rings (from rail kit). Dip the o-ring at the end of the fuel injector in gas to lube it and then press the adapter piece on. Install the o-ring on the end of the adapter piece. Dip the adapter piece with O-ring in gas to lube that o-ring. Now, dip the fuel rail end of the injector in gas to lube that o-ring, and press the injector assembly into a fuel rail port. Repeat steps for all injectors.
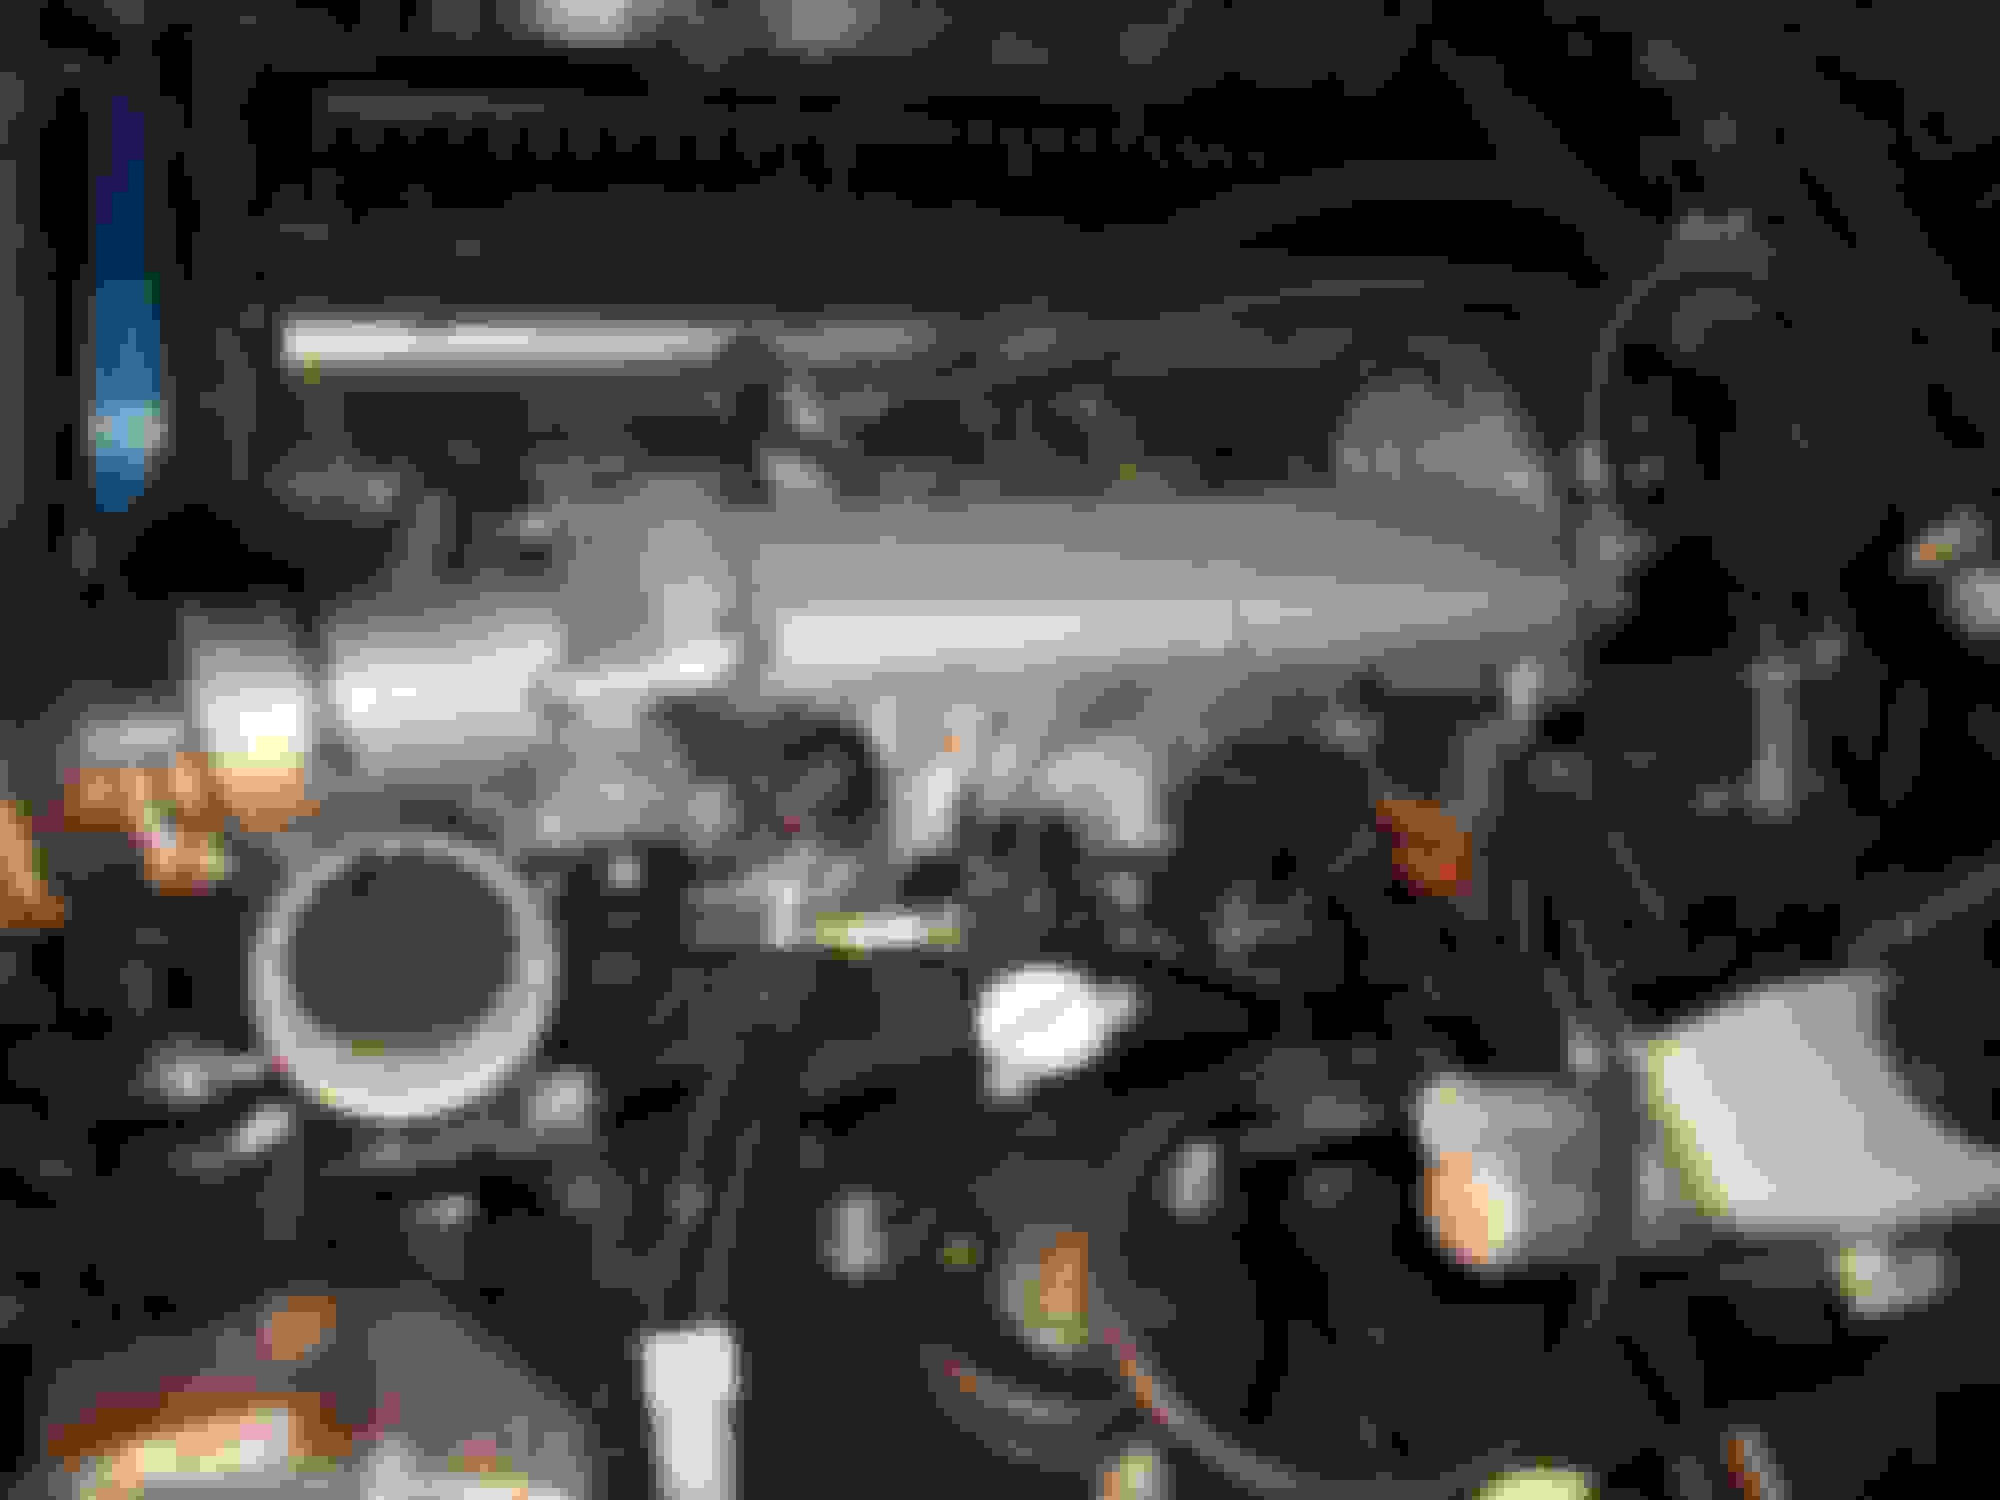
At this point, you will have the mounting bolts and spacers taped in place on the fuel rail, and all of the injectors lubed and pressed into the rail with the adapter pieces on the end. So now the fun begins, which is fighting to get the rail mounted. You will need to pull the wire loom as far back against the intake manifold as possible to give as much room for maneuvering the rail. You should be able to get the rail in and line the injector adapters and mounting spacers up with their respective points, and then pivot the whole assembly up. Be careful that the o-rings don't fall off of the adapter pieces, and that the spacers remain taped straight, and that you dont scrape or damage the end of the injector. Note that the 90 degree fitting on the end of the rail will be pretty tight to the firewall, and may slightly hinder maneuverability. You will eventually get it at which point you can tighten the fastening bolts and remove tape, and it will look like this:
Next, install the fuel return line to the Aftermarket FPR. (I already had a fuel line with -6 AN fitting on it going to aftermarket FPR).
Next, install the wire harness adapters (from rail kit) to adapt the oem harnesses to the top feed injector connectors.
Re-install throttle body, IACV, IAT, and all other things that were removed previously.
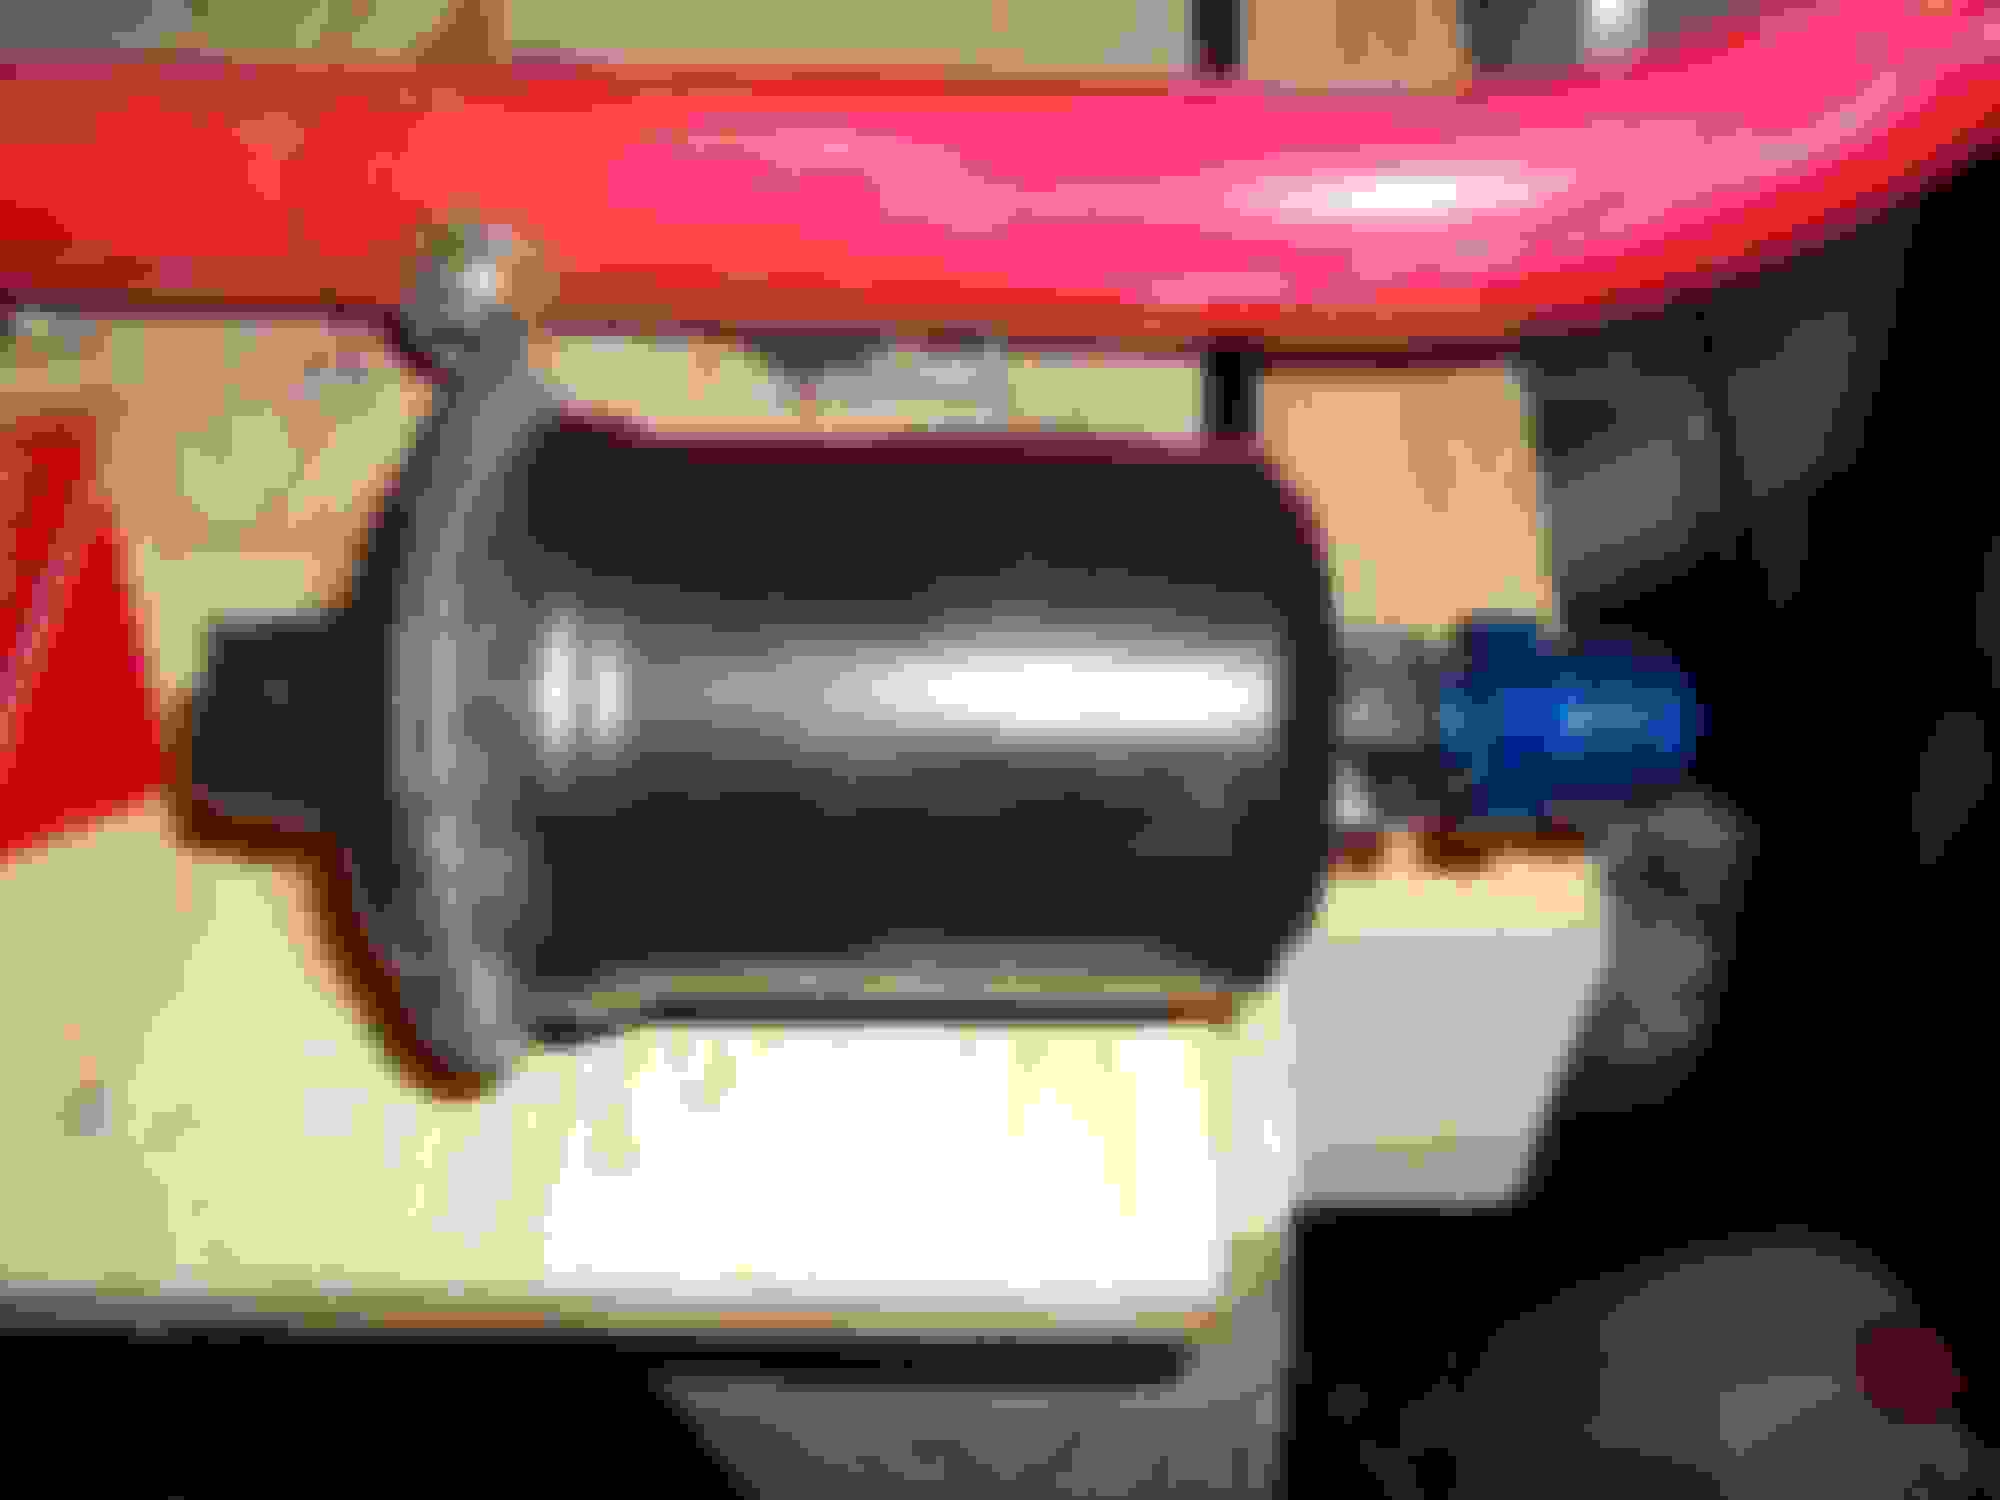
Next, route the fuel line back to the fuel filter. Remove the fuel line fitting on outlet of the fuel filter. Have a container handy to capture escaping gasoline. Fasten the adapter fitting (item 1) onto the filter:
Yours will obviously still be on the car, but here is a pic:
Fasten the fuel hose 90 AN fitting to the fitting just installed on the filter. Make sure all fuel connections are tight (fitting on filter, fitting on hose to fitting on filter, and fuel return fitting on rail). You're 90 degree fitting on the fuel rail supply should've already been made sure to be tight.
You now have the hose installed on the fuel filter, and ran up to the fuel rail. Fuel rail is installed and fuel return line is installed to FPR. So, you're fuel system is now ready! But, now, you need to get re-tuned
Last edited by LoveSCs; 09-09-14 at 09:42 AM.
Reason: Wrong part #s for items 5 & 8
The stock rail wasn't limiting me on power, but I just wanted to upgrade for future mods so that it wouldn't limit me because I plan on eventually putting a bigger turbo on and turning up the boost. I am running a MAP ECU piggyback and was having trouble tuning the 750s so I just put the stock rail back in for the time being since I didn't absolutely need the extra fuel then. I have since got a set of MKIV 550's and resistor pack that I will likely install. I will have the 750s to install back in if I ever need them.
 09-07-14, 08:38 AM