Apex's Go Aggressive or Go Home thread
 03-20-10, 05:48 PM
#1
Lead Lap
Thread Starter
Join Date: Jun 2005
Location: Baltimore - Las Vegas
Posts: 3,779
Likes: 0
Received 0 Likes
on
0 Posts
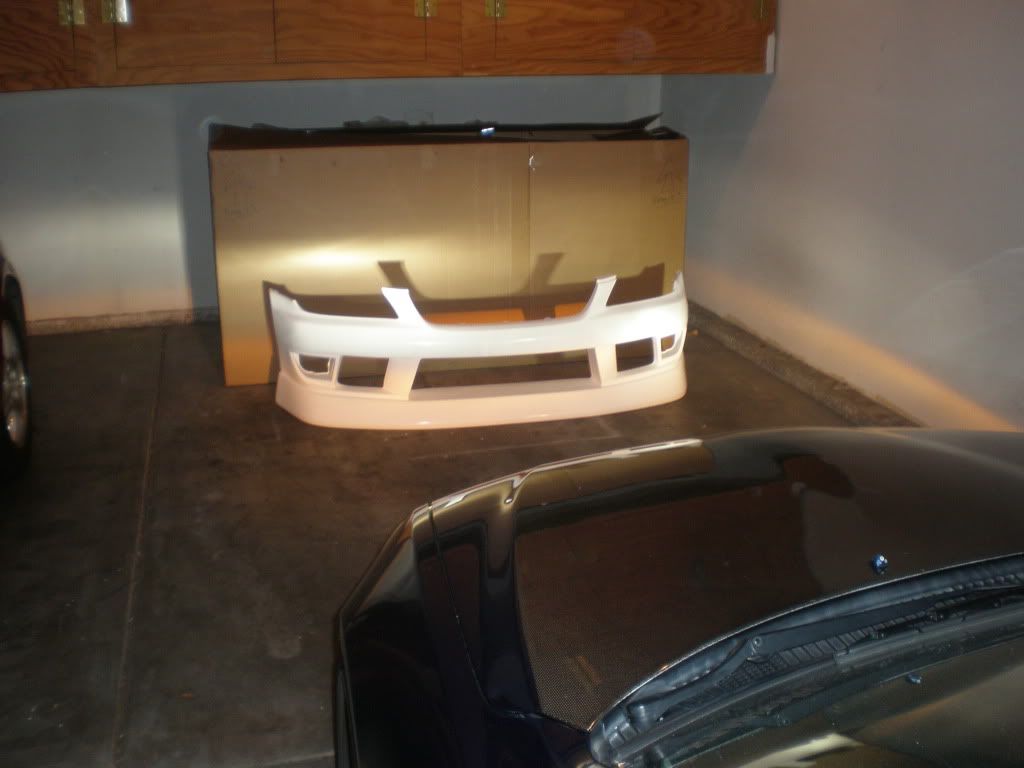
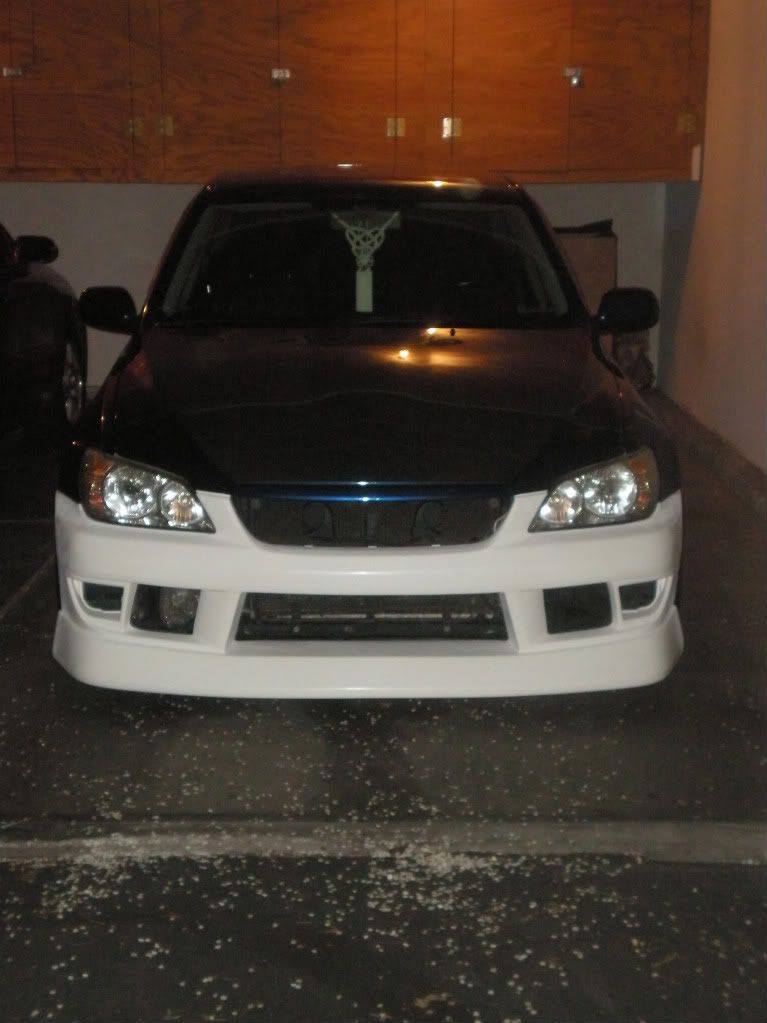
So as most of you saw last year, I finished converted from C-West to Wald. Well once I finished that project I was immediately bored with it. Don't get me wrong I liked how it looked but too many people have done it or are rocking it also. Since I'm a fan of aggressive styling and decided that I was going to get what I really wanted all along, but couldn't get because the roads in MD wouldn't allow it. Well now that I live in Vegas and its extremely flat out here I did want I've wanted to do for the last 2 years.
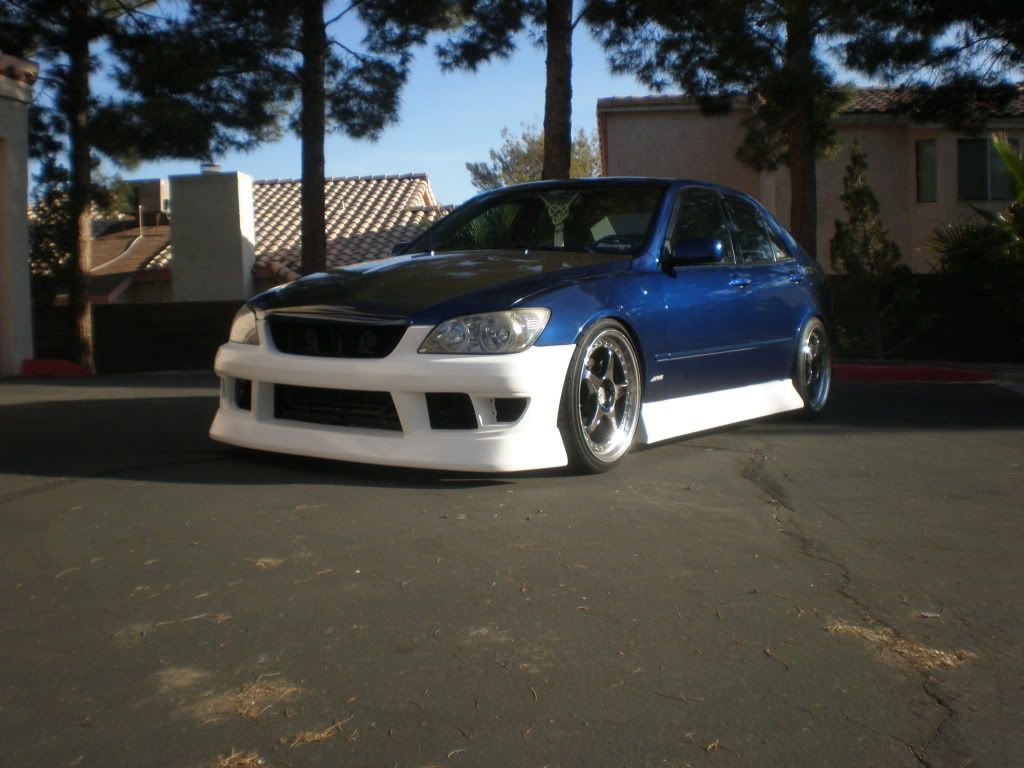
Some will hate and others will love. That much I'm sure of but this is what I like and think it looks pretty badass. I have about 2 3/4" of space between the bottom of the bumper and the ground. But I'm used to that.
I'll be adding 15mm spacers to the front and either 5mm or 10mm in the rear. The front fitment will be 19 x 8.5 + 20. The rear will be either 9.5 +25 or +20. We shall see.
Last edited by Apex84; 03-20-10 at 06:00 PM.
 03-20-10, 05:50 PM
#2
Lead Lap
Thread Starter
Join Date: Jun 2005
Location: Baltimore - Las Vegas
Posts: 3,779
Likes: 0
Received 0 Likes
on
0 Posts
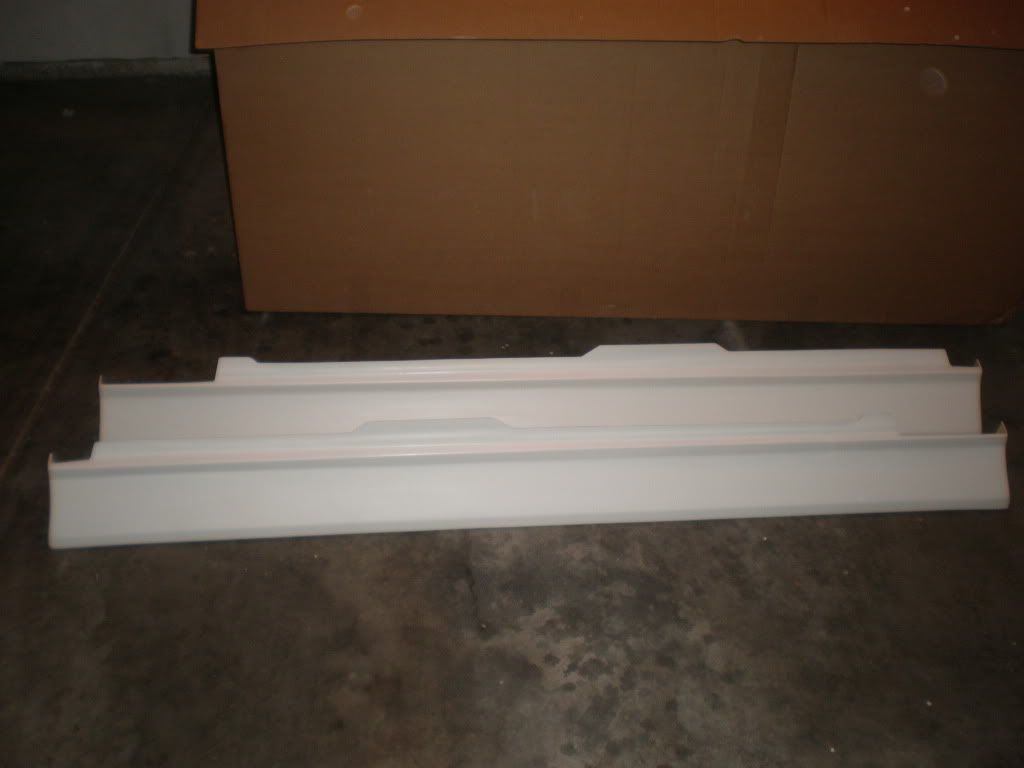
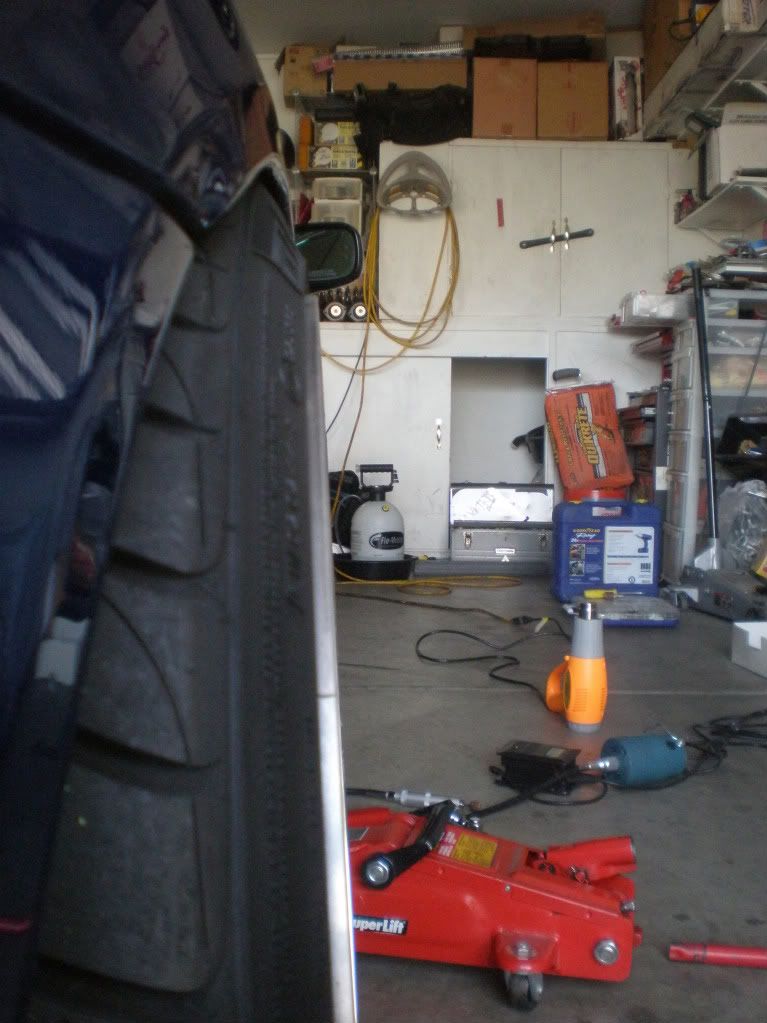
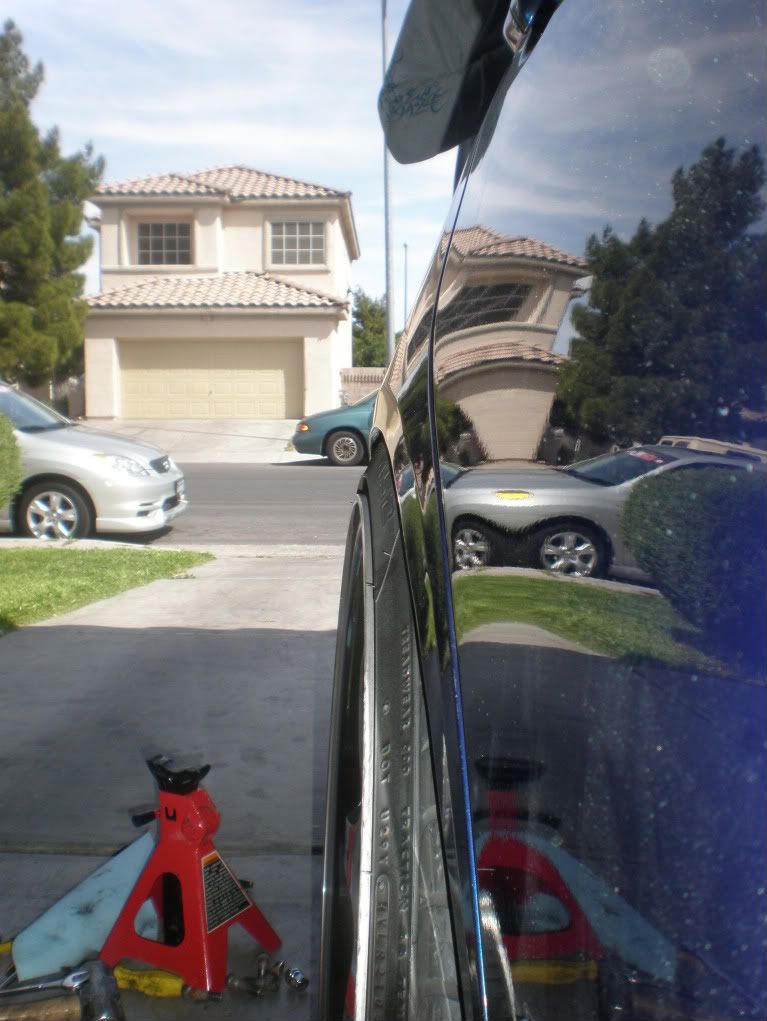
OK so I made some major progress today. First thing is first. I tested fitted the sides to gauge where I needed to angle them before drilling. The sides are the one item that doesn't come pre-drilled so that the owner can adjustment depending on wheel fitment.
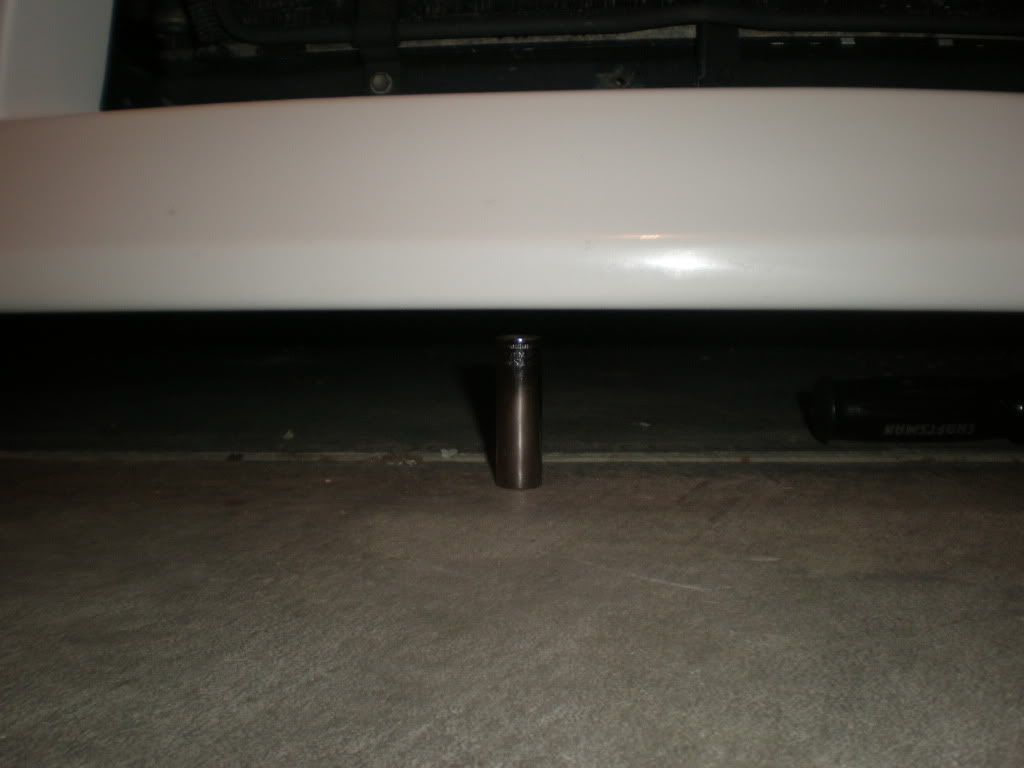
This shows how far out my wheels need come based on where I have the sides mocked up. With the 10mm spacers going on the rear I was confident that the wheels would be spaced enough to complement the sides.
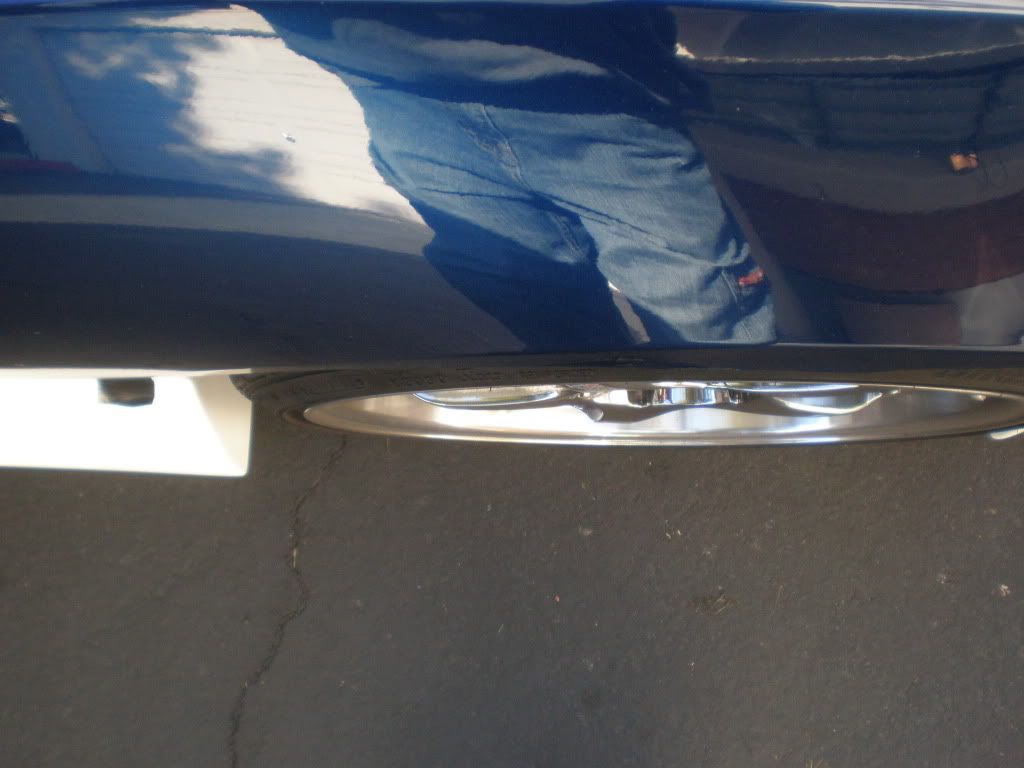
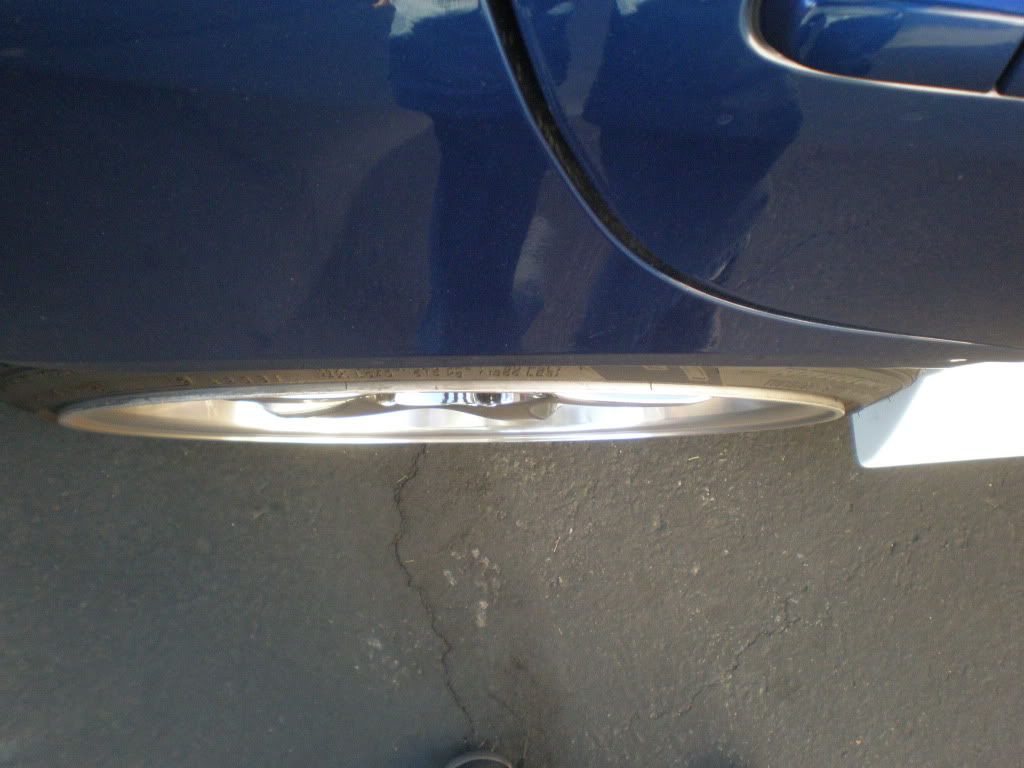
This shows how far out my wheels need come based on where I have the sides mocked up. With the 10mm spacers going on the rear I was confident that the wheels would be spaced enough to complement the sides.
03-20-10, 05:50 PM
#3
Lead Lap
Thread Starter
Join Date: Jun 2005
Location: Baltimore - Las Vegas
Posts: 3,779
Likes: 0
Received 0 Likes
on
0 Posts
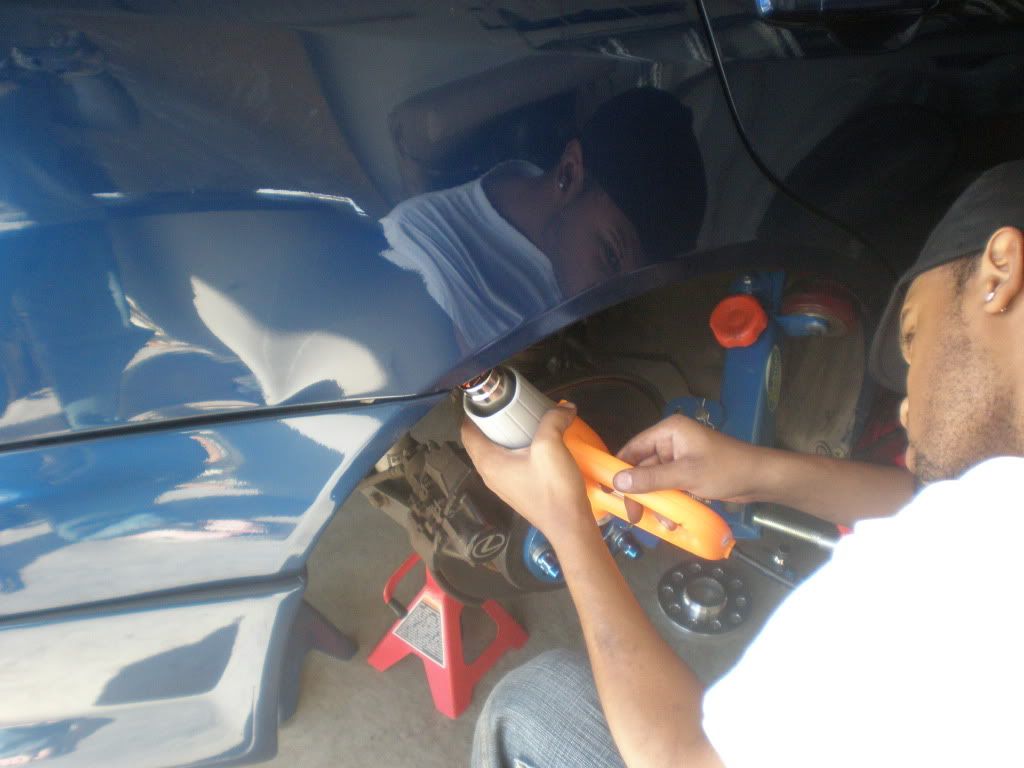
Once I got the car up in the air I identified the area in the circle as needed to be removed so that I can pull the rear fenders more. This little area is a major headache for anyone thats rolled over it with a roller because the sheet metal is twice as thick there.

Once that was removed it was time to heat up the fender and begin pulling.
Once that was removed it was time to heat up the fender and begin pulling.
03-20-10, 05:51 PM
#4
Lead Lap
Thread Starter
Join Date: Jun 2005
Location: Baltimore - Las Vegas
Posts: 3,779
Likes: 0
Received 0 Likes
on
0 Posts
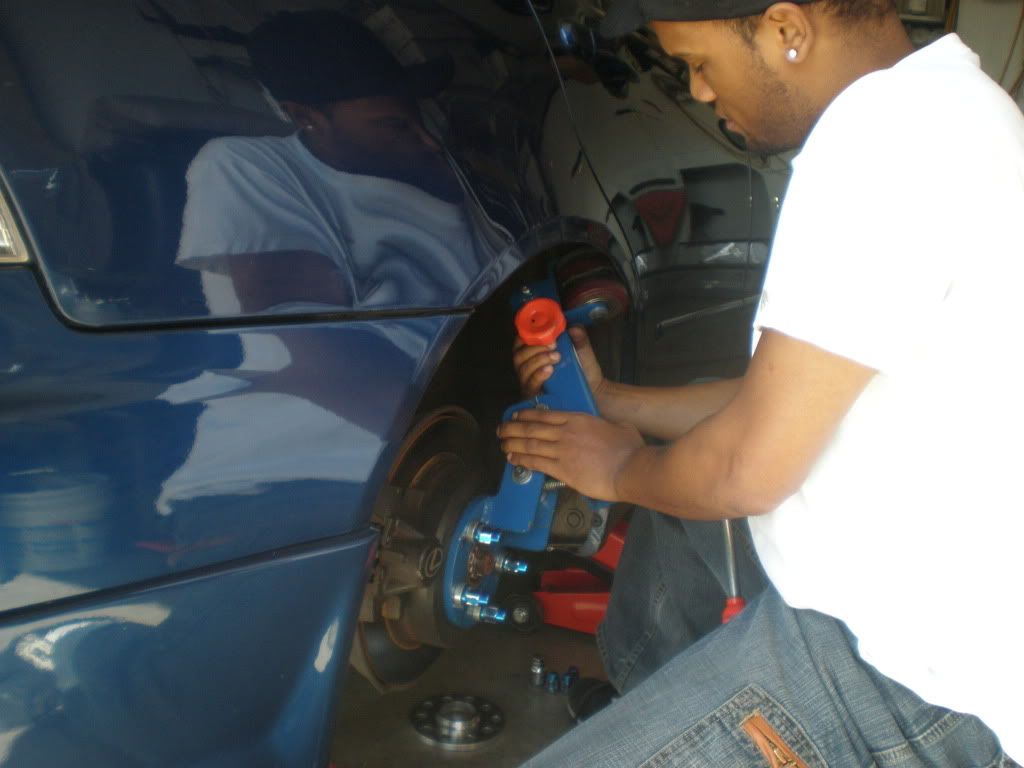
I had some help from my buddy Ray (Yogi_TRD) who helped me put knock out the stock studs and replace them will the longer ones that came with the spacers.
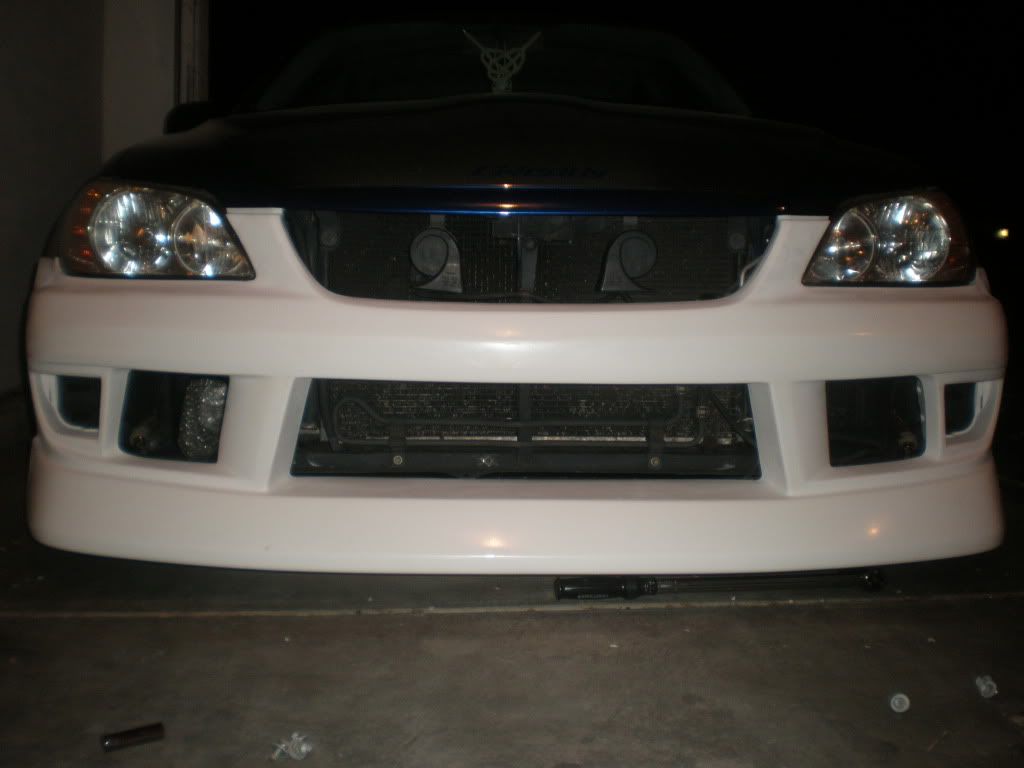
Once finished the result was exactly what I wanted. :bigSmile:
19 x 9.5 +20
235 35
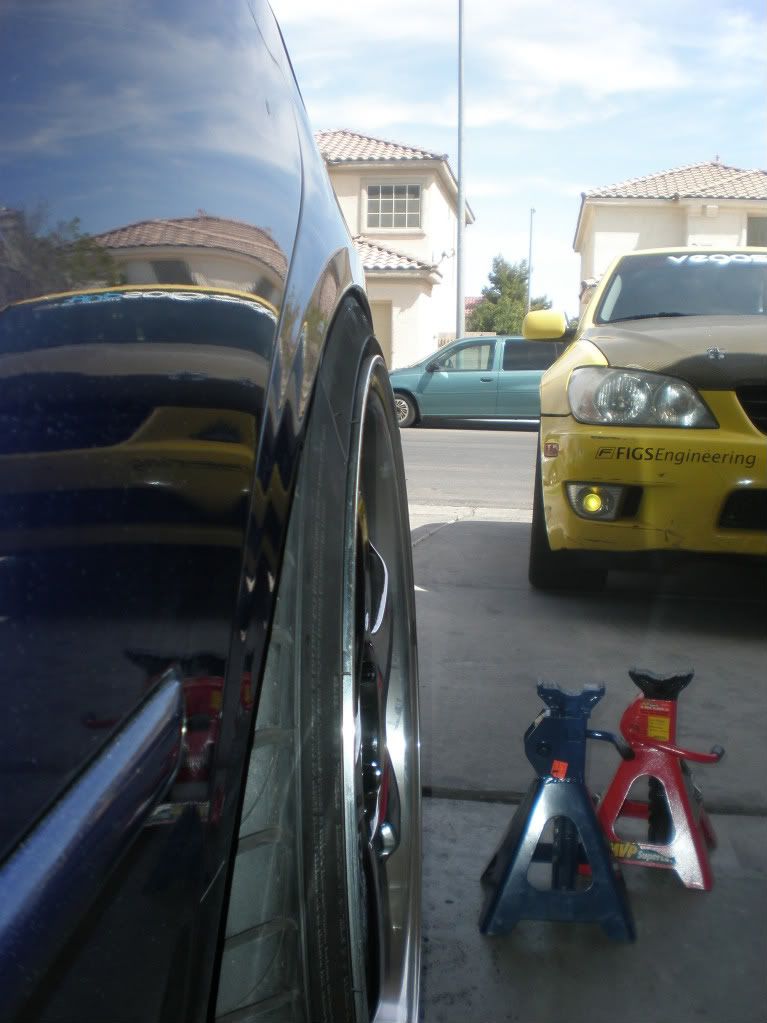
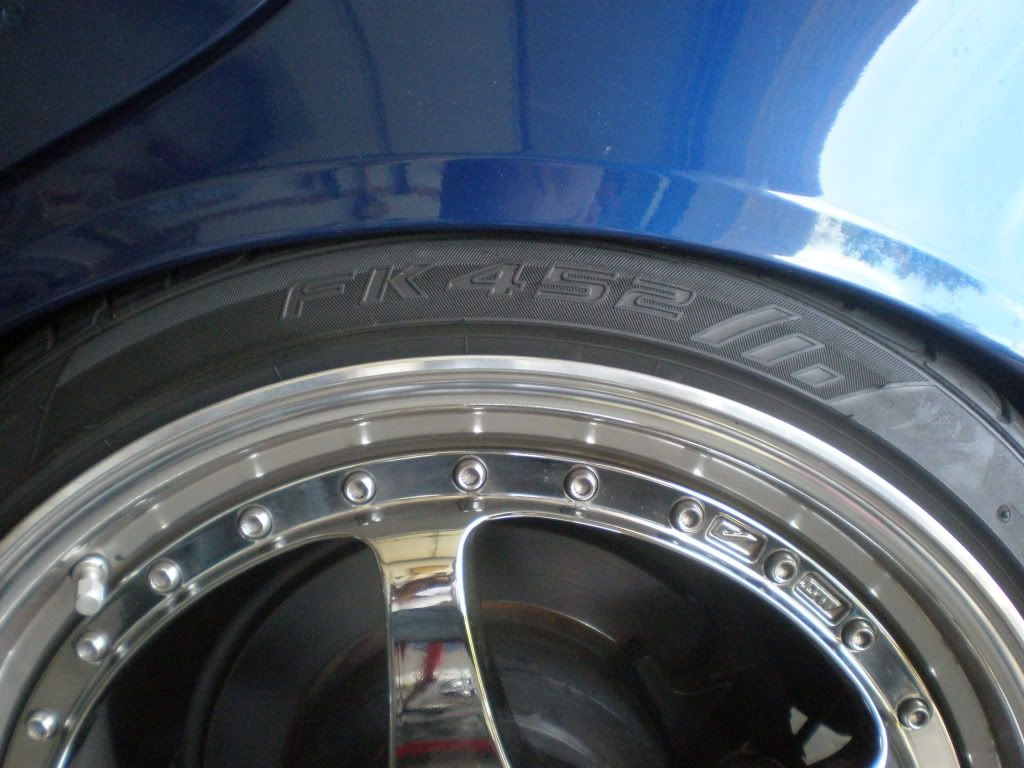
Don't mind the gap between my fender and the rear bumper. The bumper isn't bolted up all the way because I didn't want to break the tab with the roller.
Once finished the result was exactly what I wanted. :bigSmile:
19 x 9.5 +20
235 35
Don't mind the gap between my fender and the rear bumper. The bumper isn't bolted up all the way because I didn't want to break the tab with the roller.
03-20-10, 05:52 PM
#5
Lead Lap
Thread Starter
Join Date: Jun 2005
Location: Baltimore - Las Vegas
Posts: 3,779
Likes: 0
Received 0 Likes
on
0 Posts
The rear right fender rubs just a little still but thats going to get fixed tomorrow.
Other than that I still have to make templates for where to drill my holes on the side skirts and test fit the rear. Then it goes off to paint on Tuesday.
Other than that I still have to make templates for where to drill my holes on the side skirts and test fit the rear. Then it goes off to paint on Tuesday.

 .
03-20-10, 06:07 PM
.
03-20-10, 06:07 PM
#7
Lead Lap
Thread Starter
Join Date: Jun 2005
Location: Baltimore - Las Vegas
Posts: 3,779
Likes: 0
Received 0 Likes
on
0 Posts

Trending Topics
 I can't wait to see the finished product.
03-20-10, 07:30 PM
I can't wait to see the finished product.
03-20-10, 07:30 PM
#10
Lead Lap
Thread Starter
Join Date: Jun 2005
Location: Baltimore - Las Vegas
Posts: 3,779
Likes: 0
Received 0 Likes
on
0 Posts
03-21-10, 06:44 AM
#11
Lead Lap
iTrader: (1)
Join Date: Nov 2006
Location: JP (oki to be precise :D)
Posts: 4,918
Likes: 0
Received 2 Likes
on
2 Posts
i wasn't too sure about those side skirts sticking out so far, but i am very impressed with the fitment you were able to achieve. that looks like a professional job.. sick as rear stance and fitment. when you gettin that sucka painted?

 03-21-10, 10:13 AM
#13
Lead Lap
Thread Starter
Join Date: Jun 2005
Location: Baltimore - Las Vegas
Posts: 3,779
Likes: 0
Received 0 Likes
on
0 Posts
No tree pollen out here, just dust at that should be as bad in the summer since it won't be nearly as windy as it is now.
 .......I was thinking the same thing.....