When you click on links to various merchants on this site and make a purchase, this can result in this site earning a commission. Affiliate programs and affiliations include, but are not limited to, the eBay Partner Network.
This was so much easier than I had anticipated. I found the necessary connections under the drivers side dash area. Anyone who has done the DIY Dball Remote Start, will be in familiar territory here. The wires are in the same assembly of connectors that you connect the Dball.
First step is to remove the panel under the steering wheel which is attached with two screws and a few clips. Then, we need to remove the lower knee panel. To do this, you need to remove the trim panel on the side of the dashboard which is attached with clips....just pry and pull out:
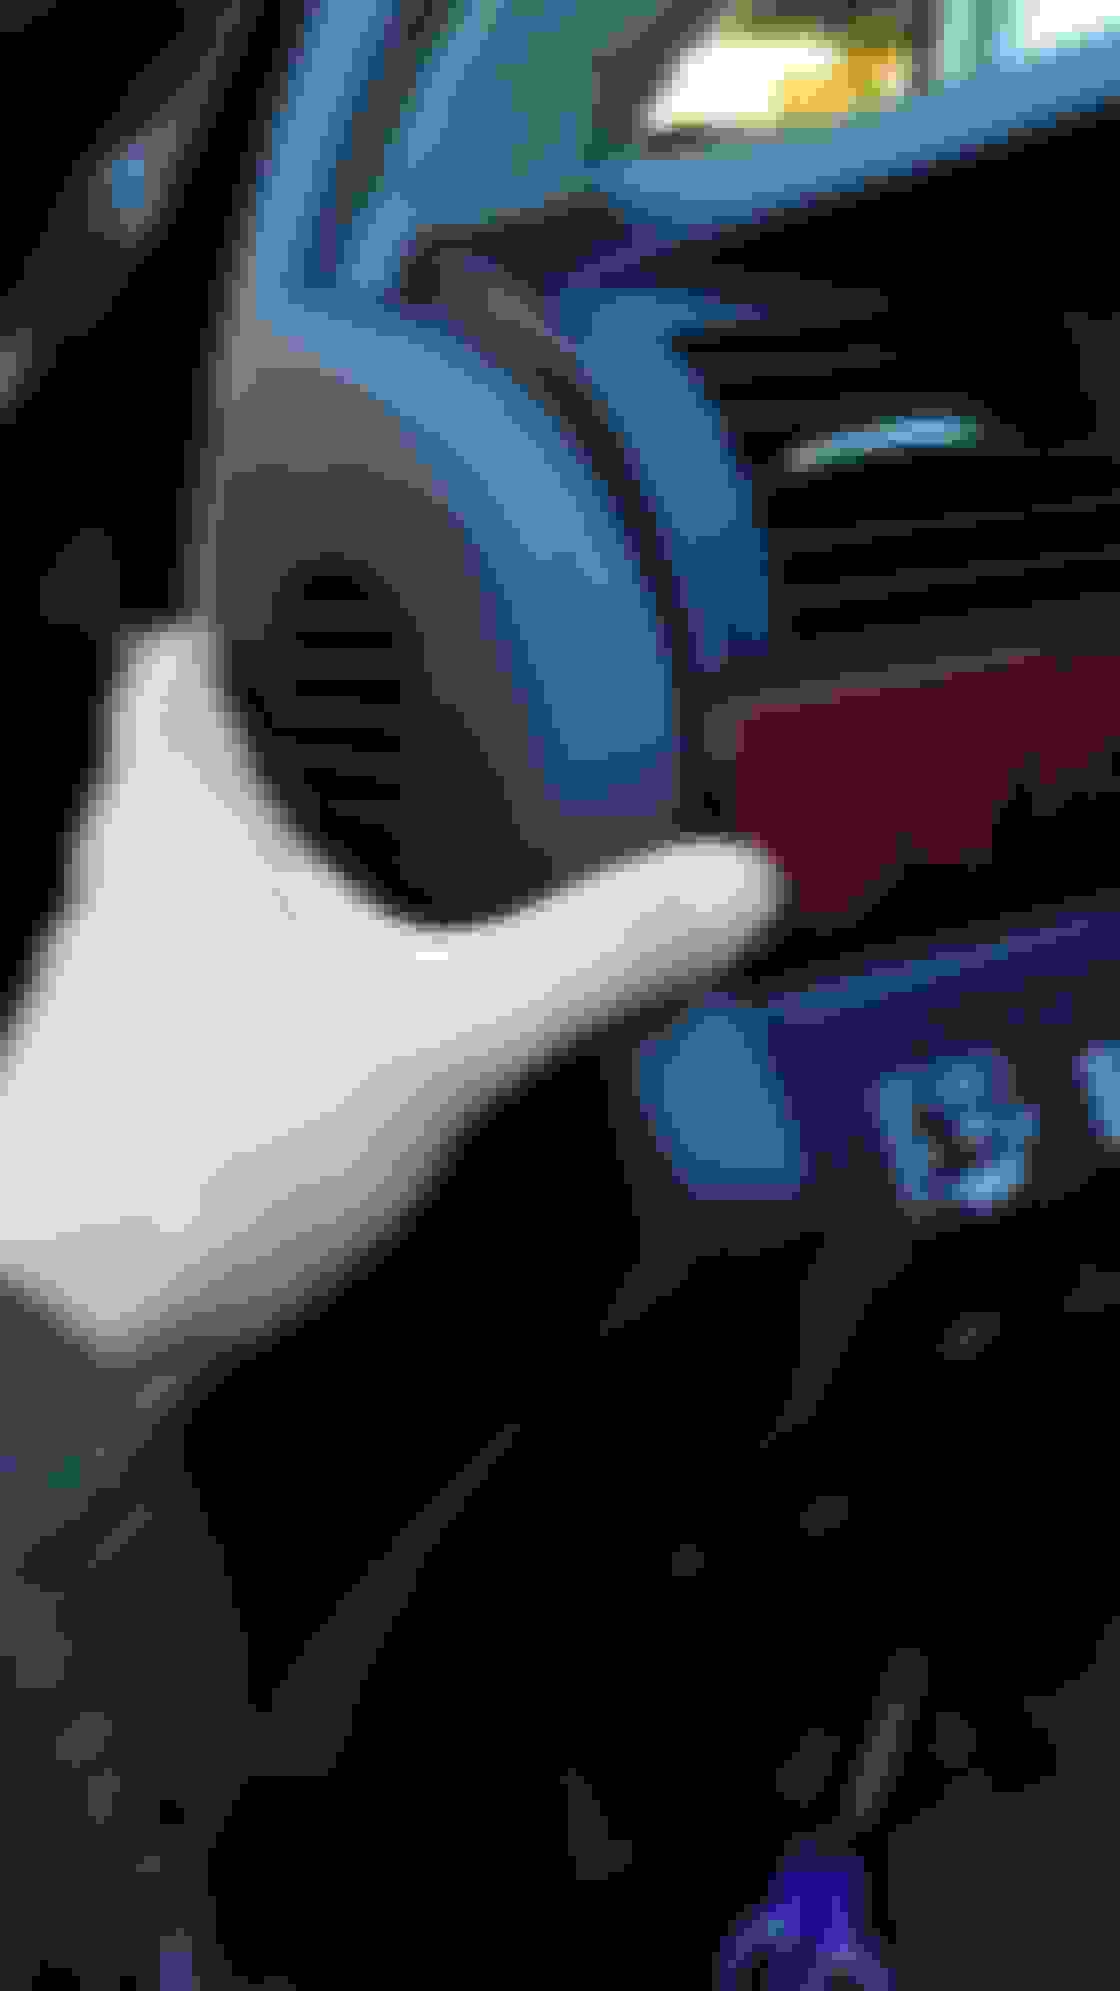
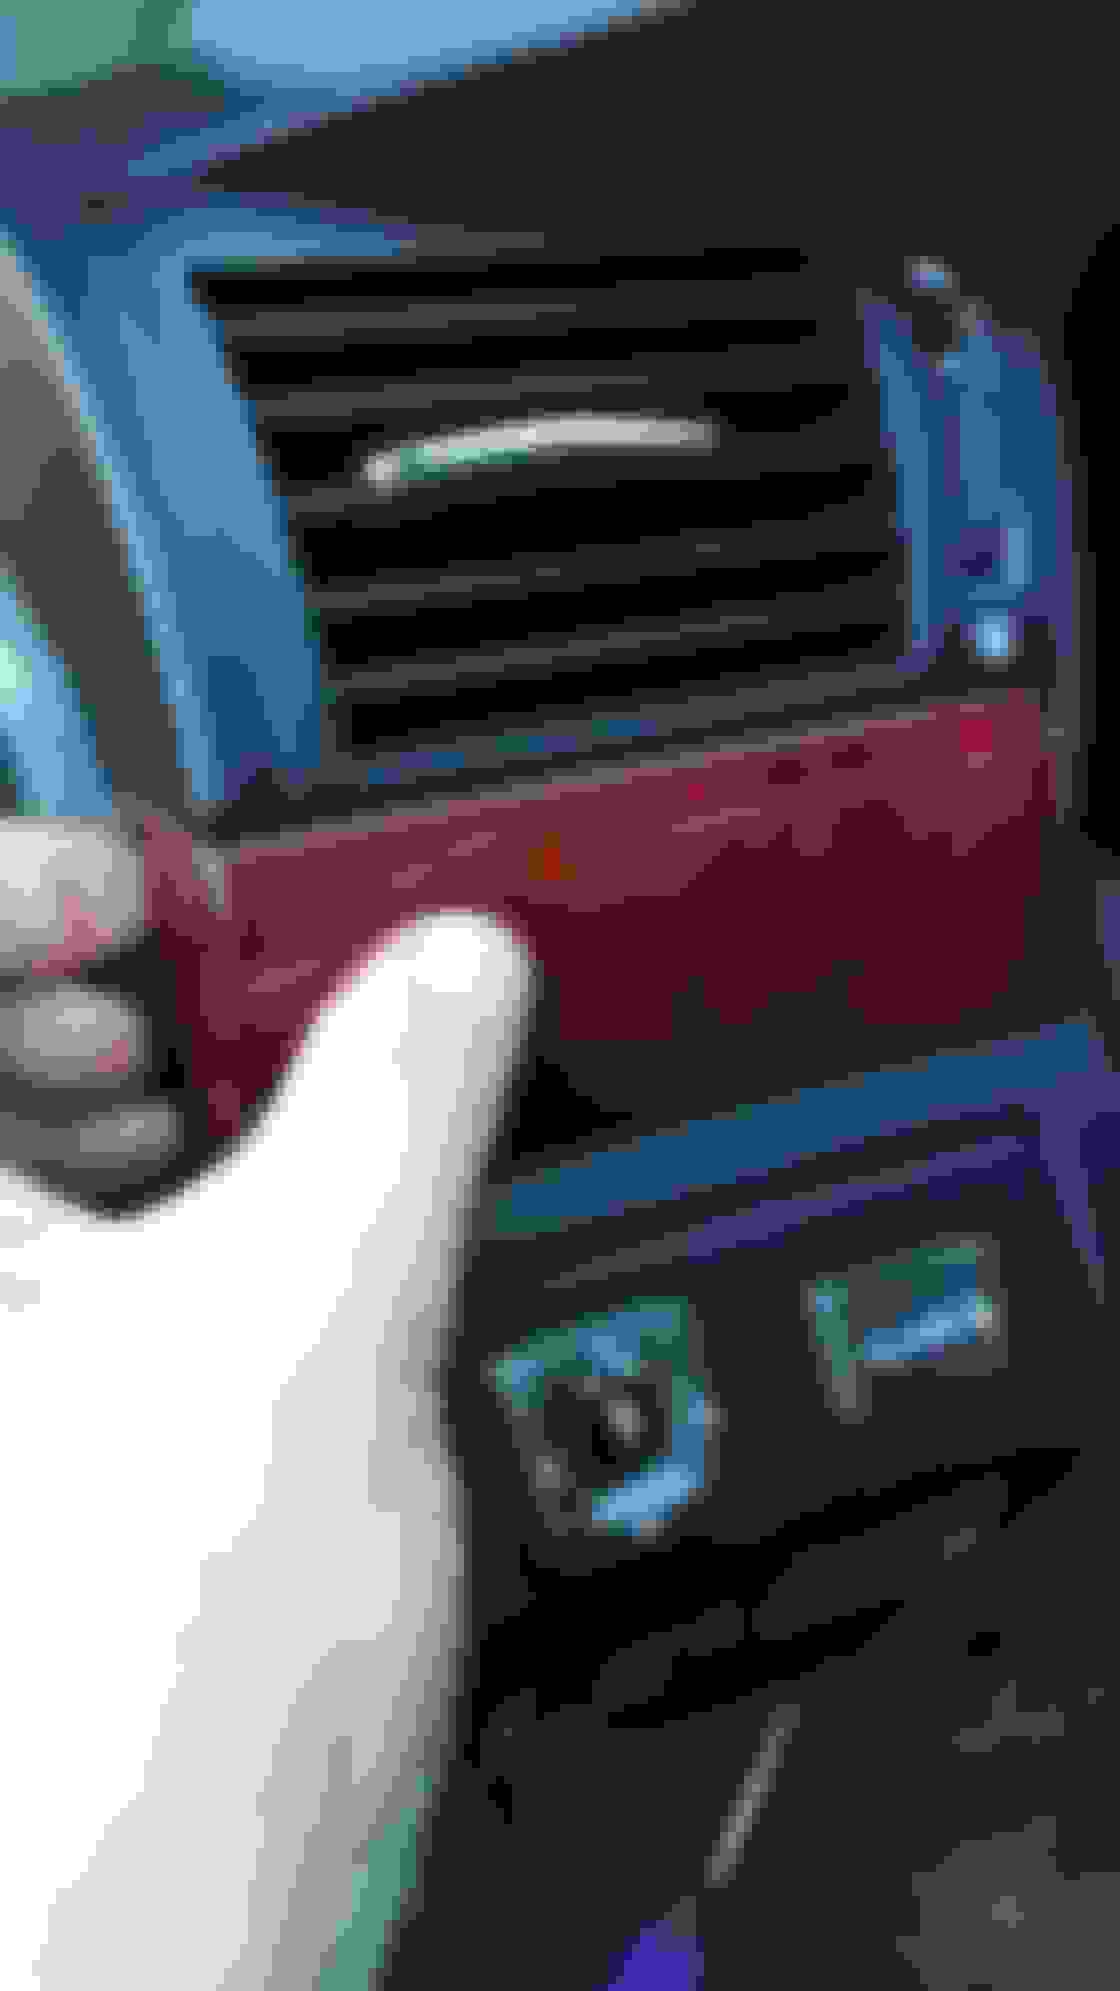
Next, remove the wood panel trim piece just below the vent. It simply pries out and is also attached with clips. Behind it is a phillips head screw which you remove.
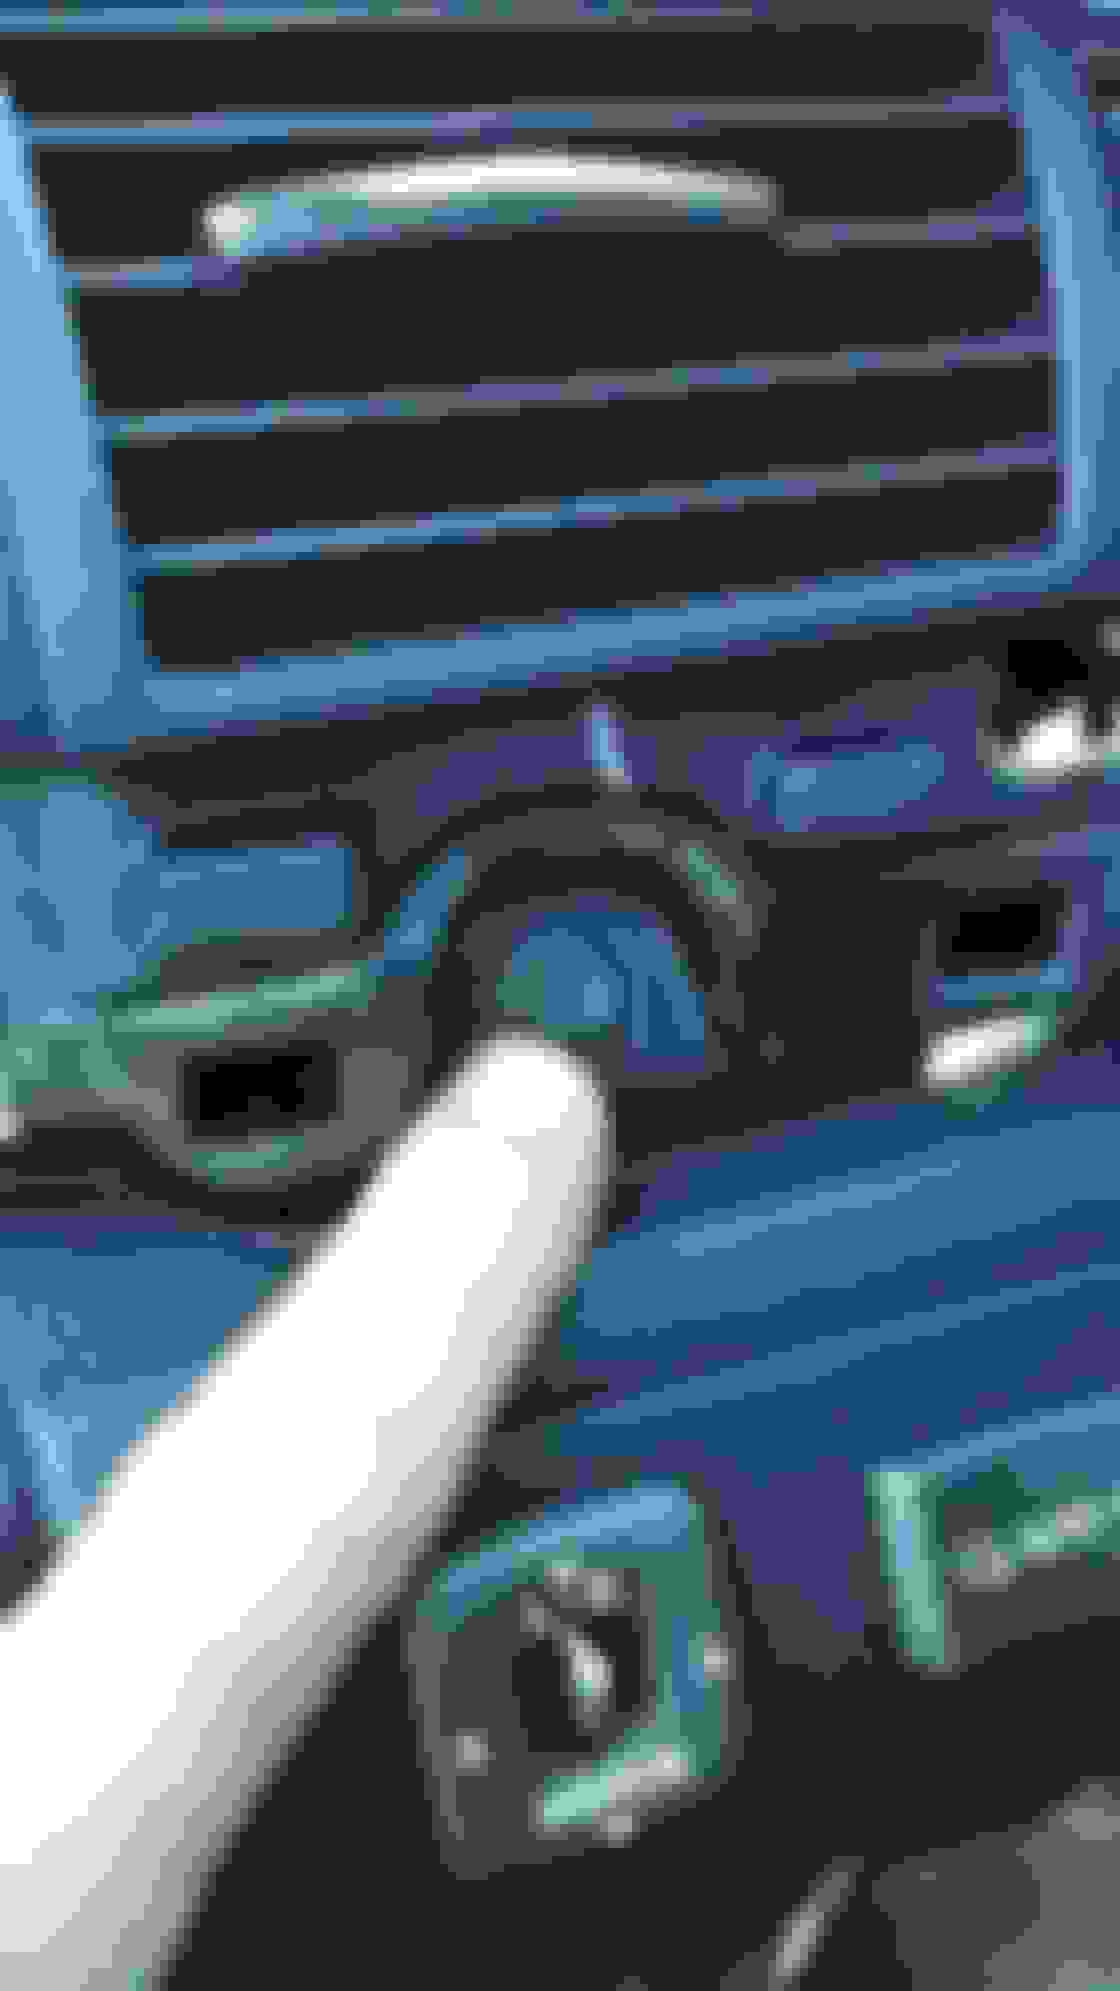
Unclip and remove the curved trim piece below and behind the E Brake button. Behind it is a 10mm bolt which you'll remove.Then, remove the knee panel by pulling away from the dash and is now only fastened by clips.
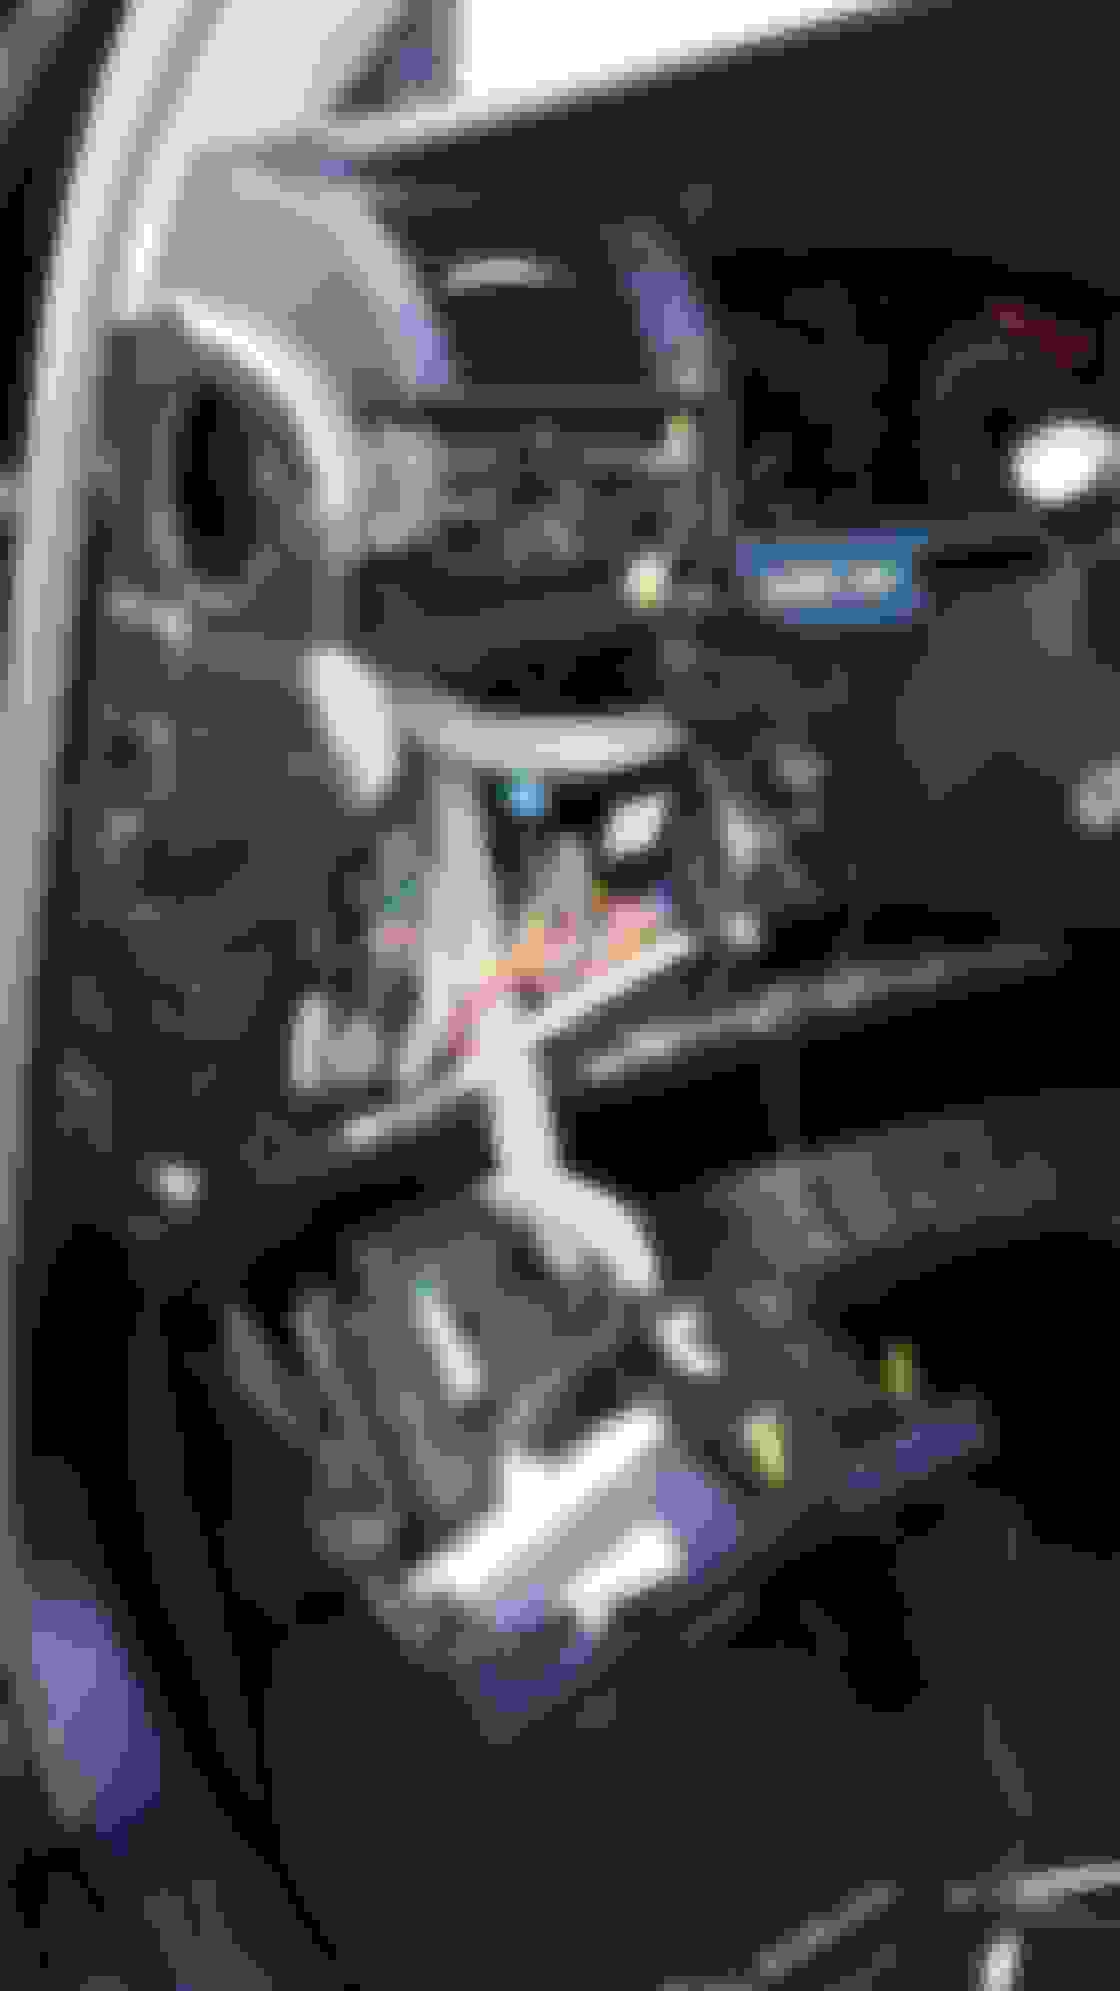
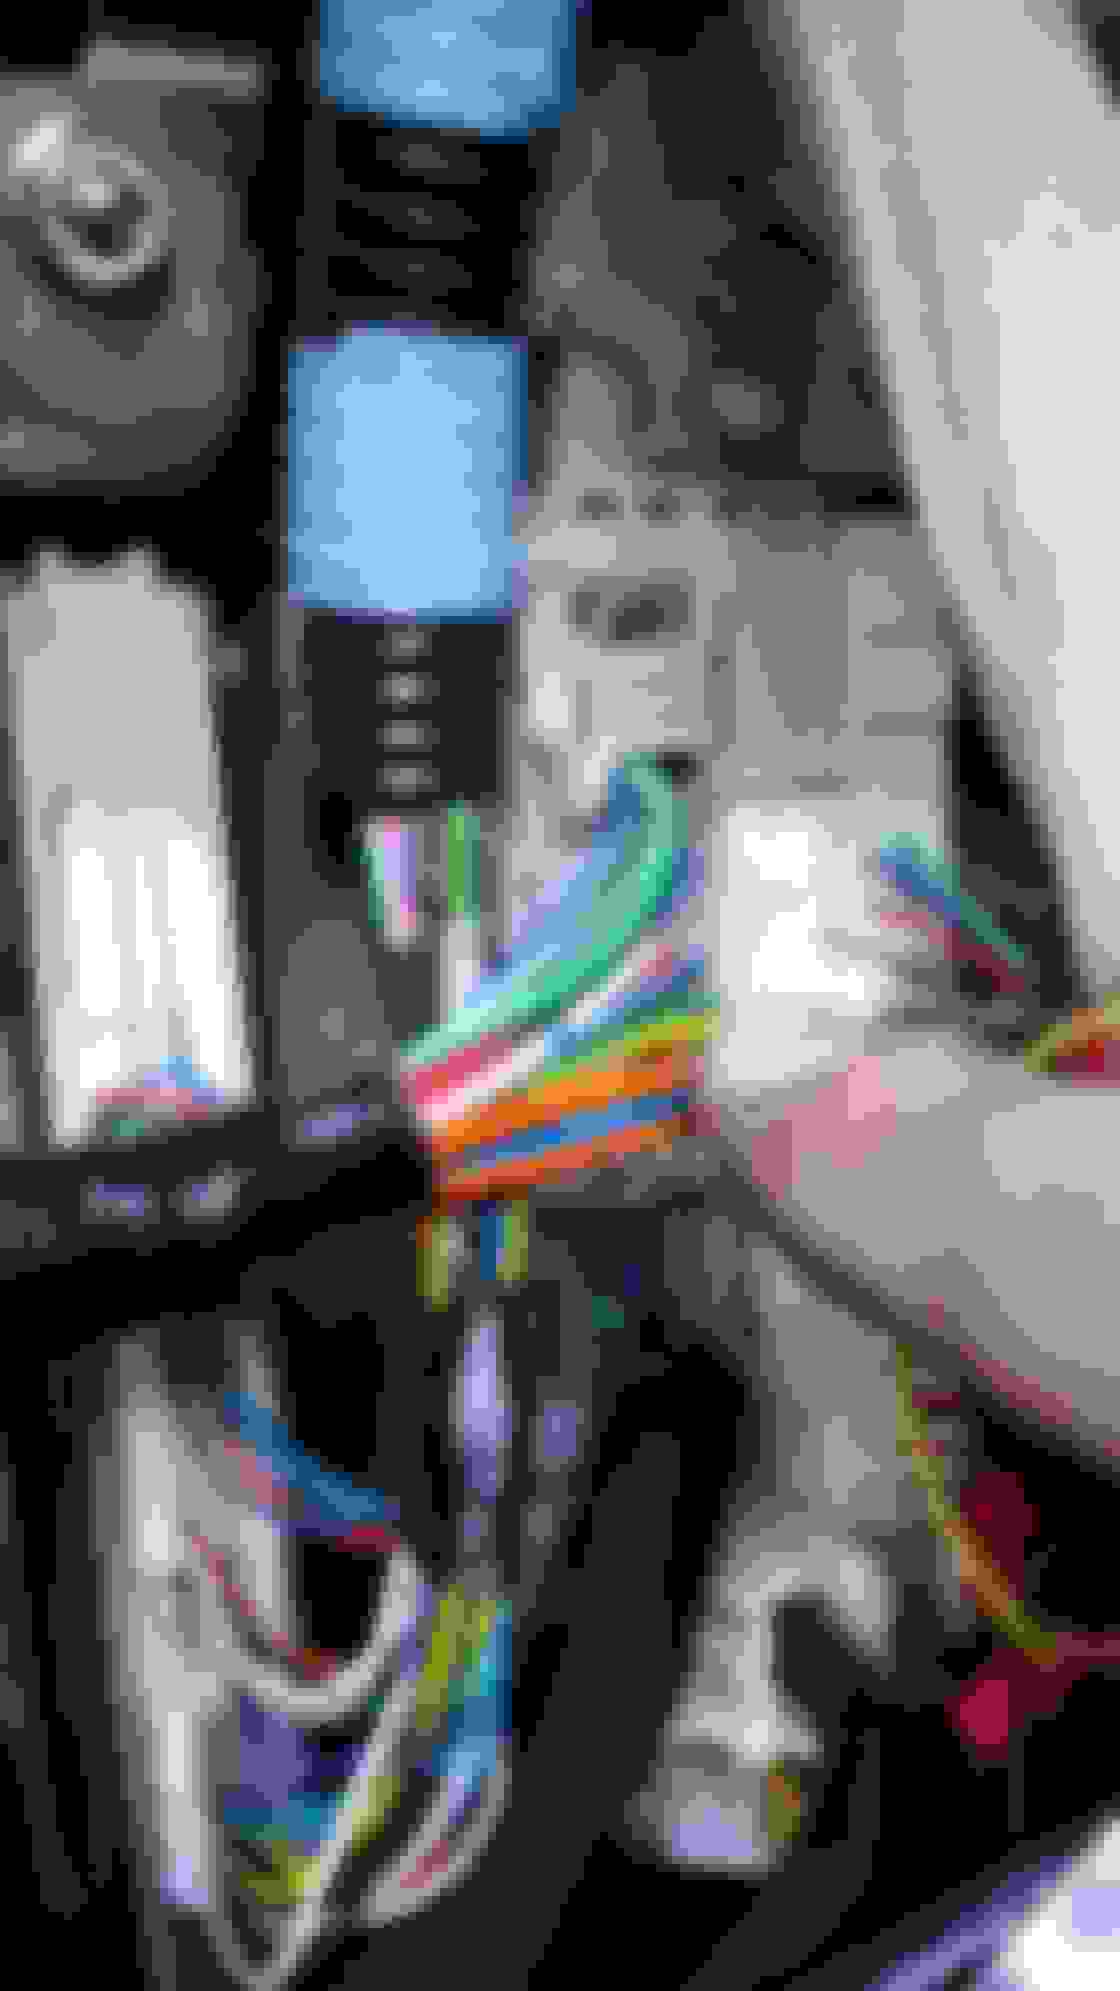
When you remove the panel, this is what you see:
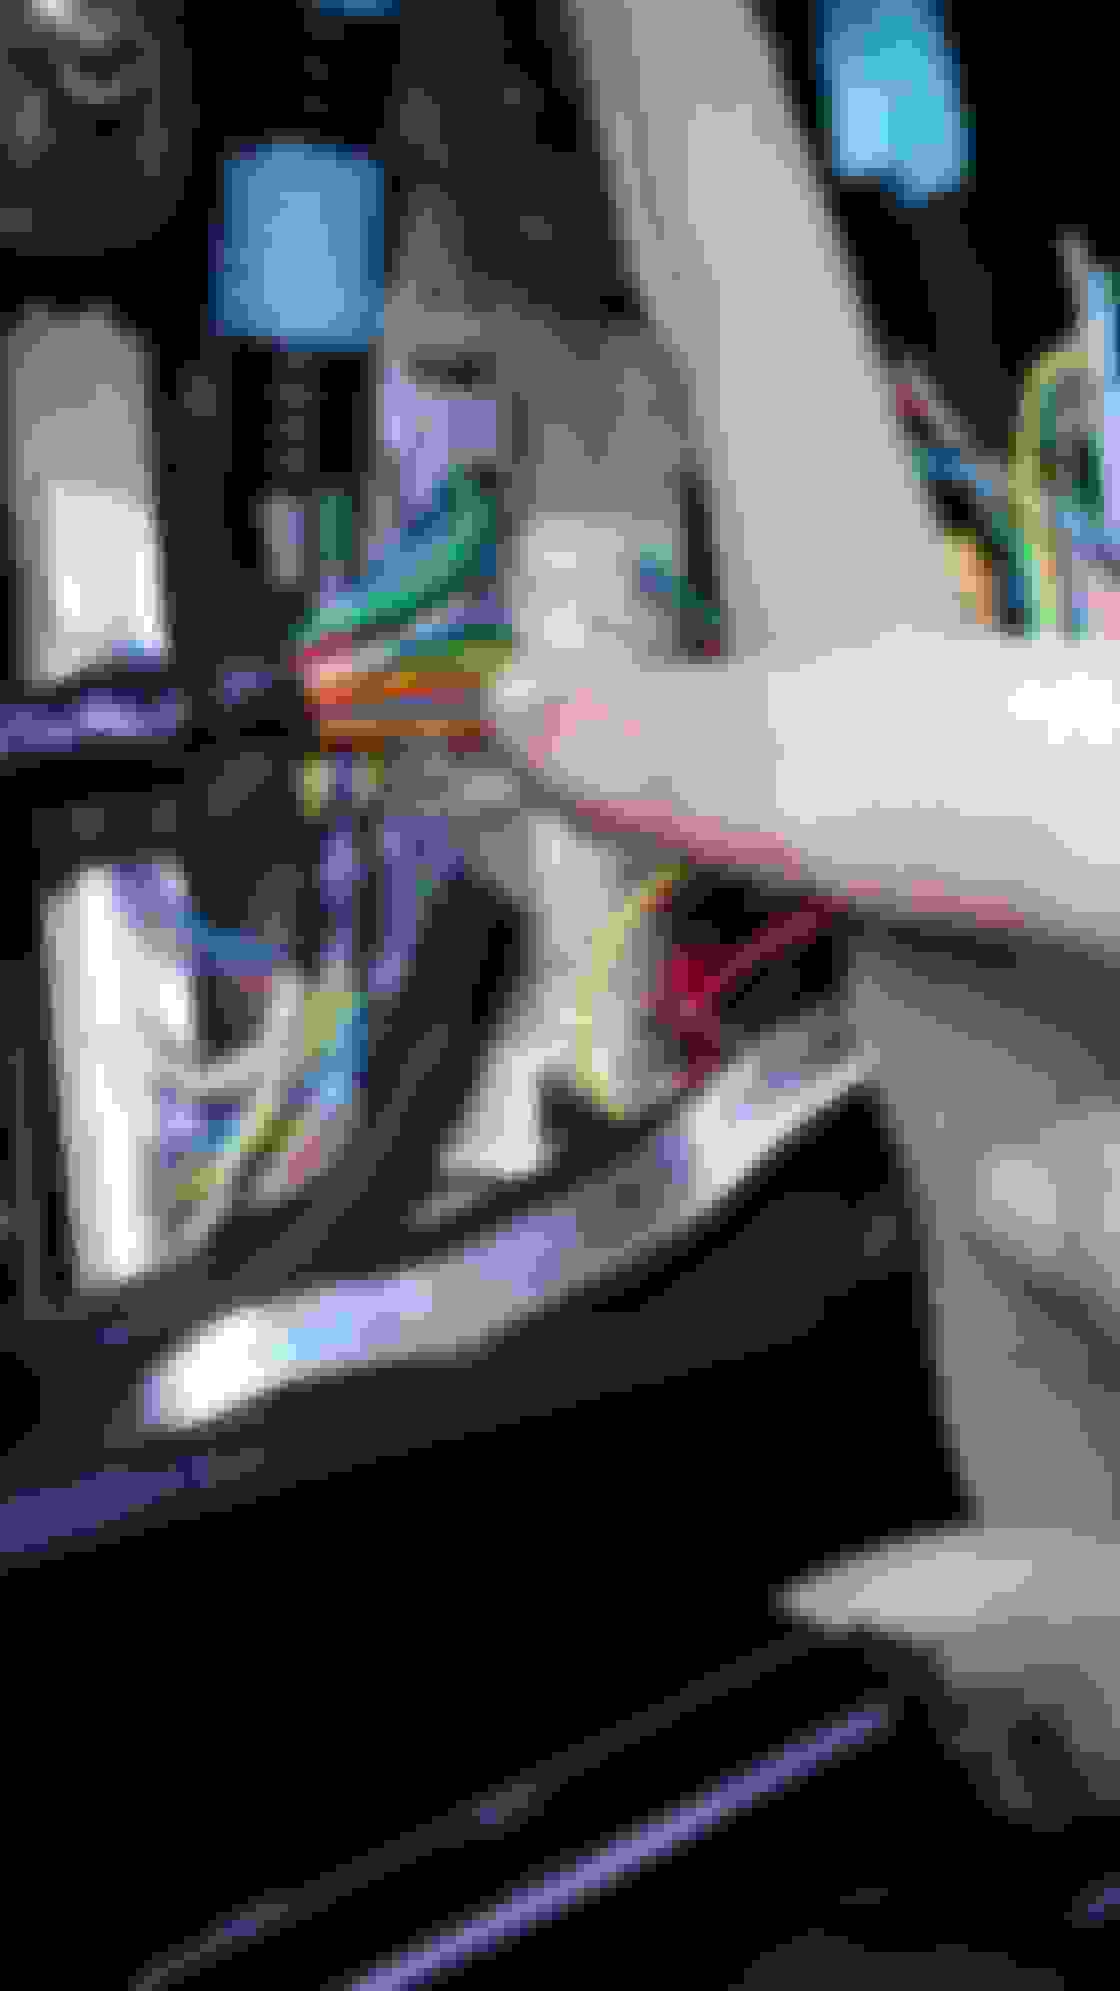
The two wires we're using (green and yellow) are shown here in the next few pics:
I used red T Taps (18-22ga) and tapped into the wires as shown here:
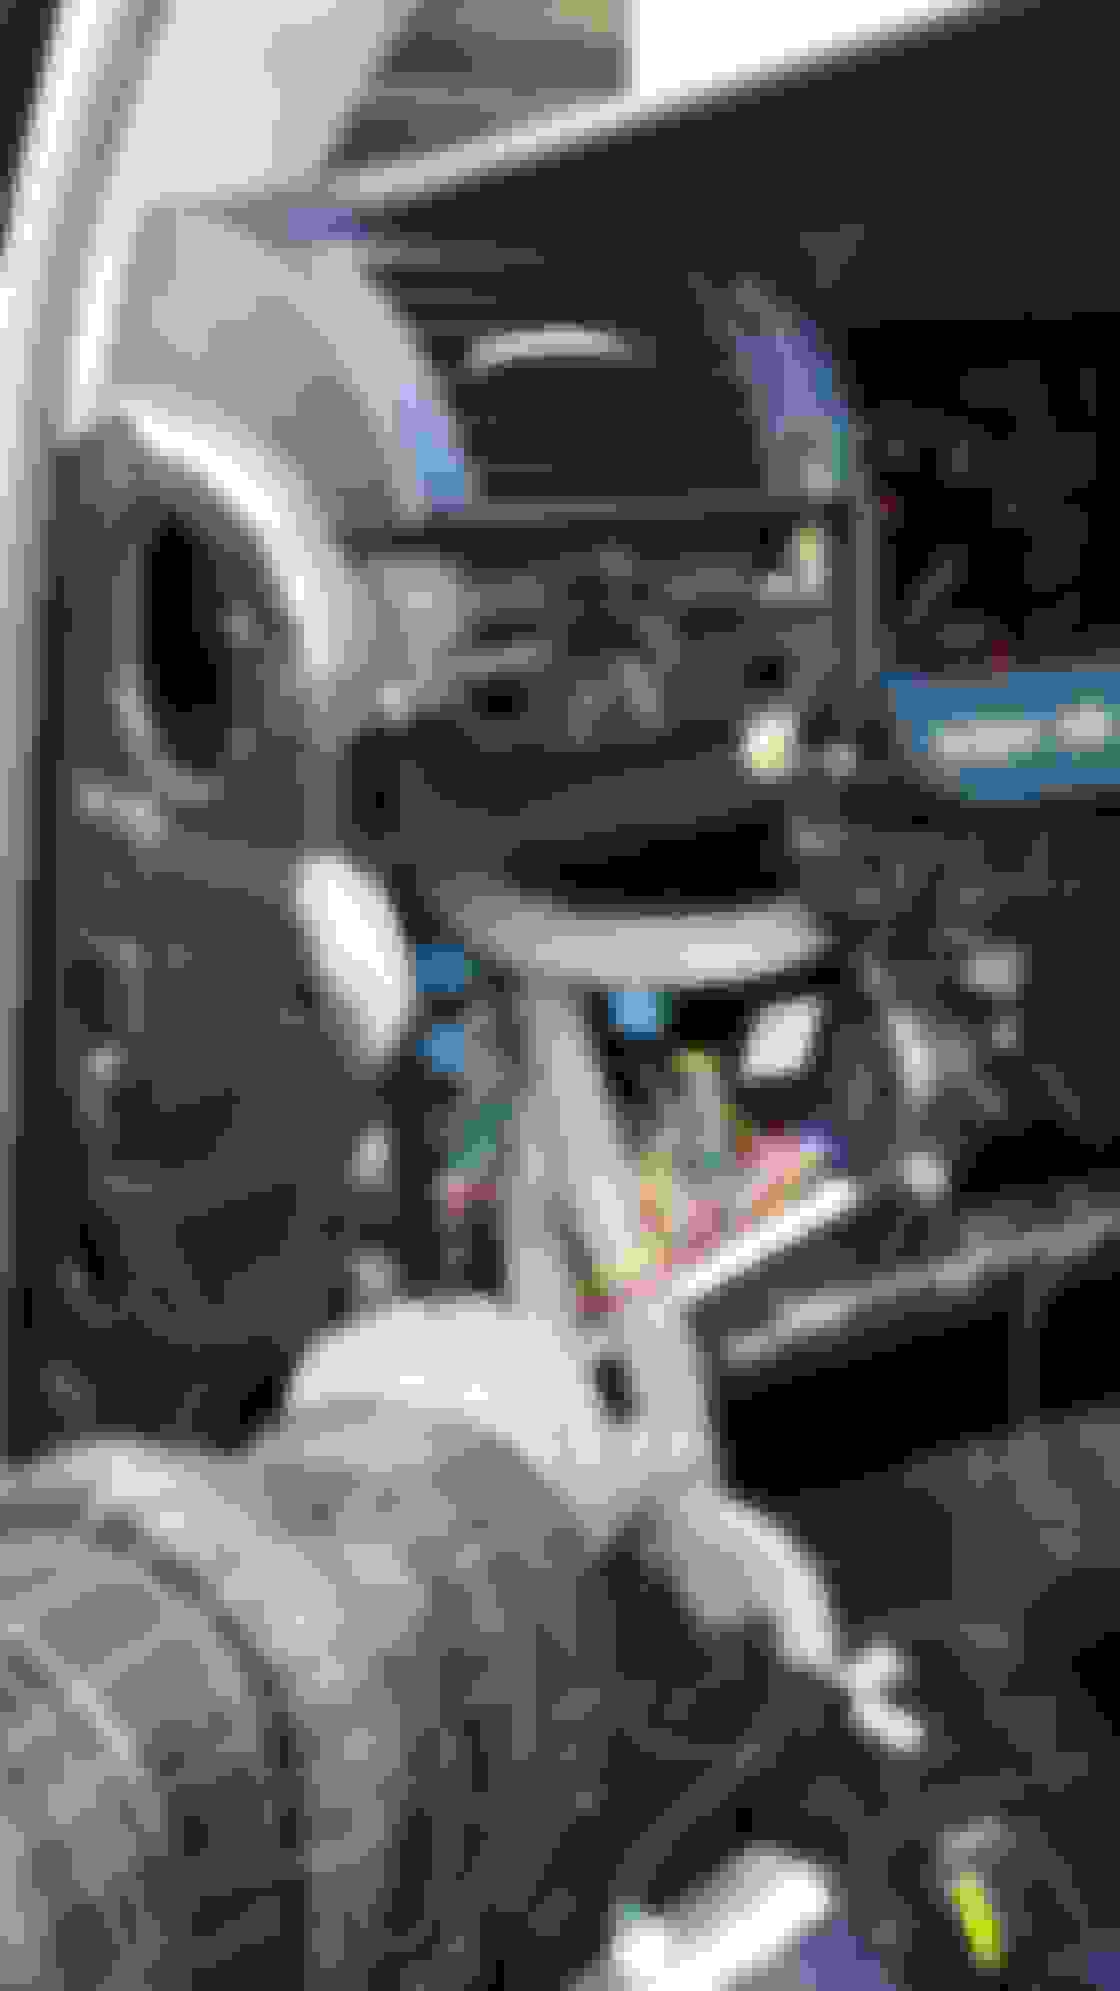
I ran the passenger side mirror wires along the firewall and over the transmission hump by using a coat hanger as a fish:
I grounded both black wires to the nearest bolt attached to a reinforcing brace nearby.
After making sure everything worked, everything goes back together.
I decided not to connect the running lights.
As soon as I figure out how, I'll add a video of them in action.
This was so much easier than I had anticipated. I found the necessary connections under the drivers side dash area. Anyone who has done the DIY Dball Remote Start, will be in familiar territory here. The wires are in the same assembly of connectors that you connect the Dball.
First step is to remove the panel under the steering wheel which is attached with two screws and a few clips. Then, we need to remove the lower knee panel. To do this, you need to remove the trim panel on the side of the dashboard which is attached with clips....just pry and pull out:
Next, remove the wood panel trim piece just below the vent. It simply pries out and is also attached with clips. Behind it is a phillips head screw which you remove.
Unclip and remove the curved trim piece below and behind the E Brake button. Behind it is a 10mm bolt which you'll remove.Then, remove the knee panel by pulling away from the dash and is now only fastened by clips.
When you remove the panel, this is what you see:
The two wires we're using (green and yellow) are shown here in the next few pics:
I used red T Taps (18-22ga) and tapped into the wires as shown here:
I ran the passenger side mirror wires along the firewall and over the transmission hump by using a coat hanger as a fish:
I grounded both black wires to the nearest bolt attached to a reinforcing brace nearby.
After making sure everything worked, everything goes back together.
I decided not to connect the running lights.
As soon as I figure out how, I'll add a video of them in action.
Thanks for the DIY!!!
I'm wondering if the parking lights are in that loom somewhere, I'll try and poke around with my mm
I'm wondering if the parking lights are in that loom somewhere, I'll try and poke around with my mm
Thanks again!
Yeah...let me know what you find. I poked around with a test light, but couldn't find anything. I gave up after a few minutes, because I wasn't really sure I wanted them on anyway.
before I ended up getting the mirror covers I thought would fit on my 2008, I was going to wire up the additional wire for the running light as a courtesy light. so when the puddle lamp comes on, the light would come on and then fade off. Can you tap that main power wire for the turn signals in the cover into the courtesy + wire within the housing so they amber would come on while puddle lamps are on? I think that's how I would do that if I had these instead of always on with lights. Because I want the mirror covers to attract while blinking and if dark out, they would "jump out" more if they are not on and then come on just to blink..if that makes sense
You'll love it more with the park lights hooked up. That's the part my buddy said was the difficult part I spoke of in prior postings. I didn't realize how bright the park lights were at night until last night. I was driving next to two cars at night and the white lights were just bright enough for me to see the people in the car next to me haha

 01-08-15, 06:48 PM