When you click on links to various merchants on this site and make a purchase, this can result in this site earning a commission. Affiliate programs and affiliations include, but are not limited to, the eBay Partner Network.
Restoring Headlights to Like New Condition - No kit allowed
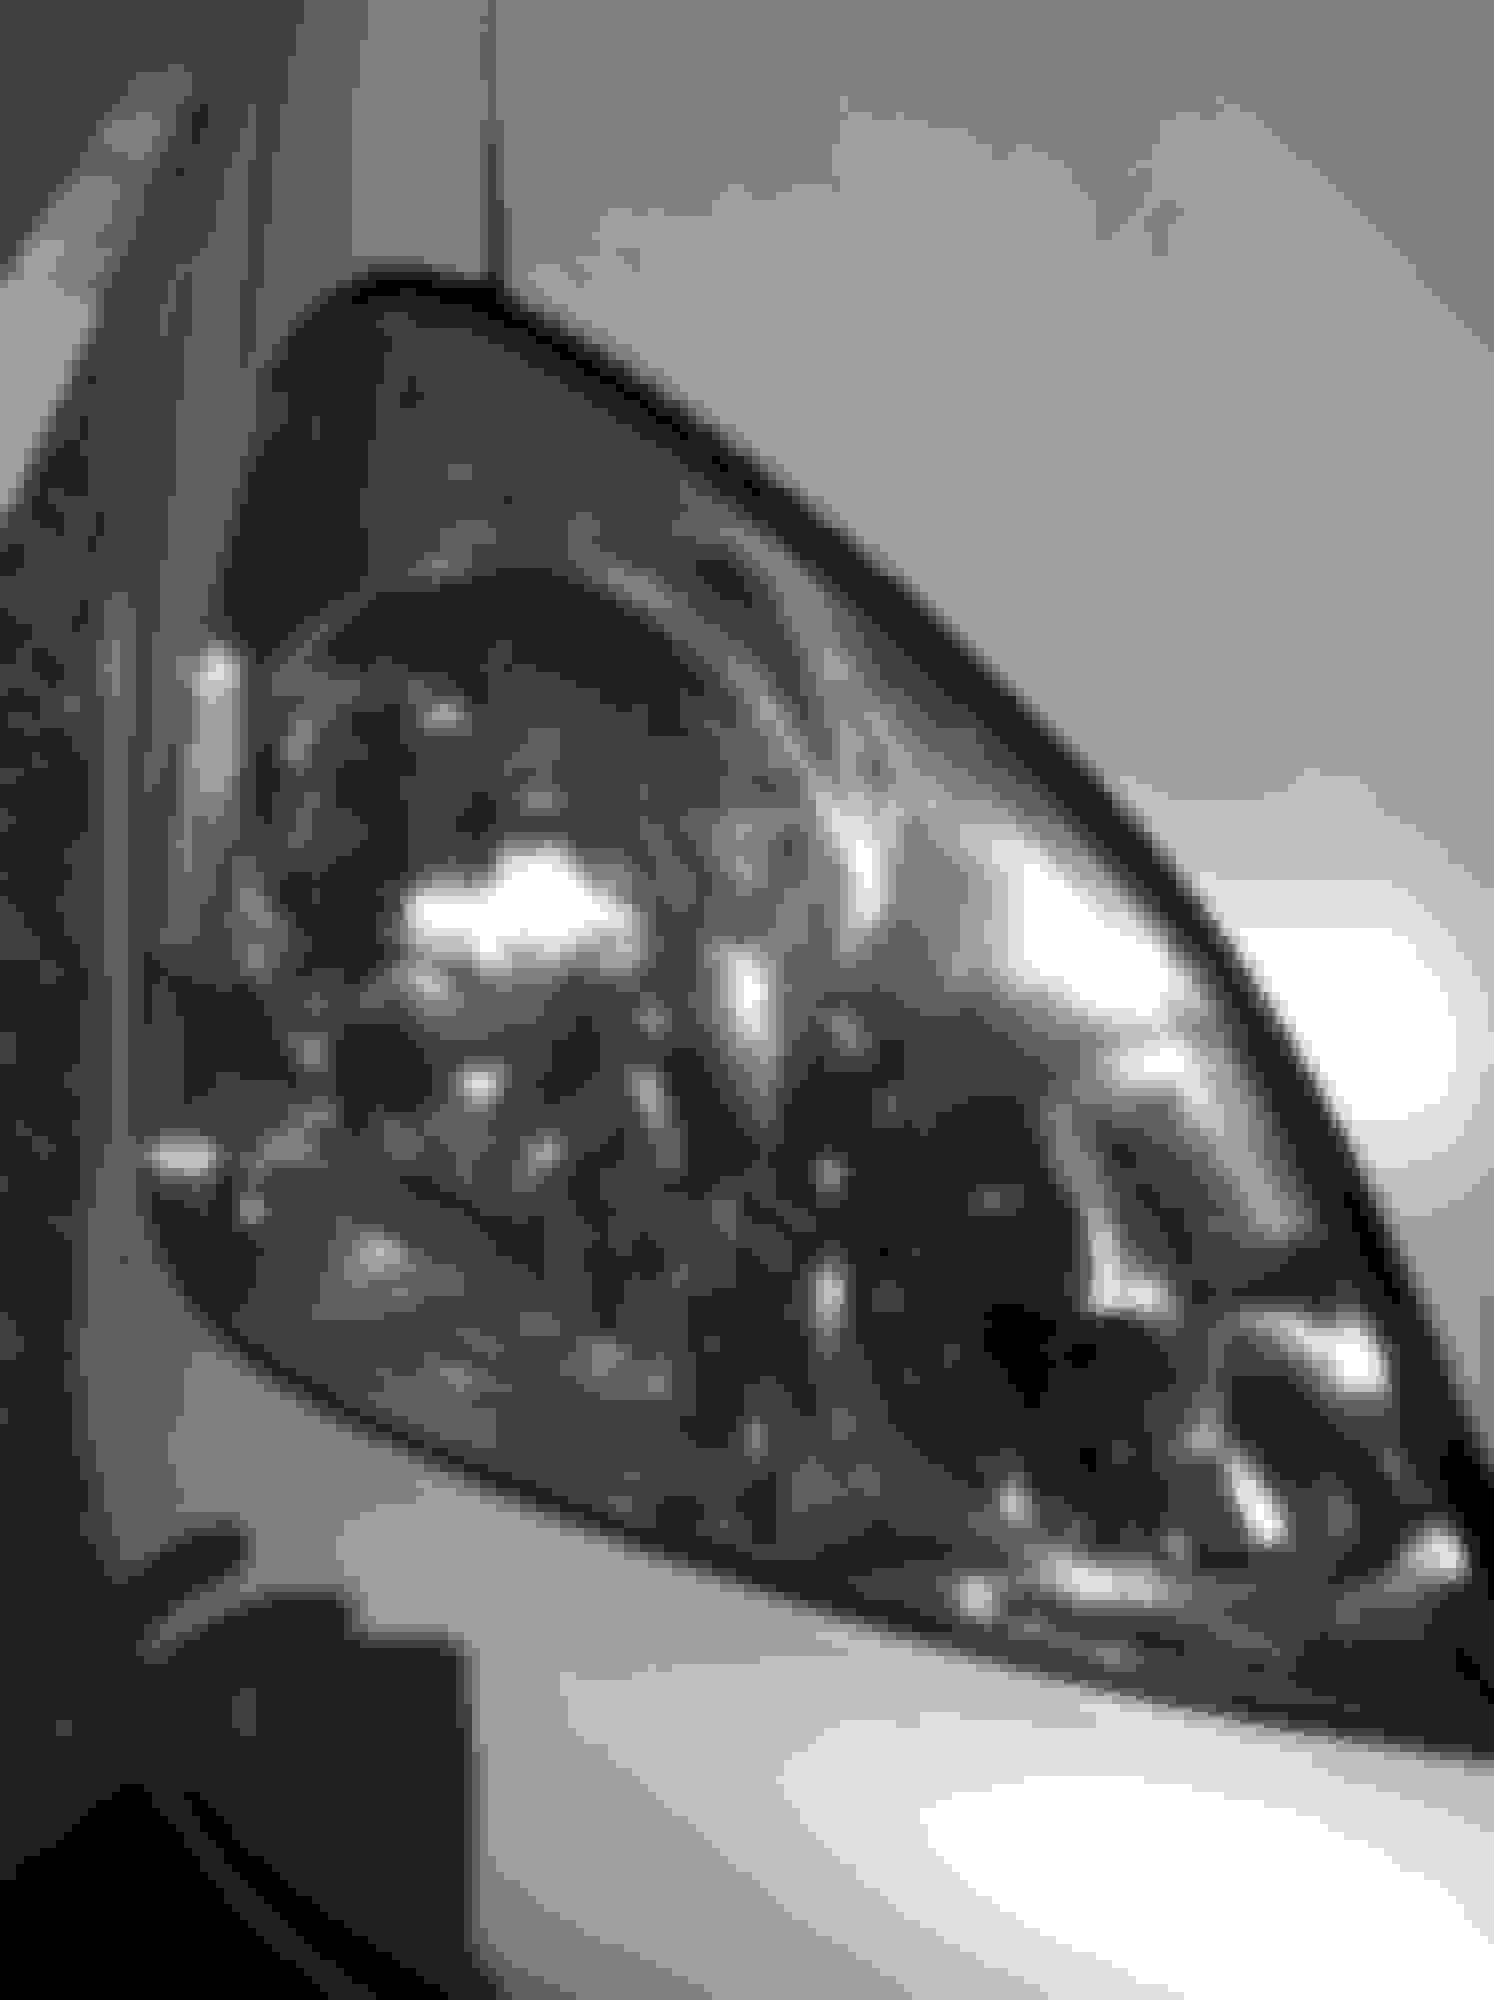
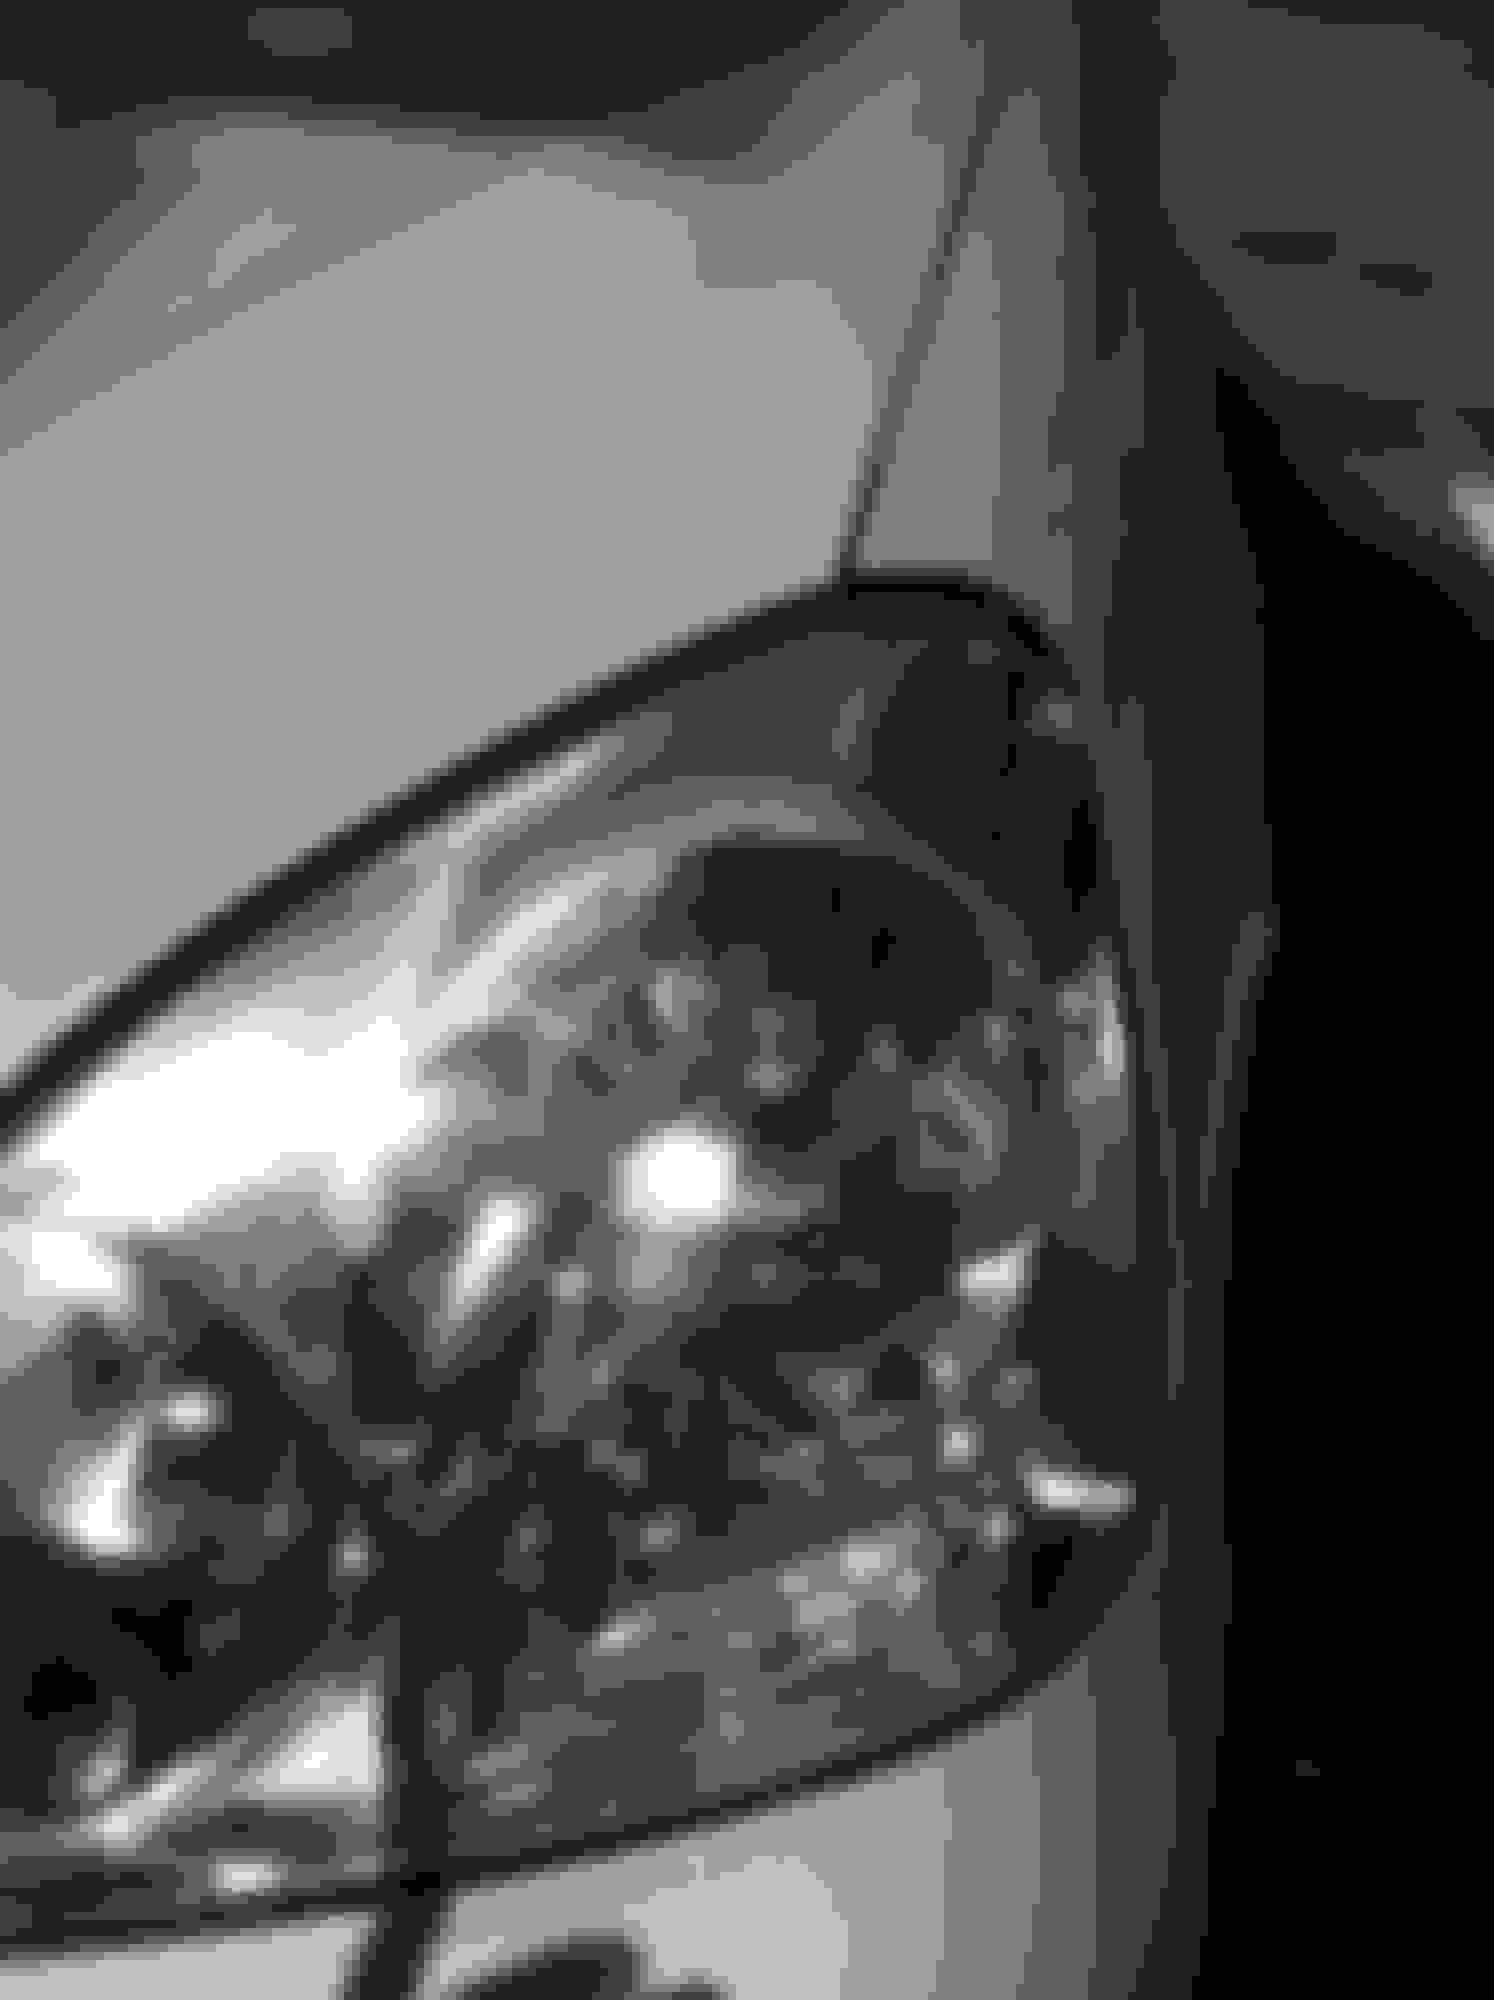
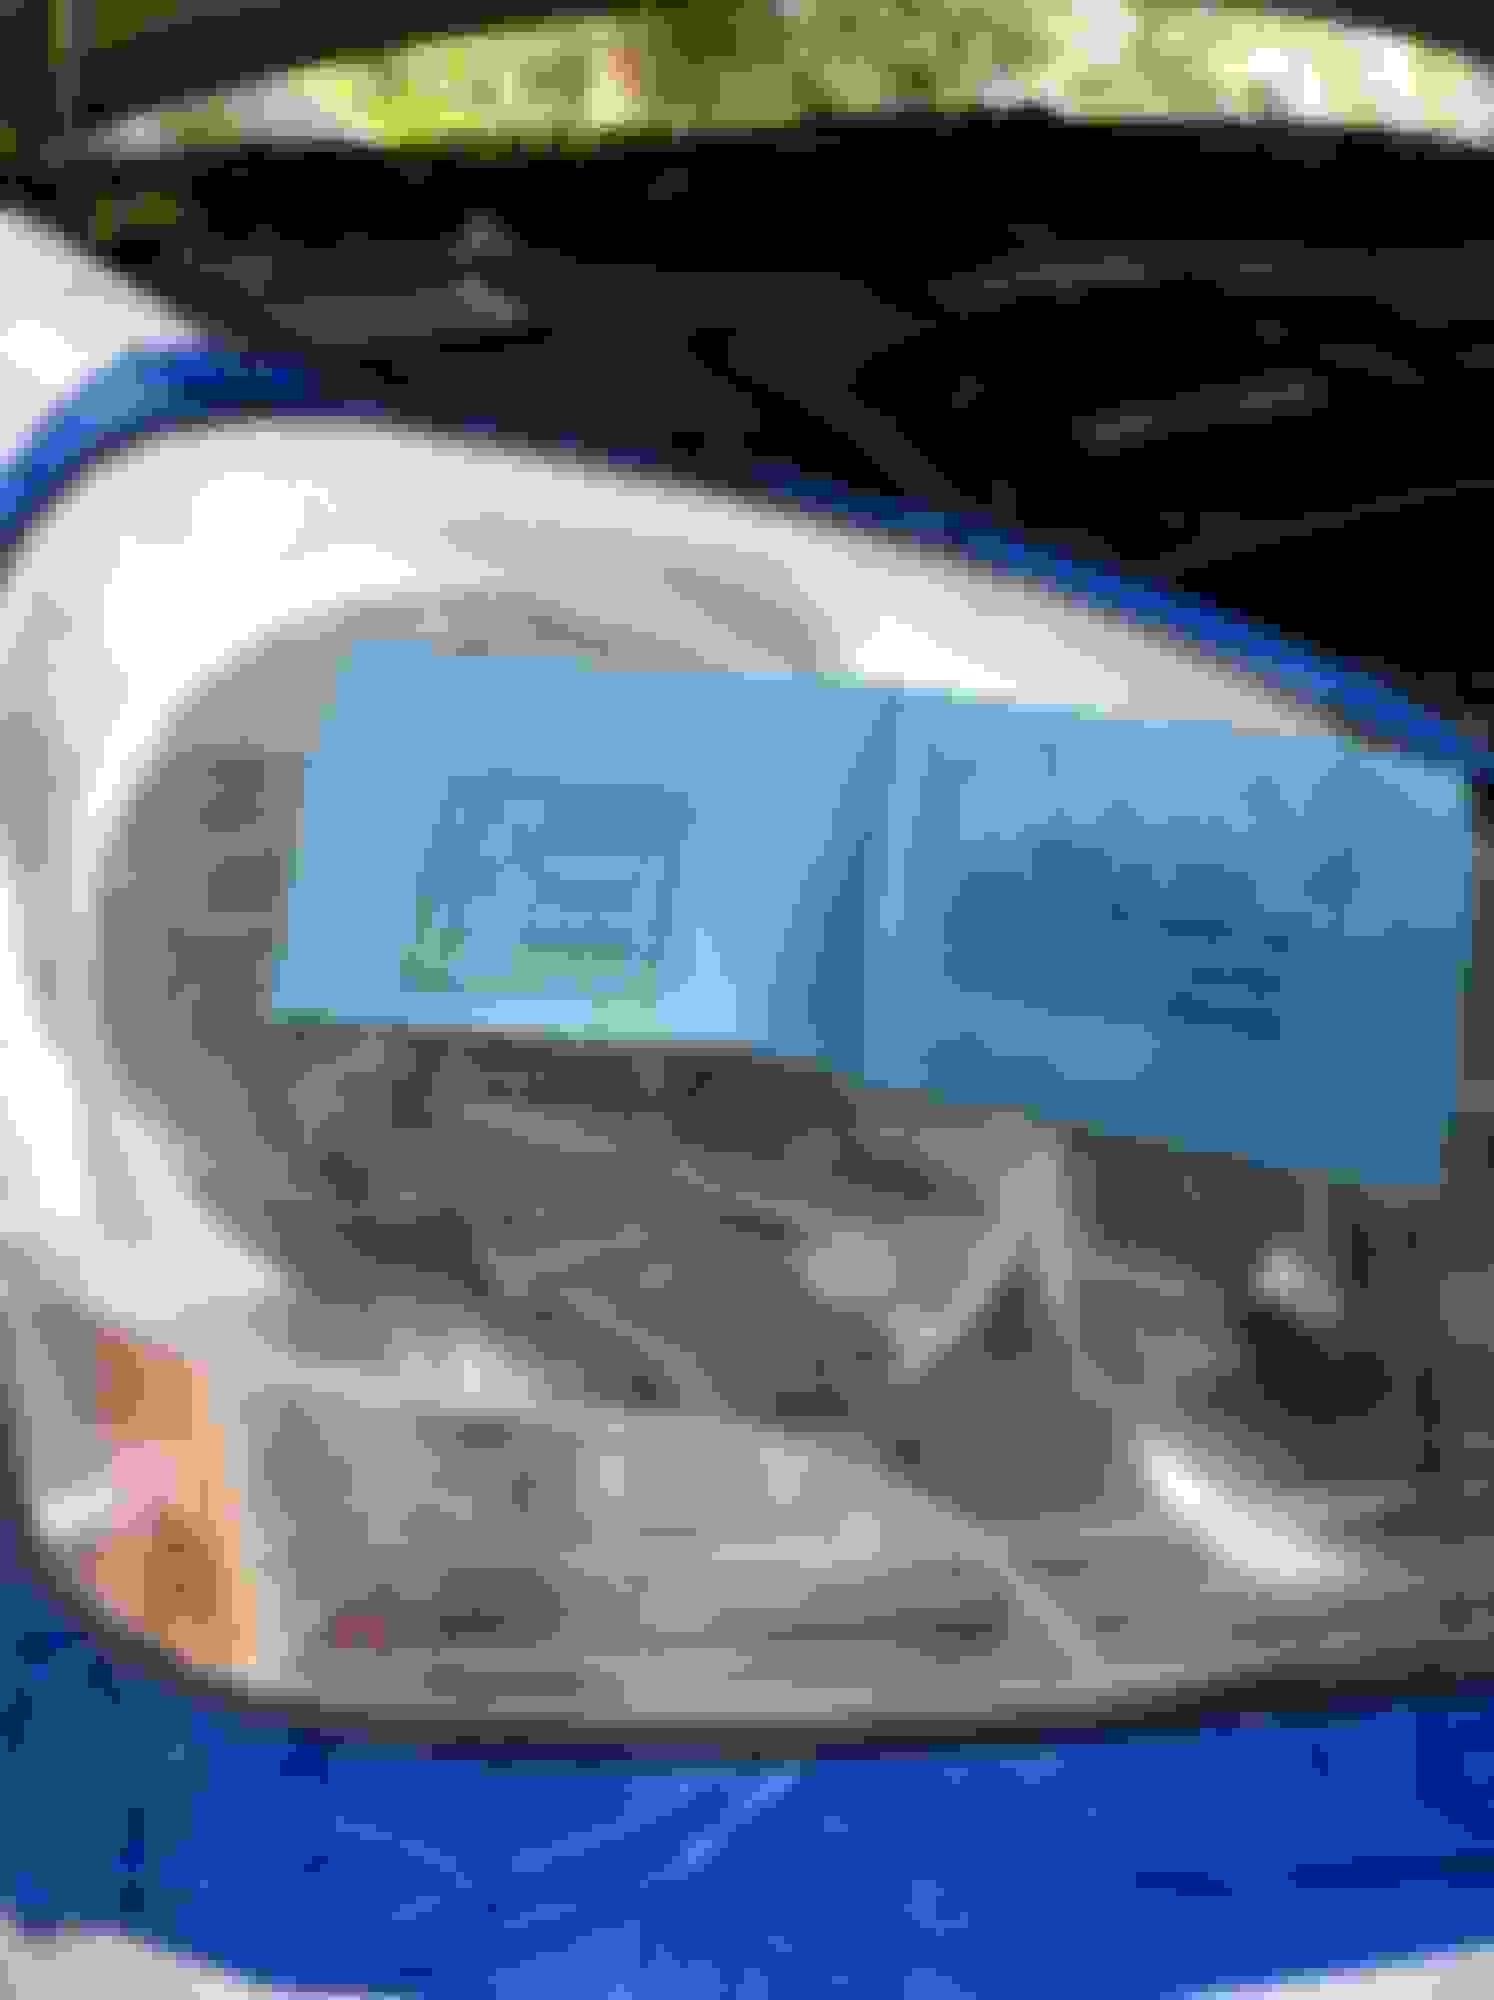
Okay, so my headlights had been in direct sunlight far too long, to the point where they became burnt and started peeling. Something like that anyways.
Clearcoat degraded... Sprayed with 2K clearcoat then protected afterwards with Collinite 845 wax
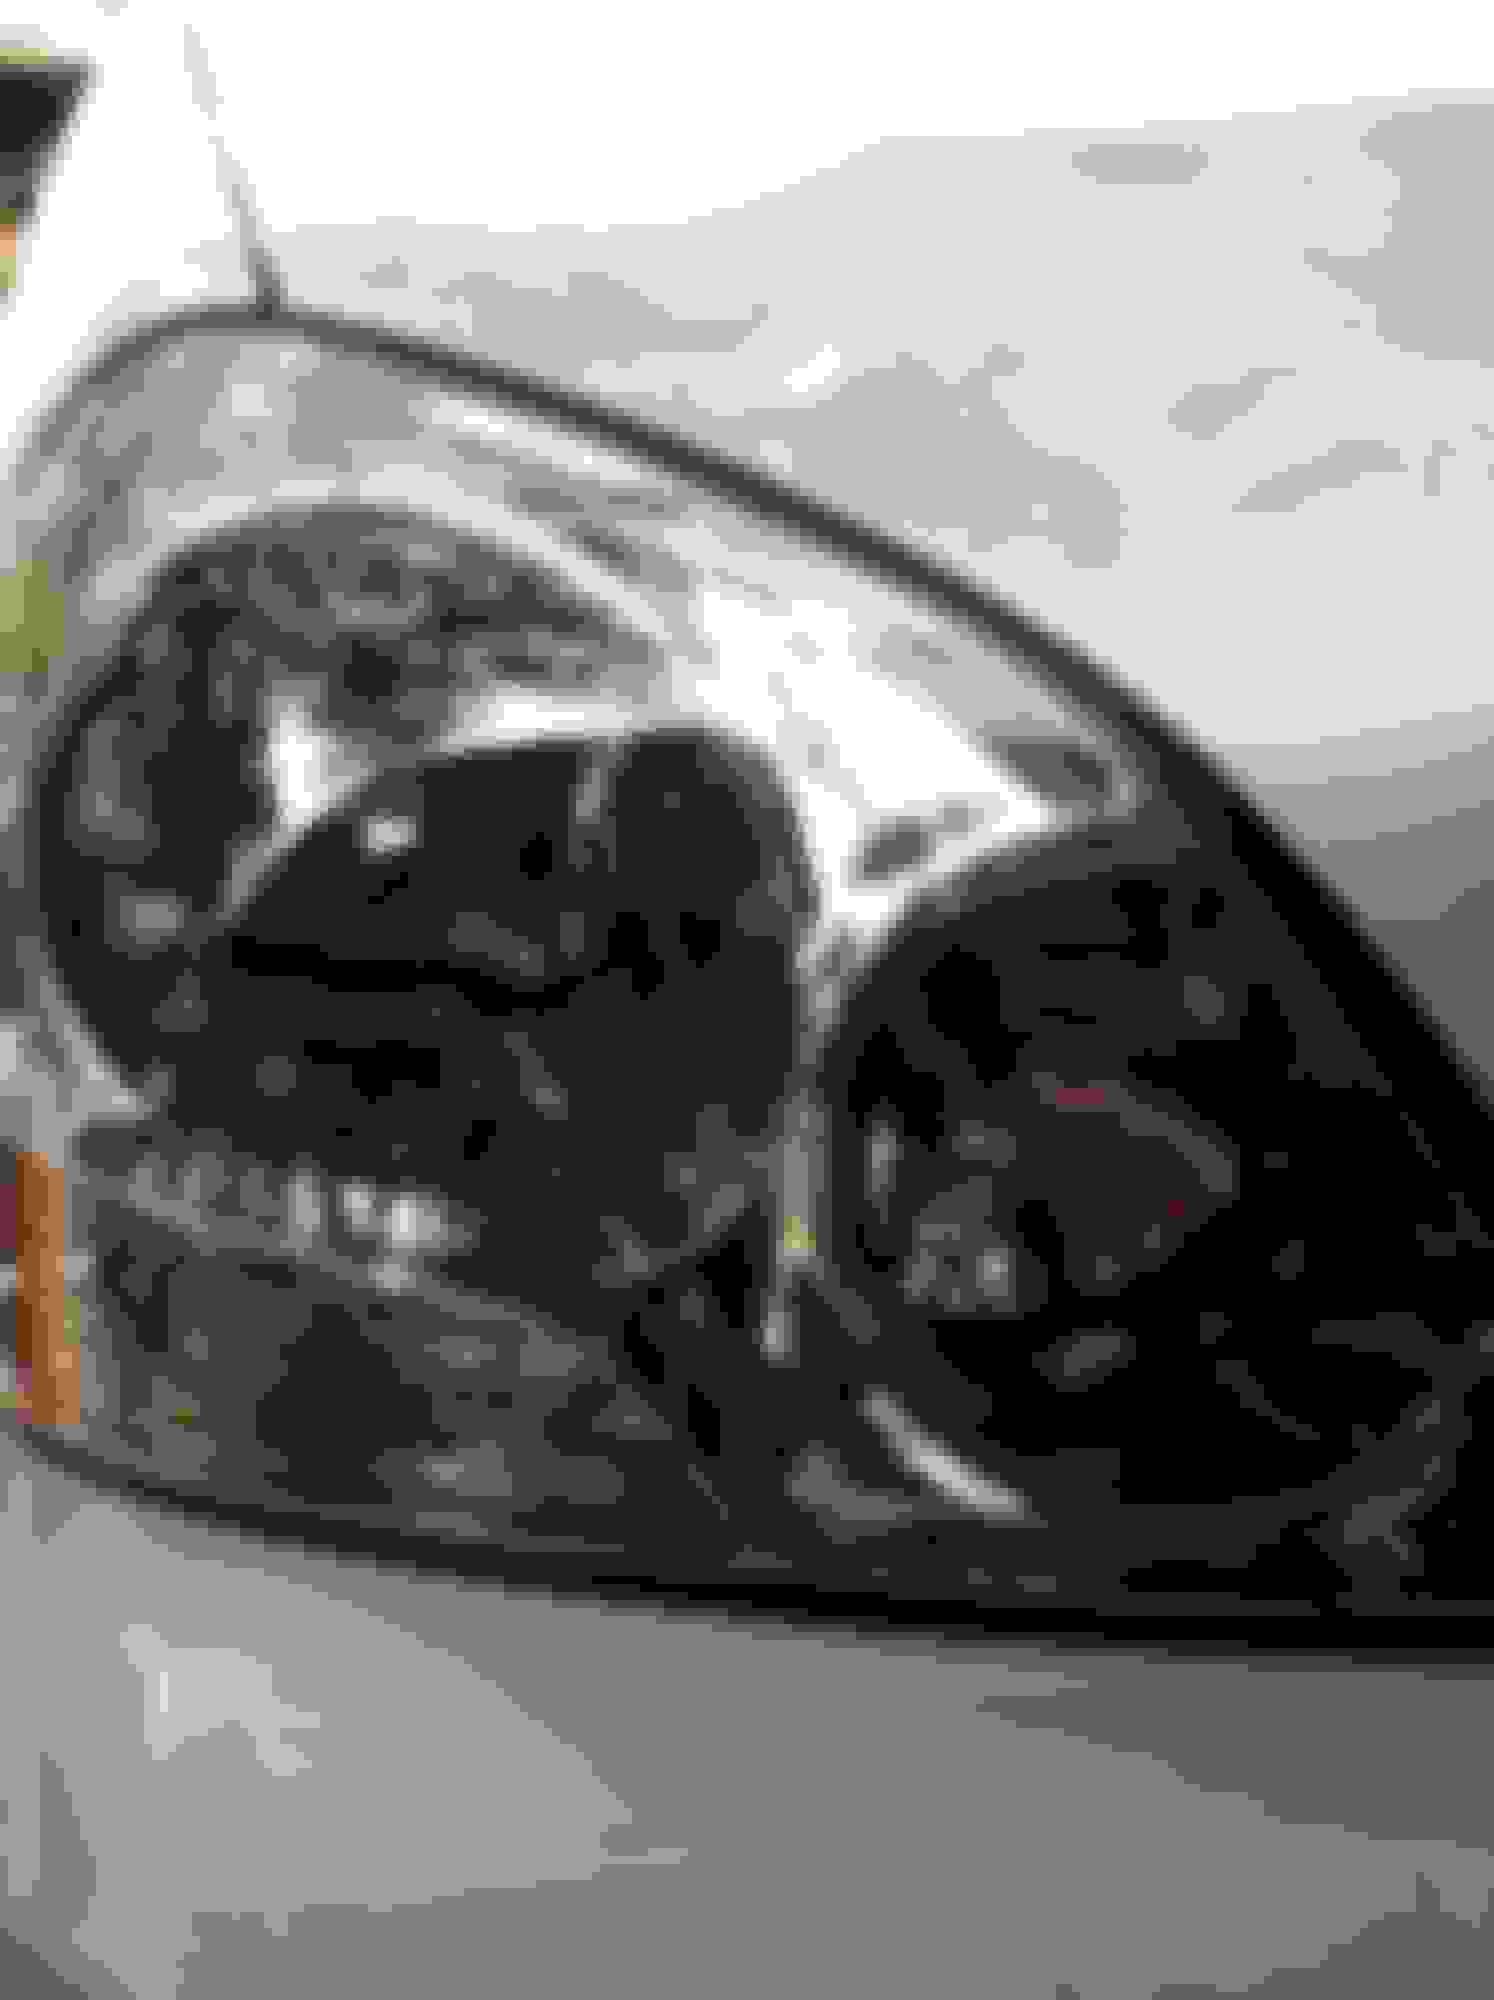
Those turned out better than new. Looks like that's the right way to have them done and actually last.
Thanks...Yeah, the shape these were in, a new coating of clearcoat was the only solution other than new lights. I started offering this option to my detailing clientele as I've never been a fan of headlight kits, they're nothing more than a bandaid IMHO. One of my customers family member lives out of state and sends me headlights thru the mail to have redone, I suppose he is selling them on Ebay or Amazon.
Looks great. Better then mine. I used the mothers kit with the 800 wet, 1500 wet, and 3000 dry sand. Then polished and "sealed" with blue magic headlight sealer. Did you polish it after the 2000 sand? How much do you charge? I may have you clean mine up a little.
I had my mom's headlights done this way on her Honda Accord. It did last for a number of years before the clear coat starting peeling just as the above pictures show. I had them redone by a service and they came out looking new again. I was told that certain cleaners and possibly car washes will shorten the life of the clear coat that is applied.
Looks great. Better then mine. I used the mothers kit with the 800 wet, 1500 wet, and 3000 dry sand. Then polished and "sealed" with blue magic headlight sealer. Did you polish it after the 2000 sand? How much do you charge? I may have you clean mine up a little.
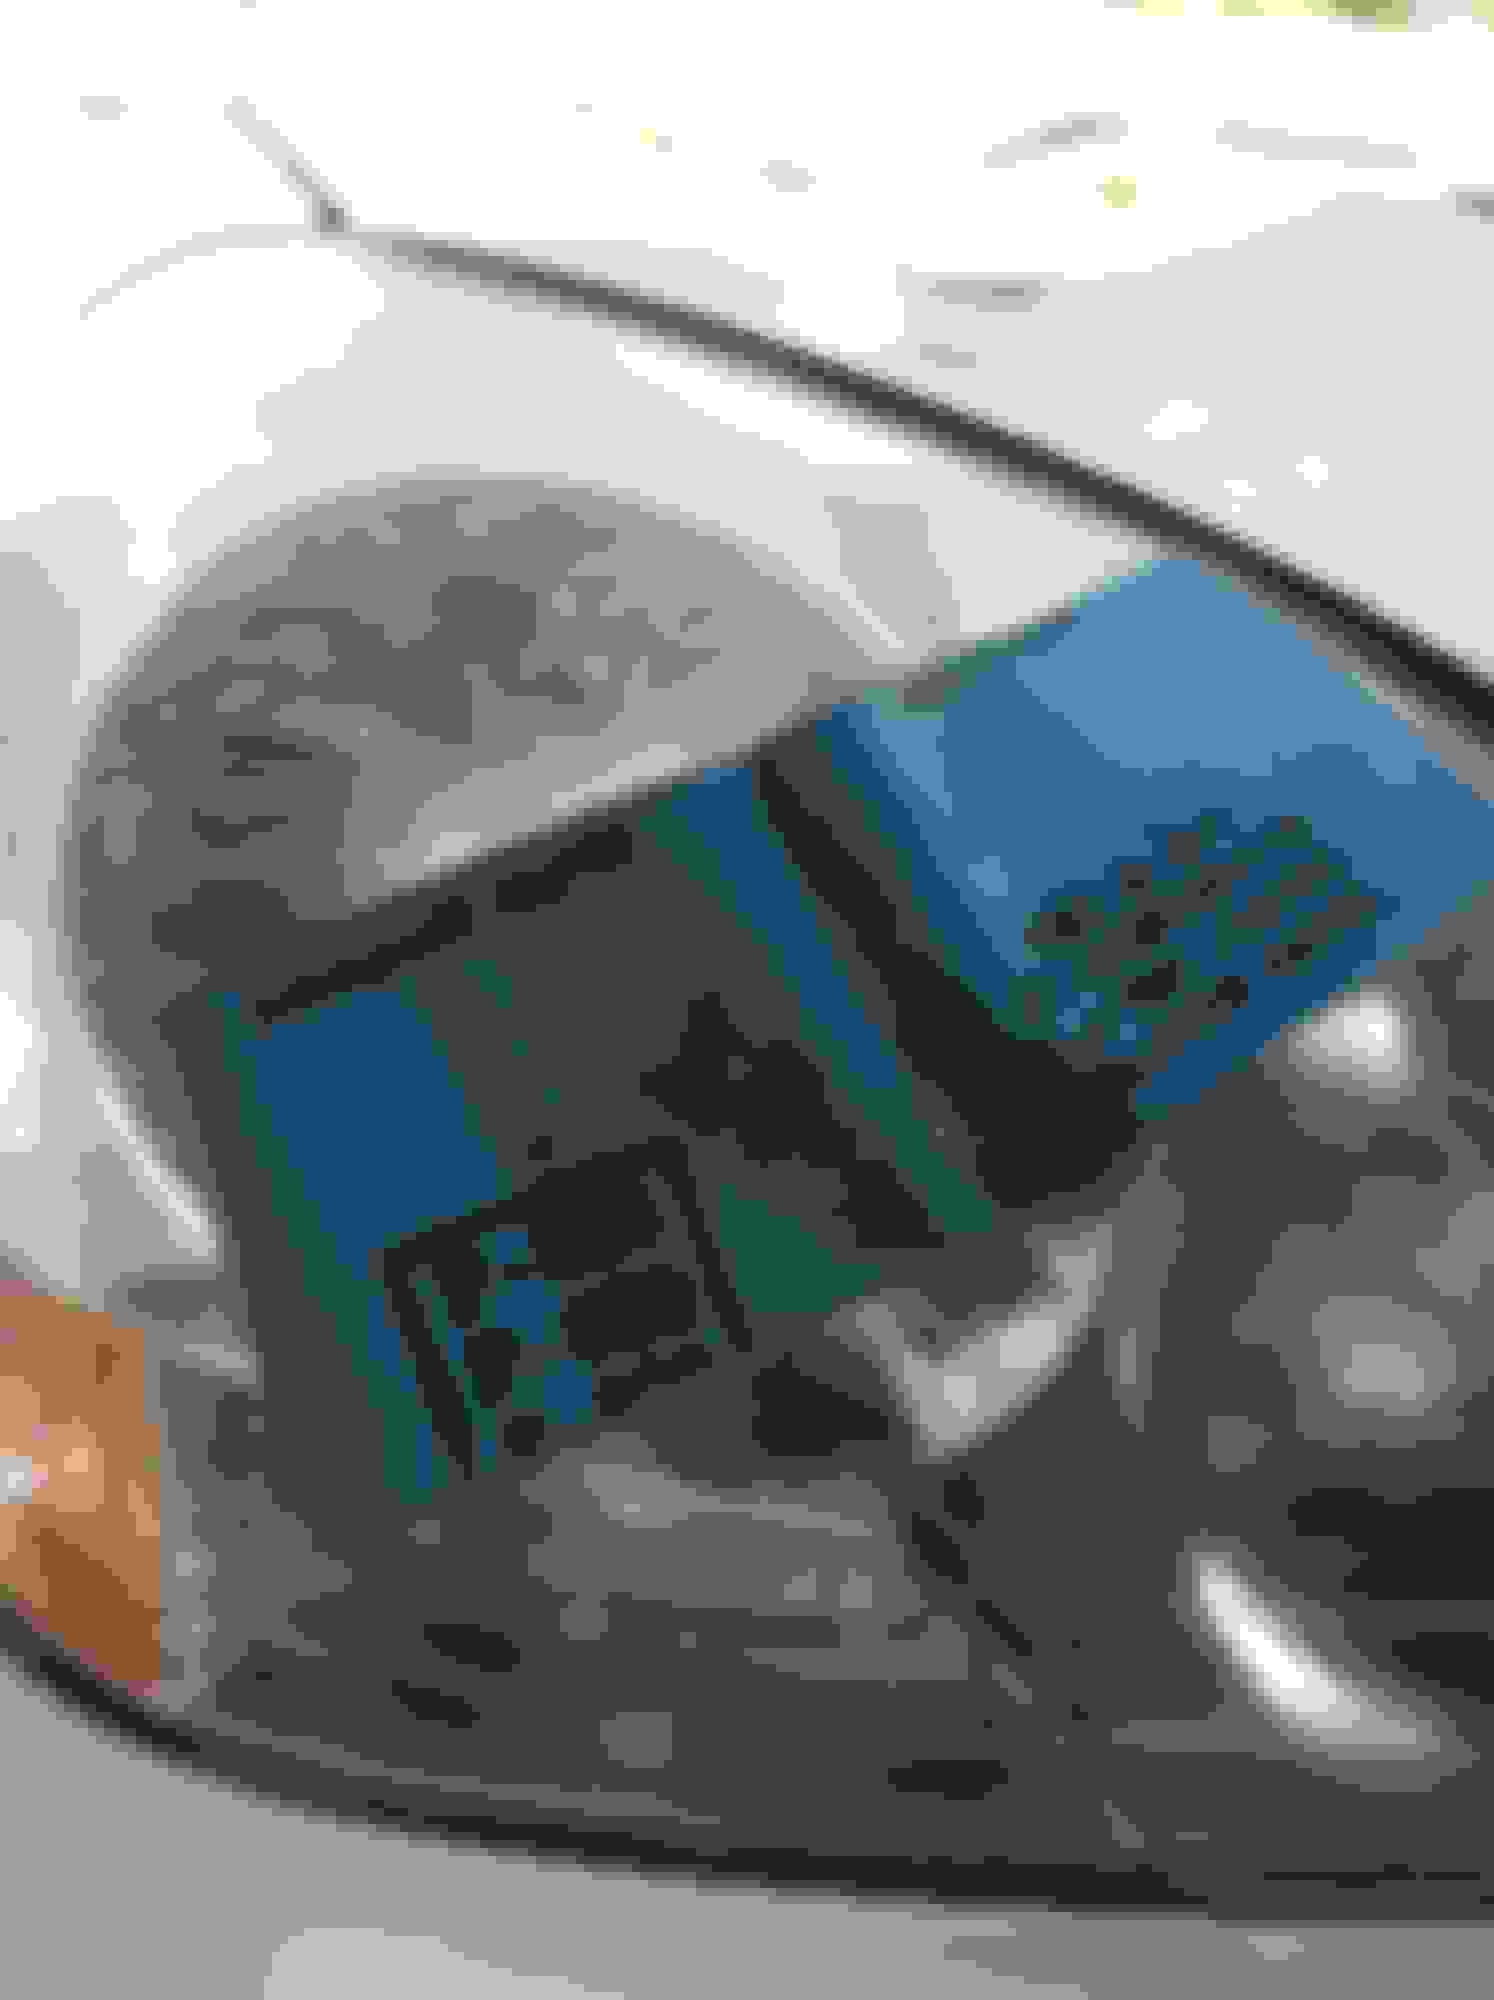
No sir, I did not polish after 2000 grit wet sanding, you want to leave a semi-porous surface so the clear adheres to the lens
For best results, IMO -
*Spray (2 coats), first spray a medium wet coat and let become tacky *Do Not Touch Lens* Test by touching paper or tape. Once first coat is no longer wet and has become tacky, then spray a full wet coat.
***** If clear runs or orange peel is visible.. do not panic and wipe lens. Let it dry****
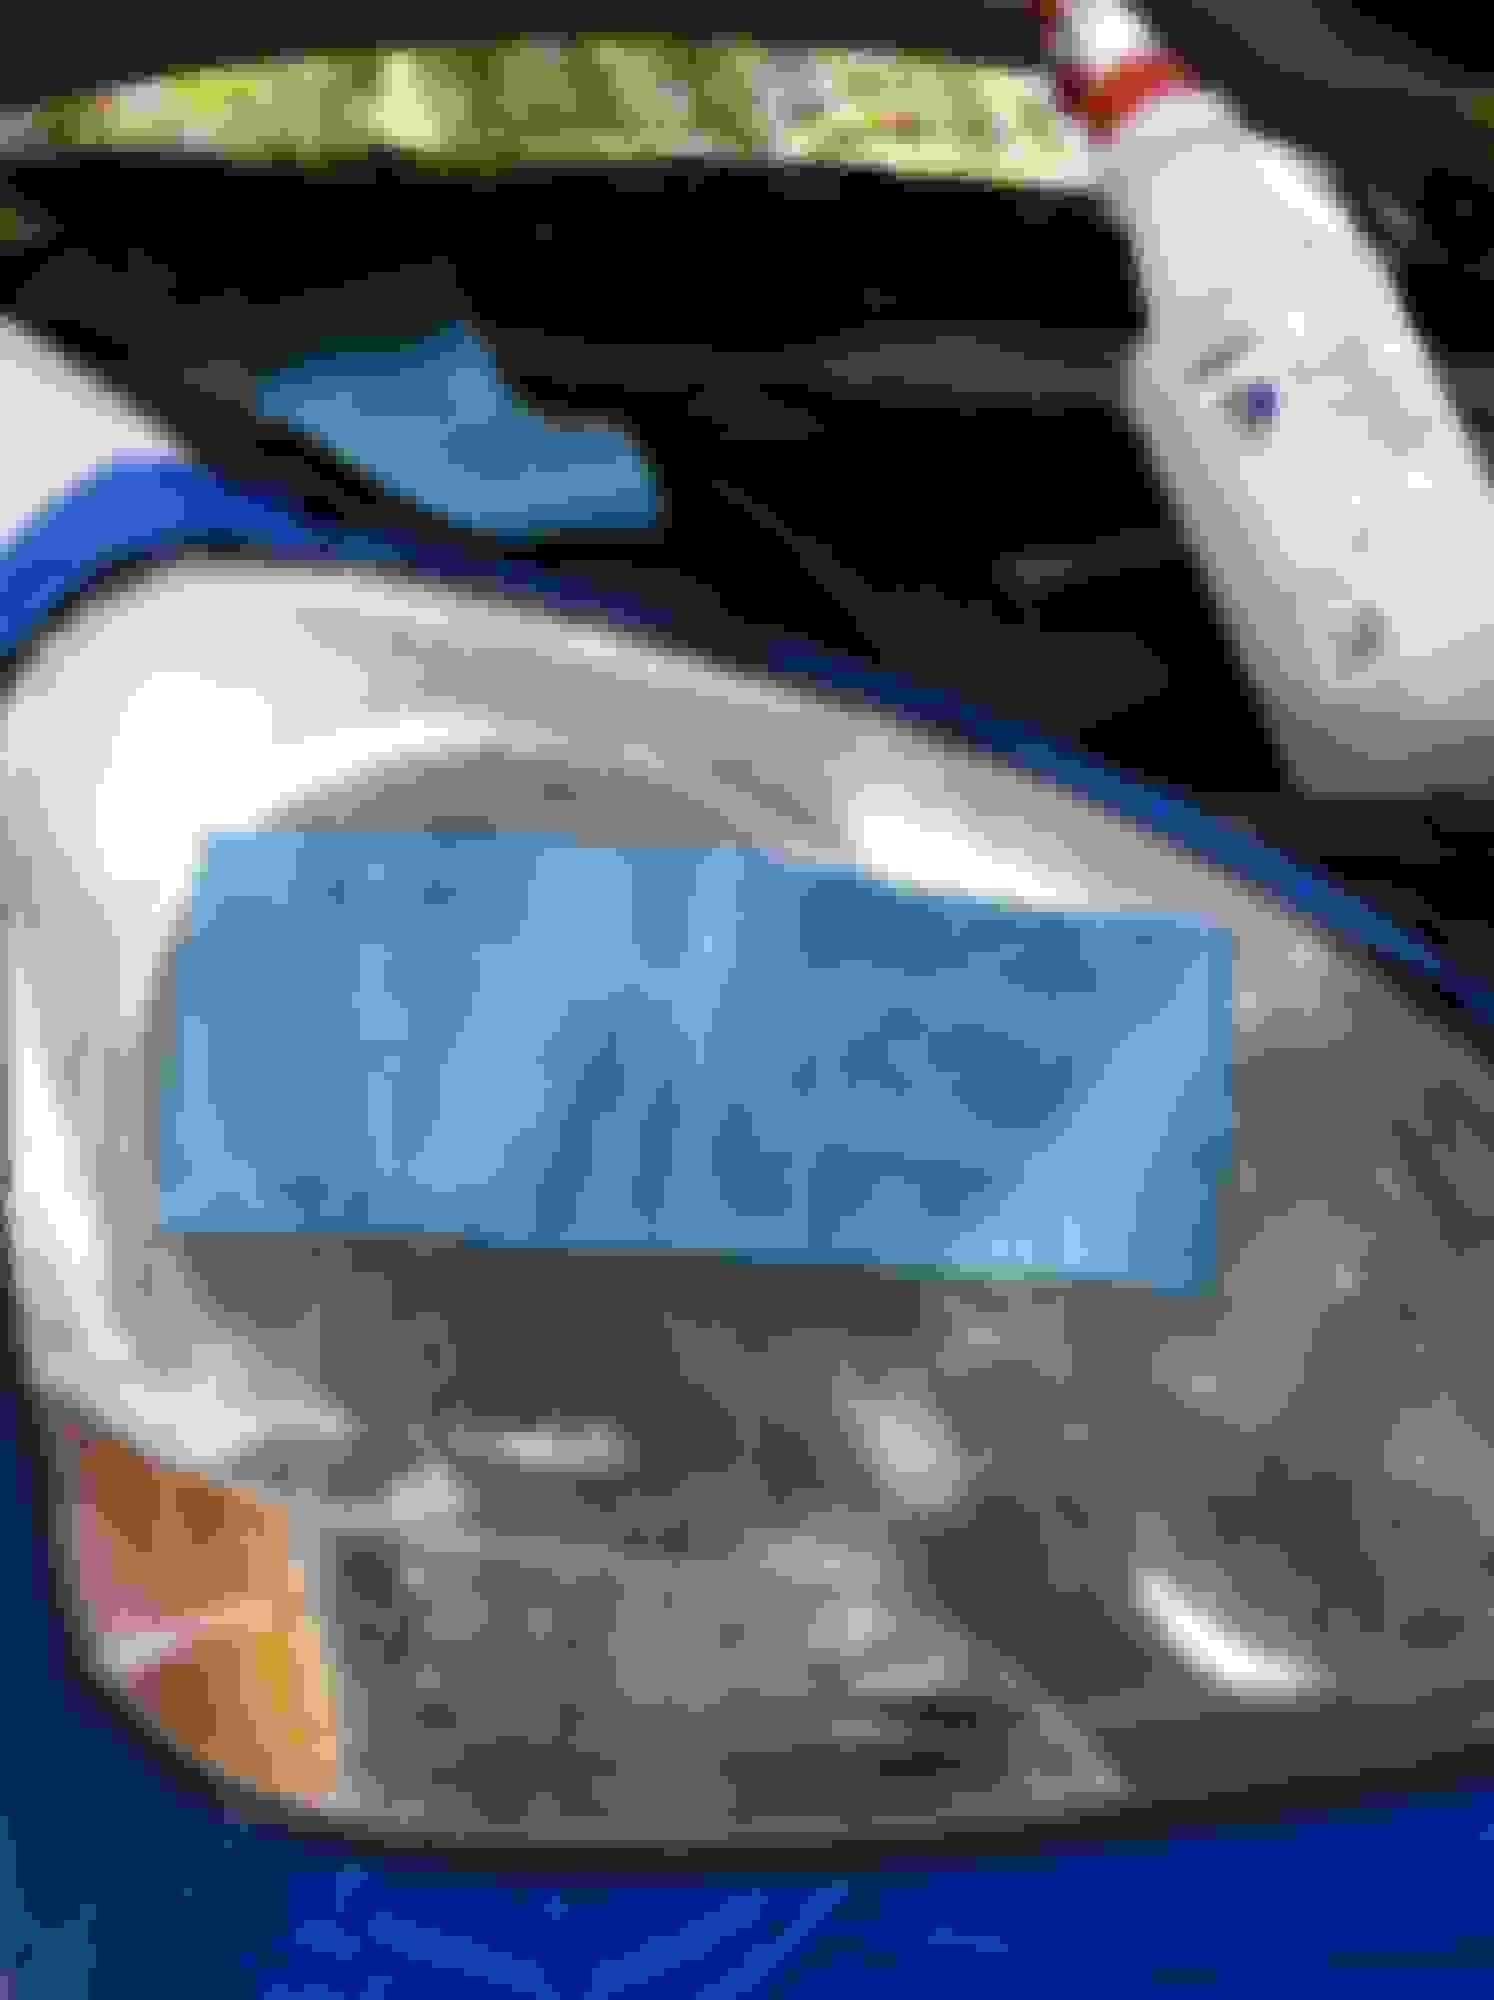
* Allow to cure at least 4-6 hrs, then lightly wet sand using 3000 grit to remove any imperfections, trash or bugs that may have gotten on lens while wet. You'll be like why did I just screw my lights up by sanding them again after they looked great from spraying clear, but I would expect you're looking for the same feel smooth, blemish free finish you get after claying a car. If not, spray and top with a wax
*****This step only if you had runs or orange peel. wet sand with 2500 grit, then polish with ' ' 'Menzerna 2500' or equivalent using a tangerine hydrotech pad or wet sand with 2500 grit, then wet sand with 3000 grit and follow step below*****
* Finish by jewelling the lens with ' Menzerna 4500 ' or ' 3M Finesse It ' using a crimson hydrotech pad
* Last step - top with Collinite 845 Insulator wax. You can choose wax of choice, I like the looks of Signature Series II wax but prefer 845 because of its durability (4-6 months), cheap price tag, plus its a hybrid (wax/sealant)
DIYers will be happy with results from just clearing and topping with a wax if they don't have a polisher .. If this be the case, have them polished whenever you get a paint correction done your sexy lexy at a later time...
Simple, clean and professional. Well done! What is the shelf life after you have mixed your clear and activator?
Specs state 4 hr pot life @ 70 degrees. The longest I've had product in my gun was 45 mins and I could tell it was starting to thicken, temperature was in the upper 90's
Originally Posted by adilyaqoob
They do look very good but I have a question. When you turn on the lights, won't the scratches show?
 09-04-14, 01:43 AM