SonicC's 98 LS400 "Restoration" Thread
 05-18-15, 12:59 PM
#1
Rookie
Thread Starter

Join Date: May 2015
Location: MO
Posts: 68
Likes: 0
Received 0 Likes
on
0 Posts
Couple of weeks back I bought an 98 LS400 from an older guy who has owned it for the past 14 years. Right off the bat I knew it would need a new paint job, because the clearcoat started peeling due to being exposed to sun and elements pretty much since 2001 (when the guy bought it).
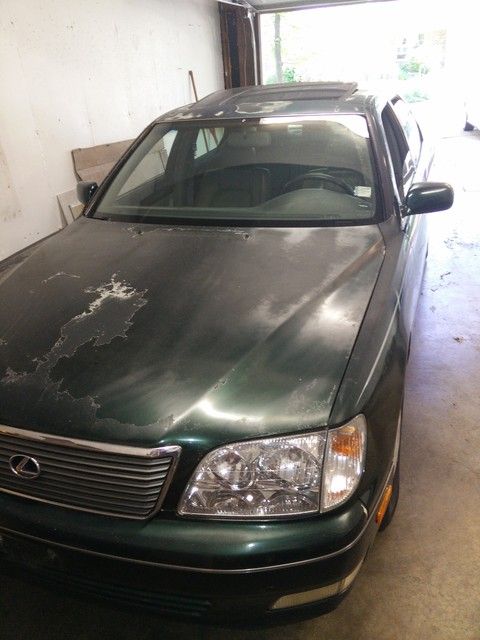
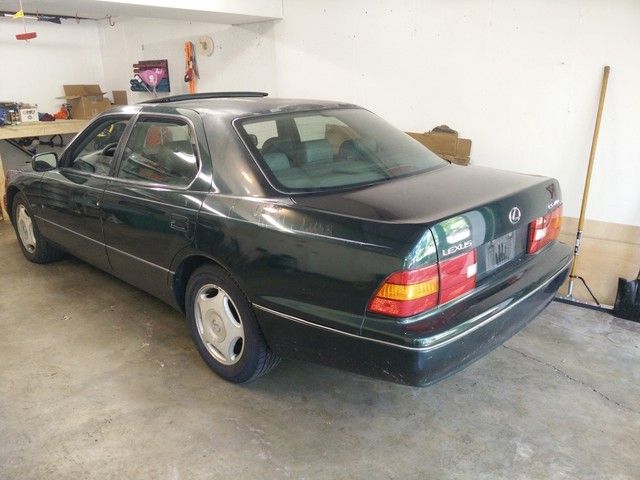
Car had 144,000 miles and had a few other "extras" and by extras I mean issues, but then again, what's a journey without challenge?
PART 1: Taking care of more "immediate issues"
After bringing the car home, it had to wait a few days until I had time to properly inspect it and check out some issues. It had a check engine light with bunch of codes (P1349, P0300, P0156, P1346 and I also had the VSC/OFF warning on), brake pad wear warning light was on, and it had a terrible shaking noise on the right side whenever brakes were applied.
So first things first, I've made a list of stuff I'd need to replace, got my credit card out, and started ordering...
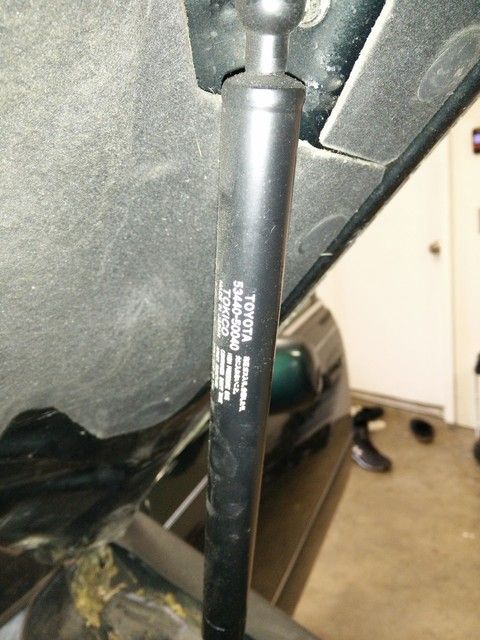
First thing on the list were hood lift shocks, because the ones that came on it were bad and hood would not stay up. Kinda hard to work on anything when you have to support the hood with something and HOPE you don't accidentally knock it off
Once that was taken care of, I wanted to address the shaking/clunking noise. I knew the noise was a combination of brake and something else that was loose or worn out.
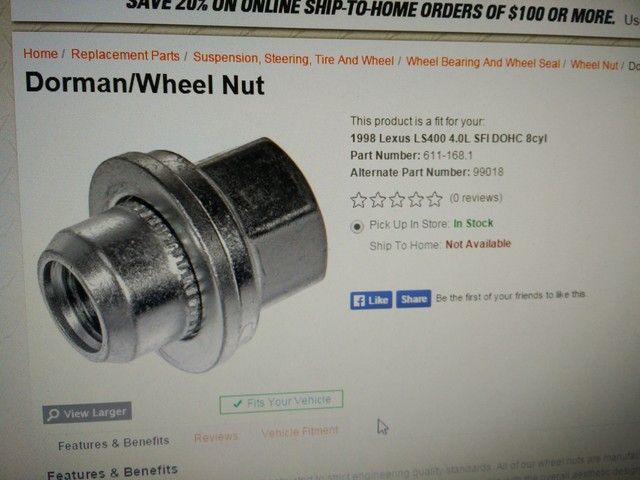
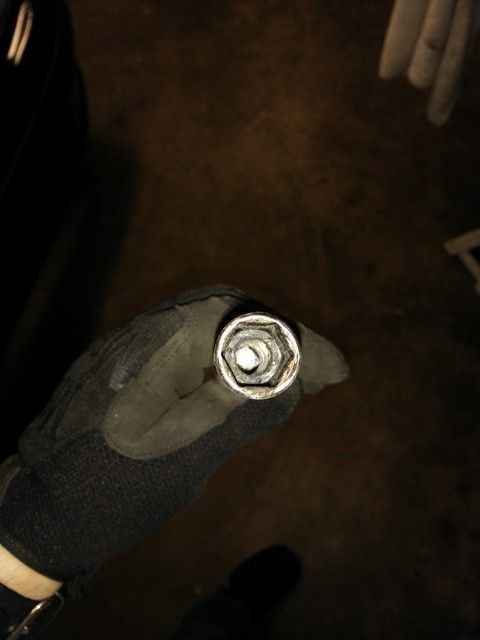
Right there, I hit another bump in the road. 3 of the wheels had security locks on them and I didn't have the key, so I ended up getting a damaged bolt/nut removal set from Sears that made quick work of them: http://www.sears.com/craftsman-10-pc...p-00952166000P
Surprisingly, AutoZone had the correct lugs in stock, so that was pretty nice:
I took off the right rotor and it had some pretty deep wear marks or grooves on the back of it.
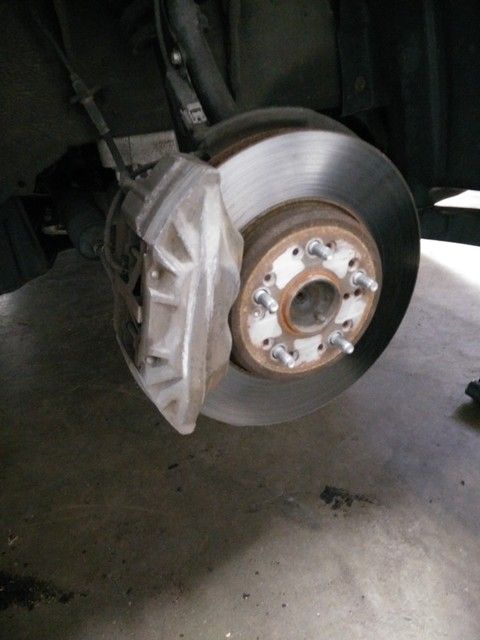
Got a set of new front pads and had the rotors resurfaced so they looked almost new. I know some people are against this, but I measured the rotors on it and they were well within specs with plenty of material left.
Unfortunately, new pads didn't come with brake pad sensors, so I still have the warning light for pad wear...I might just get new sensors or get the wires connected together to close the circuit.
After that it was time to attack the second part of the noise. Brakes were causing the vibration, which caused something to clunk...
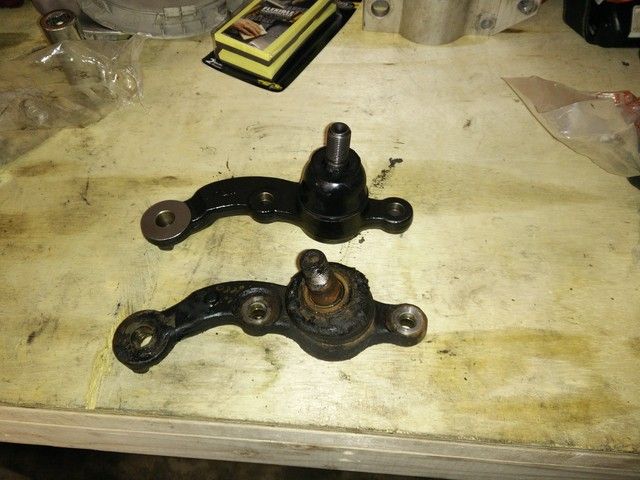
As you can see in the picture, the ball joint was pretty bad. While at it, I also replaced left and right tie rod ends. Easy stuff.
Took the car for a nice drive, first doing some stops from 20mph then 40, 60, and eventually 80mph and no more vibrations and clunking. greatsuccess.gif
Now that the car didn't feel like it was going to fall apart, it was time to address the check engine light and all the various codes. After some research, it boiled down to the OCV and thanks to some advice from members on here, I tried cleaning it to see if it solves the problem. There was a lot of gunk/sludge that came out:
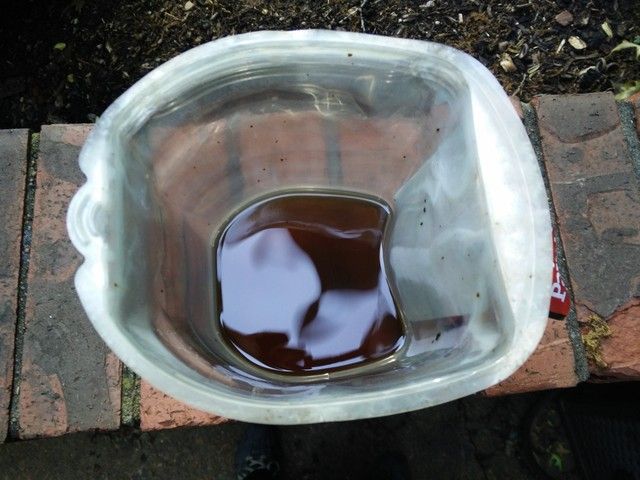
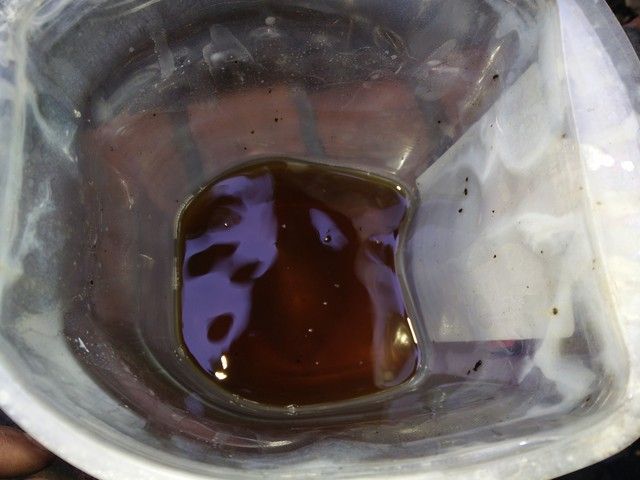
I cleared CEL, but it came back on after only 10 miles. The following day I cleared it once again (had to disconnect battery to look around) and drove 40 miles around and to the paint shop and it has not turned on. I hope it stays off, but if not I will just order new OCV.
While I had the car on jack stands, I also did a brake fluid flush, steering fluid flush, and replaced rear sway bar links. I also inspected rear brake pads and rotors and they were pretty good (owner said he replaced them in October 2014).
I apologize for not taking more pictures to give a better perspective of "before and after" and also all the pictures are inside the garage...it's been raining for like 10 fu**ing days straight
Once it comes back from the paint shop, I'm going to take care of some interior cleaning and detailing, so stay tuned for Part 2.
Big thanks to:
sha4000
billydpowe
Legender
Part 2: Much Needed Maintenance
Finally had some more time this weekend to work on the car, so I decided to do some more maintenance/tuneup.
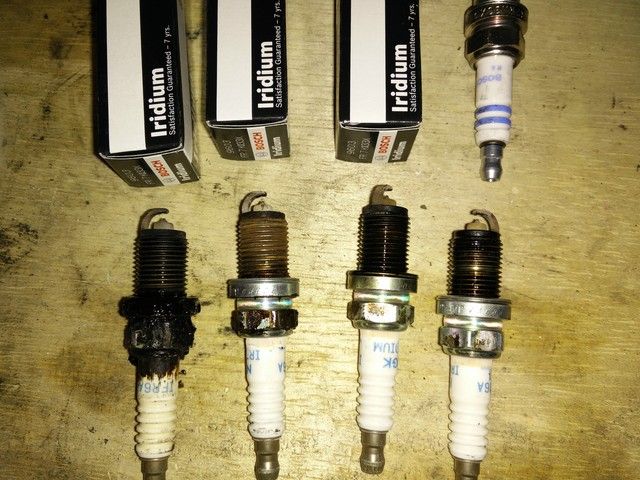
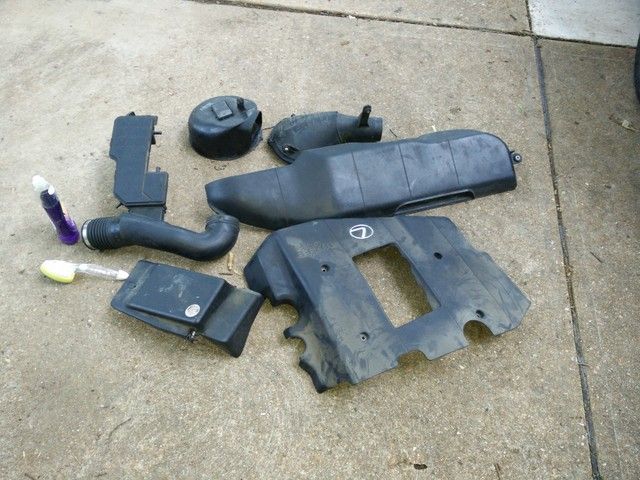
Removed the plastic covers from the right side then started removing plugs.
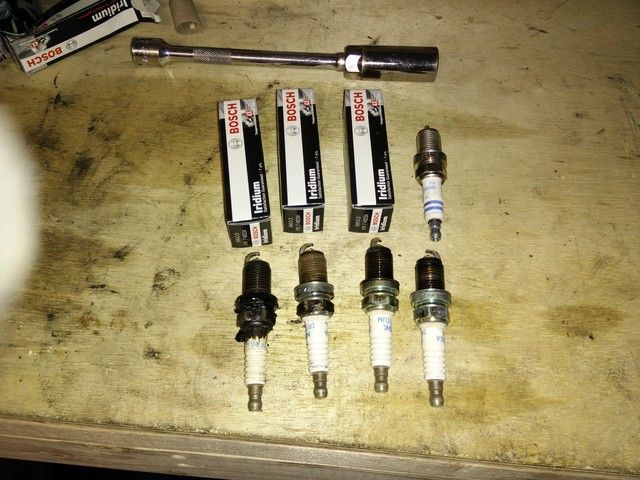
There were 2 plugs that were so loose, I was able to unscrew them by hand (the one on the left and 2nd one from the right). Good amount of deposit on them from blow-by mostly.
Closeup:
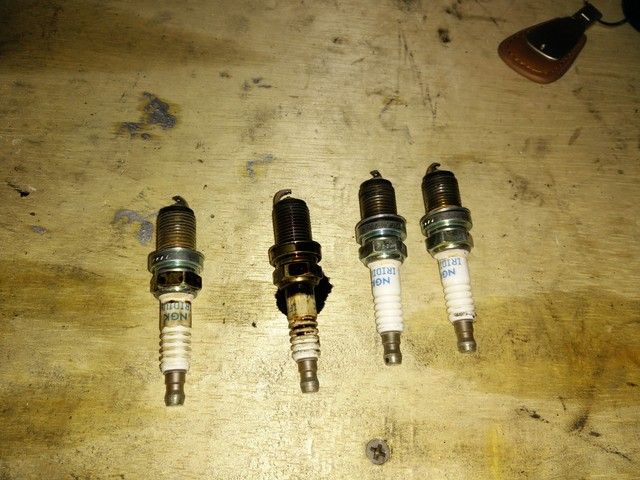
Moving to the left side of the car, one of the plugs was also loose that I could remove it by hand...pretty obvious which one:
Removed all the old ones then installed new ones with some anti-seize grease and torqued them to 15ft-lb:
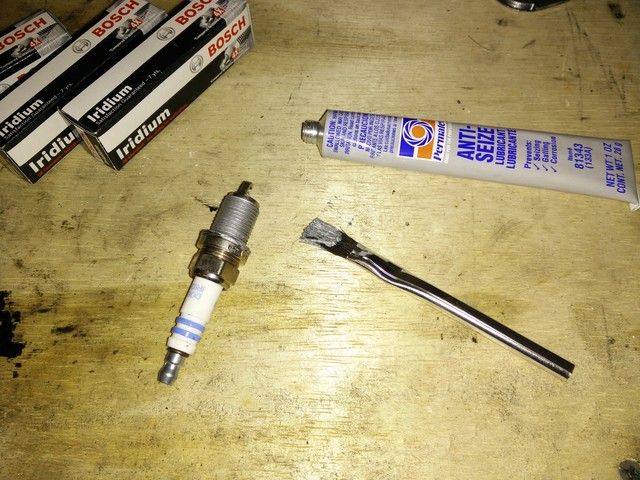
As a side note, when I was searching for threads on how to replace spark plugs many people seem to be doing this the hard way. There's a spark plug socket with a rubber piece in it that holds the spark plug in when you're removing it from the head, so that you don't have to fish it out with a magnet. If you're not using this, you're making your life harder than it needs to be
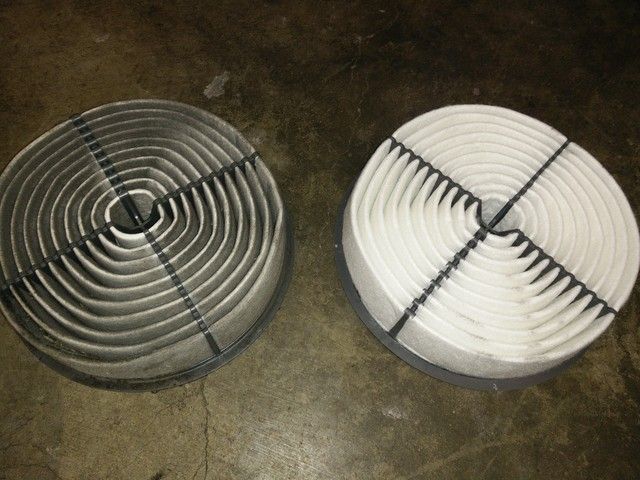
Got a new air filter as well...
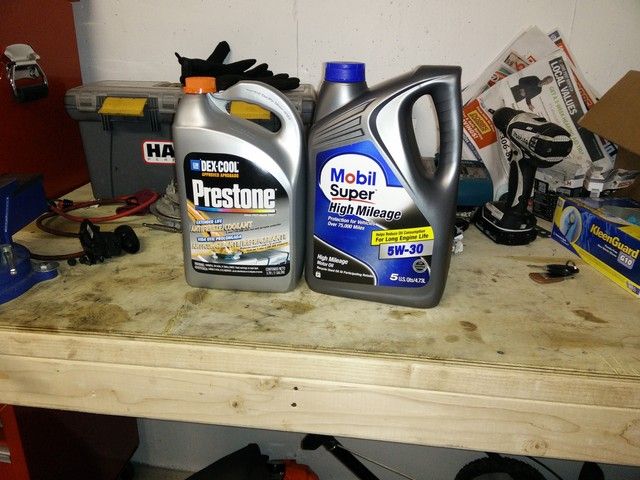
Then changed the oil, oil filter, and did a coolant flush:
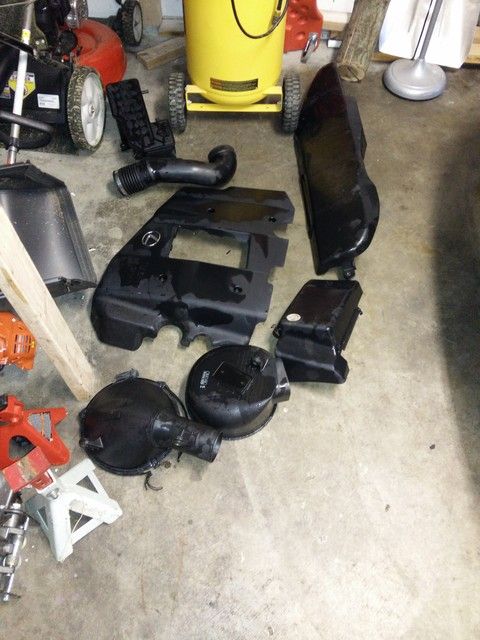
And while I had all the plastic covers and pieces off, I decided to wash them with some dish soap
In the next part, I will be dealing with this (already started some cleaning, but it was interrupted by rain)
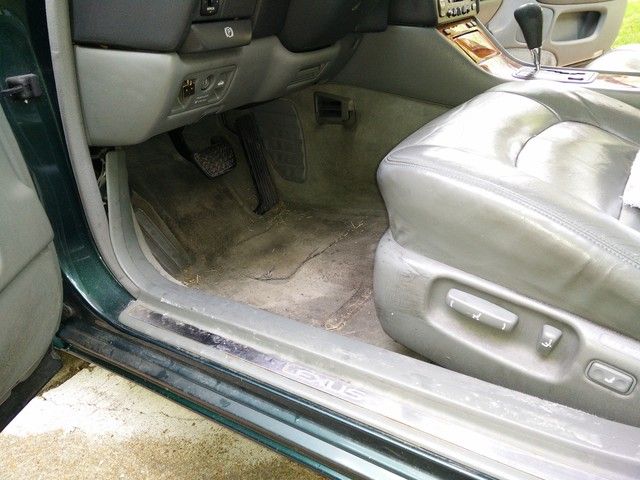
Part 3: Time to do some cleaning
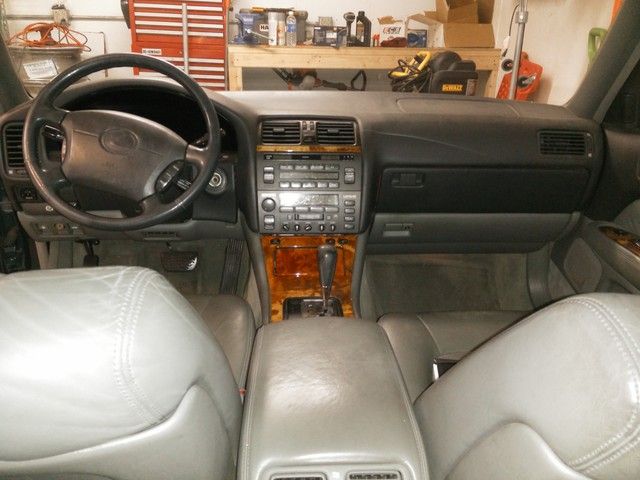
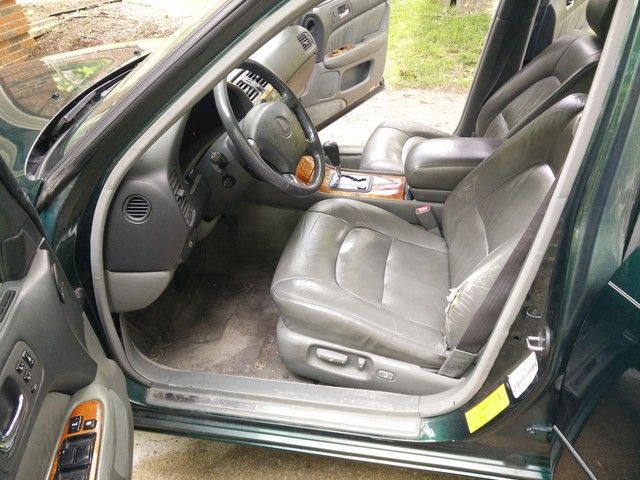
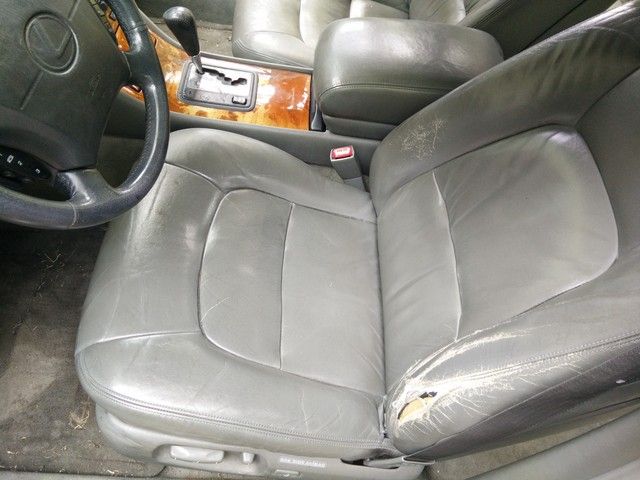
Finished up cleaning the interior this past Sunday.
Needless to say, it was filthy...
More pics on Page 3
Car had 144,000 miles and had a few other "extras" and by extras I mean issues, but then again, what's a journey without challenge?
PART 1: Taking care of more "immediate issues"
After bringing the car home, it had to wait a few days until I had time to properly inspect it and check out some issues. It had a check engine light with bunch of codes (P1349, P0300, P0156, P1346 and I also had the VSC/OFF warning on), brake pad wear warning light was on, and it had a terrible shaking noise on the right side whenever brakes were applied.
So first things first, I've made a list of stuff I'd need to replace, got my credit card out, and started ordering...
First thing on the list were hood lift shocks, because the ones that came on it were bad and hood would not stay up. Kinda hard to work on anything when you have to support the hood with something and HOPE you don't accidentally knock it off
Once that was taken care of, I wanted to address the shaking/clunking noise. I knew the noise was a combination of brake and something else that was loose or worn out.
Right there, I hit another bump in the road. 3 of the wheels had security locks on them and I didn't have the key, so I ended up getting a damaged bolt/nut removal set from Sears that made quick work of them: http://www.sears.com/craftsman-10-pc...p-00952166000P
Surprisingly, AutoZone had the correct lugs in stock, so that was pretty nice:
I took off the right rotor and it had some pretty deep wear marks or grooves on the back of it.
Got a set of new front pads and had the rotors resurfaced so they looked almost new. I know some people are against this, but I measured the rotors on it and they were well within specs with plenty of material left.
Unfortunately, new pads didn't come with brake pad sensors, so I still have the warning light for pad wear...I might just get new sensors or get the wires connected together to close the circuit.
After that it was time to attack the second part of the noise. Brakes were causing the vibration, which caused something to clunk...
As you can see in the picture, the ball joint was pretty bad. While at it, I also replaced left and right tie rod ends. Easy stuff.
Took the car for a nice drive, first doing some stops from 20mph then 40, 60, and eventually 80mph and no more vibrations and clunking. greatsuccess.gif
Now that the car didn't feel like it was going to fall apart, it was time to address the check engine light and all the various codes. After some research, it boiled down to the OCV and thanks to some advice from members on here, I tried cleaning it to see if it solves the problem. There was a lot of gunk/sludge that came out:
I cleared CEL, but it came back on after only 10 miles. The following day I cleared it once again (had to disconnect battery to look around) and drove 40 miles around and to the paint shop and it has not turned on. I hope it stays off, but if not I will just order new OCV.
While I had the car on jack stands, I also did a brake fluid flush, steering fluid flush, and replaced rear sway bar links. I also inspected rear brake pads and rotors and they were pretty good (owner said he replaced them in October 2014).
I apologize for not taking more pictures to give a better perspective of "before and after" and also all the pictures are inside the garage...it's been raining for like 10 fu**ing days straight
Once it comes back from the paint shop, I'm going to take care of some interior cleaning and detailing, so stay tuned for Part 2.
Big thanks to:
sha4000
billydpowe
Legender
Part 2: Much Needed Maintenance
Finally had some more time this weekend to work on the car, so I decided to do some more maintenance/tuneup.
Removed the plastic covers from the right side then started removing plugs.
There were 2 plugs that were so loose, I was able to unscrew them by hand (the one on the left and 2nd one from the right). Good amount of deposit on them from blow-by mostly.
Closeup:
Moving to the left side of the car, one of the plugs was also loose that I could remove it by hand...pretty obvious which one:
Removed all the old ones then installed new ones with some anti-seize grease and torqued them to 15ft-lb:
As a side note, when I was searching for threads on how to replace spark plugs many people seem to be doing this the hard way. There's a spark plug socket with a rubber piece in it that holds the spark plug in when you're removing it from the head, so that you don't have to fish it out with a magnet. If you're not using this, you're making your life harder than it needs to be
Got a new air filter as well...
Then changed the oil, oil filter, and did a coolant flush:
And while I had all the plastic covers and pieces off, I decided to wash them with some dish soap
In the next part, I will be dealing with this (already started some cleaning, but it was interrupted by rain)
Part 3: Time to do some cleaning
Finished up cleaning the interior this past Sunday.
Needless to say, it was filthy...
More pics on Page 3
Last edited by SonicC; 06-01-15 at 06:32 AM.
 05-18-15, 05:05 PM
#2
Your welcome...and looks like your car is coming along nicely... while I'm doing the same on my 'new to me' 98, it didn't not start as run down as yours. Did need hood struts, brakes, rotors, timing belt and the goodies, alternator rebuild, PS pump and multiple seals replaced to stop the leaks. Leaks are all stopped now and after replacing the motor and tranny mounts, she's as smooth as silk. Love they way these ladies ride. Good luck with the paint work and hope you can start enjoying the ride soon. Great work so far.
05-18-15, 05:31 PM
#3
Rookie
Thread Starter
Join Date: May 2015
Location: MO
Posts: 68
Likes: 0
Received 0 Likes
on
0 Posts
It's really a great ride..especially compared to my other car - 08 GTI with Koni struts and polyurethane bushings all around It rides so comfortably and acceleration is just effortless.
It rides so comfortably and acceleration is just effortless.
05-21-15, 05:59 AM
#5
Rookie
Thread Starter
Join Date: May 2015
Location: MO
Posts: 68
Likes: 0
Received 0 Likes
on
0 Posts
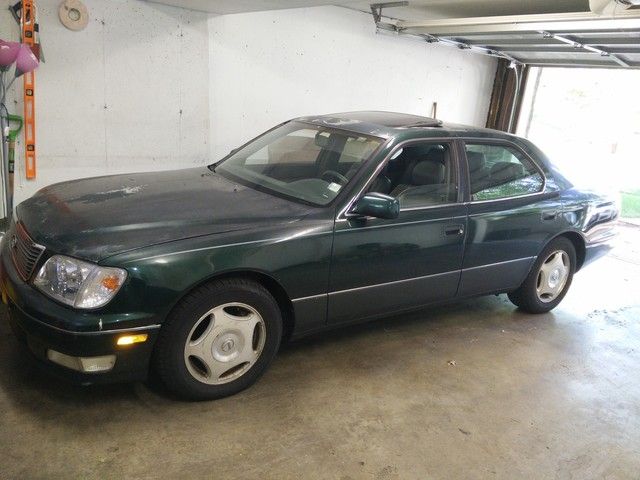
A little sneak-peak...
Picked it up from paint shop yesterday. Decided to get rid of the two-tone.
Before:
After:
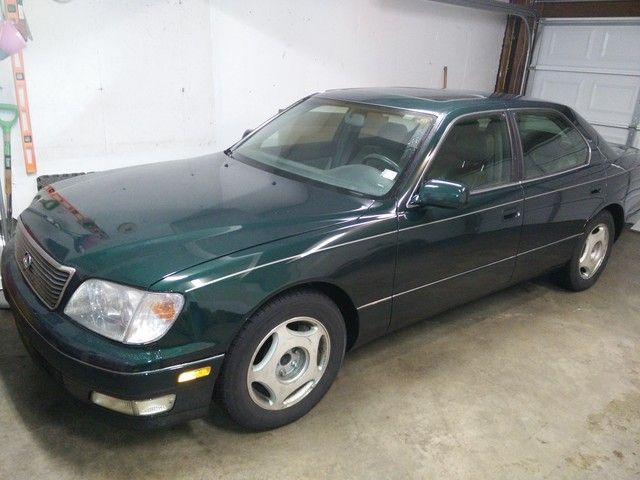
Bottom pic looks like the color is significantly lighter, but that's just due to lighting in the garage.
Picked it up from paint shop yesterday. Decided to get rid of the two-tone.
Before:
After:
Bottom pic looks like the color is significantly lighter, but that's just due to lighting in the garage.
 05-21-15, 10:04 AM
#7
Rookie
Thread Starter
Join Date: May 2015
Location: MO
Posts: 68
Likes: 0
Received 0 Likes
on
0 Posts
He works at Maaco, but does his own stuff on the side. It was $500 and I did some prep before taking it in, filled up and sanded down few spots. From what I can tell, it was just masked.
Trending Topics
05-21-15, 03:37 PM
#10
Some Maaco's can do really good work, it all depends on who is running it and the workers.
Is it a Base and clear or single stage? What kinda paint?
Yeah don't like repainting, but you had no choice on it. Its a huge improvement looks good in the photo.
Is it a Base and clear or single stage? What kinda paint?
Yeah don't like repainting, but you had no choice on it. Its a huge improvement looks good in the photo.
Last edited by dicer; 05-21-15 at 09:30 PM. Reason: added "LIKE"
05-21-15, 04:24 PM
#11
Rookie
Thread Starter
Join Date: May 2015
Location: MO
Posts: 68
Likes: 0
Received 0 Likes
on
0 Posts
Not sure what kind of paint he used, but it's a 2-stage job (base+clear).
I would have just polished it, unfortunately clear-coat was pretty much gone on the hood and roof.
I would have just polished it, unfortunately clear-coat was pretty much gone on the hood and roof.
Last edited by SonicC; 05-21-15 at 06:02 PM.
05-22-15, 05:21 AM
#13
Rookie
Thread Starter
Join Date: May 2015
Location: MO
Posts: 68
Likes: 0
Received 0 Likes
on
0 Posts
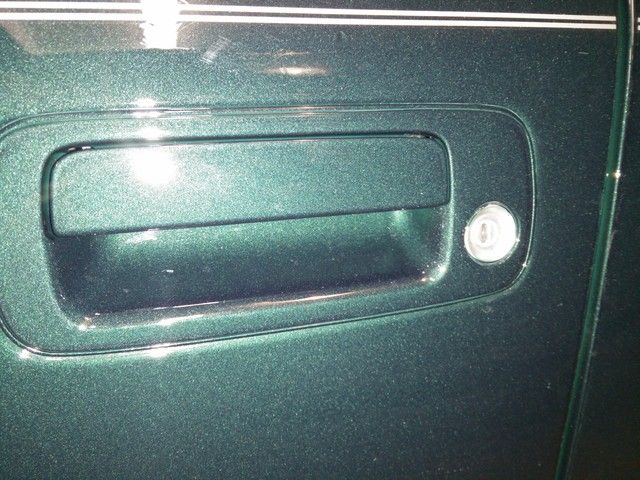
I think they came out pretty good...snapped a quick pic this morning. There are few small spots that paint went over on the locks and chrome trim, I'll just have to fix those when I get a chance.
I have a paint gun and compressor and I was going to do the whole job by myself - it's something i've always wanted to learn and give it a try - just didn't have the time.
I have a paint gun and compressor and I was going to do the whole job by myself - it's something i've always wanted to learn and give it a try - just didn't have the time.
05-22-15, 04:13 PM
#14
Looks good. I see the paint went over the rubber that goes around the handle. That's the reason I asked because It's very easy to break the clips that connect the handles to the door actuator when removing them and I don't want to take the chance. I had to buy a used handle just for the clips when I installed another actuator in my drivers door.