how to install new ls400 headlights?
 11-23-12, 03:54 PM
#1
Driver
Thread Starter

Join Date: Nov 2009
Location: Southern California
Posts: 105
Likes: 0
Received 0 Likes
on
0 Posts
so my current headlights on my 00 ls400 yellowed out, and ended up filling up with moisture over the last few days. i have a brand new pair of oem headlights and i want to install them this weekend. but my question is how do i balance the hid light? or it it just a plug and play system?

 11-23-12, 07:11 PM
#3
Driver
Thread Starter
Join Date: Nov 2009
Location: Southern California
Posts: 105
Likes: 0
Received 0 Likes
on
0 Posts
i have the stock hid light system. but do i have to balance to lights the make them even? or do they self adjust?
Last edited by MValentine; 11-23-12 at 07:20 PM.
11-23-12, 07:59 PM
#4
You mean level I think.
Ideally a headlight aiming device will be the most accurate.
A DIY method for all cars/trucks is find a flat level lot with a large flat, preferably white, wall that you can drive right up too.
you'll need the following things: masking tape, a sharpie, a 30' tape measure, a piece of cardboard large enough to cover one of the headlights. Also locate the headlight adjusting screws and familiarize yourself with their location and the tools needed to adjust them BEFORE it is dark. It sucks fumbling around in the dark doing this for the first time.
In an area where you can drive right up to the wall so your front bumper touches and the car is perpendicular to the wall but also has space to reverse directly back 25ft.
One clear night, drive up to the wall taking care to make sure the caris perfectly perpendicular to the wall with the steering wheel straight, then put the car in park and set the brake.
Get out and visually locate the bulb centre of the headlight and mark the corresponding point on the wall horizontally with some masking tape, Like so: - -
Mark the same point on the other side.
You can also mark the bulb centers vertically as well so you have this: + + rather than: - - , doing so allows you do adjust the beam pattern or direction if so equipped.
If needed or you only have wide tape, use your sharpie to mark the bulb centers ON THE TAPE!
Measure down 4" and run a strip of tape across the wall and mark the point. This is the point on the wall you are going to adjust the lights to.
Get back in the car and reverse the car 25ft from the wall, measured from the front bumper.
Pop the hood, place the cardboard over one headlight(secure with tape if needed and use the adjuster to aim the light at the lower marks on the wall. swap the cardboard onto the other side and adjust the other headlight.
If you have done this right, your lights should be balanced on the wall.
Close your hood, remove the tape from the wall and dispose of it properly.
Drive away knowing your lights are correctly aimed.
11-23-12, 11:49 PM
#5
Driver
Thread Starter
Join Date: Nov 2009
Location: Southern California
Posts: 105
Likes: 0
Received 0 Likes
on
0 Posts
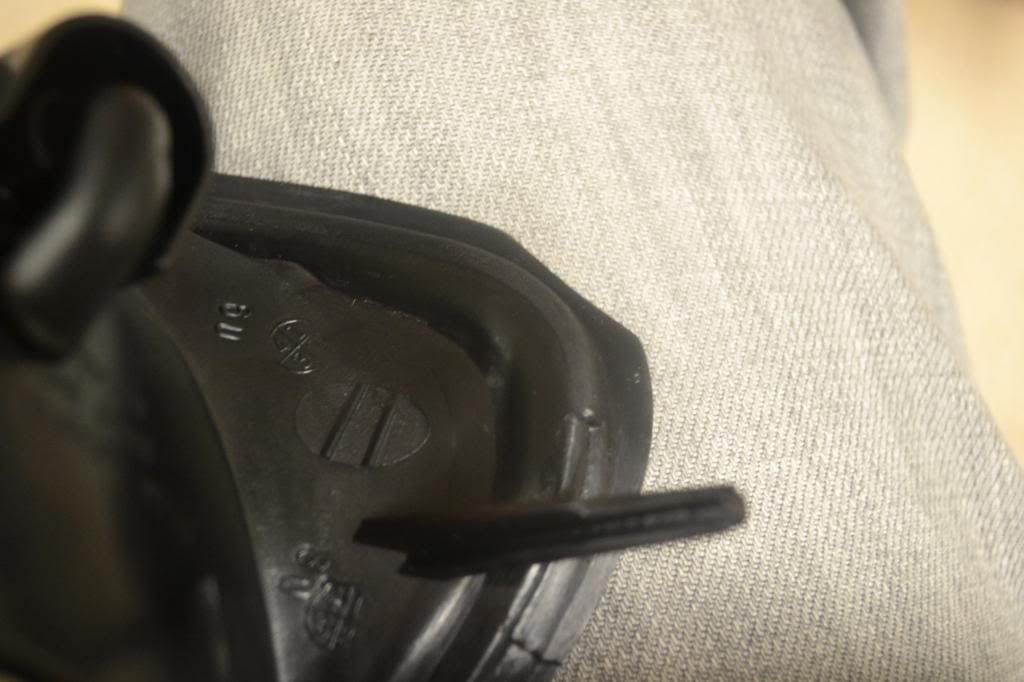
i also noticed i have some slight damage to the rubber lining on the turnlights. i doubt itll make anything difference other than aesthetics. what do you guys think?
11-25-12, 07:02 AM
#6

For your first question: Since these are self-leveling headlights, I suspect they would be plug-and-play. If there is a mechanical connection, you will find that when taking off the originals.
11-25-12, 12:27 PM
#7

lol if you have the stock HID system, then that means you have the autolevel feature which should "balance" the level of your cutoff; hence the autolevel feature.
however, you can still adjust the level up and down manually by using an 8mm ratchet i believe (either 8mm or 10mm) to the bolt that's located at the back of the headlight.
however, you can still adjust the level up and down manually by using an 8mm ratchet i believe (either 8mm or 10mm) to the bolt that's located at the back of the headlight.
Trending Topics
 11-26-12, 12:15 PM
#11
lol if you have the stock HID system, then that means you have the autolevel feature which should "balance" the level of your cutoff; hence the autolevel feature.
however, you can still adjust the level up and down manually by using an 8mm ratchet i believe (either 8mm or 10mm) to the bolt that's located at the back of the headlight.
however, you can still adjust the level up and down manually by using an 8mm ratchet i believe (either 8mm or 10mm) to the bolt that's located at the back of the headlight.
You tipically will need to set the base adjustment for any headlights as the auto level feature works in conjunction with the suspension level sensors, not actually the level of the headlight itself!


Thread
Thread Starter
Forum
Replies
Last Post