When you click on links to various merchants on this site and make a purchase, this can result in this site earning a commission. Affiliate programs and affiliations include, but are not limited to, the eBay Partner Network.
okay.. just spent like a hour trying to get to the socket..
i can't do it.. the dang wire connectors are in the way.. i can't fit my hands in there..
the connectors would only bend so much... sigh.. might just give up. haha.
so close yet so far...
Don't give up... I almost did... until I finally got one of them in. Definitely couldn't stop after that. LOL... Once you get it, you will have instant gratification.
Don't give up... I almost did... until I finally got one of them in. Definitely couldn't stop after that. LOL... Once you get it, you will have instant gratification.
agreed..
tips:
1. unplug the harness.. when you test to see if the bulb lights up, you only need the WHITE harness connected.
2. don't really need to reach in with your fingers. Line up the center of the bulb holder with the LONG arrow on the housing to pull out. (you'll understand what I mean)
3. You can insert a flat head screwdriver to twist.. no fingers needed...
4. when taking off the grille, you'll notice the plug/clip that's holding the grille to the bumper.. this one is different, the base is a "square".. using a flat head, turn it to point toward the front of the car, then pull up. AKA it's not a screw.. lol.. also you'll need to pull out the "square" base to remove the grille.
bulb. I used:
http://www.ebay.com/itm/JDM-ASTAR-10x-T10-White-High-Power-5630-SMD-LED-Light-Bulbs-194-168-175-W5W-2825-/231409448385?hash=item35e113f5c1&vxp=mtr
I would say they are 5000k white.. aka "ice white".. no blueish.. no purple-ish.
The 5630 Samsung LED.. probably the brightest "cheap" bulb available. brighter than 5050.. get the 10x -piece so you can upgrade the doors and trunk lights..
Before I begin, I'd like to especially thank Tee and CJITTY for organizing a platform for DIY's such as this and others, to be concentrated in one area as well as tackling, setting the stage and providing informative information.
I'd also like to say I appreciate Shibumi for the pics and any/everyone else who used a long screwdriver and included that in their version of DIY instructions.
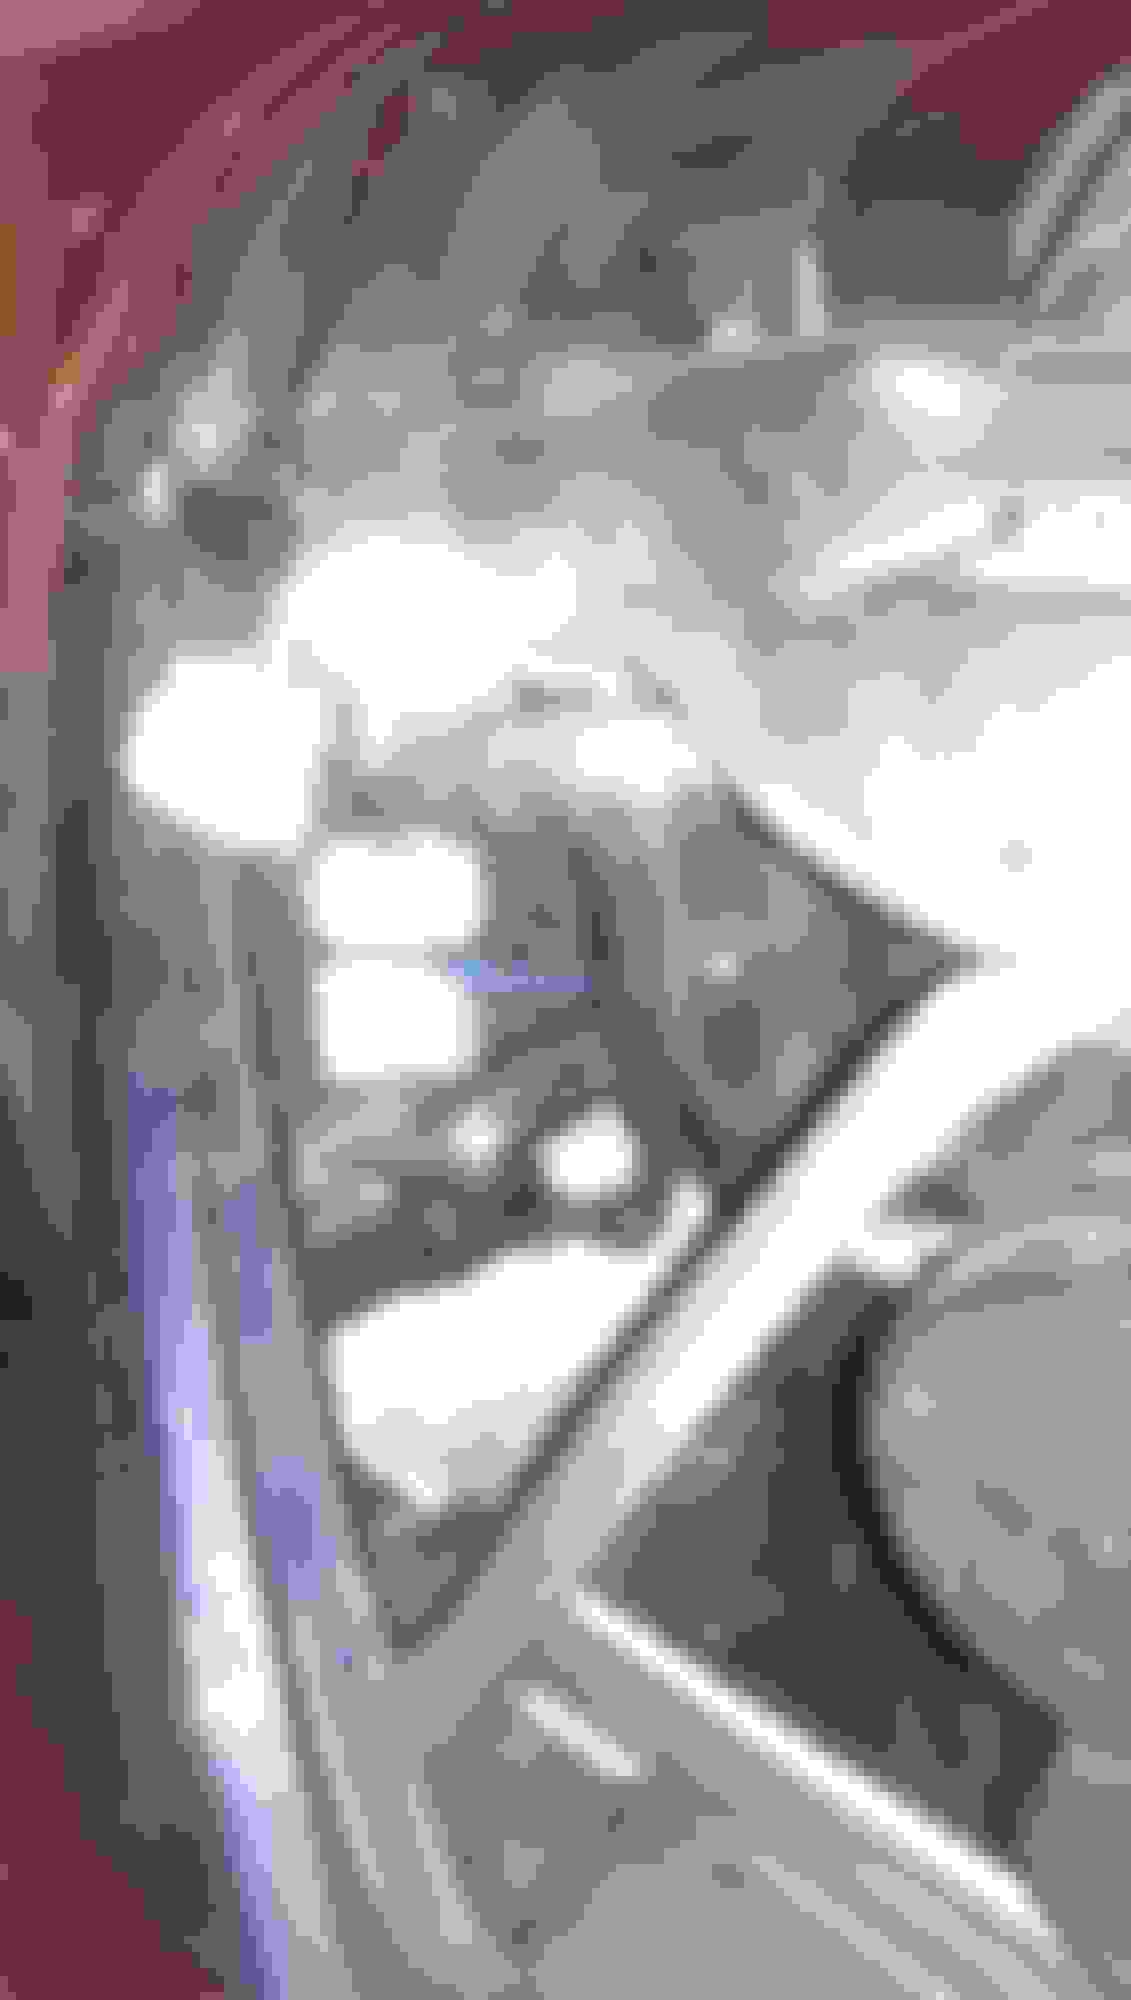
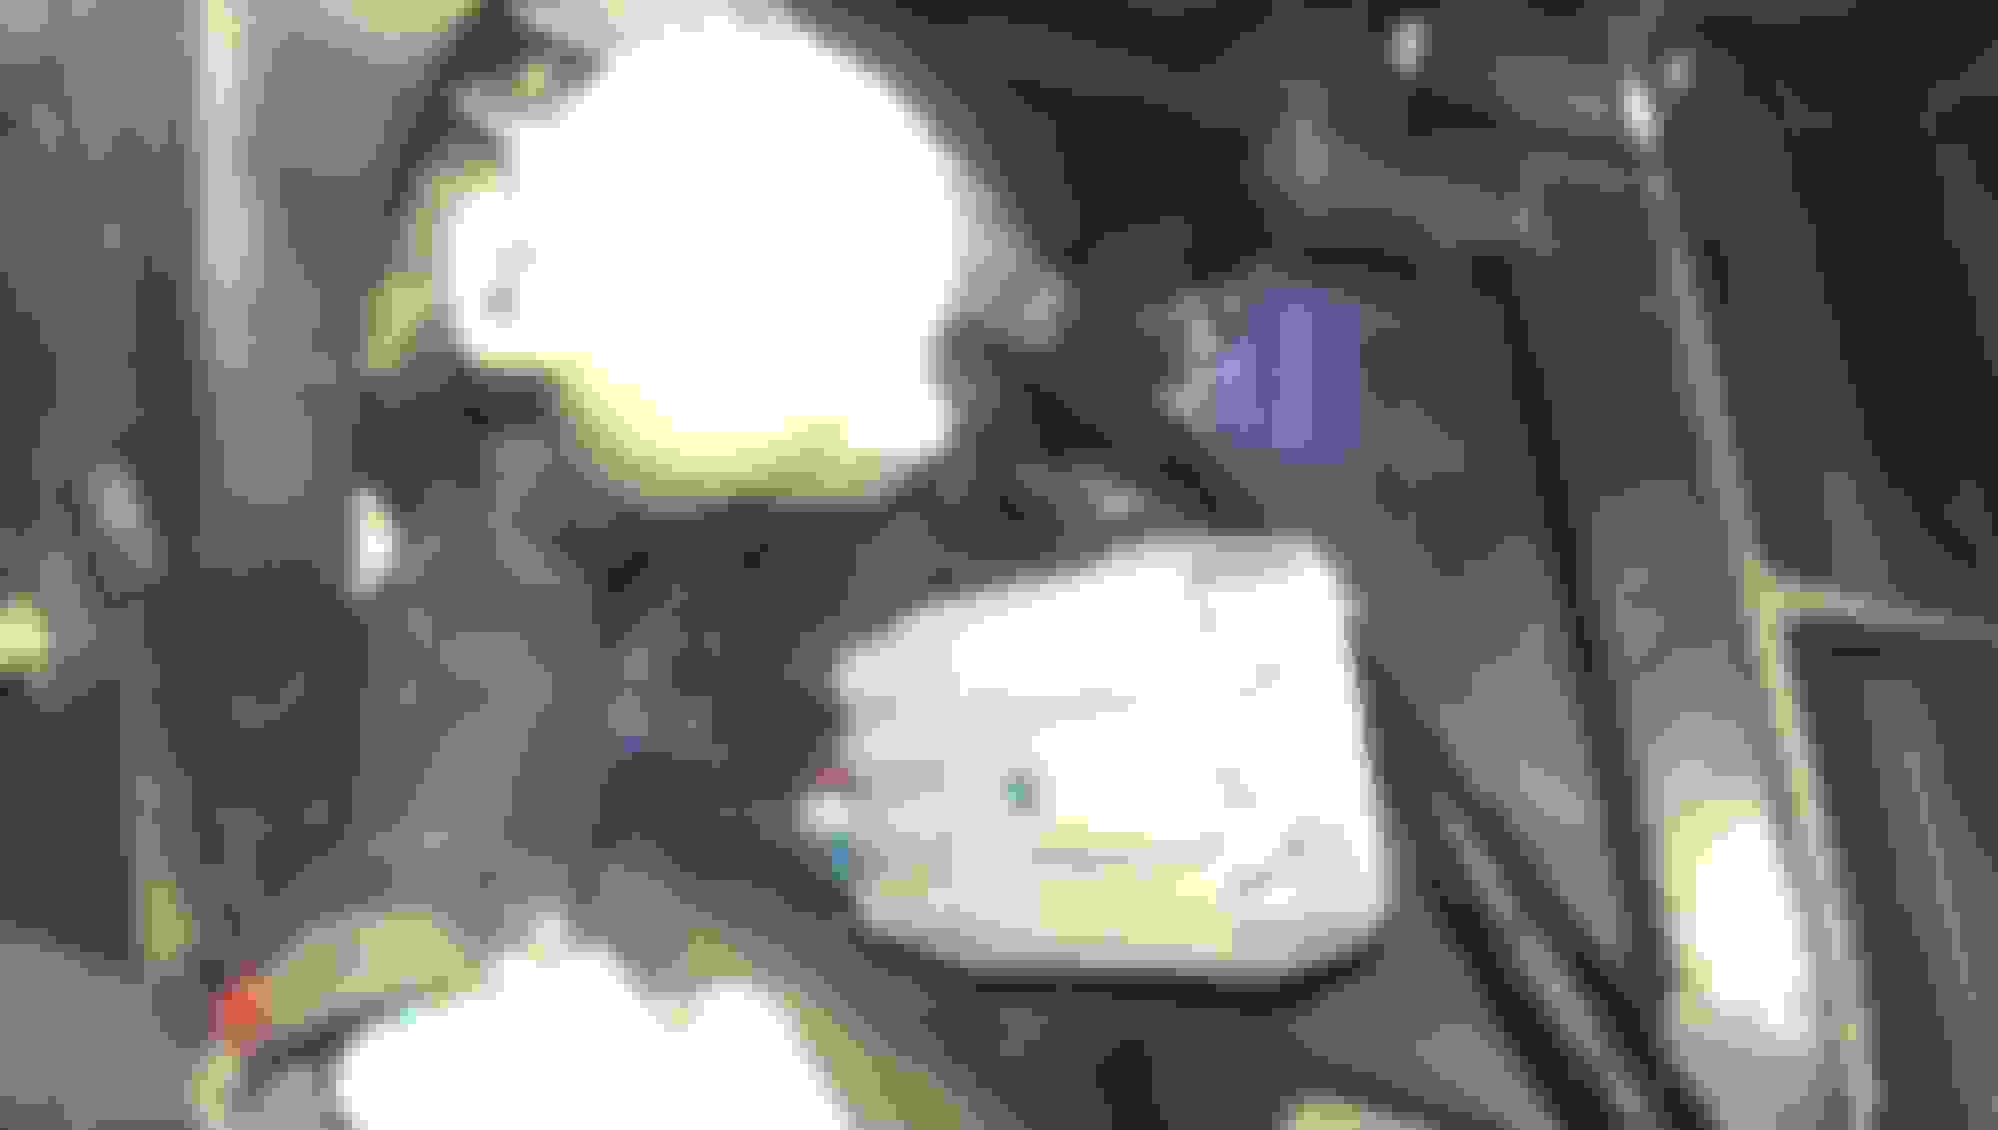
From reading the earlier post, it was obvious that the area where these bulbs are located are in quite a small space.
Personally, I don't see how in the world one can get their hand in there to turn the bulb connector.
But as I kept reading, I saw mention of using a screwdriver and/or long needle nose pliers.
I didn't need the pliers, just the screwdriver, and it made the job quick and pretty easy.
It's all about evolution and discovering easier and better ways to do things, so thanks to everyone.
I started and completed the corner light mod last night, and I have to say, it took me longer to remove the covers and grille than to actually swap the bulbs out. Reason being I was really trying to careful and mindful not to crack/break the grille. I initially had a hard time locating all of the clips to release the grille, but once I did, it was fine.
** I can't say this enough: **
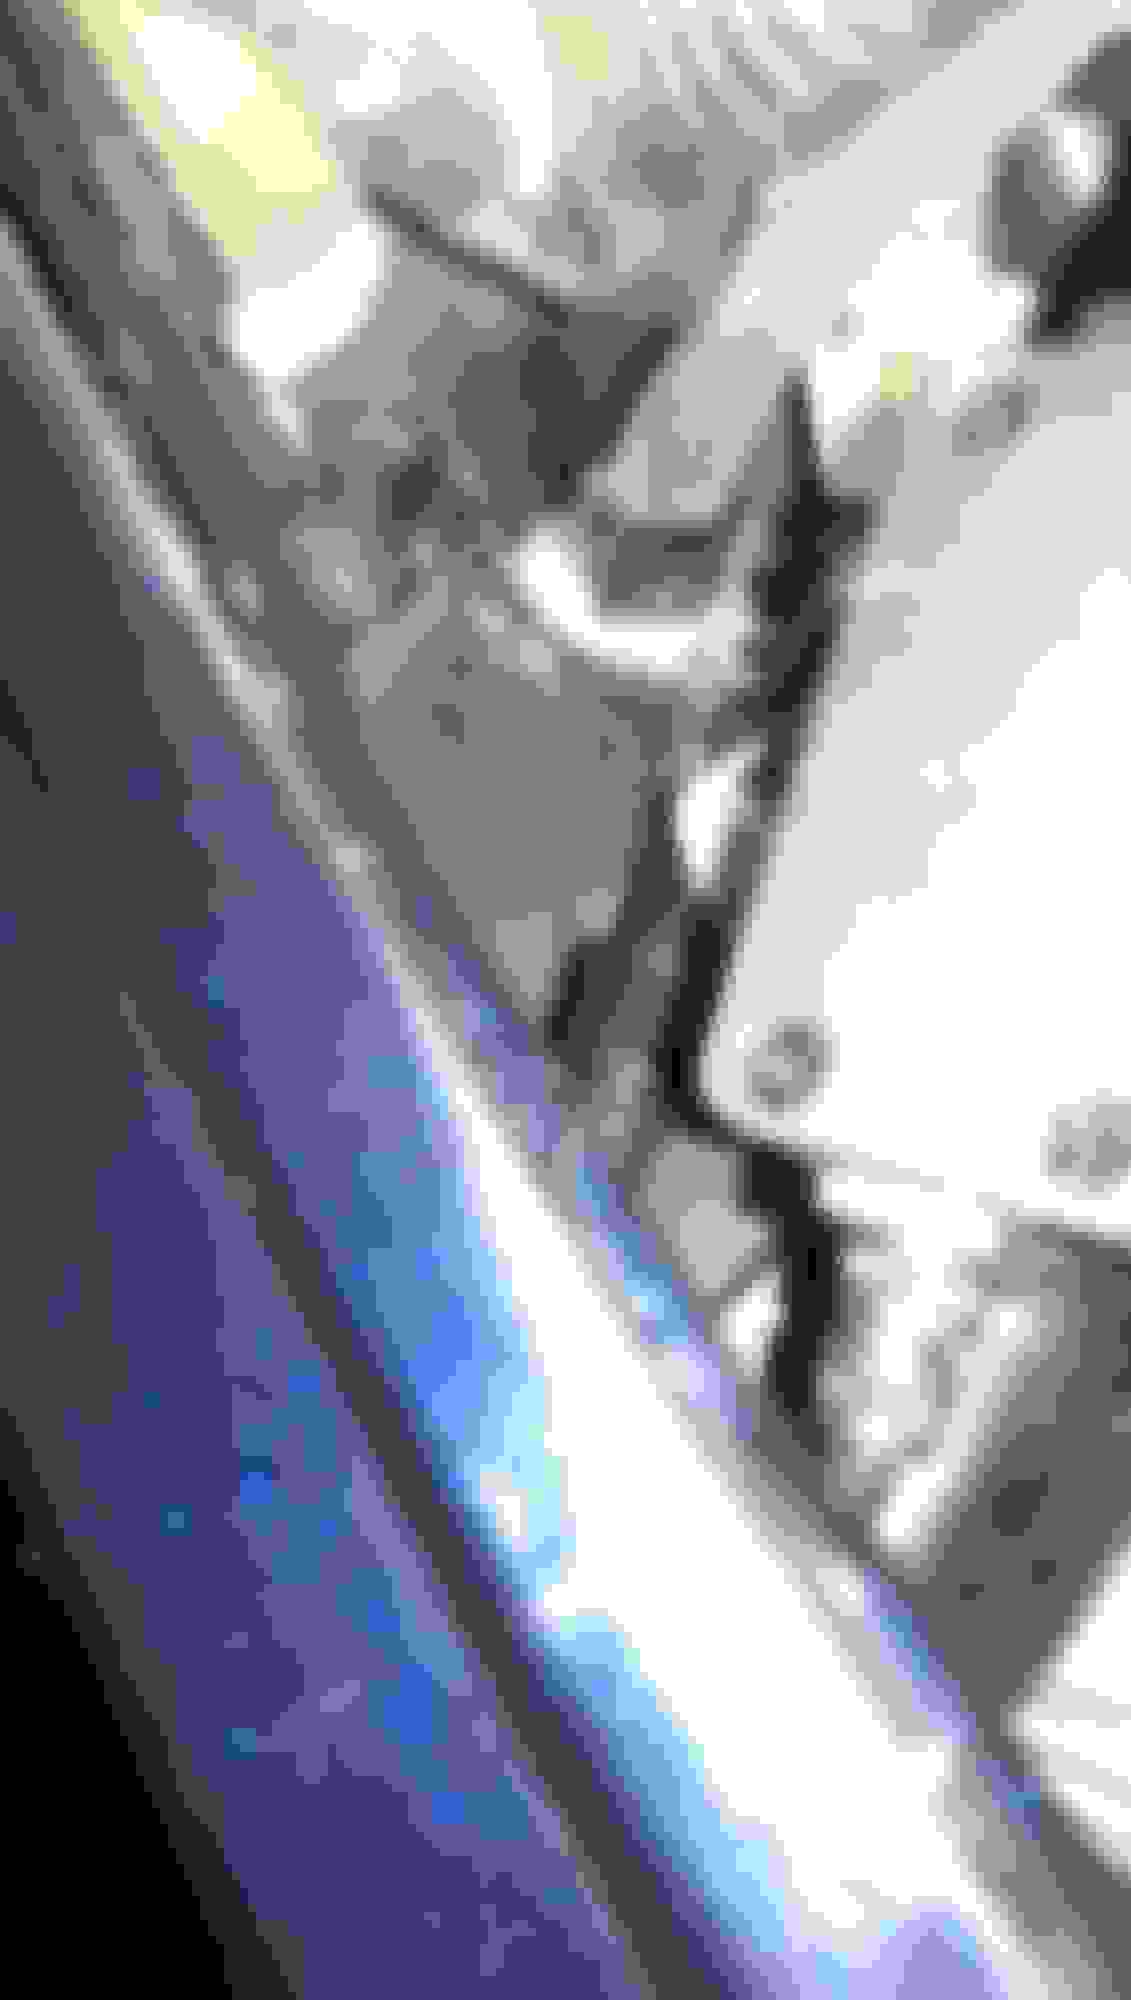
When trying to turn the actual bulb connector counter clockwise about 90-100 degrees, USE A LONG STEMMED REGULAR SIZED SCREWDRIVER!!! The screwdriver flat head fits exactly into a groove thats located on the back side of the connector. Once it's turned, you can immediately see the connector come loose from the housing. While it's loose, wiggle a bit with the screwdriver in place and the bulb connector will come out of the housing.
I ordered and used the bulbs that joedaddy1 used.
When in my garage last night, they looked great; nice and bright, but today during a sunny day, they didn't appear to be so bright.
Honestly, I'd like to have the brightest, safest bulb out there and im not 100% sure I have it, but it'll do for now.
The photo's aren't the greatest, but the first photo is with one LED in and the other OEM still in there, and the second photo is of both LED's installed.
Just made the swap to vLED 5000k 921 replacements. Pics to come.
If you put these bulbs in the backup lights they are amazingly bright, but in the Nikes it's the same story as everyone above. They're brighter, but not nearly as bright as you'd expect given the light output of the bulbs.
Color of these bulbs is actually slightly less blue than my factory HIDs. The difference is tiny but you can see it if you're looking for it carefully. The HID bulbs, both original, have likely gone a bit bluer (they do that over time) in the 8 years they've been on the car. With new HID bulbs I expect the match would be perfect.
They look fantastic as accent lighting during the day, and coordinate nicely with the HIDs at night. But they aren't as bright as I had hoped -- not nearly bright enough to serve as a replacement for DRLs. These are some of the brightest mini wedge LEDs in existence, so I was hoping for a bit more. I think the Nike enclosure and lens just aren't well suited for throwing a lot of light.
I used CRowe14's screwdriver method, which helped, although i found the screwdriver would rotate the housing but wouldn't lift it out of the hole -- I had to put my fingers in for that last step. I had a munged fastener on the right top corner of the grille that was almost impossible to get out, and dealing with that took most of my time. Once I was done with that it went as I expected.
Look forward to seeing the pics dal!
I know pics aren't the greatest for displaying light emission, but I'd like to try to do a comparison.
I should have mentioned that in my write-up as well, as I guess some would have to place their fingers in the area to lift the bulb out of the lens housing.
The one on the passenger side kind of "popped" out once I rotated it, and the one on the driver's side, once I wigged it a bit, it kind of made its way out as well, but I did use a finger or two to guide it up and out.
I think your correct regarding the lens enclosure where that bulb is, as it more so "glows/lights up" rather than "emit/throw" light.
How was the process of swapping out the Reverse lights? How did that go and how much time did it take?
Do you have any plans for swapping out the puddle lights?
Im wondering if the puddle lights will be the same result as the Nike's because the lens is distorted and not clear. I personally don't like the light emission from my puddles even with LED's.
Lastly, I exchanged a few messages with Shibumi and he told me that he used these lights in his Nike lights but tapped into wires and didn't use the bulb connector, placed the bulb in the lens and used silicone to hold the bulb in place and make it water tight.
He said they are really bright and he uses these along with his after market fogs as DRL's I believe
Being I only spent about $7 for 10 bulbs, im willing to go a more expensive route once more to achieve a bright appearance.
If my next option does not yield the brightness im in search of, well then it'll be what it ends up being.
If you put these bulbs in the backup lights they are amazingly bright, but in the Nikes it's the same story as everyone above. They're brighter, but not nearly as bright as you'd expect given the light output of the bulbs.
That's the experience I have with my reverse light LED's in my AVEST tail lamp assemblies. They are bright white and look great when they light up, but project no light to be of any use when backing up. That's where you'll have to rely on the back up camera.
That's the experience I have with my reverse light LED's in my AVEST tail lamp assemblies. They are bright white and look great when they light up, but project no light to be of any use when backing up. That's where you'll have to rely on the back up camera.
Does it make for better lighting for the back up cam though since they do shine so bright?
Very simple, although you'll need needlenose pliers -- the opening is just too small for fingers.
Nope -- I want my fade.
HAHAHA!!
I hear you brethren!
But look...the bulbs I have actually still fade!
The fade gradient may be a bit less with LED, and I mean..a BIT!
But in all honesty, unless I could get a bulb that practically lit up the side of the car at night, it's not that huge of a change, and I'd leave it oem.
And thanks for the back up feedback.
I may try those tonight.
Ok, a bit of background before I delve into the write-up and pictures.
Mostly everyone has seen the beautiful job Shibumi has done with his LS. His modifications are well done and very professional looking! Now, to that, after exchanging with him a multitude of times regarding my fog lights and more importantly, the Park lights or "Nike Light" mod, he assisted me step by step and he was a great help, so thanks a million Boom!
After seeing this thread and then seeing his Nike light mod in comparison to everyone else's Simply put, I wanted what he had.
It seemed the light that was coming from his parking light area was incredibly bright.
I tried replacing the OEM bulb with an LED and thought it was better (shown above in my previous post), it still not only was near what Shibumi had, but it didn't cast or "throw" any light. It merely illuminated.
So I asked Shibumi exactly what he used for his application and how he went about it and I decided to take on the task.
Now, I will say that for me, this mod was time consuming and at times a PITA! There is no screw driver trick here and you have to find a way to get your hand in that tiny, tiny space. I have larger hands, so though it was difficult at times, it can be done, but it will take patience.
The instructions to get to the bulb are no different, and they are well documented in this thread.
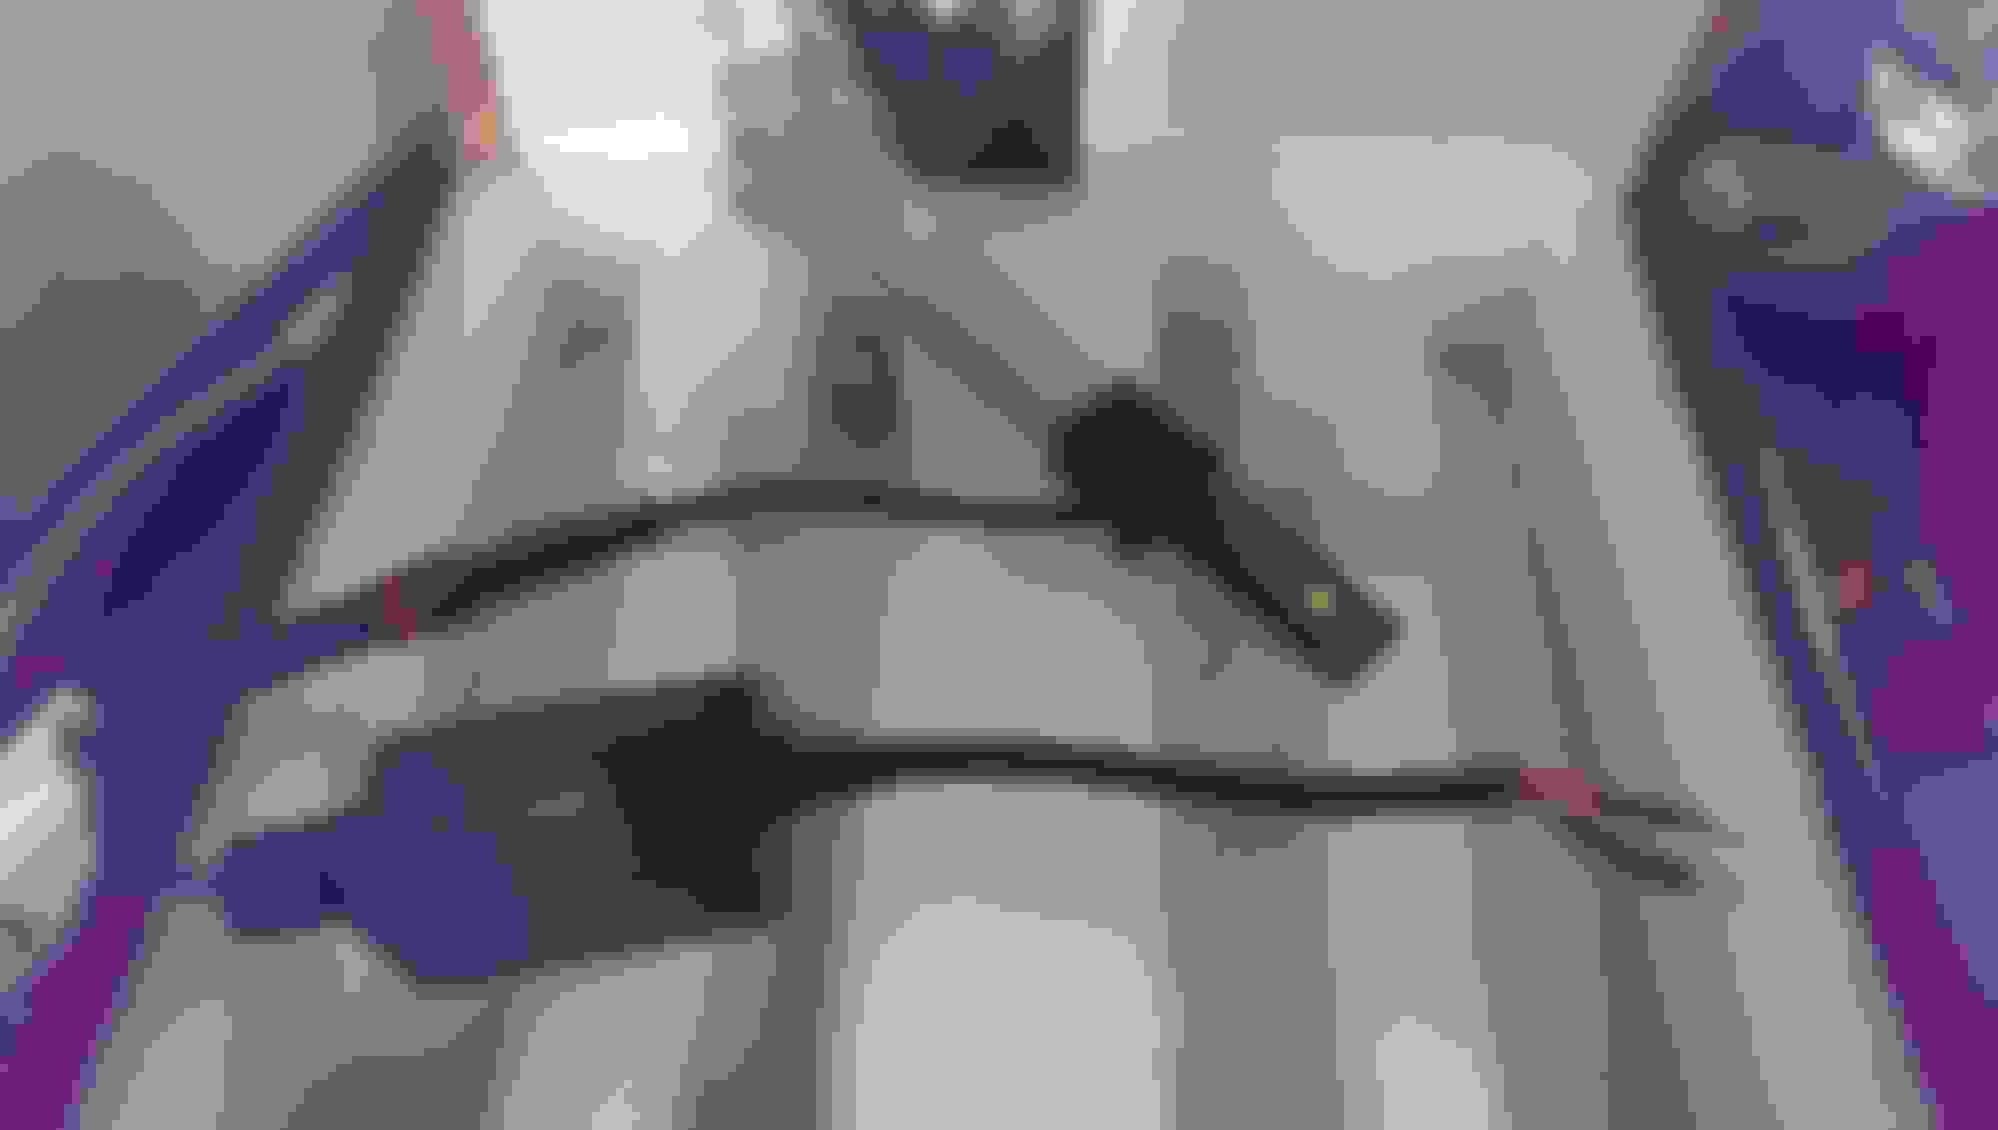
Once you disconnect the grey and white connectors in front of the park light connector and bulb your trying to get to, it should look like this:
I used a zip tie to keep the two connectors away from the work area so that I hade a little more space and wouldn't have to keep moving the connectors out of the way.
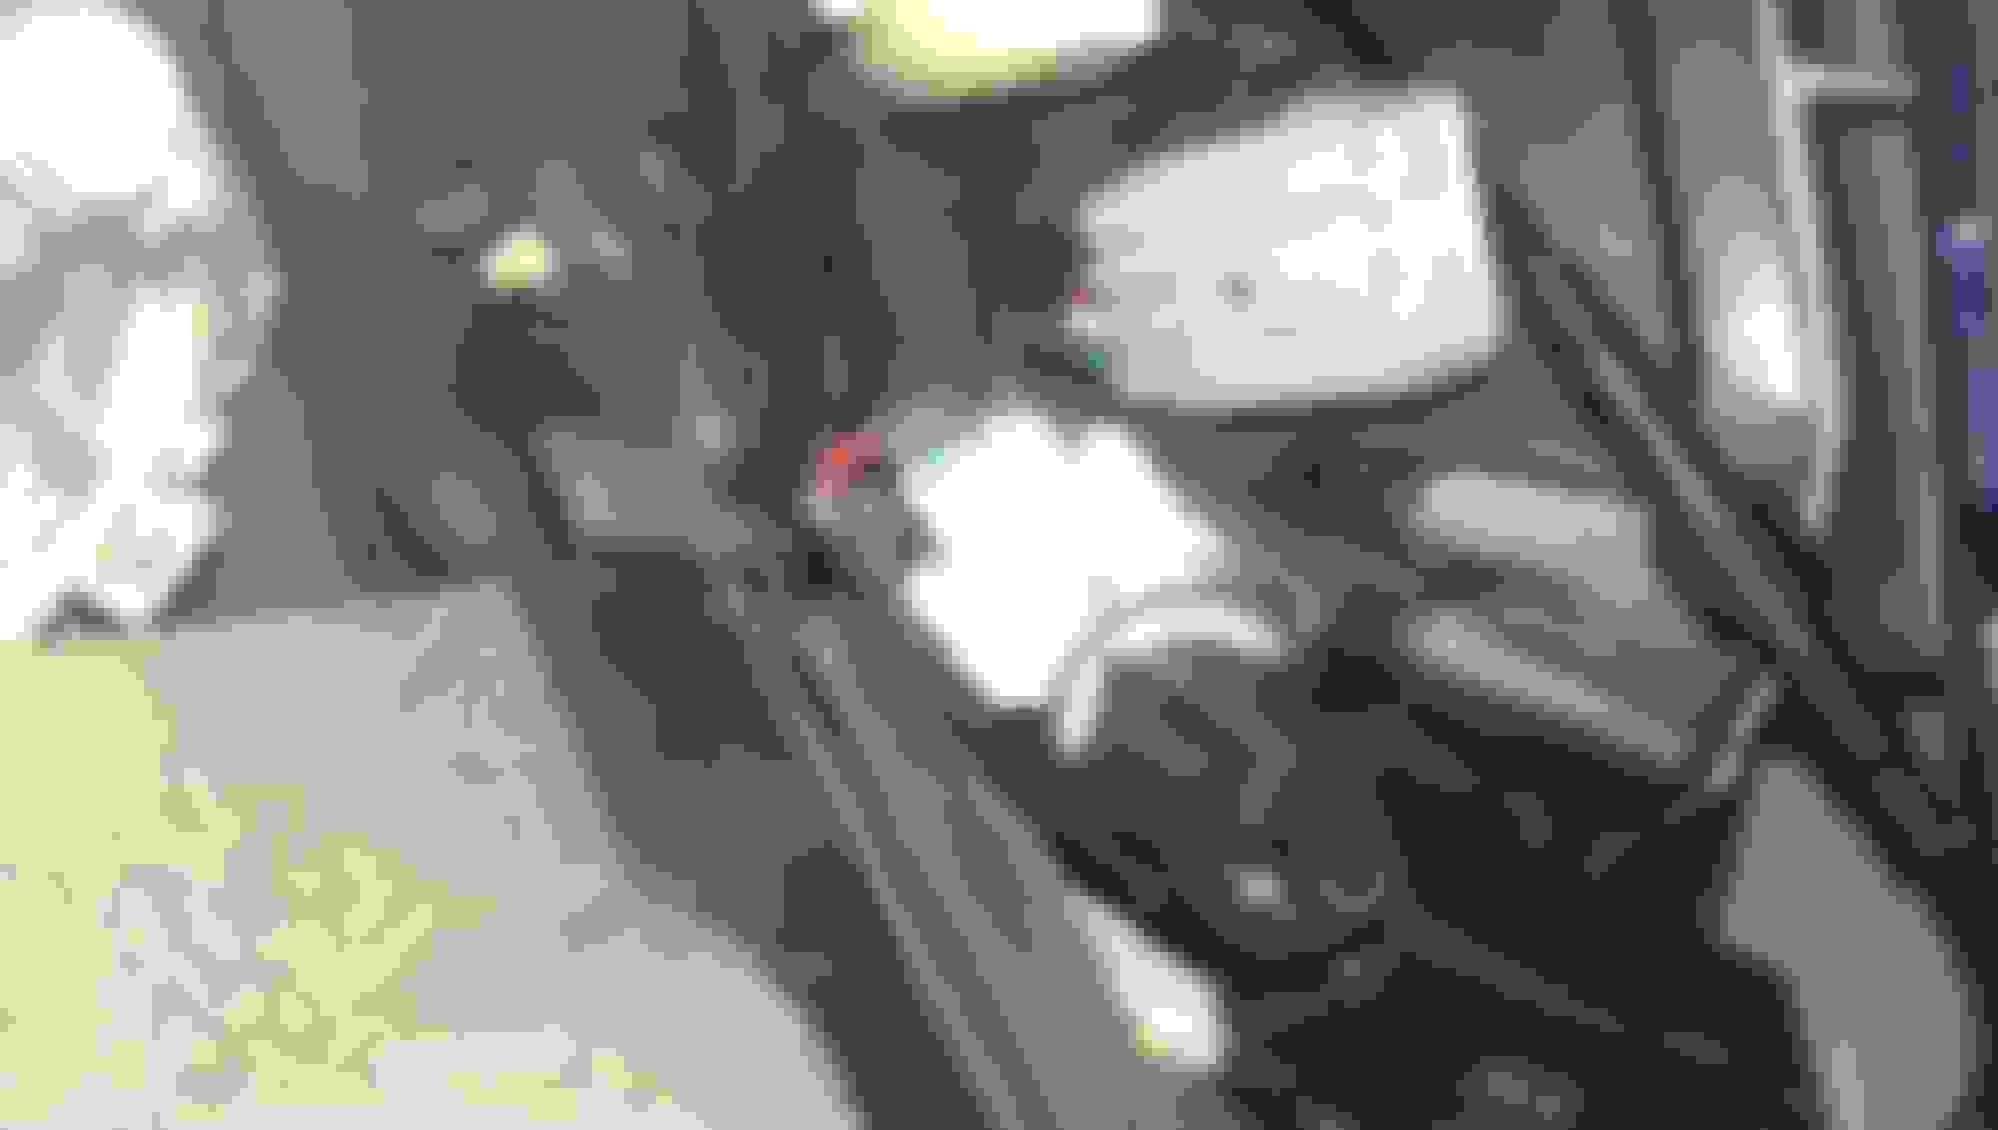
Here is the H1 bulb I was working with:
This bulb does NOT connect into the OEM connector, and per Shibumi's direction, I had to strip the positive and negative wires that power the OEM connector, snip the connectors on the lights, strip those back and more or less "sew" the wires together, then tape them separately, then place them together and tape them together so that there's no way for the tape to come undone on either wire.
*NOTE*: The LED has a BLACK and RED wire. My OEM connector wires were GREEN and WHITE. I connected the BLACK/GREEN and RED/WHITE.
This was trying because the area is so small and you only have so much room and wire to work with.
I did NOT wish to cut off the OEM connector, so this is the best route to take; mod but still keeping the factory/OEM option available if you wish to switch back down the road. After joining the bulb and OEM wires, I taped the OEM connector to protect it from any damage.
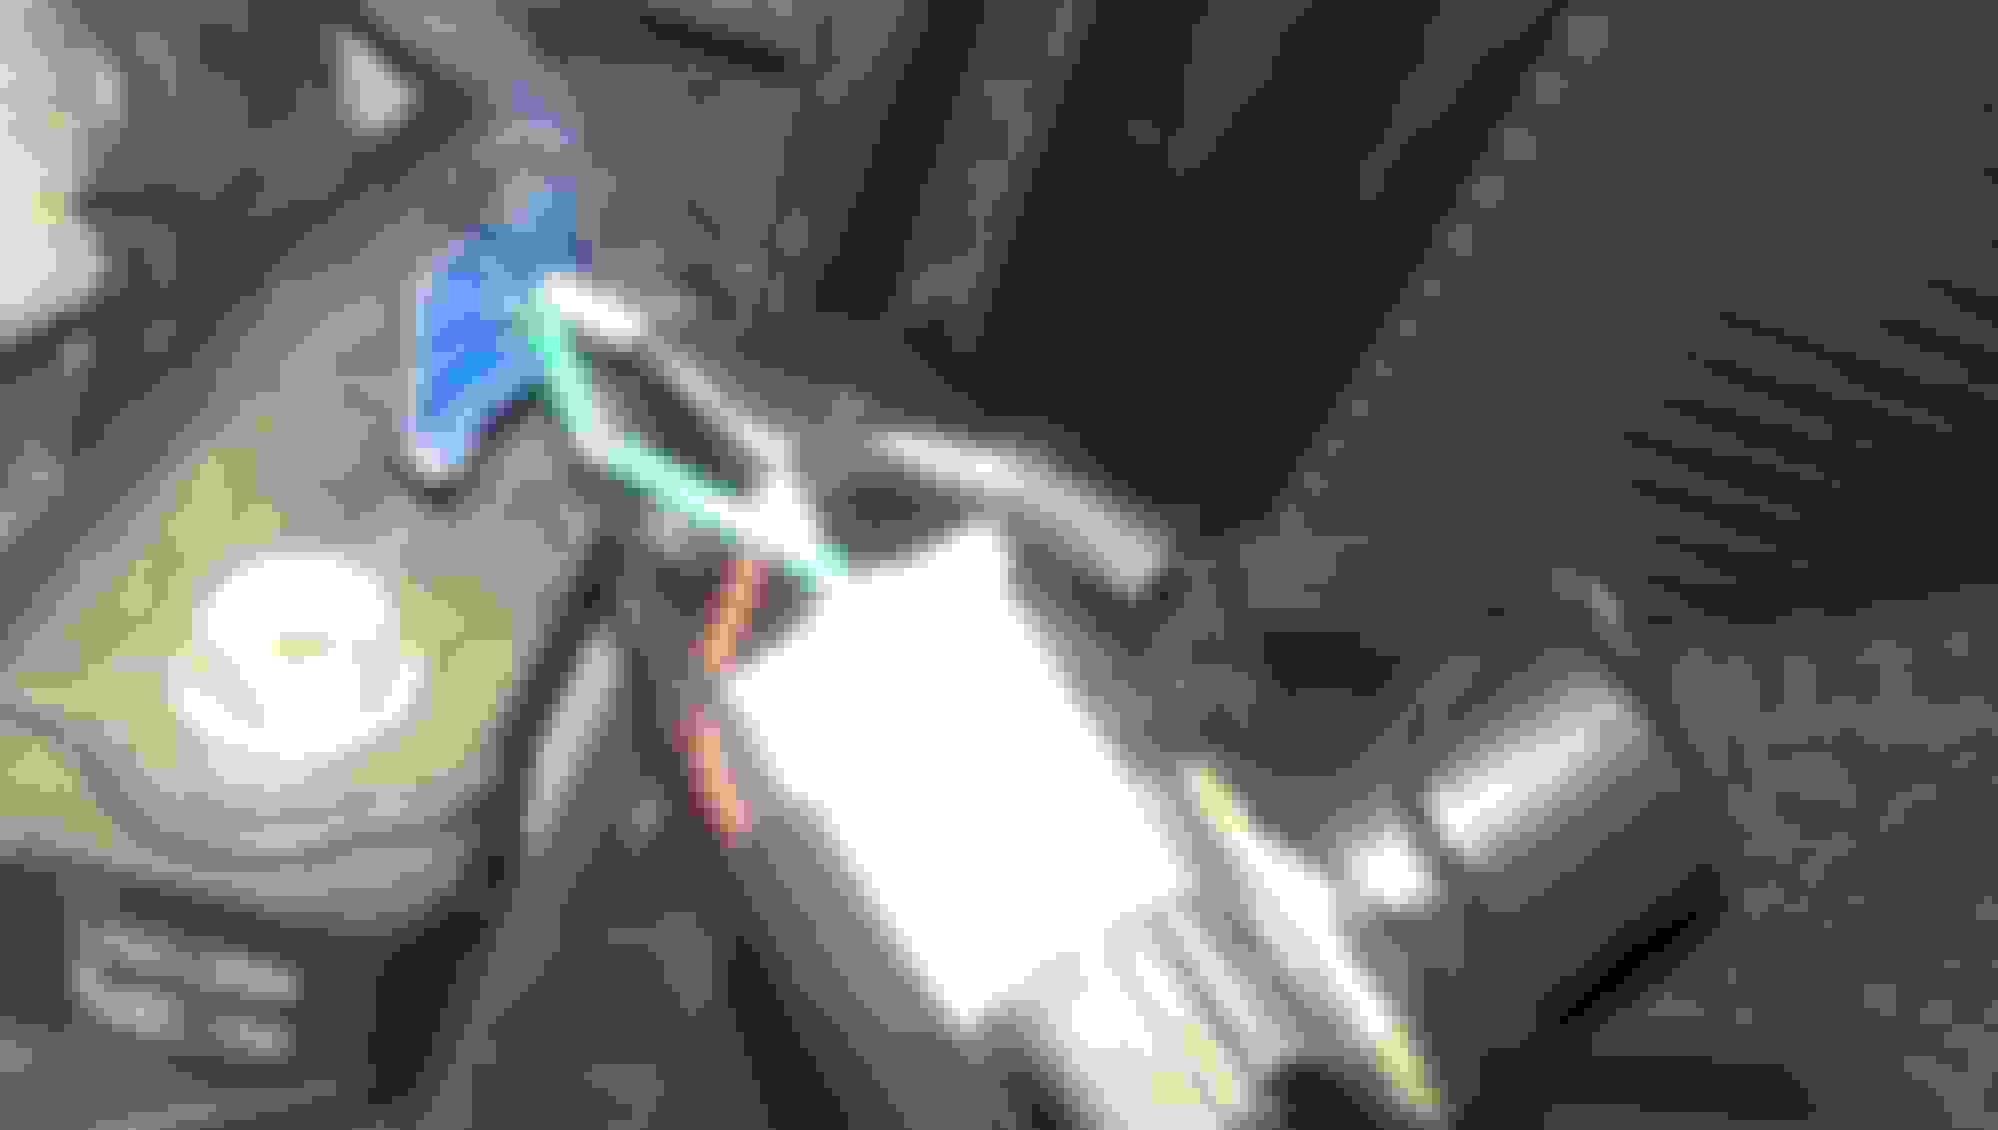
The illustration Boom sent me looks like this:
Mine ended up looking like this:
*NOTE*
You should have enough wire, but before you begin splicing, try placing the bulb in the hole to get an idea as to how the bulb will sit once you begin the process of using the silicone to glue it in place.
This bulb does NOT go into the hole, twist and lock in like most traditional bulbs. It sits flush to the backside of the hole, but you have to adhere it in place. The wire that gives the bulb power is near the lip of the base of the light, so play with the positioning a bit to make sure you know where/how you'll sit it, then hold it in place for curing. (I used a combination of a long screw driver and spreading the copper heat sink on the rear of the bulb to act as a prop to hold the bulb still).
Make sure its sealed and cured.
I did this late Monday night and drove Tues and Wed and last night when I went to do the passenger side and check on the drivers side from the few prior evenings, I noticed I have moisture in the lens. So I had to get a blow drier and remove the high beam bulb and blow cold air into the bulb to dry it out. That alone took about 20-25 minutes.
When you have the bulb situated and set up for curing, move to the other side and begin working there.
Once I had the bulb seated with silicone bead around the front/face of the lip/flange on the LED bulb and on the base of the opening, it looked like this:
Silicone around the back side of the lip/flange for a air/water tight seal:
Remember when testing these to assure that they work-wired up and connected from bulb to ballast, connect the WHITE connector then turn the switch on the stalk in the car to assure the bulb works before finalizing everything.
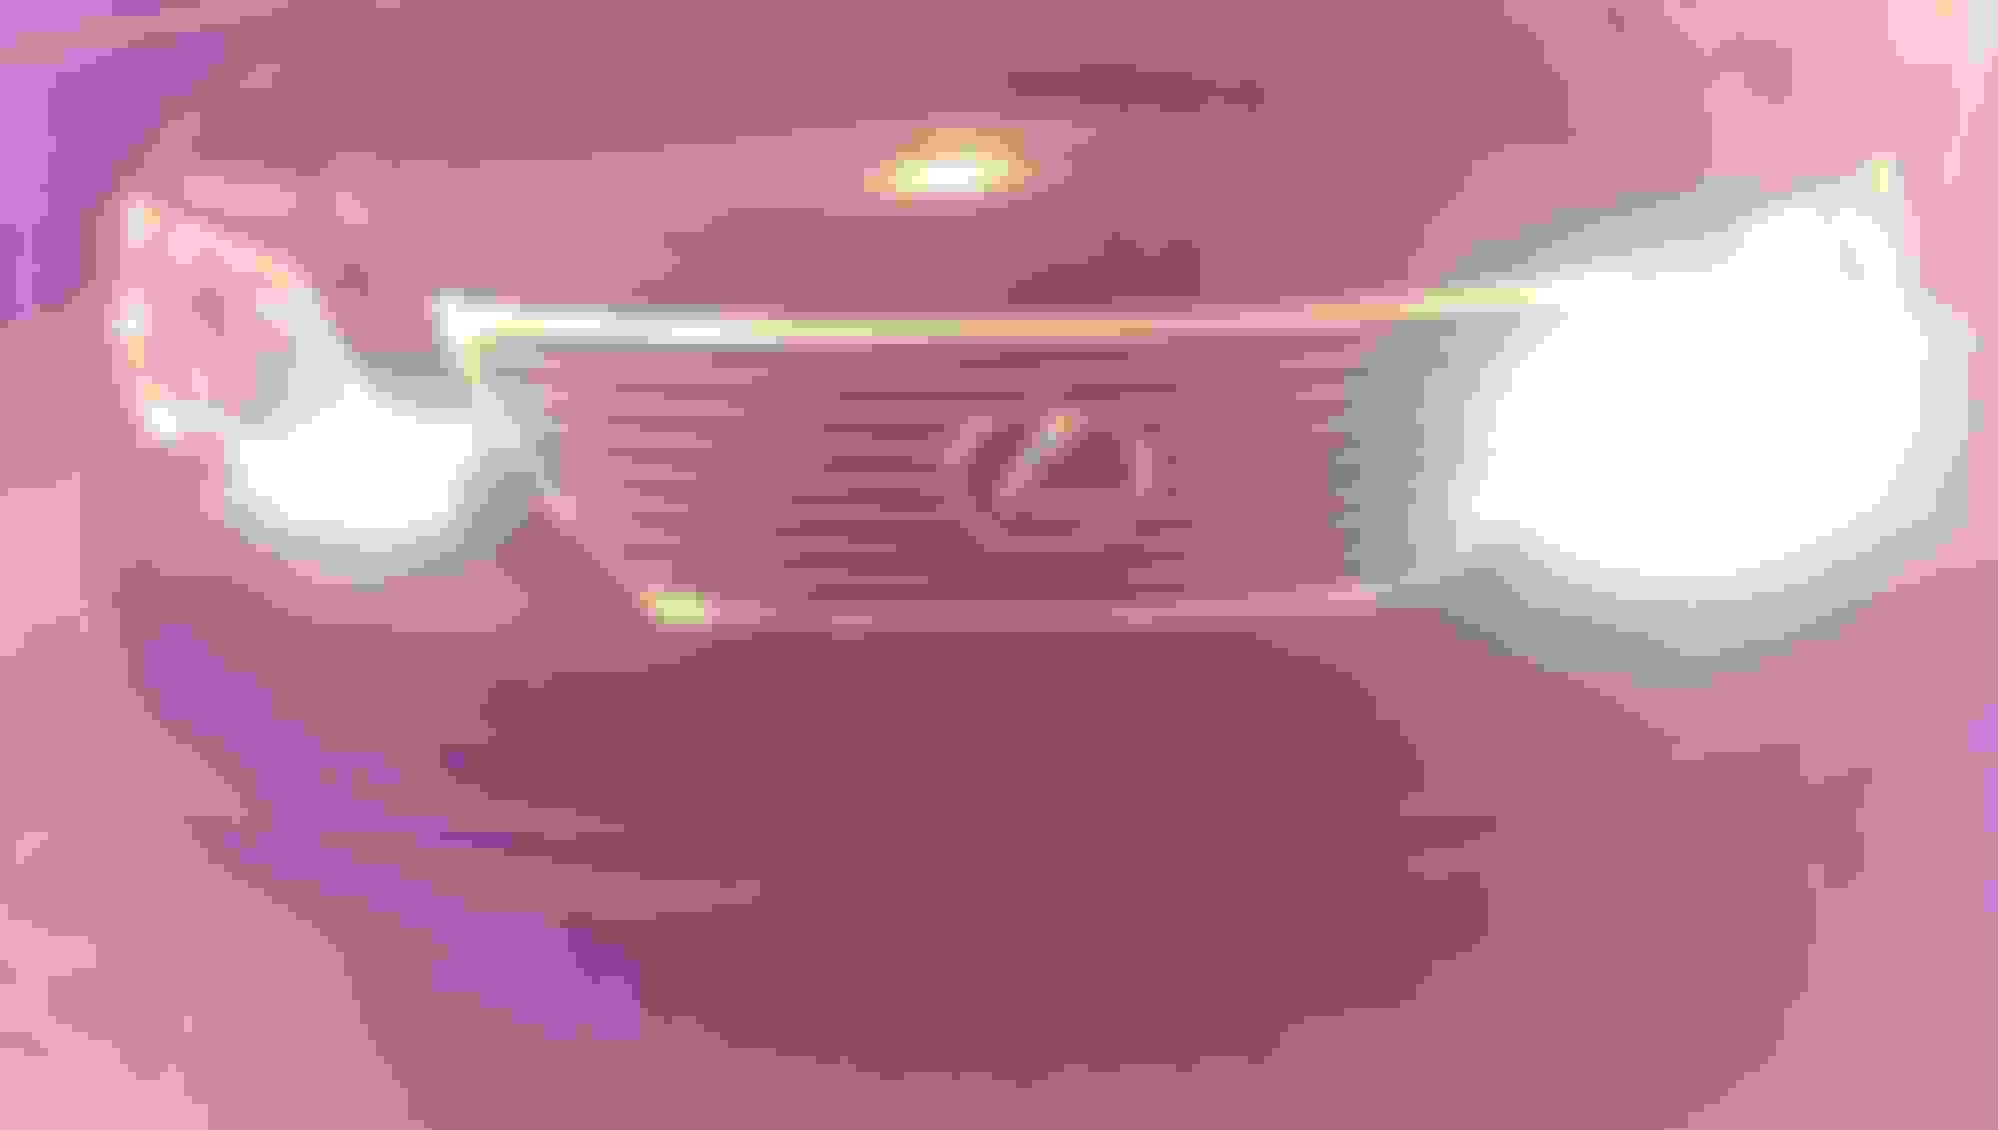
End result, they look fantastic, very, very bright and they actually cast light!
Here are a few photos to give you an idea of the difference between a regular smaller LED bulb (194's) and a larger bulb:
This is a horrible photo, but the light that is casting onto my garage door is from one 1 of the bulbs, and the photo is bad.
I apologize for the poor photos, but hopefully you can get the gist of all that I'm trying to say/show.
So thats it!
Thanks again to Shibumi for all the help, I owe ya one!
I hope this helps anyone who so desires to take the "Nike Light" mod to the next level (Shibumi1-you like how I did that!).
It may seem like a small, perhaps "no big deal" or waste of time" mod, but once I completed this and stood back and looked at it, the work was well worth it, Im very, very happy with the results.
Cheers and Happy Holidays everyone.
2ND Thanks for the kind words... I'm glad it turned well... (FYI I'd put the dryer on that opening for a bit longer) condensation has a way of rearing it's ugly head..
For anyone interested here's a link for the bulbs we used.
Lastly Troy I read earlier you'd like brighter reverse lights these same bulbs will fit in our reverse bulb housing doing the same mod.(I've already done it and it's makes the world of difference when backing up) But it's far easier on the rear as u can take the whole housing out (4) 10mm nuts..
I really hope this helps everyone looking to take their nike/reverse lights to the Next Level like we did ( u see what I did there lmao)
Have either of you seen any melting to the housing? These are 20W bulbs. CJITTY had melting with 17W incandescent 921s. By comparison the 921 replacement LEDs that I have and that CRowe14 had before this mod use about 5W, and the stock bulbs are ~2W.
2ND Thanks for the kind words... I'm glad it turned well... (FYI I'd put the dryer on that opening for a bit longer) condensation has a way of rearing it's ugly head..
For anyone interested here's a link for the bulbs we used.
Lastly Troy I read earlier you'd like brighter reverse lights these same bulbs will fit in our reverse bulb housing doing the same mod.(I've already done it and it's makes the world of difference when backing up) But it's far easier on the rear as u can take the whole housing out (4) 10mm nuts..
I really hope this helps everyone looking to take their nike/reverse lights to the Next Level like we did ( u see what I did there lmao)
Haha!!! I definitely see the word play!
Can't thank you enough Damion. Would have been even more of a crazy mod (for me) if I hadn't consulted with you. I don't know of anyone else who has these lights, so as I said, you were an inspiration. I turned them in in my garage last night and the entire area was lit up!
Great stuff!
Not happy to hear that about the condensation to be honest with you...I'll keep an eye on it.
I will definitely take your word for it regarding the back up lights, and I may actually do this within the next few weeks.
I sure hope it's easier bc man...I don't wanna mess with those Nike likes for quite a while!
If I haven't said it Dame-your most recent mod looks stellar! I gotta make a trip to the big "O" soon!
Much gratitude!
Have either of you seen any melting to the housing? These are 20W bulbs. CJITTY had melting with 17W incandescent 921s. By comparison the 921 replacement LEDs that I have and that CRowe14 had before this mod use about 5W, and the stock bulbs are ~2W.
Hey Dal, thanks for the sentiments.
Just trying to pass things along.
There wouldn't even be a write up from me if it weren't for Damian, so kudos there once again.
Regarding any melting of the housing, as you know, I just installed mine and haven't seen or noticed anything.
Damian has had his bulbs in for quite a while now and hasn't suffered any I'll effects as far as I know.
As a matter of fact, at his most recent show, he had his Nikes, fogs and his hyperspots on "for at least 11 hours with zero issues".
If there wasn't any melting from that long of a duration, I'd venture to say they'll be fine unless something else were to happen.
I think the large copper braided, loop heat sink does a lot regarding the dissipation of heat.
Not to say they don't get warm, but not hot enough to melt anything.
Those other bulbs CJITTY used, as you know, were those old traditional bulbs that got extremely hot because of the halogen filament with no heat sink at all.
These LED's in general, especially in head/fog light applications have done a great job of producing bright light with the capability to displace heat.
If you look at JITTY's bulb he used for his fogs, they had a built in fan that aids in heat dissipation, but I've read that dirt particulate can interfere with the fan's functionality, and potentially shorten the life of the bulb.
So the copper braiding is a pretty good choice from my perspective.
 05-08-15, 01:31 PM