Side Mirrors LED Light Install w/ Pix
 08-10-08, 03:46 PM
#1
Moderator

Thread Starter
Here is the write up on how to swap out the standard amber looking wedge bulb to a bright 20 lumen LED. This instruction is for my 2004 LS430. Not sure if it's different for other years, so YMMV.
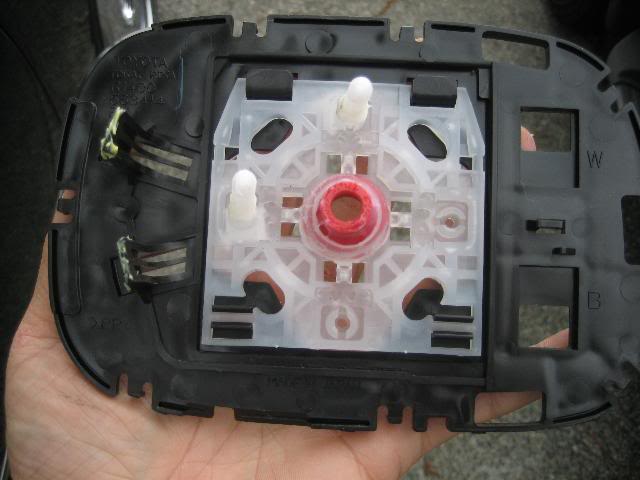
First off, you need to remove the reflective mirror piece. It is held together with a trim surround.
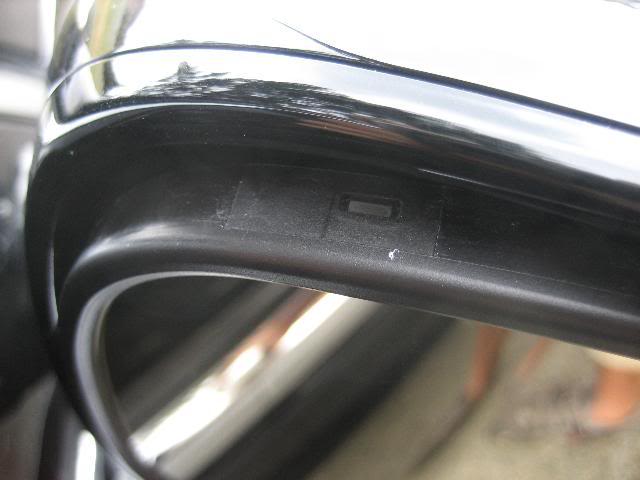
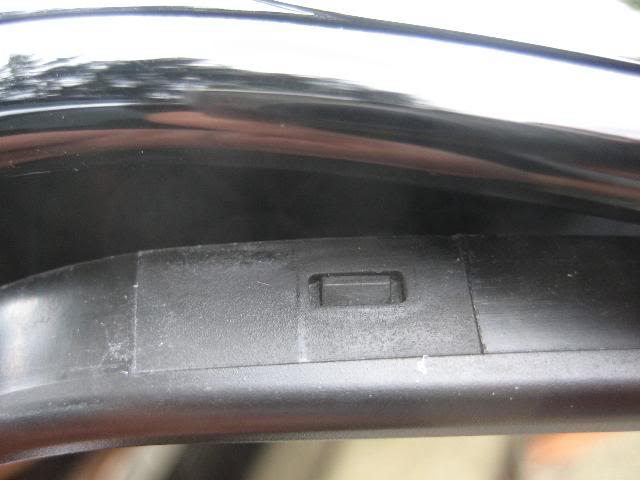
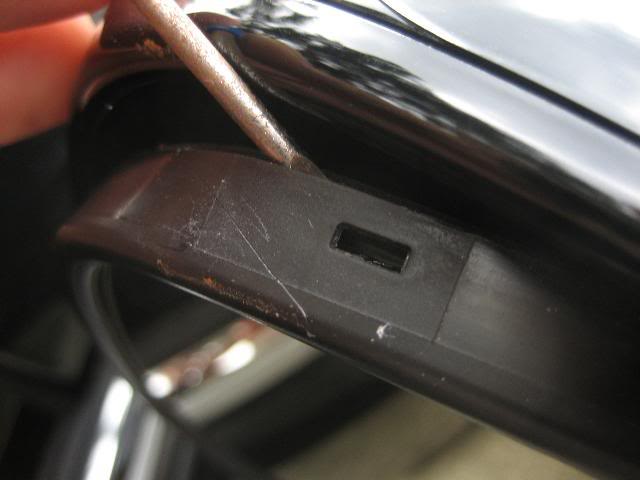
Use a small jewelers screwdriver and pry the clip up. Work your way around half a circle and the rest should just pop off.

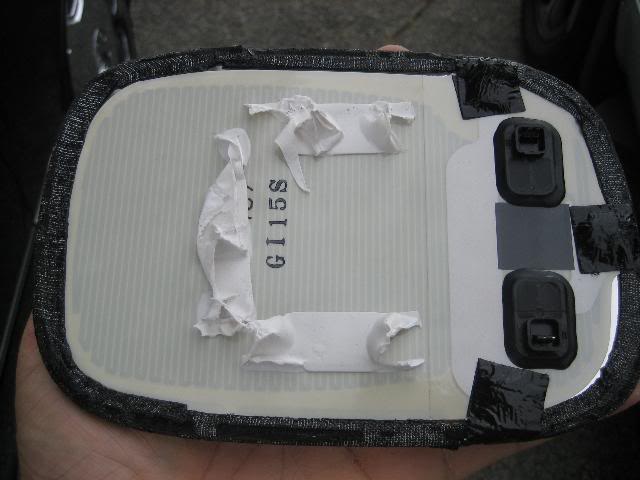
Next, the mirror is held in place with gooey black adhesive around the edge and also some white adhesive toward the center. Use a knife to work your way around the edge separating the adhesive.

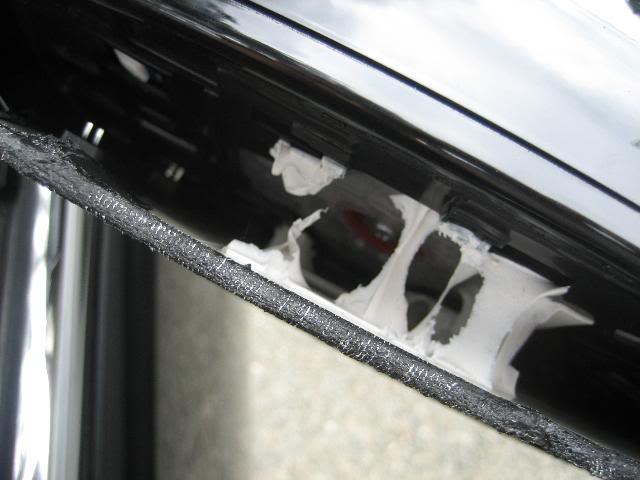
Note: There is two small electrical connector that makes the dimming of the mirror possible. They are just pressed straight in and it should pop off very easily when you pull the mirror off the backing.
First off, you need to remove the reflective mirror piece. It is held together with a trim surround.
Use a small jewelers screwdriver and pry the clip up. Work your way around half a circle and the rest should just pop off.
Next, the mirror is held in place with gooey black adhesive around the edge and also some white adhesive toward the center. Use a knife to work your way around the edge separating the adhesive.
Note: There is two small electrical connector that makes the dimming of the mirror possible. They are just pressed straight in and it should pop off very easily when you pull the mirror off the backing.


 08-10-08, 03:48 PM
#3
Moderator
Thread Starter
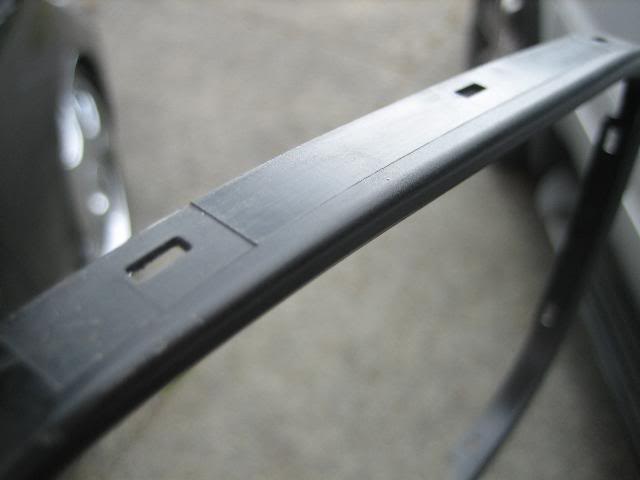
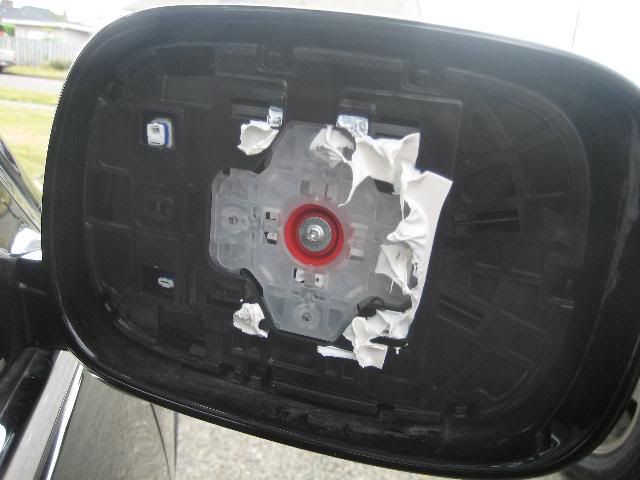
This is what it looks like after the mount has been pulled. Remove the 4 screws on each corner. This will separate the mirror housing.
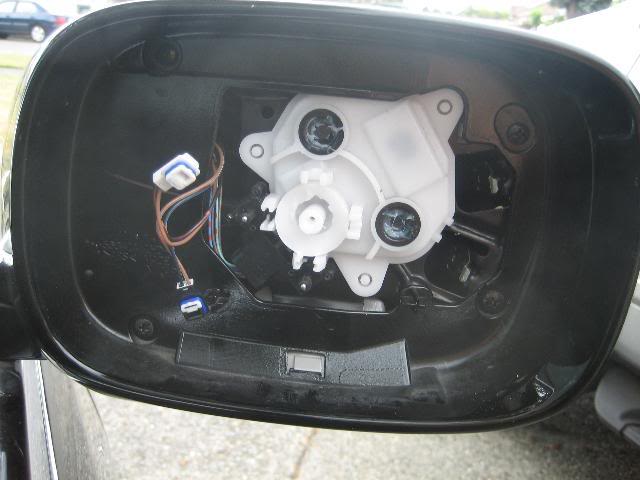


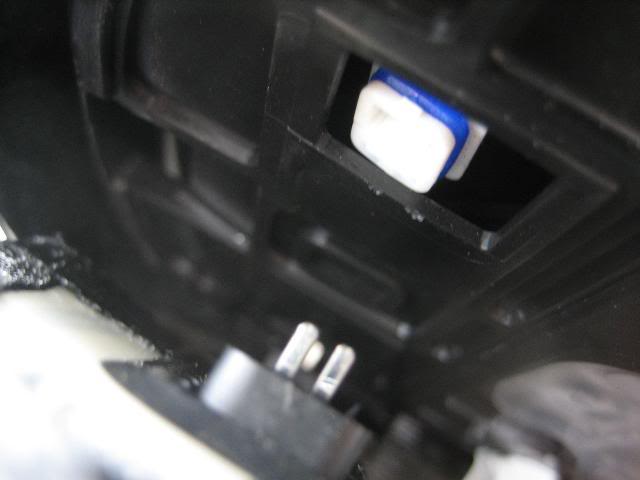
Now, you are finally able to reach where the light is installed. Pull the housing of the light off and by twisting counter clockwise, it should release from the bulb housing, exposing this:
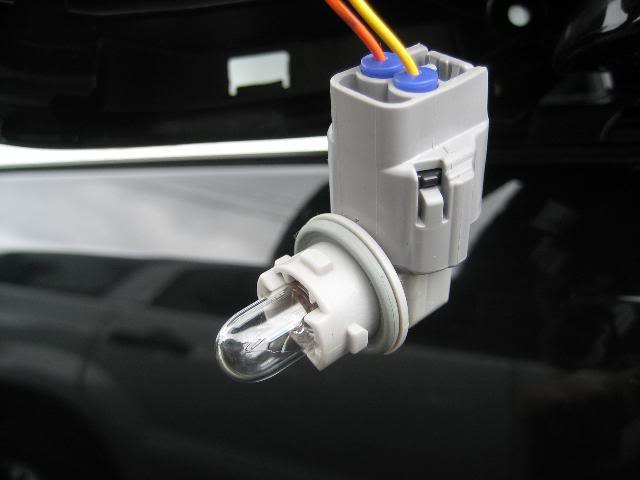
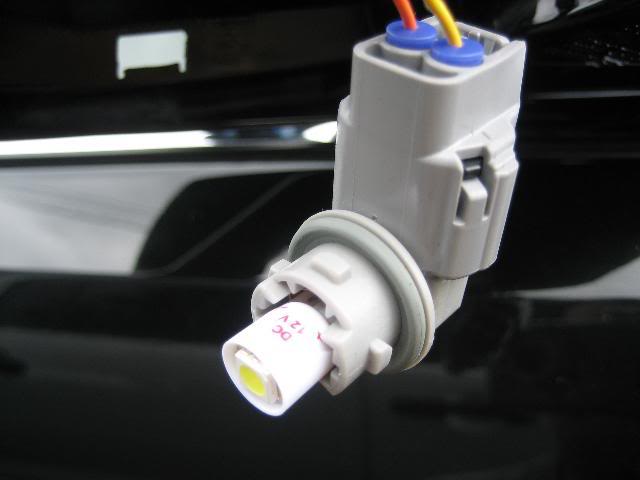
I replaced with this:
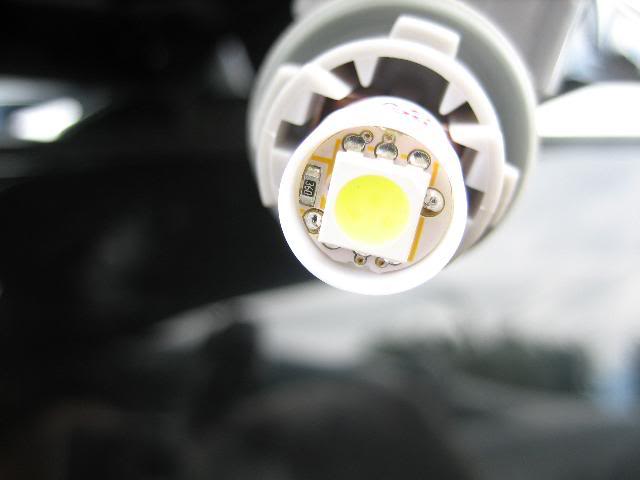
Now, you are finally able to reach where the light is installed. Pull the housing of the light off and by twisting counter clockwise, it should release from the bulb housing, exposing this:
I replaced with this:
Last edited by airtime; 08-10-08 at 03:54 PM.
08-10-08, 03:55 PM
#4
Moderator
Thread Starter
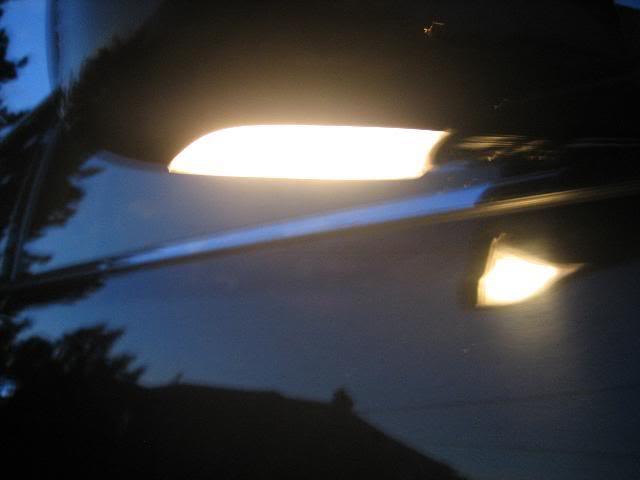
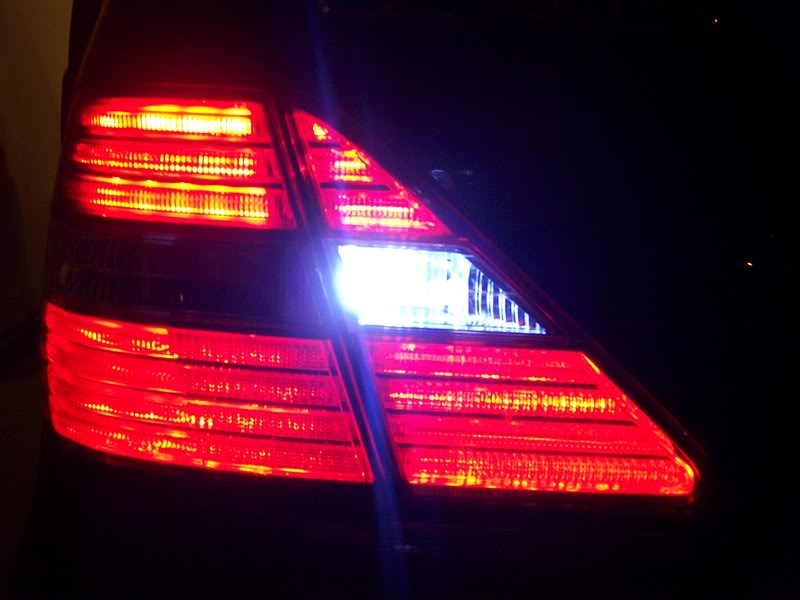
Before:
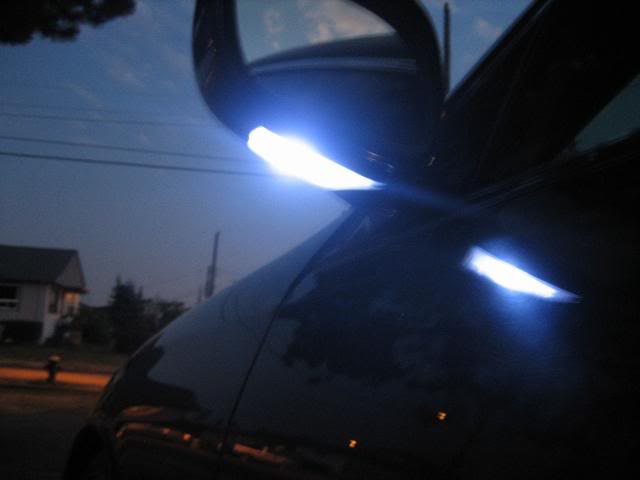
After:
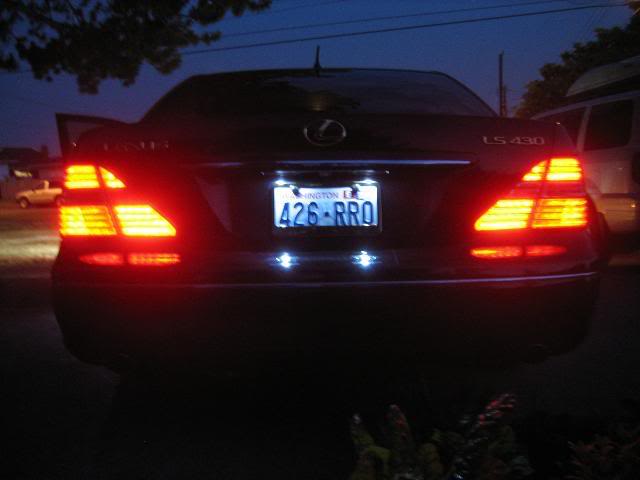
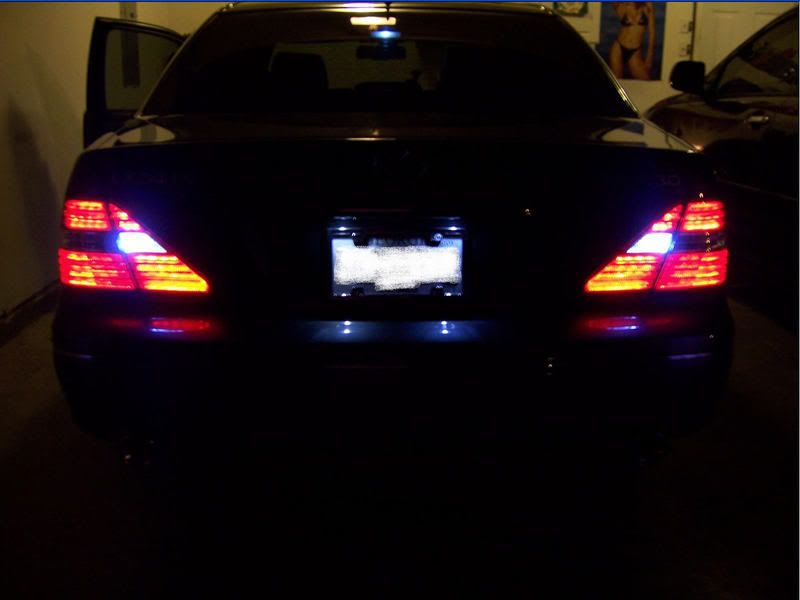
License Plate:

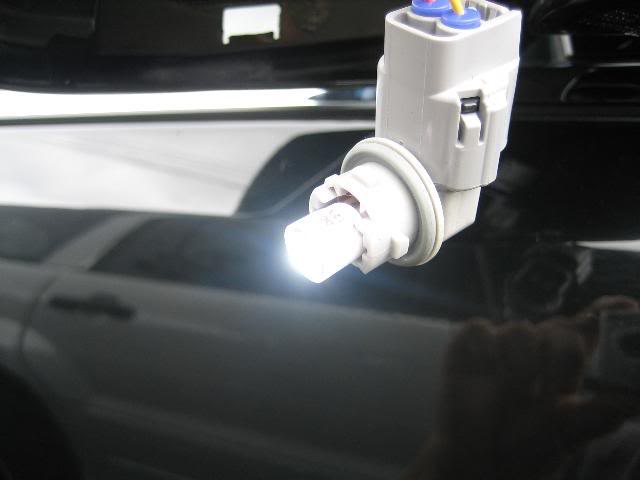
Make sure it does light up before reassembling, otherwise you have to take it all apart again It seems like alot of steps but it really isn't. The hardest part is to reattach the two connector back onto the back of the mirror. Trick is, get someone with small fingers to help as they should be able to reach back behind the mirror backing, holding the plugs in place while you line it up and reattach the mirror. All this should take about 10 to 15 minutes max. Good luck.
After:
License Plate:
Make sure it does light up before reassembling, otherwise you have to take it all apart again
It seems like alot of steps but it really isn't. The hardest part is to reattach the two connector back onto the back of the mirror. Trick is, get someone with small fingers to help as they should be able to reach back behind the mirror backing, holding the plugs in place while you line it up and reattach the mirror. All this should take about 10 to 15 minutes max. Good luck.
 08-10-08, 07:04 PM
#7
Moderator
Thx for the write up with pics, as you know i already LED out the entire interior, reverse lights and license plate. Now I'm ready to do the mirrors and your how to will be very helpful sir! Now off to order the LED's from my guy. 
Trending Topics

 08-10-08, 09:08 PM
#11
Moderator
Thread Starter
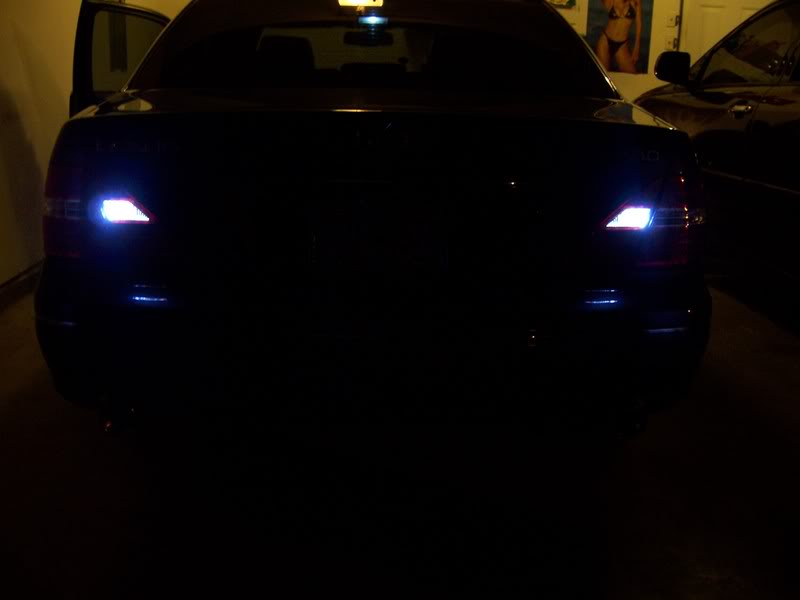
I also swapped out my 2 trunk bulbs with these WHP and it is super bright. It will be night and day difference than stock especially if you leave the diffuser plastic off.
PS: Did you swap the amber foot light under the dash with LED? It looked like a complete unit and not a bulb swap.
Last edited by airtime; 08-10-08 at 09:13 PM.
 Looks so much better.
08-11-08, 04:10 PM
Looks so much better.
08-11-08, 04:10 PM
#15
Moderator
My bulbs are on the way!
I did not swap those out b/c i like the amber color, and it is not distracting.
FYI:
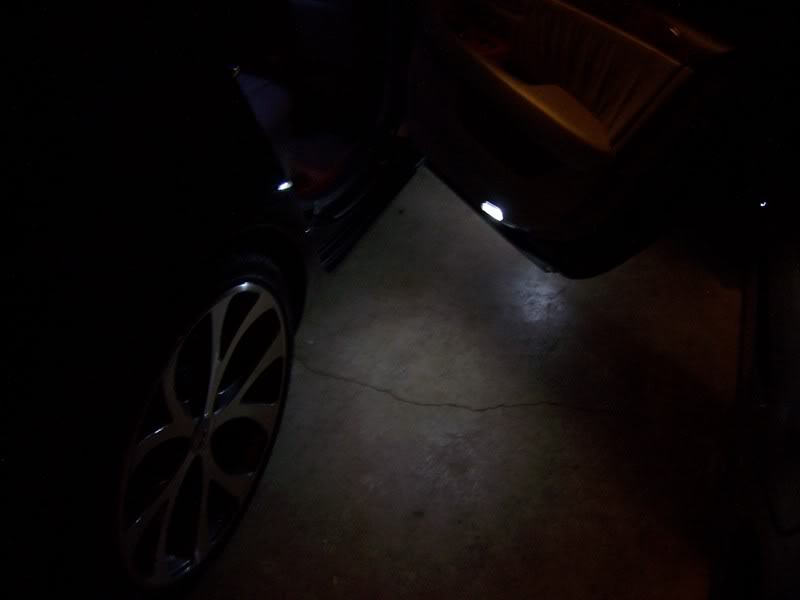
The 194 bulbs (wedge) will also work in all the doors, and the lights above the daytime running lights.
Front Pass door

Rear pass door
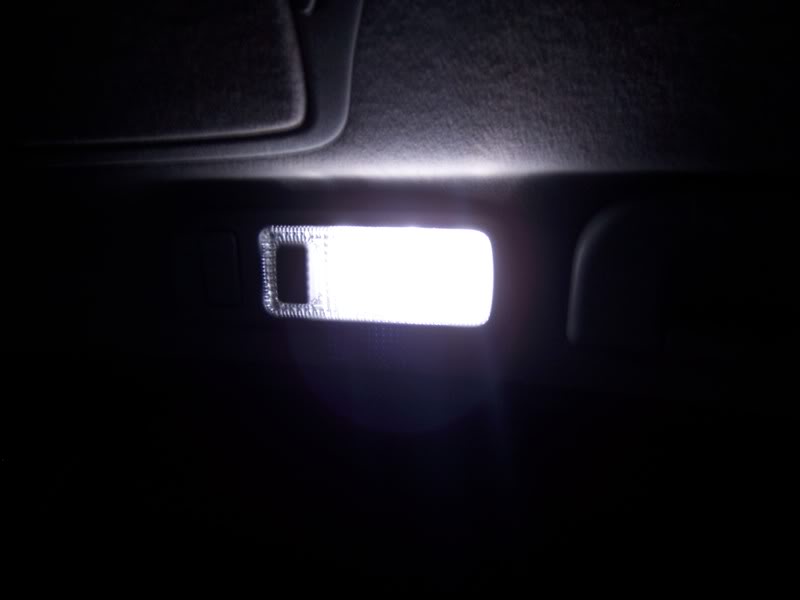
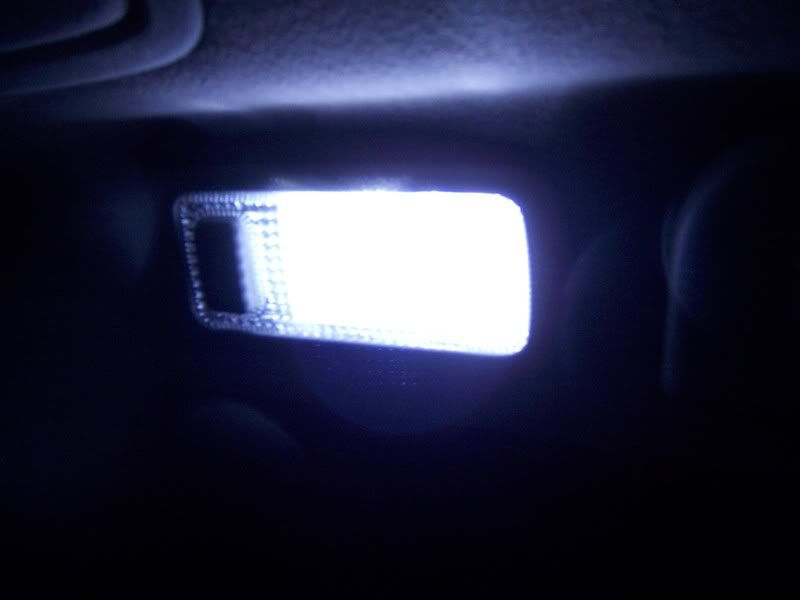
BA9 bulb's will replace the maps and rear passager lights.
Reverse/back up 194 (wedge)
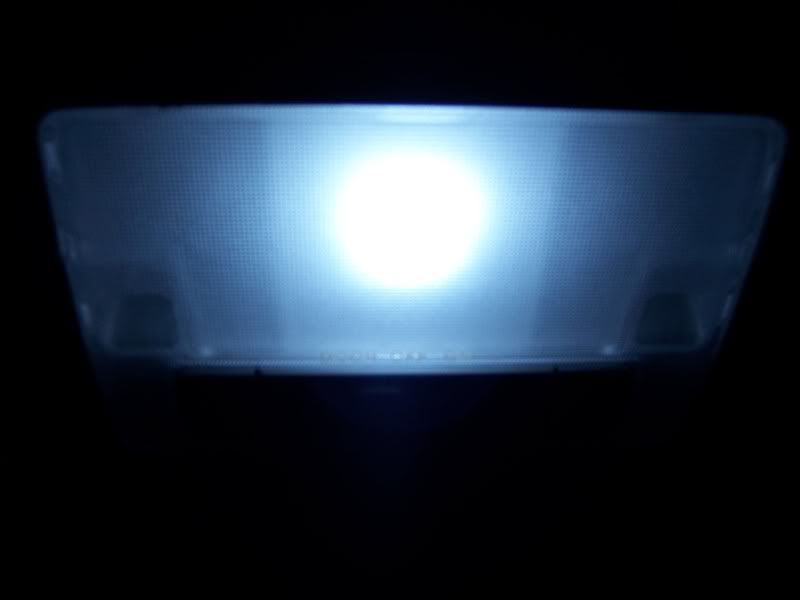
31mm festoon will handle the dome light.
FYI:
The 194 bulbs (wedge) will also work in all the doors, and the lights above the daytime running lights.
Front Pass door
Rear pass door
BA9 bulb's will replace the maps and rear passager lights.
Reverse/back up 194 (wedge)
31mm festoon will handle the dome light.
Last edited by Tee; 10-01-08 at 04:36 AM.
The following users liked this post:
S2R (03-22-21)

