When you click on links to various merchants on this site and make a purchase, this can result in this site earning a commission. Affiliate programs and affiliations include, but are not limited to, the eBay Partner Network.
Car: 1996 Lexus LS400
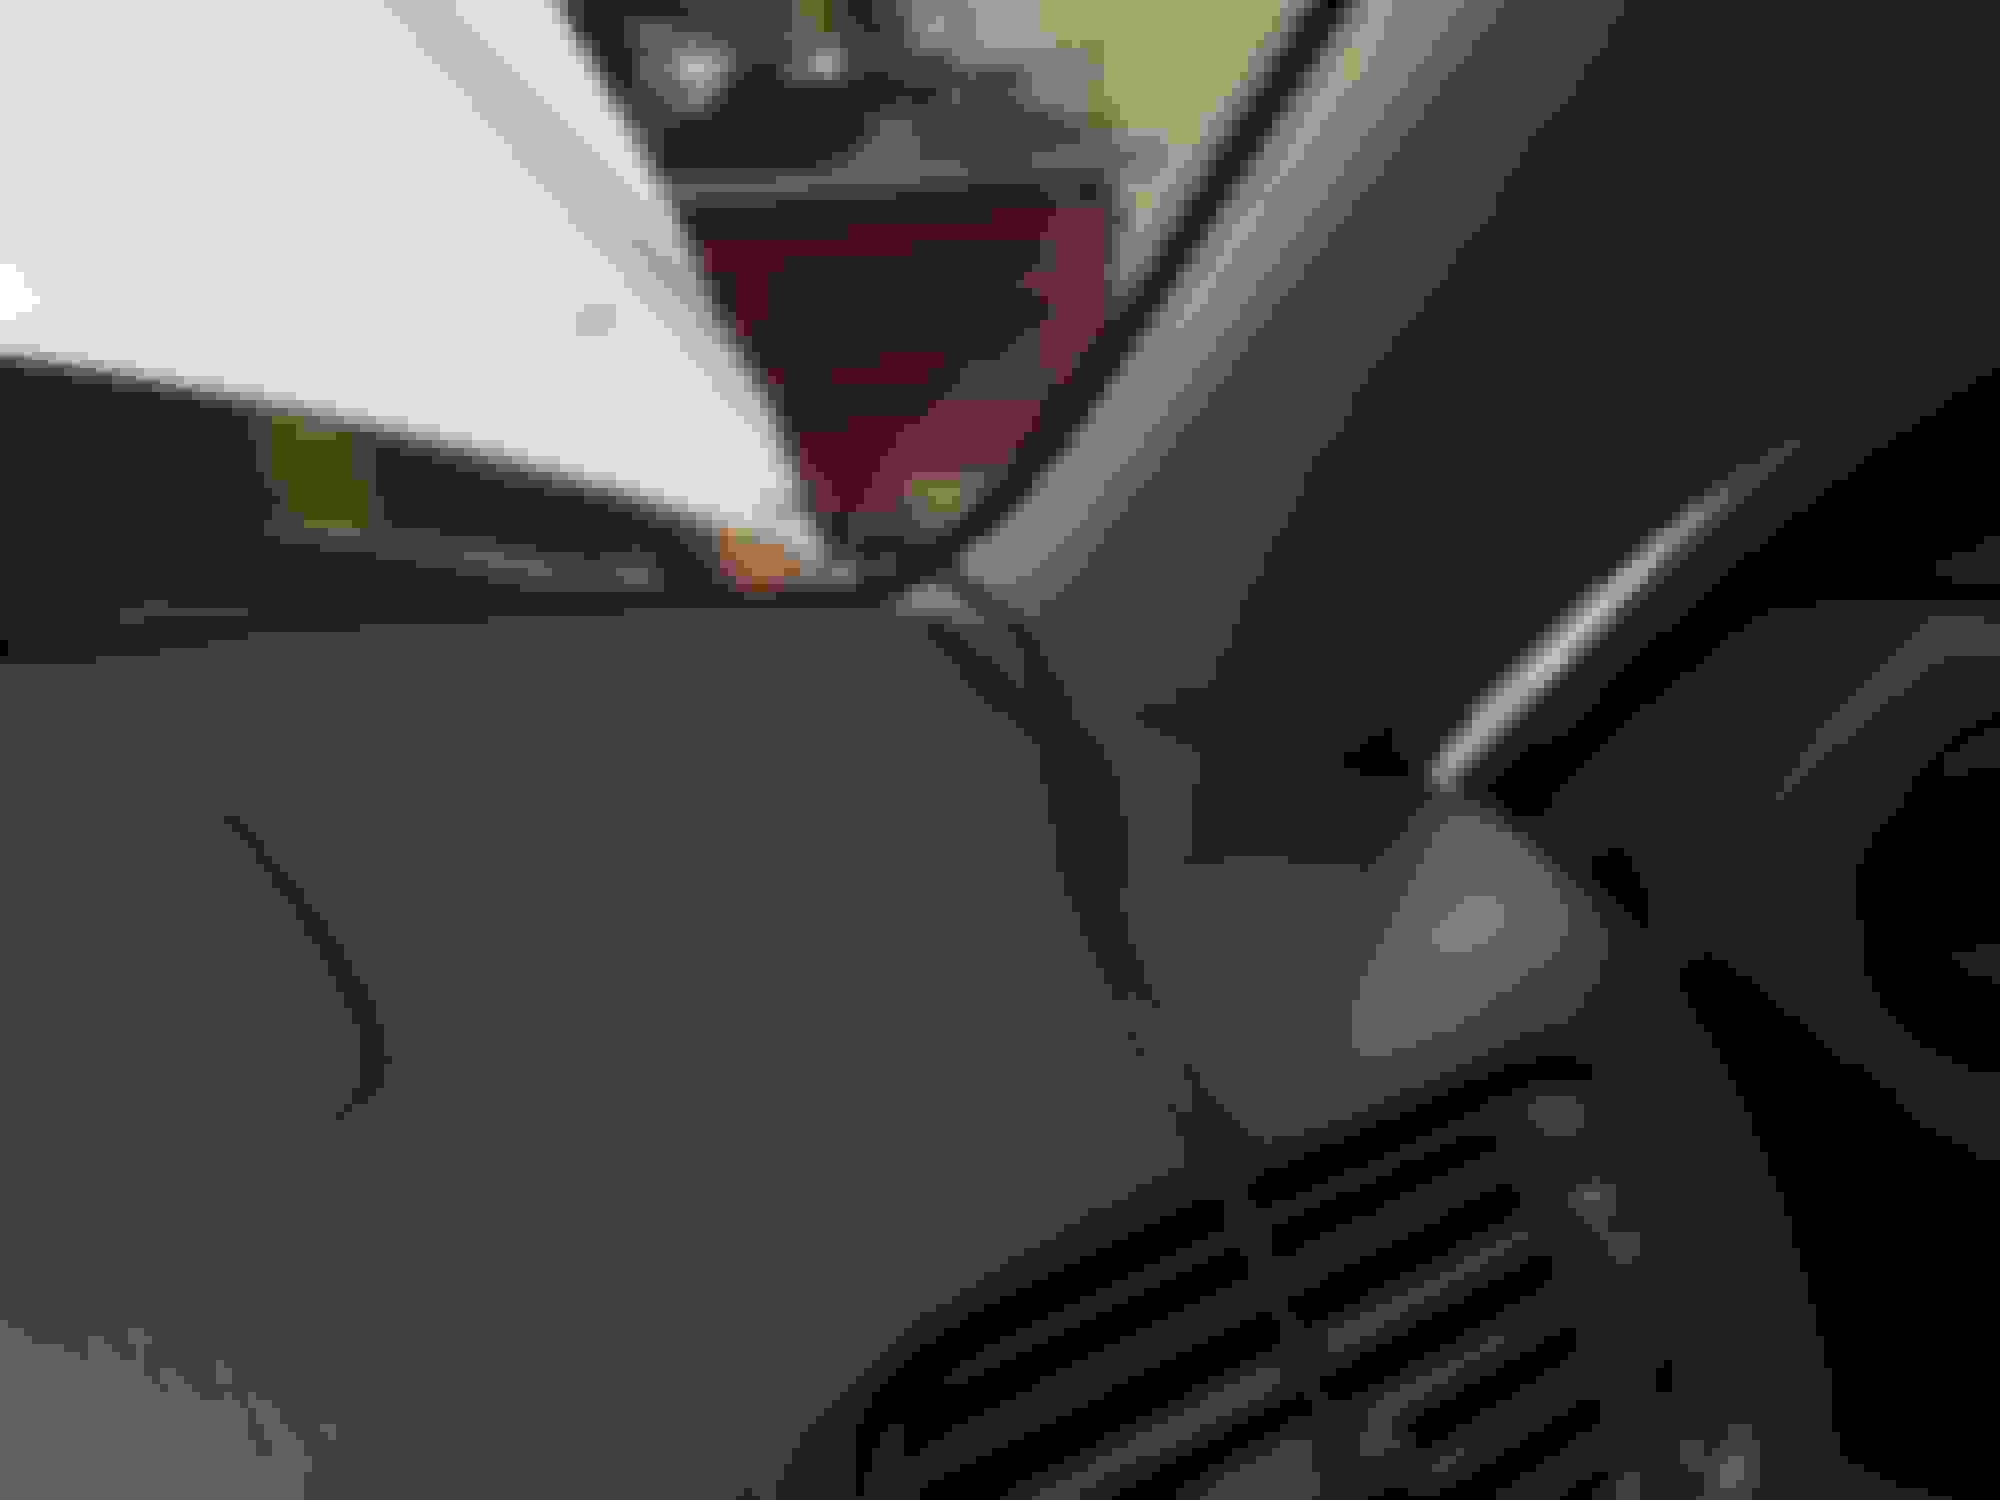
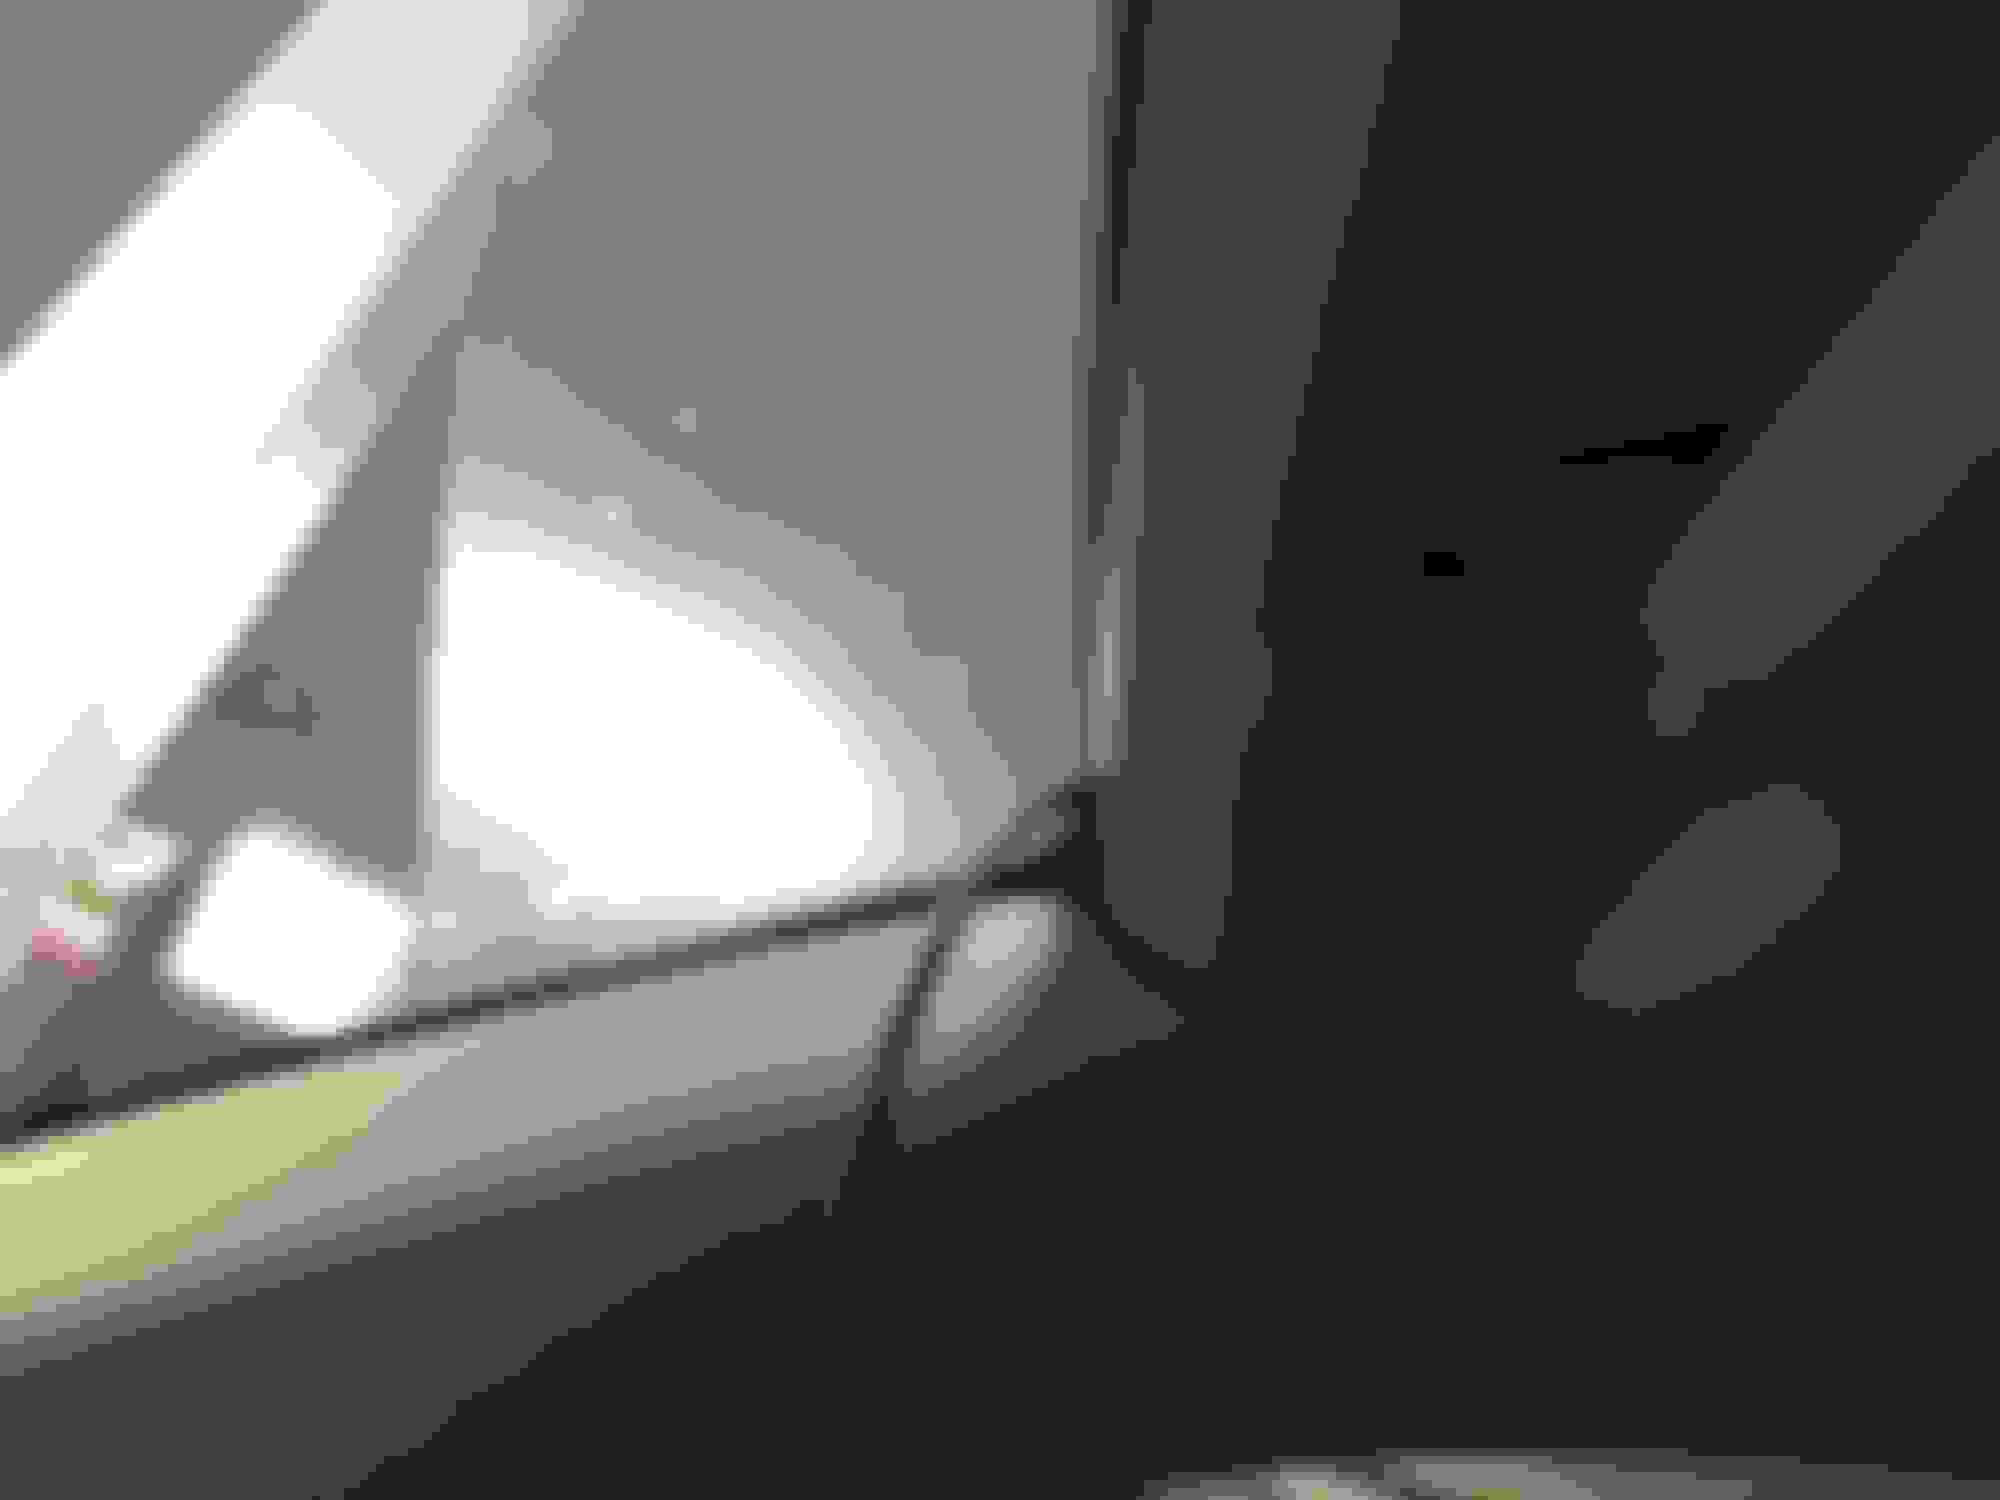
So my dash cam for some reason started to blow the fuse in my car. I am almost certain it is the cable that connects to the dash cam. Trying to remove the cable I have ran into an issue Story: So months ago I had to get my windshield replaced due to it being cracked. The guy who did my windshield placed my dash cam wires behind the stuff the holds the windshield in. The wire is above the roof liner into pillar A.
So now since I am trying to remove the cable I just can't pull it out since it is behind the stuff that holds the windshield in. So for me to remove it I need to take out pillar A. How will I go about doing this? Such as where to start prying and best ways to do it without breaking anything. I have attached some images below of the cables.
There are 3 clips into the A-pillar, the grab handle bolts, and a hole at the rear that the rear upper garnish clip goes through. To totally remove it you have to remove the rear upper garnish first, and if you don't where to pry on that clip it will break every single time.
There are 3 clips into the A-pillar, the grab handle bolts, and a hole at the rear that the rear upper garnish clip goes through. To totally remove it you have to remove the rear upper garnish first, and if you don't where to pry on that clip it will break every single time.
So so you got what you needed done anyway?
Yea thanks, I removed the middle part by pulling, unscrewed the handle bolts, and only pulled a bit so there is enough room for the cable to slip from the top out. I am guessing the PSU went bad on it so got a new one. Worst case scenario the camera is broken lol. However, I do have plans in the future to possibly get a 2 channel dash cam setup and would like to run the cable behind it all the way to the rear. From what I saw there are only two bolts in the handle and one screw in the clip that holds clothes. Is there any other screw or bolt I should be aware of in case I ever looking into taking apart the whole thing?
Yea thanks, I removed the middle part by pulling, unscrewed the handle bolts, and only pulled a bit so there is enough room for the cable to slip from the top out. I am guessing the PSU went bad on it so got a new one. Worst case scenario the camera is broken lol. However, I do have plans in the future to possibly get a 2 channel dash cam setup and would like to run the cable behind it all the way to the rear. From what I saw there are only two bolts in the handle and one screw in the clip that holds clothes. Is there any other screw or bolt I should be aware of in case I ever looking into taking apart the whole thing?
Are you talking about the rear side garnish? That goes from the B-pillar to the back glass?
Oh, you'll be much better off just slightly prying the garnish away to tuck a wire in. Do not try to remove it totally, there isn't much reason for what you are trying to do. The soft molding that surrounds the door areas just pulls off with your fingers and you can just stick it right back up when you're done. Don't pry too hard.
To get that panel off on a gen 1 you need to remove the panel for the B pillar seat belt cover because it won't let the front panel off. If its a junk yard car its all easy to remove cause you don't care about wrecking it.
To get that panel off on a gen 1 you need to remove the panel for the B pillar seat belt cover because it won't let the front panel off. If its a junk yard car its all easy to remove cause you don't care about wrecking it.
Yea the UCF20 is the same way. The A-pillar garnish runs half way down the B-pillar as well with the seat belt height adjuster keying into it.
Banshee, I suppose they are both very similar how its all done, sure wish you would have done some how too's on the interior stuff, you are the man when it comes to that.
It would have taken me a long time to take out the interior I really sweat messing stuff up. And once you learn the tricks it is super easy in some cases. Just like the seat bolt covers on the front kind of a pain to get off. At least sometimes the manual shows where to pry and kinda what holds the parts on.
Maybe I'll shoot some photos on my next junkyard visit on some of that. Agreed on the seat bolt covers. Those come down to having to pry harder than you want to because you feel like you will break them. There are two little slits visible from the sides of them and that is the locking tab.
Nearly the entire interior can be disassembled and reassembled without breaking anything. Can you say that about a GM? Nope... The only parts that are impossible to remove without breaking clips is the plastic garnish that goes from the top rear of the door panel to the top front of the door panel, around the door glass. There are 2 metal clips on the rear vertical portion and 3 plastic retainers along the top. The retainers break no matter how you remove the part and must be replaced. I bet 90% of people would break the rear side garnish that houses the rear passenger lights. A metal clip go through a hole in the front side garnish and if you just go yanking on that area it will snap the plastic that holds the clip on. You have to put a slight tug on one side of thn clip by jamming a plastic pry tool in there then stick a larger 90 degree pick up right at the clip from the bottom and pry right at the clip. Any side load and it's a goner. I've broken several at yards until I figured this out.
Luckily none of this needs to be done to hide most wires.
The clips around the pins on the door handle plastic trim can be a bugger too. Works good if you know what your doing and have the right tool. And your right about the GM junk.
The clips around the pins on the door handle plastic trim can be a bugger too. Works good if you know what your doing and have the right tool. And your right about the GM junk.
Yea, those are cake when you see how they clip on. I use a small flathead and pry against the chrome handle and the plastic. It's weird the way they designed it but it comes off very easy when you pry the pins out of the holes between the chrome handle and plastic.
 02-10-17, 03:21 PM


 . The handles have screws behind them once you undo those it simply will pull out.

