When you click on links to various merchants on this site and make a purchase, this can result in this site earning a commission. Affiliate programs and affiliations include, but are not limited to, the eBay Partner Network.
I purchased my 95 LS 400 over the summer. Fantastic condition for a two owner car that is 20 years old and I love it. The new ones are nice but I have always liked this body style.
Then I started having some stalling issues and came out to this forum and found the culprit. All of the things I experienced were related to the ECU it seemed. I found a place online that had one. Looked up my model year (4/95 Number 102) with the thread in this forum and ordered it. It was here in 2 days from CA and I was ready.
So with all of the information that is on this site about the ECU and how to fix there was not a true, concise walkthrough on actually ripping it out and what to look for. Most were for 94 and before. Here is a breakdown of the replacement that I did recently with a few gotchas.
1. Prepare - You will need a small adjustable wrench, a small, stubby phillips head screwdriver, a long phillips screwdriver and a 10mm socket/ratchet with an extender. These are the only tools you will need.
2. Before you start - first and foremost, make sure to disconnect your battery.
3. Removing the Glovebox. There is a very good video online that talks about removing the glovebox that I will provide a link to if you would like to watch but there are a few gotchas that got me that are not reviewed in the video.
Open the top glovebox and get your stubby phillips. On the top trim there are 2 screws Remove these and place somewhere safe. I put all my screws and bolts in the center console. Easy place to keep them. Once these are removed open the lower glovebox. Here, you will do the same thing and take out the two screws holding it in on the top. Next grab your ratchet with an extender and just below the glovebox trim where the door would close you will see a bolt to remove.
Once this is done you can now start to remove the lower glovebox. Pull down the trim on the top and then lower the top glovebox. Look in there and you should now be able to see two gold bolts, to remove. Use your extender again. At this point it is a little different than the video because all they wanted to do was remove the CD player. Well, if you simply go by the video you will miss two screws like I did.
At this point, you can drop out the lower glove box.
Now, it is time to remove the top glovebox. I used a shim to pull the trim slowly and tried to pop it out just like the video. No dice. I looked and watched the video again. What would be holding it up? 25 minutes of looking and looking and I am working it and POP! Uh oh....what did I miss...2 screws and 2 clips..I am not sure why I could not see them but here is a pic . THere is a trim piece that holds the glove boxes. As you can see that part did not survive but it was fixed so no biggie but be careful. This was the only part that got me and doing it the first time I said lesson learned. I used some epoxy and fixed it. Set in about an hour.
Also, make sure to take care removing the little light attachments and wires as you can see above. They just pop back on when ready.
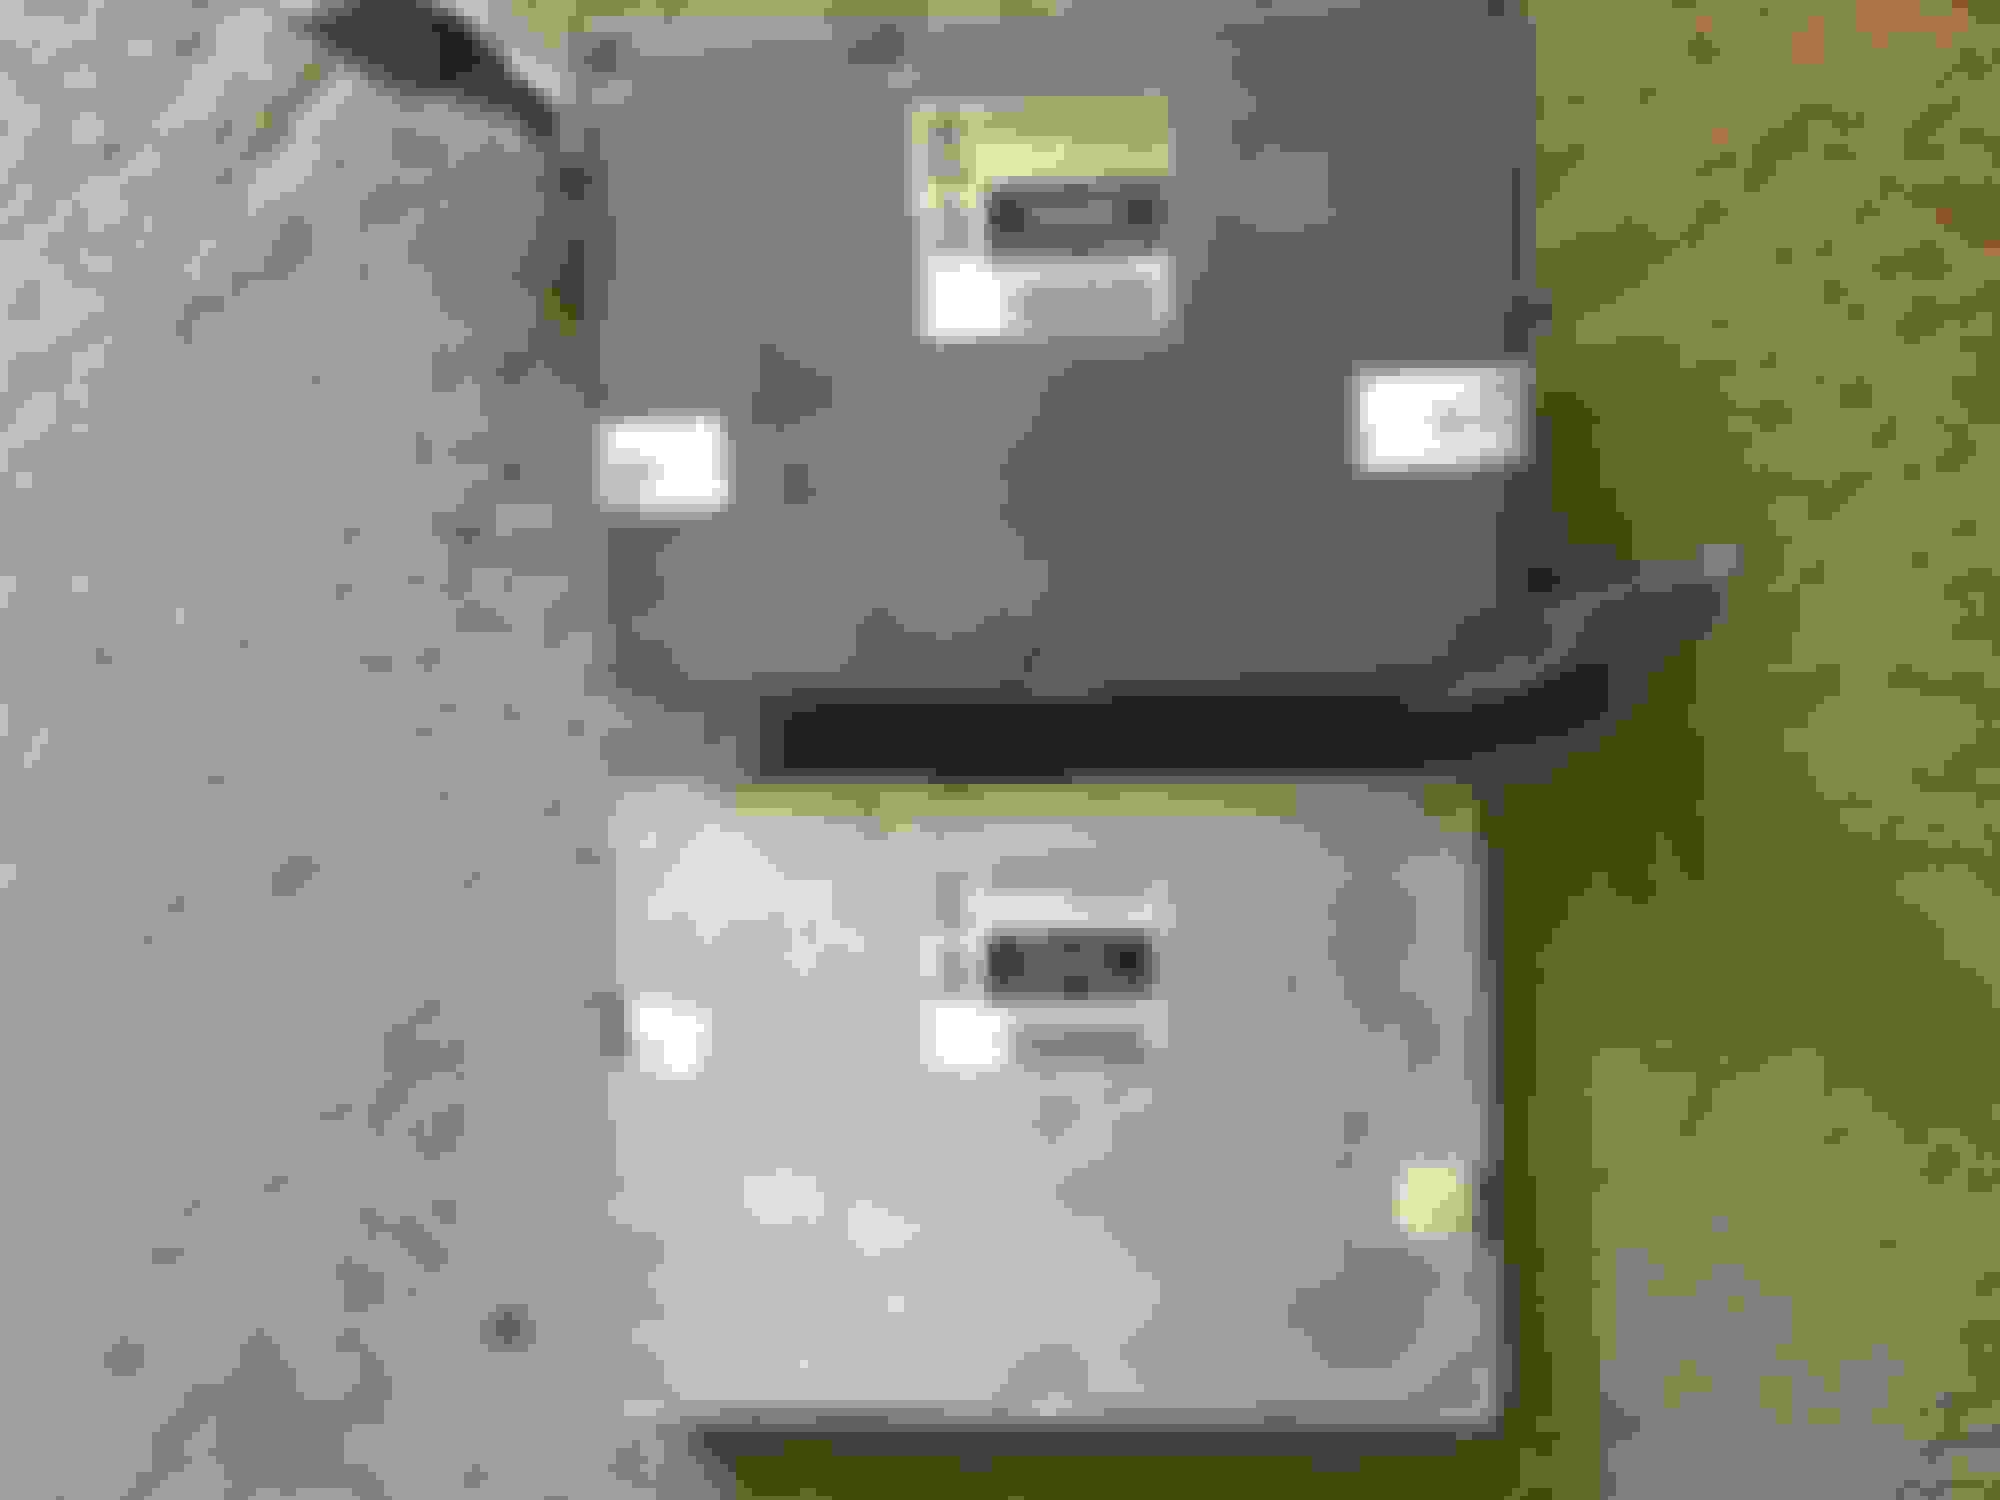
4. Remove your ECU. This is not that hard but in the Florida sun it was a sweatfest. Carefully push any wire bundles aside and look for your bolts. Start at the bottom and there are three. The middle one for some reason is longer than the two on the sides so make sure your socket is deep enough to catch it. Take it slow and remove all 3 bolts.
Once I did the three on the bottom I removed the wire harnesses from the ECU AND what I learned was a cruise control harness. It is seperate and two the right of the ECU. It must be disconnected to remove the ECU. Be careful.
Now, it is time for the top. There is a black box that is attached to the upper bolt so while holding that remove the first upper bolt. Then go after the others. You will knock your knuckles and just go slow. Once all bolts are removed it should slide out.
Simply swap them out and you are ready to go. Replace it all the opposite of how it came out and when finished it should look like this again.
Step 5 - OK. Now, reconnect your battery. I am not sure why it does this but the first time you will turn it over it seems to do some type of diagnostic. The AC was blank and one button was flashing. I let it run for 2 minutes. Don't freak out. I turned it off. Turned it back on and it was perfect. AC kicked on and the stereo started up like nothing had happened. Steady 650 RPM.
Even got a thumbs up from the wee one and it was time to take it out.
Incredible differences. Shifts are perfect. The engine soars to 6k and you can feel that V8.
It was an interesting project to say the least and I hope that this helps with those who replace but I would have to say if you find a good example of this car there are 2 things to simply replace and that is the Timing Belt and ECU. I feel like I am good for another 100k.
Thanks also to the forum for their initial help and being here or I would have been lost.
Nice, and why not show with a pointer exactly where the missed screws are? That is a problem with all how to's too generalized, and no really good details. Its kind of like manuals that say remove this or that. A picture show exactly where all the fasteners are would be most helpful. Also the clips and what area to pry on is a good idea as well. Actually Lexus manuals are pretty nice about showing what the clip looks like are where to pry.
The two clips were in place where the 2 screws are. I edited the one pic to show where the screw was to take out. I had only taken so many photos as I went through the process because the video actually shows where they all are. I was really just hoping to provide visuals and the actual steps. It is not that hard but with a manual it simply shows parts and the lines where the screws could go but not what you have to do to get there.
Would you recommend going this route? I�m having identical issues. And is it okay to drive around with the car like this
Makes a world of difference. One thing though look to have your redone and not just buy a remanufacture unless it is someone legit. People will simply pull them out and put them on Ebay.
\
Makes a world of difference. One thing though look to have your redone and not just buy a remanufacture unless it is someone legit. People will simply pull them out and put them on Ebay.
\
I was thinking of using the same distributor you used, I called them today and they said that they�ve worked on them before, I�m just worried because of the bad reviews on google
 09-16-16, 07:19 AM