When you click on links to various merchants on this site and make a purchase, this can result in this site earning a commission. Affiliate programs and affiliations include, but are not limited to, the eBay Partner Network.
Disclaimer: If you don't feel comfortable doing this procedure, don't do it. There is an easier way I'm not familiar with to do this. It involves lifting the steering column off the the rack. I'm just sharing my methods in which I was able to FIX ALL my power steering issues.
Remember Safety Always: Use jack stands, wheel chalks, protective eye wear(I used swimming goggles), and disconnect the battery if working on electronics. I forgot to disconnect the battery before removing the negative lead on the alternator and sparks flew when I touched it with my wrench.
]
Hello everybody, I couldn't find anything on the web to help me in removing my rack n pinion, so I decided to tackle this head on and I figured I might as well share it with others who really need thier racks rebuilt or replace and don't know how to or like me, couldn't afford to pay someone to do it. My trusty indy import shop wanted $12OO and Sewell Lexus in Dallas wanted a whopping $2500! And only 500 of that was for labor. Btw I did all the work myself got the wheels aligned on a Hunter machine then got price quotes. I made one or two mistakes that I will note in the tutorial. Good news I made the mistakes for you and you won't have to. Feel free to add any comments, suggestions, and corrections, I'm open to any advice.
Okay so money was tight and I needed my car fix. [/B]My car symptoms was a LOUD non stop moaning sound, burning rubber smell from engine(possibly the pump burning), a nasty power sterring leak and battery light on the dash would go on and off[/B]. I replaced my pump and alternator a year ago. Also I had my high pressure hose rebuilt a few years ago, this hose cost over 300 bucks from the dealer. The shop who rebuilt my rack n pinion told me that the seals on the rack finally gave out and that induced air in the system possibly causing the pump to burn out. Heres everything I replaced doing this repair: Parts Replaced
Rebuilt rack and pinion $150
Inner tie rods (2) (dezza) $50
Outer tie rods (2) (moog) $72
Lower ball joints (2) (beck arnley) $64
Alternator Free (warranty)
Reman Power steering pump Free (warranty)
Front Oxygen Sensors (2) (Bosch) bought them 3 or 4 years ago
Tools Needed
2X4 wood block
Jack and jack stands
1/2 inch breaker bar
Torque wrench
Long handle wrenchs 14 17 19 21 22mm
Socket/wrenches 10 12 13 14 17 19
Deep sockets 14 17
mini adjustable wrench
Drain pan
2 or 3 Quarts of ATF type 2 or 3
Pittman tierod puller
I found this place in town that specialize in rebuilding steering racks, gear boxes, and pumps. They claim they do builds for AutoZone and some dealerships. I sent them my rack to be rebuild and it was ready the same day I dropped it off!
The job wasn't all that hard as I thought it would be but patience and caution must be exercise. If you can do motor mounts and suspension work you can do this in my opinion.
Okay park car on level surface MAKE SURE WHEELS AND STEERING WHEEL ARE CENTERED. Loosen lug nuts, jack up the front end and remove front wheels.
Very important: If you have a steering wheel holder so the wheel can't move USE IT. If not have a helper hold the steering wheel when removing the rack and installing the rack. Heres why, the steering wheel does not spin freely. The steering wheel only turns a certain amout of turns left and right due to a wire cable wrapped around the steering column. This cable controls your cruise control, horns, and air bag and if it breaks your cruise control won't work, horns wont work, and air bag light will be lit on the dash. I was told this cable cost $400 at the dealer.
Remove brake calipers. Two 17 bolts torque 87ft lbs. Remove cotter pin and nut on outer tie rod, nut torque 64ft lbs. My boots were busted, use a tie rod puller to remove the tie rod from the ball joint. I use the one from AZ.
Disconnect high pressure hose from from rack, I used a 16mm wrench and a mini adjustable wrench. You can also use a 11/16 and 5/8 wrench.
Pull out the this connector and disconnect it. Next is that bolt going in the rack.
Remove this 17mm bolt, torque 36 ft lbs. I used a long handle 17mm wrench. Have drip pan ready for fluid to leak out. Take note how the two copper washers go and replace with new copper washers. Mistake 1 I made, I reused one of the old washers and bolt wasn't tight enough and it leaked when I cranked the car. I Replaced the washer and tightend the bolt NO leaks.
Remove all the nuts and bolts holding the rack to the crossmember. 17mm nuts and bolts torque 48 ft lbs.
Remove this 12mm bolt. Torque26 ft lbs. Take note how the bolt goes in, it only screws in one way from the back not the front. I turned wheel a little to get a socket on it and turned the wheel back centered. Btw I turned the wheel from under the car by twisting that column you see in pic.
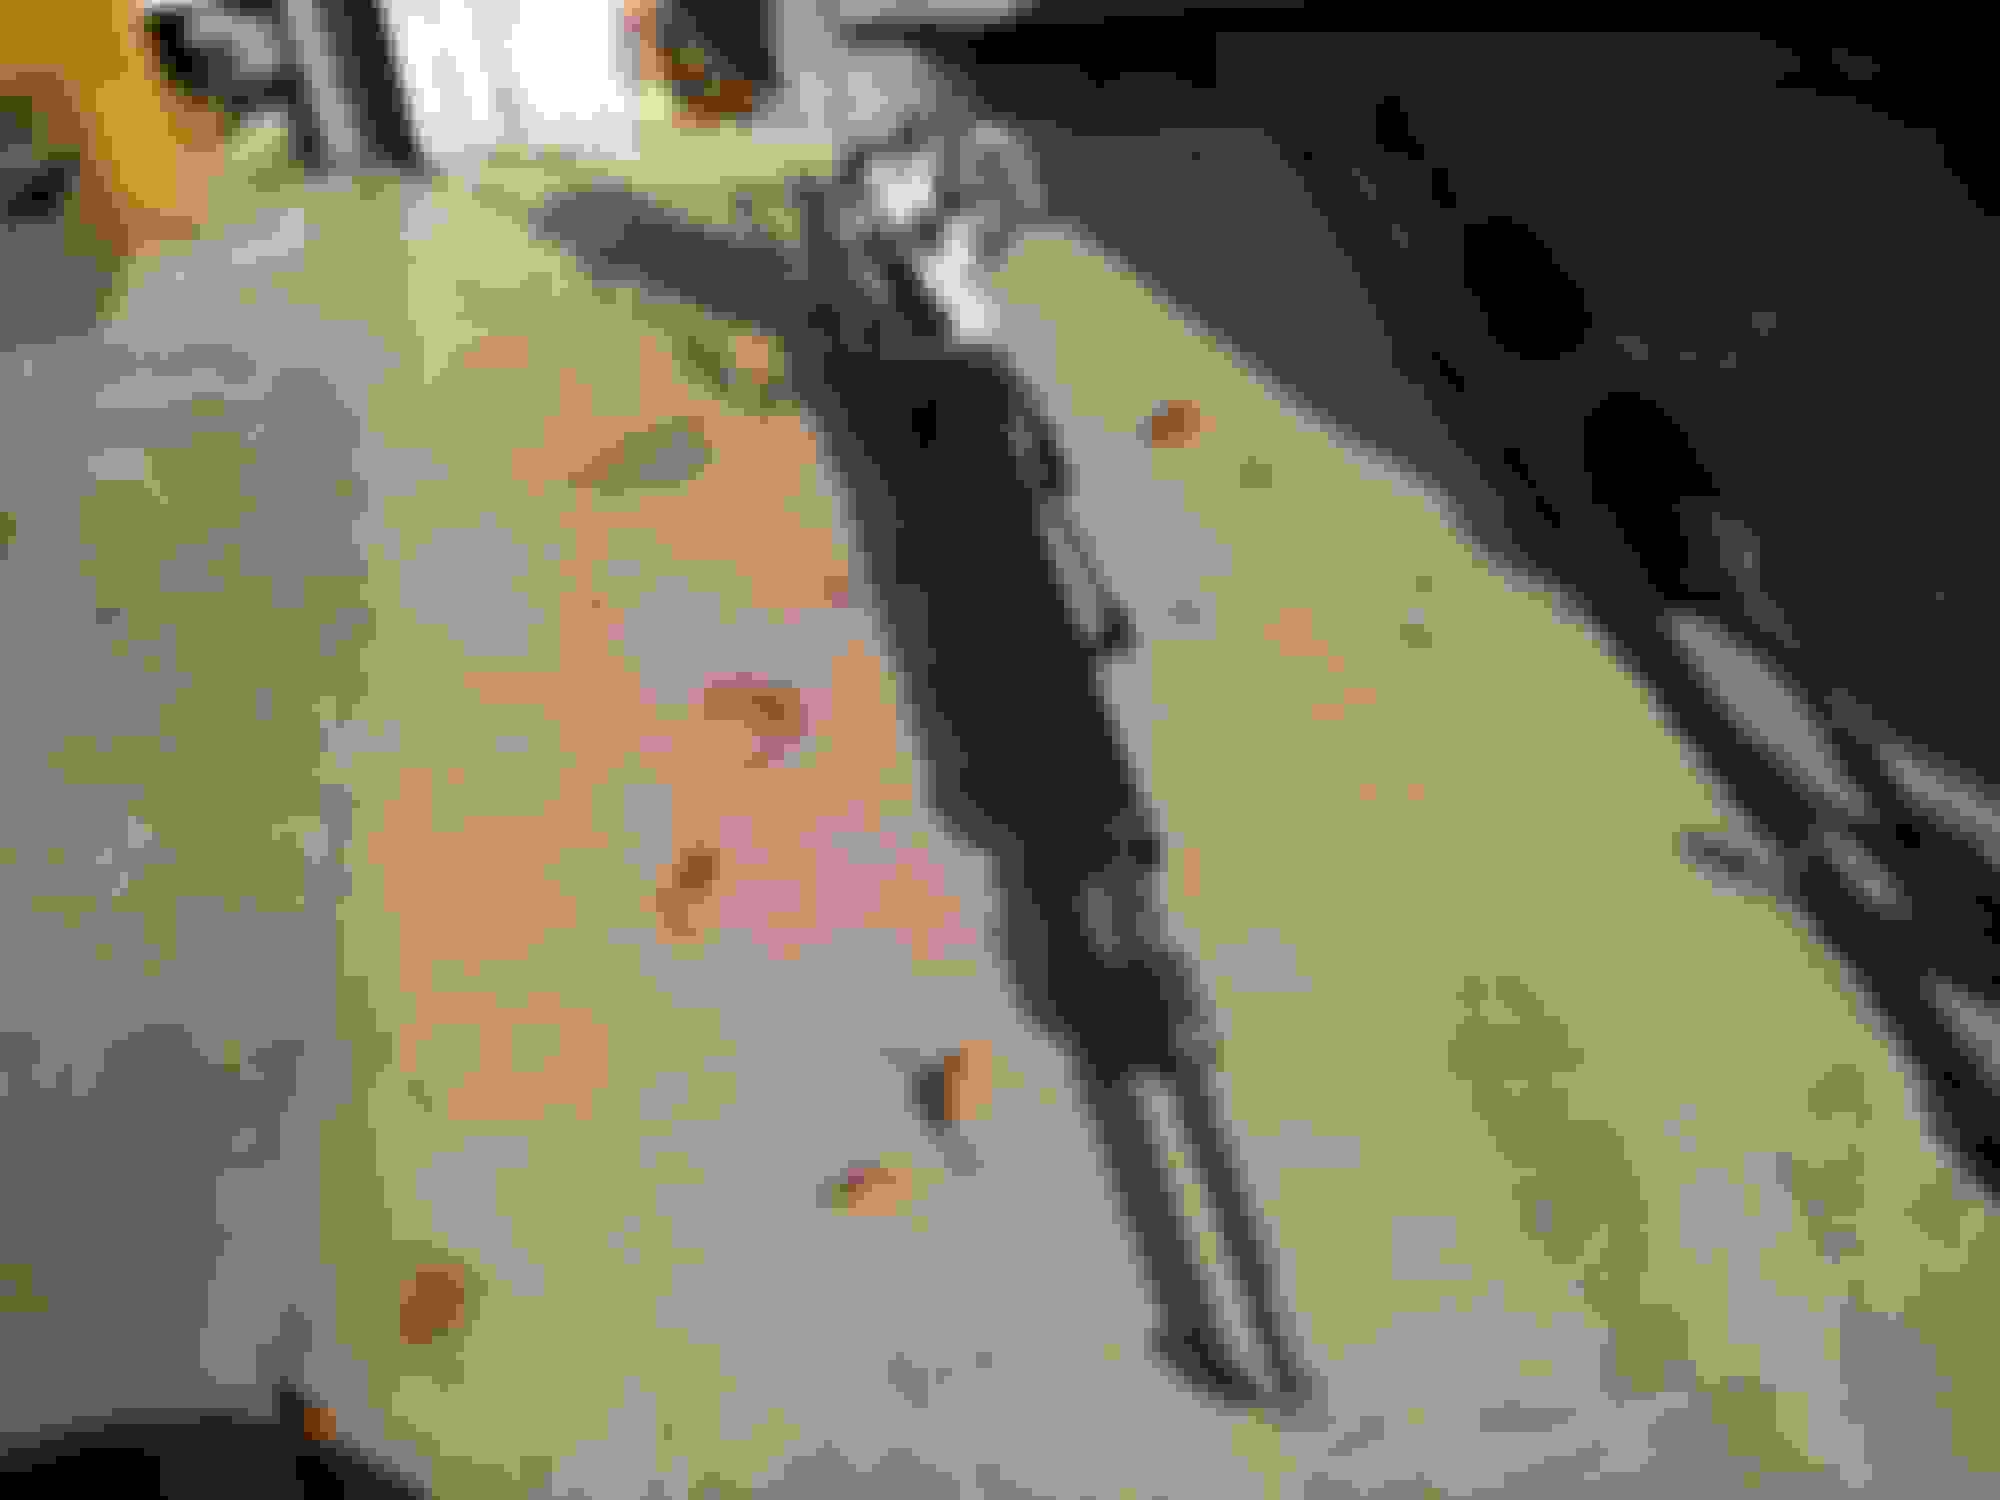
When looking and judging how to remove the rack, the steering column would only lift 1 or 2 cm off the rack. So I decided I would lower the crossmember to get the rack low enough to slide it out of the column and remove it. This is the hard way I believe. This is a pic when I had already started to lower the crossmember, you can see I still had to lower it more.
Very important, in order lower the crossmember you must support the engine with a 2x4 wood block under the oil pan using a jack. I only raised my engine a hair. This will be your only support for the engine once the crossmember is lowered. My engine was like this for 4 or 5 days.
Before you lower crossmember remove these 3 10mm bolts that hold the electrical harness to the crossmember. Also remove the 2 motor mounts nuts under the crosmember 14 or 17mm torque 48ft lbs
Remove lower strut nut and bolt 17 and 19mm torque 116ft lbs. Remove lower sway link nut or top nut 17mm torque 43ft lbs, remove lower strut bracket nut and bolt torque 83 ft lbs, optional remove inner bracket bolt torque 43ft lbs. Do same for passenger side.
Now you can lower the crossmember, you will need a deep 17mm socket. The nuts on the driver side for sure will come completely off. The passenger side you dont have to lower it all the way. Start half way then go more if you have to. Exercise caution doing this make sure engine is secure and the harness cleared and you'll be fine.
As you lower the crossmember the rack gear will slide out the steering column. You can actually use your hands and push the column up off the rack once it lowered enough. Remember have a helper hold the steering wheel during this step if you don't have steering wheel lock or holder. Once the column is off the rack, its ready for removal. The way I did it was I layed on ground by driver side, I tilted the rack off the passenger crossmember bracket then leaned back the driver side and pulled it through the driver side wheel base. Play with it you to see what works for you. Also with the rack removed this is the PERFECT time to replace the motor mounts and front o2 senors. My mounts were already replace but I took the time to replace my o2 sensors.
Very important make sure that steering wheel dont move or turn while the rack is off or installing it. Remember theres a cable wrapped around the column that controls your horns, air bag, and cruise control. Mistake 2 I made my car is a 97, where the rack connects to the steering column there are factory match marks on the rubber base and at the of the gear to align it. I didnt know for one it was cover with dirt and oil. Thats how you center the rack before you install it. I installed my rack and it was not centered so steering was off. My indy shop charged me $170 total to align the rack and steering wheel and do a 4 wheel alignment on a hunter machine. Somehow they were able lift the column off the rack without dropping the crossmember. So MAKE SURE your rack is centered first befor you install it.
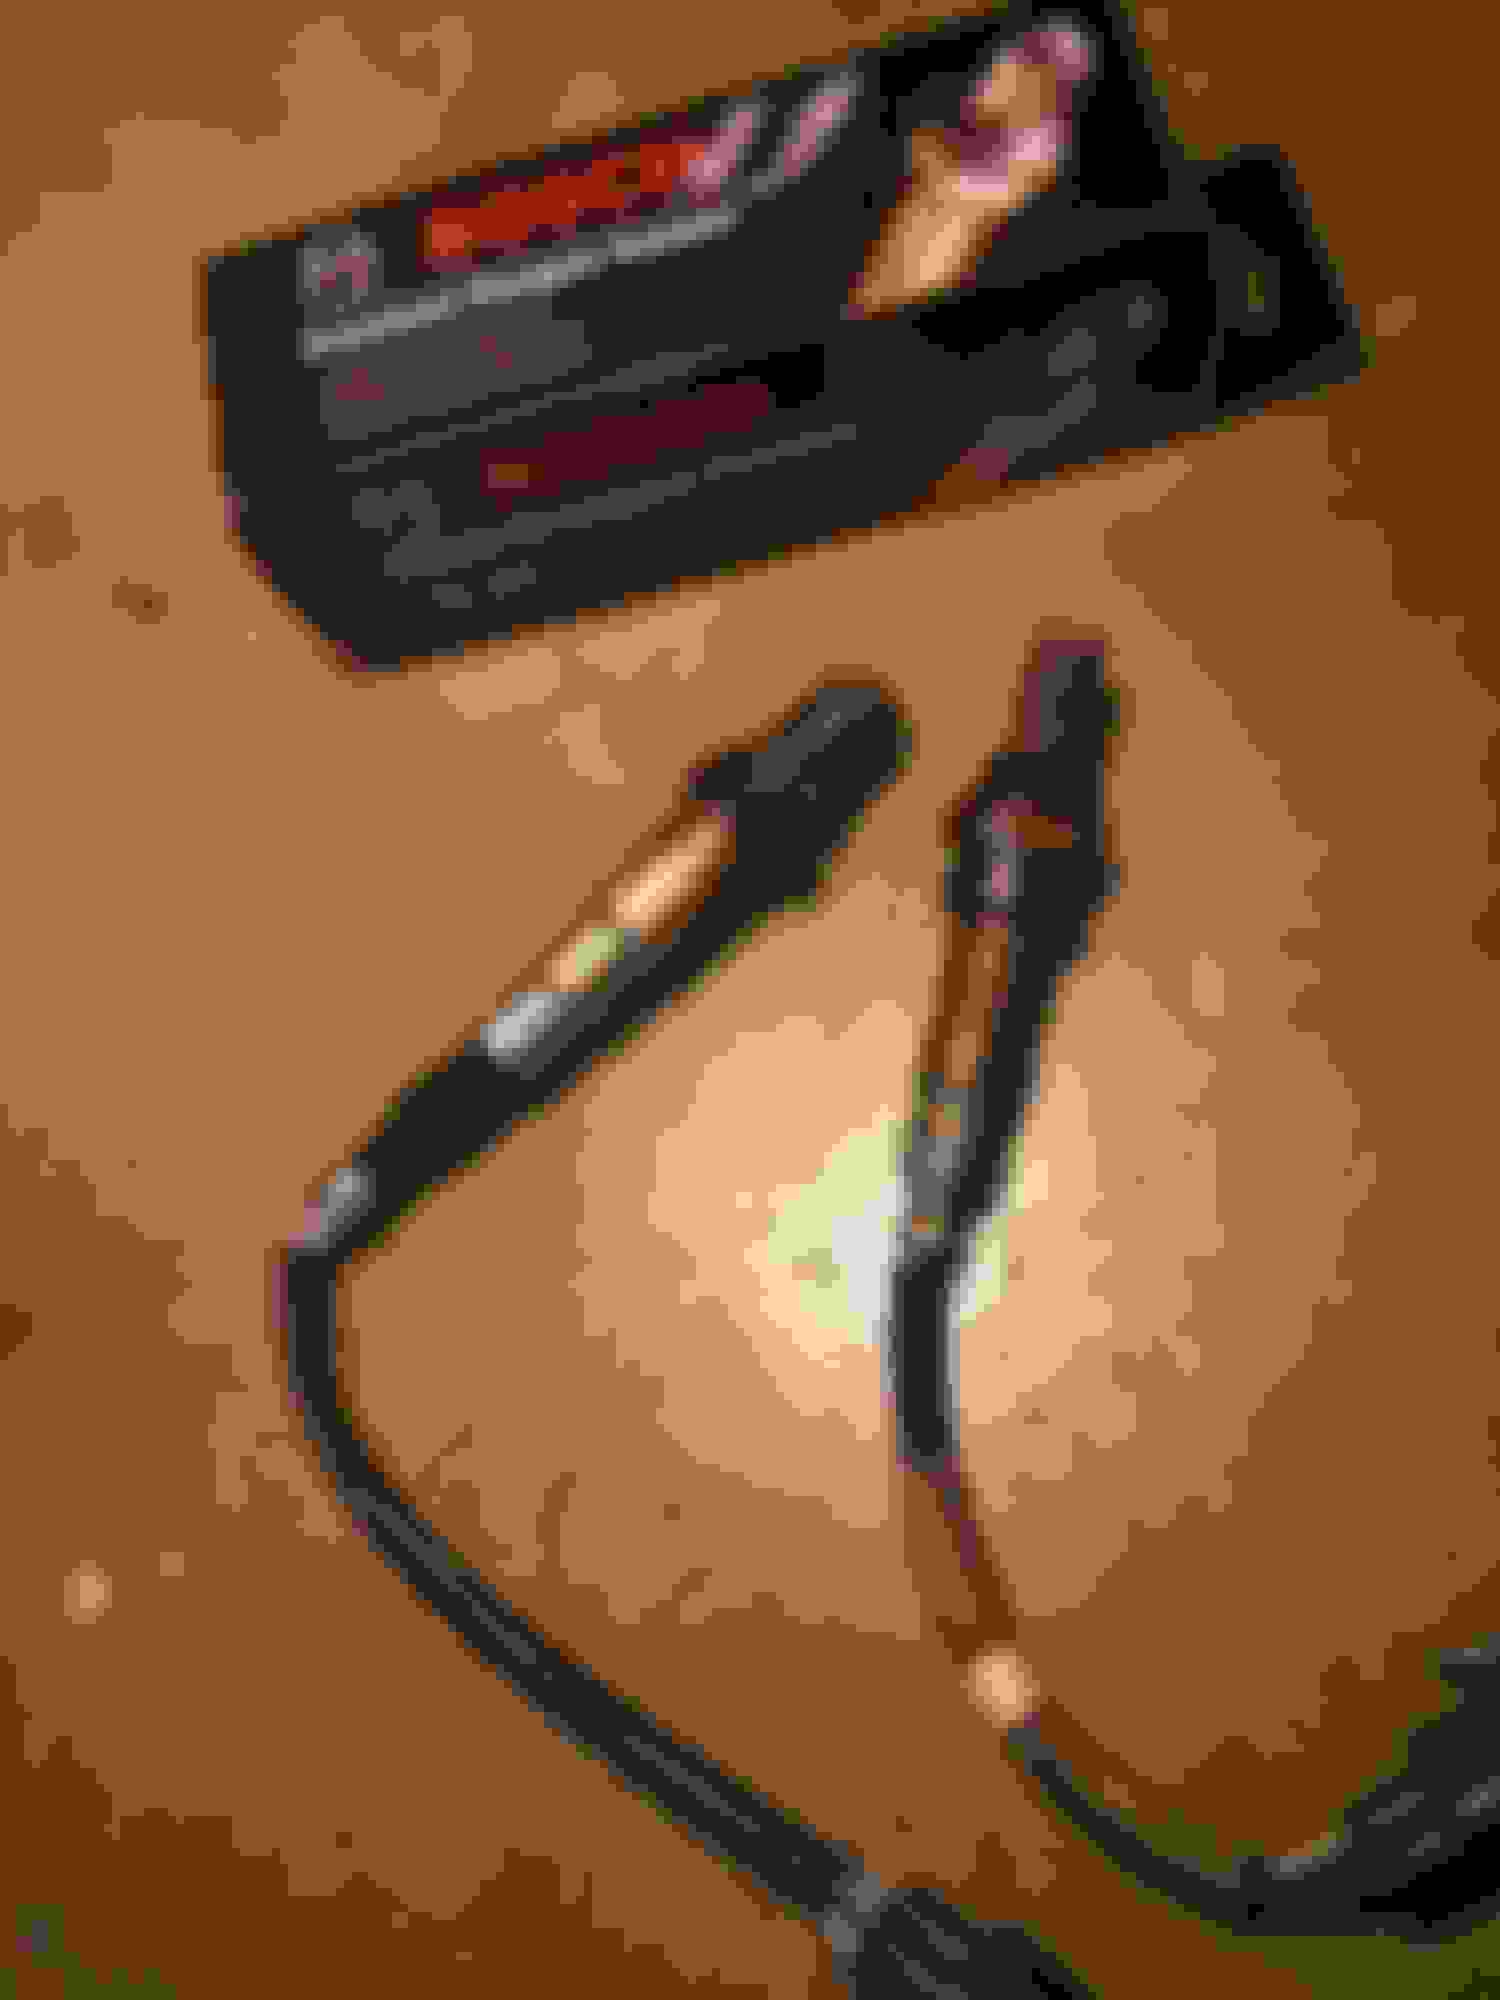
I bought all four o2 sensors 3 or 4 years ago mabey longer, I decided its time to replace the front ones and boy they were super easy! Disconnect connector first and slide a closed ended 22mm or 7/8 long handle wrench up the wire and use a lil muscle and out they come. I used bosch ones, and they work just fine, engine seem quiter too.
New sensor vs the old original denso sensor, these had 178,000 on them.
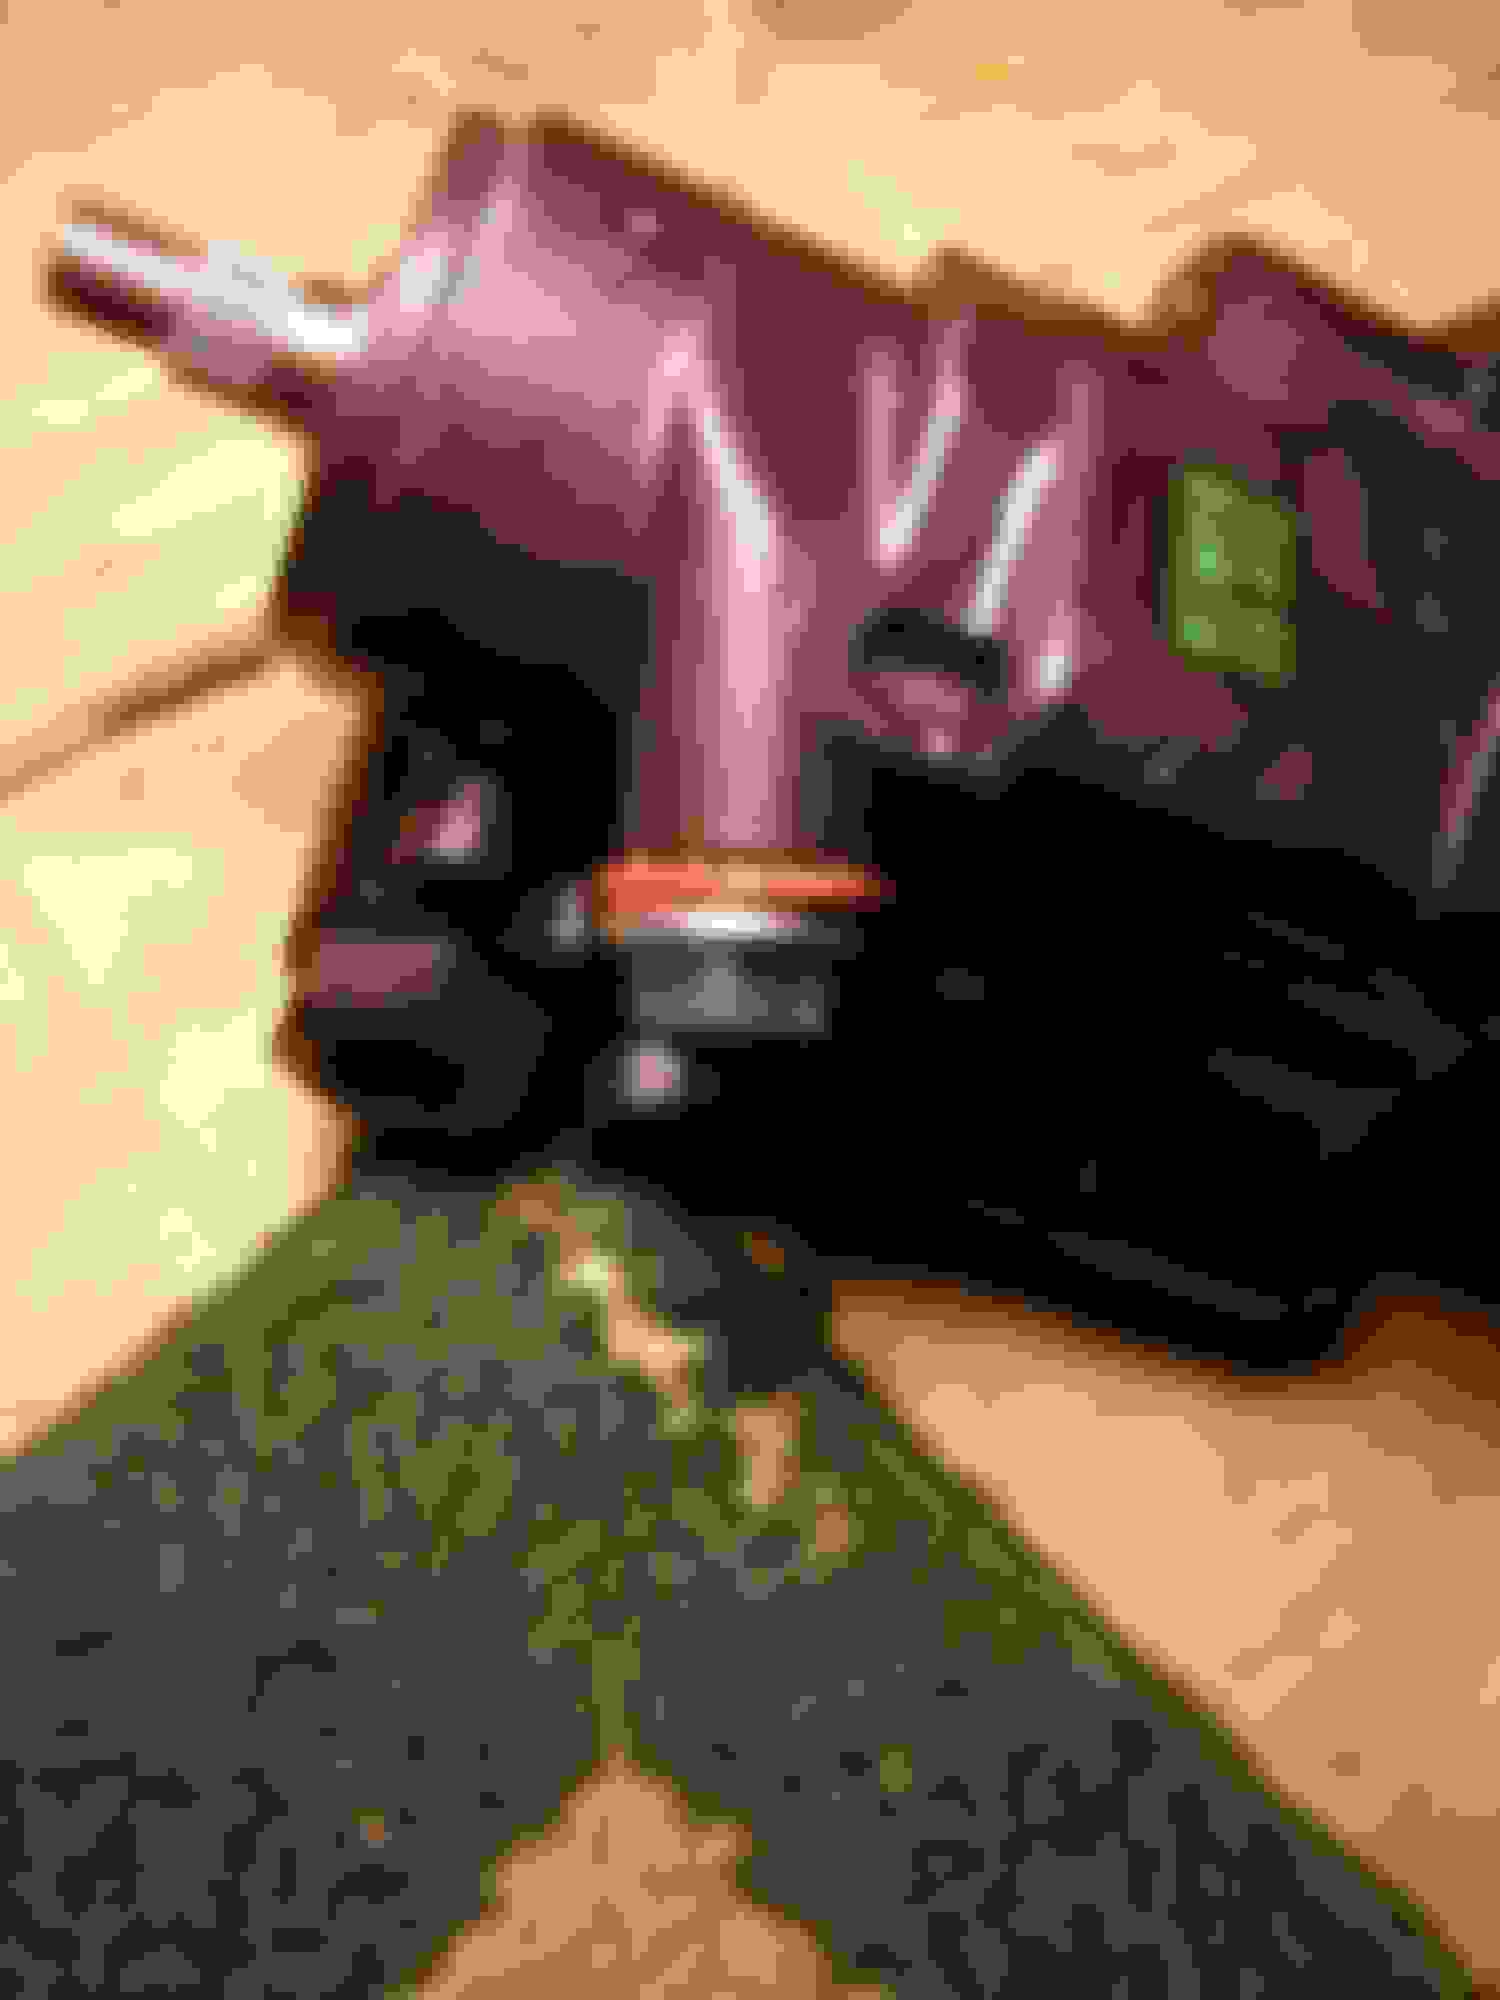
My old dirty oily rack
My same old rack cleaned and rebuilt with new inner tie rods.
Most racks that are remanufactured are centered but make sure. Get your new rack and lift it on to the crossmember. Mistake 3 I made I didnt have anybody hold the steering wheel while I connect the rack gear back into the steering column. Have someone hold the wheel straight while you are installing rack.
Once you get the rack gear back in the the column, it wont go all the way in because the crossmember is still lowered, use a jack to jack the driverside crossmember and screw on the nuts. As you tighten the nuts on both sides, the crossmember go higher and higher and so will the rack and the rack gear will futher into the steering column until everything is flush and secured. I believe crossmember nuts are torqued 72ft lbs.
Install the column bolt 12mm torque 26ft lbs. Connect the high pressure hose back to the rack. Put back the lower motor mount nuts 17mm torque 48ft lbs. Remember that bolt goes into the rack with two copper washers install it back in, 17mm torque 36ft lbs. You cant get a torque wrench on it so use a closed ended wrench and make it really tight and you'll be good, remember use NEW washers.
I also replace my power steering pump, I used Lexls.com as a guide. I also plugged my air control valve on the pump with m18 drain bolt from o reillys with a copper washer and some high temp rtv. The bolt fit PERFECT. Replace the o-ring at the bottom of the resovoire.
I also capped the ports on the intake.
I unscrewed this valve off the rack and cleaned out those metal particles in the screens.
Notice the cleaned sceens, I used CRC MAF cleaner.
I flush the old fluid out and put in new fluid. I used an allen wrench with latex glove wrap around it to plugged the resovoire.
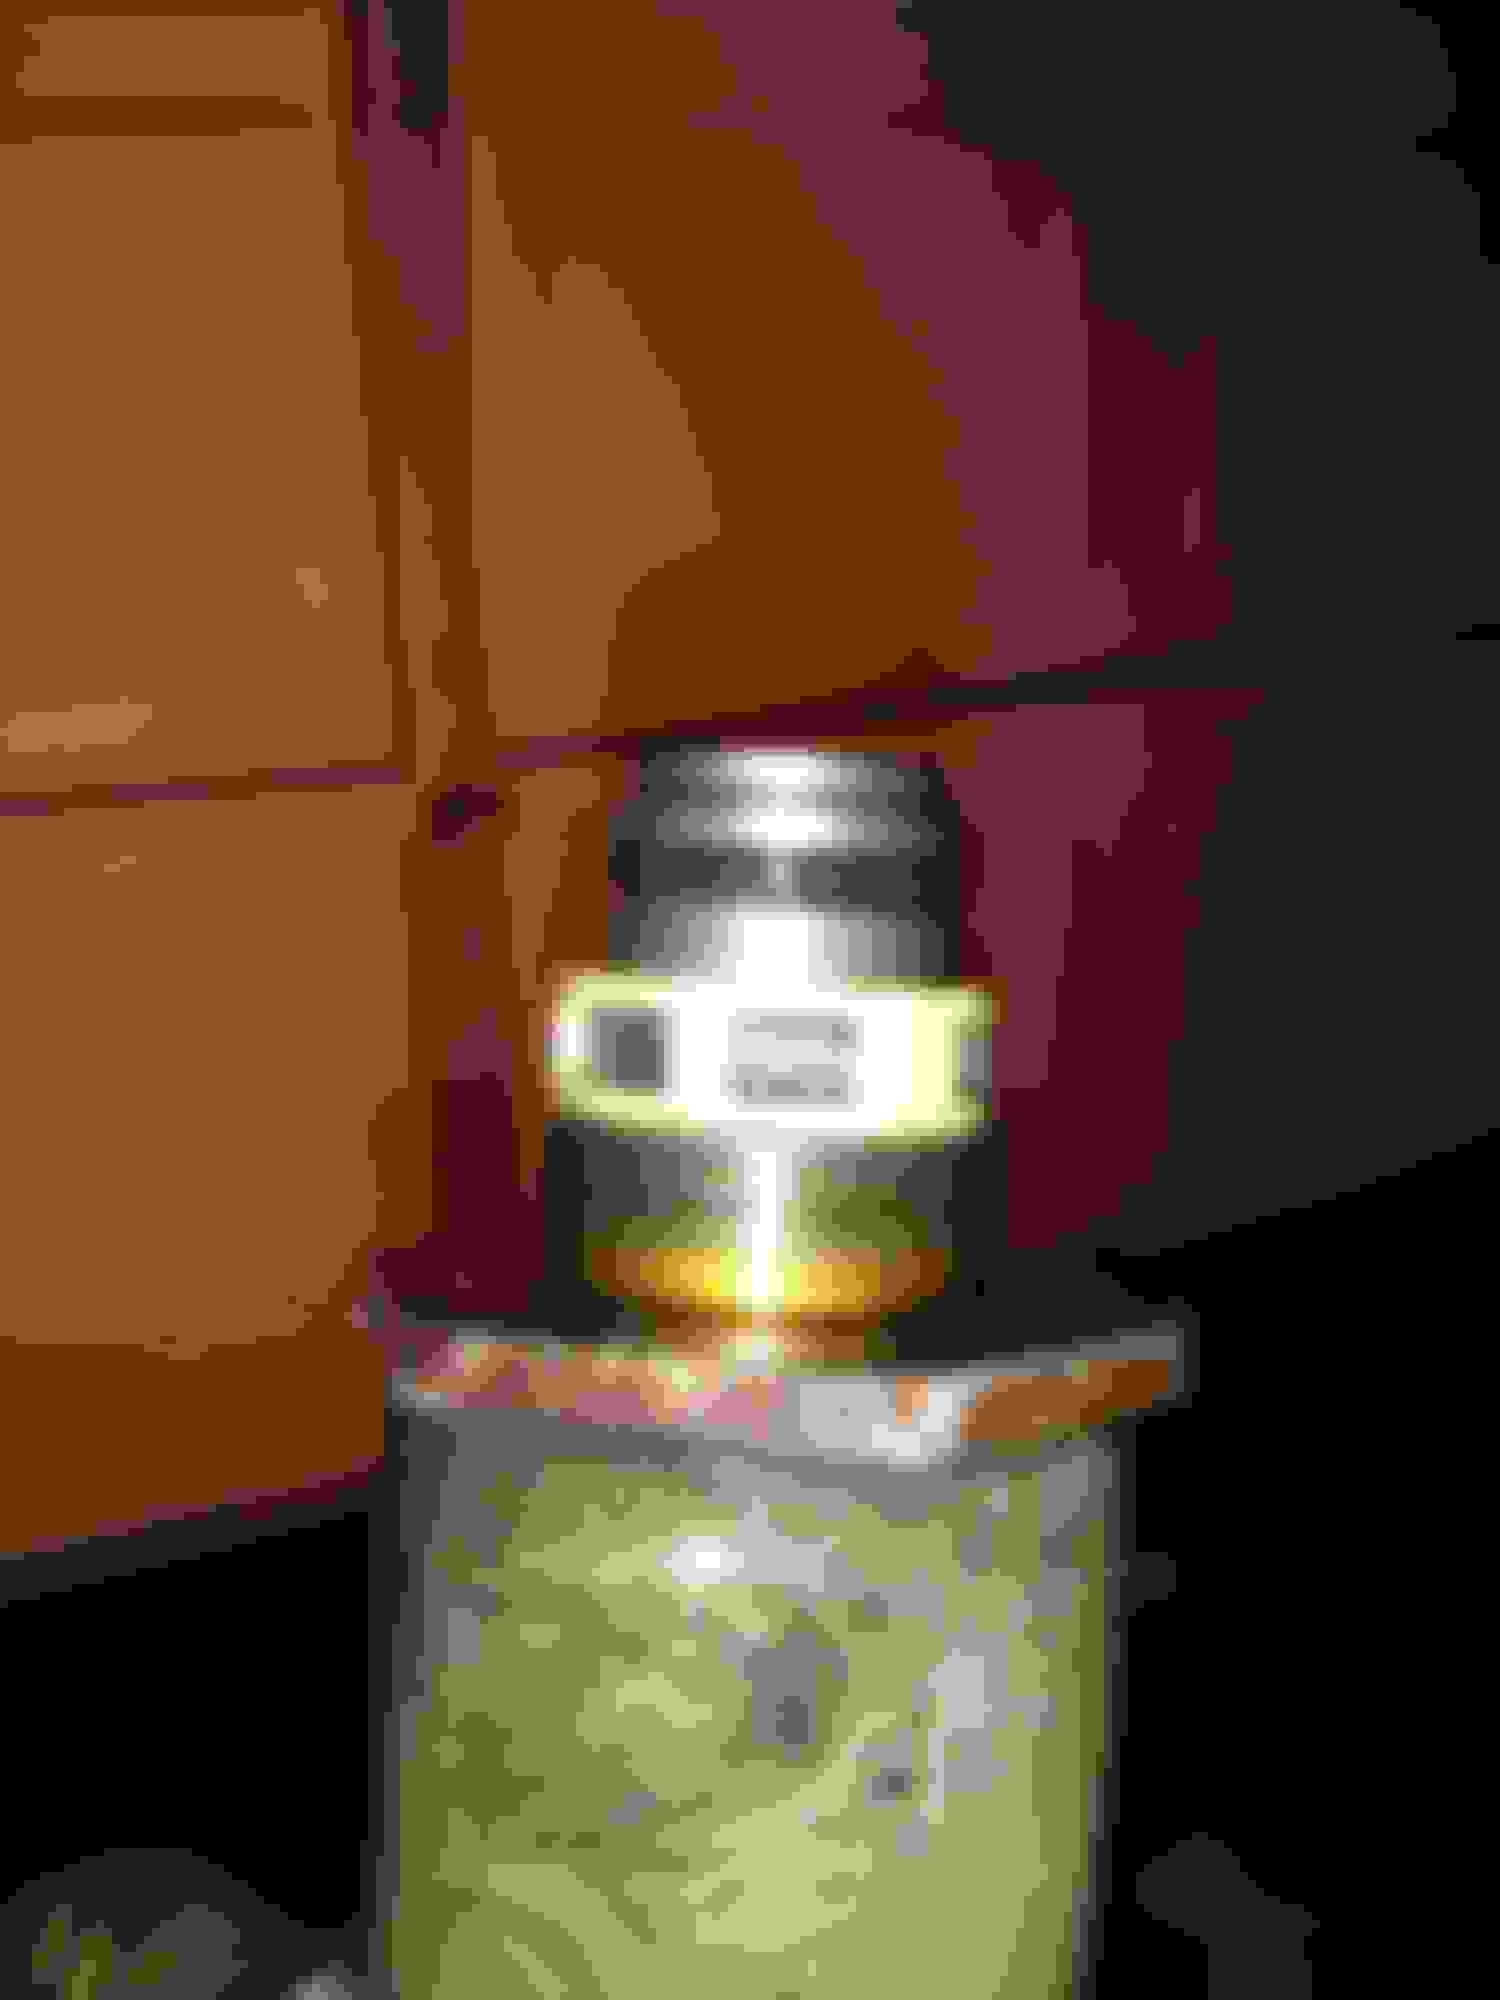
I also replaced my inline filter too. Installed this a year ago because the filter in my resovoire was completely gone . Notice metals and dirt it caught, this thing really does work!
I recommend you use ATF type 2 or 3 but I use this stuff at walmart Prestone power steering fluid for asian cars. The shop who rebuild my rack told me my rack was! only covered under the 12 month warranty if I use only power steering fluid. I ask him 3 times was he sure about that. He claims the seals us0ed in my rack are not the same type or quality the manufacture used. I really debated this atf or power steeing fluid. So I went to auto stores looking at fluids. I went to wally world and found this Prestone for asian vehicles. The bottle says its for Toyota and Lexus as well as other makes too. It also says it can be mix with oem fluid already in the car! But I didnt mix the fluids, I flush the atf out first.
For what its worth my steering is REALLY REALLY SMOOTH AND SILENT, ZERO MOANING. I owned my car for 5 years now, it had 90k when I got it, it now has 178k, my steering NEVER felt this smooth! It feels better than a lot of brand new cars. I can turn the wheel with one finger, its that smooth, almost too smooth. This car now feel like a LEXUS.
I did speak with my master mechanic at the indy shop I use, and he knows my car takes atf, but he even said its perfectly fine leave that Prestone fluid in there. He also said that ATF is really tough on the rubber hoses especially on Toyota vehicles.
I will update this thread down the road. The only thing I would have did diffrently is I would have ordered OEM ball joints instead of beck arnley and same for the outer tie rods. My car do drive smooth tho, at redlights you cannot tell the car is running. Best of all NO LEAKS!
Last edited by LsG86; 02-12-15 at 06:41 AM.
Reason: grammer, tool
Only comment is that you absolutely do NOT have to drop he crossmember. THe column has a sliding yoke near the rack that will retract enough to give you access, i've attached a picture of how to do this.
Also, this is the time to replace the rack bushings!
maybe he dropped the crossmember to have more clearance to remove the rack?
i usually jack the transmission up to remove the rack from LS400's. has barely enough room to remove but do-able. i'm working from a lift so it's easier for me then people working from the floor.
Only comment is that you absolutely do NOT have to drop he crossmember. THe column has a sliding yoke near the rack that will retract enough to give you access, i've attached a picture of how to do this.
Also, this is the time to replace the rack bushings!
Thanks PD, I knew there had to be an easier way to do this. When I remove my rack I realized mabey I should have bought new bushings but my old bushings where in pretty decent shape.
maybe he dropped the crossmember to have more clearance to remove the rack?
i usually jack the transmission up to remove the rack from LS400's. has barely enough room to remove but do-able. i'm working from a lift so it's easier for me then people working from the floor.
Yeah thats what I did, I needed the rack gear to come out the column because I didn't know the method PD posted.
Jacking up the transmission to remove the rack? Very interesting, I never would have thought of that. I guess theres multiple ways to remove this rack. Removing the rack from the floor wasn't all that hard, if I had to do it again I could prolly do it in 4-5 hours.
I will need to do this soon as my R&P is leaking but since my LS is my spare I haven't had the urge to do so yet. I was going to order a rack from rock auto but I didn't not thing of rebuilding my original. I will call around to see how they charge to rebuild around my area. Thanks for sharing.
I will need to do this soon as my R&P is leaking but since my LS is my spare I haven't had the urge to do so yet. I was going to order a rack from rock auto but I didn't not thing of rebuilding my original. I will call around to see how they charge to rebuild around my area. Thanks for sharing.
You're welcome, but yeah these racks can be rebuild just like an ac compressor for a fraction of the cost vs buying one from AZ, Napa, or dealer. Some dealers send their racks to other shops to be rebuild, they don't build in house. Just find a reputable shop, I used Texas Steer in my area they claim to use OEM quality parts. The guy even showed me a rack he's rebuilding for a corvette. This car is my daily drive so that's why I did these repairs and it was worth it.
This is a must do for me soon. I noticed that my PS rack is seeping at the unit where the steering column goes into. Sigh...idk if there's a shop that can rebuild this around me. I'd rather have my rack rebuilt than getting another one.
This is a must do for me soon. I noticed that my PS rack is seeping at the unit where the steering column goes into. Sigh...idk if there's a shop that can rebuild this around me. I'd rather have my rack rebuilt than getting another one.
I was actually going to order a new rack from RockAuto until I found out I could have mines rebuilt, and for the price they charge I could't resist the offer. If I had money to blow I would have orderd both a remaufactured rack and a brand new power steering pomp from Sewell online. The rack go for $328 and the pump about $570. I read somewhere that a brand new rack cost 1300, I still cant believe they guy from the dealer wanted to charge me $2000 just for a rack, crazy.
Originally Posted by bgalarpe
You can order a rack & pinion from Texas steer and you will have 30 days to send back your core.
Sorry but No you can't, I ask them about that and they have none instock, trust me I been there. If want your rack rebuilt you have to send them your old rack to be rebuilt. Good thing is you don't have to worry about core fees.
 02-06-15, 05:08 PM

 . Btw I did all the work myself got the wheels aligned on a Hunter machine then got price quotes. I made one or two mistakes that I will note in the tutorial. Good news I made the mistakes for you and you won't have to. Feel free to add any comments, suggestions, and corrections, I'm open to any advice.
 .
.


 .
.


