SC300/SC400 Interior Lighting Guide
 11-09-07, 10:12 PM
#1
Rookie
Thread Starter

Join Date: Jan 2007
Location: CA
Posts: 84
Likes: 0
Received 0 Likes
on
0 Posts
I'm currently changing my interior lights to LEDs. In the process, I discovered that 1) many people have done this, and 2) the information is all strewn about and hard to find. By putting it all in one place, I hope it'll make it easier for other newbies to find, and also encourage veterans to give their advice and suggestions.
Note that the only mechanical skill I have is with using a screwdriver (and on good days, maybe a wrench). I'll share as much personal knowledge as I can figure out, but please feel free to contribute more advanced mods.
Interior lights and bulb type numbers:
Dome and map lights
To remove the dome light cover, look carefully around the edge of the cover for a small indent in plastic. It should be on the driver's side on the edge farthest from the windshield. Stick a small flathead screwdriver in the gap, and slowly pry it off. To remove the dome light bulb, just pull back on the tabs holding it in place. To remove the map light bulbs, rotate the bulbs about 90 degrees until you feel the tabs pop free.
For the map lights, I recommend "flank" type bulbs. As you can see, the LED faces perpendicular to the bulb. The socket for the map light bulbs is horizontal, so this positioning allows the light to shine directly downwards.
However, I find that the little tabs at the base of the bulb don't secure properly unless you rotate the bulb. If you rotate the bulb a full 90 degrees, the light shines against the dome casing. But it turns out there's a piece of shiny metal right where the light is facing, so the light will still reflect back down through the dome. Currently I have my map light bulbs rotated 90 degrees. It seems bright enough and it's not as blinding, which is helpful given how low the ceiling is.
Alternatively, if you want more direct light, instead of rotating the bulbs 90 degrees, turn it just enough so that the tabs lock the bulb in place so that most of the light is still shining downwards. Or you can use some other method of securing the bulb in place without rotating it.
I'm currently using warden_jp's "high power" LEDs which have one LED for each map light. I find that this is bright enough for me. If you want to go brighter, you can try a premade 6xSMT LED board from warden_jp or a 25xSMT LED board from v-leds.com. See stock_sc's posts below to see how these LED boards look in action!
Info on dome light options to come when I get around to it. Currently I've ordered the 6 SMD LED from warden_jp.
I also read a post once (I think from OLT) that the dome cover is designed to diffuse light, thus it is not necessary to look for special "wide-angle" LEDs.
Doors
I don't think you can get at the door lights without removing the entire light housing. Thankfully, it's not that complicated. If you look at the plastic cover, you will see what looks like two tabs on either of the long edges. Unlike the dome light, these are *not* places where you can stick your screwdriver, since the tab is actually on the inside of the cover connecting it to the housing. Instead, stick your flat screwdriver into the shorter edges of the cover and pry around a bit. Next thing you know, the entire housing will pop out.
You could just change the bulb directly from here, but it's probably easier to disconnect the wire connecting the bulb to the door, which is a simple plug-and-play. This will also turn off the bulb so you can touch it without burning yourself. Once the housing is removed, prying off the cover with your screwdriver is pretty straightforward.
The door lamps are 194 wedge bulbs. Unlike the map lights, the door bulb is positioned *vertically* so that the light needs to go in the same direction as the socket. So when looking for a 194 bulb, get one where the LED points straight out instead of a "flank" angle. Multiple LEDs all pointing straight will also work.
Footwell
Here's a funny thread where everybody tries to find the footwell light. Basically, you'll see it if you get on your back and put your head directly into the footwell facing up. If your door is open and your footwell light is working, the light will be pretty obvious. If the light isn't working, just get a flashlight or feel around for a big plastic cover.
There are two ways of getting at this bulb, either by removing the cover and then pulling the bulb from the front, or by going behind the bulb and removing the entire socket. If your bulb is really tightly stuck in its socket, then you may have to remove the socket from the back to really get a good grip on it. You can try what I did, which is to try going through the cover first, and then pulling out the socket if that doesn't work.
The cover is shaped like a trapezoid. The longer edge towards the back of the car has two tabs where you can stick your trusty flat screwdriver. Once you pry off the long edge, you can loosen the short edge and the cover should come off easily. You can also bend the cover down on the short edge without removing the cover if you prefer, but you probably won't have enough room to get at the bulb comfortably this way.
To get at the bulb from the back, reach around the panel and feel for the wire that connects to the bulb. At the end of the wire is the socket for the footwell bulb. Twist this socket to release it from the panel, and then you can pull the socket and the bulb out from behind the cover.
At this point, if your footwell light has been on for a while since you've had your door open, you may want to close the door and wait a bit for the bulb to cool off.
The stock footwell lamp is a #74 bulb with a green plastic sleeve. On my car, the bulb was stuck incredibly tight in the socket. First I pulled on the sleeve and got it off the bulb. Then I looped a bit of a rubber band around the bulb, took a pair of thin pliers, clamped down on the bulb, and pulled as hard as I could. The bulb finally came out after a couple of tries.
There are not many kinds of #74 LEDs, so just get whatever is available. warden_jp and v-leds.com both sell SMT LED versions of the #74 bulb. I found that the #74 bulb I got from warden_jp is very loose in the footwell socket. It's a little ironic that it is so hard to get the stock bulb out of the socket, and then it is so hard to make the new bulb stay in there! However, the cover seems to push against the LED and hold it in place, but I'm not sure it'll last through a bumpy drive. You may want to use some kind of tape to secure your LED better. Let me know if you find something that works.
Ignition
This post by Tryk talks about getting to the ignition ring light. "For the ignition ring, I pulled at the dash piece around the ignition until it popped out. I could pull it out enough to get to the one screw holding it in from underneath."
I tried it, and turns out Tryk makes it sound a lot easier than it actually is. Getting the light out is not so hard. First, pull off the outside rubber ring (the one with the "Lock - Acc - On - Start" labels). Then, tug at the surrounding dash area, and it should pop out a bit. Look directly underneath the ignition, and you'll see a big screw (and some smaller ones) -- you want to unscrew the big one. You can then loosen the ring housing. There's not much space to work in here (unless you remove the dash completely), so just get used to your fingertips getting sore from here on out.
The bulb itself is on the right side of the ring. Like the footwell, the stock bulb is another green sleeve-covered #74 bulb in a twist socket. So to get the bulb out, twist the socket in the back, and it should loosen and detach from the ring. Then pull the bulb straight out. In my car, it was a lot easier to pull out than the footwell bulb, but if yours is particularly tight then you might have to resort to the pliers and rubber band again.
Depending on what new bulb you're using, the rest of the process can be very hard or very easy. Easy route first: If your new bulb fits exactly like the stock bulb, then you just stick it in the socket, twist the socket so it fastens back onto the ring, and reposition everything back to where it was originally.
Now the hard route. If you have a #74 LED from warden_jp (and probably most other sources, since they all look about the same) you'll notice two problems. First, your #74 LED won't fit as securely in the socket as the stock bulb did. It'll fit (and it'll fit better than the footwell socket), but it'll be a little loose, and if you accidentally jiggle the bulb a bit too much, it's likely to turn off or fall out of the socket completely.
The other problem you'll notice is that your LED is a bit longer than the stock bulb. It is just long enough that the twist socket for the bulb won't twist back into the housing. I spent most of my Thanksgiving afternoon trying to do it and finally gave up. But if you can get yours to work, that'll make it a lot easier.
So this creates the challenge of trying to get both the bulb and the ring housing back in place around the ignition without shaking the bulb out of the socket. Note that the housing really only has one place for the bulb to go, which is through a little ring. You need to put the bulb through here for the light to distribute properly.
After many tries, I was finally able to do it by carefully moving the socket and the bulb close to their original position next to the ignition, and then carefully positioning the ring housing over the bulb but without touching the bulb. Then just carefully line up the bulb with the housing, push the housing back against the ignition, and hope it fits without knocking the bulb. Be patient, this can take a couple of tries (or in my case, most of my Thanksgiving evening). Leave the door open throughout this process so you can make sure your LED is still in place and lit up. The last thing you want is to get everything back in place only to find out that your LED is just a bit loose and won't light up, and have to repeat the whole thing again.
I used a #74 SMT LED from warden_jp as in the footwell description above. If you read the rest of Tryk's thread that I linked to earlier, Tryk describes wiring in a second LED. I'm not sure if it was because the light wasn't uniform, or not bright enough, or both. This post by southernsc shows what the key ring looks like with one LED swapped in and it seems to be a little uneven/dim. These posts are from 2004 so maybe the current generation of LEDs are better. My single SMT LED seems more than bright enough. It is a little uneven because the light only comes from one side, but I think it's as uniform as stock and maybe a little more so.
Vanity mirrors / visors
Apparently there is bulb type that is simply called a vanity mirror bulb. Here is a picture from warden_jp which seems to match what we have in our cars. You can find them at this section of warden_jp's store and also this one at v-leds.com. I think the 3xSMD LEDs give about the same brightness as the stock incandescent bulb.
Removing the cover is easy; look for the small indent (near the bottom of the cover), slide in a screwdriver, and pry out firmly but carefully. Getting the bulb out is a little harder. First, unless your bulb has already burned out, you will probably want to partially close the mirror cover just enough to turn off the bulb, so you don't get blinded or burned.
After that, you just need to pull the bulb straight out. I think the easiest way to do this is to get a grip on the glass part of the bulb and pull hard enough to loosen one end of the bulb. (This is why you should try to partially close the mirror cover, otherwise the glass will be *very* hot.) Alternatively, you can try pulling at the metal clasps, but I think they're too small and too tight to get a good grip on.
When inserting the LED bulb, remember that the LED light is very directional, so make sure it's facing straight at you when you snap the bulb in. Otherwise, it can be rather hard to rotate while it's seated in the tabs. You can try gripping the glass part again to adjust it (thankfully, LEDs don't burn nearly as hot as the stock bulbs), but it might be easier to just pull it out and stick it back in again with the correct positioning.
When snapping the plastic cover back on over the bulb, note that the (very) small tabs on either end of the cover are slightly different sizes, so make sure they're lined up properly before you try to force them in.
Glovebox
I didn't even realize my glove box had a light in it. It only comes on when the city lights/headlights are switched on, but you will see it behind a little rubber frame on the left wall of the glove box. Just flip the frame open, reach in, and yank out the bulb.
The bulb is a #74 bulb, but if you've read my above sections about the footwell and the ignition, you'll know that apparently not all #74 bulbs are created equal. The #74 LED that I bought from warden_jp would light up, but it was very loose in the socket and I would need some tape or something to secure it in place. Currently I've gone back to just using the stock bulb since I figure I never missed this light before anyway.
Trunk
The trunk cover takes a bit of practice to get used to. You don't need any tools and getting it off is easy, just tug at it and it'll snap off eventually. It's easiest to just tug at the side closer to the front of the car, and when you loosen that side, the cover will swing down and hang in place. This makes it a lot easier to get the cover back on later since you only have to work on one side, but it might make it harder to change the bulb since the cover will be in the way.
Like the door lamps, the trunk bulb is positioned *vertically* so that the light needs to go in the same direction as the socket. See the door lamps section for some LED suggestions.
Another option is a multiple-LED circuit board. Keep in mind the small size of the trunk light space when you order. The 25xSMT LED board from v-leds.com will fit, but just barely. You will probably want to use tape or something to secure the circuit board and the wires in the space before you snap the cover back on. Mine is dangling free and just squeezed against the plastic cover, and it was a real pain to get the cover back on with the circuit board in the way.
LED technologies
I've seen a lot of different names for LED technologies, and no clear explanation of them all. Here are some that I've found:
Where to buy LEDs
warden_jp's eBay store
This is probably the cheapest source you will find: shipping to the US is only $1.50 for the first order and $1.00 for each additional order. However, he ships from Hong Kong, so it may take a while to receive it.
superbrightleds.com
I have not ordered from here personally, but their LEDs are frequently cited. The site is pretty hard to use; a good tip is to use this link instead and then just type the bulb # into the search box.
autolumination.com
I haven't ordered from here either, probably because looking at the site for more than 30 seconds puts me in a seizure. However, this site is also frequently cited here and they seem to have an extensive variety.
v-leds.com
I just found this site. Finally, a browsable interface! Some of these bulbs seem to be similar to what warden_jp sells, but slightly more expensive. The descriptions are also nice, although it's not very helpful when every type of LED is described as the "brightest we've ever seen."
Note that the only mechanical skill I have is with using a screwdriver (and on good days, maybe a wrench). I'll share as much personal knowledge as I can figure out, but please feel free to contribute more advanced mods.
Interior lights and bulb type numbers:
- Dome: 31mm festoon / DE3175 / Polarg M16
- Map: BA9 / 1895 / Miniature bayonet / Polarg M17
- Doors: 194 / 168 / Polarg M4
- Footwell: 74
- Ignition: 74
- Visors/vanity: 31mm "vanity type" / Polarg M24 may fit
- Glovebox: 74
- Trunk: 194 / 168 / Polarg M4
Dome and map lights
To remove the dome light cover, look carefully around the edge of the cover for a small indent in plastic. It should be on the driver's side on the edge farthest from the windshield. Stick a small flathead screwdriver in the gap, and slowly pry it off. To remove the dome light bulb, just pull back on the tabs holding it in place. To remove the map light bulbs, rotate the bulbs about 90 degrees until you feel the tabs pop free.
For the map lights, I recommend "flank" type bulbs. As you can see, the LED faces perpendicular to the bulb. The socket for the map light bulbs is horizontal, so this positioning allows the light to shine directly downwards.
However, I find that the little tabs at the base of the bulb don't secure properly unless you rotate the bulb. If you rotate the bulb a full 90 degrees, the light shines against the dome casing. But it turns out there's a piece of shiny metal right where the light is facing, so the light will still reflect back down through the dome. Currently I have my map light bulbs rotated 90 degrees. It seems bright enough and it's not as blinding, which is helpful given how low the ceiling is.
Alternatively, if you want more direct light, instead of rotating the bulbs 90 degrees, turn it just enough so that the tabs lock the bulb in place so that most of the light is still shining downwards. Or you can use some other method of securing the bulb in place without rotating it.
I'm currently using warden_jp's "high power" LEDs which have one LED for each map light. I find that this is bright enough for me. If you want to go brighter, you can try a premade 6xSMT LED board from warden_jp or a 25xSMT LED board from v-leds.com. See stock_sc's posts below to see how these LED boards look in action!
Info on dome light options to come when I get around to it. Currently I've ordered the 6 SMD LED from warden_jp.
I also read a post once (I think from OLT) that the dome cover is designed to diffuse light, thus it is not necessary to look for special "wide-angle" LEDs.
Doors
I don't think you can get at the door lights without removing the entire light housing. Thankfully, it's not that complicated. If you look at the plastic cover, you will see what looks like two tabs on either of the long edges. Unlike the dome light, these are *not* places where you can stick your screwdriver, since the tab is actually on the inside of the cover connecting it to the housing. Instead, stick your flat screwdriver into the shorter edges of the cover and pry around a bit. Next thing you know, the entire housing will pop out.
You could just change the bulb directly from here, but it's probably easier to disconnect the wire connecting the bulb to the door, which is a simple plug-and-play. This will also turn off the bulb so you can touch it without burning yourself. Once the housing is removed, prying off the cover with your screwdriver is pretty straightforward.
The door lamps are 194 wedge bulbs. Unlike the map lights, the door bulb is positioned *vertically* so that the light needs to go in the same direction as the socket. So when looking for a 194 bulb, get one where the LED points straight out instead of a "flank" angle. Multiple LEDs all pointing straight will also work.
Footwell
Here's a funny thread where everybody tries to find the footwell light. Basically, you'll see it if you get on your back and put your head directly into the footwell facing up. If your door is open and your footwell light is working, the light will be pretty obvious. If the light isn't working, just get a flashlight or feel around for a big plastic cover.
There are two ways of getting at this bulb, either by removing the cover and then pulling the bulb from the front, or by going behind the bulb and removing the entire socket. If your bulb is really tightly stuck in its socket, then you may have to remove the socket from the back to really get a good grip on it. You can try what I did, which is to try going through the cover first, and then pulling out the socket if that doesn't work.
The cover is shaped like a trapezoid. The longer edge towards the back of the car has two tabs where you can stick your trusty flat screwdriver. Once you pry off the long edge, you can loosen the short edge and the cover should come off easily. You can also bend the cover down on the short edge without removing the cover if you prefer, but you probably won't have enough room to get at the bulb comfortably this way.
To get at the bulb from the back, reach around the panel and feel for the wire that connects to the bulb. At the end of the wire is the socket for the footwell bulb. Twist this socket to release it from the panel, and then you can pull the socket and the bulb out from behind the cover.
At this point, if your footwell light has been on for a while since you've had your door open, you may want to close the door and wait a bit for the bulb to cool off.
The stock footwell lamp is a #74 bulb with a green plastic sleeve. On my car, the bulb was stuck incredibly tight in the socket. First I pulled on the sleeve and got it off the bulb. Then I looped a bit of a rubber band around the bulb, took a pair of thin pliers, clamped down on the bulb, and pulled as hard as I could. The bulb finally came out after a couple of tries.
There are not many kinds of #74 LEDs, so just get whatever is available. warden_jp and v-leds.com both sell SMT LED versions of the #74 bulb. I found that the #74 bulb I got from warden_jp is very loose in the footwell socket. It's a little ironic that it is so hard to get the stock bulb out of the socket, and then it is so hard to make the new bulb stay in there! However, the cover seems to push against the LED and hold it in place, but I'm not sure it'll last through a bumpy drive. You may want to use some kind of tape to secure your LED better. Let me know if you find something that works.
Ignition
This post by Tryk talks about getting to the ignition ring light. "For the ignition ring, I pulled at the dash piece around the ignition until it popped out. I could pull it out enough to get to the one screw holding it in from underneath."
I tried it, and turns out Tryk makes it sound a lot easier than it actually is. Getting the light out is not so hard. First, pull off the outside rubber ring (the one with the "Lock - Acc - On - Start" labels). Then, tug at the surrounding dash area, and it should pop out a bit. Look directly underneath the ignition, and you'll see a big screw (and some smaller ones) -- you want to unscrew the big one. You can then loosen the ring housing. There's not much space to work in here (unless you remove the dash completely), so just get used to your fingertips getting sore from here on out.
The bulb itself is on the right side of the ring. Like the footwell, the stock bulb is another green sleeve-covered #74 bulb in a twist socket. So to get the bulb out, twist the socket in the back, and it should loosen and detach from the ring. Then pull the bulb straight out. In my car, it was a lot easier to pull out than the footwell bulb, but if yours is particularly tight then you might have to resort to the pliers and rubber band again.
Depending on what new bulb you're using, the rest of the process can be very hard or very easy. Easy route first: If your new bulb fits exactly like the stock bulb, then you just stick it in the socket, twist the socket so it fastens back onto the ring, and reposition everything back to where it was originally.
Now the hard route. If you have a #74 LED from warden_jp (and probably most other sources, since they all look about the same) you'll notice two problems. First, your #74 LED won't fit as securely in the socket as the stock bulb did. It'll fit (and it'll fit better than the footwell socket), but it'll be a little loose, and if you accidentally jiggle the bulb a bit too much, it's likely to turn off or fall out of the socket completely.
The other problem you'll notice is that your LED is a bit longer than the stock bulb. It is just long enough that the twist socket for the bulb won't twist back into the housing. I spent most of my Thanksgiving afternoon trying to do it and finally gave up. But if you can get yours to work, that'll make it a lot easier.
So this creates the challenge of trying to get both the bulb and the ring housing back in place around the ignition without shaking the bulb out of the socket. Note that the housing really only has one place for the bulb to go, which is through a little ring. You need to put the bulb through here for the light to distribute properly.
After many tries, I was finally able to do it by carefully moving the socket and the bulb close to their original position next to the ignition, and then carefully positioning the ring housing over the bulb but without touching the bulb. Then just carefully line up the bulb with the housing, push the housing back against the ignition, and hope it fits without knocking the bulb. Be patient, this can take a couple of tries (or in my case, most of my Thanksgiving evening). Leave the door open throughout this process so you can make sure your LED is still in place and lit up. The last thing you want is to get everything back in place only to find out that your LED is just a bit loose and won't light up, and have to repeat the whole thing again.
I used a #74 SMT LED from warden_jp as in the footwell description above. If you read the rest of Tryk's thread that I linked to earlier, Tryk describes wiring in a second LED. I'm not sure if it was because the light wasn't uniform, or not bright enough, or both. This post by southernsc shows what the key ring looks like with one LED swapped in and it seems to be a little uneven/dim. These posts are from 2004 so maybe the current generation of LEDs are better. My single SMT LED seems more than bright enough. It is a little uneven because the light only comes from one side, but I think it's as uniform as stock and maybe a little more so.
Vanity mirrors / visors
Apparently there is bulb type that is simply called a vanity mirror bulb. Here is a picture from warden_jp which seems to match what we have in our cars. You can find them at this section of warden_jp's store and also this one at v-leds.com. I think the 3xSMD LEDs give about the same brightness as the stock incandescent bulb.
Removing the cover is easy; look for the small indent (near the bottom of the cover), slide in a screwdriver, and pry out firmly but carefully. Getting the bulb out is a little harder. First, unless your bulb has already burned out, you will probably want to partially close the mirror cover just enough to turn off the bulb, so you don't get blinded or burned.
After that, you just need to pull the bulb straight out. I think the easiest way to do this is to get a grip on the glass part of the bulb and pull hard enough to loosen one end of the bulb. (This is why you should try to partially close the mirror cover, otherwise the glass will be *very* hot.) Alternatively, you can try pulling at the metal clasps, but I think they're too small and too tight to get a good grip on.
When inserting the LED bulb, remember that the LED light is very directional, so make sure it's facing straight at you when you snap the bulb in. Otherwise, it can be rather hard to rotate while it's seated in the tabs. You can try gripping the glass part again to adjust it (thankfully, LEDs don't burn nearly as hot as the stock bulbs), but it might be easier to just pull it out and stick it back in again with the correct positioning.
When snapping the plastic cover back on over the bulb, note that the (very) small tabs on either end of the cover are slightly different sizes, so make sure they're lined up properly before you try to force them in.
Glovebox
I didn't even realize my glove box had a light in it. It only comes on when the city lights/headlights are switched on, but you will see it behind a little rubber frame on the left wall of the glove box. Just flip the frame open, reach in, and yank out the bulb.
The bulb is a #74 bulb, but if you've read my above sections about the footwell and the ignition, you'll know that apparently not all #74 bulbs are created equal. The #74 LED that I bought from warden_jp would light up, but it was very loose in the socket and I would need some tape or something to secure it in place. Currently I've gone back to just using the stock bulb since I figure I never missed this light before anyway.
Trunk
The trunk cover takes a bit of practice to get used to. You don't need any tools and getting it off is easy, just tug at it and it'll snap off eventually. It's easiest to just tug at the side closer to the front of the car, and when you loosen that side, the cover will swing down and hang in place. This makes it a lot easier to get the cover back on later since you only have to work on one side, but it might make it harder to change the bulb since the cover will be in the way.
Like the door lamps, the trunk bulb is positioned *vertically* so that the light needs to go in the same direction as the socket. See the door lamps section for some LED suggestions.
Another option is a multiple-LED circuit board. Keep in mind the small size of the trunk light space when you order. The 25xSMT LED board from v-leds.com will fit, but just barely. You will probably want to use tape or something to secure the circuit board and the wires in the space before you snap the cover back on. Mine is dangling free and just squeezed against the plastic cover, and it was a real pain to get the cover back on with the circuit board in the way.
LED technologies
I've seen a lot of different names for LED technologies, and no clear explanation of them all. Here are some that I've found:
- High Power
- SMT/SMD (are they the same?)
- Super Flux
Where to buy LEDs
warden_jp's eBay store
This is probably the cheapest source you will find: shipping to the US is only $1.50 for the first order and $1.00 for each additional order. However, he ships from Hong Kong, so it may take a while to receive it.
superbrightleds.com
I have not ordered from here personally, but their LEDs are frequently cited. The site is pretty hard to use; a good tip is to use this link instead and then just type the bulb # into the search box.
autolumination.com
I haven't ordered from here either, probably because looking at the site for more than 30 seconds puts me in a seizure. However, this site is also frequently cited here and they seem to have an extensive variety.
v-leds.com
I just found this site. Finally, a browsable interface! Some of these bulbs seem to be similar to what warden_jp sells, but slightly more expensive. The descriptions are also nice, although it's not very helpful when every type of LED is described as the "brightest we've ever seen."
Last edited by Hazelrah; 11-22-07 at 10:41 PM.

 11-10-07, 11:05 PM
#4
add to this thread though it says interior lights but thought other lights should be included also. so heres my info with some quick pics.
i bought my leds from www.v-leds.com
slow *** shipping is one thing i didnt like. on average it took about a week+ a day or two and after they received the paypal into there account. it was shipped from washing to chicago il.
hint*you can buy 194 smt in bulk. cheaper that way.
i bought all white.
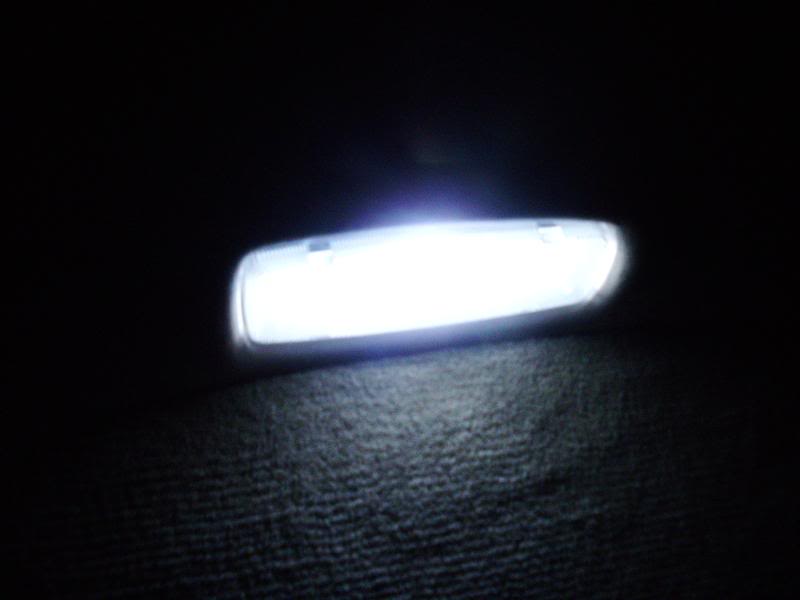
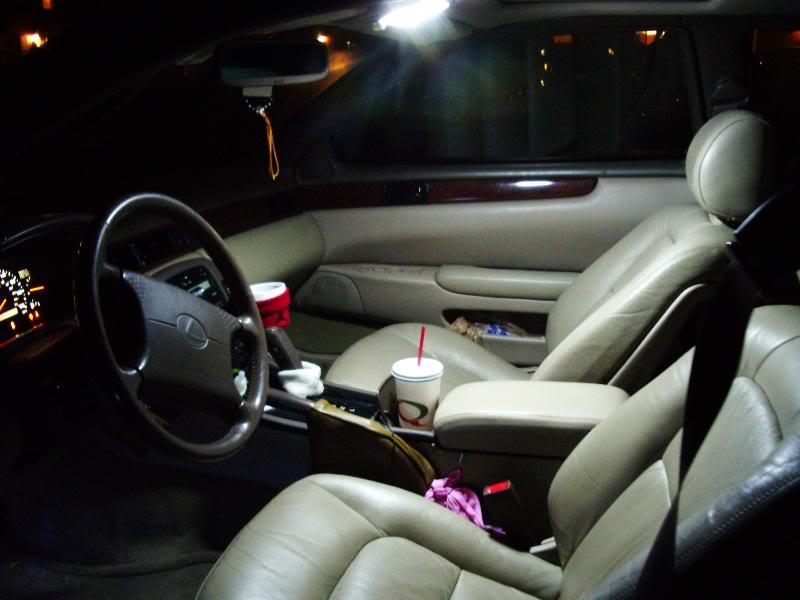
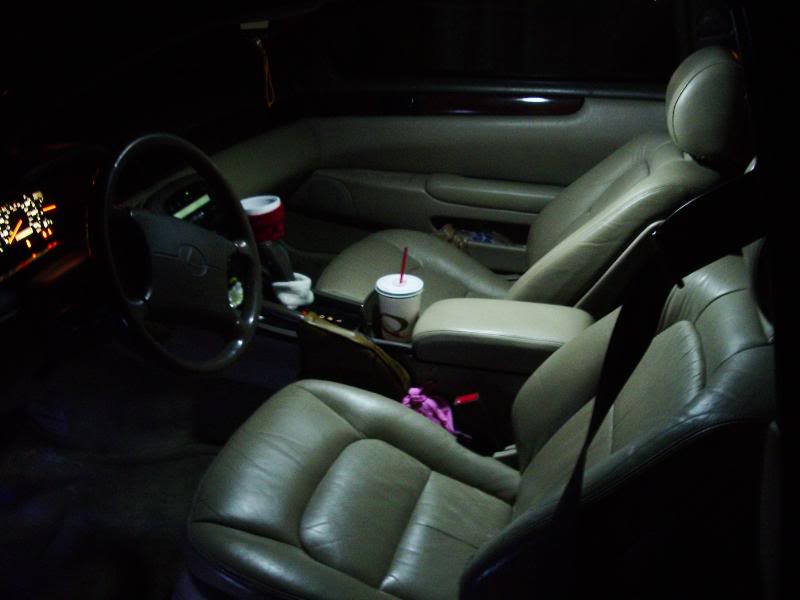
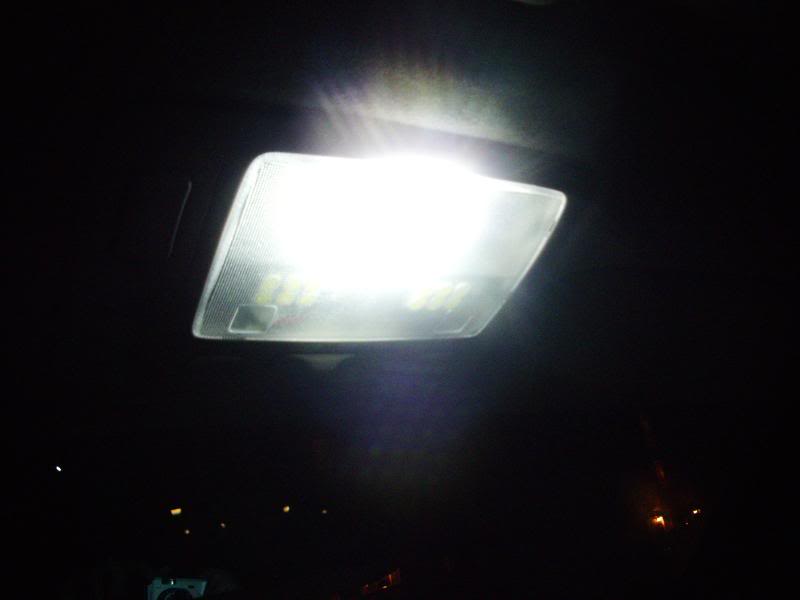
oh thing i might change later is buy 25 smt circuit board for the trunk. its bright as is but i want it brighter. oh and in the pics it was taken in almost complete darkness. pics will be in the order of the list.
list of bulbs and usage.
194-smt 5 leds- 9 used.
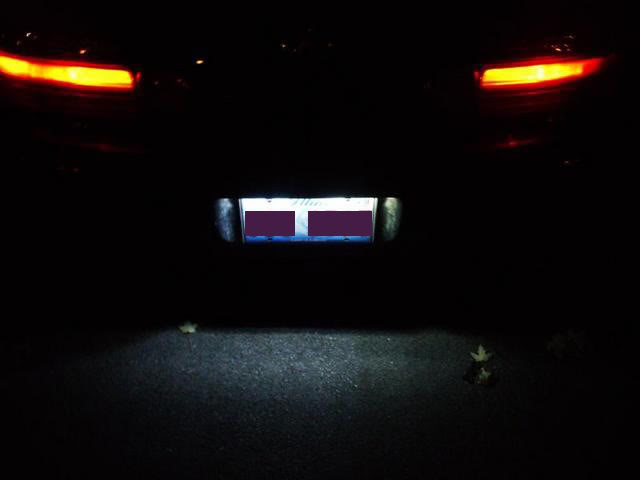
2-plate lights
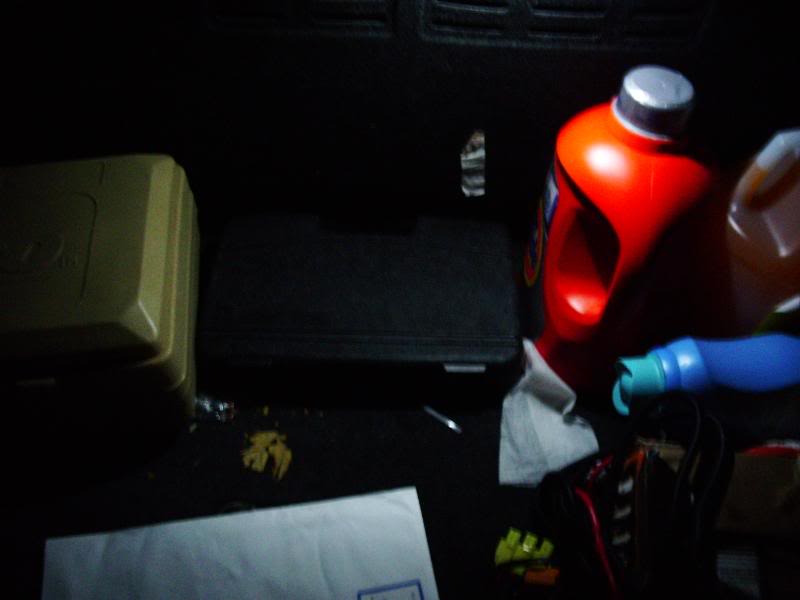
1-trunk light
2-door lights
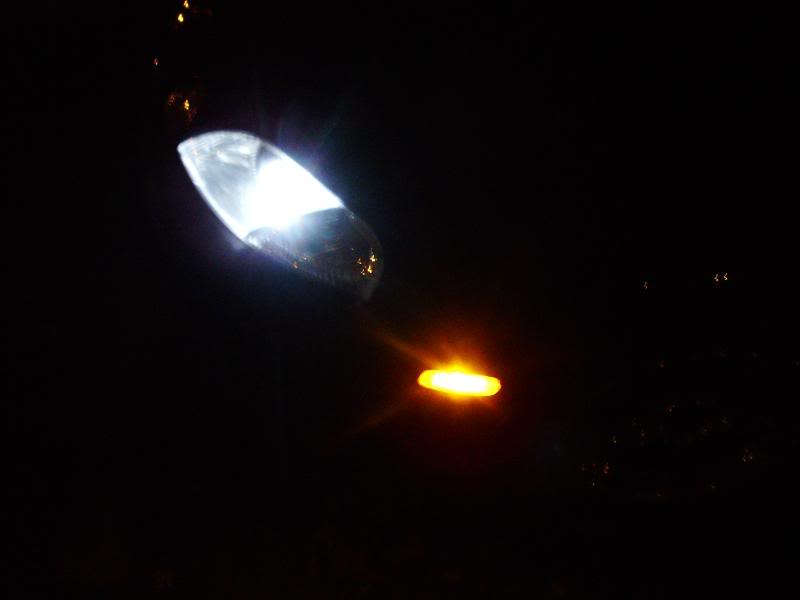
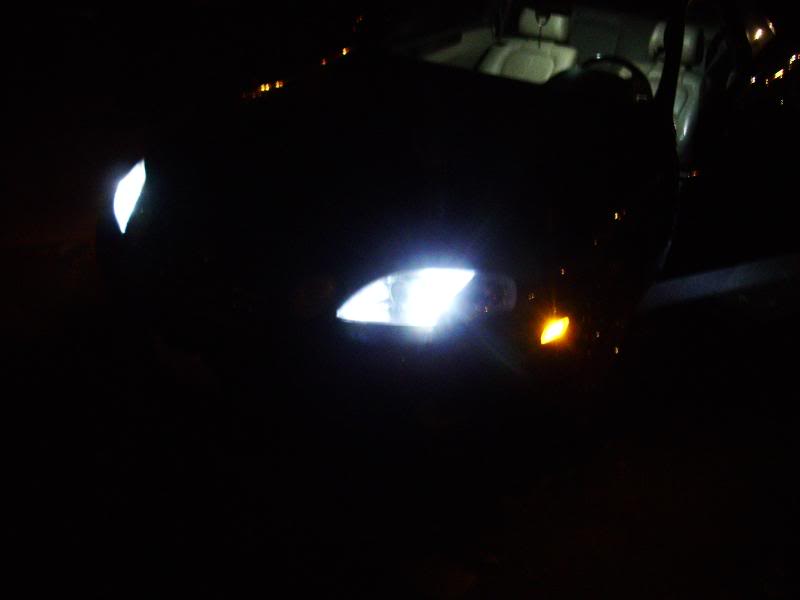
2-side marker
2-city lights ( i think thats whats its called)
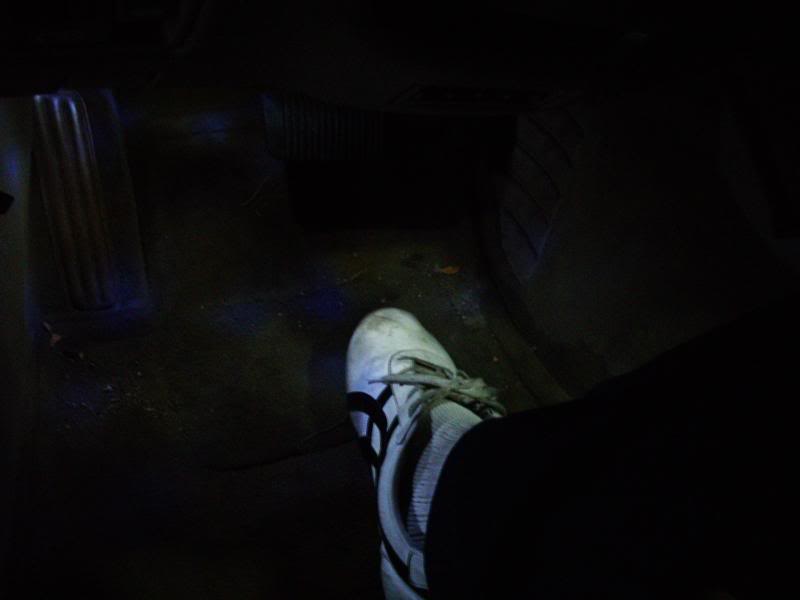
74- smt 1 led- 1 used
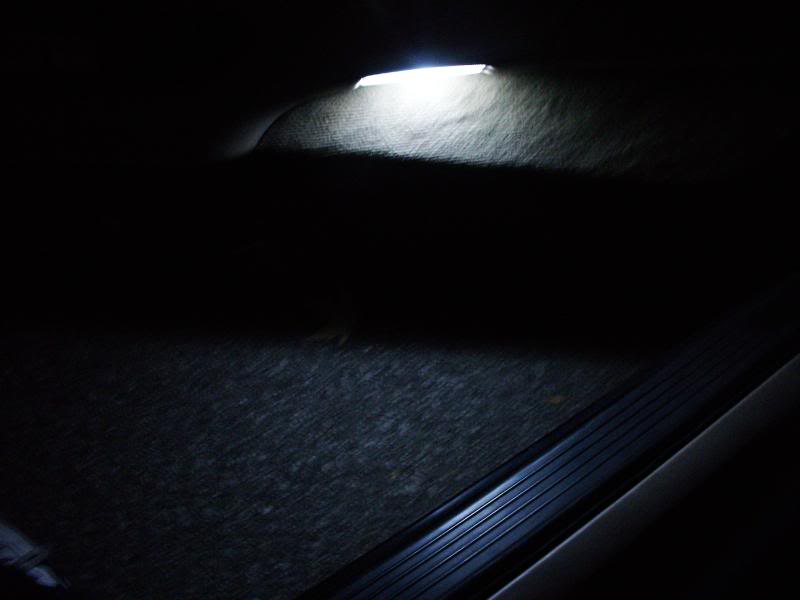
1-foot well
ba9s-smt 6 leds- 2 used
2-map lights
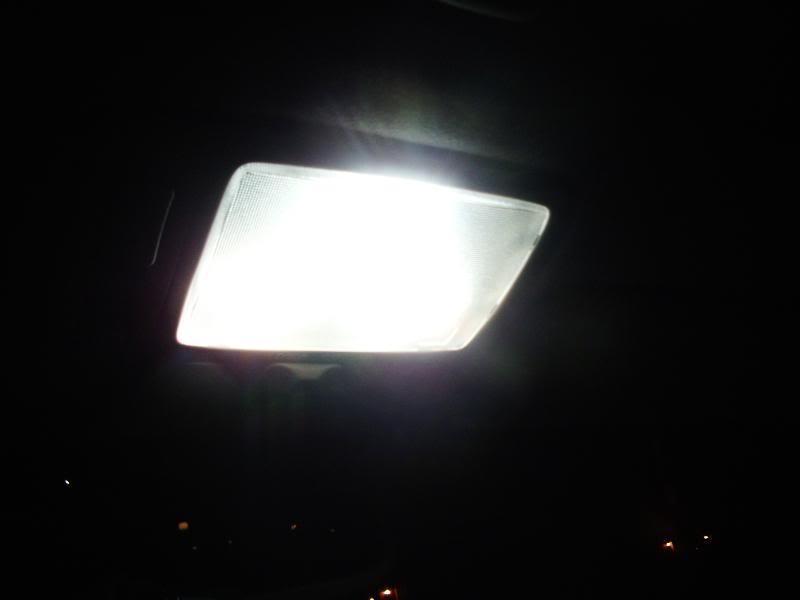
3175- smt 25 leds- 1 used
194-smt 5 led in tail light
194-smt 5 led in trunk with cr@p in it.
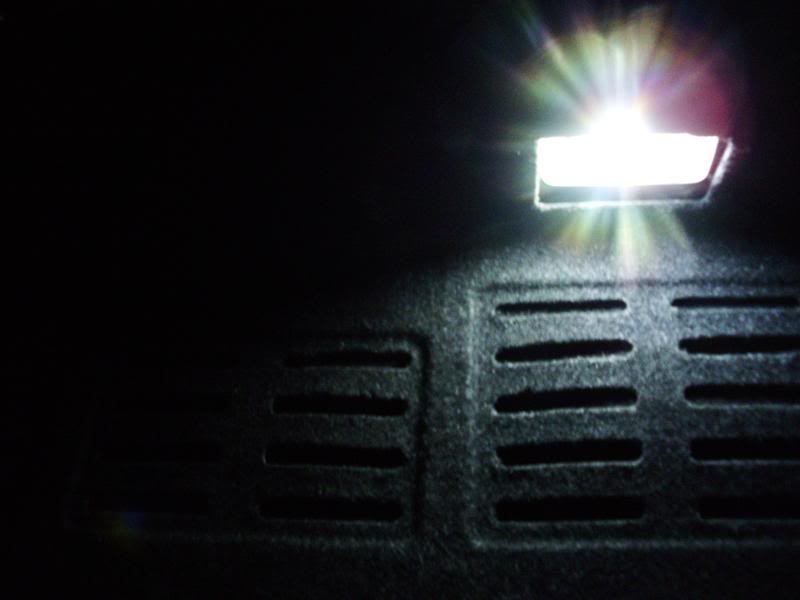
194-smt 5 led in door panel
194-smt 5 ledside marker with city light
74- smt 1 led footwell
i bought my leds from www.v-leds.com
slow *** shipping is one thing i didnt like. on average it took about a week+ a day or two and after they received the paypal into there account. it was shipped from washing to chicago il.
hint*you can buy 194 smt in bulk. cheaper that way.
i bought all white.
oh thing i might change later is buy 25 smt circuit board for the trunk. its bright as is but i want it brighter. oh and in the pics it was taken in almost complete darkness. pics will be in the order of the list.
list of bulbs and usage.
194-smt 5 leds- 9 used.
2-plate lights
1-trunk light
2-door lights
2-side marker
2-city lights ( i think thats whats its called)
74- smt 1 led- 1 used
1-foot well
ba9s-smt 6 leds- 2 used
2-map lights
3175- smt 25 leds- 1 used
194-smt 5 led in tail light
194-smt 5 led in trunk with cr@p in it.
194-smt 5 led in door panel
194-smt 5 ledside marker with city light
74- smt 1 led footwell
 11-11-07, 10:11 AM
#6
Rookie
Thread Starter
Join Date: Jan 2007
Location: CA
Posts: 84
Likes: 0
Received 0 Likes
on
0 Posts
Thanks for the pics! Your dome looks really bright and really shows off the power of the multi-LED boards. I'm still planning on the 6-LED for my dome, but I ordered one of the 25-LED boards so I can compare. It might be *too* bright for me for the interior, but as you point out, might be useful for the trunk.
Trending Topics
 04-26-09, 10:45 PM
#14
Driver

Join Date: Feb 2009
Location: Tampa, Fl
Posts: 175
Likes: 0
Received 0 Likes
on
0 Posts
nice write up etc. I bought all the LED's for my Q45 and the girls I35 from superbrightLEDs and when one of the 20 or so we bought went bad they sent me a new one no questions asked....
Also, you can always use Sylvania's site to find bulb #'s etc...
http://www.sylvania.com/ConsumerProd...de/default.htm
Also, you can always use Sylvania's site to find bulb #'s etc...
http://www.sylvania.com/ConsumerProd...de/default.htm

