When you click on links to various merchants on this site and make a purchase, this can result in this site earning a commission. Affiliate programs and affiliations include, but are not limited to, the eBay Partner Network.
CLEAN THE WHEEL/AFFECTED AREA THOROUGHLY!! Or your filler/paint will NOT stick well. After cleaned, start by using painters tape and expose only the area you are working with so you don't accidentally scratch or sand the good paint. Don't be too concerned if this isn't perfect. You will have to sand/feather some of the good paint. A very small amount. Maybe 1-3mm. Then using a q-tip or similar tool, apply the glazing putty over the affected area. try to be as smooth and even with the wheel as possible so you don't have to sand excessively. Let sit 15-30 minutes
Then take your sandpaper (i used 200 grit) and fold it into a small square. And slowly sand down smooth the hardened putty. Don't be afraid of scratching/scuffing the surrounding paint between the curb rash. do the whole area. After you are done, you can apply more putty and repeat the process. I decided I didn't need the wheel to look absolutely perfect. Just good enough. Then shake up your phantom gray pearl paint and apply it over the putty smoothly. Let dry then apply clear coat that comes included w/ the paint pen. Do a couple of coats each of base coat and clear for best results. Let dry 10-20 min or so between coats. Before driving, let dry. Overnight preferred... but i'd say at least a few hours.
This is the paint I used.
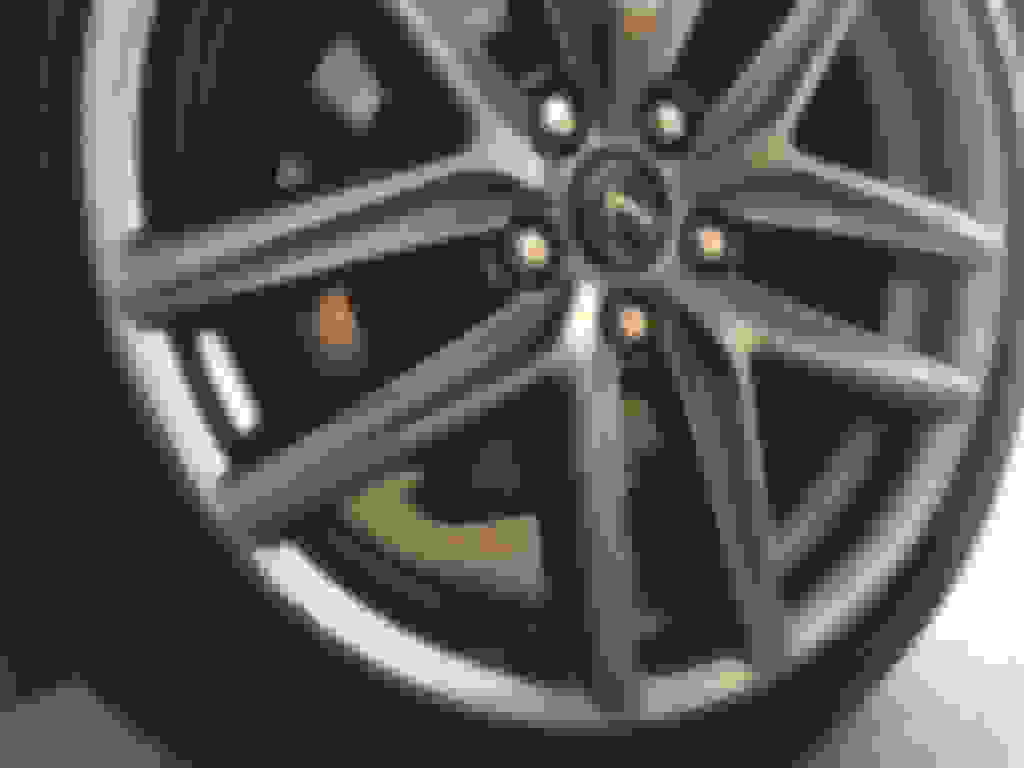
And the finished product. I could've spent more time on it and sanded it down more and smoothed the paint out before applying clear. But I don't have time for it and it's good enough for me. It looks WAY better than before. And from normal viewing distance you can't tell. You have to go up close. I actually had to look very closely and squint to find the damage so i could take a picture. The touch up paint is a perfect match. Keep a spare in your glove box to touch up nicks and curb rash. You don't even need to putty the curb rash if you want, just paint over it so it's not noticeable!
So to recap the basic steps:
1) Clean and prep area. Use a toothbrush for best results. Dry/let dry. Mask tire with painters tape and any part of the wheel you DON'T want to sand, get paint on, etc.
2) Apply filler. Let dry per instructions on the container.
3) Sand using the roughest grit sandpaper that came in the kit first. I'd cut little squares (maybe 4" square) and fold to where it fits your finger tip so you can precision sand using your finger. Sand gently and evenly until the hardened filler is even with the rest of the wheel. Slightly feather out your sanding to a very small portion of the surrounding area of the damage. Once you are satisfied with the general level of the damage with the surrounding undamaged area, switch to the finer grit sandpaper and go over it lightly so the paint will look smooth when applied. You are working with a very tiny area so your sanding job will be really fast. If you need to apply more filler do it again. And let dry again. And repeat as necessary.
4) Once filler is dry per instructions on container, go ahead and shake your paint up and start painting the area per the instructions on the paint. Usually with paint less is more. Do a coat, let it "dry" for 10-15 min or so and apply another. Maybe do 2-3 as necessary. Take your time and go slow here. Don't put too much paint--very tempting to overpaint.
5) After your final coat has set for some time (maybe 30 minutes?) then apply the clear coat using the sponge applicator. Do multiple thin coats with 10-15 min dry time in between for best results. Let dry completely before you drive the car.
Yes as far as the close up shot you can see the damaged area is not quite 100% perfect. the pic represents the closest reasonable view someone would look at. Anyone can achieve perfect results with the above items its just a matter of spending more time on it and more sanding. I chose to do a quick fix. But the point is it can be done and cheaply and reasonably! =)
^No problem. First time curbing my car's wheels in all the cars I've owned. Sad day. but I'm glad I fixed it and don't have tow orry about it.. until I do it again!
IMO it would be easier if we dismount the wheel and work on a flat surface.
Yeah I thought about taking off the wheel. Too much work hahah. The point of the job is not for a full pro fix (can if you want) but to be quick and convenient. At some point if there's too much labor involved, you are better off just paying a pro to fix it.
 09-16-16, 06:11 PM