
 12-16-14, 11:38 AM
Last edit by: IB Advertising
See related guides and technical advice from our community experts:
Browse all: Lexus IS Lighting Guides
- Lexus: How to Replace Footwell lights
Step by step instructions for do-it-yourself repairs
Browse all: Lexus IS Lighting Guides

>>> LED & HID Lighting Upgrades >>> (with comparison photos)
08-22-13, 12:36 PM
#46

The maplights, front and rear, are only activated by pressing the button. You will see that our RS Edition LED packages are focused on the front and rear dome lights based on the above-noted factory Lexus lighting configuration.

 08-22-13, 10:13 PM
#48
Driver School Candidate

Join Date: Jun 2010
Location: AZ
Posts: 21
Likes: 0
Received 0 Likes
on
0 Posts
If I had all three lights on in the front together and had a spec-6 in the dome and titan lights in the maps how would it look? I see the pictures you posted for the front dome but what configuration is in the maps? I would assume with the maps and dome being different LED's there would be some difference when they are all on. Want to make sure when they are all on it doesn't look stupid and completely different with titan and spec-6. I want a nice clean white look that isn't extremely bright. Thanks for your help.
The front and rear dome lights (center) are activated when the doors are open, or when you are near the car (comfort access/auto illumination). This also applies for the exterior mirror puddle lights and front door courtesy lights.
The maplights, front and rear, are only activated by pressing the button. You will see that our RS Edition LED packages are focused on the front and rear dome lights based on the above-noted factory Lexus lighting configuration.
The maplights, front and rear, are only activated by pressing the button. You will see that our RS Edition LED packages are focused on the front and rear dome lights based on the above-noted factory Lexus lighting configuration.
08-23-13, 03:53 AM
#49
The pursuit of F
Got my 3IS yesterday and the stock (4300K) HID's are more yellowish than what any pics have shown me. Even the one I took below doesn't show the true color. Trust me, in person, it's more yellow and the contrast against the LED DRLs is significant (again in person).
Needless to say, HIDPH, I've placed the order for the 6000K bulbs!
Can you point me to the DIY for this? THANKS!!
Needless to say, HIDPH, I've placed the order for the 6000K bulbs!
Can you point me to the DIY for this? THANKS!!
08-23-13, 06:27 AM
#50

Got my 3IS yesterday and the stock (4300K) HID's are more yellowish than what any pics have shown me. Even the one I took below doesn't show the true color. Trust me, in person, it's more yellow and the contrast against the LED DRLs is significant (again in person).
Needless to say, HIDPH, I've placed the order for the 6000K bulbs!
Can you point me to the DIY for this? THANKS!!
Needless to say, HIDPH, I've placed the order for the 6000K bulbs!
Can you point me to the DIY for this? THANKS!!
 08-23-13, 07:25 AM
#52
Lexus Test Driver
Also you may notice in 3IS, the back covers are now metal. So I suspect you may need to make sure the cover is cool before you attempt the installation.
08-23-13, 07:26 AM
#53
08-23-13, 07:26 AM
#54
Lexus Test Driver
Got my 3IS yesterday and the stock (4300K) HID's are more yellowish than what any pics have shown me. Even the one I took below doesn't show the true color. Trust me, in person, it's more yellow and the contrast against the LED DRLs is significant (again in person).
Needless to say, HIDPH, I've placed the order for the 6000K bulbs!
Can you point me to the DIY for this? THANKS!!
Needless to say, HIDPH, I've placed the order for the 6000K bulbs!
Can you point me to the DIY for this? THANKS!!
 08-23-13, 08:13 AM
#55
Just installed most of my interior lights.
Thought I'd write up a small DYI in here.
If there is a separate DIY tread for installment, please copy this post to have in the right place.
You may need to adjust the the small leads at the socket of the LED to get a good connection, as some of them can be twisted or bent out of place.
Also, LED bulbs needs correct polarity, so test that the lights work before asembling them again.
Sorry about poor quality cell phone pics.
All procedures for changing bulbs are described in the owners manual for the car.
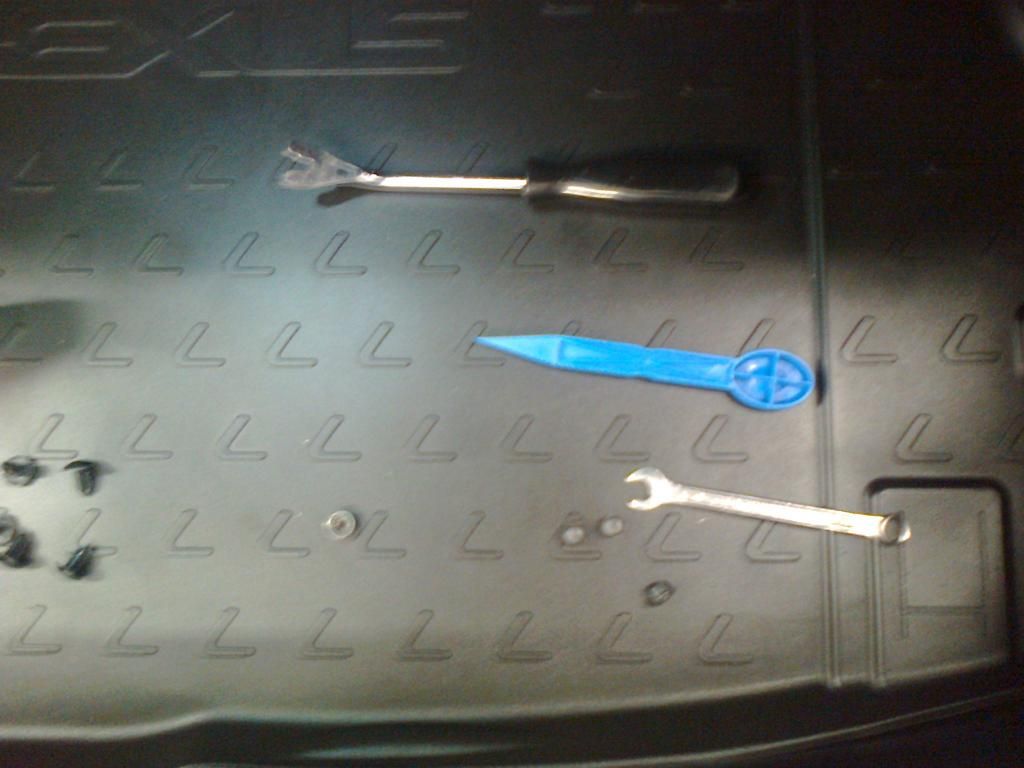
It is a very good idea to have a prying tool made of plastic or vinyl, to avoid damaging any parts.
Like these tools: http://www.ebay.com/itm/9-PC-NYLON-PRY-BAR-SET-DASH-PANEL-TRIM-REMOVAL-TOOL-KIT-INSTALLER-MUST-HAVE-/271250428832?pt=Motors_Automotive_Tools&hash=item3f27c913a0&vxp=mtrThis is the one I used:
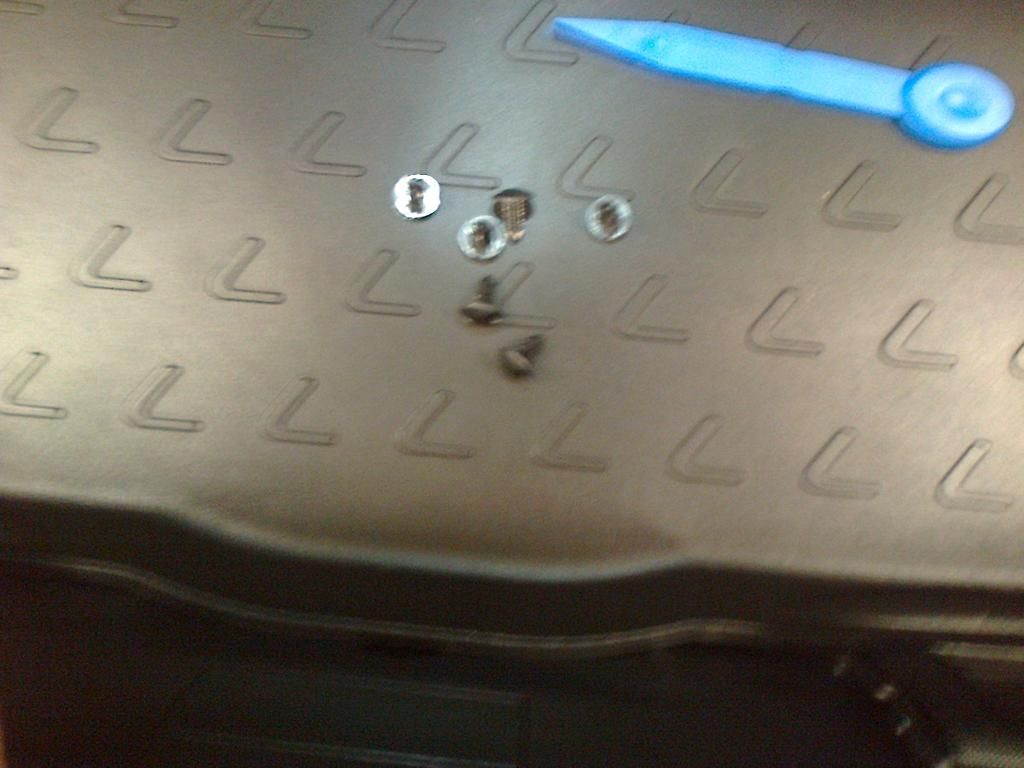
Reverse\back up light. Difficulty: 4\10 with the correct tools and some knowlige about how to work on cars.
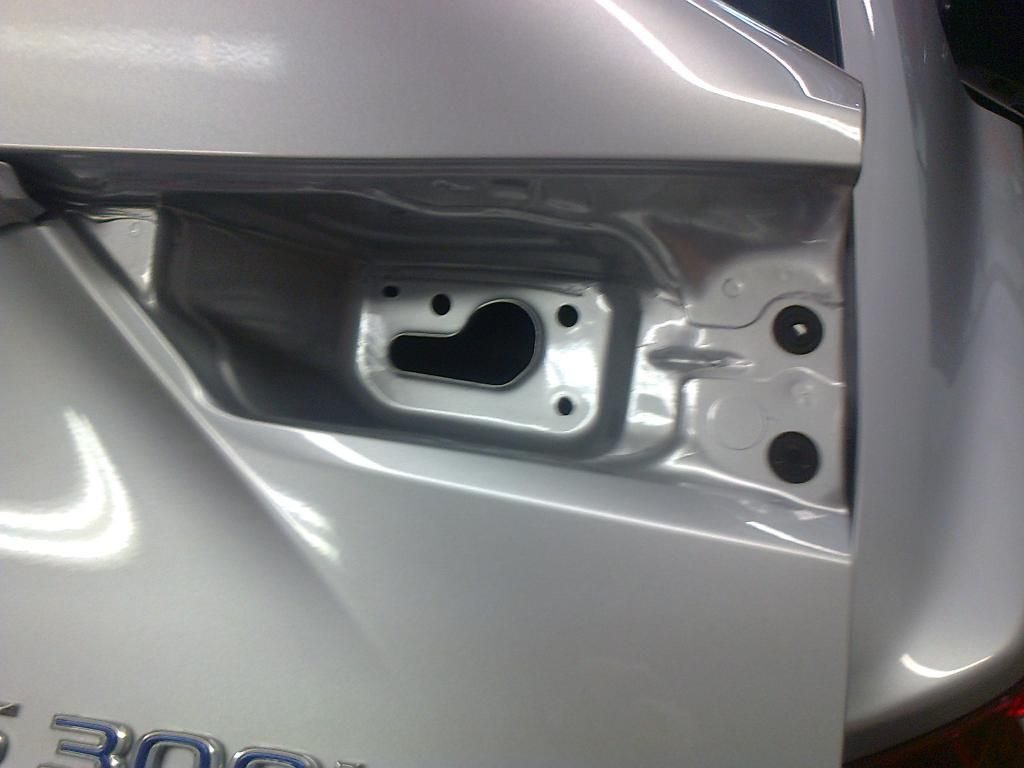
The housing is attached with 4 nuts.
You need to remove the cover at underside of the boot lid, to get access to all the nuts.
You will need a panel clip remvoing tool for this.
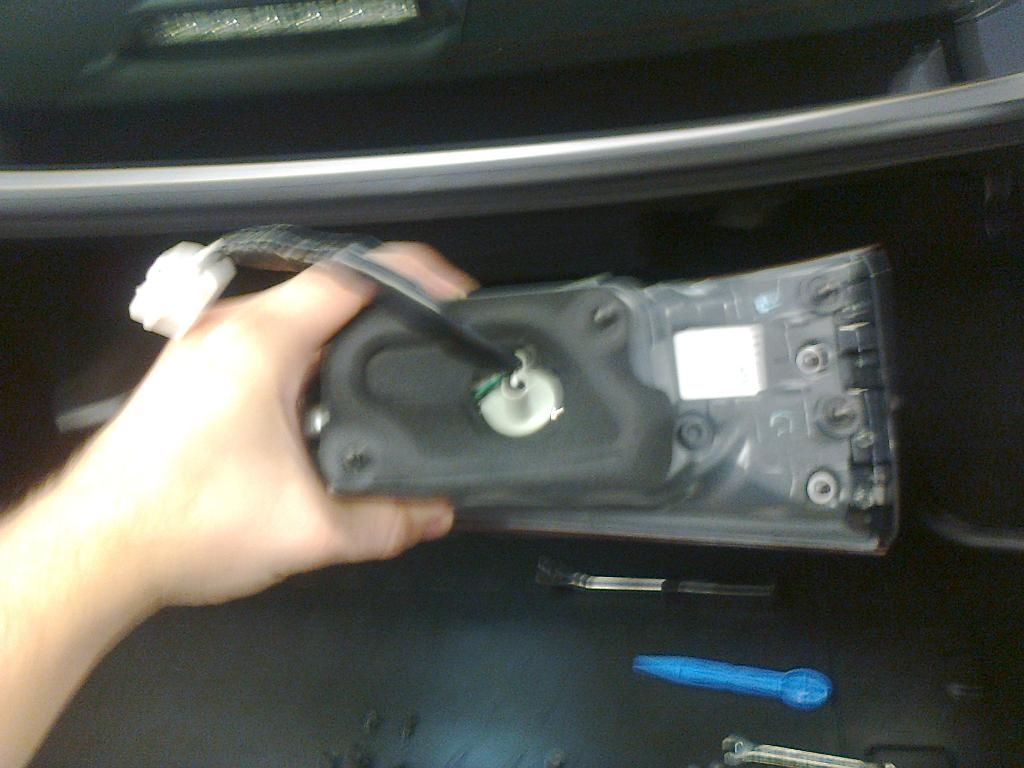
The light housing will come loose after removing the four nuts. Disconnect the wireing before removing the housing.
The new led bulb will have a tight fit, so be careful when putting it in place. Check the polarity and that the bulb works before you put the socket in the housing, otherwise you might loose the bulb inside the housing, and it is a b****h to get out again.

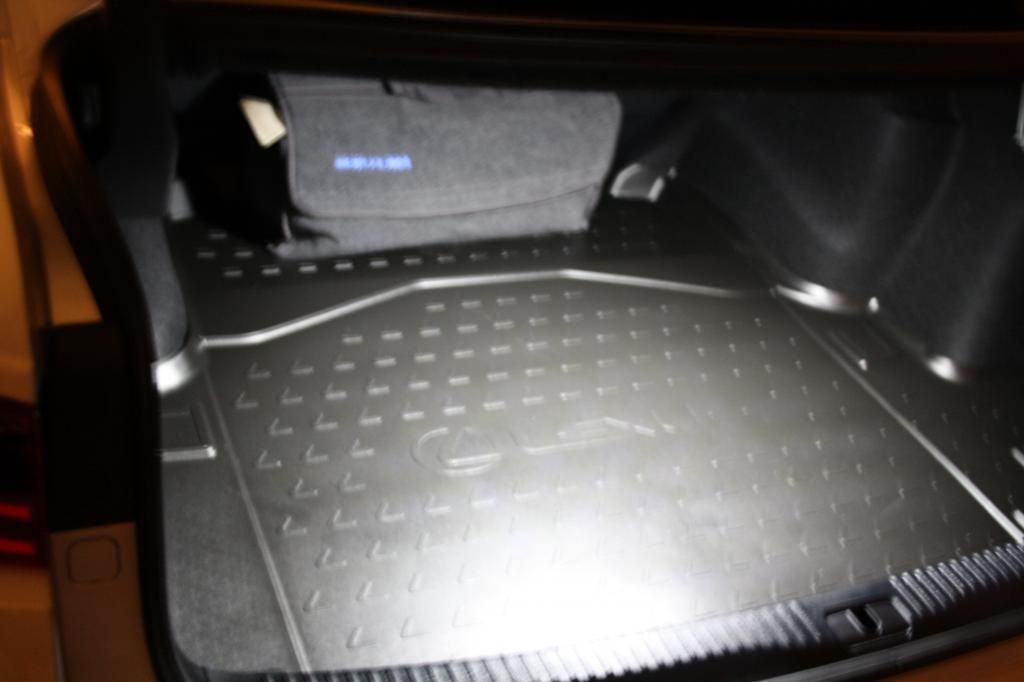
For the trunk light, have the same prying tool made of vinyl or plastic. Push it in where there is a small arrow at the plastic. It will then come loose without any problems and without the risk of braking it. Remove the old bulb and in with the new.
Just push the light housing back in plase. Difficulty 2\10.
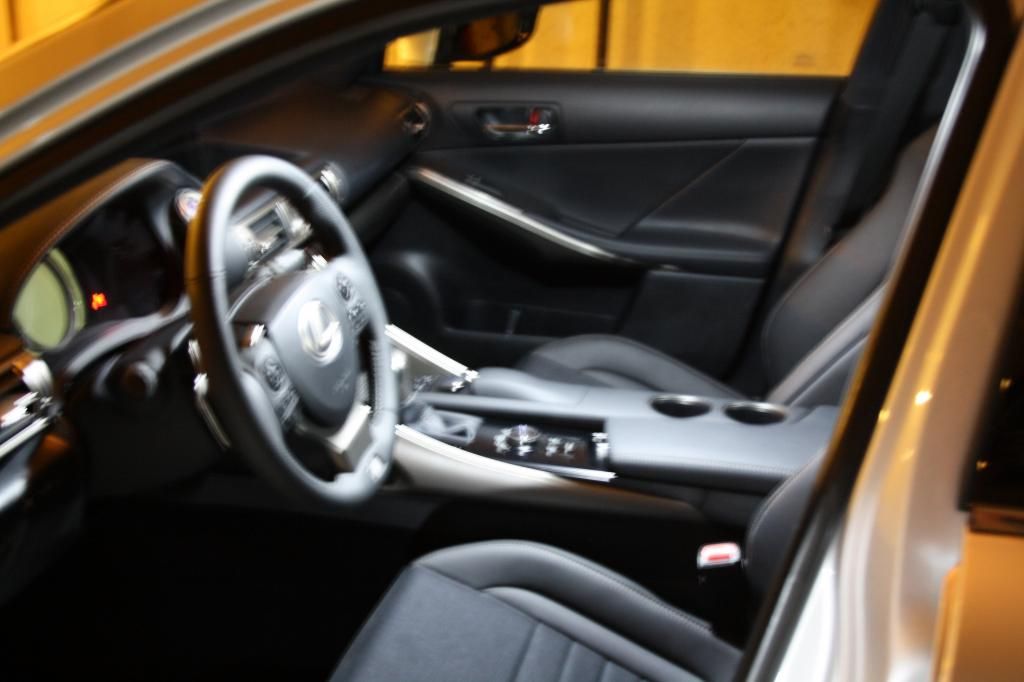
The interior map and dome lights are the same housing.
Again the prying tool is essential aand will do the job very easy. Just remove the plastic cover over the bulbs and you have access to all the bulbs. There are small gaps in the end you should pry. No need for an explanitory DYI.
Difficulty 1\10
Vanity lights: Same thing here. The tool is still ensential.
Difficulty 1\10
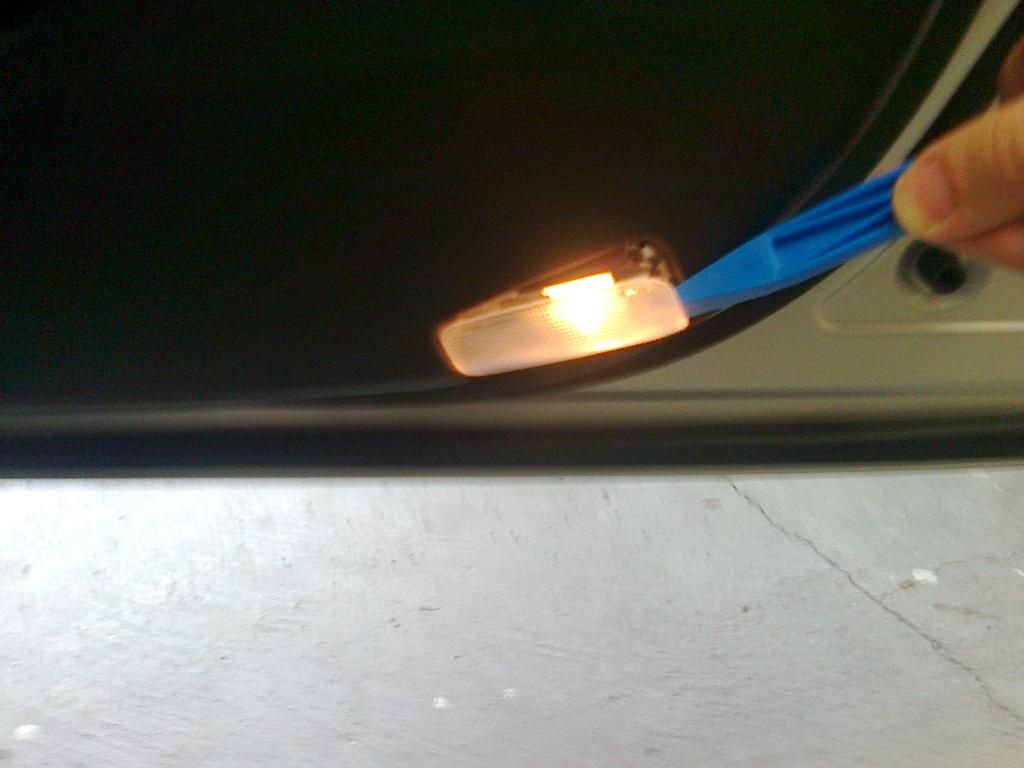
Curtisy lights:
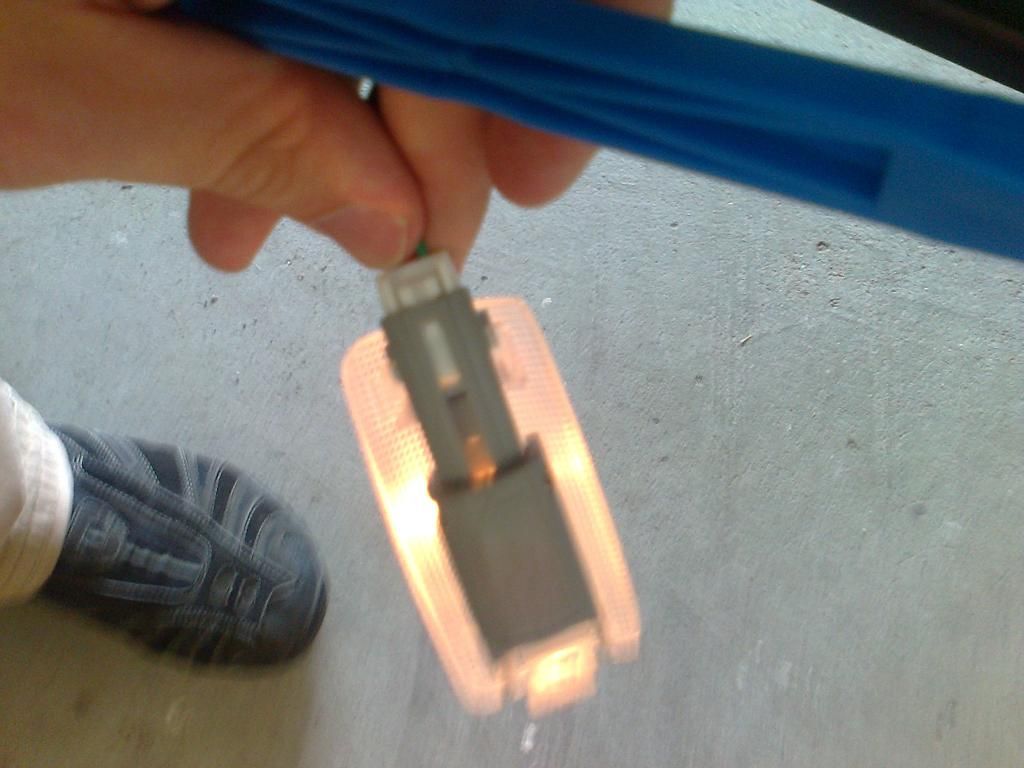
Pry open the clear lens cover, and the lighting "unit" wil come out.
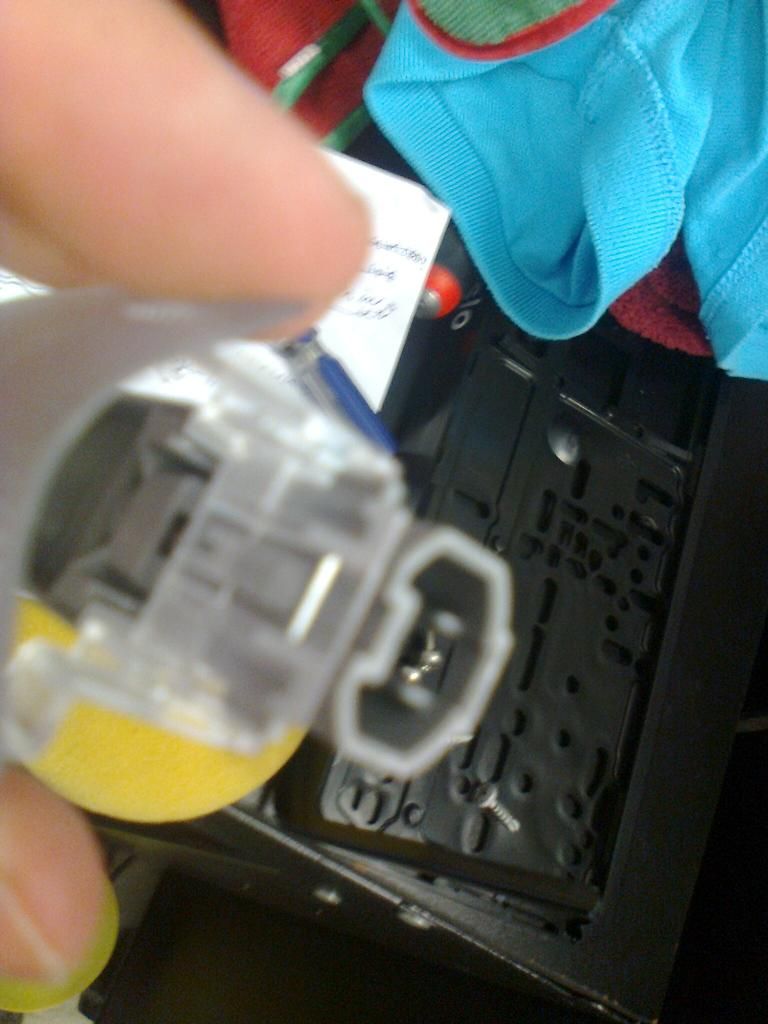
Dissconect the wire and you be left with the "unit" that conssicts of three parts. The parts are hold together with a clipping function. Just take a small screwdriver and pry asside the tap, and pull the parts from eachother.
To get access to change the bulb, it is easiest to take the "unit" appart.
Again try the bub and polarity before assembling anything.
Difficulty 3\10.
Footweel lights. Difficulty 3\10 (due to hard to access, under the dash placement.)
The clear plastic lens can be pryes out with the same prying tool.
You now have access to bulb. Pull it out and swap.
Mirror puddle lights.
This is where it gets tricky.
According to the owners manual, the whole mirror housing will have to be taken apart.
I have not done this myself yet, so the DIY will be written when I've done this and have pictures of the process.
More Picturs of the new lights will come within a few days.
Picturs for the DIY will also come within a few days, except for the puddle lights.
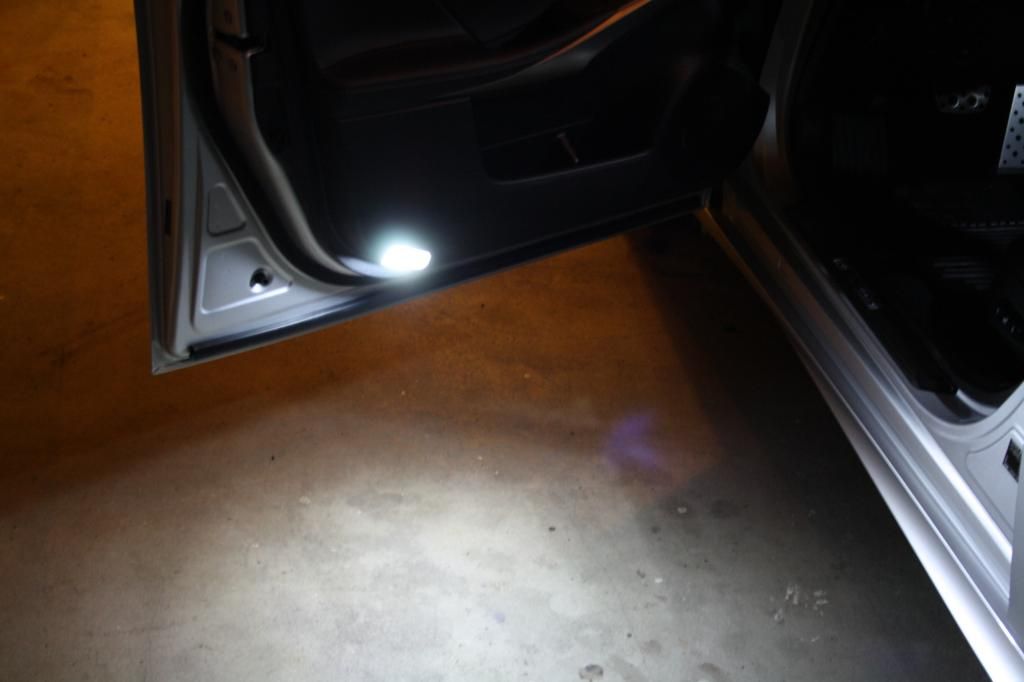
Some pictures of the new lighting.
Sorry about poor quality. Needed a tripod for the camera, because the pics are taken without flash.
I have the 9 spec LED in the dome lights, the 12 spec LED in the map lights, the 6 spec LED in the curtisy lights, and the brightest LED in the trunk light.
Thought I'd write up a small DYI in here.
If there is a separate DIY tread for installment, please copy this post to have in the right place.
You may need to adjust the the small leads at the socket of the LED to get a good connection, as some of them can be twisted or bent out of place.
Also, LED bulbs needs correct polarity, so test that the lights work before asembling them again.
Sorry about poor quality cell phone pics.
All procedures for changing bulbs are described in the owners manual for the car.
It is a very good idea to have a prying tool made of plastic or vinyl, to avoid damaging any parts.
Like these tools: http://www.ebay.com/itm/9-PC-NYLON-PRY-BAR-SET-DASH-PANEL-TRIM-REMOVAL-TOOL-KIT-INSTALLER-MUST-HAVE-/271250428832?pt=Motors_Automotive_Tools&hash=item3f27c913a0&vxp=mtrThis is the one I used:
Reverse\back up light. Difficulty: 4\10 with the correct tools and some knowlige about how to work on cars.
The housing is attached with 4 nuts.
You need to remove the cover at underside of the boot lid, to get access to all the nuts.
You will need a panel clip remvoing tool for this.
The light housing will come loose after removing the four nuts. Disconnect the wireing before removing the housing.
The new led bulb will have a tight fit, so be careful when putting it in place. Check the polarity and that the bulb works before you put the socket in the housing, otherwise you might loose the bulb inside the housing, and it is a b****h to get out again.
For the trunk light, have the same prying tool made of vinyl or plastic. Push it in where there is a small arrow at the plastic. It will then come loose without any problems and without the risk of braking it. Remove the old bulb and in with the new.
Just push the light housing back in plase. Difficulty 2\10.
The interior map and dome lights are the same housing.
Again the prying tool is essential aand will do the job very easy. Just remove the plastic cover over the bulbs and you have access to all the bulbs. There are small gaps in the end you should pry. No need for an explanitory DYI.
Difficulty 1\10
Vanity lights: Same thing here. The tool is still ensential.
Difficulty 1\10
Curtisy lights:
Pry open the clear lens cover, and the lighting "unit" wil come out.
Dissconect the wire and you be left with the "unit" that conssicts of three parts. The parts are hold together with a clipping function. Just take a small screwdriver and pry asside the tap, and pull the parts from eachother.
To get access to change the bulb, it is easiest to take the "unit" appart.
Again try the bub and polarity before assembling anything.
Difficulty 3\10.
Footweel lights. Difficulty 3\10 (due to hard to access, under the dash placement.)
The clear plastic lens can be pryes out with the same prying tool.
You now have access to bulb. Pull it out and swap.
Mirror puddle lights.
This is where it gets tricky.
According to the owners manual, the whole mirror housing will have to be taken apart.
I have not done this myself yet, so the DIY will be written when I've done this and have pictures of the process.
More Picturs of the new lights will come within a few days.
Picturs for the DIY will also come within a few days, except for the puddle lights.
Some pictures of the new lighting.
Sorry about poor quality. Needed a tripod for the camera, because the pics are taken without flash.
I have the 9 spec LED in the dome lights, the 12 spec LED in the map lights, the 6 spec LED in the curtisy lights, and the brightest LED in the trunk light.
Last edited by magne; 08-23-13 at 03:52 PM.
08-26-13, 05:39 PM
#57
Driver School Candidate

Join Date: Aug 2013
Location: AK
Posts: 27
Likes: 0
Received 0 Likes
on
0 Posts
Thanks for all the DIY photos!
I've done all the lights but Mirror puddle lights....
I also think it's not a easy one and afraid to damage something....
By the way, I like your trunk mat, where do you get it? Norway?
I've done all the lights but Mirror puddle lights....
I also think it's not a easy one and afraid to damage something....
By the way, I like your trunk mat, where do you get it? Norway?
Last edited by IS300H744; 08-31-13 at 11:14 PM.
08-26-13, 05:53 PM
#58
Lexus Champion
 it is straightforward though. Just tilt the mirror down, pry off and unscrew and reverse. It's slightly challenging getting everything to line up without a third hand when putting the screws back though.
08-26-13, 06:50 PM
it is straightforward though. Just tilt the mirror down, pry off and unscrew and reverse. It's slightly challenging getting everything to line up without a third hand when putting the screws back though.
08-26-13, 06:50 PM
#59
http://hidpowerhouse.com/shop/verus-...enon-lights-2/