When you click on links to various merchants on this site and make a purchase, this can result in this site earning a commission. Affiliate programs and affiliations include, but are not limited to, the eBay Partner Network.
DIY: Figs Engineering Front Lower Arm Rear Mount #2
First off I'm no pro at all. Do this at your own risk I'm not responsible for your mess ups and this is just a somewhat guide to help you out. If you have a better way do it.
Tools needed:
22mm socket
17mm socket
14mm socket
10mm socket
Breaker bar
Car jack and stands
Tire iron
Thread lock liquid
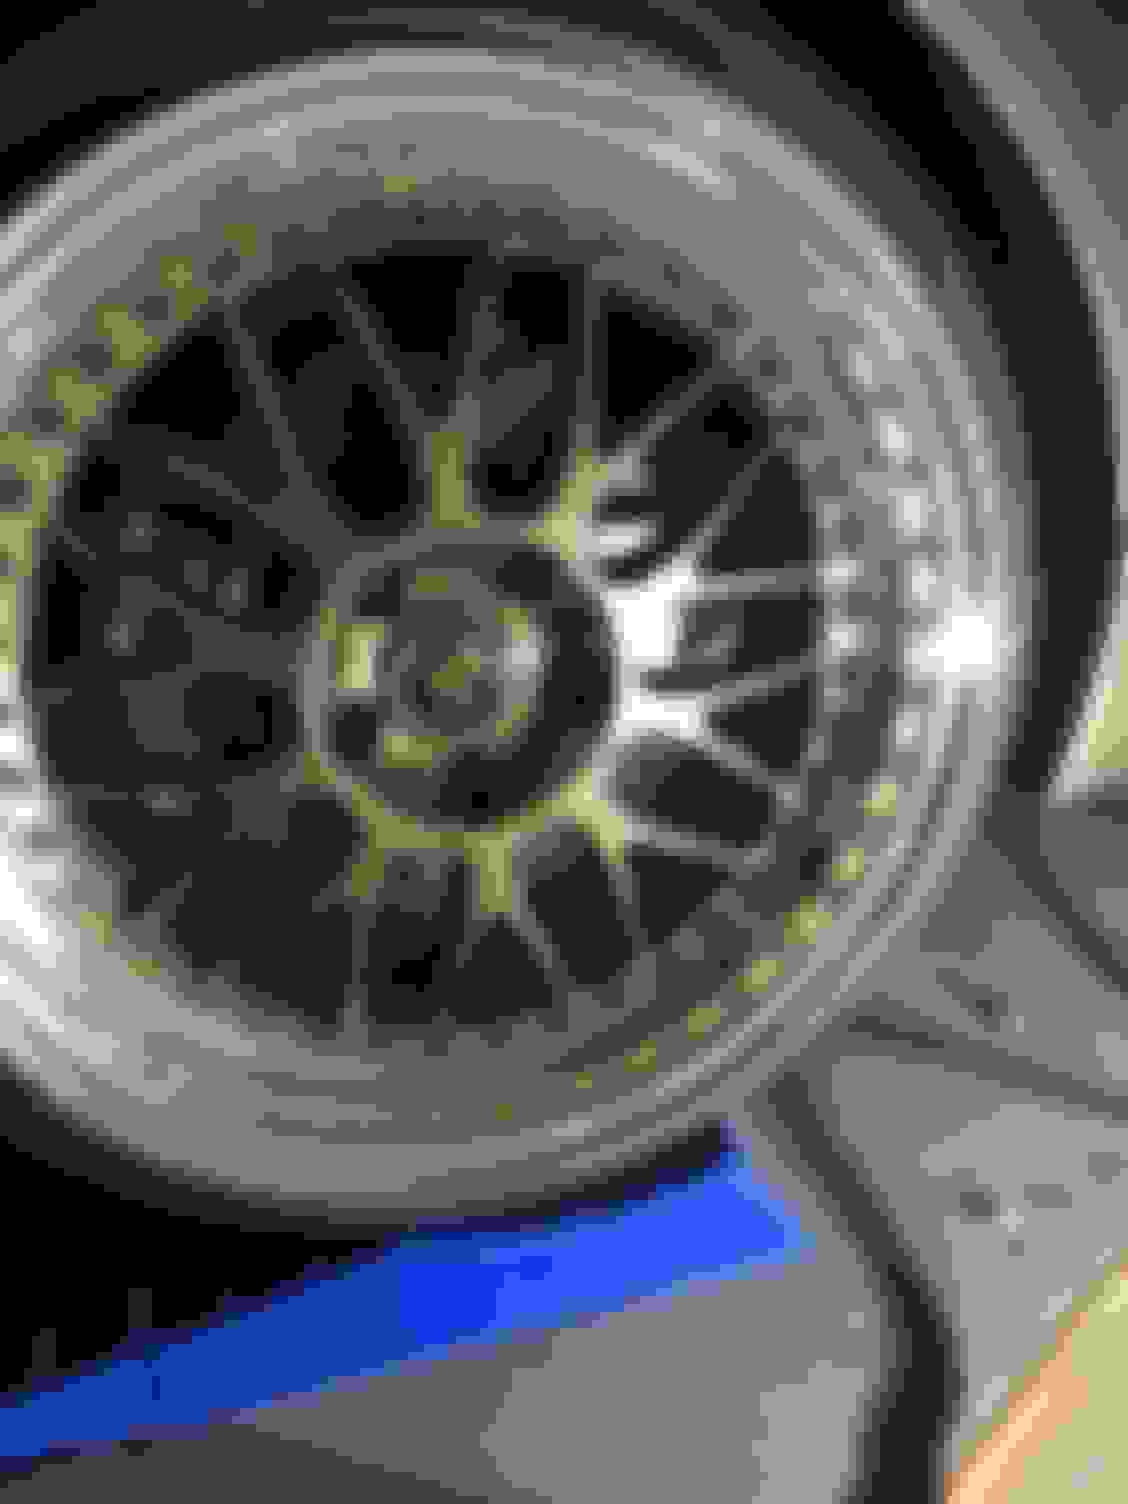
First off raise your car and remove wheels:
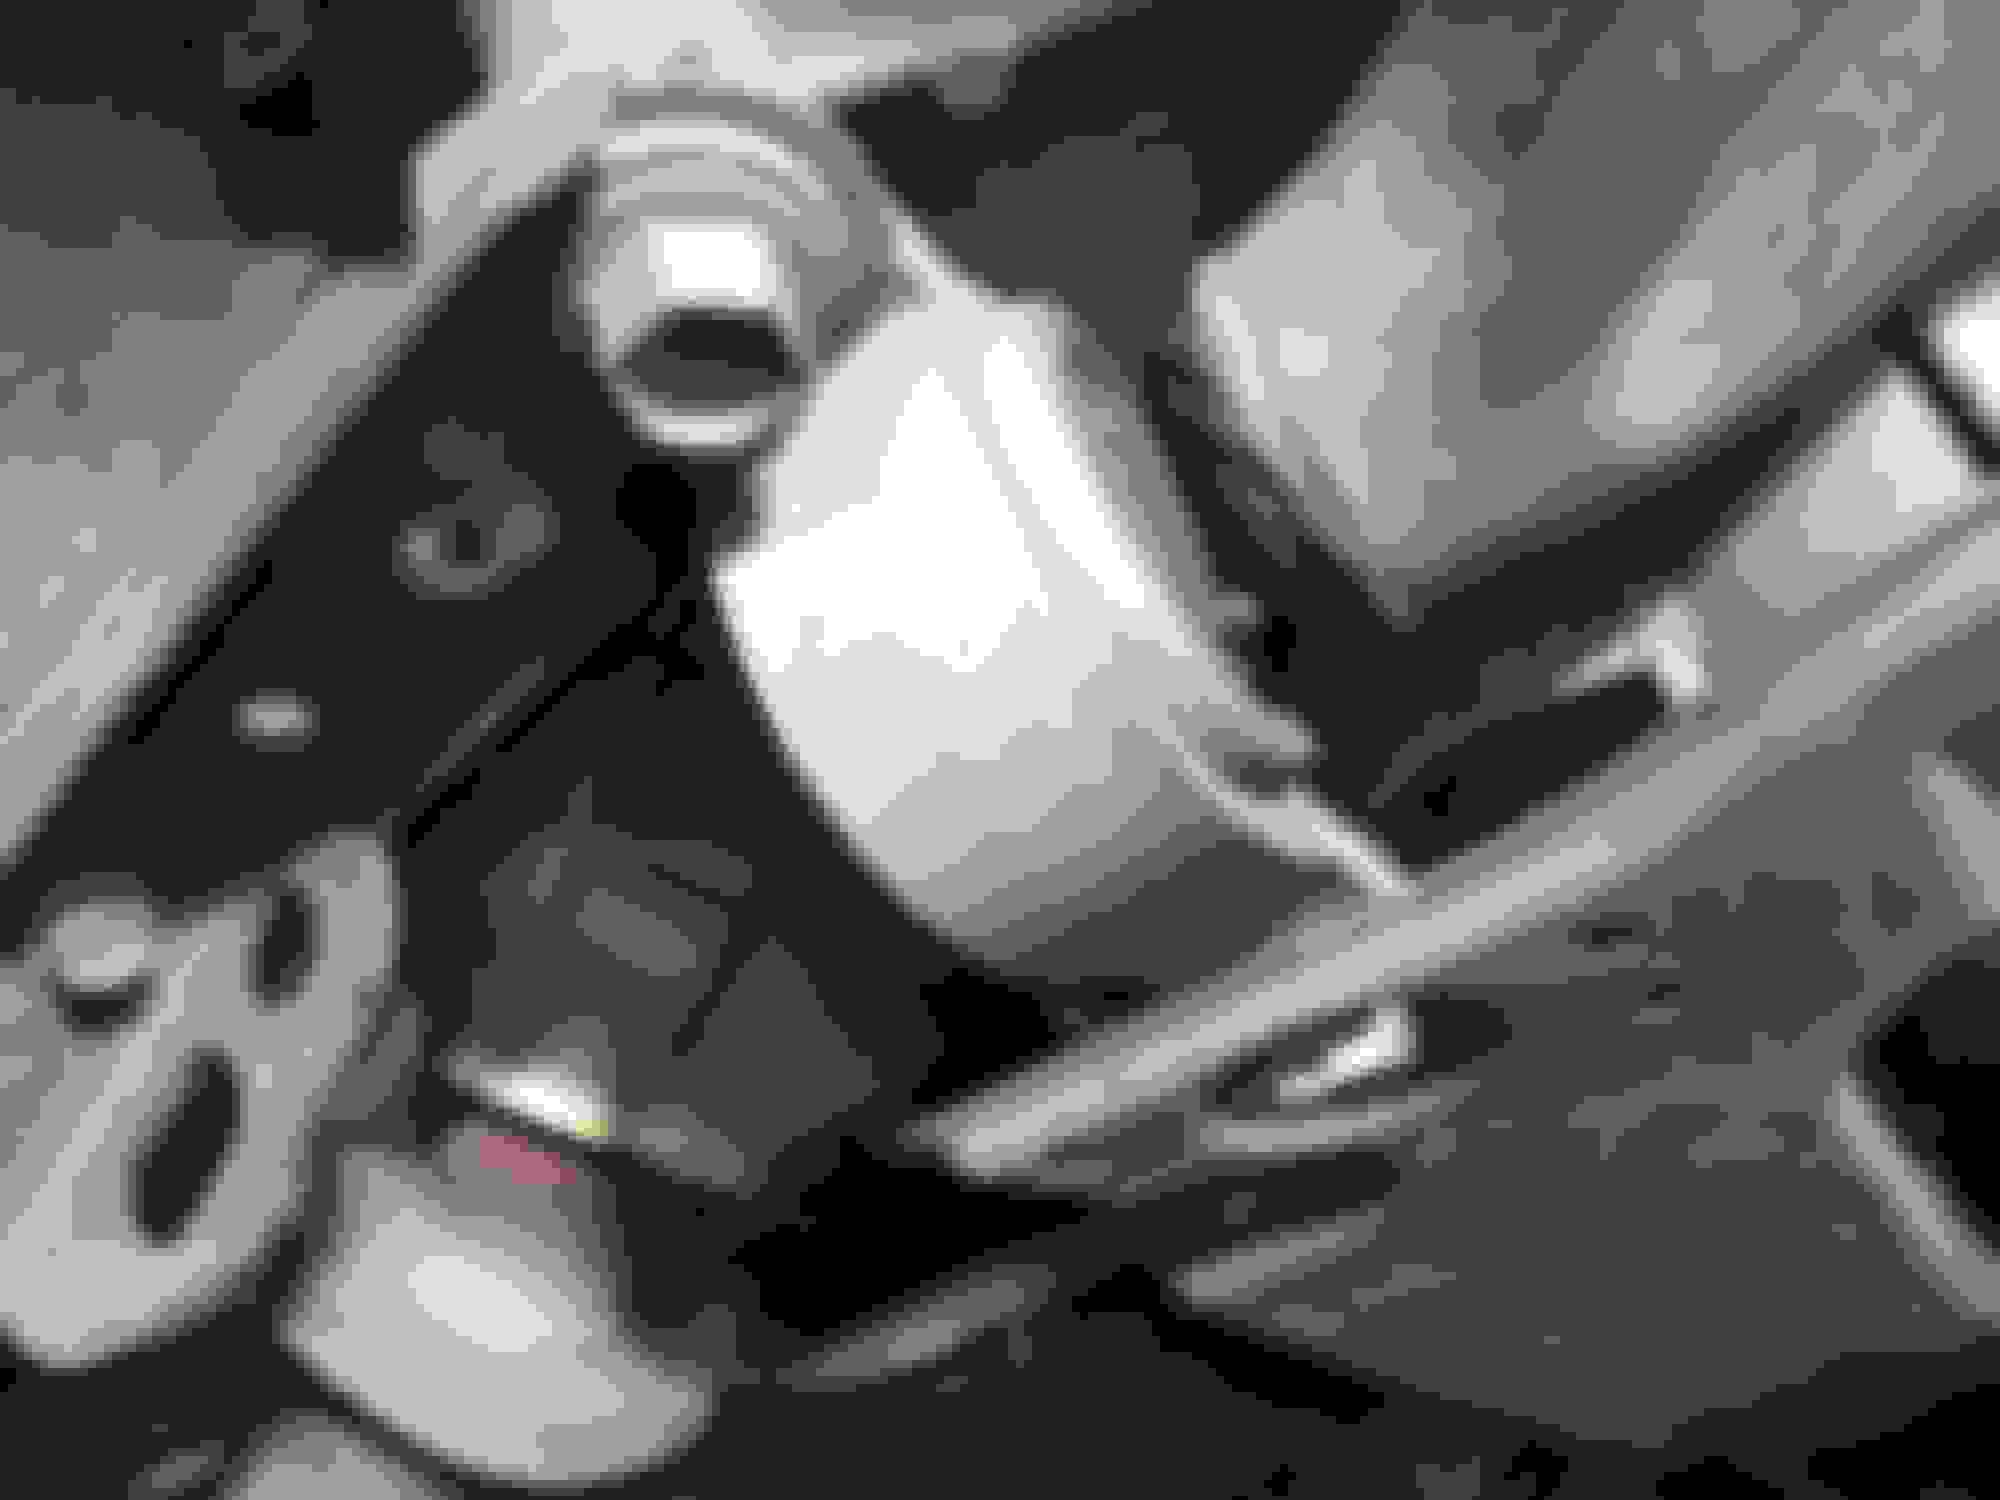
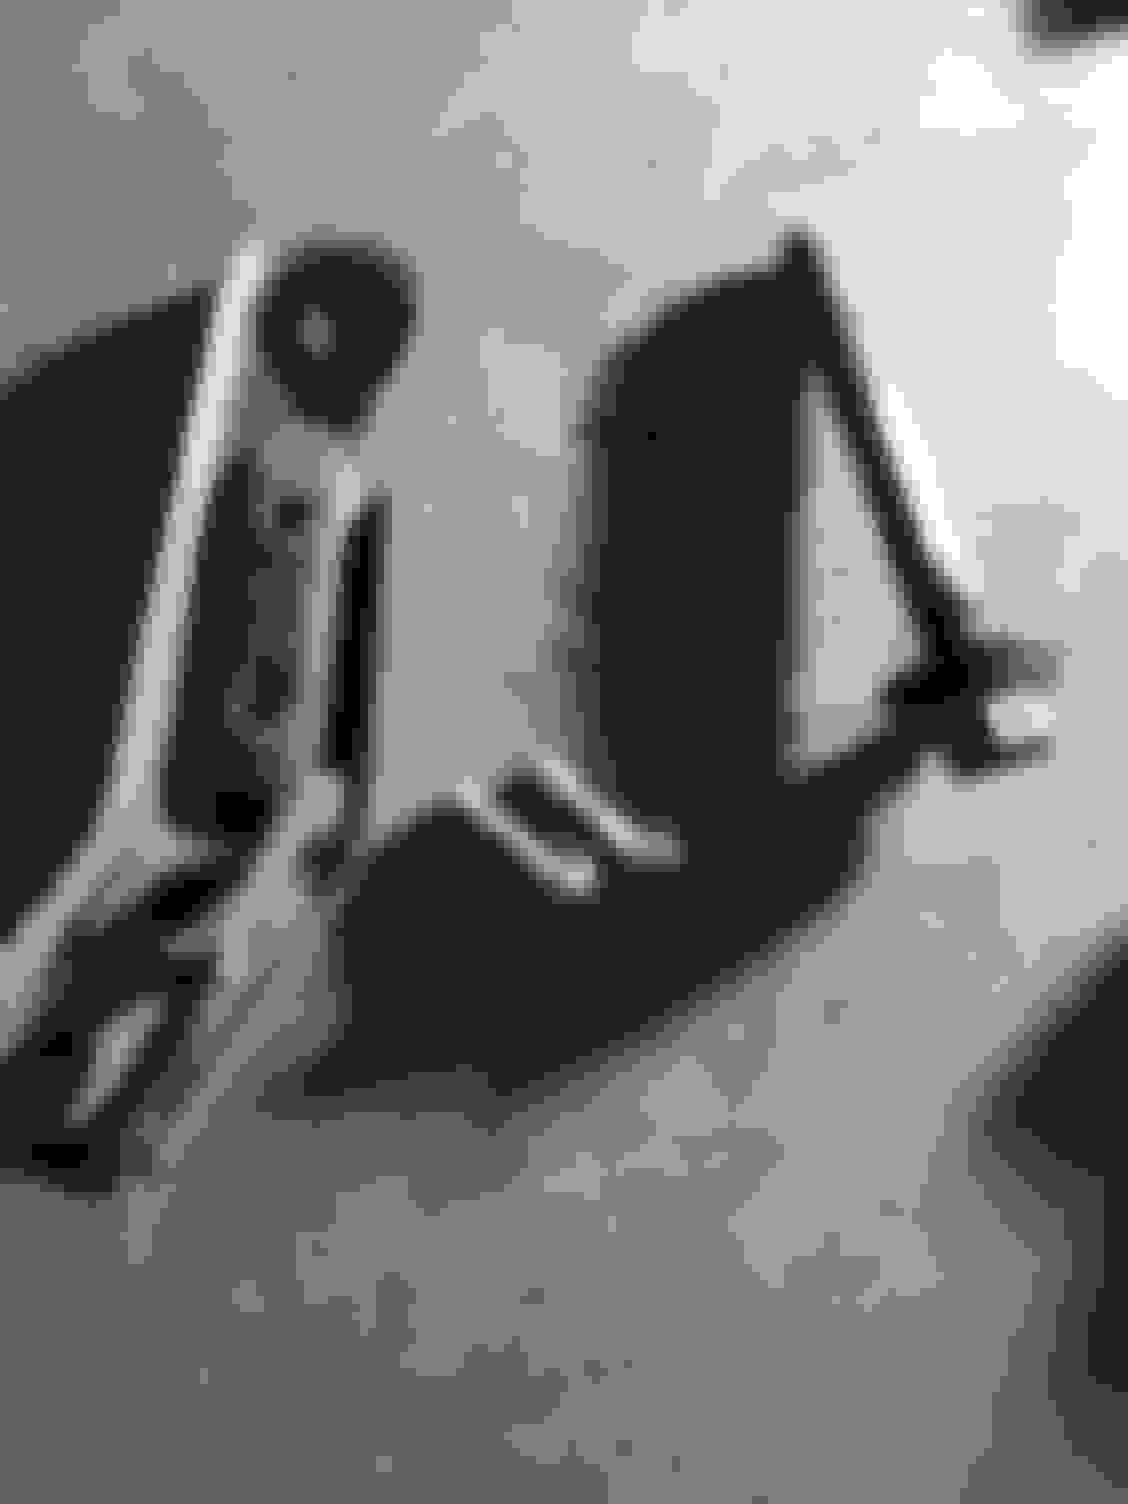
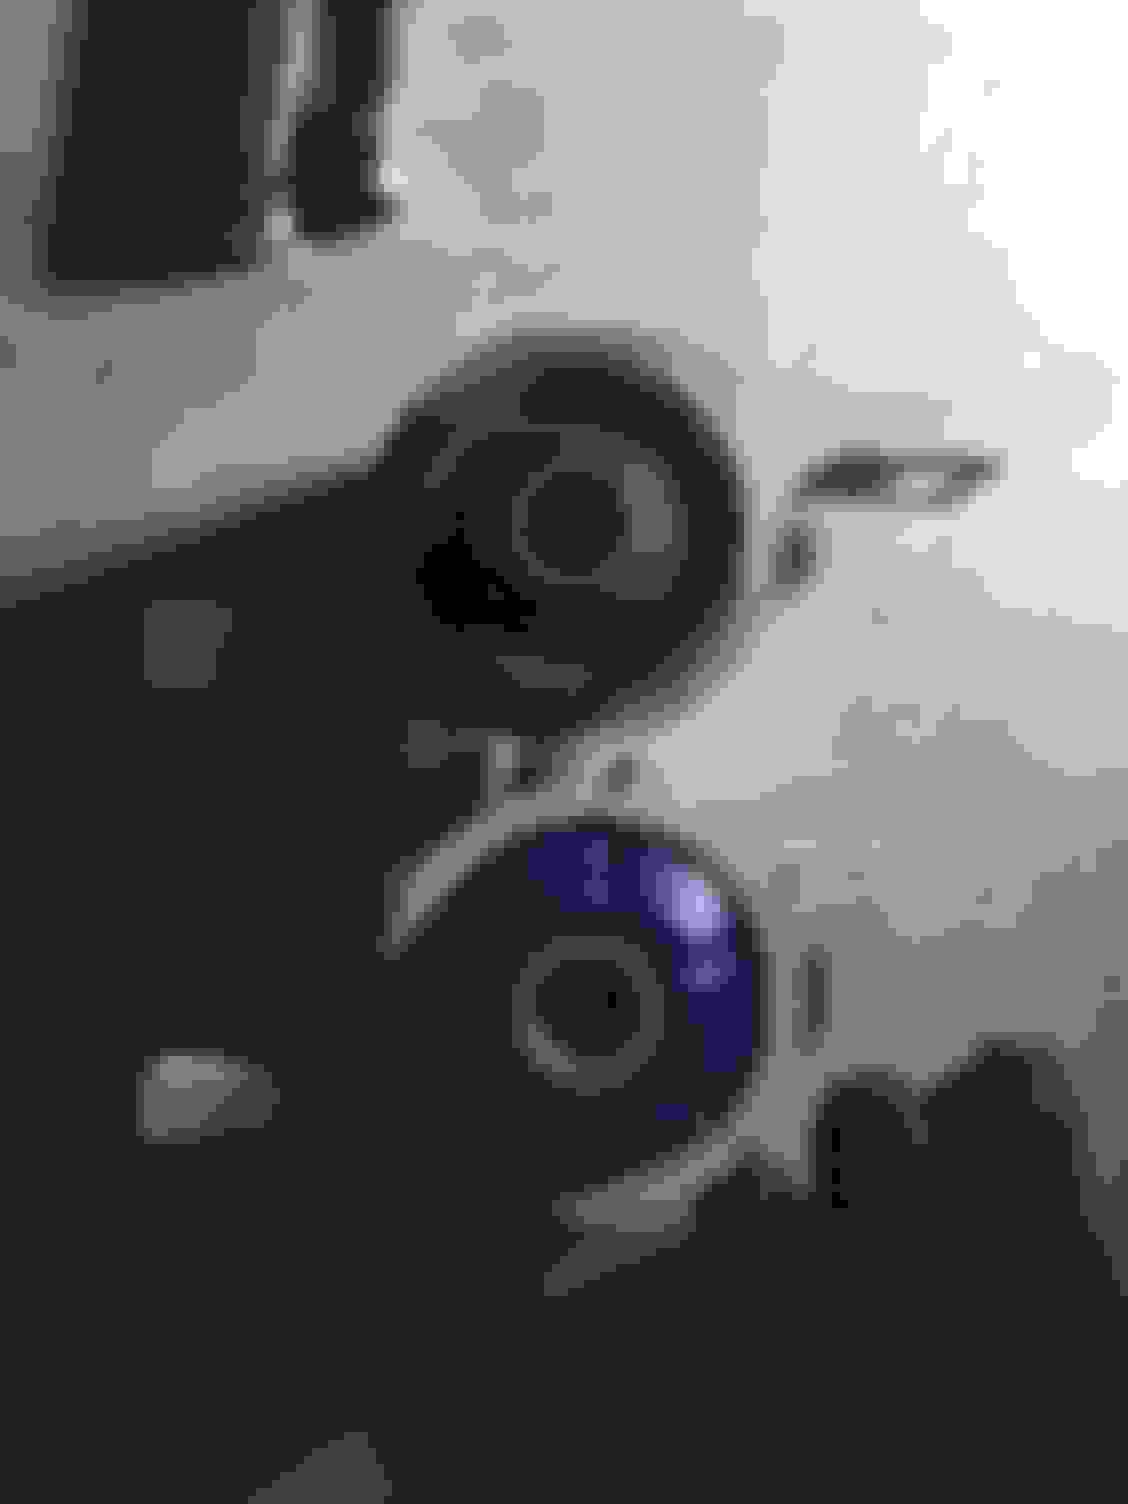
Once you have your wheel off you can see the mount is on the left side. You'll need to remove the 2 big 22mm bolt and but, 17mm bolt on the right side of the bracket, and the 14mm bolts (2).
Once you remove the big 22mm bolt and the 14mm bolts you can remove the bracket which makes it easier to remove the 22mm nut.
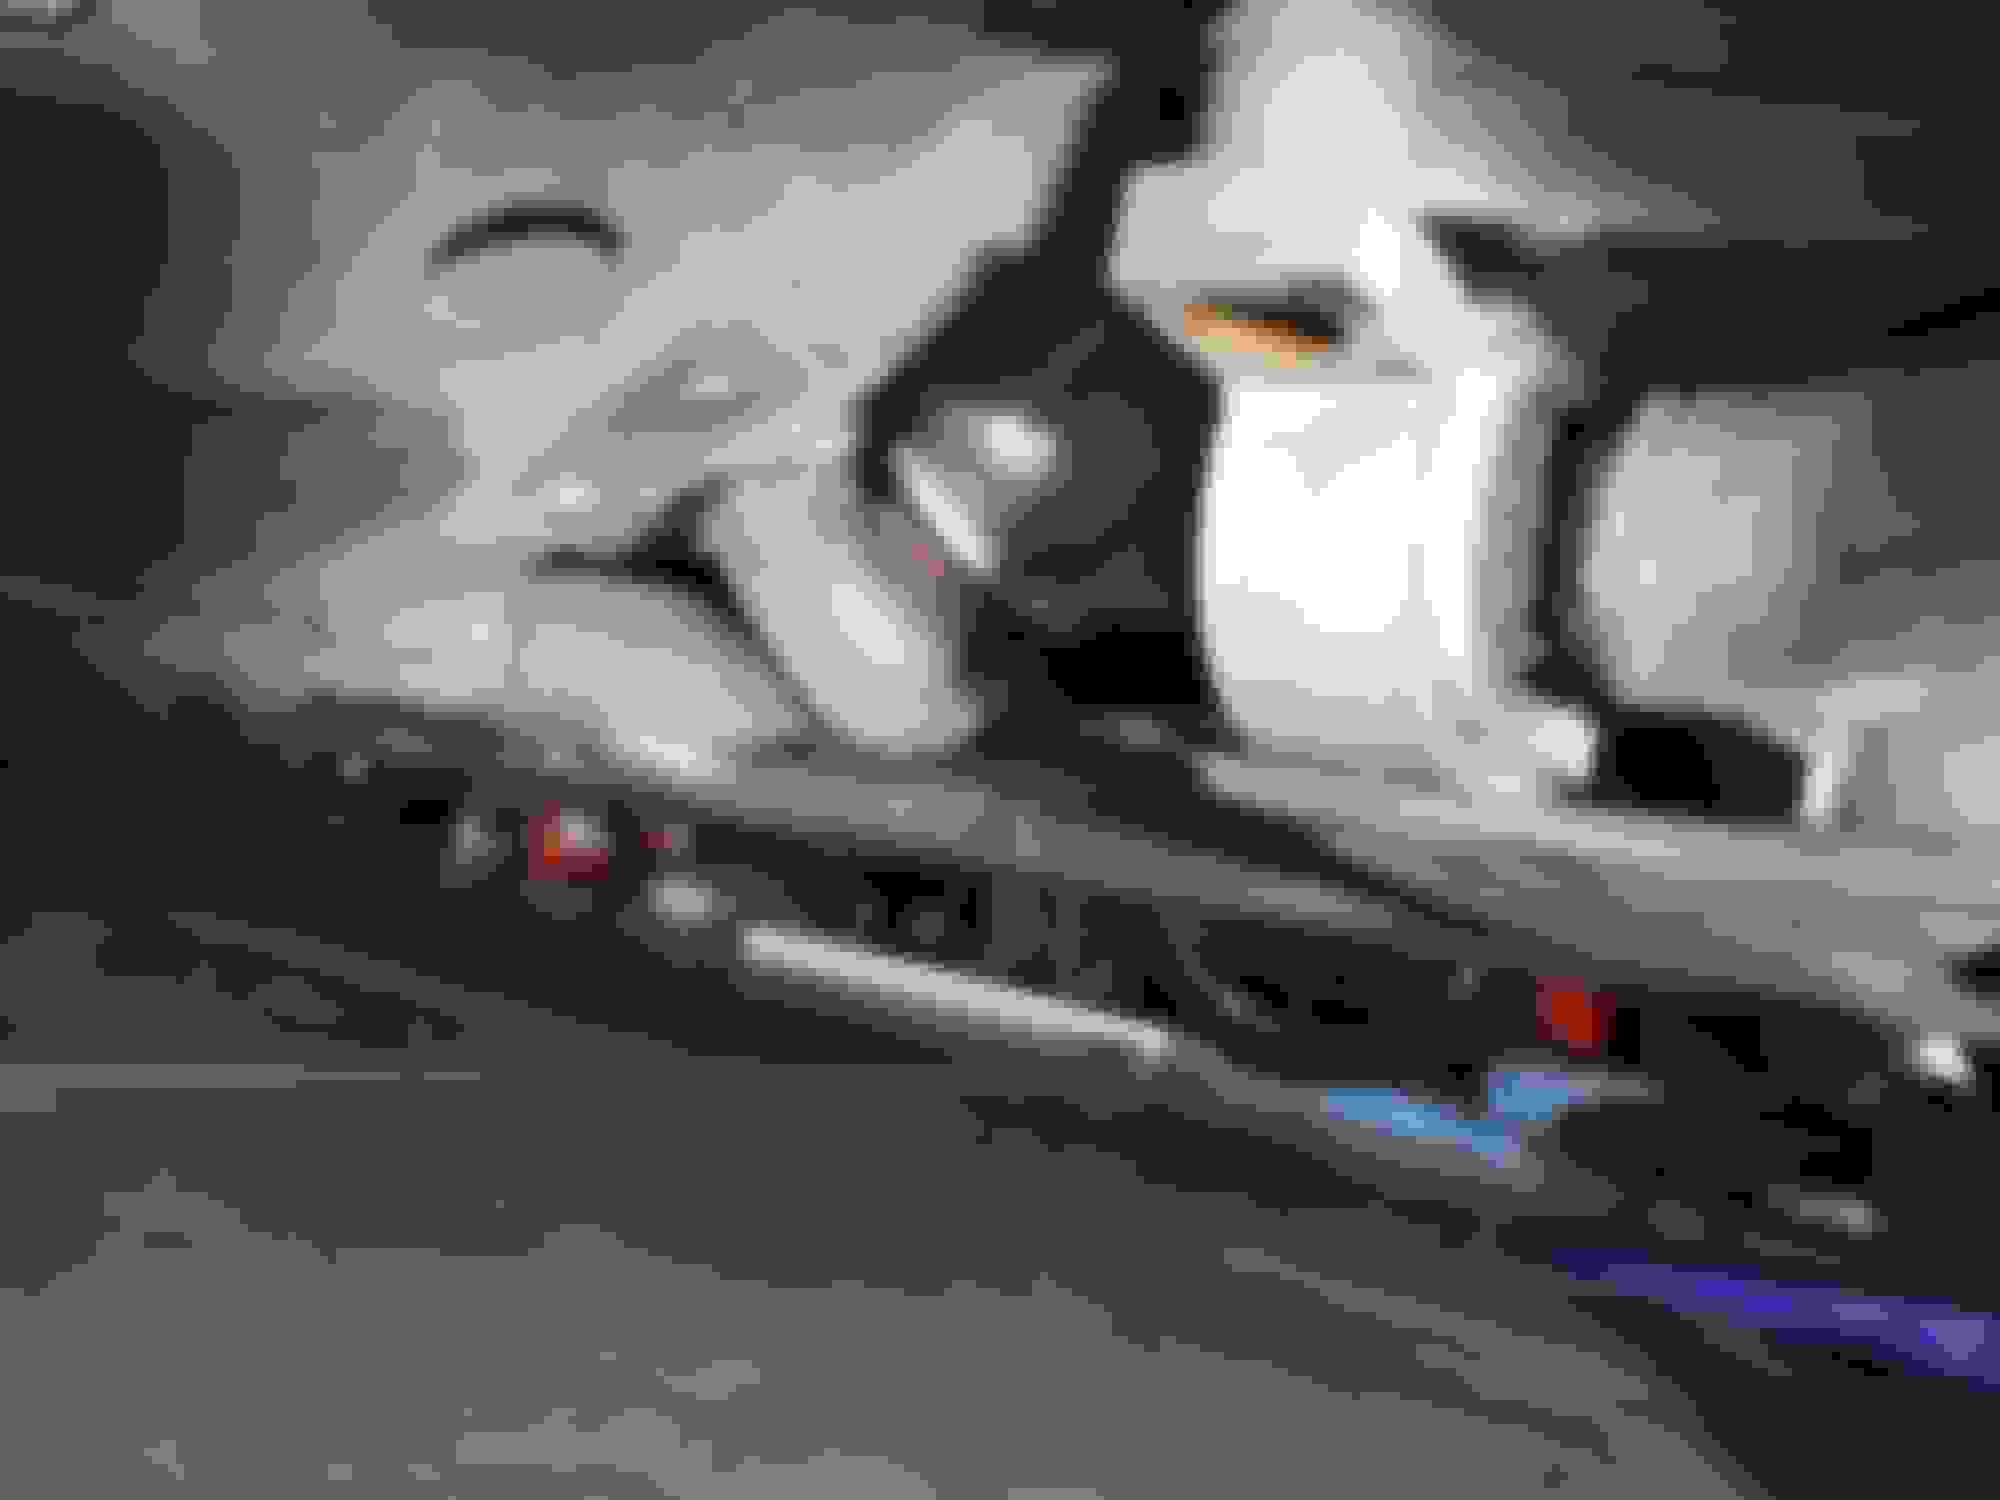
After you've removed the 22mm but you can take off the 17mm bolt on the right side of the bracket. It's a bolt that has a nut on the other end which was actually easy to remove and tighten up. I chose to remove 2 10mm screws that gave me more access to the 17mm bolt. Not necessary though. In the pic you can see the 17mm bolt on the top left
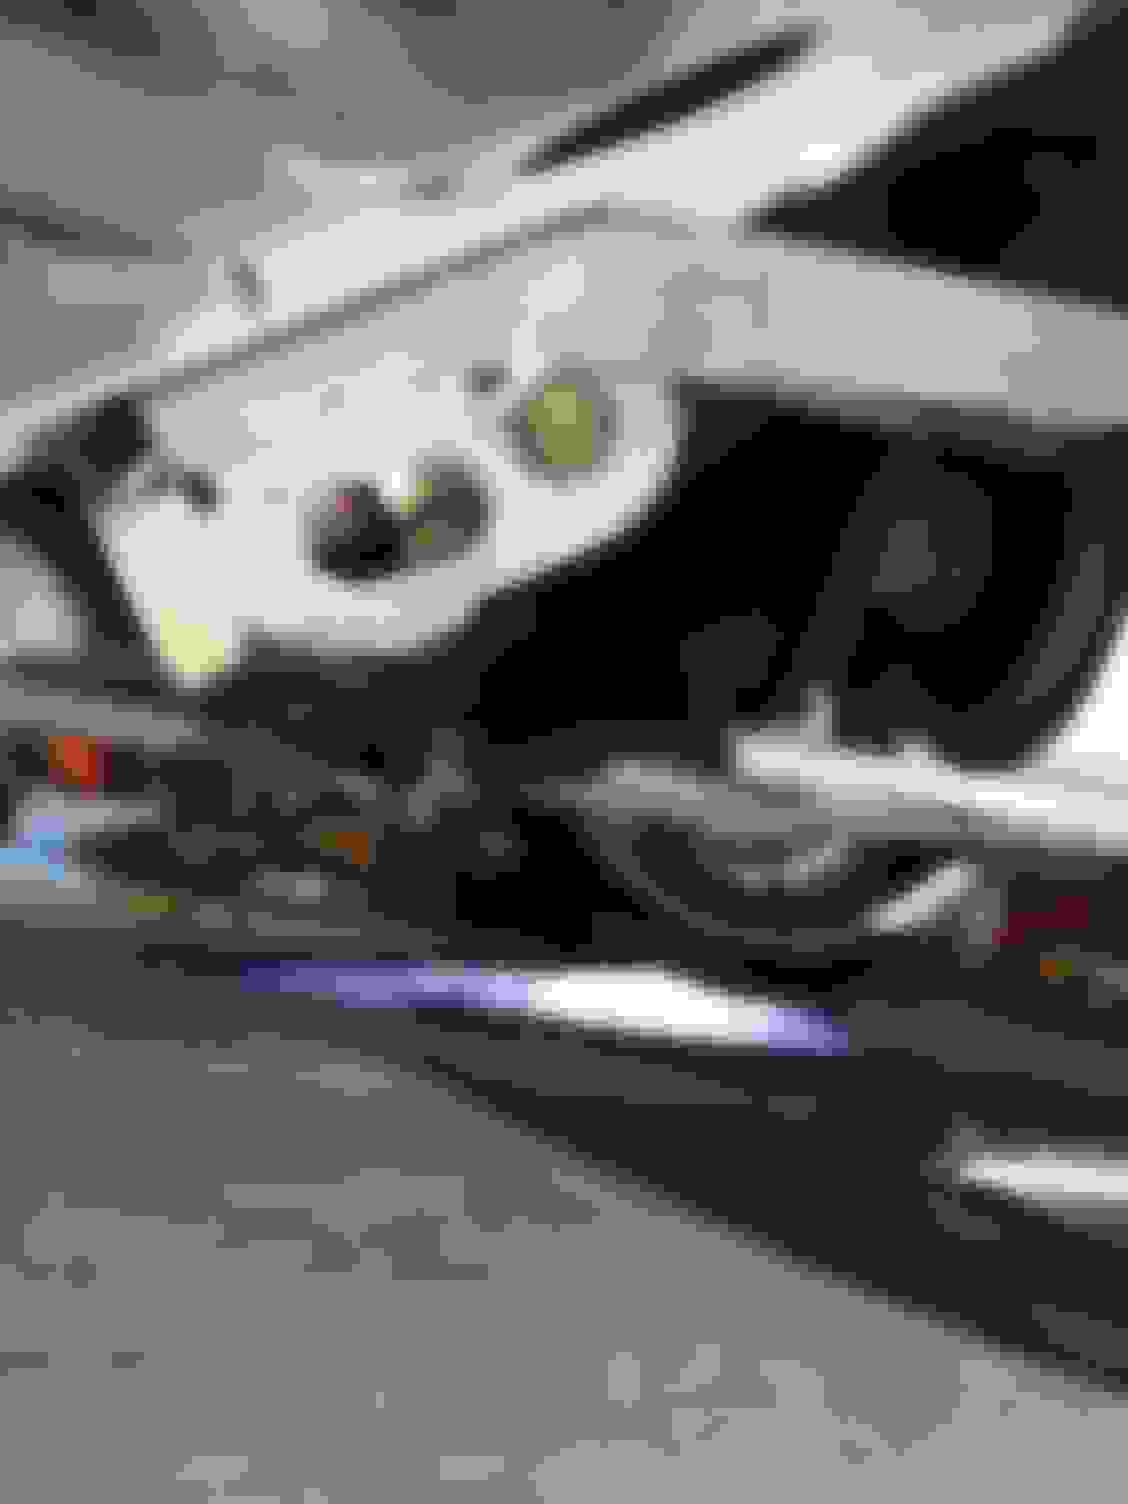
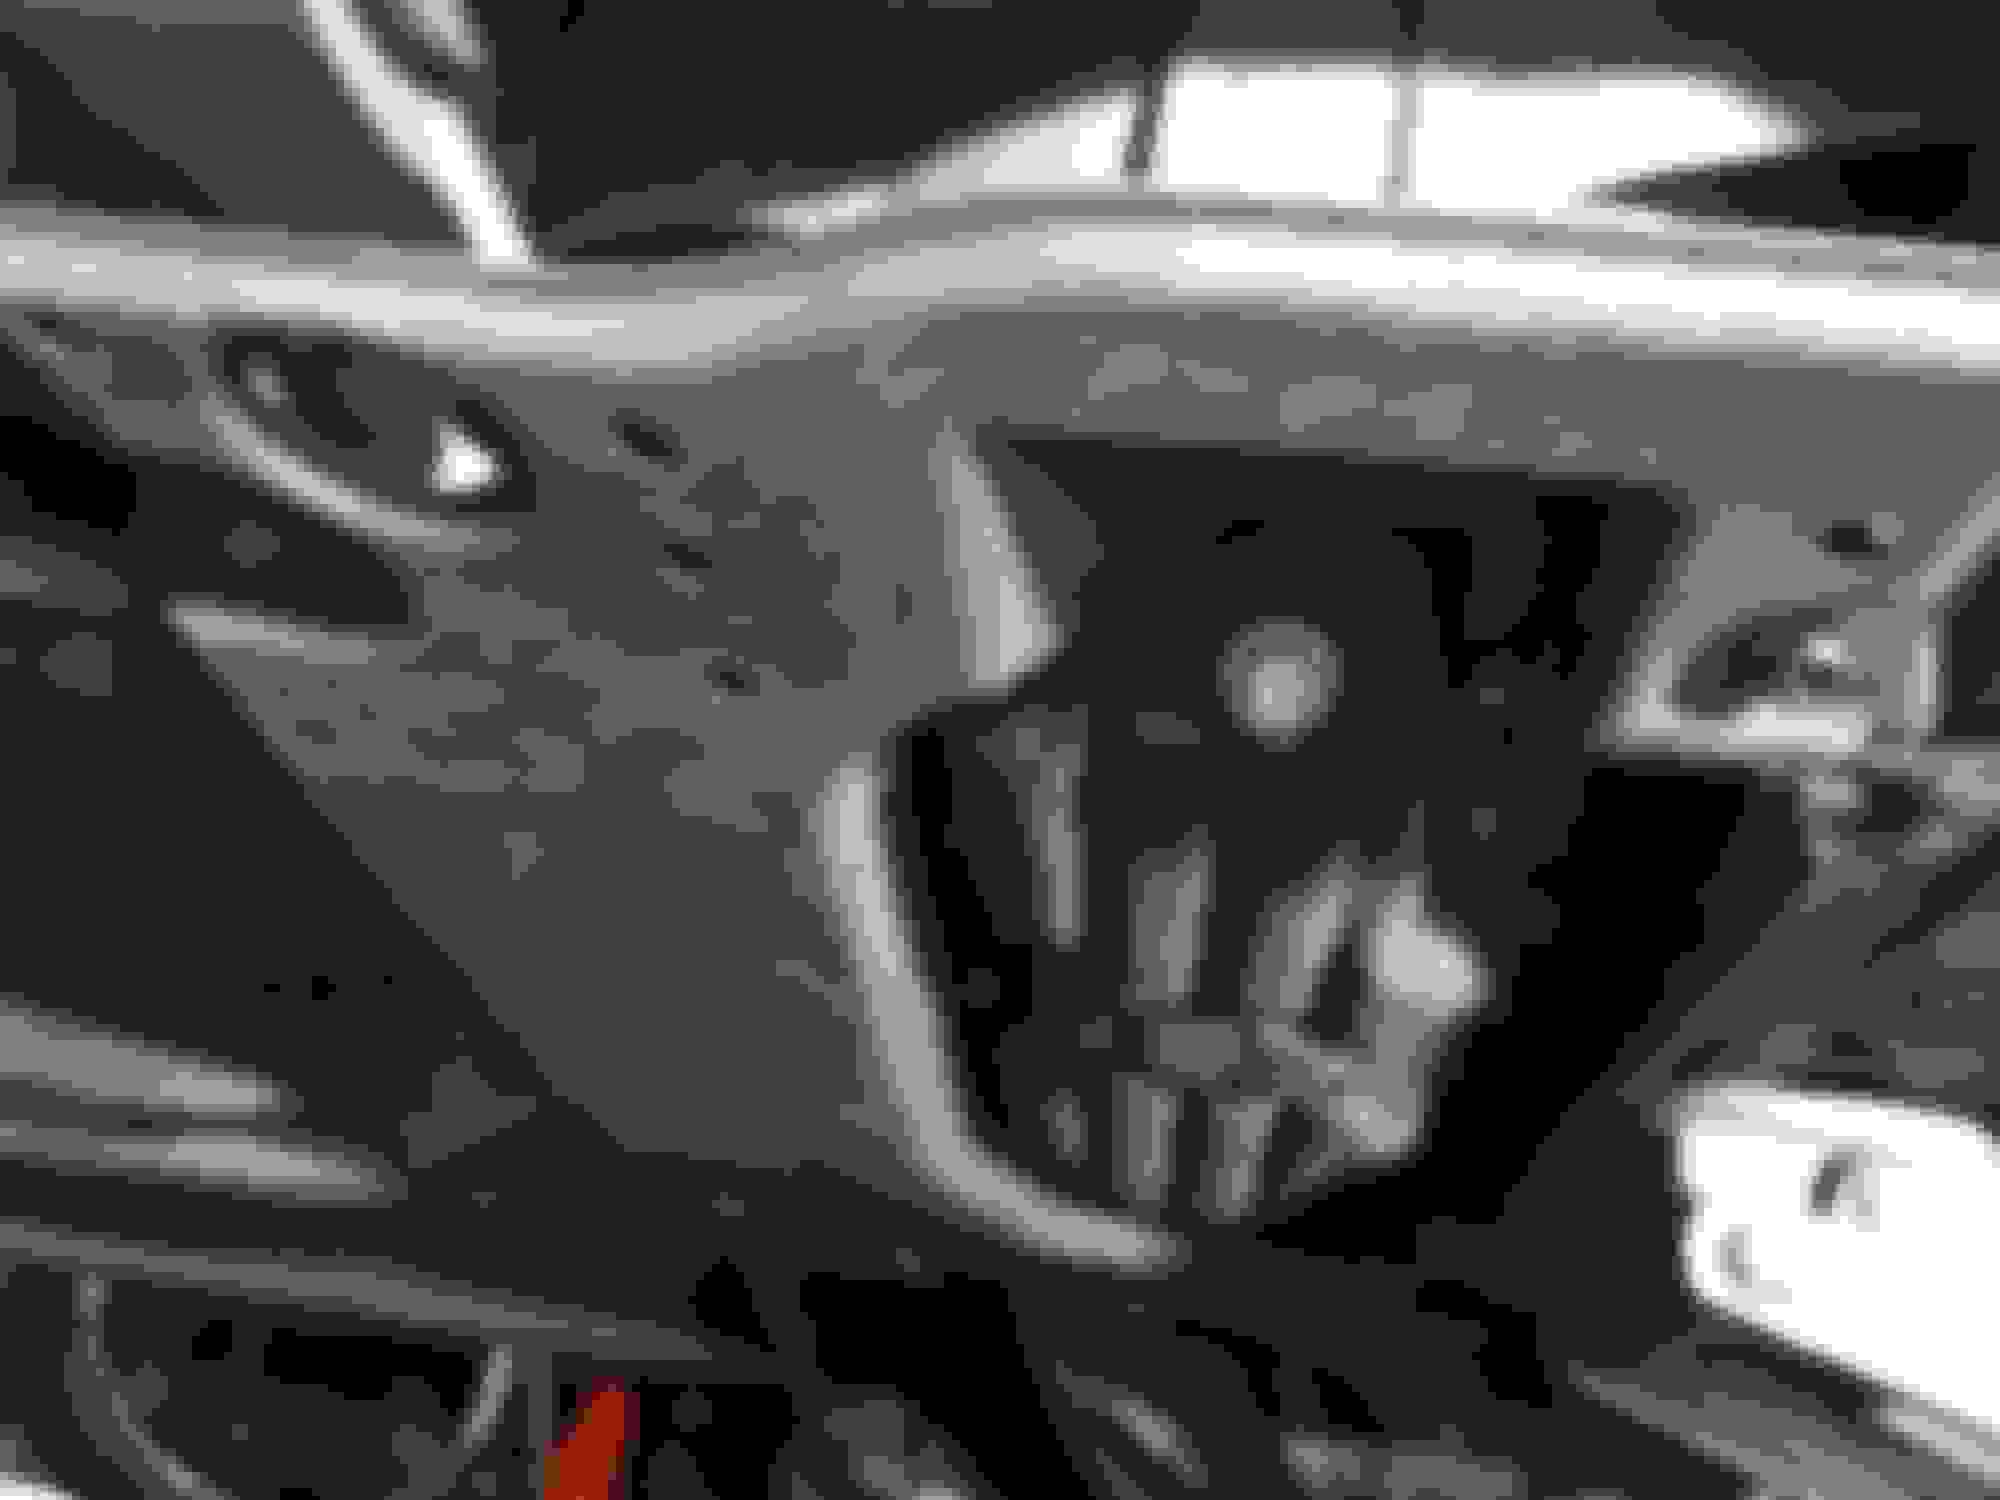
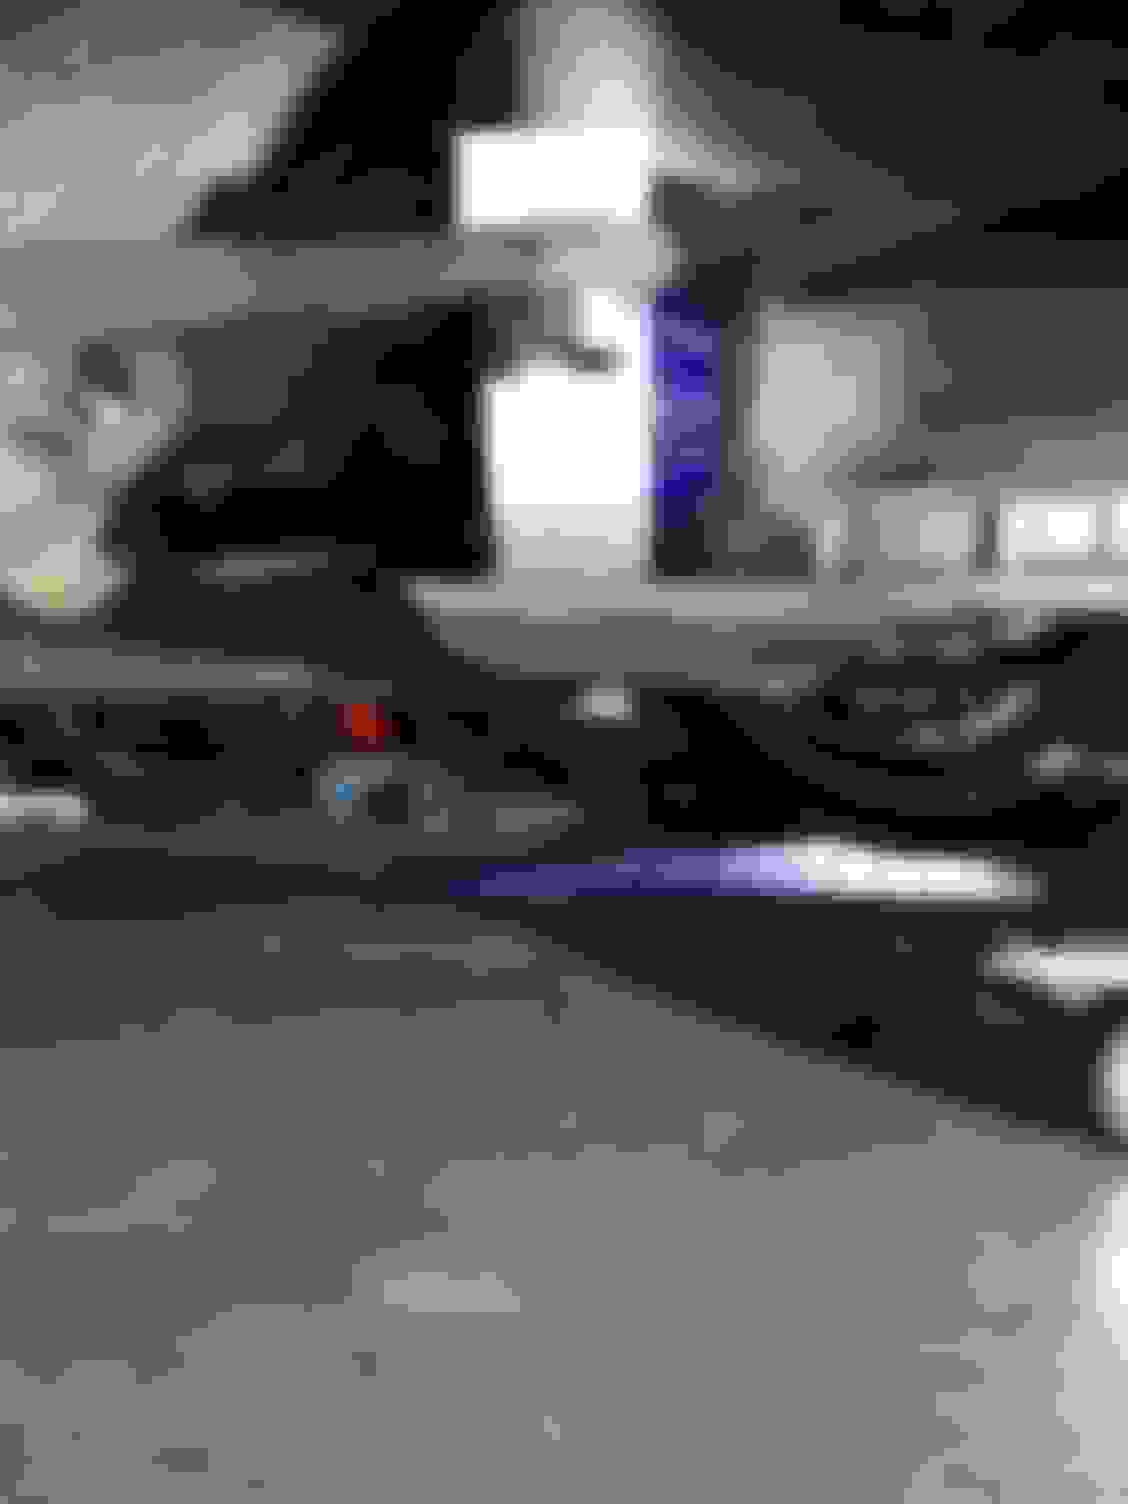
Lastly once all the bolts are removed I used a pry bar between the top bracket and the lower control arm and removed the bracket. Take note how the bracket is mounted one side is flat and the other is tapered. Tapered side goes into the arm.
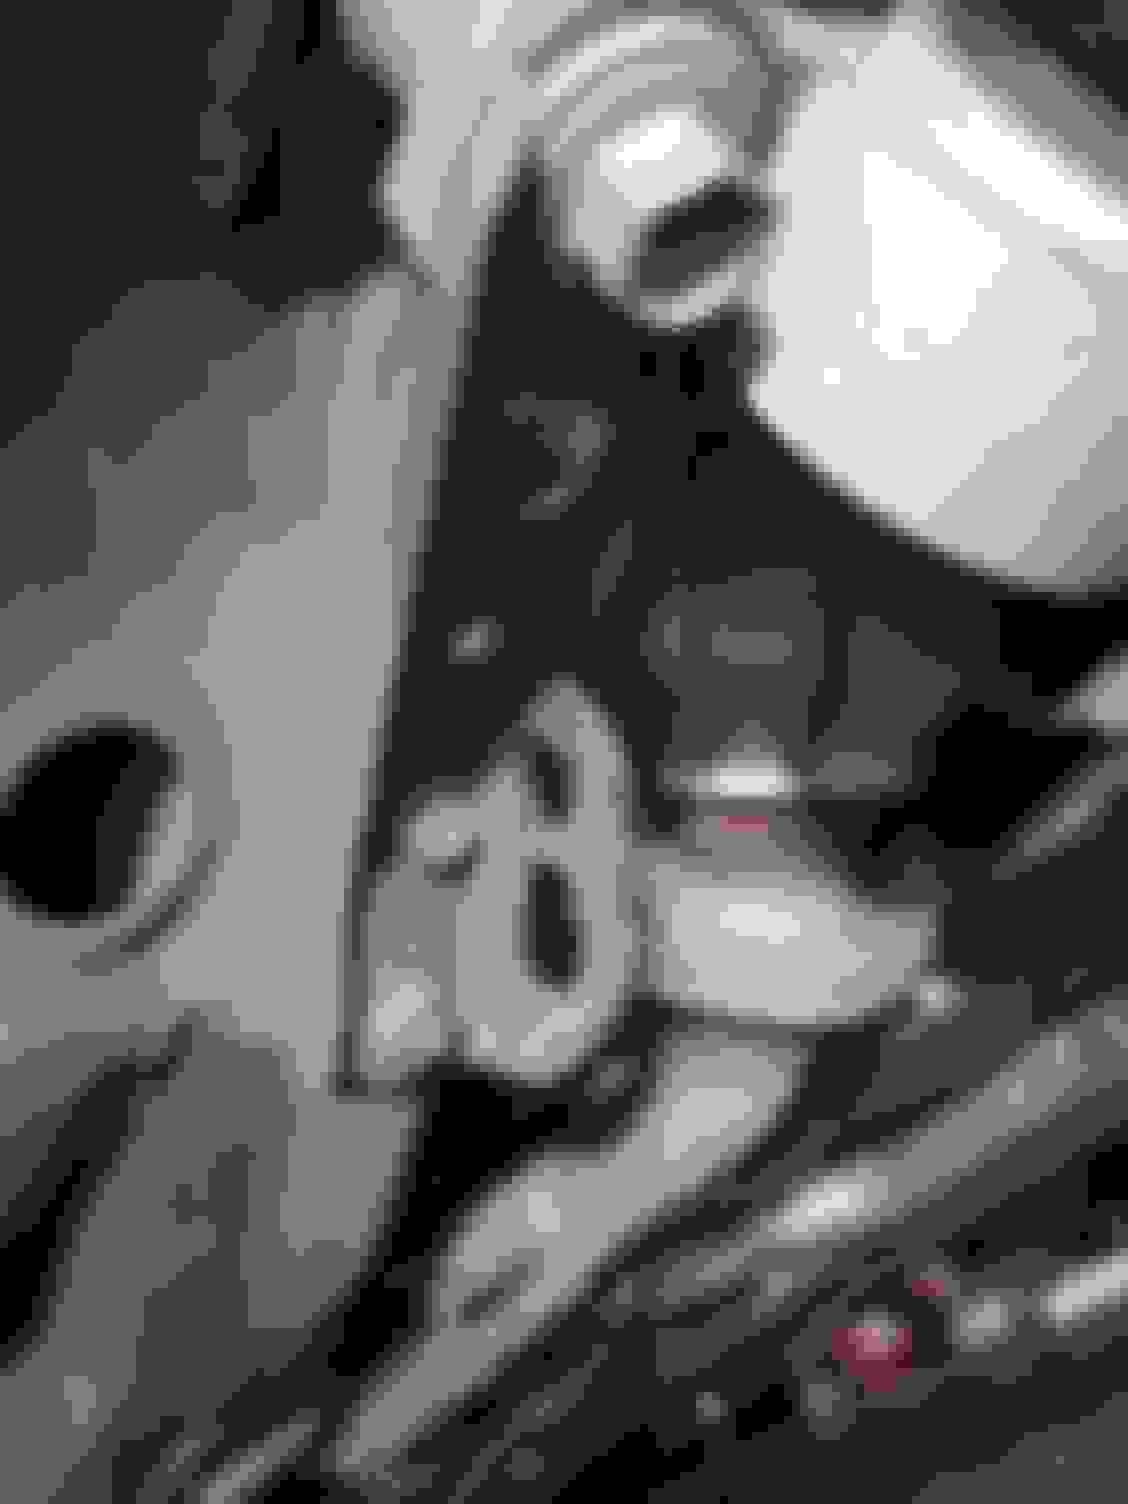
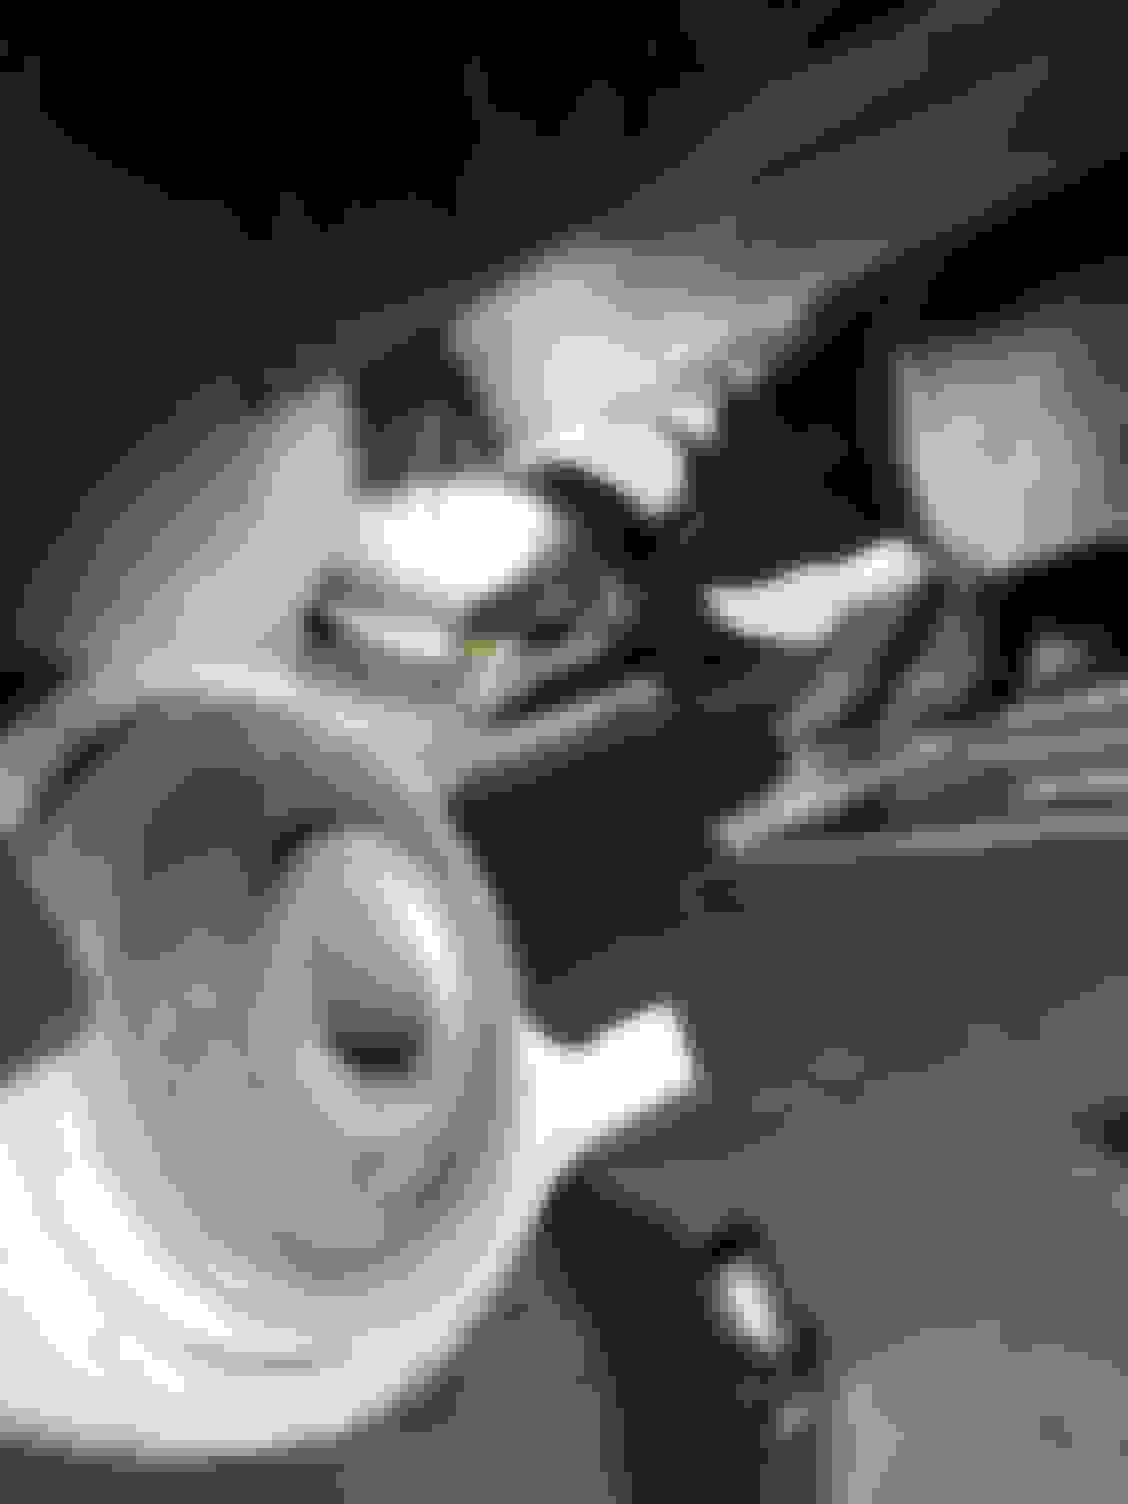
Once you remove the bracket you can compare the two brackets. Add some grease in the new bushing and install and put back everything in reverse order. That's all!
Overall this whole thing took about 2hrs and that was me taking my sweet time and triple checking stuff. On a scale of 1-10 I say this would be a a 6 in difficulty. Enjoy
Nice DIY! I'll be doing this install here soon. My install though will include pressing out the old bushings and installing the new since I didn't wanna pay extra for the extra mounts. I'll take pics of the process.

 04-23-15, 11:11 PM