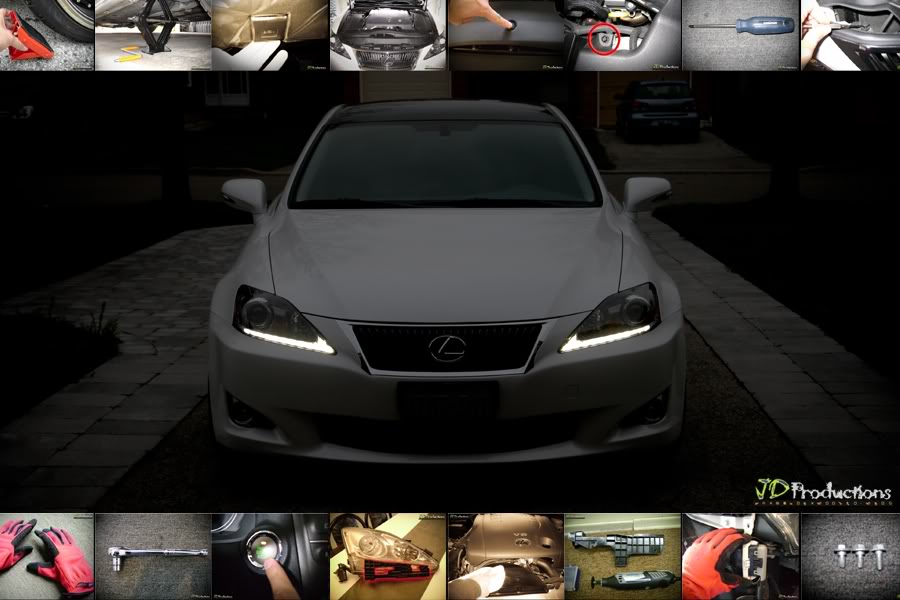
DIY: 2011+ MY LED Headlight Installation ("How To")
 04-25-12, 08:26 AM
#1
Pole Position
Thread Starter

* * * USE AT YOUR OWN RISK * * *
ITEM TO INSTALL:
 2012MY LED HEADLAMP RETRO-KIT "Loaded" (Sewell Parts)
RECOMMENDED MATERIALS/TOOLS:
4 x Wheel Chocks (Walmart)
In-Car Scissors Jack (Applies to Lowered Cars)
Jack (I used Michelin 3�-ton Speedy Lift Jack @ Canadian Tire)
2 x 2-Ton Axle Stands (Walmart)
Old Carpet Runner or Old Exercise Mat (for Bumper Protection & Back Support)
Automotive Work Gloves (Canadian Tire)
Zip Lock Plastic Bags (for clips & bolts @ No Frills)
Phillips Screwdriver (Canadian Tire)
Jeweler's Screwdriver (Canadian Tire)
Socket Wrench with 10mm Socket + Extension (Mastercraft @ Canadian Tire)
Painter's Tape (for Fender Protection @ Canadian Tire)
Rotary/Cutting Tool (Rona)
Safety Glasses (for Eye Protection @ Canadian Tire)
Flash Light (for Relay Flasher @ Canadian Tire)
Long Nose Pliers (for Relay Flasher @ Canadian Tire)
OPTIONAL:
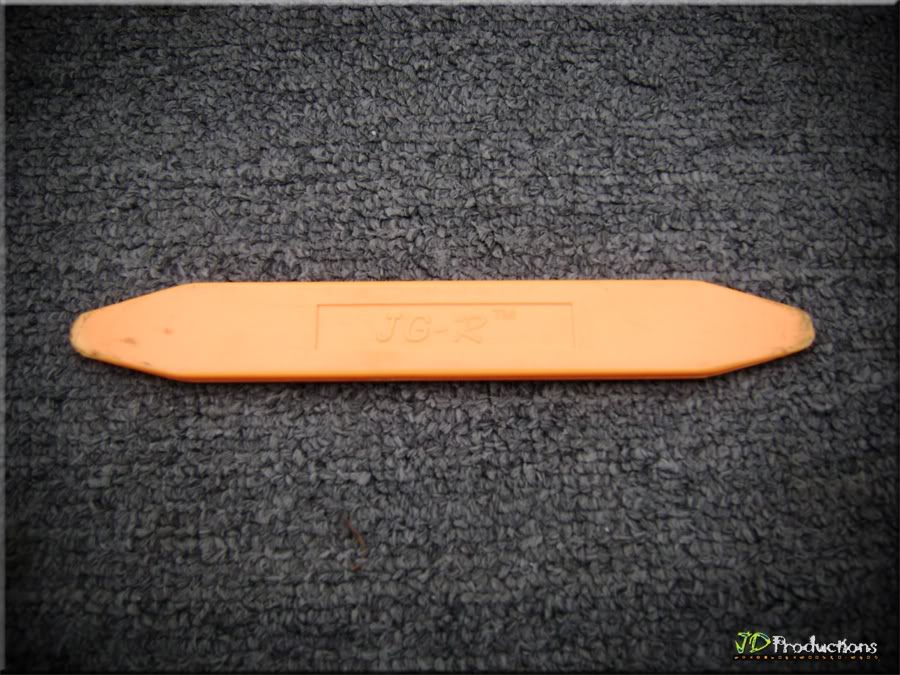
62mm Audio/Video Dash Removal Tool (for stubborn clips @ Ebay Motors)
170mm Audio/Video Dash Removal Tool (for Plastic Fender Cover @ Ebay Motors)
~~~~~~~~~~~~~~~~~~~~~~~~~~~~~~~~~~~~~~~~~~~~~~~~~~~~~~~~~~~~~~~~~~~~~~~~~~~~~~~~
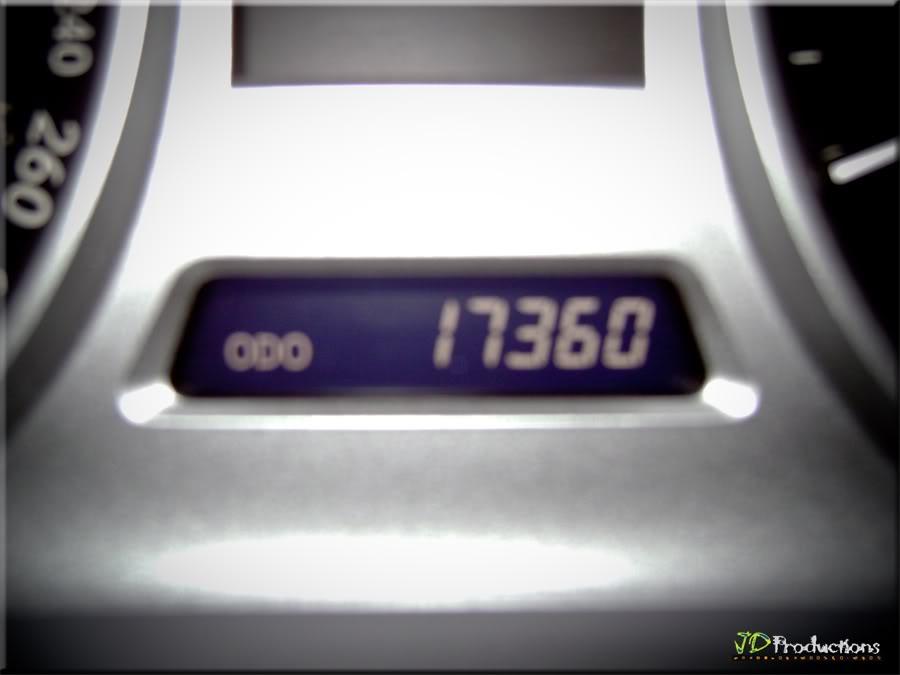
STEP 1
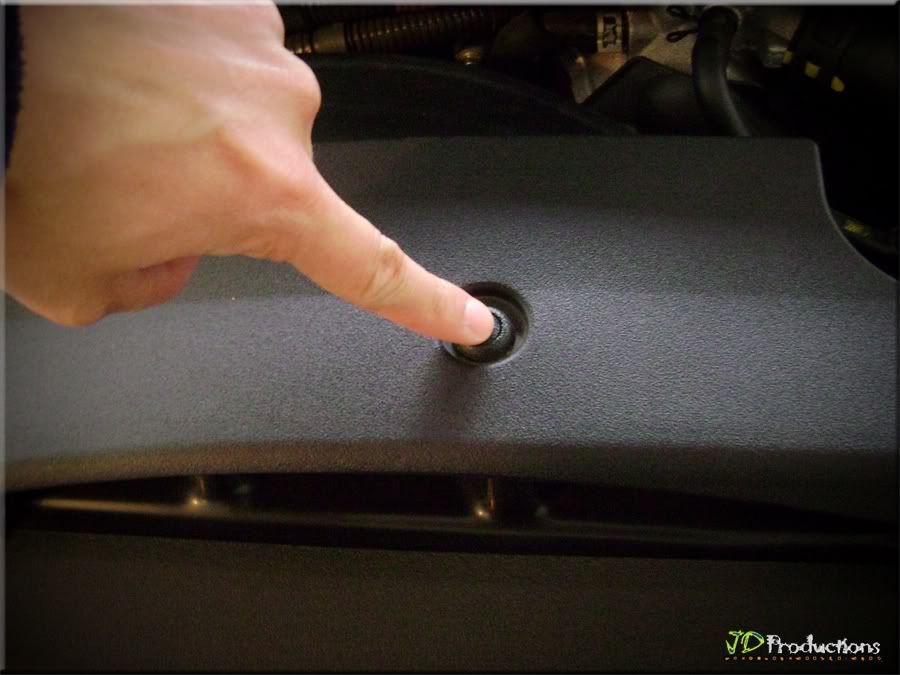
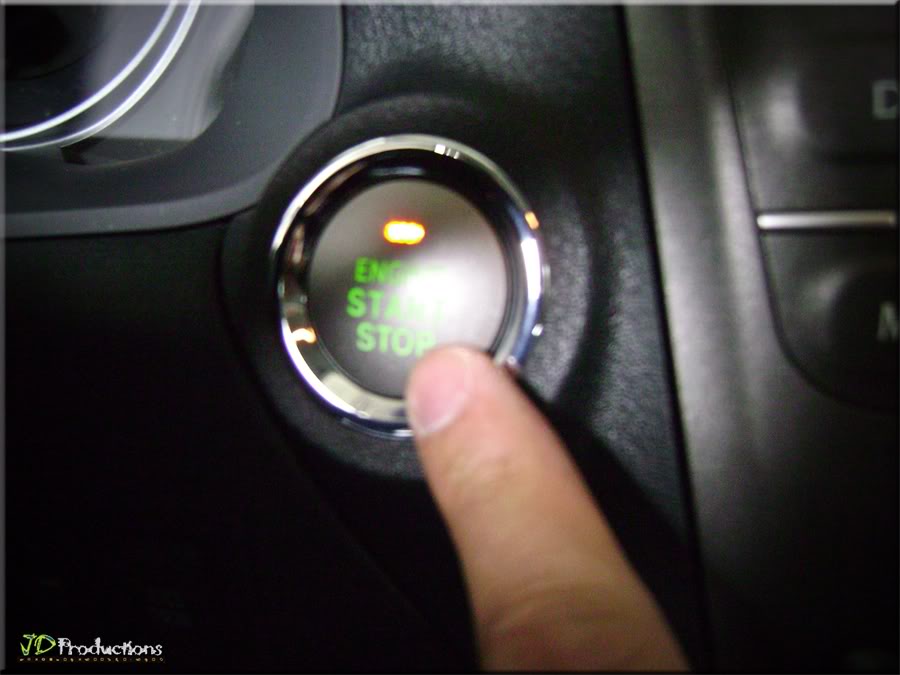
1.1) Press Engine START/STOP

1.2) Make note of the ODOMETER Reading and Date of Install (This helps me keep track of my MODS)
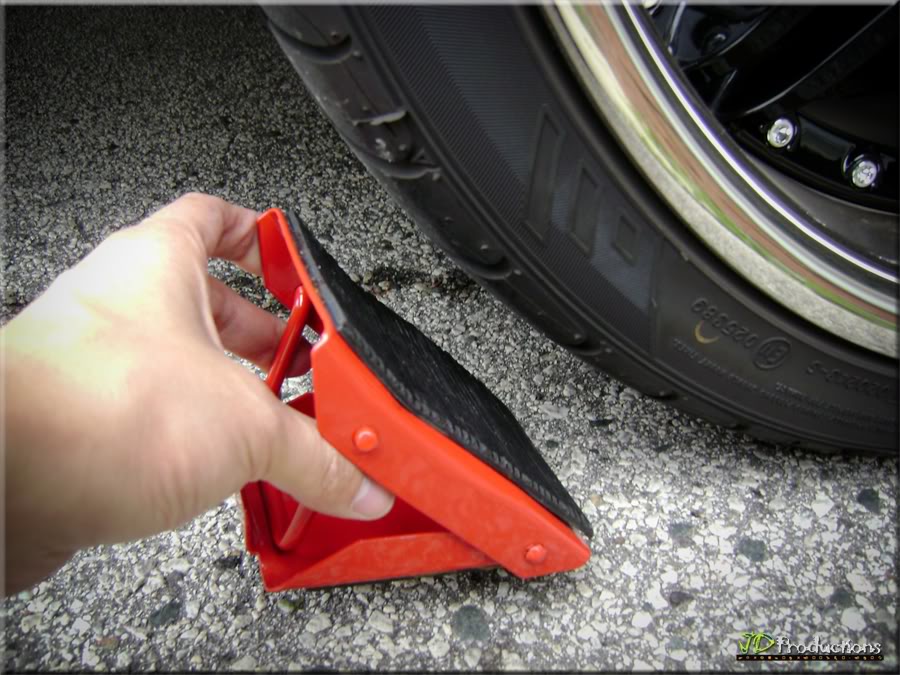
STEP 2
Place "Wheel Chocks" in front of and behind the rear wheels and wedge them securely against the tires.
"I'm not a Mechanic or Auto Body Specialist. I sit in-front of my computer all day at work. That being said; If I can do this Step-By-Step DIY, so can you!" . . . JD
ITEM TO INSTALL:
RECOMMENDED MATERIALS/TOOLS:
OPTIONAL:
~~~~~~~~~~~~~~~~~~~~~~~~~~~~~~~~~~~~~~~~~~~~~~~~~~~~~~~~~~~~~~~~~~~~~~~~~~~~~~~~
STEP 1
1.1) Press Engine START/STOP
1.2) Make note of the ODOMETER Reading and Date of Install (This helps me keep track of my MODS)
STEP 2
Place "Wheel Chocks" in front of and behind the rear wheels and wedge them securely against the tires.
Last edited by cyberscorp; 04-30-12 at 12:11 PM.
 04-25-12, 08:27 AM
#2
Pole Position
Thread Starter
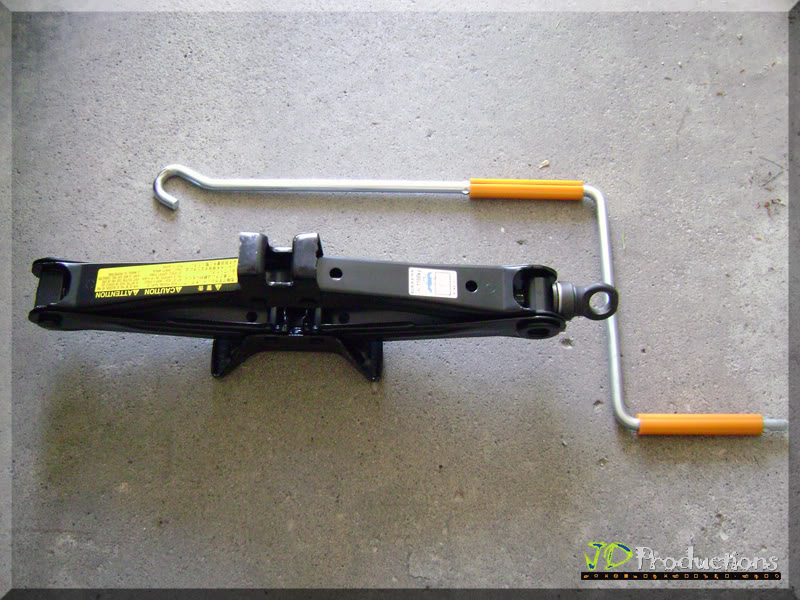
STEP 3 (OPTIONAL)
3.1) Hoist the vehicle by using Lift Jack. I used the In-Car Scissors Jack (applies to lowered Set-up) . . .
NOTE: I lifted the vehicle to gain access easily to bolts underneath. This method is not necessary for vehicle with enough clearance to reach bolts/screws. However, It's a must for lowered cars.
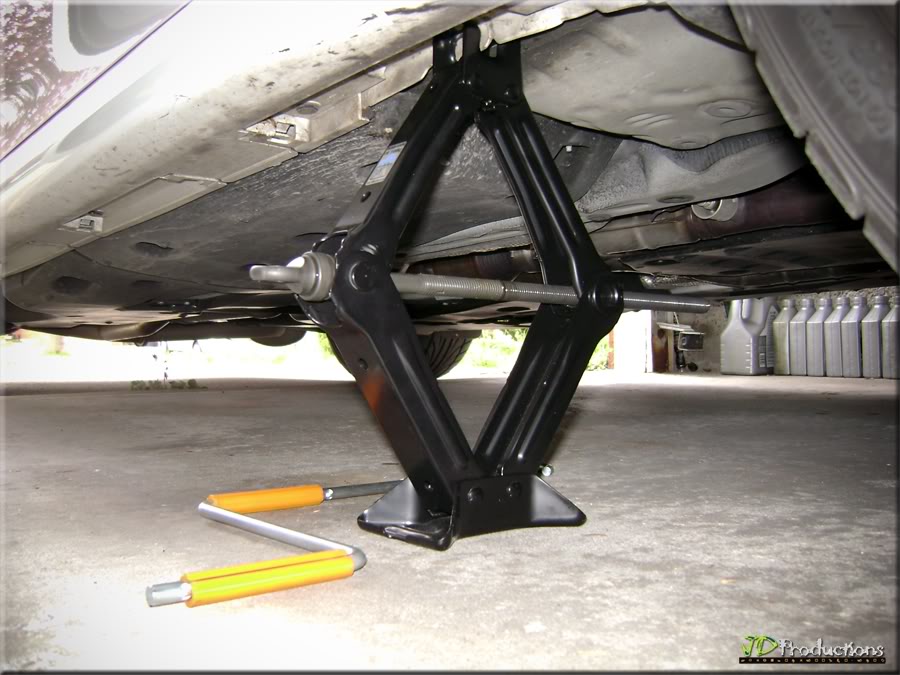
Note: Front/Center Jack Point

3.2) . . . Place "3�-ton Speedy Lift Jack" underneath the car.
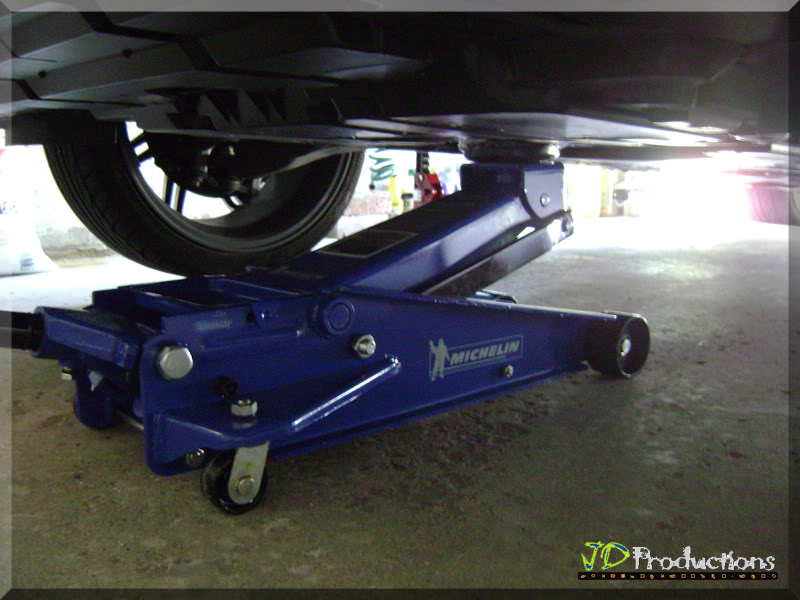
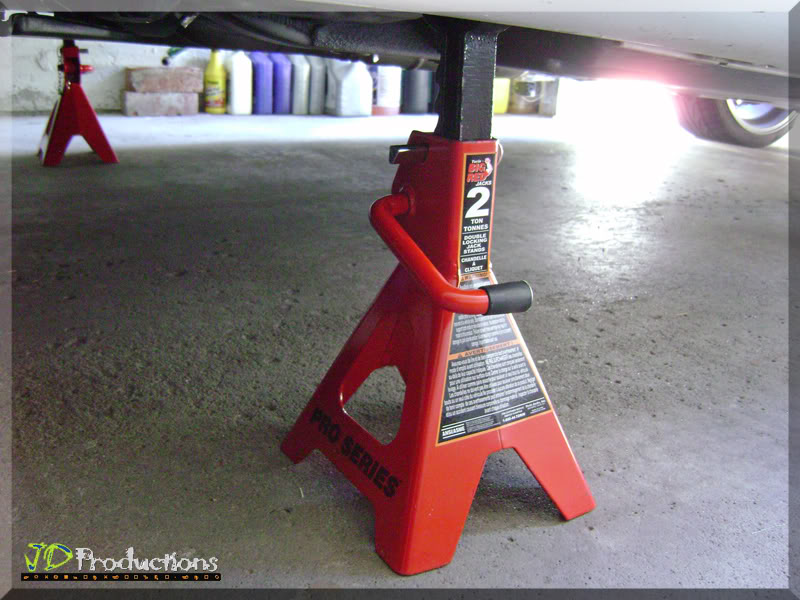
STEP 4
Place the "2-Ton Axle Stands" to the Driver & Passenger Front/Side Jack Points
STEP 5
Pull the hood release lever.
STEP 6
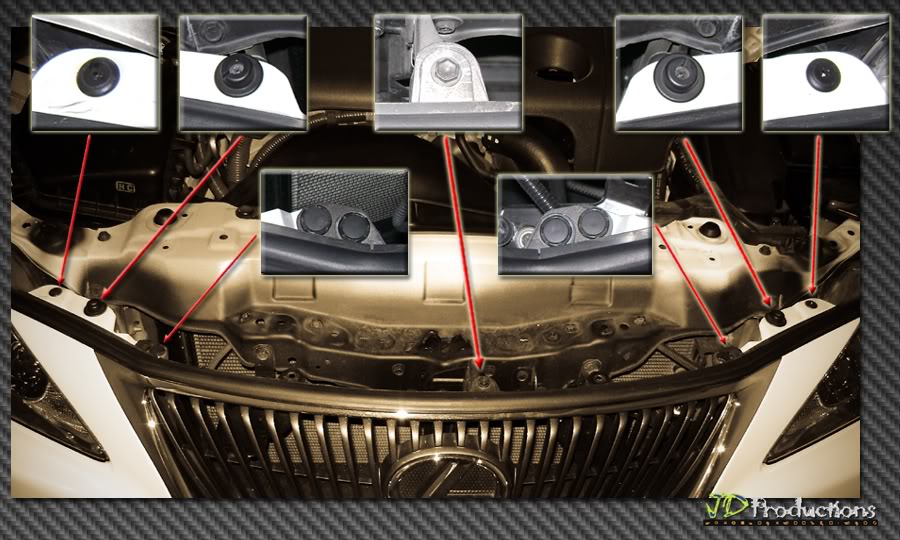
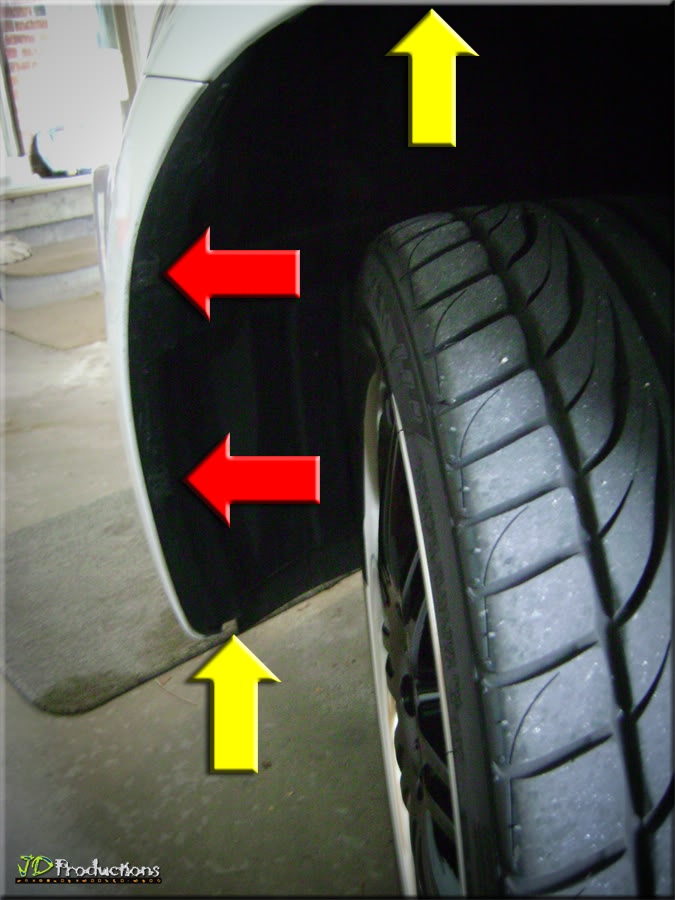
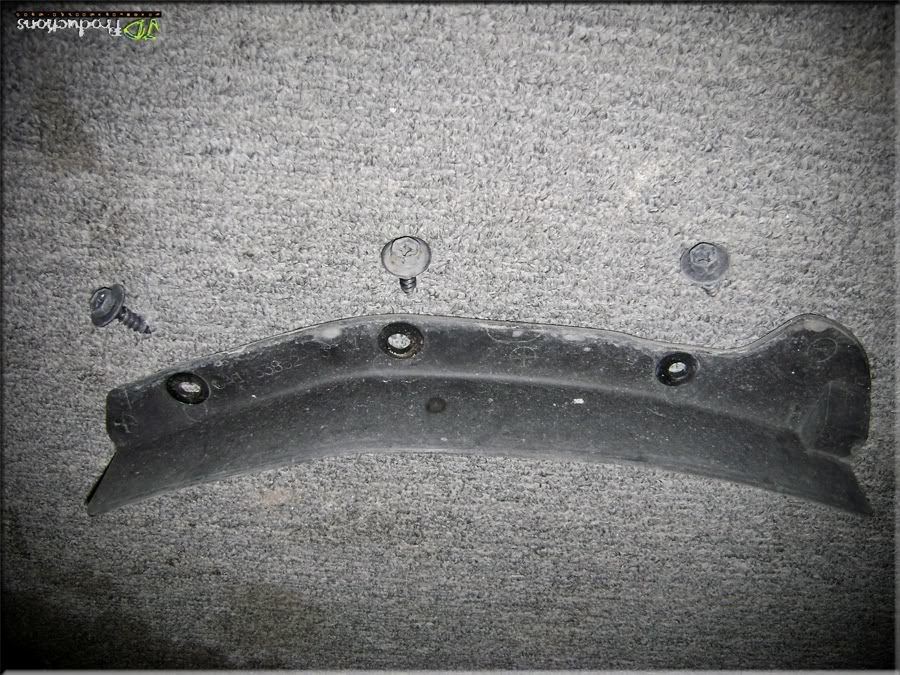
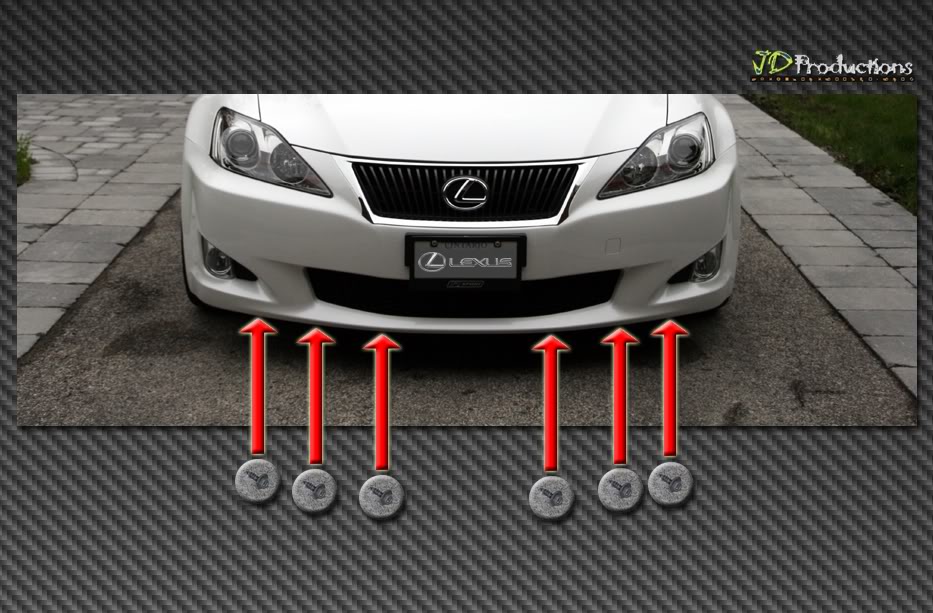
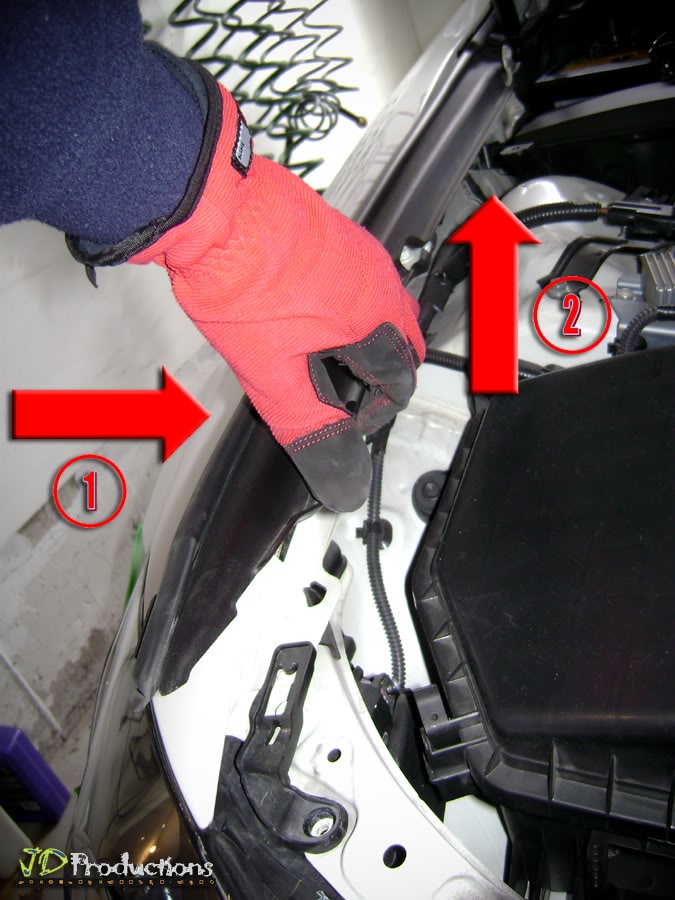
Carefully remove the Plastic Covers. There are 16 Plastic Push-In Clips (Red Arrow) and 2 Plastic Bolt (Yellow Arrow).

Push-In Clip in the middle
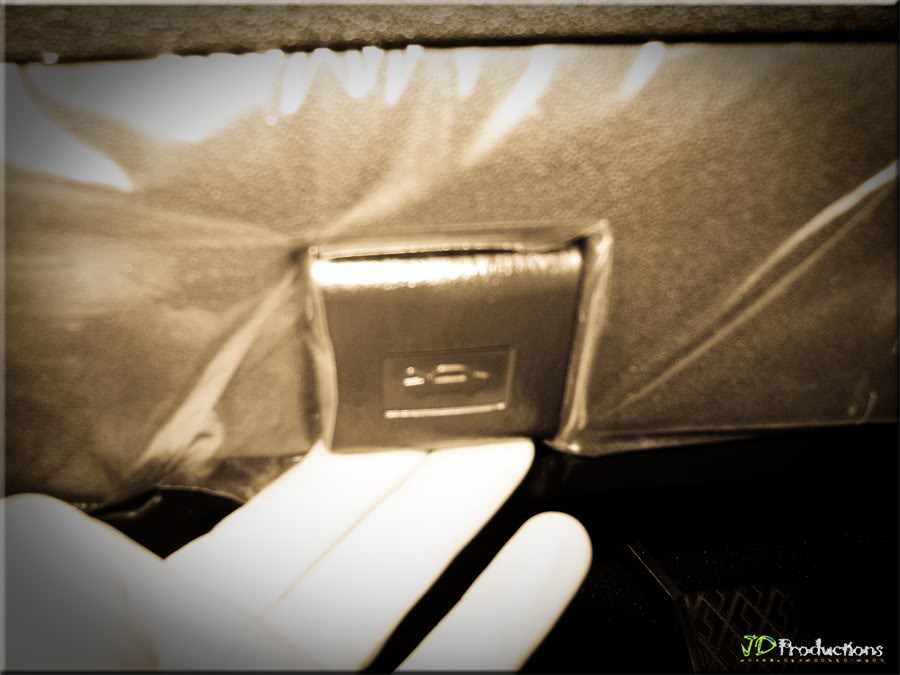
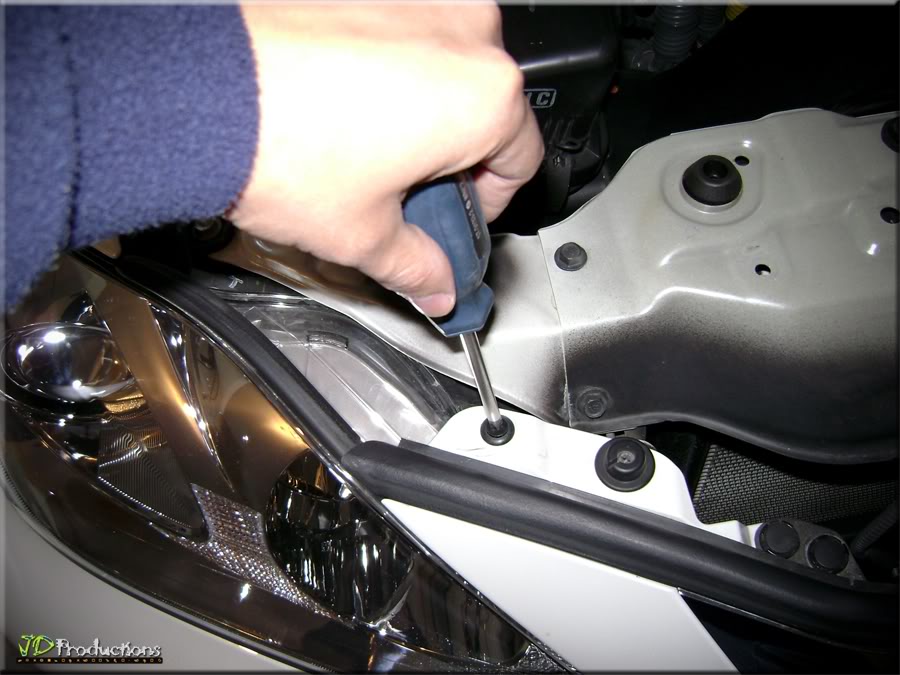
Top Left/Passenger Side Plastic Bolt (Close-up). Same bolt on the Top Right/Driver Side.
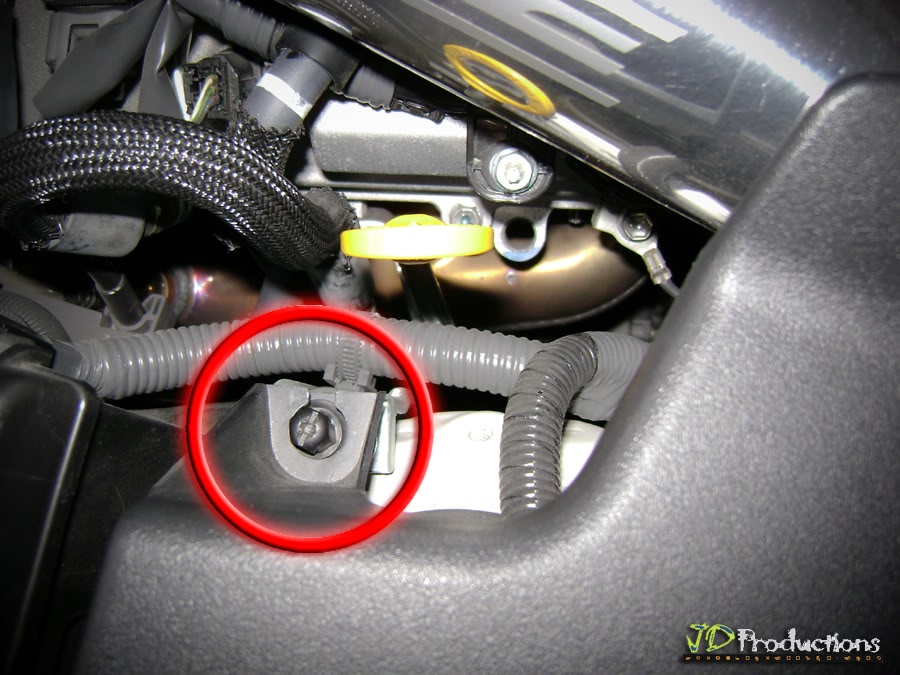
Use Phillips Screwdriver for this Plastic Bolt (Gently, this bolt is sensitive)
STEP 7
Keep all "Push-In Clips" (+Bolts/Screws) together in Zip Lock bag. It will help you when putting the parts back . . .
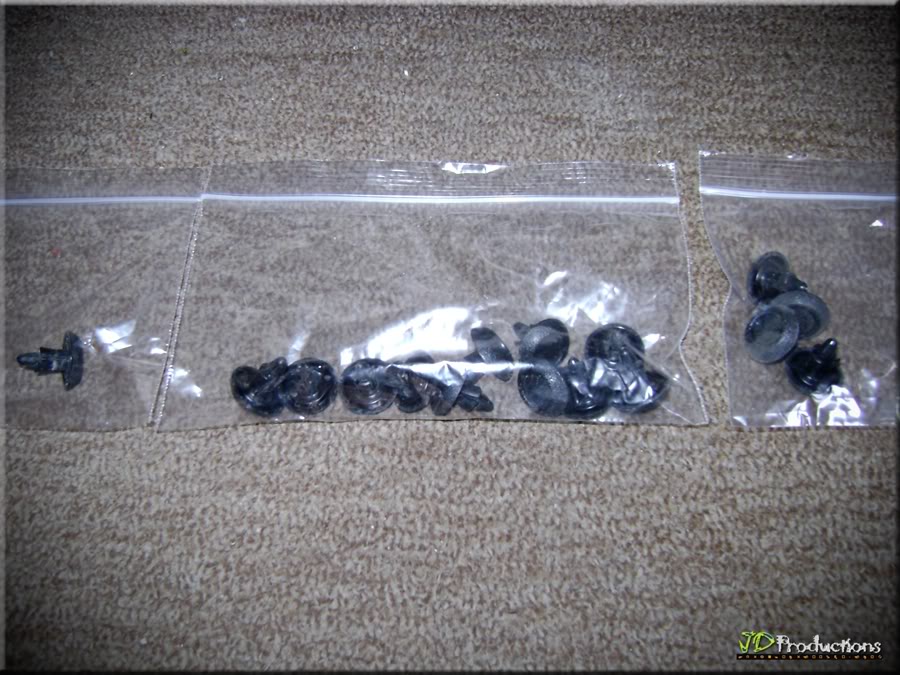
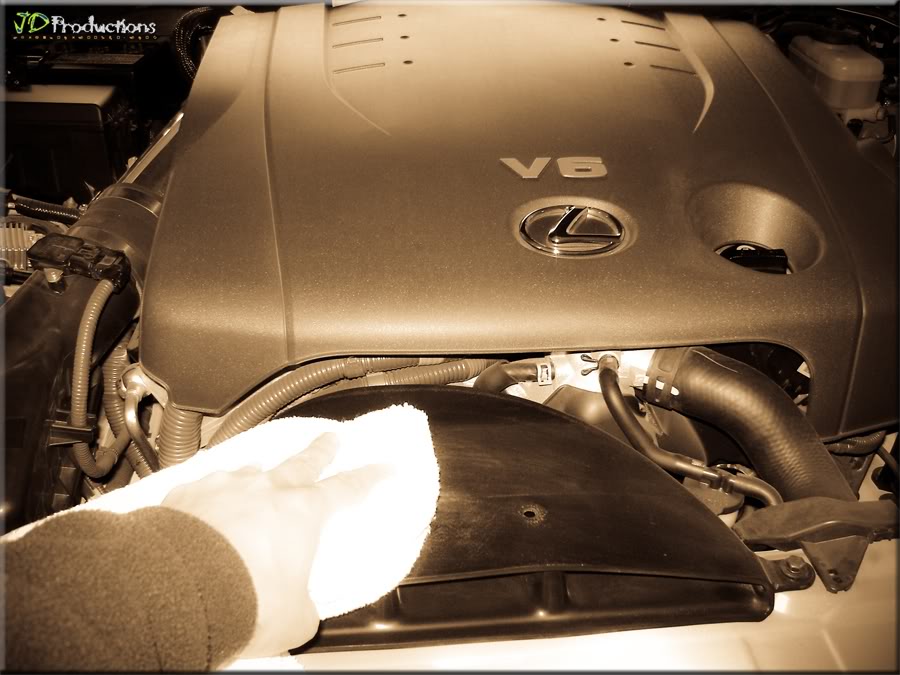
Perfect time to clean Dusty areas . . .
STEP 8
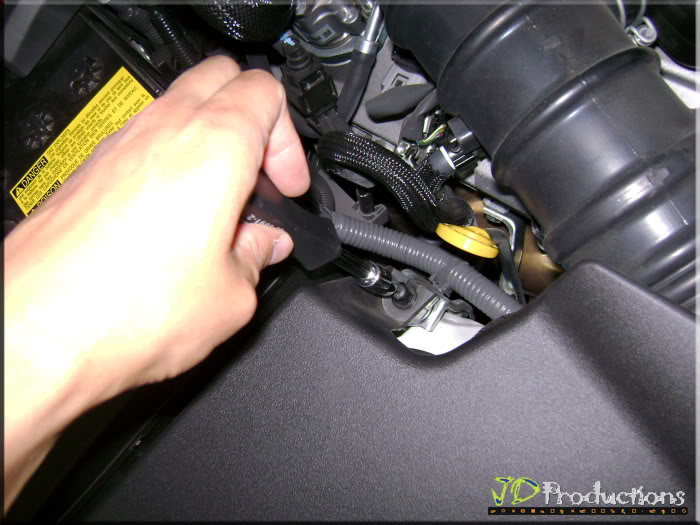
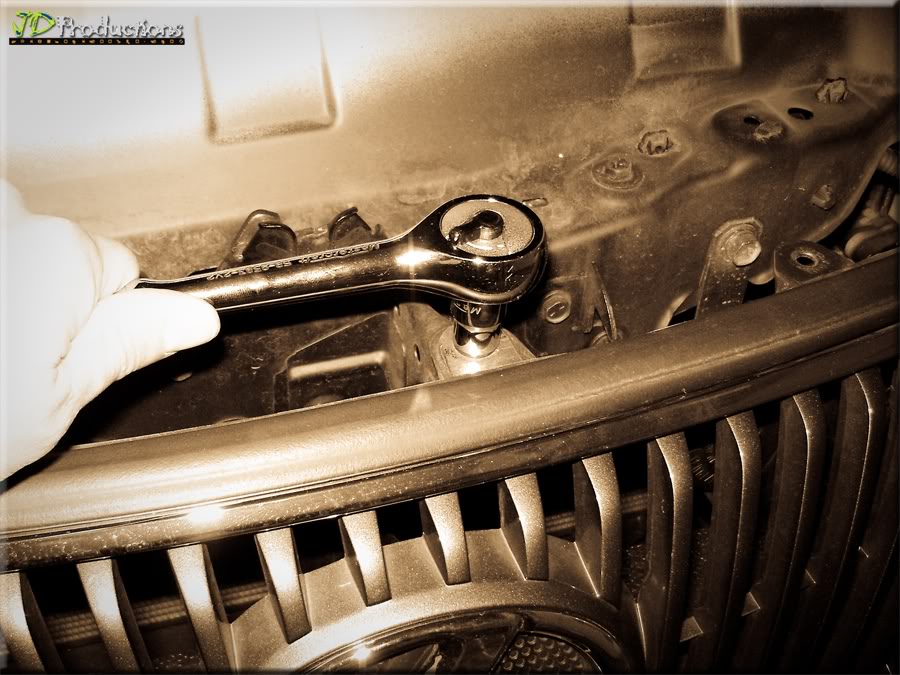
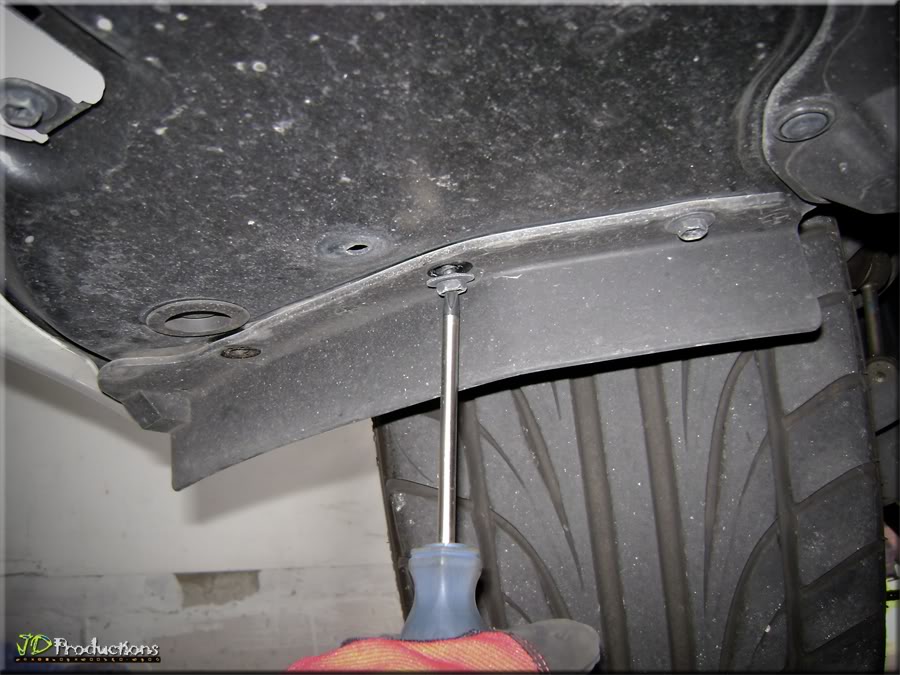
Front Bumper: More Bolts & Clips. 2 x cross head plastic screws, 2 x metal cross head screws with rubber housing, 4 x clips & 1 x 10mm bolt.
Use Phillips Screwdriver. 1 x cross head clip & 1 x cross head screw with rubber housing (Left/Passenger Side)
Use Jeweler's Screwdriver. 2 x Plastic Clips (Left/Passenger Side)
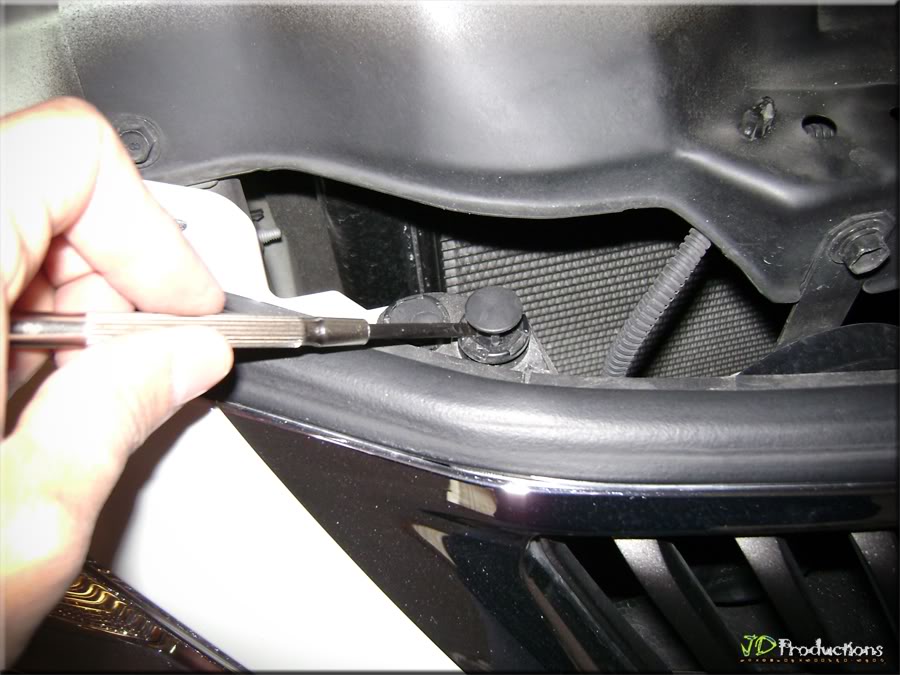
Use Wrench with 10mm Socket. 1 x 10mm bolt (center)
3.1) Hoist the vehicle by using Lift Jack. I used the In-Car Scissors Jack (applies to lowered Set-up) . . .
NOTE: I lifted the vehicle to gain access easily to bolts underneath. This method is not necessary for vehicle with enough clearance to reach bolts/screws. However, It's a must for lowered cars.
Note: Front/Center Jack Point
3.2) . . . Place "3�-ton Speedy Lift Jack" underneath the car.
STEP 4
Place the "2-Ton Axle Stands" to the Driver & Passenger Front/Side Jack Points
STEP 5
Pull the hood release lever.
STEP 6
Carefully remove the Plastic Covers. There are 16 Plastic Push-In Clips (Red Arrow) and 2 Plastic Bolt (Yellow Arrow).
Push-In Clip in the middle
Top Left/Passenger Side Plastic Bolt (Close-up). Same bolt on the Top Right/Driver Side.
Use Phillips Screwdriver for this Plastic Bolt (Gently, this bolt is sensitive)
STEP 7
Keep all "Push-In Clips" (+Bolts/Screws) together in Zip Lock bag. It will help you when putting the parts back . . .
Perfect time to clean Dusty areas . . .
STEP 8
Front Bumper: More Bolts & Clips. 2 x cross head plastic screws, 2 x metal cross head screws with rubber housing, 4 x clips & 1 x 10mm bolt.
Use Phillips Screwdriver. 1 x cross head clip & 1 x cross head screw with rubber housing (Left/Passenger Side)
Use Jeweler's Screwdriver. 2 x Plastic Clips (Left/Passenger Side)
Use Wrench with 10mm Socket. 1 x 10mm bolt (center)
Same Tools apply to Driver Side. 1 x cross head clip & 1 x cross head screw with rubber housing. 2 x Plastic Clips.
Last edited by cyberscorp; 04-26-12 at 01:55 PM.
The following users liked this post:
sede7 (03-25-23)
04-25-12, 08:27 AM
#3
Pole Position
Thread Starter
STEP 9
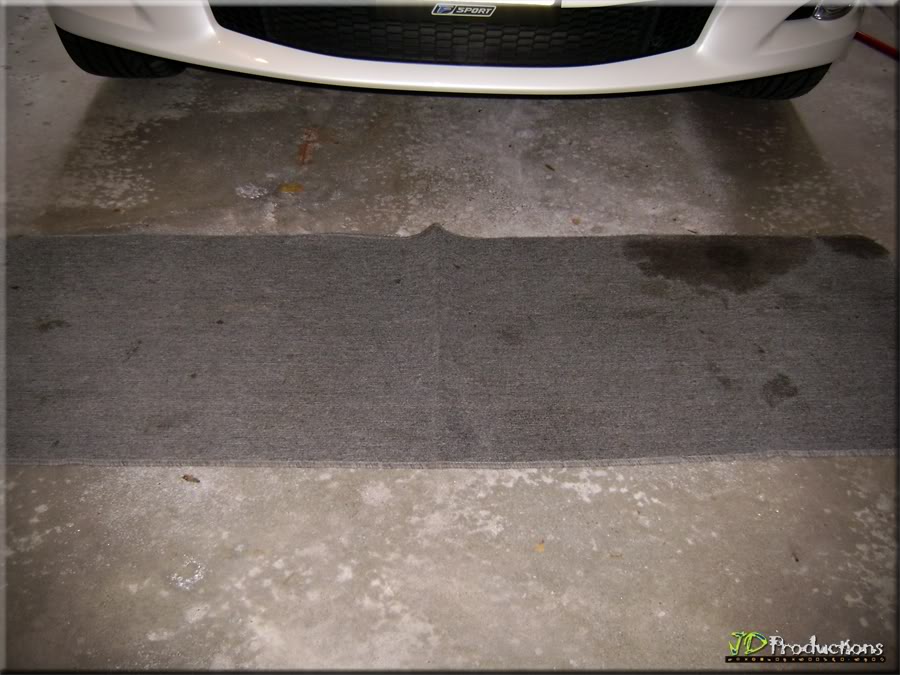
9.1) Place Old Carpet Runner to Protect Bumper from floor debris
9.2) Start Engine, Turn Steering Wheel to the Right (to gain access to Plastic Wheel Well).
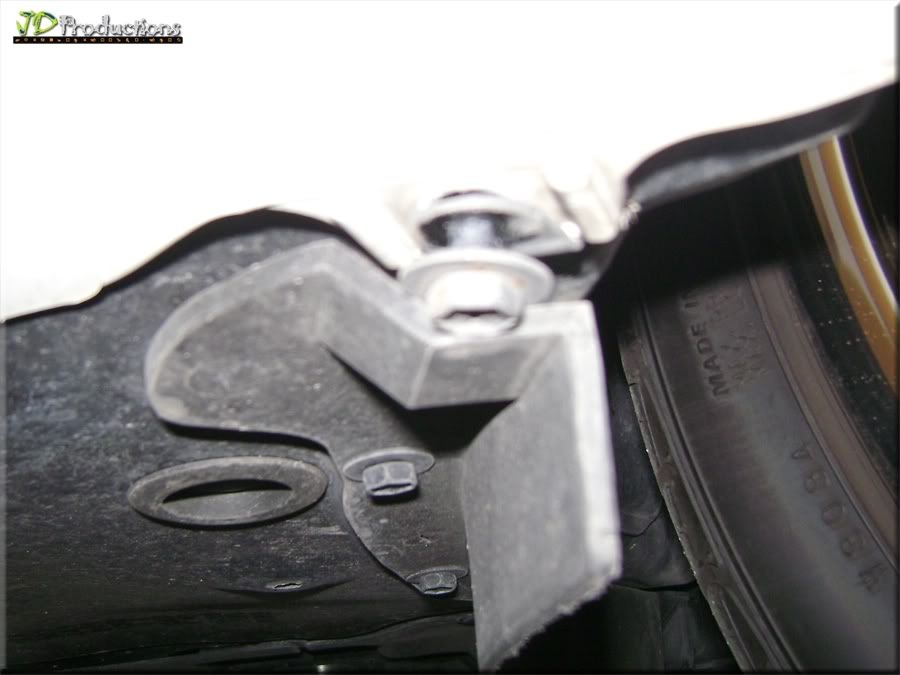
2 x clips, 4 x 10mm bolts
Work Gloves

9.3) Use Jeweler's Screwdriver (2 x Plastic Clips)
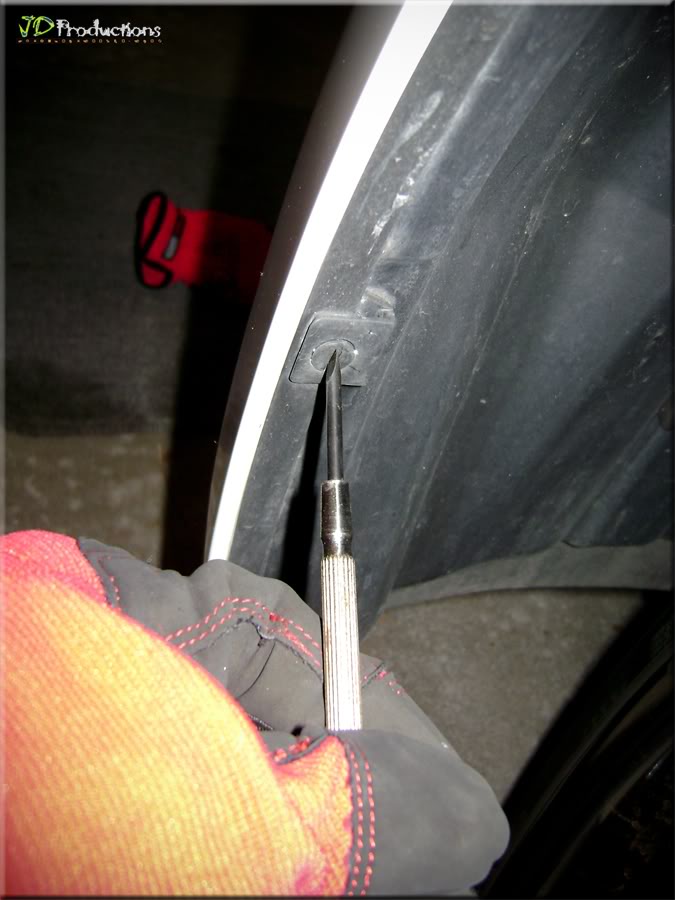
9.4) Use Wrench with 10mm Socket
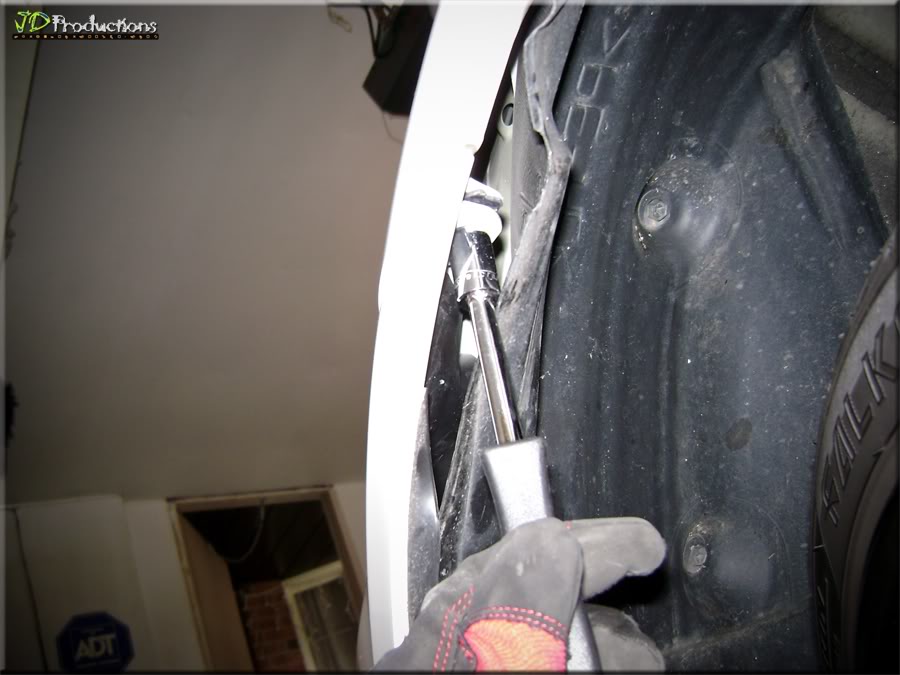
TIP: I used 170mm Audio/Video Dash Removal Tool to expose the hidden 10mm bolt.
9.5) Use Phillips Screwdriver for 3 x bolts attached to the Engine Under Cover
STEP 10
Remove 6 x 10mm bolts.
Use Wrench with 10mm Socket

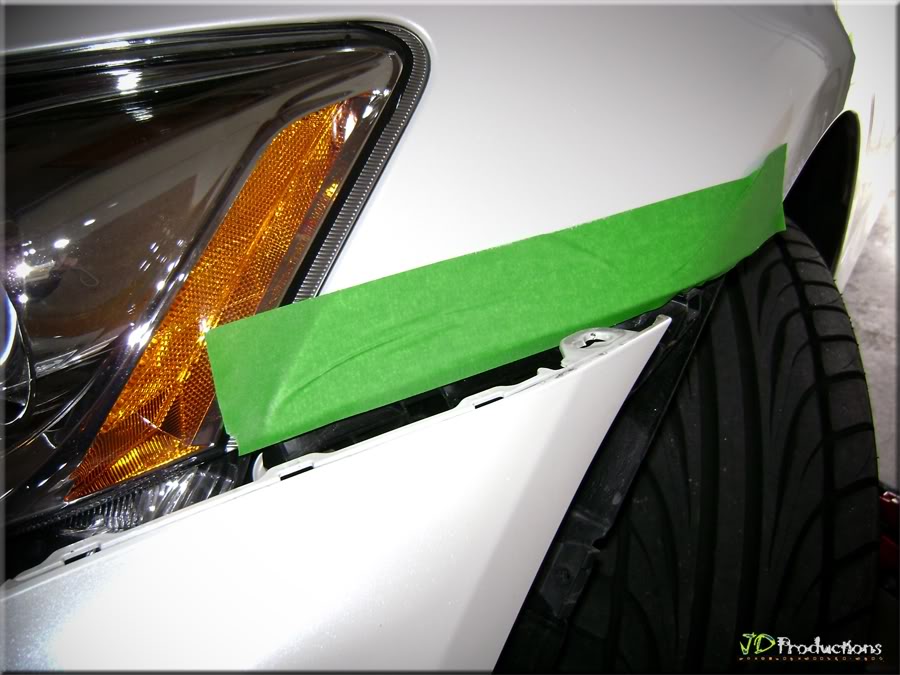
NOTE: Use Masking Tape to Protect Fender/Headlight from accidental scratches
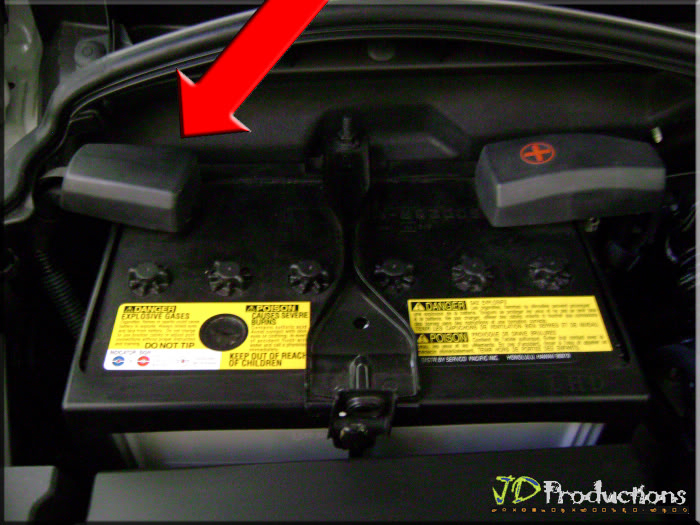
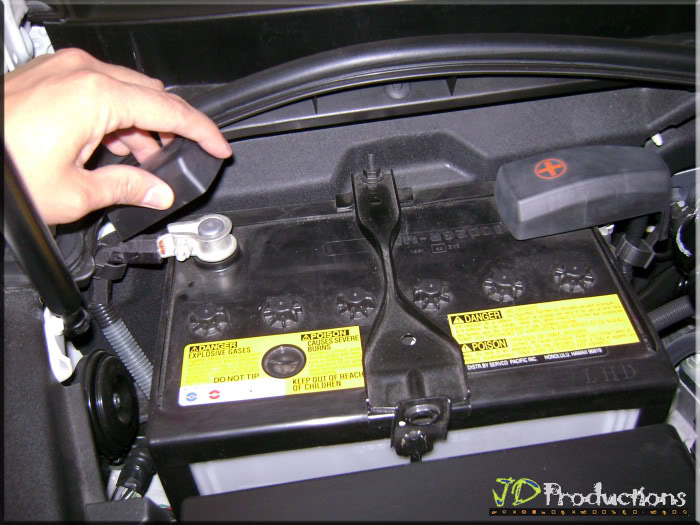
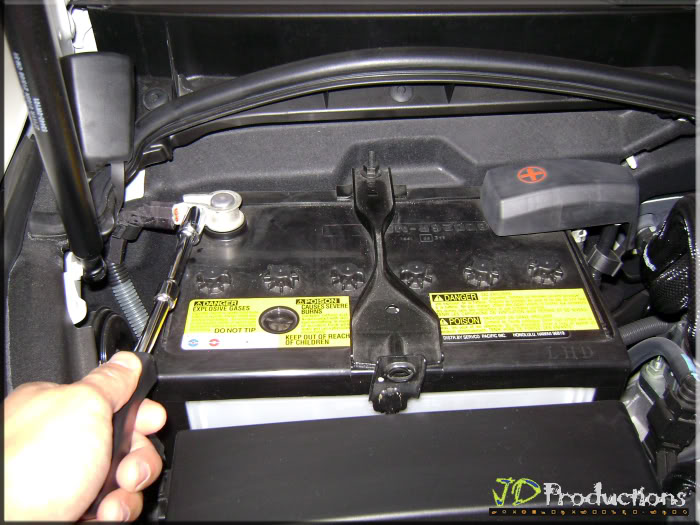
STEP 11
Lift the Negative Battery Cover and start loosening the bolt using 10mm socket wrench.
STEP 12
Gently pull the Bumper Off.
NOTE: You will need an assistant to help you with the Bumper Removal
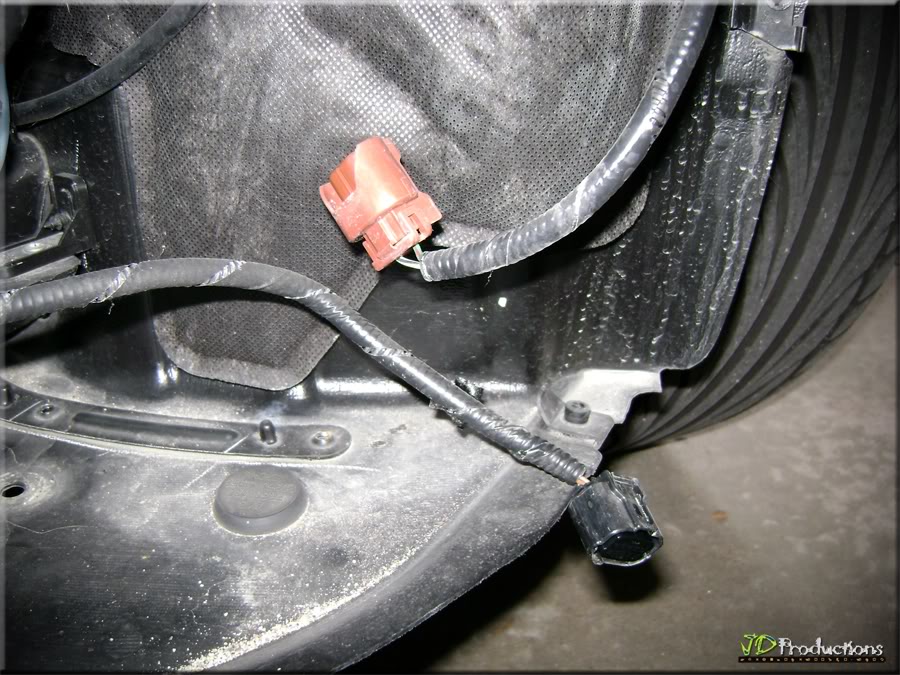
Disconnect/Unplug Fog Lights
1 x connector - Passenger Side (Press Pull-down method)

2 x connector - Driver Side
Remove Front Bumper
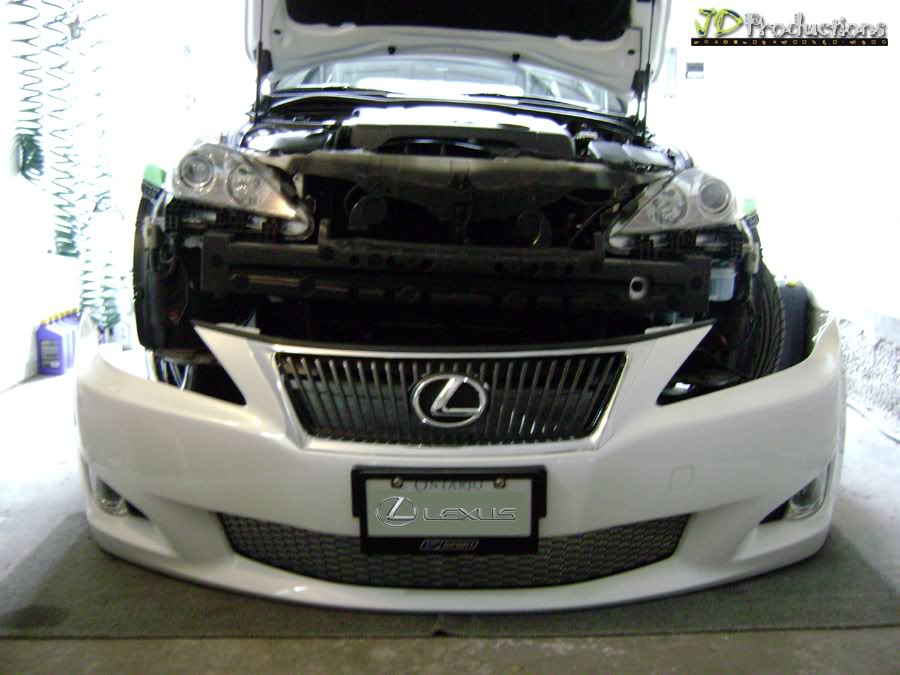
STEP 13
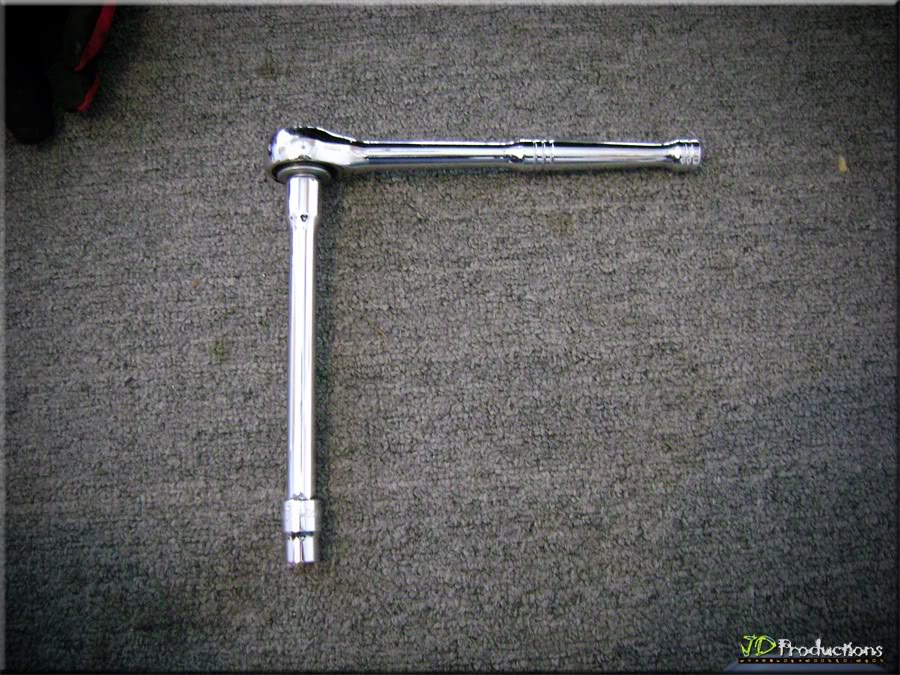
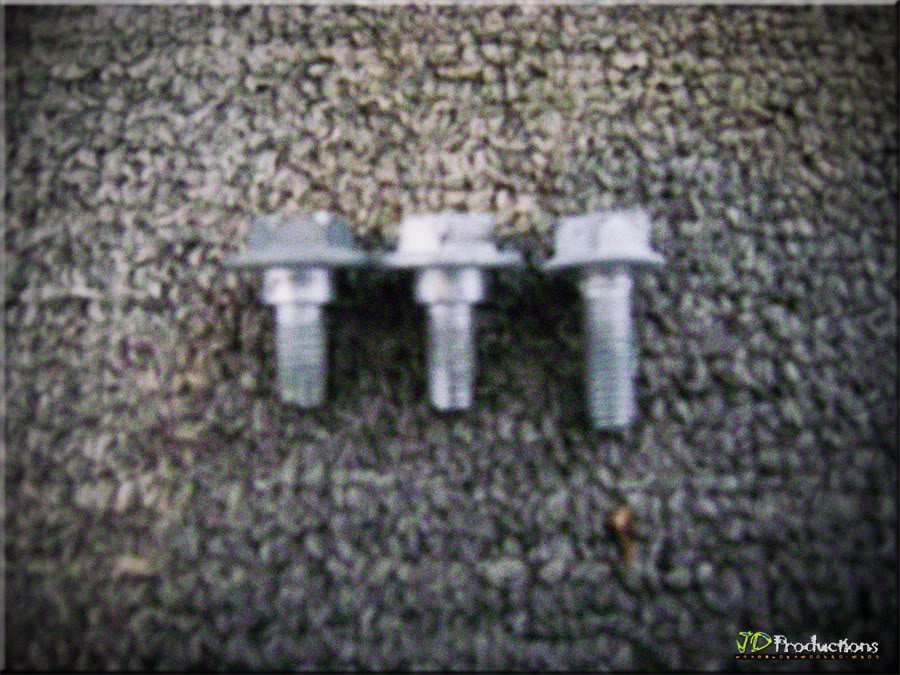
Headlights: Remove 3 x 10mm bolts with Socket Wrench.
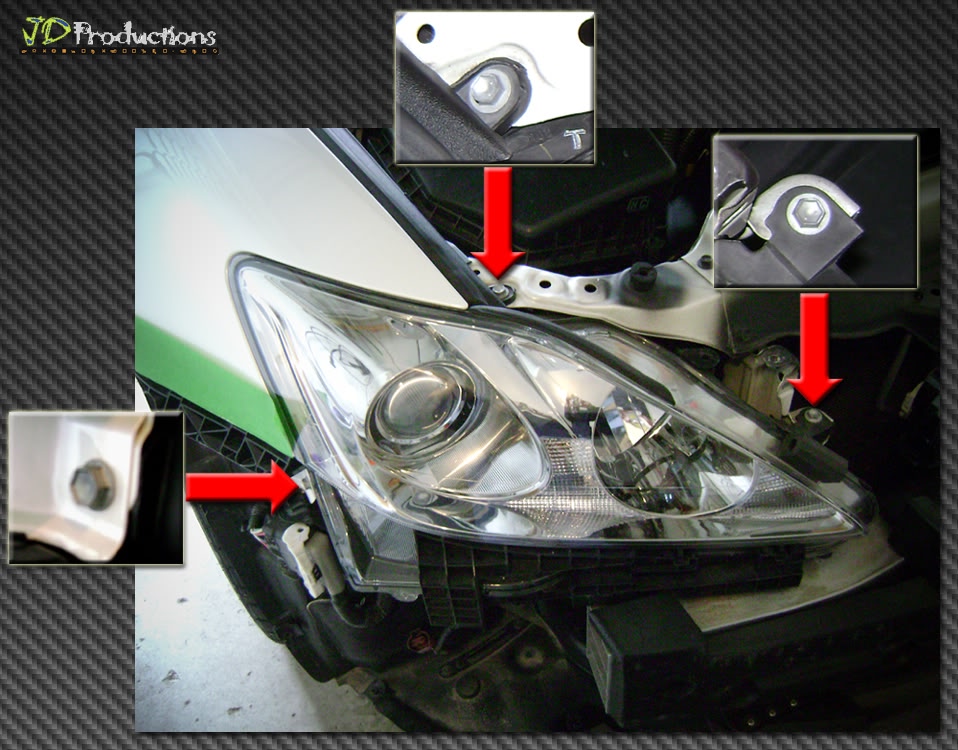
10mm Socket Wrench with Extension
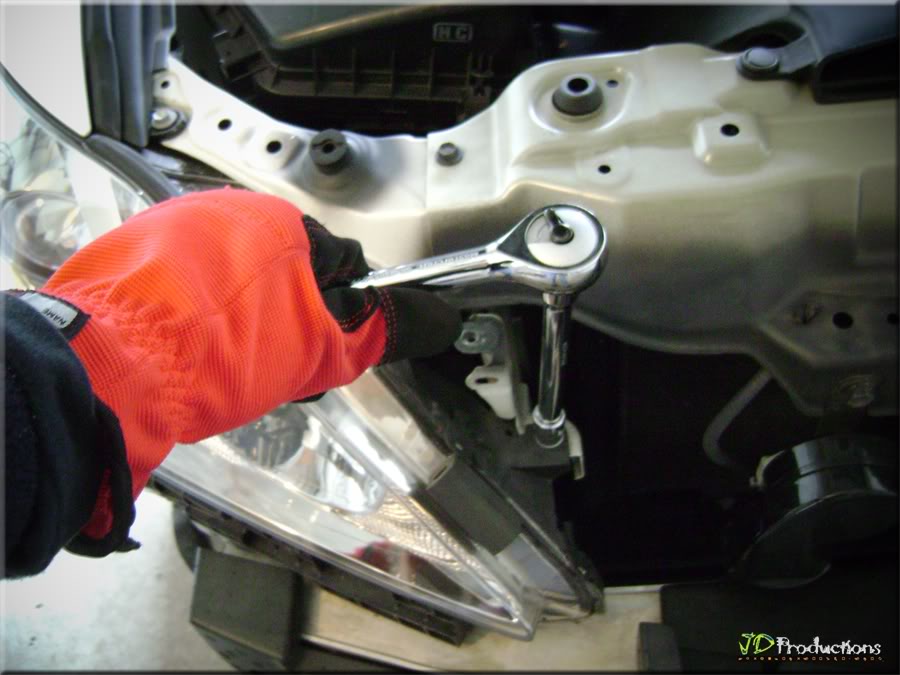
NOTE: 2 x 10mm bolts are same size (top), 1 x 10mm bolt-longer (side)
9.1) Place Old Carpet Runner to Protect Bumper from floor debris
9.2) Start Engine, Turn Steering Wheel to the Right (to gain access to Plastic Wheel Well).
2 x clips, 4 x 10mm bolts
Work Gloves
9.3) Use Jeweler's Screwdriver (2 x Plastic Clips)
9.4) Use Wrench with 10mm Socket
TIP: I used 170mm Audio/Video Dash Removal Tool to expose the hidden 10mm bolt.
9.5) Use Phillips Screwdriver for 3 x bolts attached to the Engine Under Cover
Same method applies to the Passenger Side:
1) Start Engine, Turn Steering Wheel to the Left.
2) Remove 2 x Plastic Clips
3) Remove 1 x 10mm bolt
4) Remove 3 x 10mm bolt/screws
1) Start Engine, Turn Steering Wheel to the Left.
2) Remove 2 x Plastic Clips
3) Remove 1 x 10mm bolt
4) Remove 3 x 10mm bolt/screws
STEP 10
Remove 6 x 10mm bolts.
Use Wrench with 10mm Socket
NOTE: Use Masking Tape to Protect Fender/Headlight from accidental scratches
STEP 11
Lift the Negative Battery Cover and start loosening the bolt using 10mm socket wrench.
STEP 12
Gently pull the Bumper Off.
NOTE: You will need an assistant to help you with the Bumper Removal
Disconnect/Unplug Fog Lights
1 x connector - Passenger Side (Press Pull-down method)
2 x connector - Driver Side
Remove Front Bumper
STEP 13
Headlights: Remove 3 x 10mm bolts with Socket Wrench.
10mm Socket Wrench with Extension
NOTE: 2 x 10mm bolts are same size (top), 1 x 10mm bolt-longer (side)
Last edited by cyberscorp; 04-30-12 at 02:29 PM.
The following users liked this post:
sede7 (03-25-23)
04-25-12, 08:28 AM
#4
Pole Position
Thread Starter
STEP 14
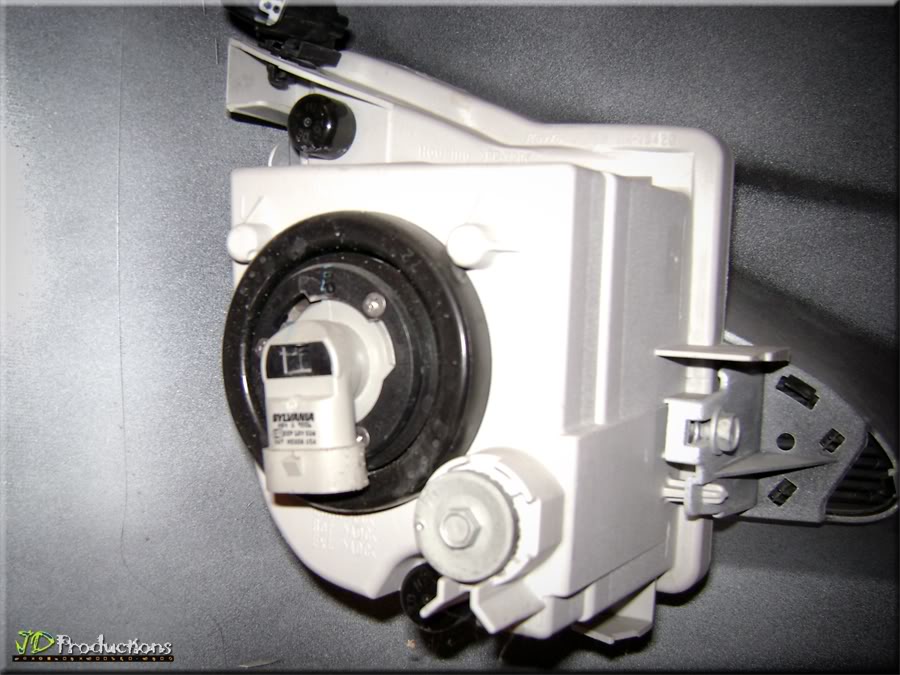
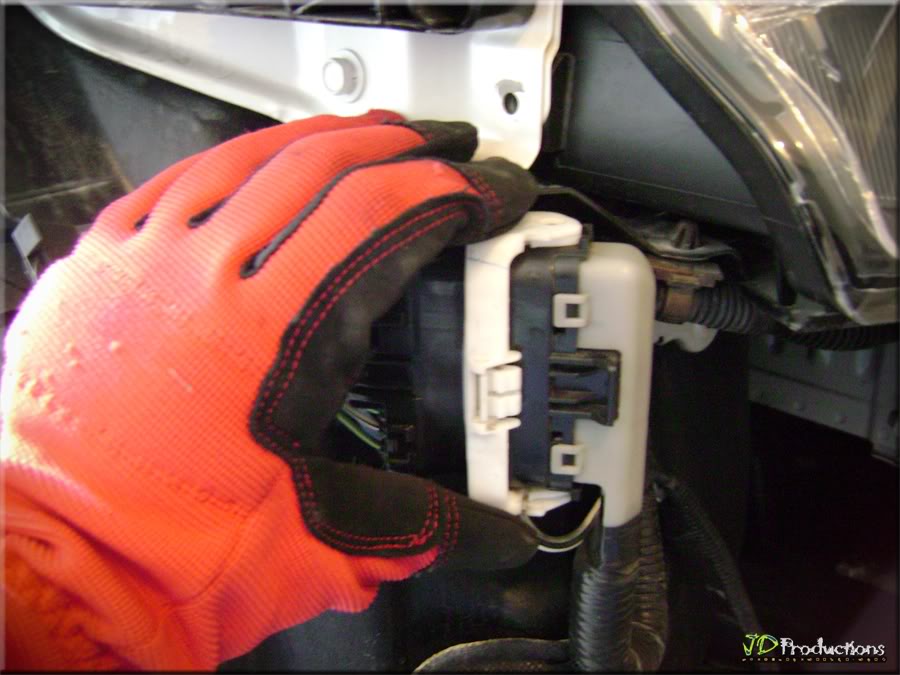
Unclip then Unplug Headlight Wire Connector.
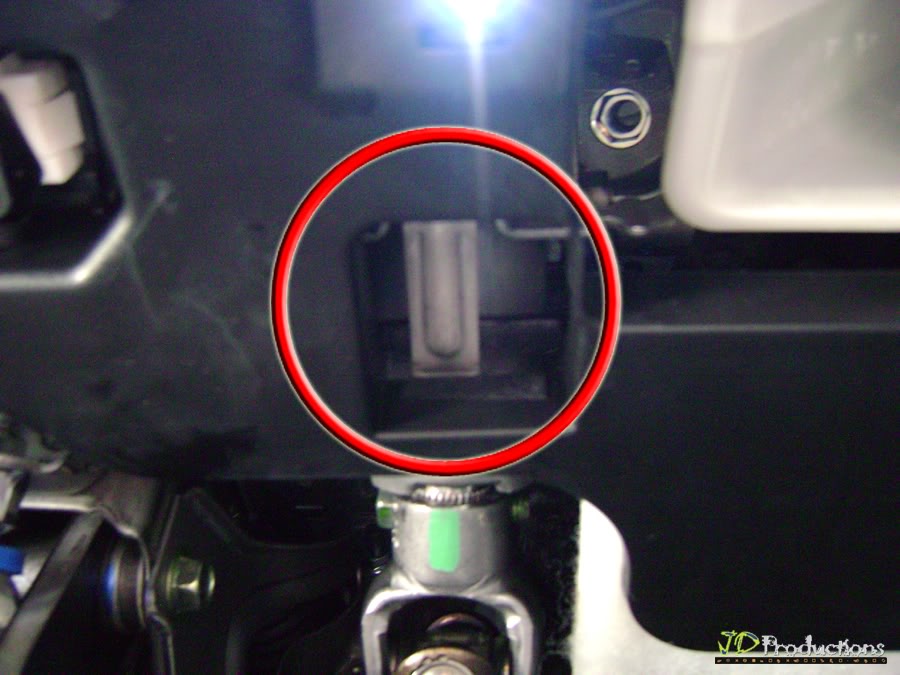
STEP 15
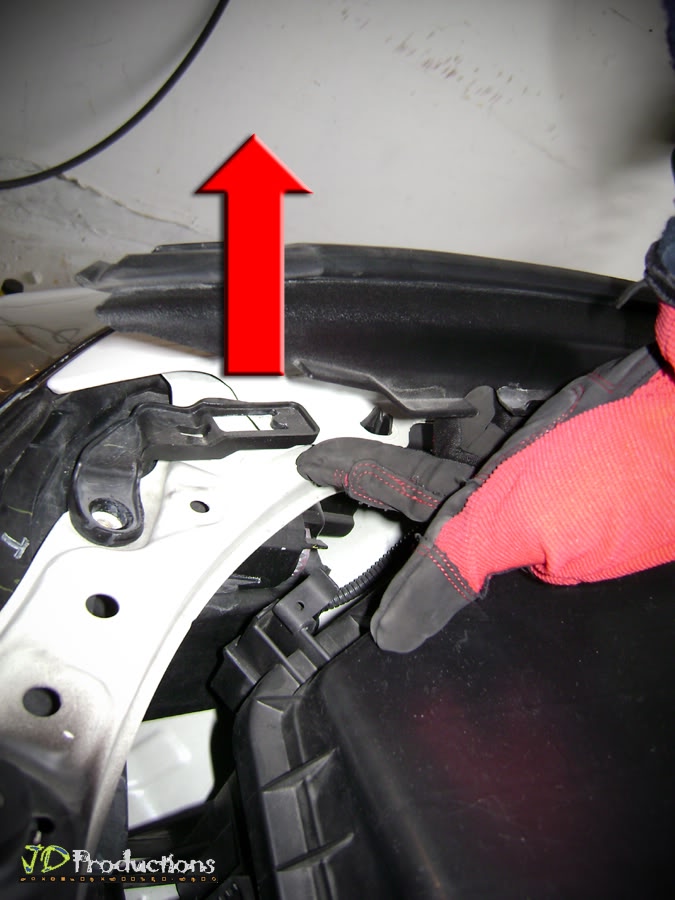
Gently pull Plastic Cover (as shown below).
Unlock Headlight Clip (as shown below).
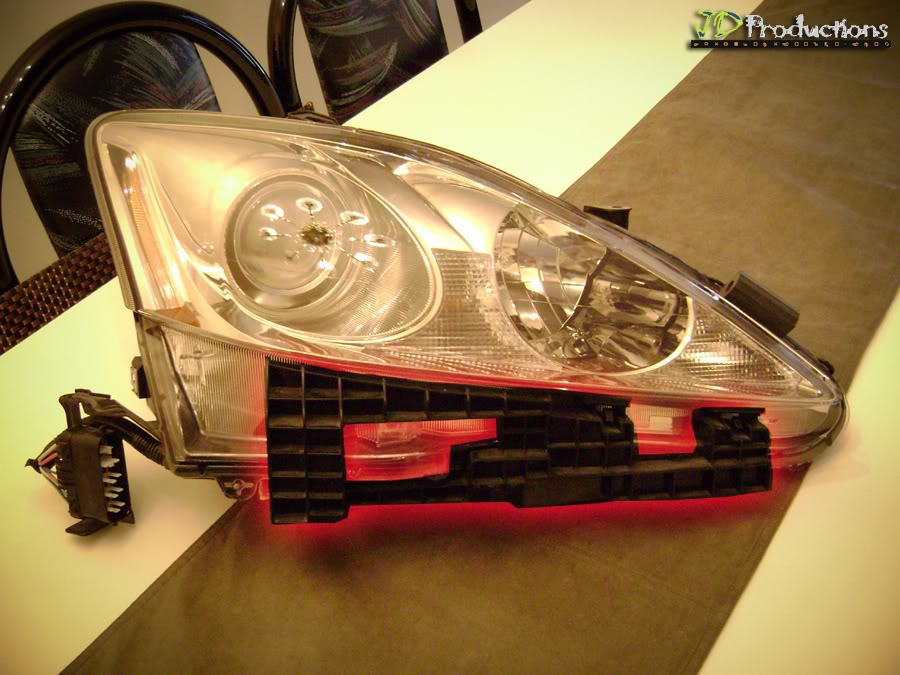
STEP 16
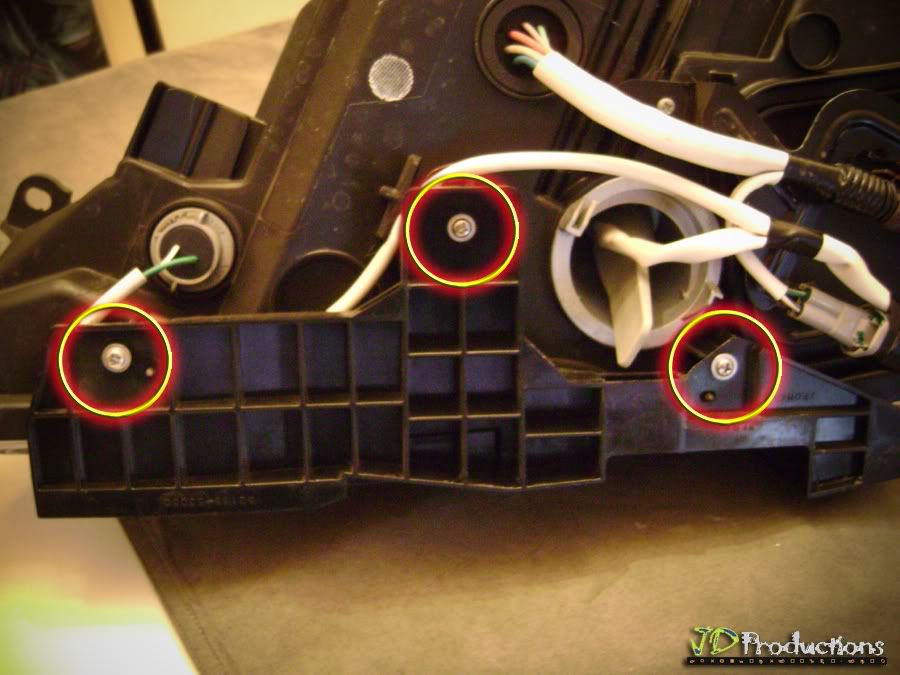
Headlight Bracket.
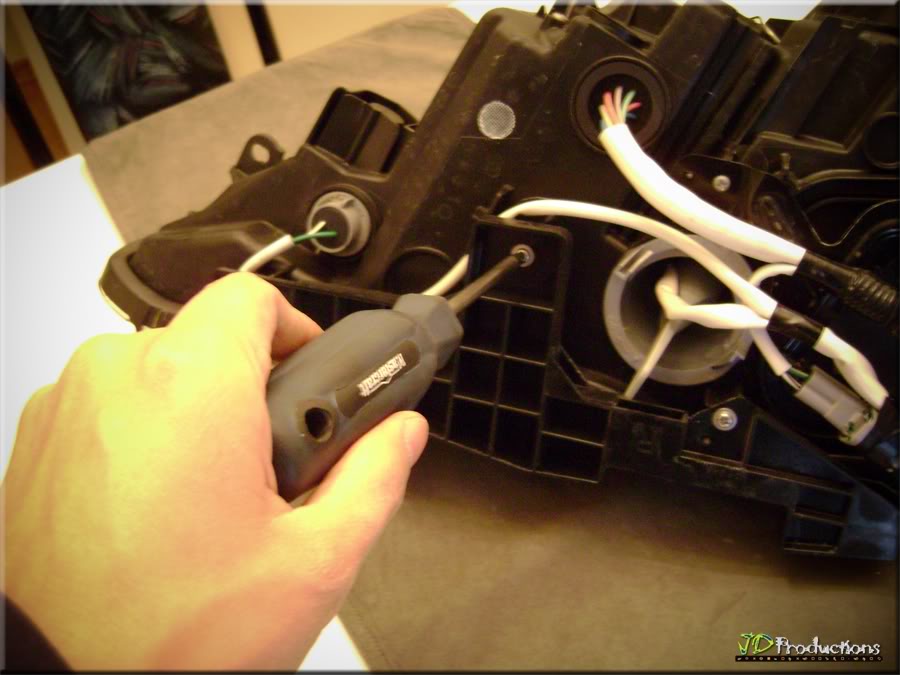
Remove 3 screws with Phillips Screwdriver
STEP 17
NOTE: You will need to custom fit the existing Bracket before transferring to the New "2012MY LED Headlights".

I use Dremel 4000 to get the job done.
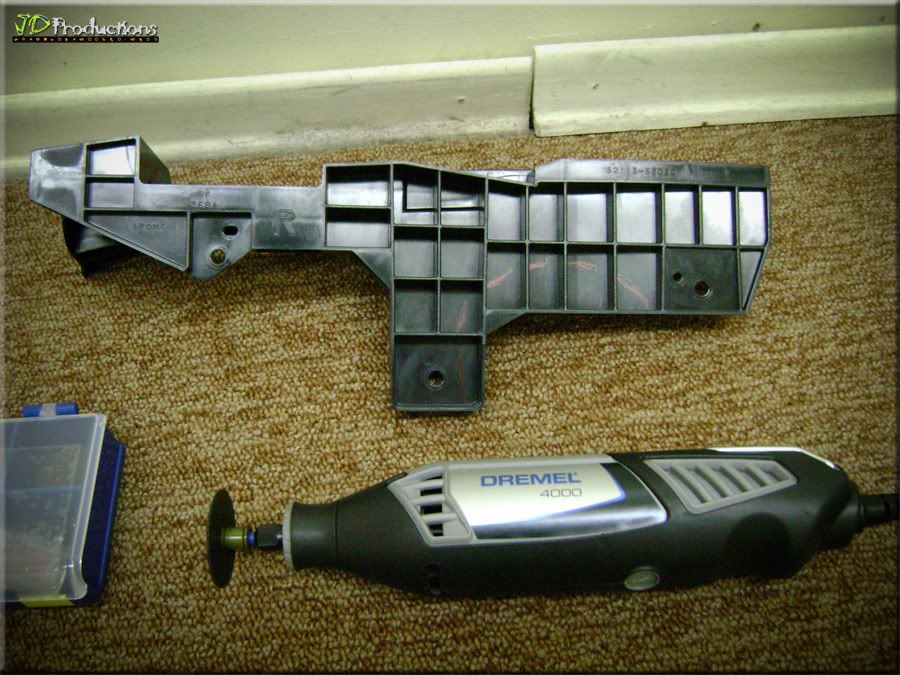
Don't forget to wear your Safety Glasses
. . . Test Fit+Cut, Test Fit+Cut, Test Fit+Cut; till it line-up properly (I did this 3 x the first time).
NOTE: ONLY 2 SCREWS WILL HOLD THE BRACKET
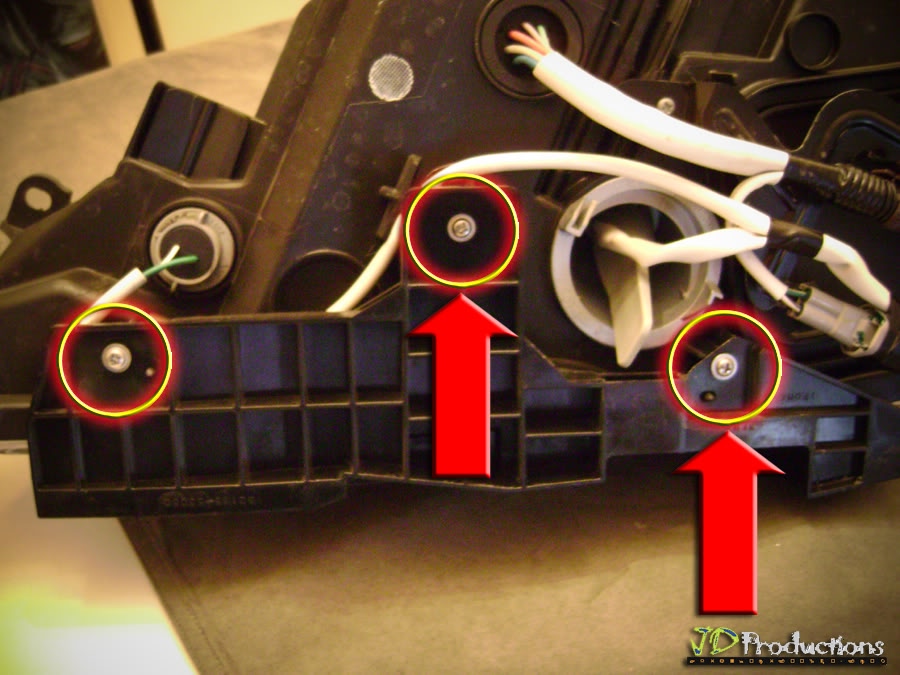
STEP 18
Install Relay Flasher
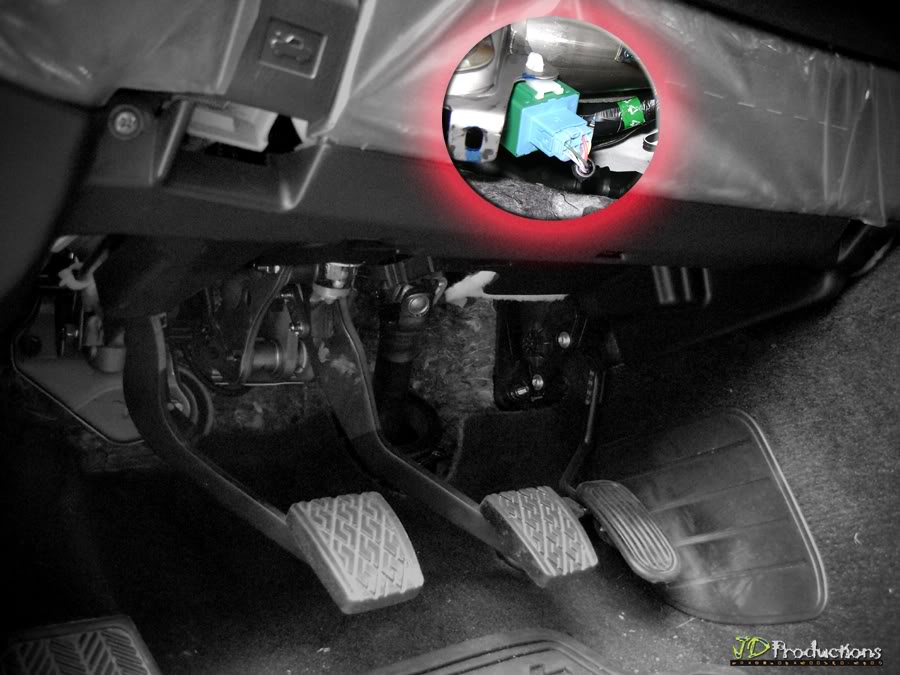
18.1) Remove 2 cross head screws with Phillips Screwdriver.
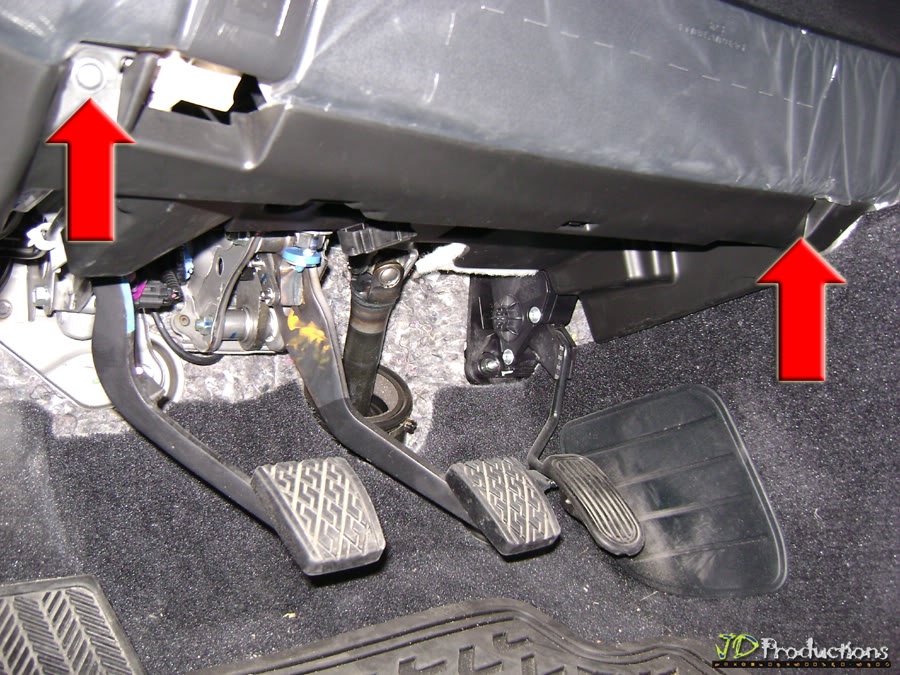
18.2) Slide Carefully
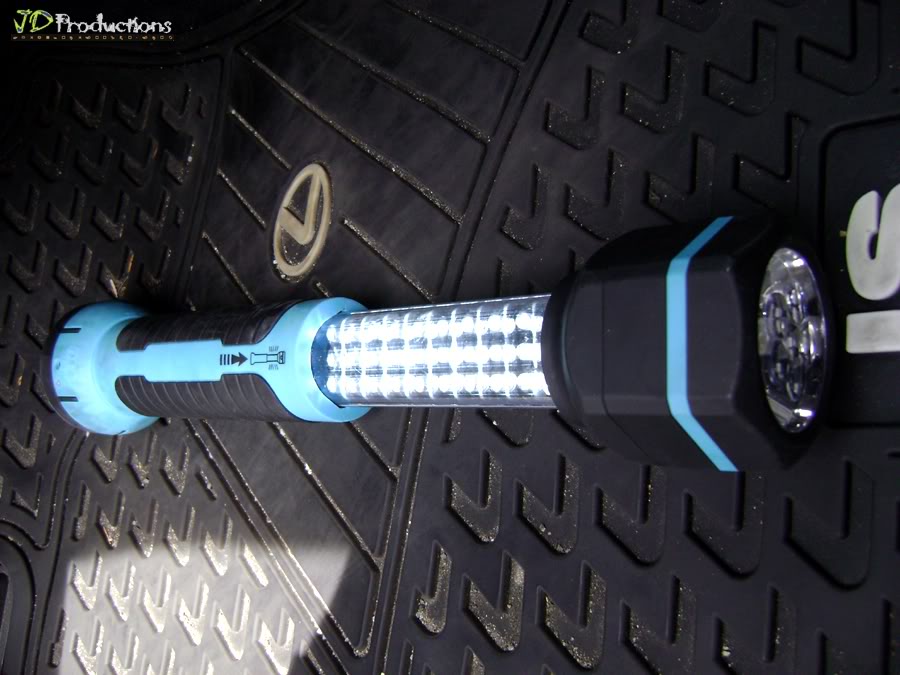
Flash Light Required
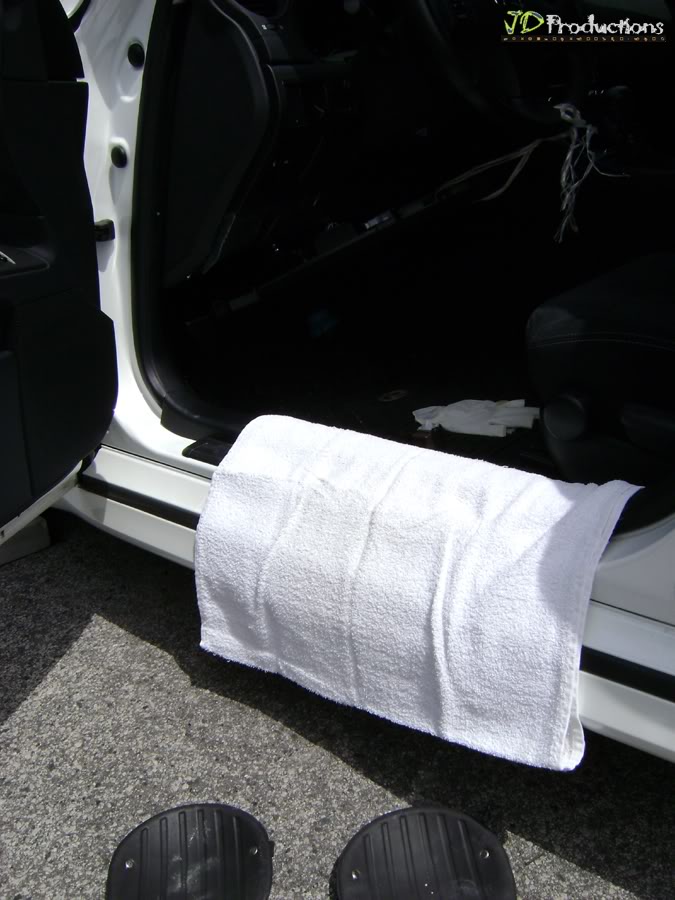
18.3) Place Old Towel (or similar) to protect Side from Scratches (My Work Jeans has small metal bottons) . . .
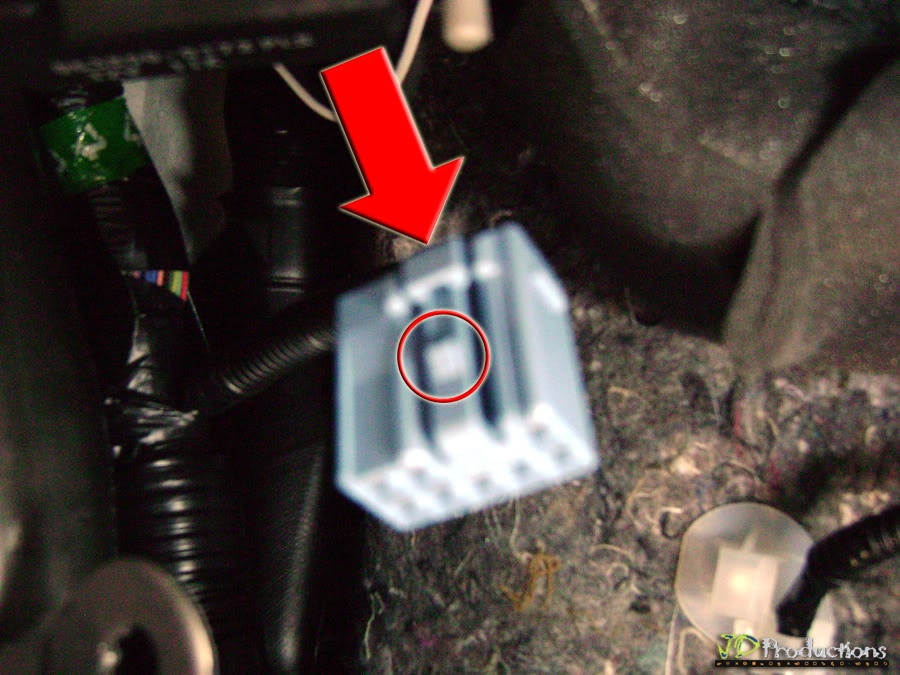
18.4) To remove the existing "Flasher Relay (Green)", use long nose pliers.
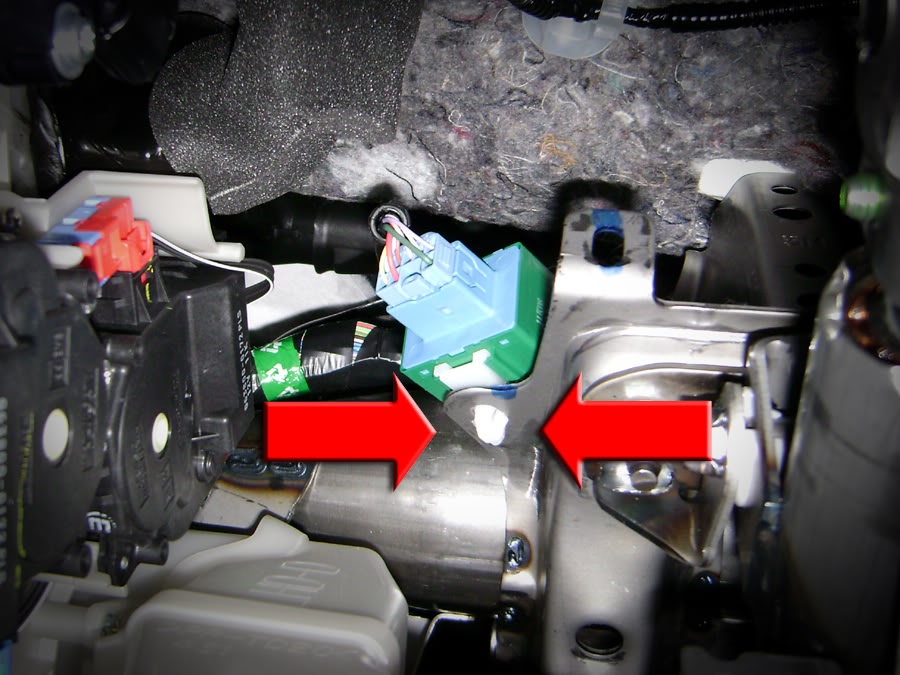
(TIP: Press to Unlock)
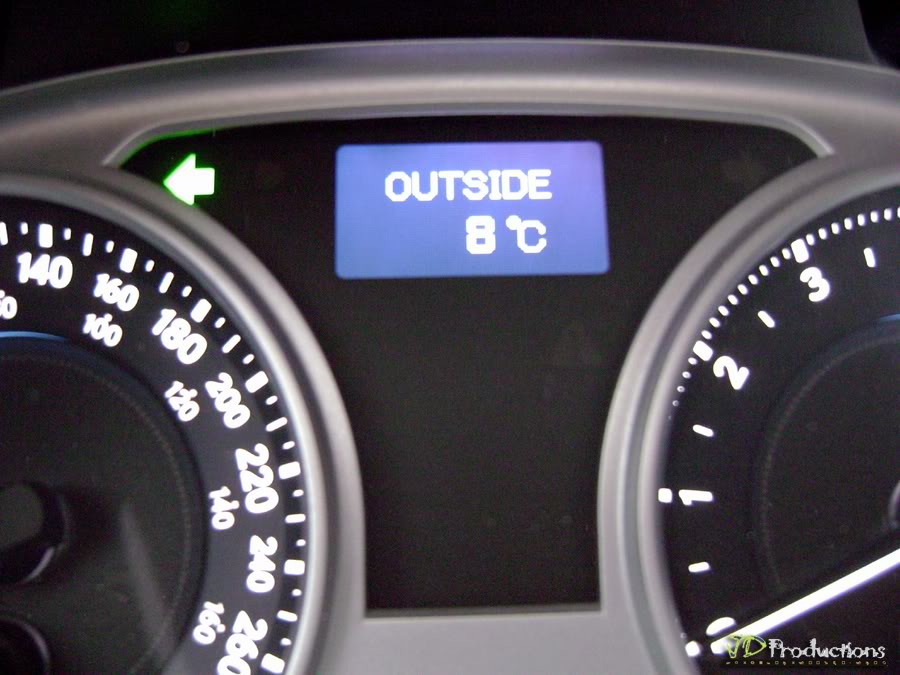
18.5) Check the Signal
. . . at this point, you're ready to Install the "2012MY LED Headlight".
1) Attach the Custom Cut Bracket to "2012MY LED Headlight" (Passenger)
2) Re-install 3 x 10mm bolts (Longer Bolt goes to the sides)
3) Plug Headlight Wire-Connector
4) Same steps above applies to Driver Side.
STEP 19
Test all Light Settings before Installing Front Bumper.
Once satisfied; install parts in reverse order . . .
Unclip then Unplug Headlight Wire Connector.
STEP 15
Gently pull Plastic Cover (as shown below).
Unlock Headlight Clip (as shown below).
STEP 16
Headlight Bracket.
Remove 3 screws with Phillips Screwdriver
STEP 17
NOTE: You will need to custom fit the existing Bracket before transferring to the New "2012MY LED Headlights".
I use Dremel 4000 to get the job done.
Don't forget to wear your Safety Glasses
. . . Test Fit+Cut, Test Fit+Cut, Test Fit+Cut; till it line-up properly (I did this 3 x the first time).
NOTE: ONLY 2 SCREWS WILL HOLD THE BRACKET
Same method applies to the Driver Side Headlight:
1) Remove 3 x 10mm bolts
2) Unplug Wire Connector
3) Unlock Headlight Clip
4) Remove 3 x Screws from Bracket
5) Custom Fit/Cut Bracket
1) Remove 3 x 10mm bolts
2) Unplug Wire Connector
3) Unlock Headlight Clip
4) Remove 3 x Screws from Bracket
5) Custom Fit/Cut Bracket
STEP 18
Install Relay Flasher
18.1) Remove 2 cross head screws with Phillips Screwdriver.
18.2) Slide Carefully
Flash Light Required
18.3) Place Old Towel (or similar) to protect Side from Scratches (My Work Jeans has small metal bottons) . . .
18.4) To remove the existing "Flasher Relay (Green)", use long nose pliers.
(TIP: Press to Unlock)
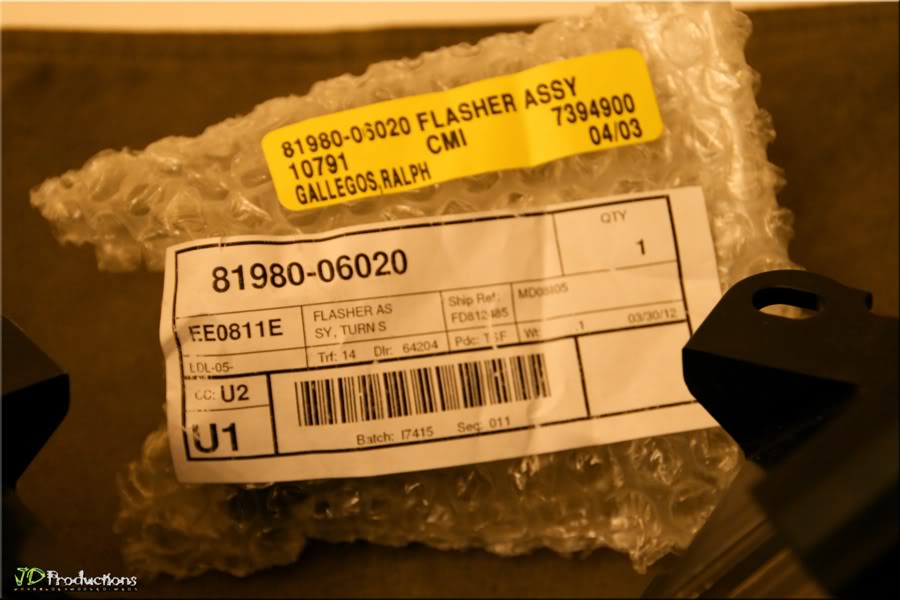
Install new Flasher Relay 81980-06020 (Brown)
1) Attached to Connecting Wire
2) Re-attach to place-holder
1) Attached to Connecting Wire
2) Re-attach to place-holder
18.5) Check the Signal
. . . at this point, you're ready to Install the "2012MY LED Headlight".
1) Attach the Custom Cut Bracket to "2012MY LED Headlight" (Passenger)
2) Re-install 3 x 10mm bolts (Longer Bolt goes to the sides)
3) Plug Headlight Wire-Connector
4) Same steps above applies to Driver Side.
STEP 19
Test all Light Settings before Installing Front Bumper.
Once satisfied; install parts in reverse order . . .
Last edited by cyberscorp; 04-30-12 at 12:09 PM.


Trending Topics


The following users liked this post:
MrHarris (05-17-22)