DIY - Remove Trunk & Replace (w/ Seibon CF Trunk) IS350
 07-15-11, 08:39 AM
#1
Lexus Test Driver
Thread Starter
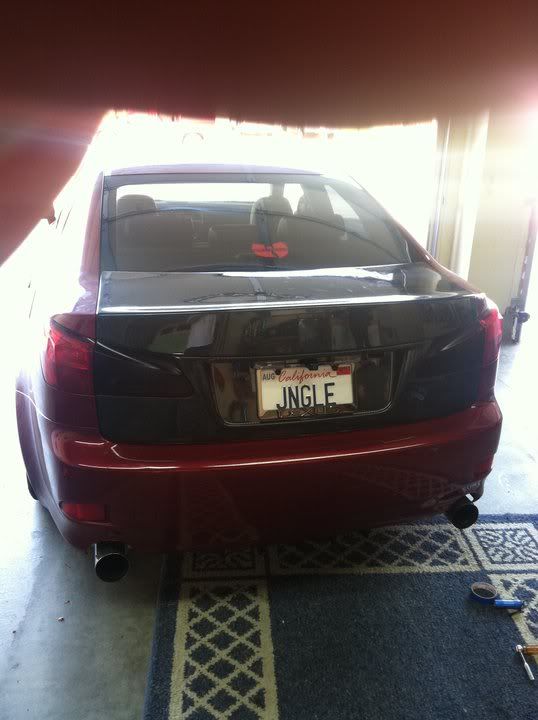
Alright woohoo another DIY that I made! Let me tell you, had a blast with this one. Took probably the longest out of all the work that I've done on my car haha. Here it is!
IF YOU HAVE ANY QUESTIONS, COMMENT OR PM ME!!!
Time: 3-4 hours
Difficulty - Medium
Tools: Phillips Screwdriver - Dremel - 10mm Socket - Towels - Zipties - Silicon
Friends To Help You: +1
Step 1: Remove the trunk lining! There are 12 little plastic clips that you just lift up with a screw driver. The problem I had was with the inside safety trunk puller, so I cut a bit in the liner to work around this. Not hard
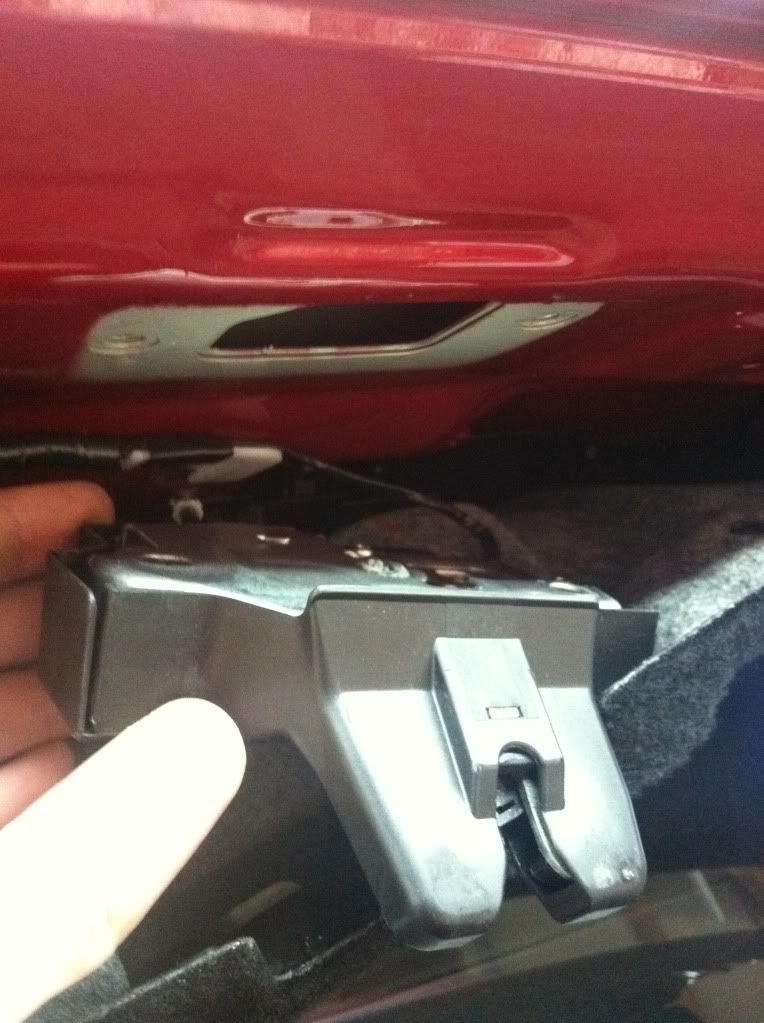
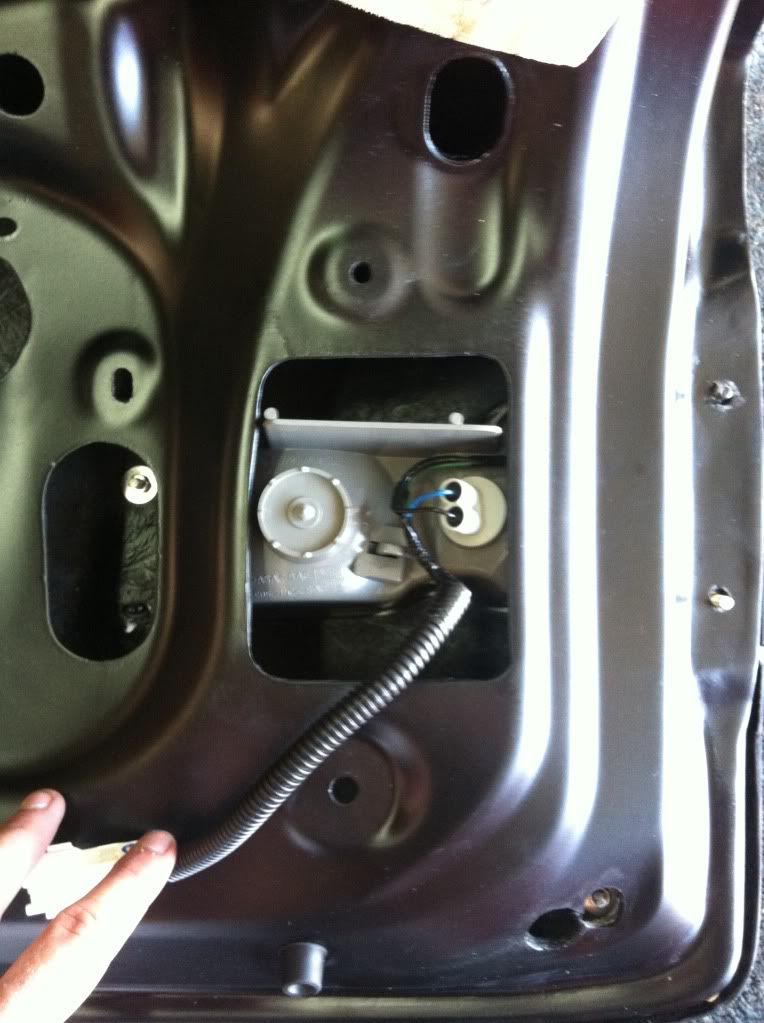
Step 2: Once you have the liner off, you need to disconnect all the wires. There are 2 for your tail lights, 2 for your license plate lights, and a couple others, also including back up camera if you have one. Also you need to unbolt the latch for the trunk, just 2 10mm bolts:
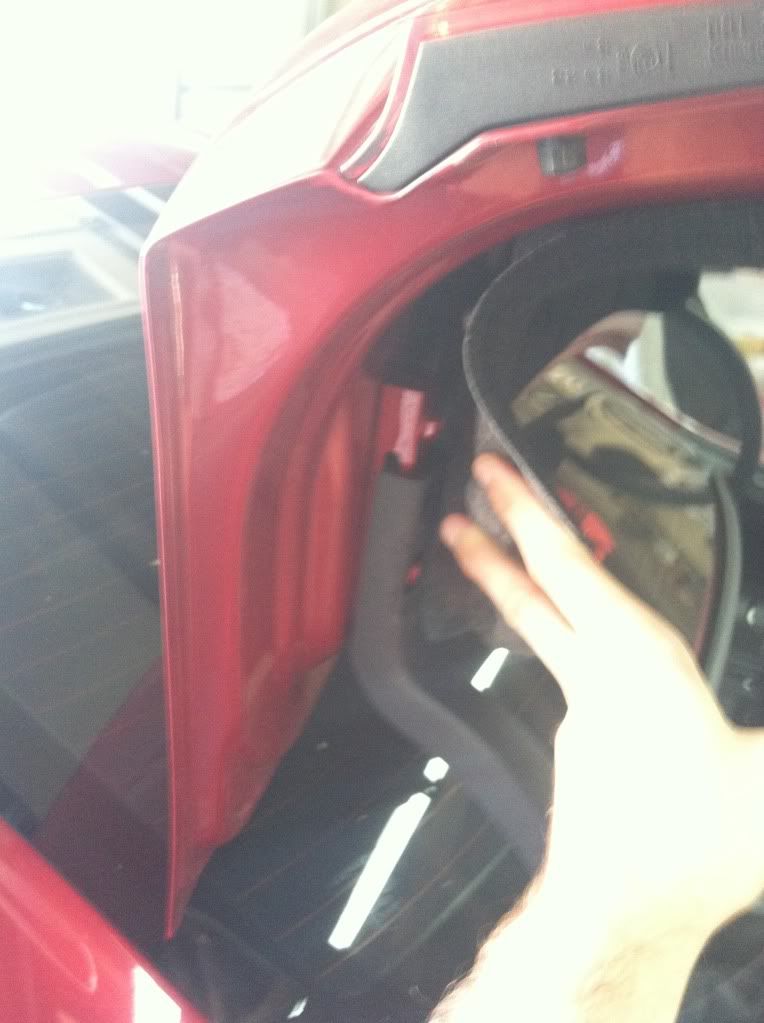
Step 3: Next you need to undo the 4 10mm bolts that hold the trunk in place as shown. When undoing the bolts just be careful and place a towel under the corners of the trunk so it doesn't scratch your car. Trunk itself is not heavy, I took it off just by myself.
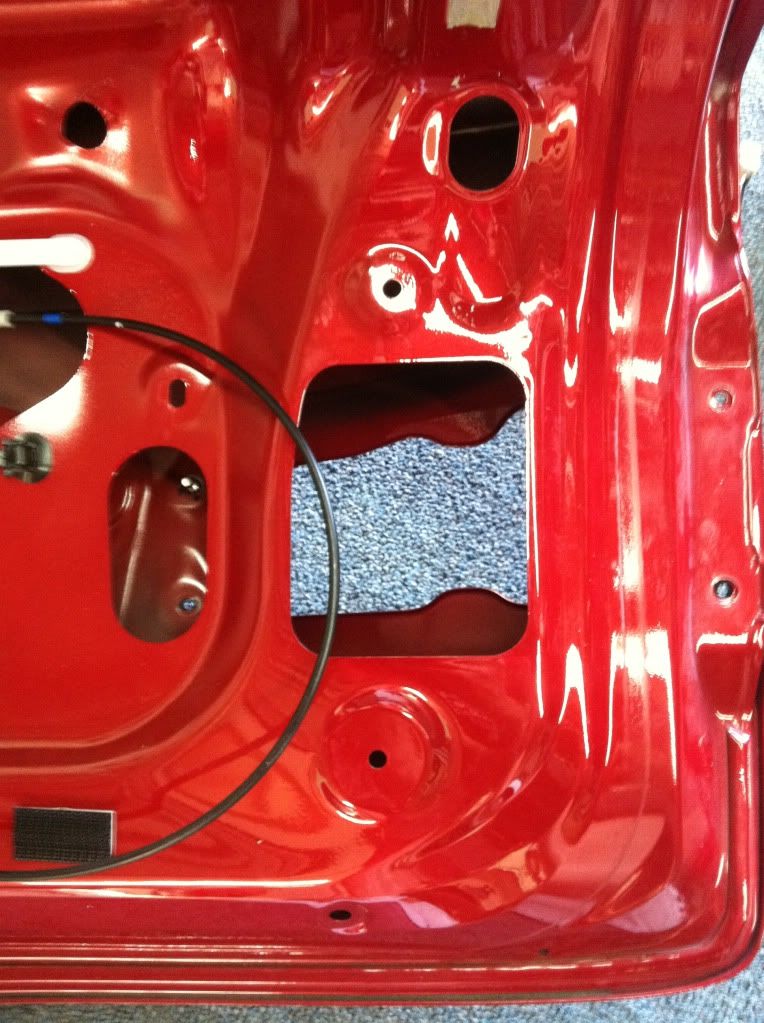
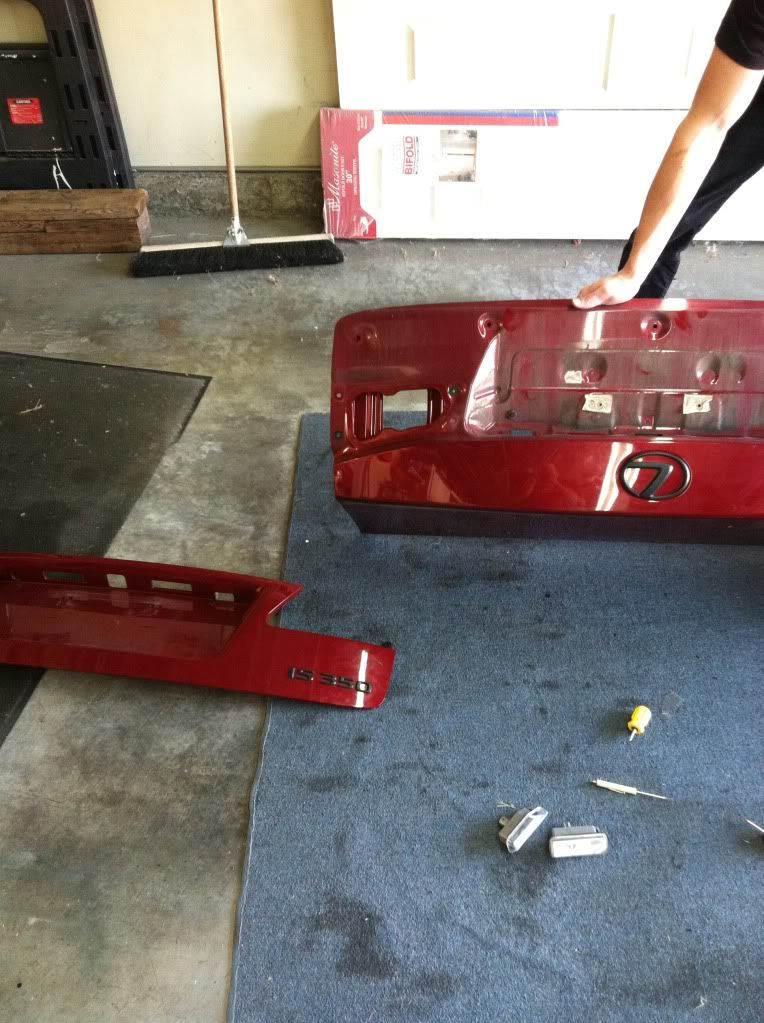
Step 4: Now you should have your trunk completely detached like so:

Step 5: Next you want to take the rubber cushions off the old trunk and put on new trunk. They just pull out and push into the new one. Also there is a black trunk handle you need to remove. This has a cover that opens up and reveals 2 screws.
Step 6: Taillights! There are 3 10mm bolts holding them into place. 2 all the way on the right, and 1 on the left in that oval shape hole. This is what it looks like when removed:
and this is what it looks like in the new trunk:
Step 7: Next thing is you want to unbolt the KEY LOCK and PUSH BUTTON on the trunk and transfer it over. Now they each have 2 10mm bolts on the original trunk that you have to undo. When you put them on the Seibon trunk, they have a spot to put them, but nowhere to bolt them too. You might possibly be able to drill a screw in there, but space is limited and I couldn't figure out a way to do it, so I drilled 2 small holes and ziptied both super tight, and they are VERY firm and don't move. Once again, you can do this another way, just showing you the best way I could think of:
Key Hole:

Trunk Button:
http://i708.photobucket.com/albums/w...es6/photo4.jpg
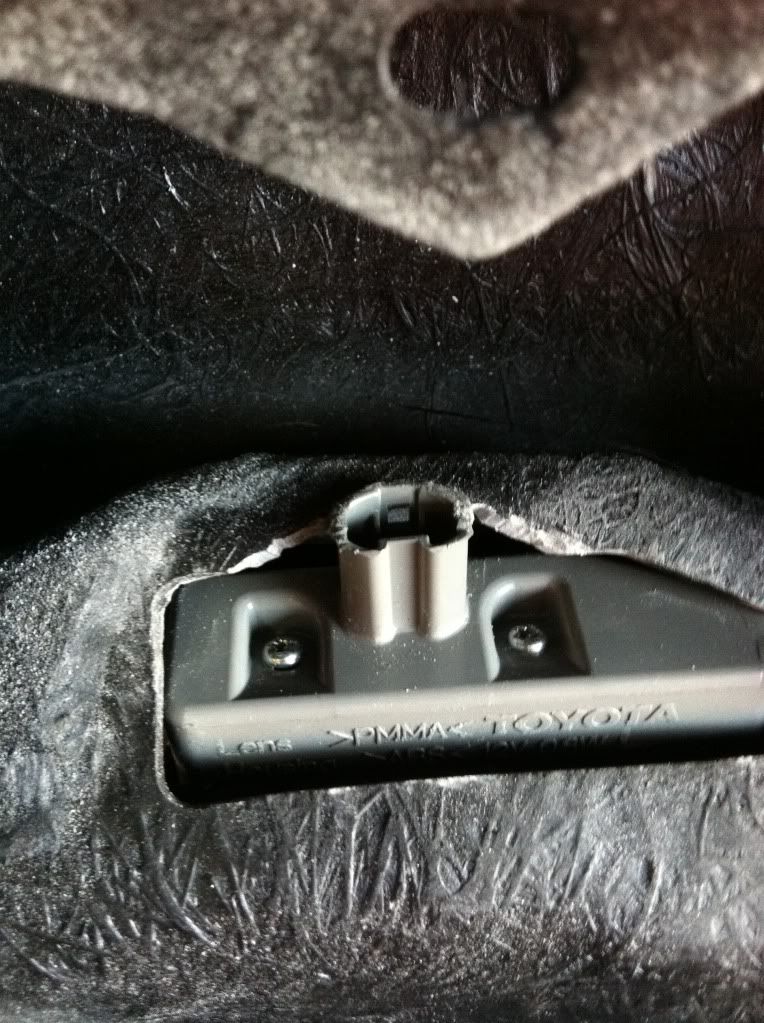
Step 8: Next lastly you just need to remove the license plate lights. There are 2 of them and they are a PAIN-IN-THE-*** haha. Not really, but it took me like 40 minutes to figure out how to remove them! The key part is that you have to remove the actual trunk, it's 2 pieces! I did not know this. Now I do
To do that you just undo any remaining bolts, and tug a bit at the corners of the trunk and it easily separates and snaps back together when done.
Step 9: Now the hardest part, when inserting the license plate lights in the Seibon trunk, there is a slot for it to fit, but it doesn't fit haha. You have to dremel around it just a bit like shown. Enough dremel work and it will fit. Trust me, I didn't want to, but you have to cut it a little bigger. I also used some silicon just for filler inside the dremeled area
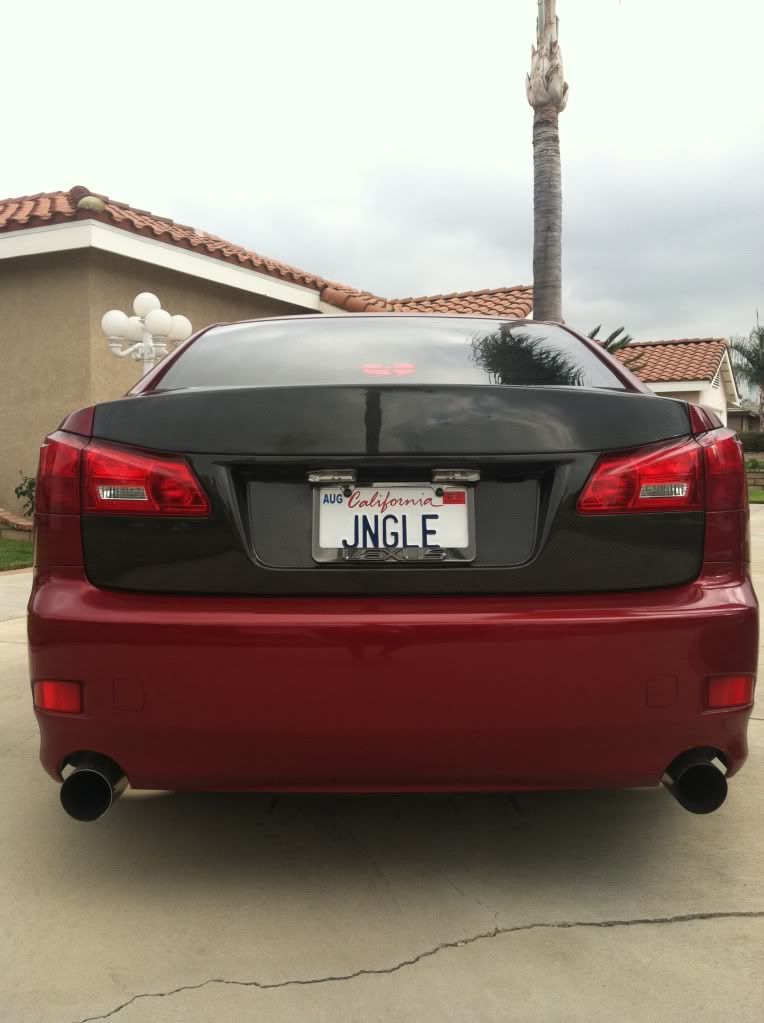
The only thing I didn't like was that in our OEM trunk, the lights sit hidden up in the trunk, now they hang down, but they still look good!

Step 10: Here is where you tell your friend to get off their *** and help you. After you have everything bolted and situated, it's time to put this bad boy on! Have him help you lift it up by the mounts, once again use towels underneath to not scratch the body. As your friend is holding the trunk up just a bit, insert the 4 mounting 10mm bolts again and its on! Then all you do is have to reconnect all the wires, they just snap in. I also ziptied the wires so they didn't dangle down. Yes I plan on putting the trunk liner back on soon, but you'll need to buy some velcro for that.
Step 11: MOST IMPORTANT STEP!!!!!!!!!! PLEASE READ!!!!!!
Hopefully you didn't damage and cables when removing the OEM trunk... so JUST IN CASE, I had my friend lay in the trunk to make sure that it could still open it. If you don't connect the trunk cable / wire, then when you shut it, I don't know how your going to get it back open haha. So when you connect the latch wire and your friend is inside the trunk, shut the trunk and have them use the SAFETY inside handle to open it. Test that out, should work, cable is pretty durable, I'd just rather be safe then not have a trunk haha
Step 12: LAST STEP!!! After you have it on and shut, make sure your lights work. Brake lights, running lights, turn indicators, reverse lights, and license plate lights. Then sit back and enjoy!
Hopefully it doesn't take you guys as long since you now have a DIY to follow. You're welcome
Fitment is dead on! They had all the slots, only little thing you had to do was dremel a bit and use a couple zipties, but that's not bad. Seibon makes that **** pretty dead on. All the holes lined up and everything.
Step 13 ???? : I eventually plan on installing the back up camera (more dremel work since that's an add on feature) and also going to RE-Badge my car with the emblems. To remove your car emblems, just use a hair dryer and small flat object like a credit card or flathead screwdriver, and while heating the emblem you can push on the back of it now that your trunk is off and it will unglue itself. Glue is VERY sticky so use some force haha emblems are pretty tough. Ill take more pics when Im done, but the DIY is done!
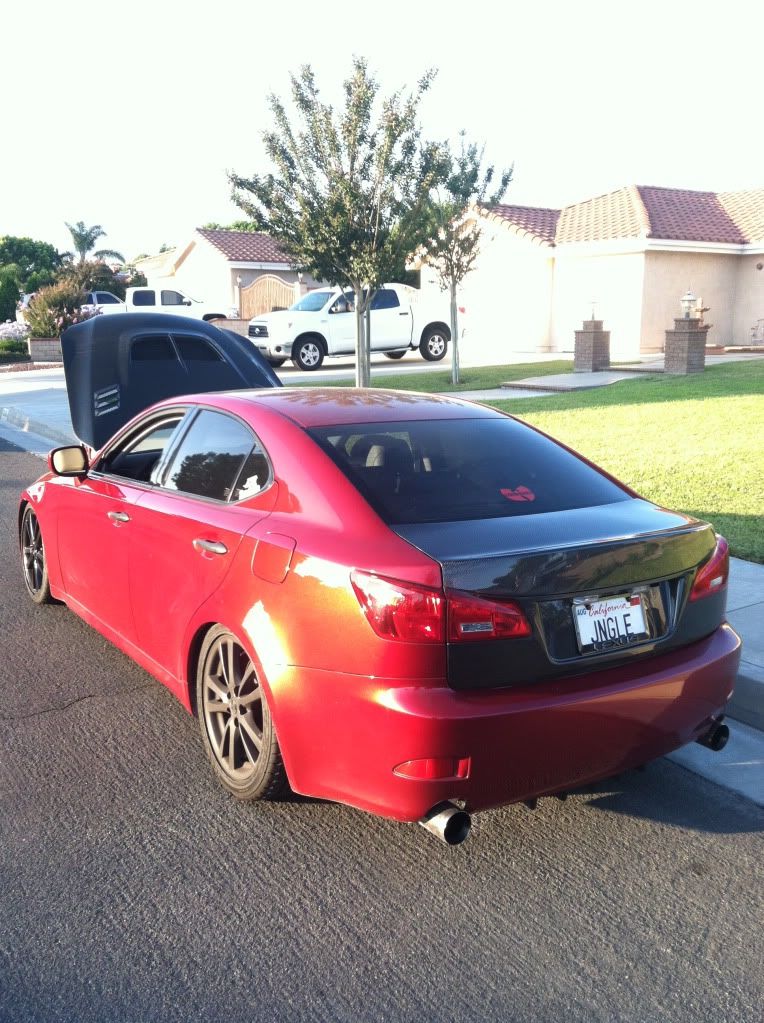
Enjoy some pictures, and post some of yours when you do it!
It was easy to me to install, so I hope you guys do it yourself if you plan on getting a new OEM trunk or a CF trunk. Post pics!!!
Light alignment is spot on!
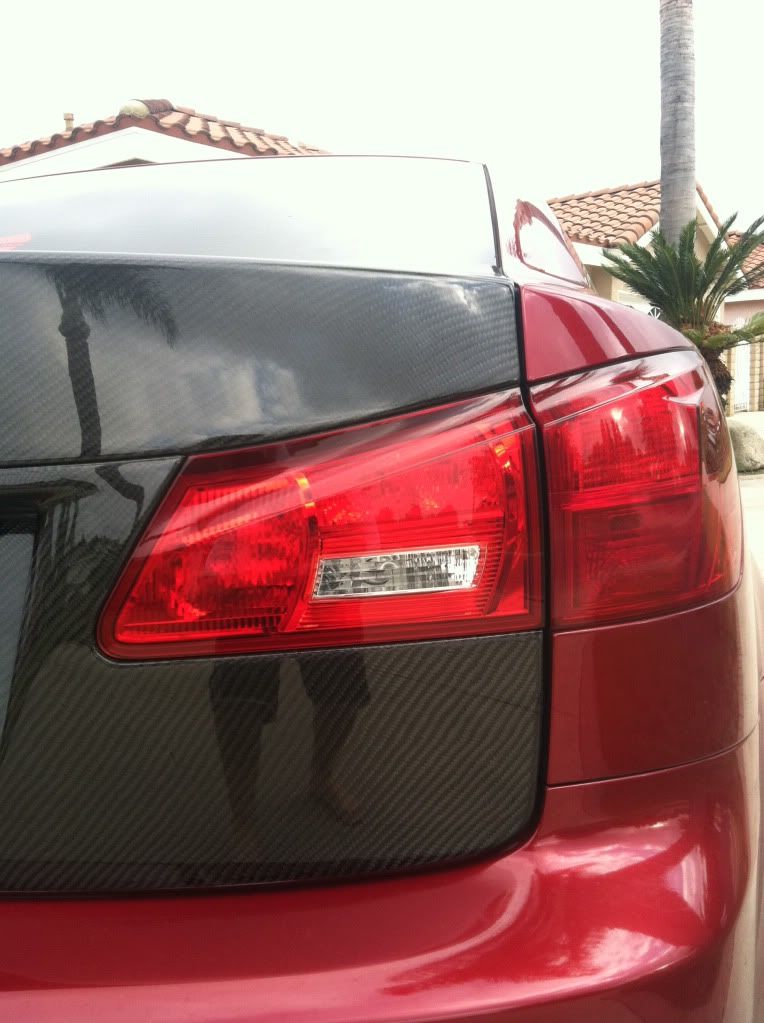

Goes well with my hood
EDIT!
Fixed the license plate lights! You need to do A LOT more dremel work on the inside to wedge it in, but it was DEFINITELY worth it IMO!

IF YOU HAVE ANY QUESTIONS, COMMENT OR PM ME!!!
Time: 3-4 hours
Difficulty - Medium
Tools: Phillips Screwdriver - Dremel - 10mm Socket - Towels - Zipties - Silicon
Friends To Help You: +1
Step 1: Remove the trunk lining! There are 12 little plastic clips that you just lift up with a screw driver. The problem I had was with the inside safety trunk puller, so I cut a bit in the liner to work around this. Not hard
Step 2: Once you have the liner off, you need to disconnect all the wires. There are 2 for your tail lights, 2 for your license plate lights, and a couple others, also including back up camera if you have one. Also you need to unbolt the latch for the trunk, just 2 10mm bolts:
Step 3: Next you need to undo the 4 10mm bolts that hold the trunk in place as shown. When undoing the bolts just be careful and place a towel under the corners of the trunk so it doesn't scratch your car. Trunk itself is not heavy, I took it off just by myself.
Step 4: Now you should have your trunk completely detached like so:
Step 5: Next you want to take the rubber cushions off the old trunk and put on new trunk. They just pull out and push into the new one. Also there is a black trunk handle you need to remove. This has a cover that opens up and reveals 2 screws.
Step 6: Taillights! There are 3 10mm bolts holding them into place. 2 all the way on the right, and 1 on the left in that oval shape hole. This is what it looks like when removed:
and this is what it looks like in the new trunk:
Step 7: Next thing is you want to unbolt the KEY LOCK and PUSH BUTTON on the trunk and transfer it over. Now they each have 2 10mm bolts on the original trunk that you have to undo. When you put them on the Seibon trunk, they have a spot to put them, but nowhere to bolt them too. You might possibly be able to drill a screw in there, but space is limited and I couldn't figure out a way to do it, so I drilled 2 small holes and ziptied both super tight, and they are VERY firm and don't move. Once again, you can do this another way, just showing you the best way I could think of:
Key Hole:
Trunk Button:
http://i708.photobucket.com/albums/w...es6/photo4.jpg
Step 8: Next lastly you just need to remove the license plate lights. There are 2 of them and they are a PAIN-IN-THE-*** haha. Not really, but it took me like 40 minutes to figure out how to remove them! The key part is that you have to remove the actual trunk, it's 2 pieces! I did not know this. Now I do
To do that you just undo any remaining bolts, and tug a bit at the corners of the trunk and it easily separates and snaps back together when done.
Step 9: Now the hardest part, when inserting the license plate lights in the Seibon trunk, there is a slot for it to fit, but it doesn't fit haha. You have to dremel around it just a bit like shown. Enough dremel work and it will fit. Trust me, I didn't want to, but you have to cut it a little bigger. I also used some silicon just for filler inside the dremeled area
The only thing I didn't like was that in our OEM trunk, the lights sit hidden up in the trunk, now they hang down, but they still look good!
Step 10: Here is where you tell your friend to get off their *** and help you. After you have everything bolted and situated, it's time to put this bad boy on! Have him help you lift it up by the mounts, once again use towels underneath to not scratch the body. As your friend is holding the trunk up just a bit, insert the 4 mounting 10mm bolts again and its on! Then all you do is have to reconnect all the wires, they just snap in. I also ziptied the wires so they didn't dangle down. Yes I plan on putting the trunk liner back on soon, but you'll need to buy some velcro for that.
Step 11: MOST IMPORTANT STEP!!!!!!!!!! PLEASE READ!!!!!!
Hopefully you didn't damage and cables when removing the OEM trunk... so JUST IN CASE, I had my friend lay in the trunk to make sure that it could still open it. If you don't connect the trunk cable / wire, then when you shut it, I don't know how your going to get it back open haha. So when you connect the latch wire and your friend is inside the trunk, shut the trunk and have them use the SAFETY inside handle to open it. Test that out, should work, cable is pretty durable, I'd just rather be safe then not have a trunk haha
Step 12: LAST STEP!!! After you have it on and shut, make sure your lights work. Brake lights, running lights, turn indicators, reverse lights, and license plate lights. Then sit back and enjoy!
Hopefully it doesn't take you guys as long since you now have a DIY to follow. You're welcome
Fitment is dead on! They had all the slots, only little thing you had to do was dremel a bit and use a couple zipties, but that's not bad. Seibon makes that **** pretty dead on. All the holes lined up and everything.
Step 13 ???? : I eventually plan on installing the back up camera (more dremel work since that's an add on feature) and also going to RE-Badge my car with the emblems. To remove your car emblems, just use a hair dryer and small flat object like a credit card or flathead screwdriver, and while heating the emblem you can push on the back of it now that your trunk is off and it will unglue itself. Glue is VERY sticky so use some force haha emblems are pretty tough. Ill take more pics when Im done, but the DIY is done!
Enjoy some pictures, and post some of yours when you do it!
It was easy to me to install, so I hope you guys do it yourself if you plan on getting a new OEM trunk or a CF trunk. Post pics!!!
Light alignment is spot on!
Goes well with my hood
EDIT!
Fixed the license plate lights! You need to do A LOT more dremel work on the inside to wedge it in, but it was DEFINITELY worth it IMO!
Last edited by ApokC; 07-16-11 at 01:40 PM.
 07-15-11, 09:07 AM
#3
Lexus Test Driver
Thread Starter
Thank you! Thought I'd help out since there was no DIY on trunk replacement.
Im adding the Back Up Cam and Badges today, so Ill add a couple more pics when I finish. Those are easy though
Im adding the Back Up Cam and Badges today, so Ill add a couple more pics when I finish. Those are easy though
07-15-11, 02:38 PM
#7
Lead Lap
iTrader: (1)
Join Date: Mar 2006
Location: Florida
Posts: 510
Likes: 0
Received 0 Likes
on
0 Posts
I'm OCD and while the carbon fiber trunk looks good, the tailights are not lined up exactly though you say they are. And the fact that the license plate lights dont look as intended from stock, it looks like *** in my opinion. But props for the write up it was informative.
And the fact that the license plate lights dont look as intended from stock, it looks like *** in my opinion. But props for the write up it was informative.


 There has to be a fix for this.