DIY: 2009 Lexus IS 250 RWD - OIL & FILTER CHANGE
 06-29-11, 11:33 AM
#1
Pole Position
Thread Starter

* * * USE AT YOUR OWN RISK * * *
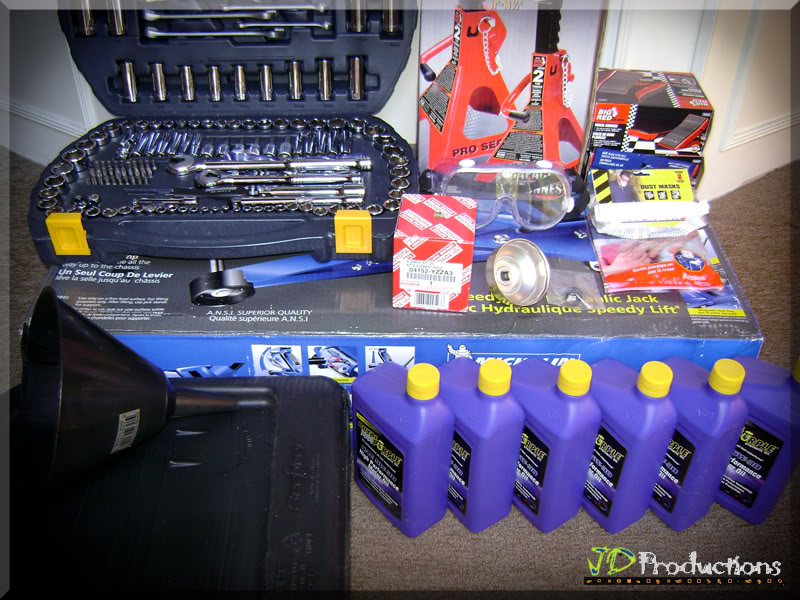
RECOMMENDED MATERIALS:
* Automotive Work Gloves or Disposable Gloves (Stanley HandHelpers Disposable vinyl gloves @ Home Depot)
* Safety Glasses (for Eye Protection @ Canadian Tire)
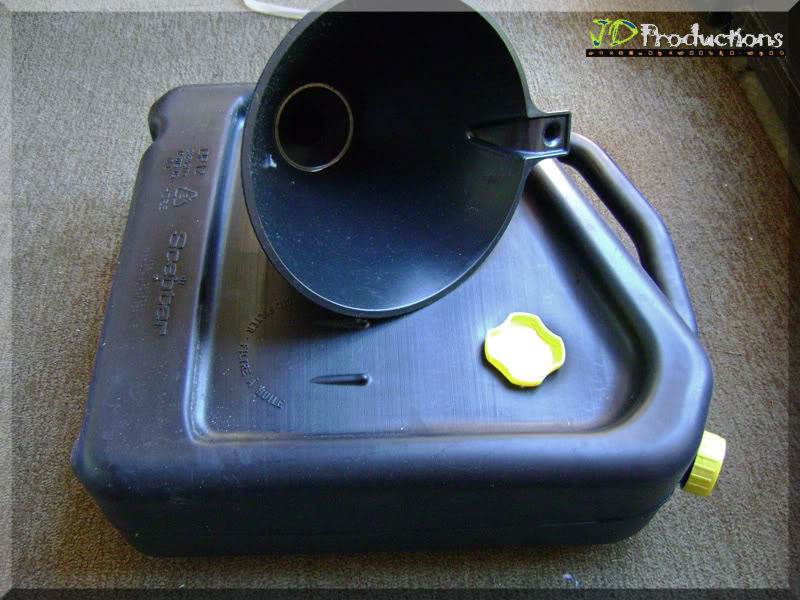
* All-purpose Funnel with Handle, 12-in (Canadian Tire)
* Oil Drain Pan + extra container-Filter Oil (Canadian Tire)
* Oil Filter Element Kit Part #:04152-YZZA3 (from DVN Parts)
* 7 qt. of API SL SAE 5W-30 (I used Royal Purple)
OPTIONAL:
* Old Carpet Runner or Old Exercise Mat (for back support)
* Old Newspapers (for Oil Spill)
RECOMMENDED TOOLS:
* Jack (I used Michelin 3�-ton Speedy Lift Jack @ Canadian Tire)
* 2 x 3�-Ton Axle Stands (Walmart)
* 4 x Wheel Chocks (Walmart)
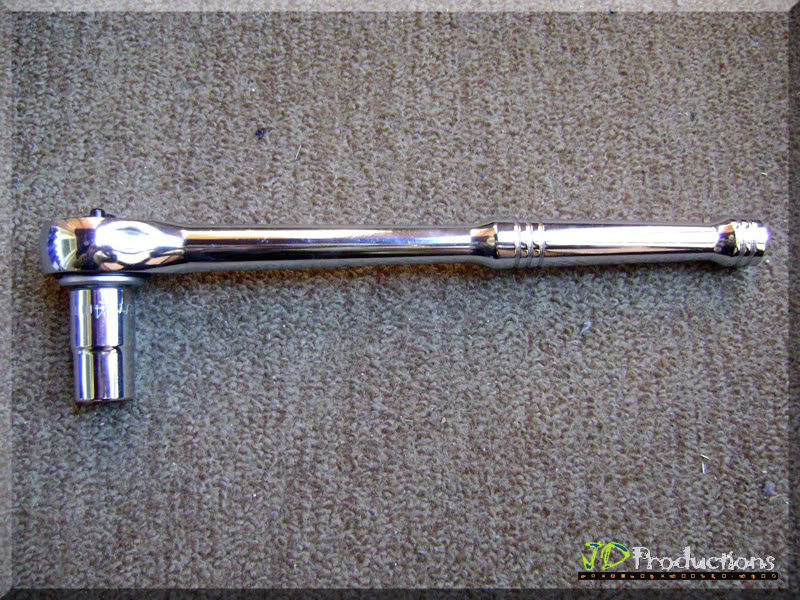
* Socket Wrench with 14mm Socket (Mastercraft @ Canadian Tire)
* Socket Wrench with 10mm Socket (Mastercraft @ Canadian Tire)
* Toyota Oil Filter Wrench 64mm/14 flute (via Ebay Motors)
OPTIONAL:
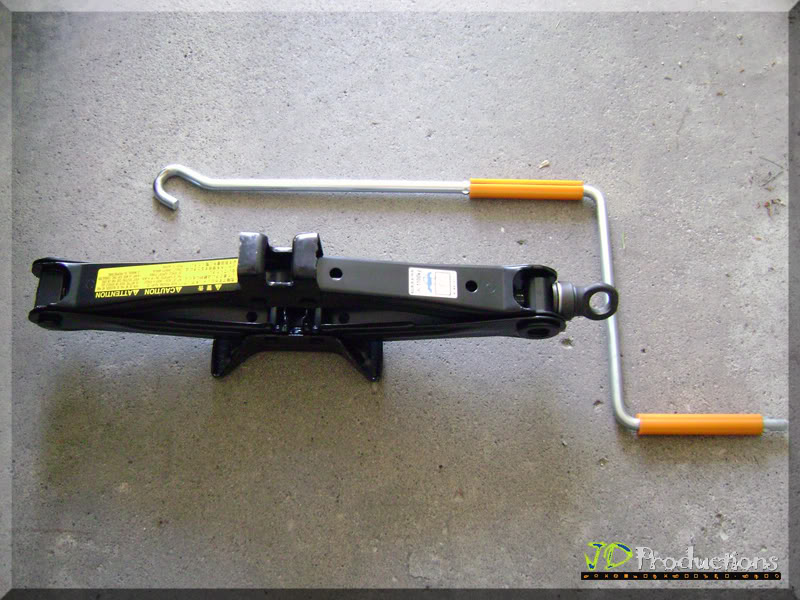
* In-Car Scissors Jack (Applies to Lowered Cars)
~~~~~~~~~~~~~~~~~~~~~~~~~~~~~~~~~~~~~~~~~~~~~~~~~~~~~~~~~~~~~~~~~~~~~~~~~~~~~~~~
STEP 1
1.1) Wear appropriate "Oil Change-Attire" for this Job
1.2) Press Engine START

Make note of the ODOMETER Reading (This will help you determine your next Oil Change/Interval)

STEP 2
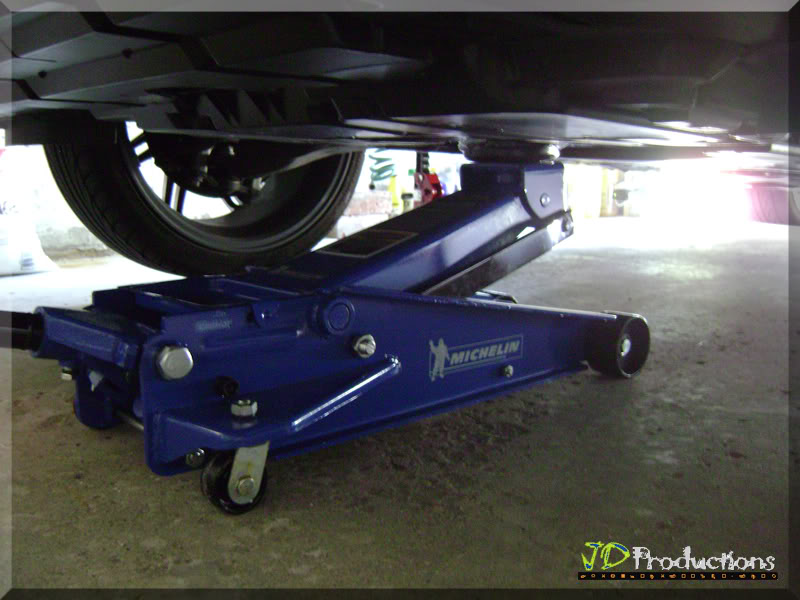
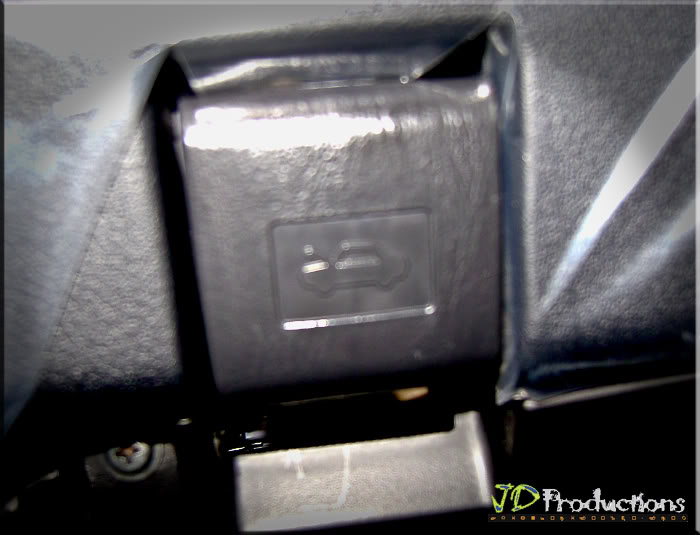
Hoist the vehicle by using Lift Jack. I used the In-Car Scissors Jack (applies to lowered Set-up) first to get the "3�-ton Speedy Lift Jack" underneat the car.
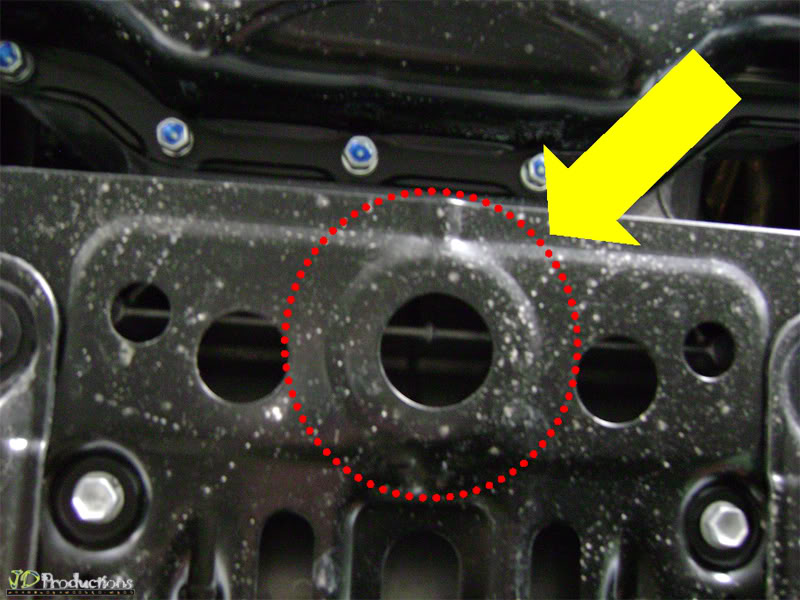
Note: Front/Center Jack Point
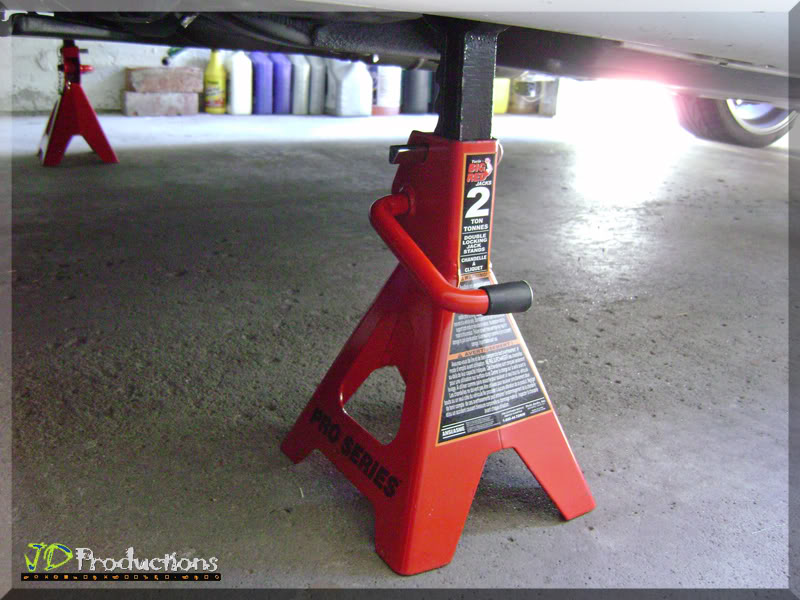
STEP 3
Place the "3�-Ton Axle Stands" to the Driver & Passenger Front/Side Jack Points
STEP 4
Place the "Wheel Chocks" to the Rear Tires

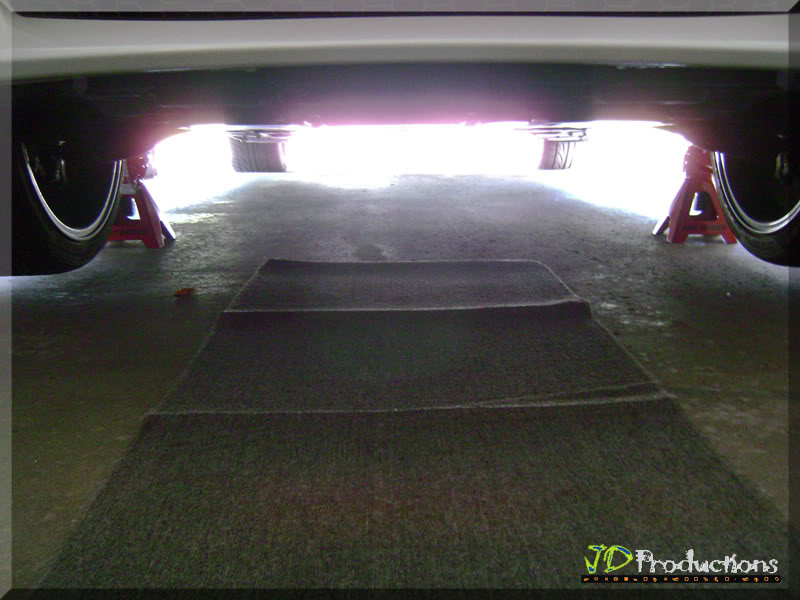
STEP 5
Place an "Old Carpet Runner" underneath the vehicle to support your back
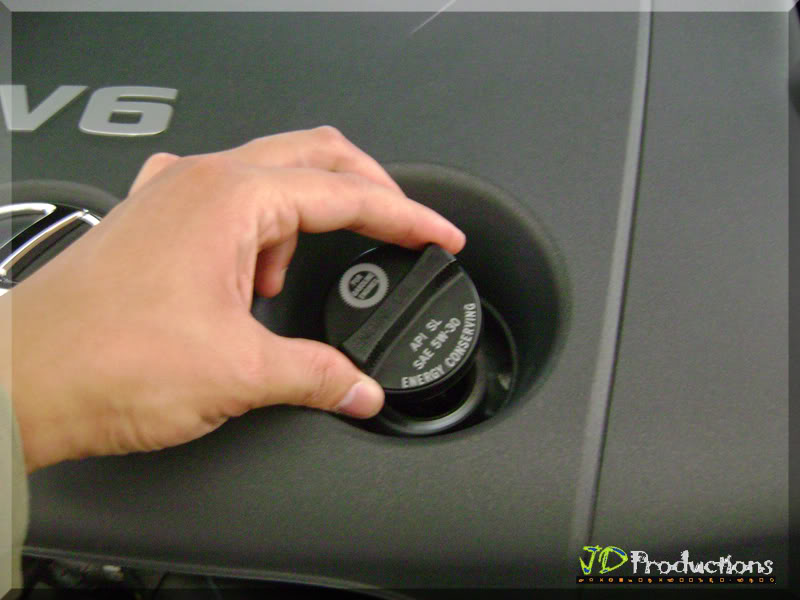
STEP 6
Pull the hood release lever.
Remove the oil filler cap by turning it counterclockwise.
STEP 7
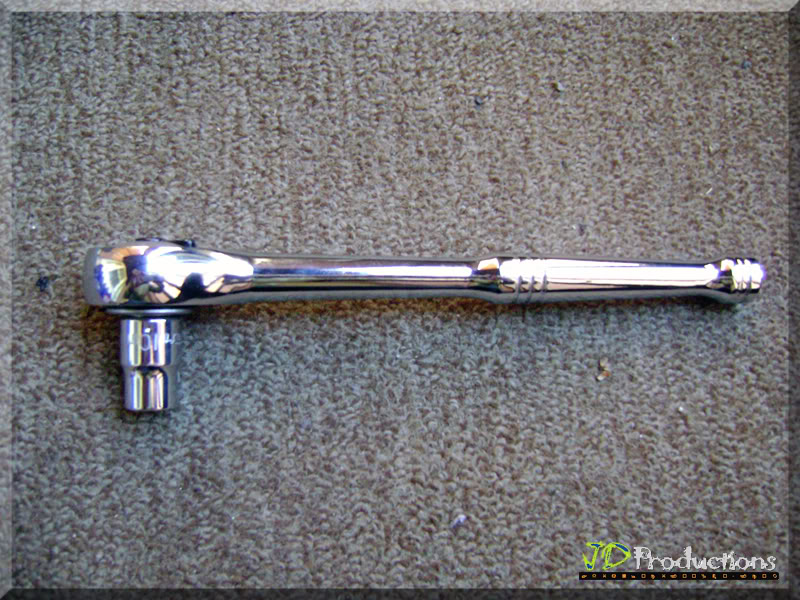
Prepare 14mm Socket Wrench, Funnel & Oil Drain Pan
STEP 8
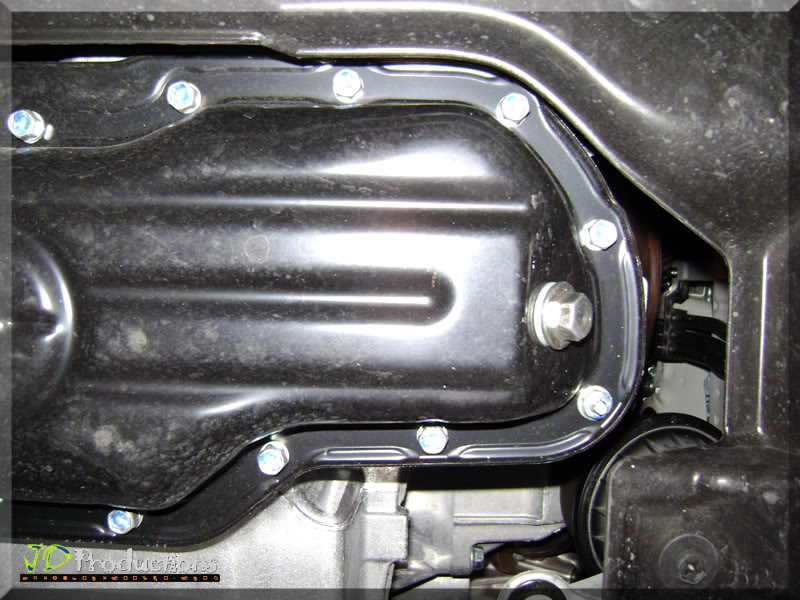
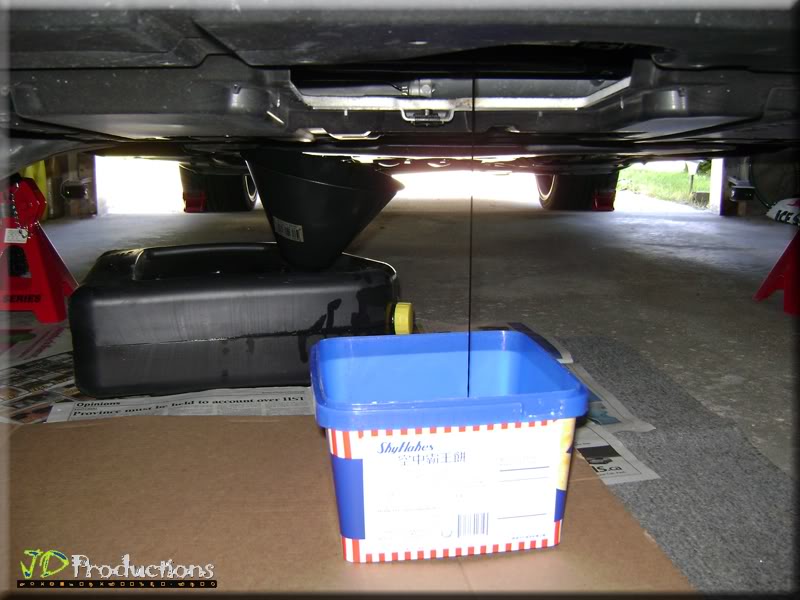
Locate Oil Drain Plug/Bolt underneath vehicle
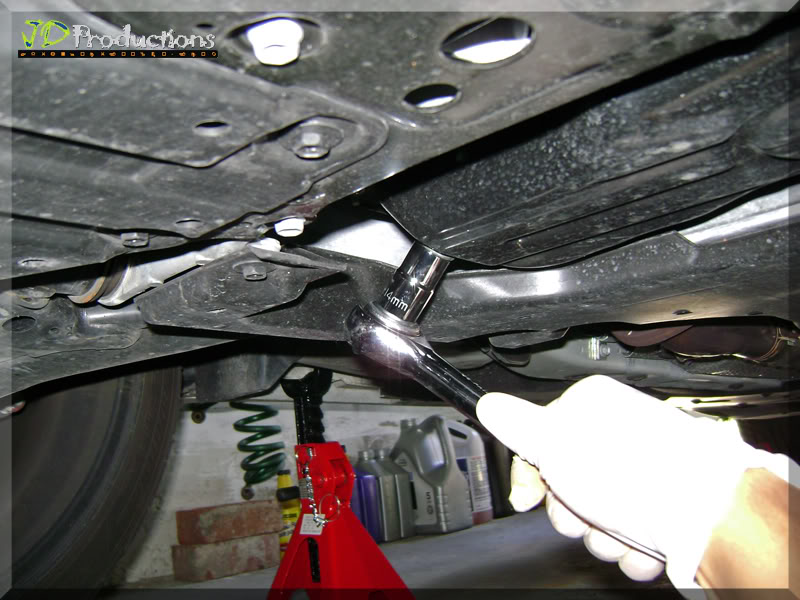
Position your "Oil Drain Pan" below the drain plug. Use 14mm socket wrench to loosen and remove drain plug/bolt. Let the oil drain into the oil reservoir. (Don't forget to wear disposable gloves & Safety Glasses in this step)
Place some old newspaper below the Oil Drain Pan as well - - - for possible oil spill
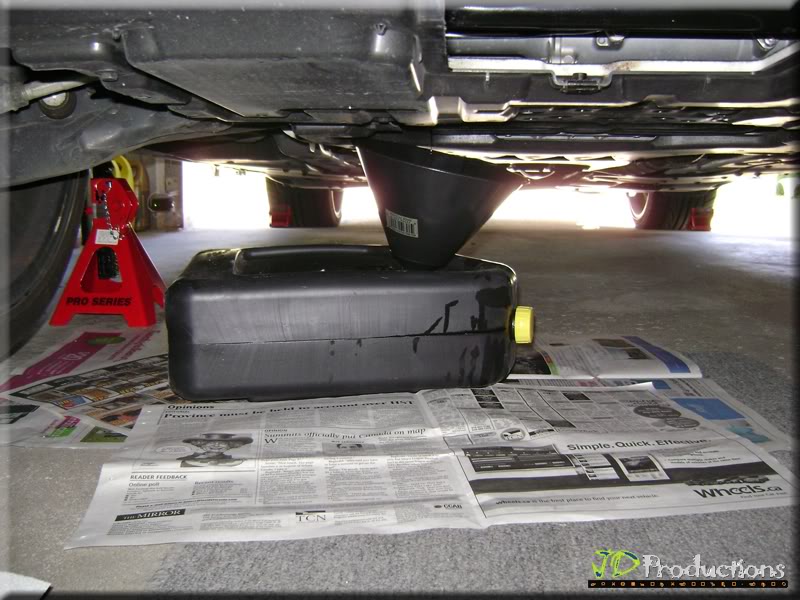
STEP 9
OIL FILTER: Prepare 10mm Socket Wrench
Locate Oil Filter Plastic Cover
Use 10mm Socket Wrench to loosen 3 bolts
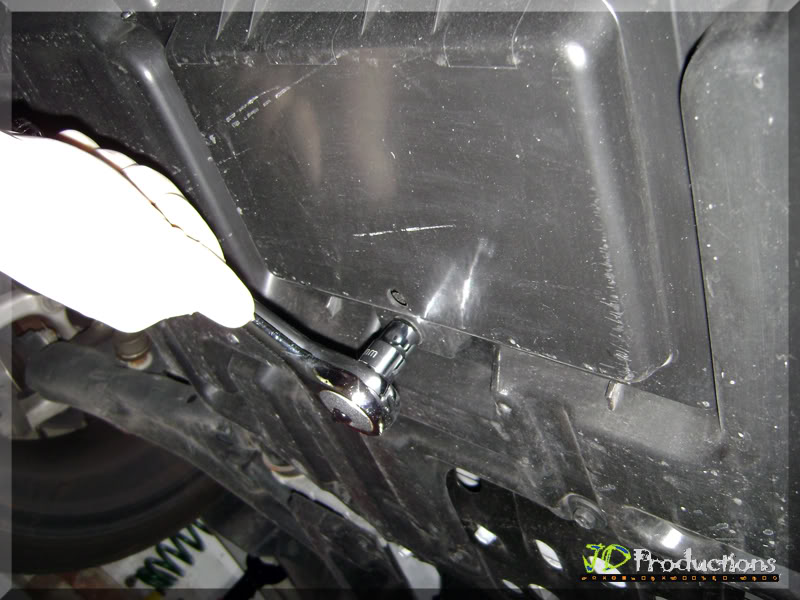
STEP 10
Prepare Toyota Oil Filter Wrench & Extra container for leftover Oil from Filter Housing
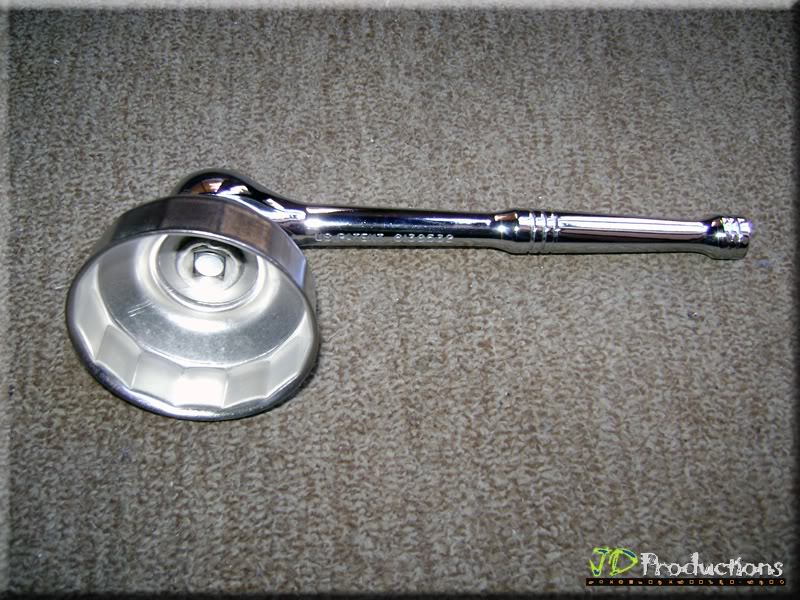
Loosen Oil Filter Cap/Cover

Let it fully drain . . . (Extra Container)
"I'm not a Mechanic or Auto Body Specialist. I sit in-front of my computer all day at work. That being said; If I can do this Step-By-Step DIY, so can you!" . . . JD
RECOMMENDED MATERIALS:
* Automotive Work Gloves or Disposable Gloves (Stanley HandHelpers Disposable vinyl gloves @ Home Depot)
* Safety Glasses (for Eye Protection @ Canadian Tire)
* All-purpose Funnel with Handle, 12-in (Canadian Tire)
* Oil Drain Pan + extra container-Filter Oil (Canadian Tire)
* Oil Filter Element Kit Part #:04152-YZZA3 (from DVN Parts)
* 7 qt. of API SL SAE 5W-30 (I used Royal Purple)
Owner's Manual Indicates: 6.2 qt.-without Filter & 6.6 qt.-with * Filter Change
* Old Carpet Runner or Old Exercise Mat (for back support)
* Old Newspapers (for Oil Spill)
RECOMMENDED TOOLS:
* Jack (I used Michelin 3�-ton Speedy Lift Jack @ Canadian Tire)
* 2 x 3�-Ton Axle Stands (Walmart)
* 4 x Wheel Chocks (Walmart)
* Socket Wrench with 14mm Socket (Mastercraft @ Canadian Tire)
* Socket Wrench with 10mm Socket (Mastercraft @ Canadian Tire)
* Toyota Oil Filter Wrench 64mm/14 flute (via Ebay Motors)
OPTIONAL:
* In-Car Scissors Jack (Applies to Lowered Cars)
~~~~~~~~~~~~~~~~~~~~~~~~~~~~~~~~~~~~~~~~~~~~~~~~~~~~~~~~~~~~~~~~~~~~~~~~~~~~~~~~
STEP 1
1.1) Wear appropriate "Oil Change-Attire" for this Job
1.2) Press Engine START
Make note of the ODOMETER Reading (This will help you determine your next Oil Change/Interval)
STEP 2
Hoist the vehicle by using Lift Jack. I used the In-Car Scissors Jack (applies to lowered Set-up) first to get the "3�-ton Speedy Lift Jack" underneat the car.
Note: Front/Center Jack Point
STEP 3
Place the "3�-Ton Axle Stands" to the Driver & Passenger Front/Side Jack Points
STEP 4
Place the "Wheel Chocks" to the Rear Tires
STEP 5
Place an "Old Carpet Runner" underneath the vehicle to support your back
STEP 6
Pull the hood release lever.
Remove the oil filler cap by turning it counterclockwise.
STEP 7
Prepare 14mm Socket Wrench, Funnel & Oil Drain Pan
STEP 8
Locate Oil Drain Plug/Bolt underneath vehicle
Position your "Oil Drain Pan" below the drain plug. Use 14mm socket wrench to loosen and remove drain plug/bolt. Let the oil drain into the oil reservoir. (Don't forget to wear disposable gloves & Safety Glasses in this step)
Place some old newspaper below the Oil Drain Pan as well - - - for possible oil spill
STEP 9
OIL FILTER: Prepare 10mm Socket Wrench
Locate Oil Filter Plastic Cover
Use 10mm Socket Wrench to loosen 3 bolts
STEP 10
Prepare Toyota Oil Filter Wrench & Extra container for leftover Oil from Filter Housing
Loosen Oil Filter Cap/Cover
Let it fully drain . . . (Extra Container)
 06-29-11, 11:34 AM
#2
Pole Position
Thread Starter
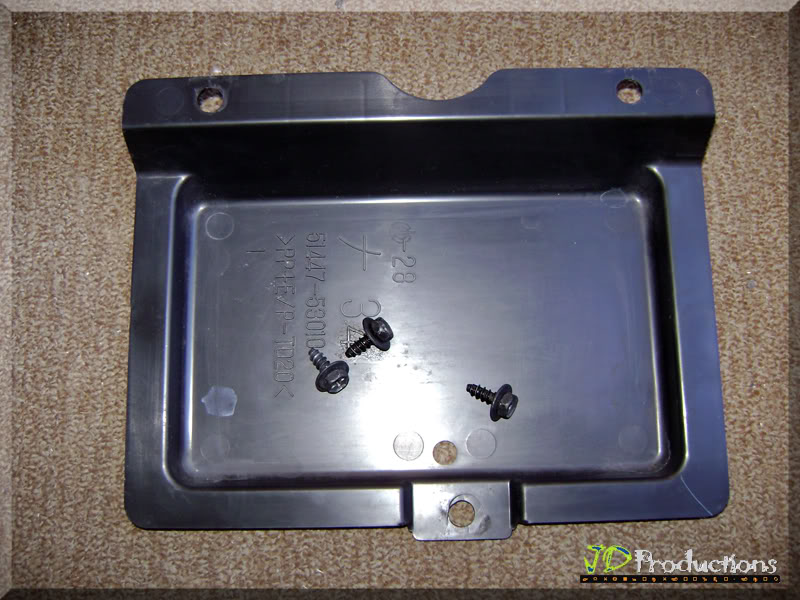
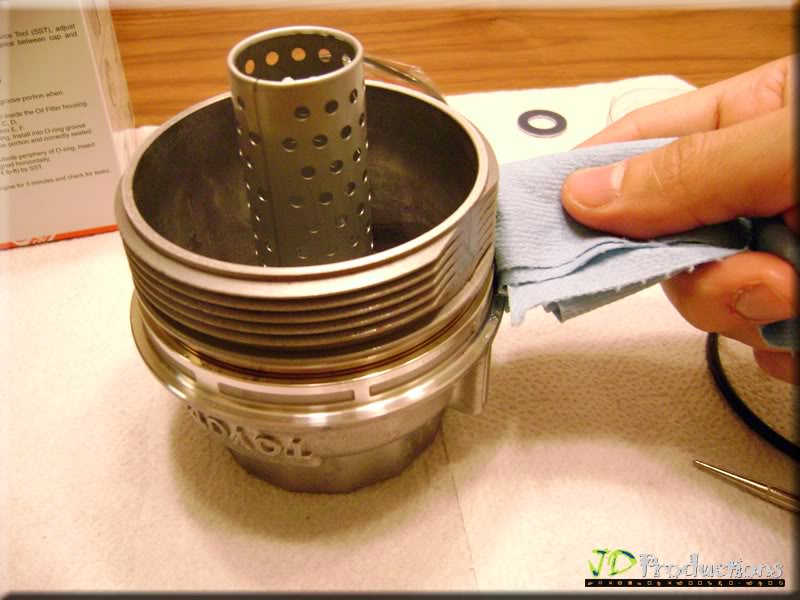
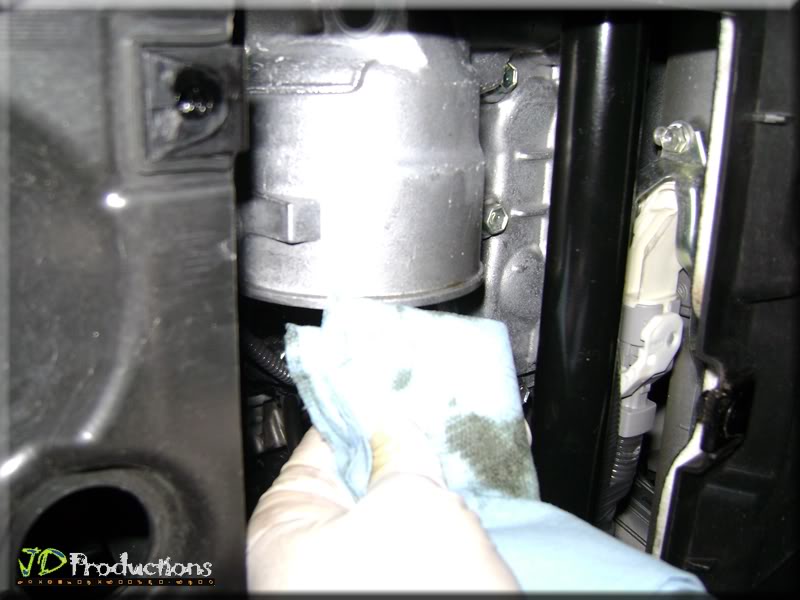
STEP 11
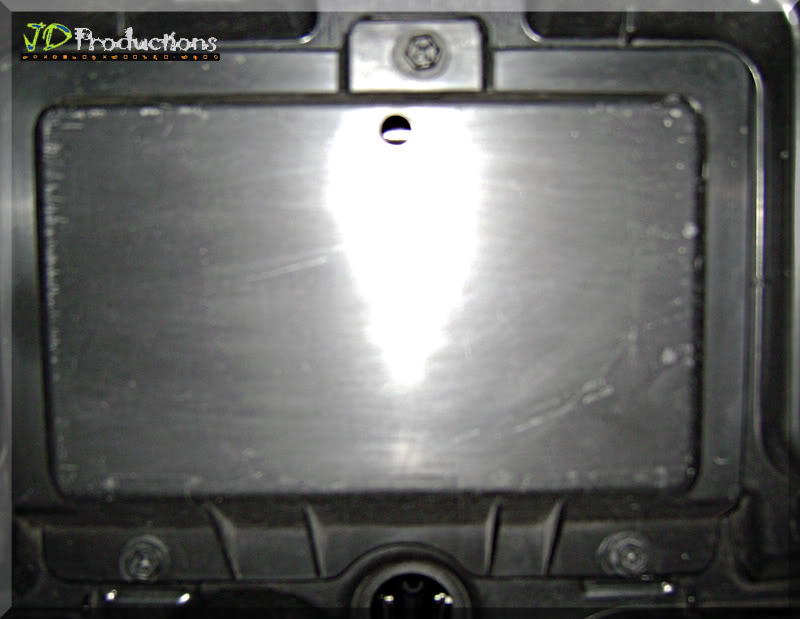
This is the perfect opportunity to clean the Oil Filter Housing (Inside & Out)
STEP 12
Remove Oil Filter Housing "O-Ring"
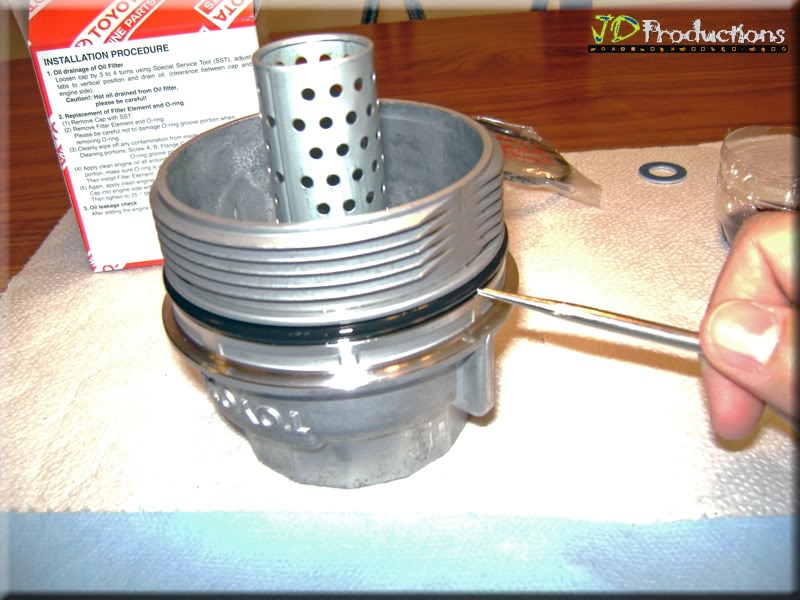
more cleaning . . .
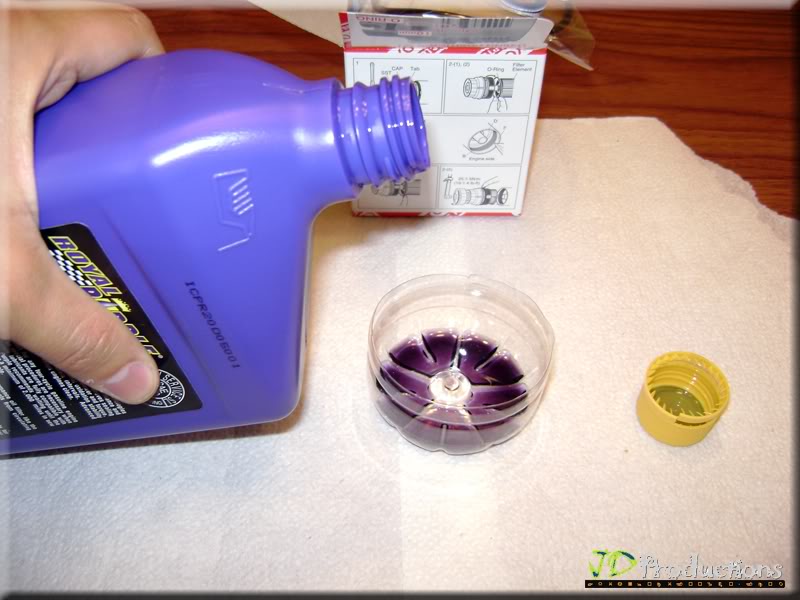
STEP 13
Use disposable small container for easy oil application/lubrication to Oil Filter Housing
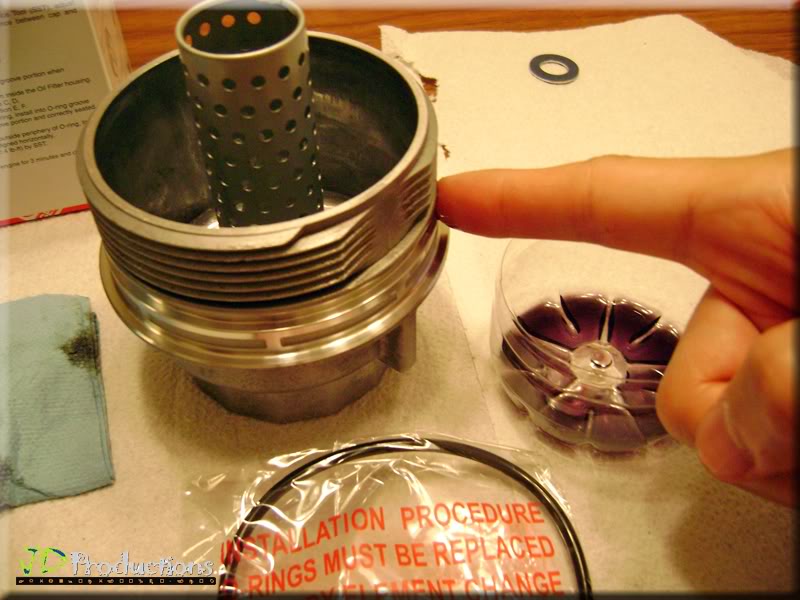
STEP 14
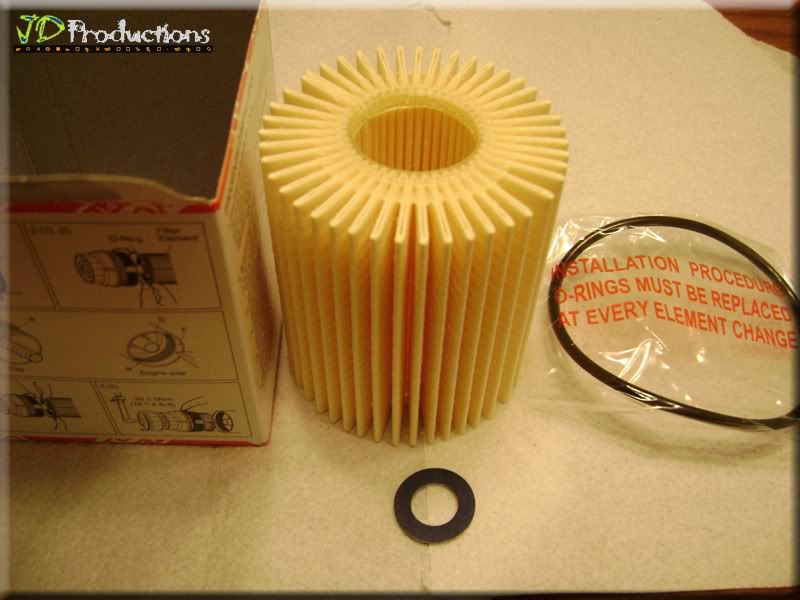
Oil Filter Element Kit (04152-YZZA3)
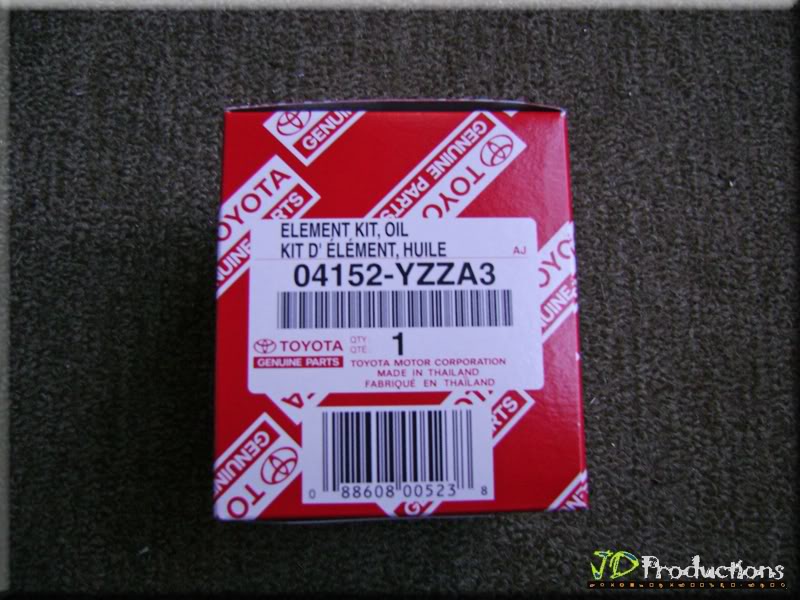
Open Box and check all items (1xFilter Element, 1xO-Ring, 1xDrain Plug/Bolt Gasket)
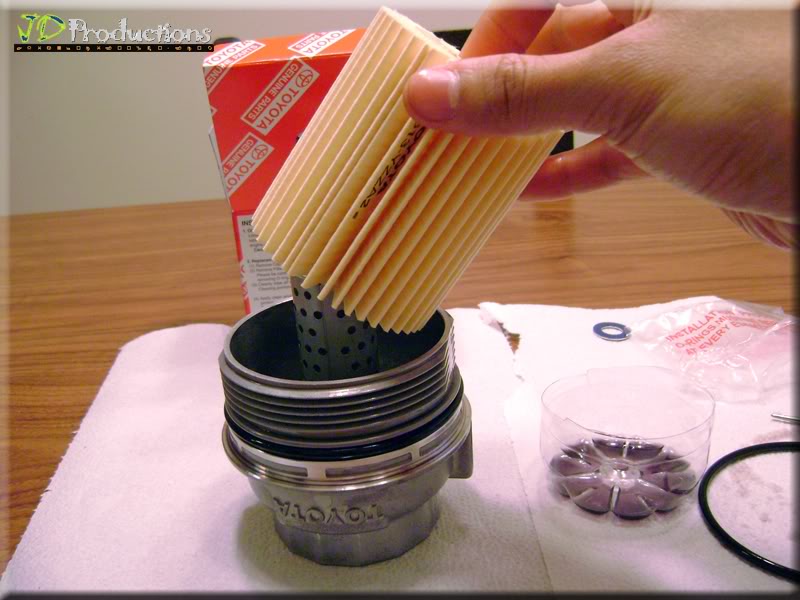
STEP 15
Apply Filter Element to Housing
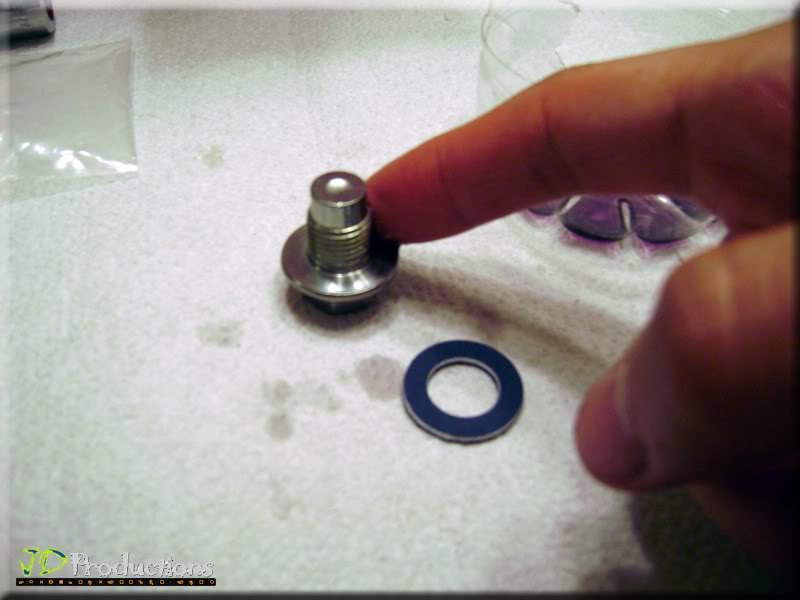
STEP 16
Clean then Lubricate Drain Plug/Bolt
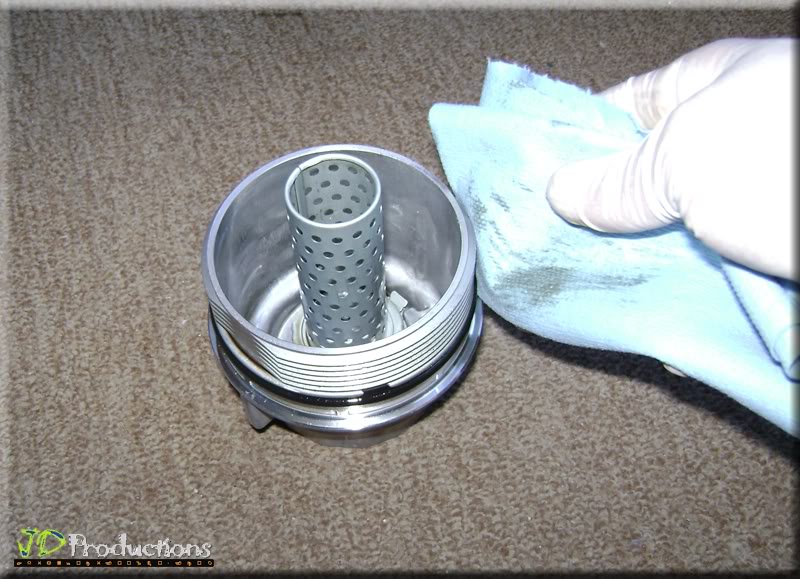
STEP 17
Clean excess oil from Housing
More cleaning . . .
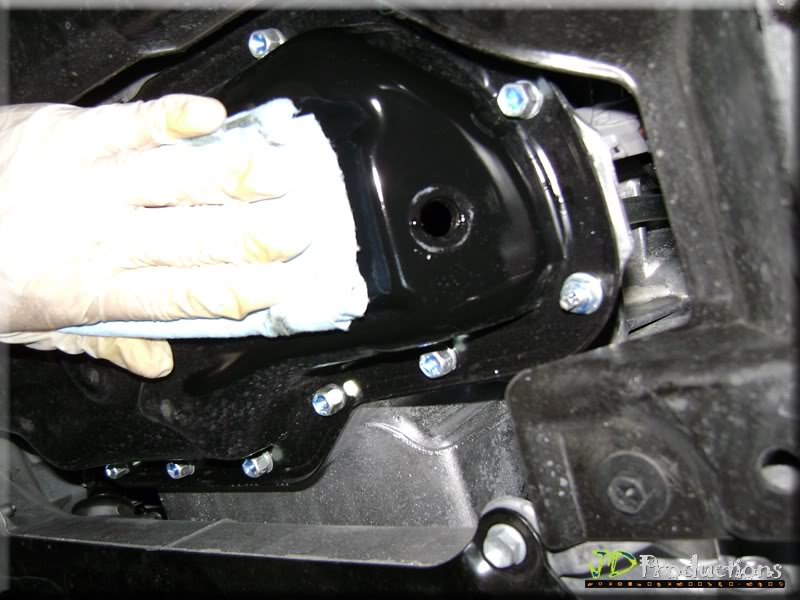
. . . at this point, you're ready to 1) re-plug the Oil Drain Plug/Bolt; then 2) put the Oil Filter Housing (with Filter Element IN) back on.
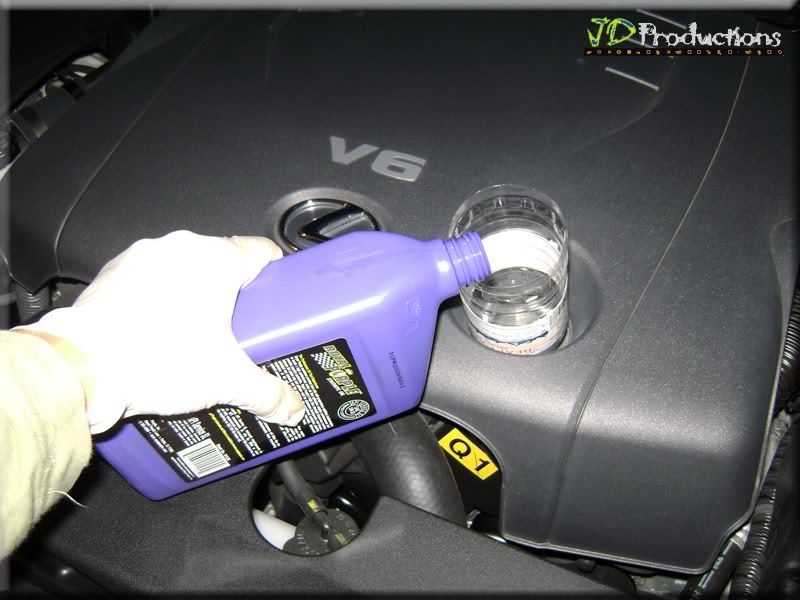
STEP 18
Add 6.5 quarts of your favorite 5W-30 Synthetic Motor Oil (I used Royal Purple)
STEP 19
a) Start the Car and Check underneath the car for the last time. Ensure no leak whatsoever.
b) Check Oil Dip Stick.
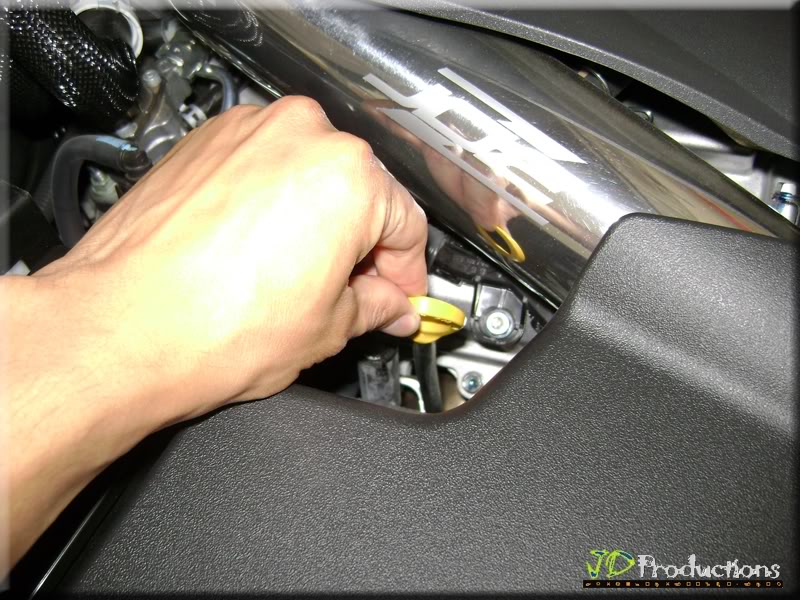
STEP 20
Ensure that the Oil Level is within pointing arrow (close to MAX Level)
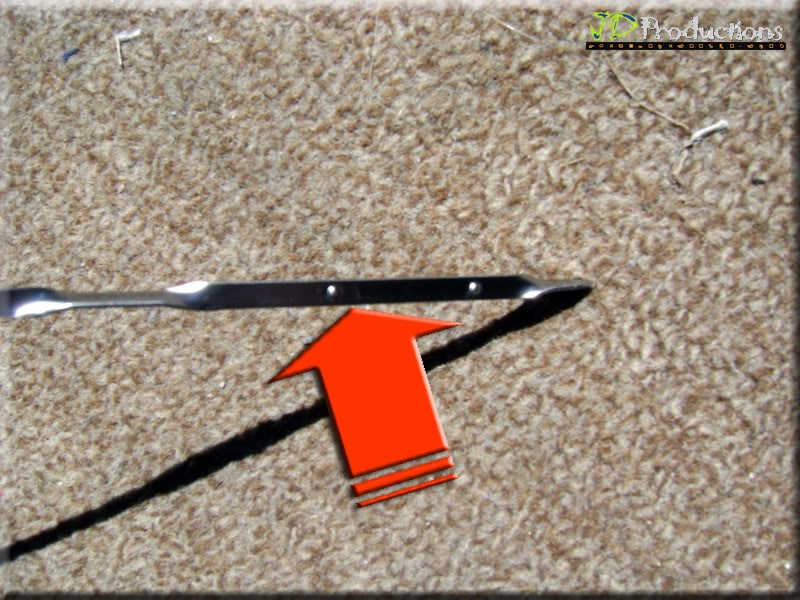
Congratulations! You just completed your Lexus Oil Change
This is the perfect opportunity to clean the Oil Filter Housing (Inside & Out)
STEP 12
Remove Oil Filter Housing "O-Ring"
more cleaning . . .
STEP 13
Use disposable small container for easy oil application/lubrication to Oil Filter Housing
STEP 14
Oil Filter Element Kit (04152-YZZA3)
Open Box and check all items (1xFilter Element, 1xO-Ring, 1xDrain Plug/Bolt Gasket)
STEP 15
Apply Filter Element to Housing
STEP 16
Clean then Lubricate Drain Plug/Bolt
STEP 17
Clean excess oil from Housing
More cleaning . . .
. . . at this point, you're ready to 1) re-plug the Oil Drain Plug/Bolt; then 2) put the Oil Filter Housing (with Filter Element IN) back on.
STEP 18
Add 6.5 quarts of your favorite 5W-30 Synthetic Motor Oil (I used Royal Purple)
Owner's Manual Indicates: 6.2 qt.-without Filter & 6.6 qt.-with Filter Change
STEP 19
a) Start the Car and Check underneath the car for the last time. Ensure no leak whatsoever.
b) Check Oil Dip Stick.
STEP 20
Ensure that the Oil Level is within pointing arrow (close to MAX Level)
Congratulations! You just completed your Lexus Oil Change
 06-29-11, 01:41 PM
#4
while there are already two write-ups in the 2is FAQ:
https://www.clublexus.com/forums/is-...-your-oil.html
https://www.clublexus.com/forums/is-...50-w-pics.html
this one is certainly more comprehensive.

https://www.clublexus.com/forums/is-...-your-oil.html
https://www.clublexus.com/forums/is-...50-w-pics.html
this one is certainly more comprehensive.


 just scare to break it
Trending Topics
06-30-11, 02:52 AM
#8
Super Moderator
 06-30-11, 12:26 PM
#9
Driver School Candidate

Join Date: Jun 2011
Location: toronto
Posts: 5
Likes: 0
Received 0 Likes
on
0 Posts
if you do your own oil change, does that void warranty?
also, op i noticed your from toronto as well, do you know how much a oil change at the dealership cost?
thanks
also, op i noticed your from toronto as well, do you know how much a oil change at the dealership cost?
thanks
06-30-11, 12:41 PM
#10
No, it does not void your warranty. Usually if you go in for warranty work, the dealer won't even ask about your oil change history. Dealers shouldn't give you any trouble if you tell them you perform your own. It's probably best just to be safe to retain some documentation each time you perform it - maybe the receipt from the purchase of the oil and filter, a picture of the used oil/filter next to the new stuff with a picture of a newspaper, etc - you can get creative. But the point is this shouldn't be needed in most cases.
 03-09-13, 12:16 PM
#13
Driver
Join Date: May 2012
Location: BC
Posts: 123
Likes: 0
Received 0 Likes
on
0 Posts
Sorry for the bump, but locally I can only find a 65mm 14 flute oil filter wrench. Does anyone know if it will slip if it's off by that 1mm?
edit: i have a 2007 is250 RWD
edit: i have a 2007 is250 RWD
Last edited by ISmak4; 03-09-13 at 12:40 PM. Reason: edit
03-09-13, 11:51 PM
#14
In my case specifically, I was using a 65mm I bought from autozone and it was completely useless, it was slipping. I ended up ordering the 64mm and it was a perfect fit. I recommend finding a 64mm, it will be better.