
DIY: 2006 IS250 sealed transmission replacement
 04-17-11, 02:34 PM
#1
Hey guys. Here are some pictures for you members that may need to replace their IS250 RWD transmission. My friend and I completed this in our garage. We spent time on it after we got off of work. I think it took a total of 20 hrs combined. We got a transmission off car-part-com for $850 shipped. Shifts so smoothly!
Keep in mind: we are both in the health care field; not mechanics. So if we can do it, you can too!
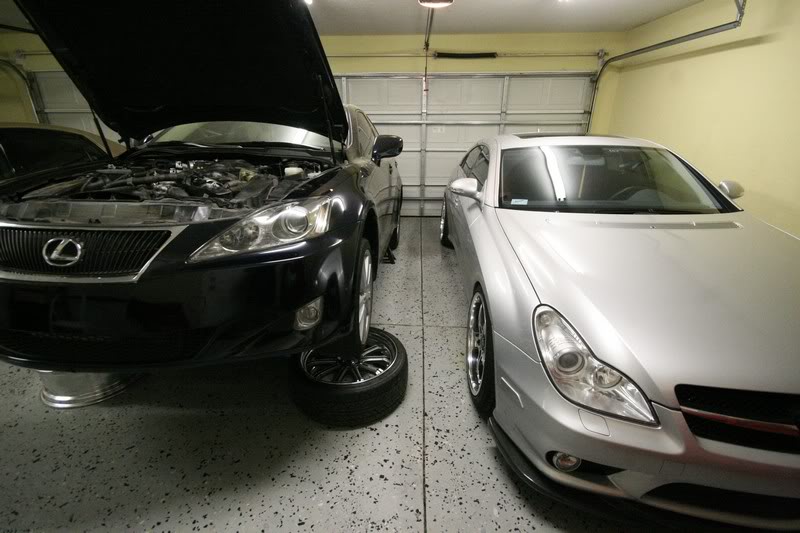
The car was jacked up and supported with 4 jack stands. The front jack stands were positioned higher than the rear stands. 2 wheels were put under the front wheels for safety as well. The front was up about 21 inches and the rear about 15 inches:
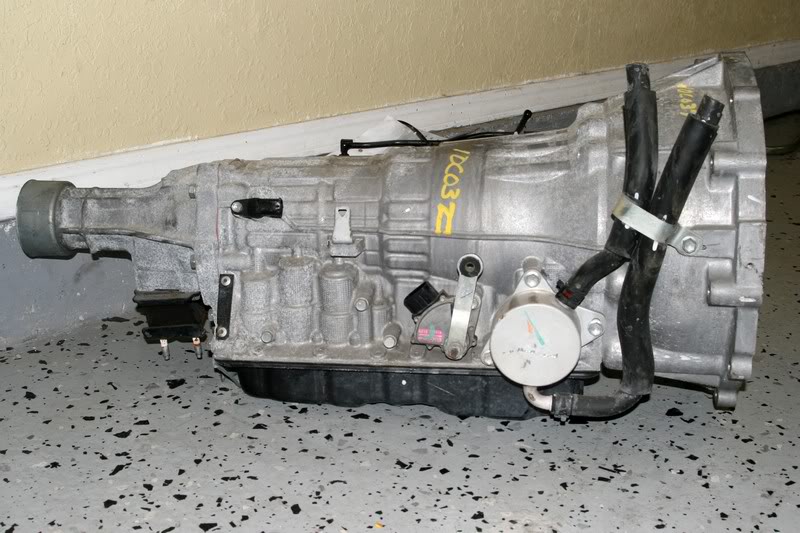
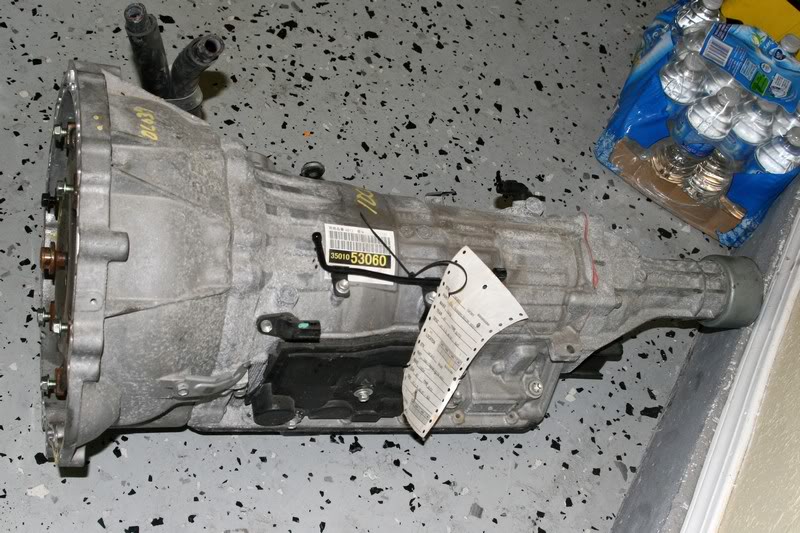
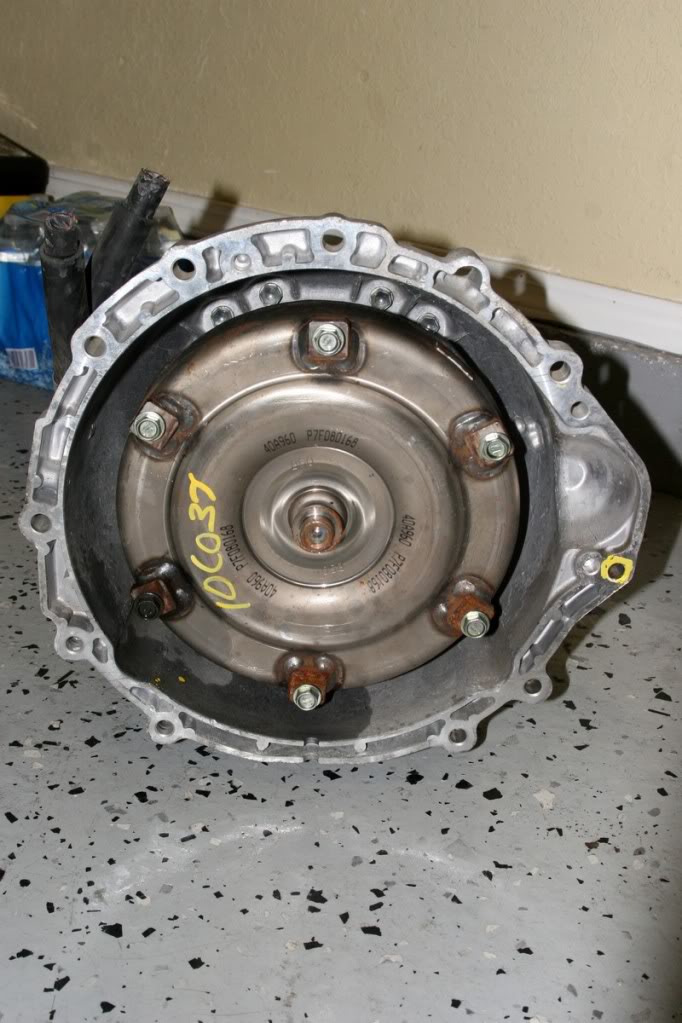
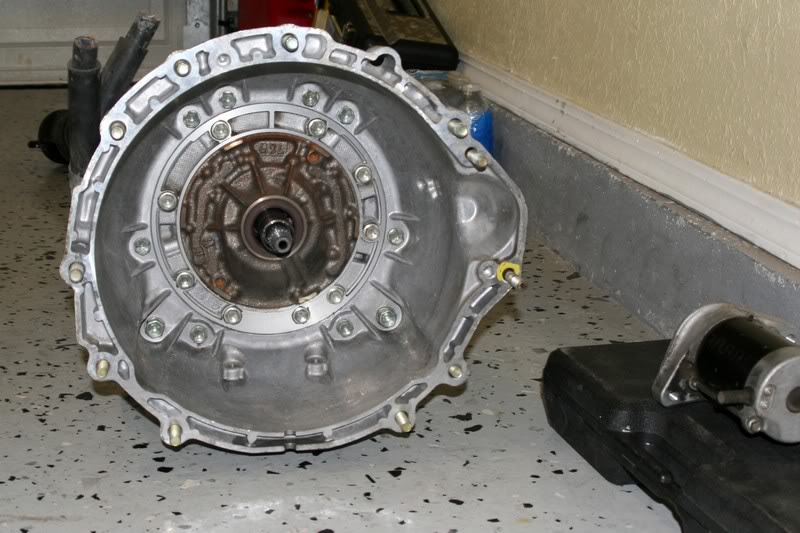
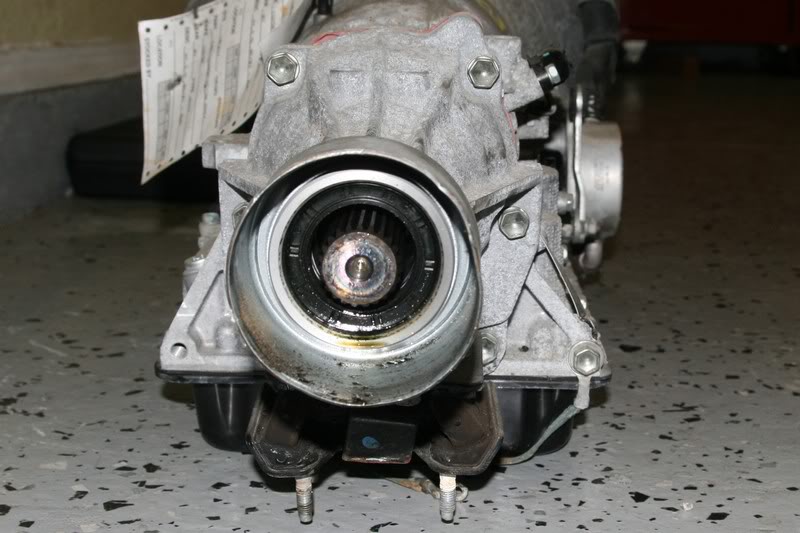
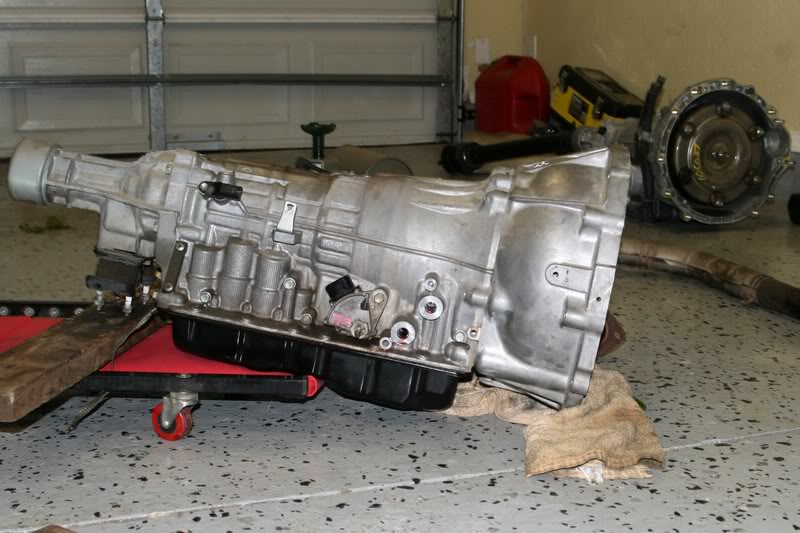
Here is the side views of the "new" transmission:
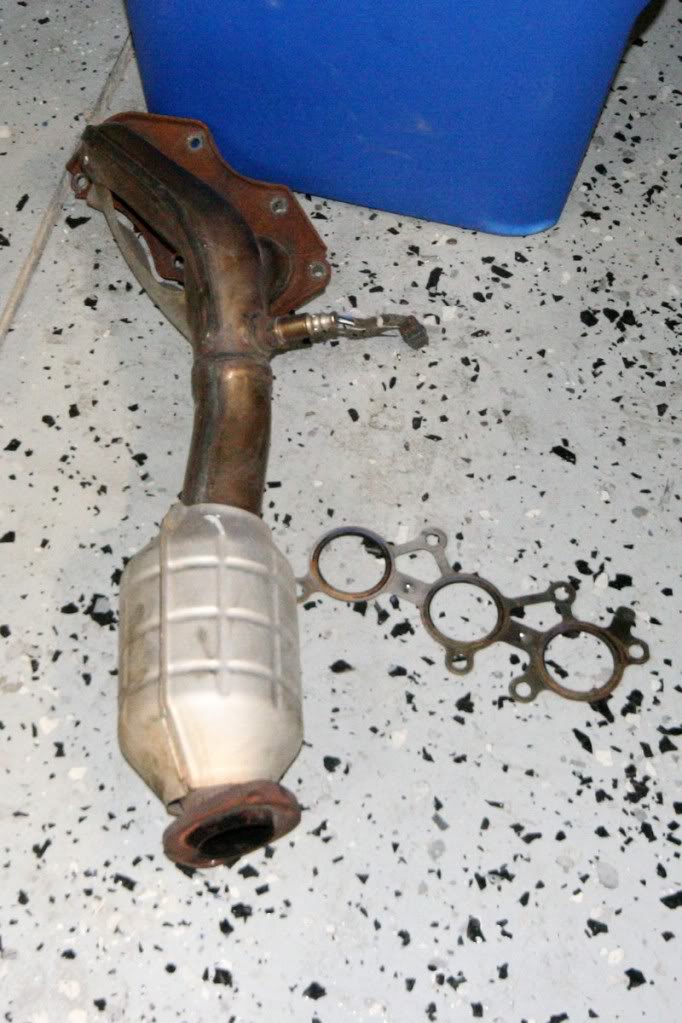
Before you can take out the starter, you must remove the driver's-side header:
The starter has two 12mm bolts holding the nuts in. Remove those, remove the 2 14mm bolts that hold the starter in, and the starter will be free:
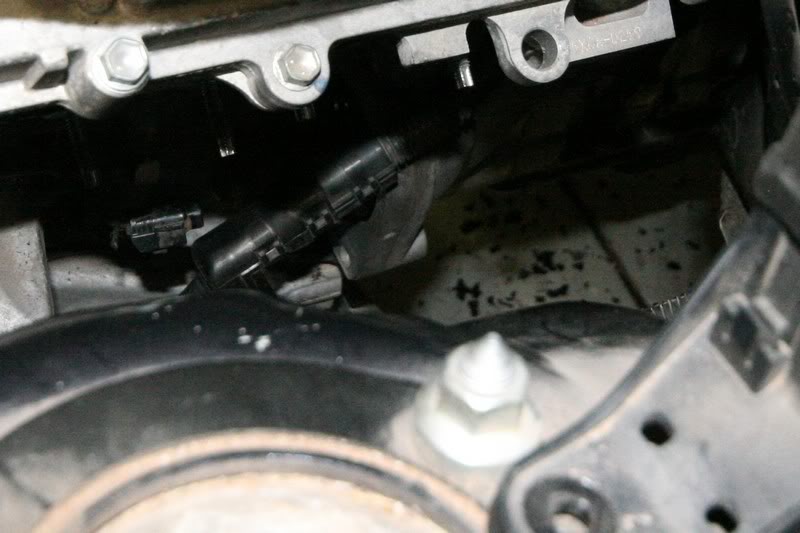
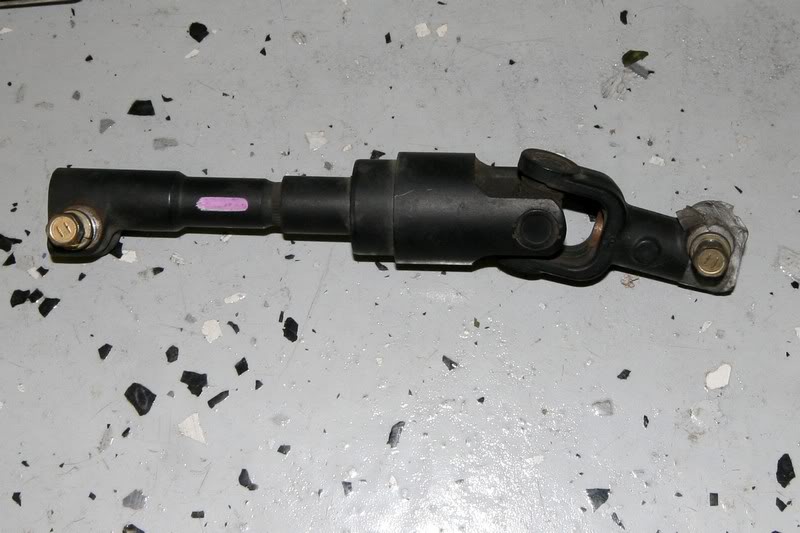
Remove the steering shaft (by driver-side header):
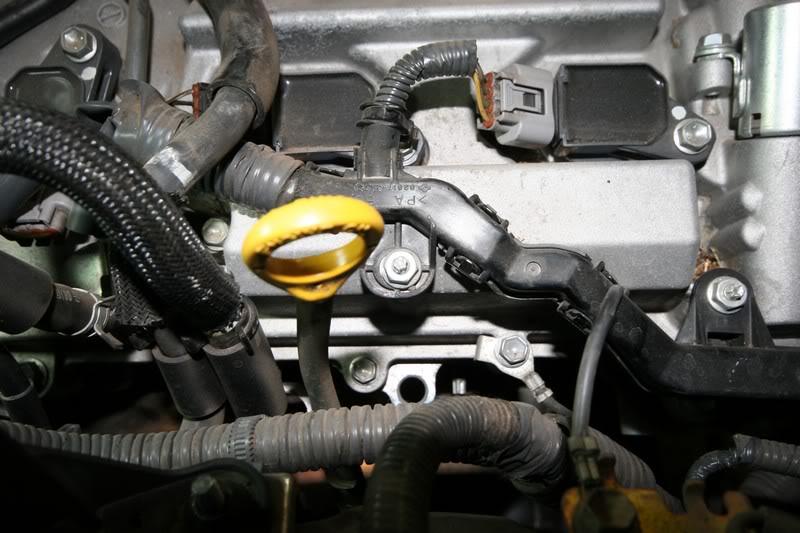
Before you remove the passenger-side header, you must remove the intake, oil dipstick, wiring harness to the front two coil packs, and vacuum hoses by the shock tower.
Disconnect the headers from the y-pipe and remove the passenger-side header as well. Make sure you unplug the primary o2 sensors:
Disconnect the hoses from the heat exchanger:
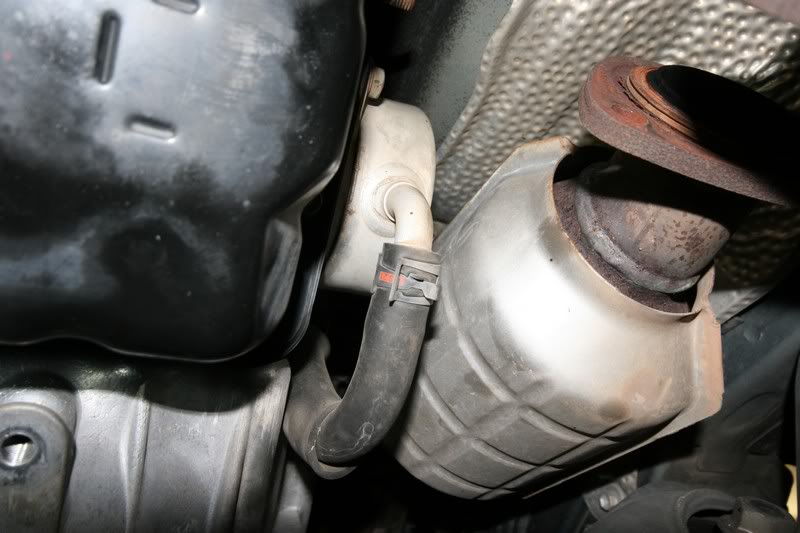
Another view:
View of passenger-side header:

Remove transmission bolts. There is 11 bolts total; 2 to the starter:
From left to right (12 o'clock going clockwise):

Undo the bolts that connect the flywheel to the torque-converter. There are six 14mm 11-grade bolts. They are held on really tight. Make sure you hold the crankshaft in place when you remove these or the entire flywheel/torque converter assembly will move.
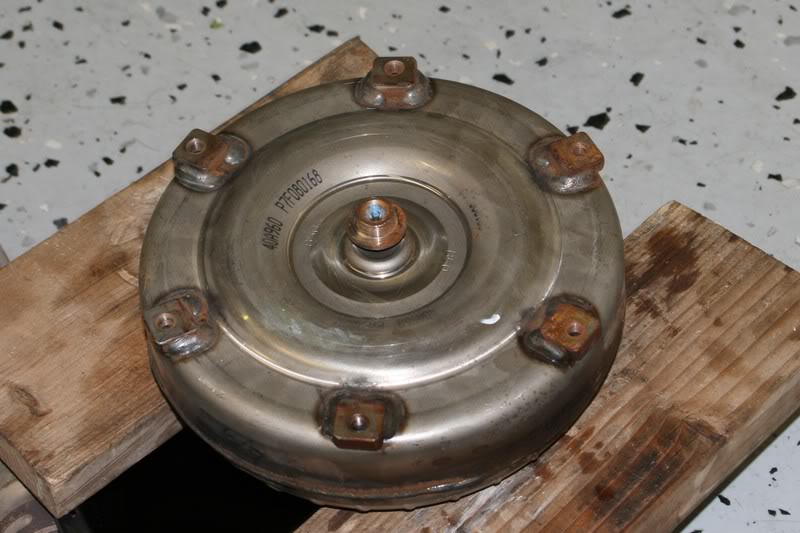
The new torque converter with the 6 14mm bolts attached (so I don't lose them):
Bell-housing:
Torque-converter:
Remove y-pipe, along 2 secondary o2 sensors. I used a 24mm socket with a slit down the middle of the socket:

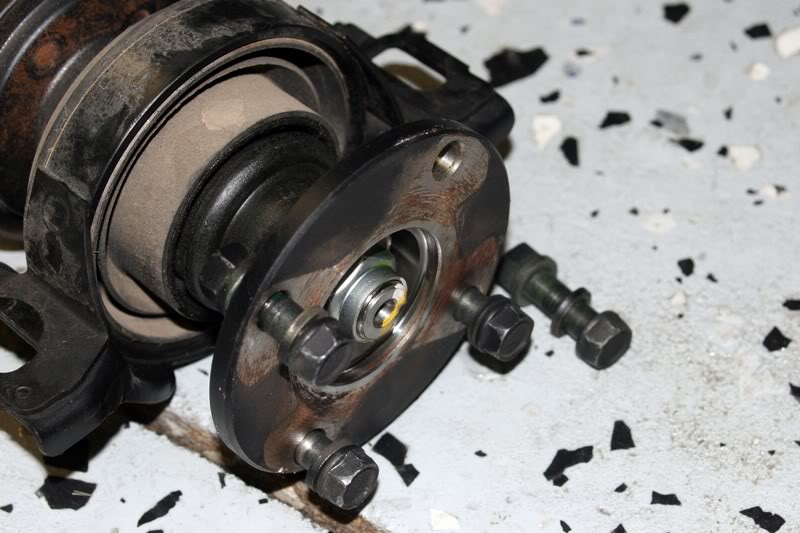
Here is the half-shaft (removed):
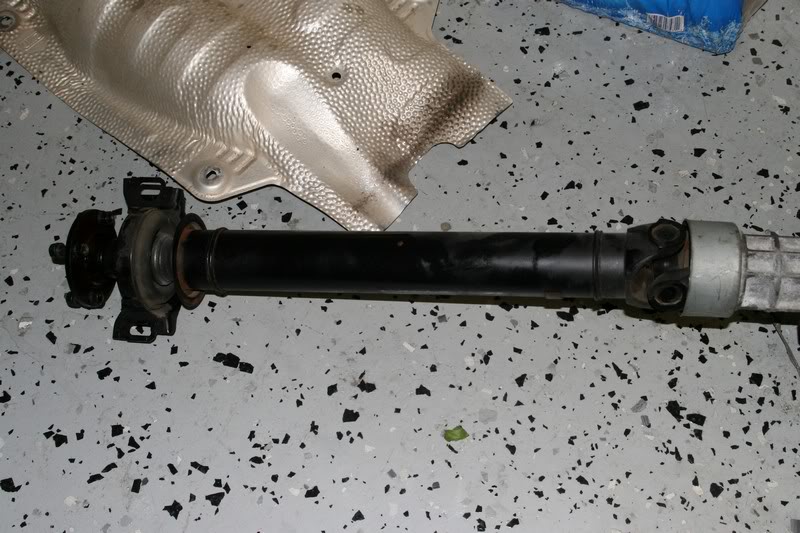
Half-shaft (transmission-side/attached). It just pulls out smoothly after the bolts that secure the half-shaft are removed:
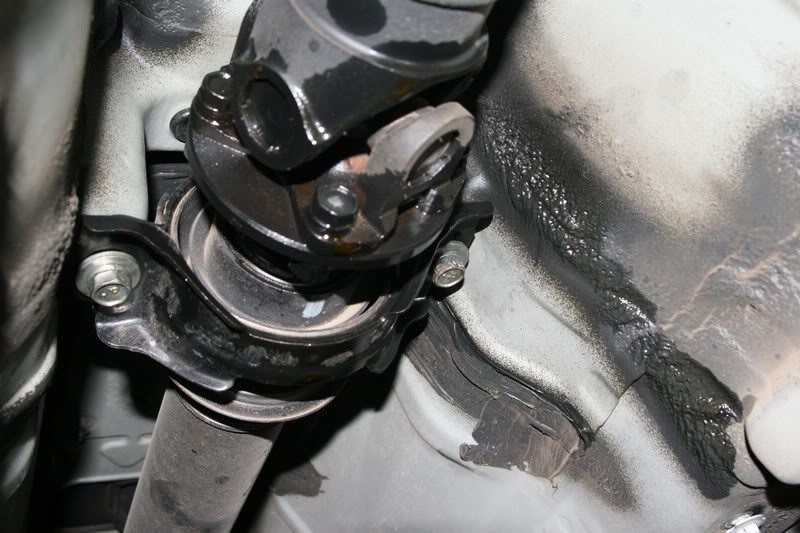
Transmission/half-shaft spindle:
Half-shaft (four 14mm bolts and nuts):
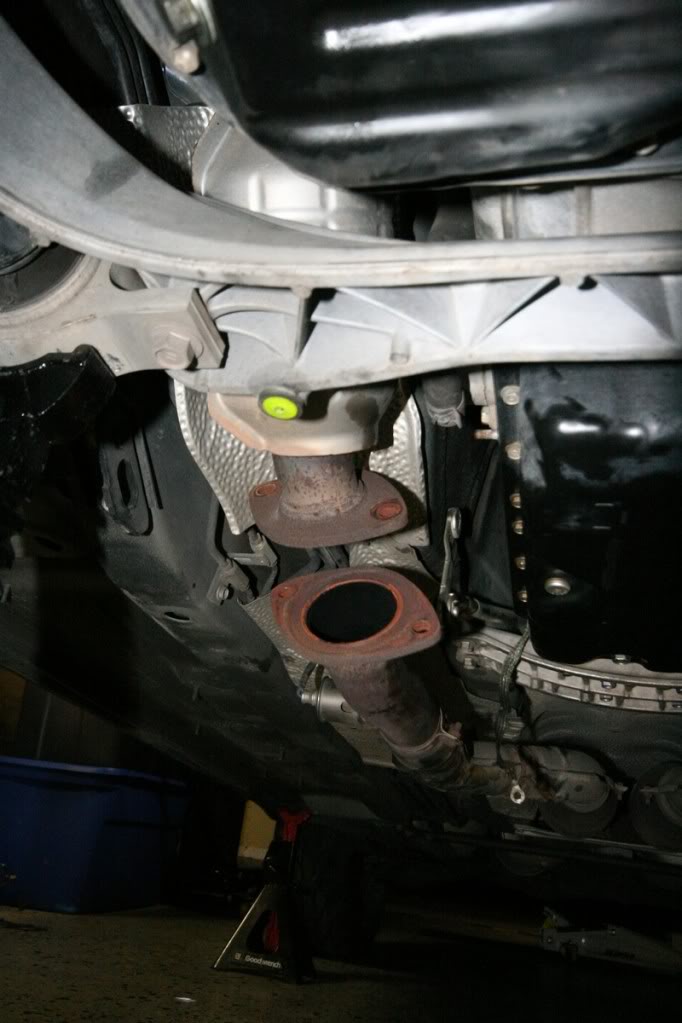
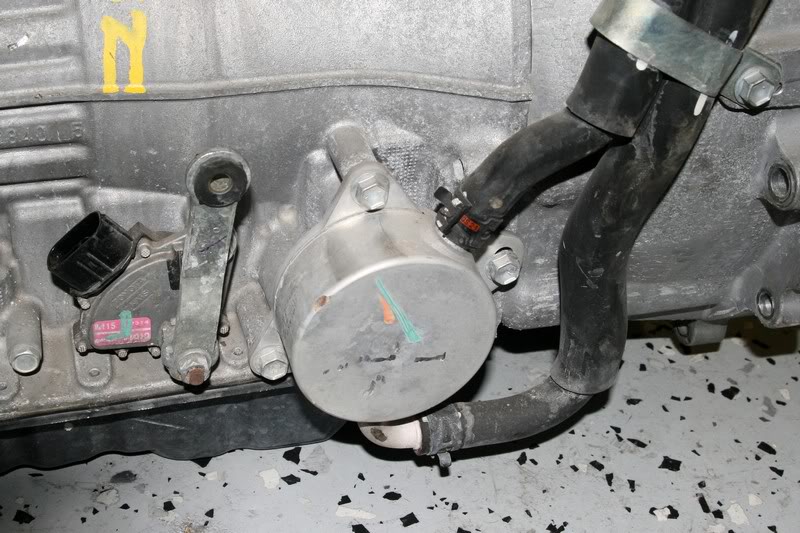
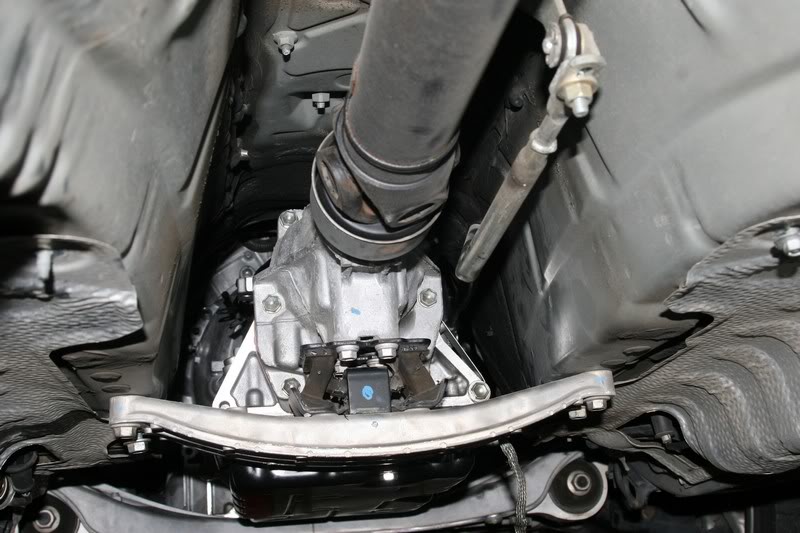
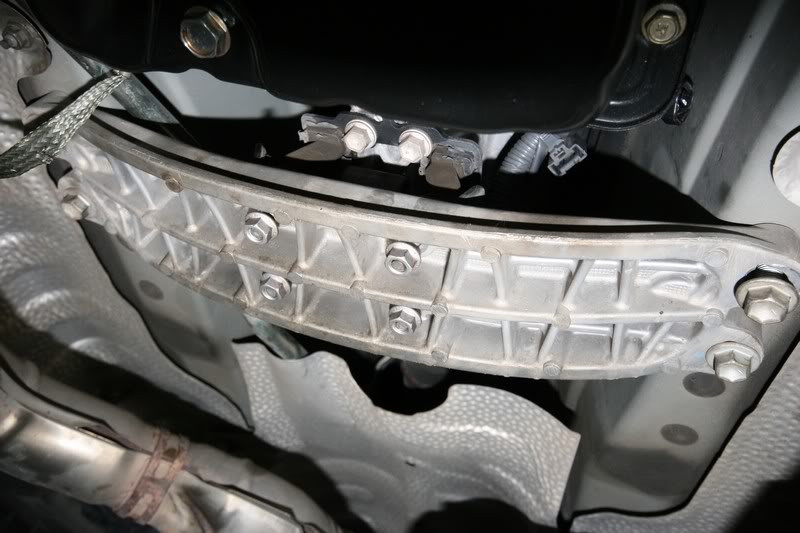
Remove transmission mount/bracket:
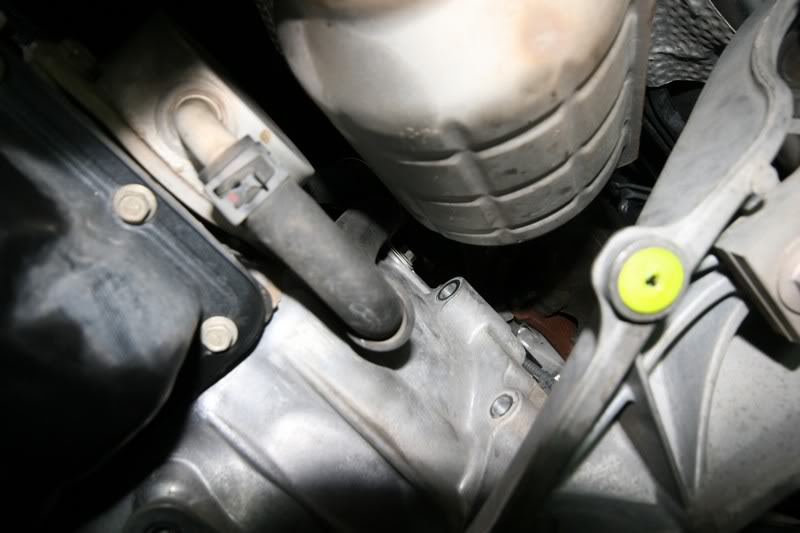
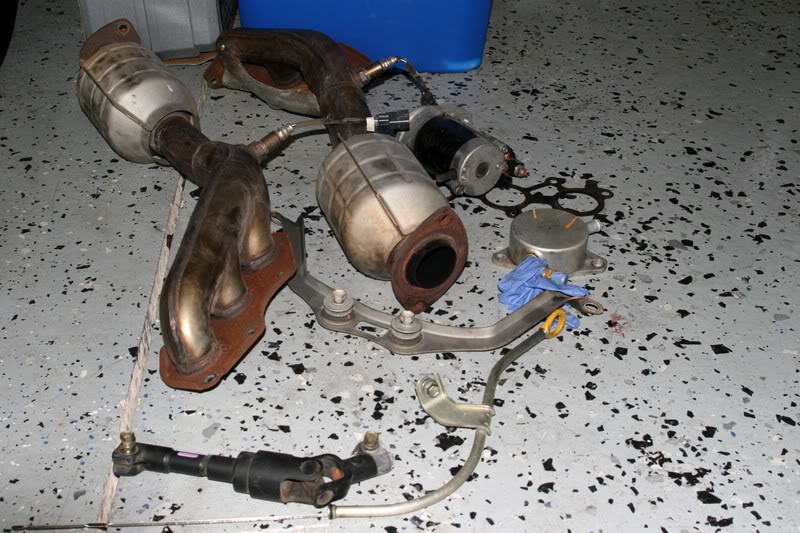
Some of the parts removed:
Keep in mind: we are both in the health care field; not mechanics. So if we can do it, you can too!
The car was jacked up and supported with 4 jack stands. The front jack stands were positioned higher than the rear stands. 2 wheels were put under the front wheels for safety as well. The front was up about 21 inches and the rear about 15 inches:
Here is the side views of the "new" transmission:
Before you can take out the starter, you must remove the driver's-side header:
The starter has two 12mm bolts holding the nuts in. Remove those, remove the 2 14mm bolts that hold the starter in, and the starter will be free:
Remove the steering shaft (by driver-side header):
Before you remove the passenger-side header, you must remove the intake, oil dipstick, wiring harness to the front two coil packs, and vacuum hoses by the shock tower.
Disconnect the headers from the y-pipe and remove the passenger-side header as well. Make sure you unplug the primary o2 sensors:
Disconnect the hoses from the heat exchanger:
Another view:
View of passenger-side header:
Remove transmission bolts. There is 11 bolts total; 2 to the starter:
From left to right (12 o'clock going clockwise):
Undo the bolts that connect the flywheel to the torque-converter. There are six 14mm 11-grade bolts. They are held on really tight. Make sure you hold the crankshaft in place when you remove these or the entire flywheel/torque converter assembly will move.
The new torque converter with the 6 14mm bolts attached (so I don't lose them):
Bell-housing:
Torque-converter:
Remove y-pipe, along 2 secondary o2 sensors. I used a 24mm socket with a slit down the middle of the socket:
Here is the half-shaft (removed):
Half-shaft (transmission-side/attached). It just pulls out smoothly after the bolts that secure the half-shaft are removed:
Transmission/half-shaft spindle:
Half-shaft (four 14mm bolts and nuts):
Remove transmission mount/bracket:
Some of the parts removed:

The following 2 users liked this post by whazzzzuup:
chriso5573 (04-30-17),
Viru (02-21-18)
04-17-11, 02:35 PM
#2
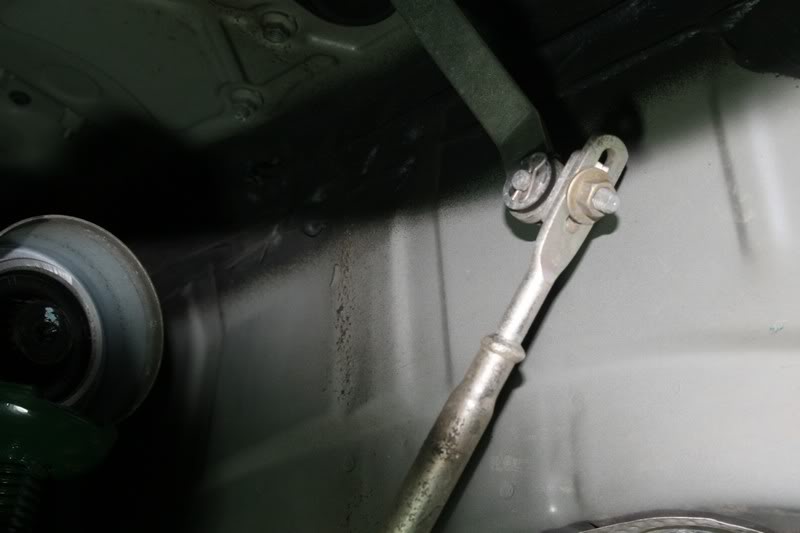
Remove shifter link and attach to new transmission:
Old transmission coming out:
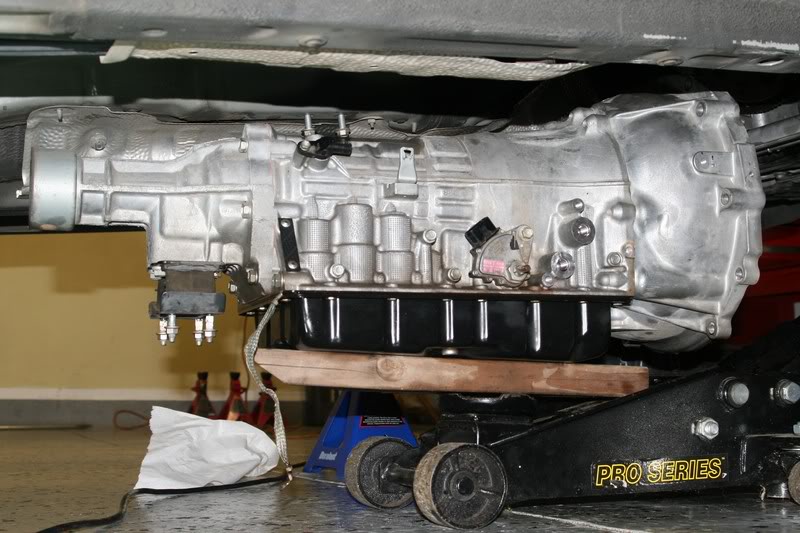
Transmission out:
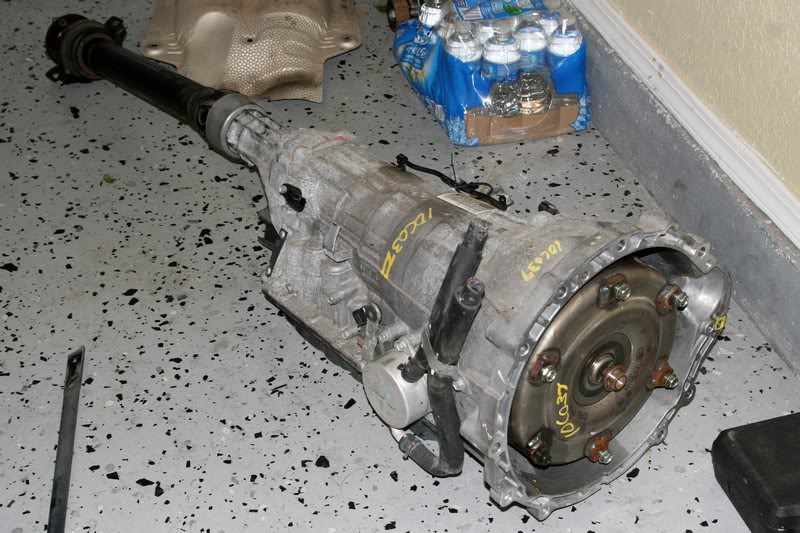
New transmission with half-shaft attached:
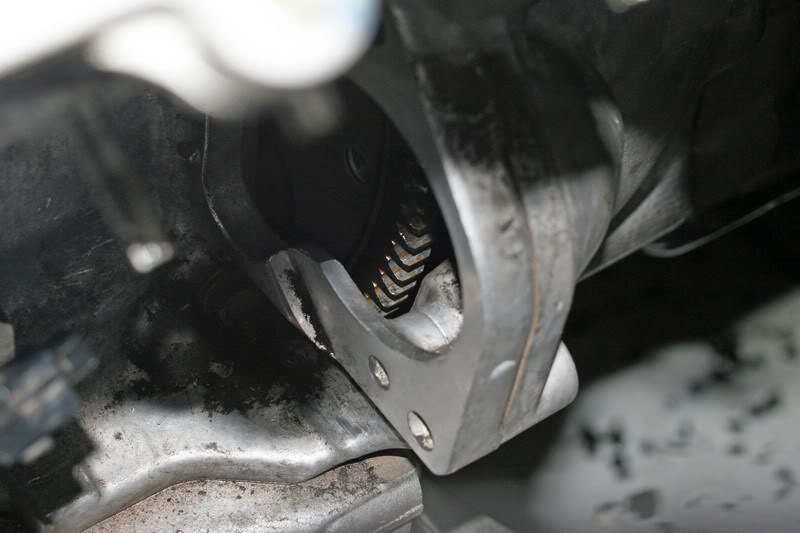
Flywheel (where the torque converter attaches):
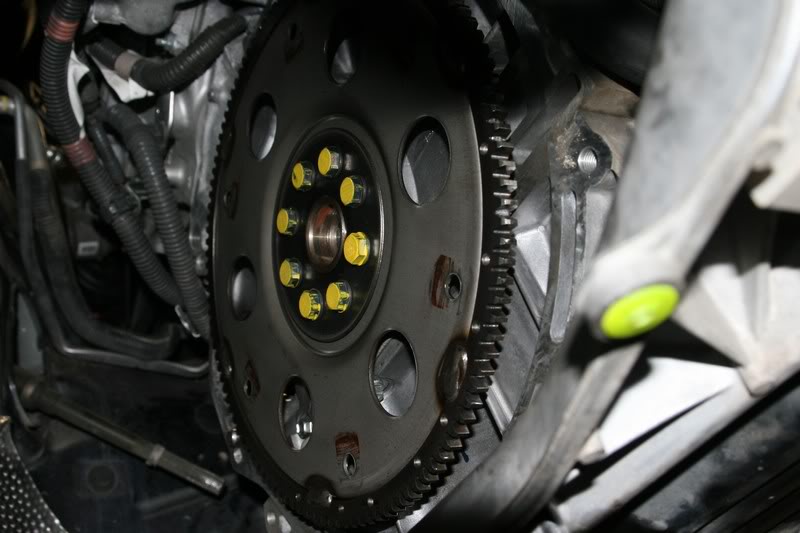
When the new transmission lines up this pin will help with the process. You can adjust the torque converter to line up with the flywheel by sticking a hand into the starter hole, reaching back there and moving it.
Reinstall in reverse. Good luck! Thanks for looking.
P.S: These pictures should also help a member that may wanna just install headers or an exhaust.
Old transmission coming out:
Transmission out:
New transmission with half-shaft attached:
Flywheel (where the torque converter attaches):
When the new transmission lines up this pin will help with the process. You can adjust the torque converter to line up with the flywheel by sticking a hand into the starter hole, reaching back there and moving it.
Reinstall in reverse. Good luck! Thanks for looking.
P.S: These pictures should also help a member that may wanna just install headers or an exhaust.
The following users liked this post:
Viru (02-21-18)


