
My HID Fog Projector Retro
 05-31-09, 03:29 PM
#1
Lexus Test Driver
Thread Starter
iTrader: (1)
Join Date: Jun 2008
Location: NYC
Posts: 1,124
Likes: 0
Received 0 Likes
on
0 Posts
So with the end of this semester of school, and inspired by other fog retros on this forum, I decided to do one of my own.
Thanks to Tchan1 for his own very informative HID Fog retro thread (Which helped me tremendously as well as provided me inspiration for this project), 100Plus for his awesome knowledge of bumper removal techniques, and Nabbun for just bumming around, hahaha
Parts Used:
Fog lights
2000 Grit Sandpaper
Some Car polishes and a hand polishing pad
Black Spraypaint
JB Weld
H3 Bosch Mini projectors
-Their output is pretty acceptable for fogs:
DDMTuning H3 HID kit in 4500k
ACE brand Plumbing flanges
L Brackets
Total Cost: ~$160.00
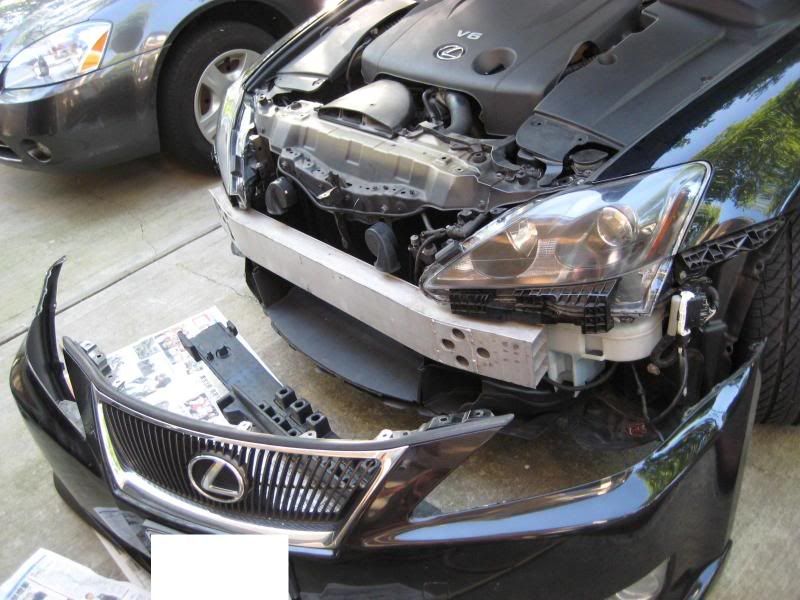
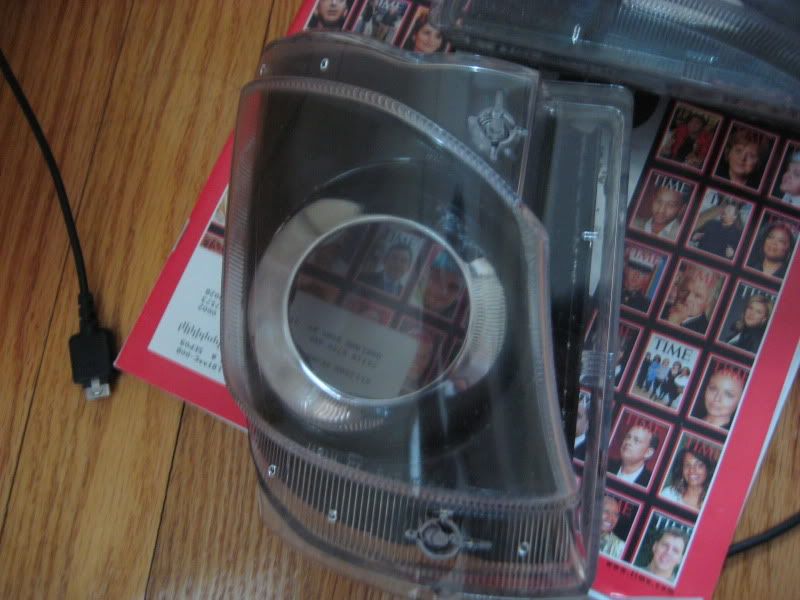
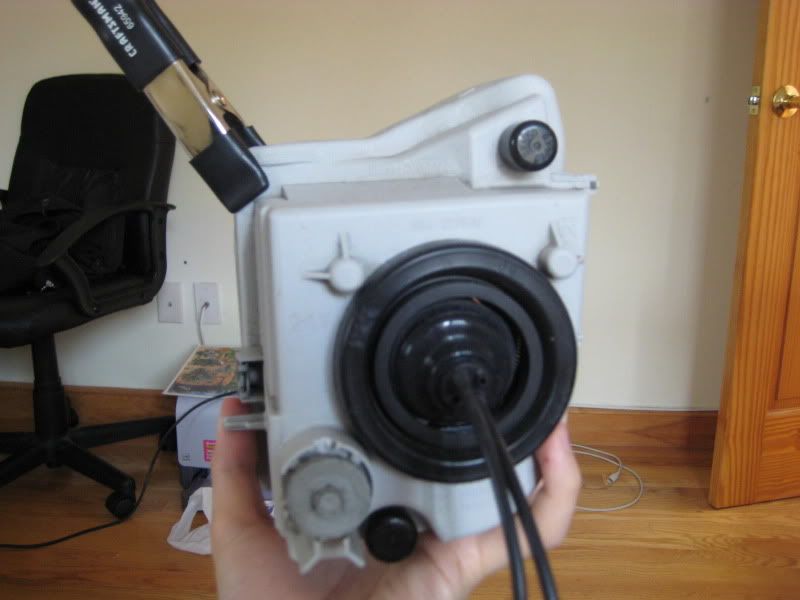
So first thing you want to do is remove the bumper. The fog lights are right behind it. Disconnect the fog wiring (Bulb connection to harness on both sides as well as another connection on the driver side fog only)
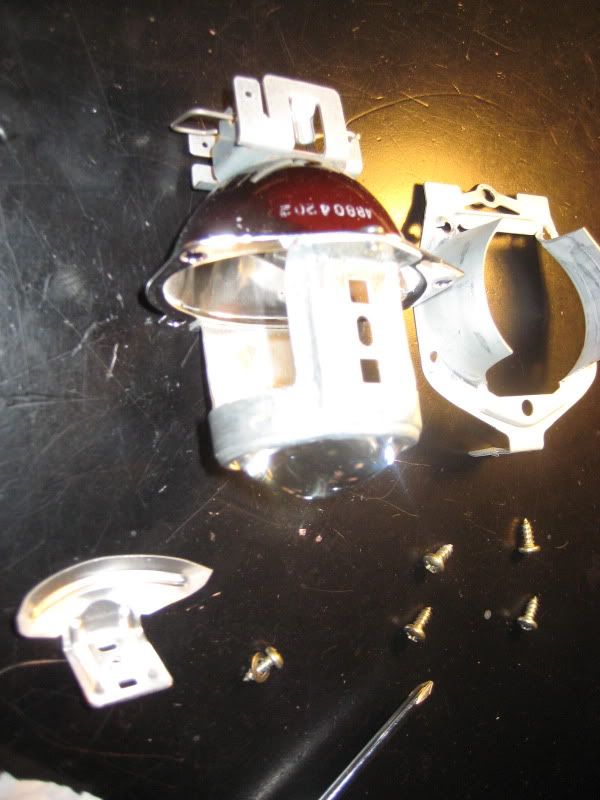
The actual fog is held on by one 10 mm bolt, and then you just slide it out of the clips (both shown at the top in this picture). There might be another clip somewhere which you can easily remove
Next, preheat your oven to 275 degrees. Place one fog light in and let it bake for approximately 5 to 10 minutes at this temperature. Remove the lamp. Loosen the clips at the top and bottom of the fog with a small screwdriver, and then pry apart with your hands.
OPTIONAL NEXT STEP:
My lens were worn out and pitted, so I polished them. Get some soapy dishwashing detergent dishwasher water and 2000 grit sandpaper. Sand the entire surface, being sure that the soapy water is generously applied.
It'll look like this:

Then, I used an intermediate abrasive swirl remover/polish with an orange pad and polished the hell out of it. Following that, I used a light swirl removal to get the lens clear again.
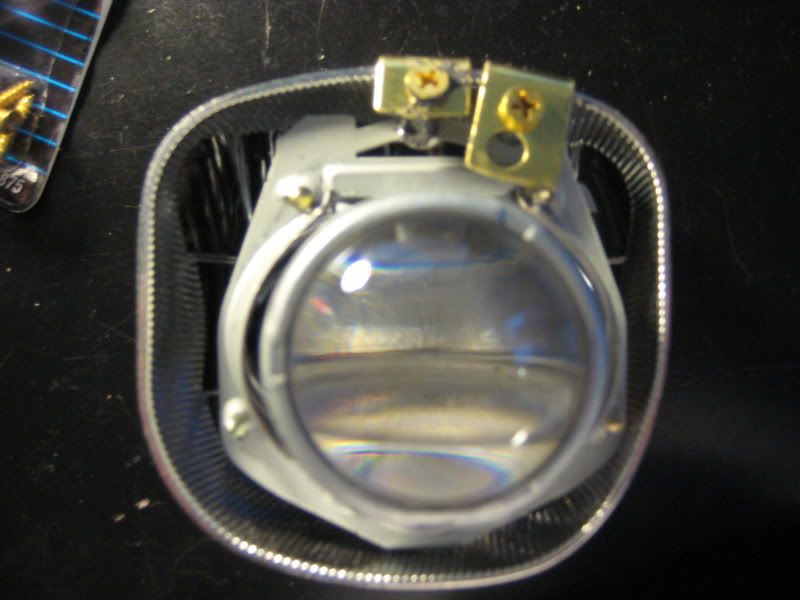
Meanwhile, I painted the whole thing black and used JB weld to mount the shrouds, which fit PERFECTLY.
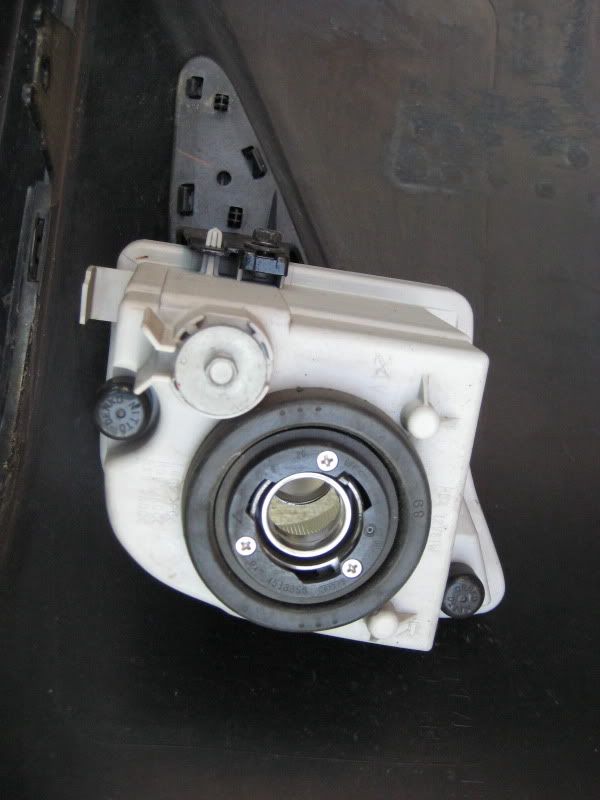
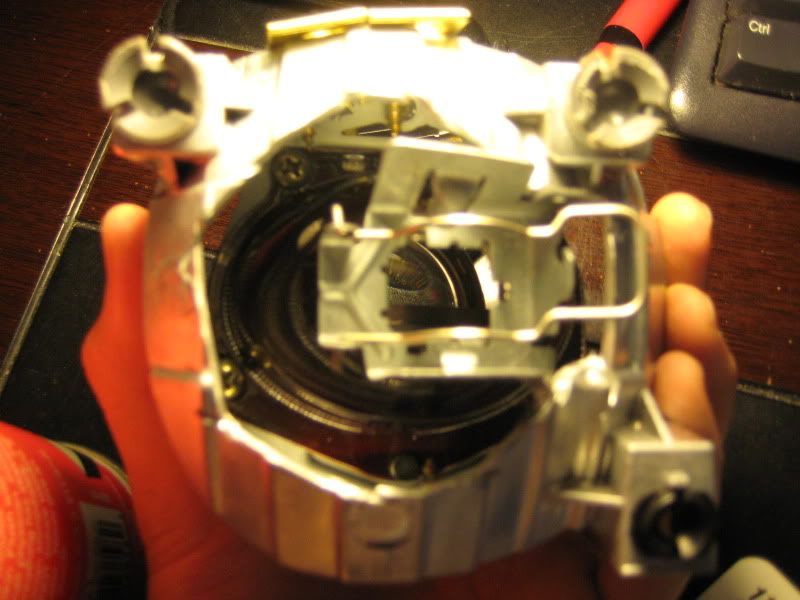
I dremeled the back of the original reflector out, and mounted the projector in it with L brackets. Rather than removing the entire original reflector piece, I chose to just remove parts of it so that I can retain the stock vertical adjustment that is built into it.
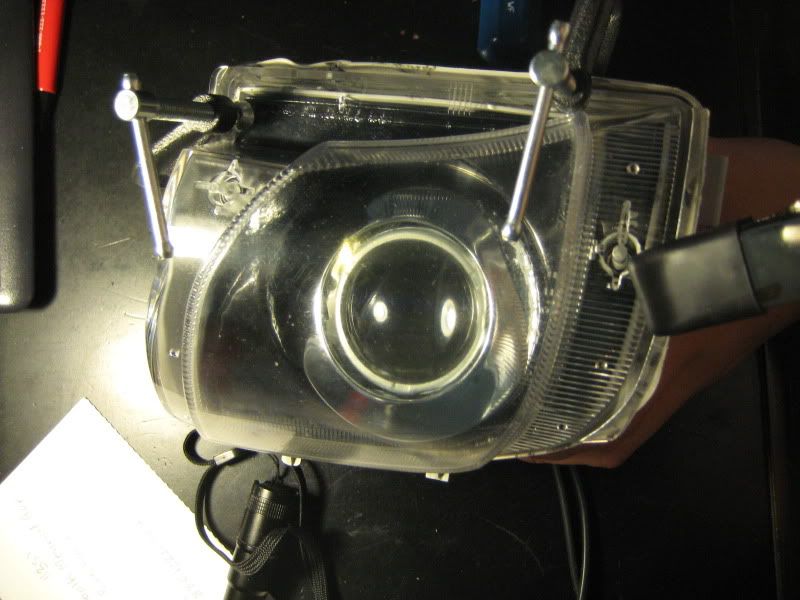
I used some JB weld to help keep the screws tight and the projectors rock solid, then sealed up the entire unit. Same thing here- bake them at 275 for 5 minutes, then put the pieces back together with some clips/ C-clamps.
The back of the unit still had some space that I had to seal from moisture and the elements,
so I used some double sided tape to help keep them out
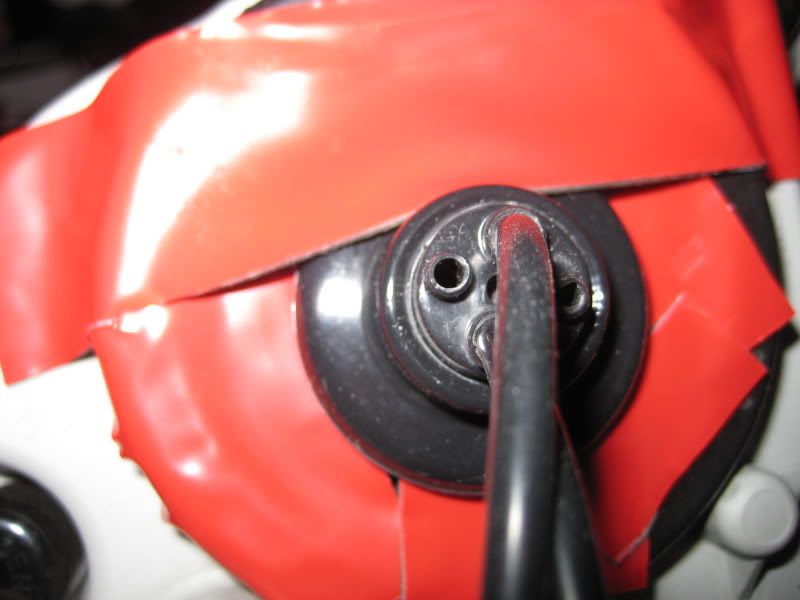
^ Kind of ghetto, but didn't see any other readily available options.
Take off the bumper, put the fogs back in, and wire up the fog HIDs (mount the ballasts behind the metal bumper support)

Use a cable tie or some other method to keep the wires tidy, then put the bumper back on.
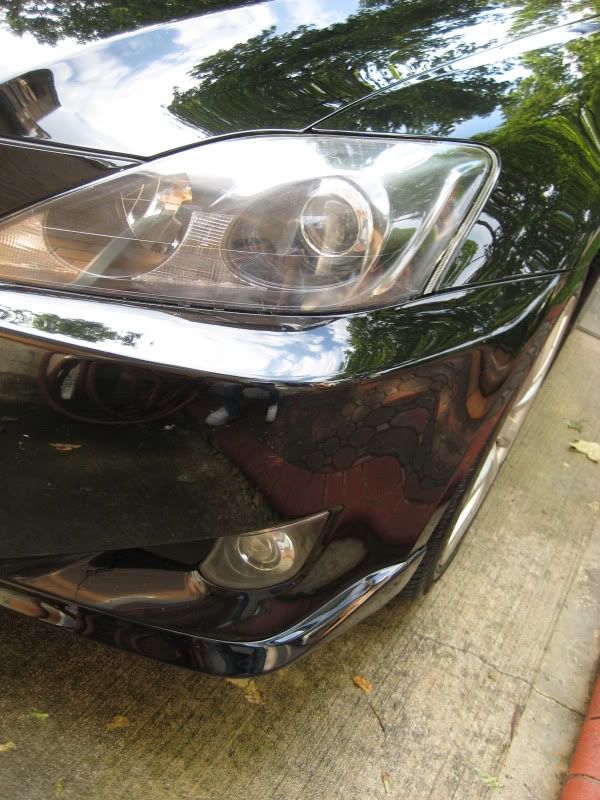
Before and After
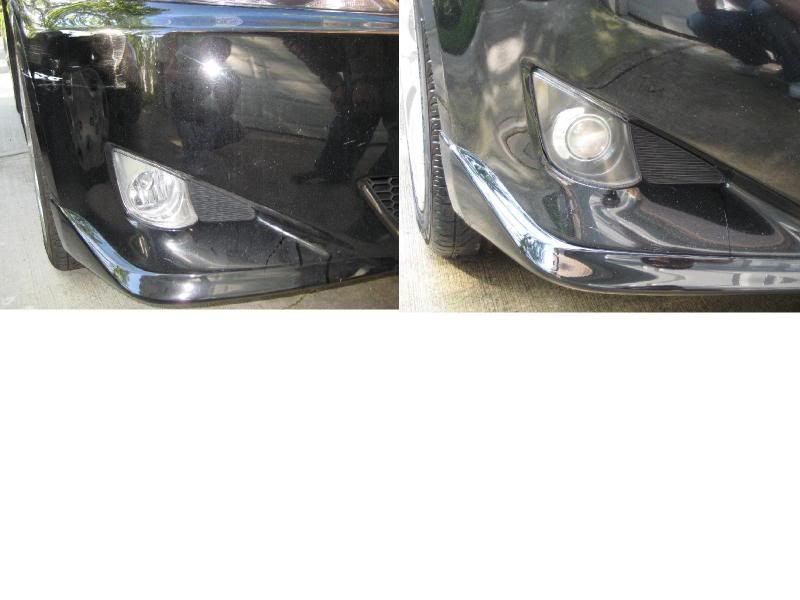
Matches my headlight retrofit quite well:
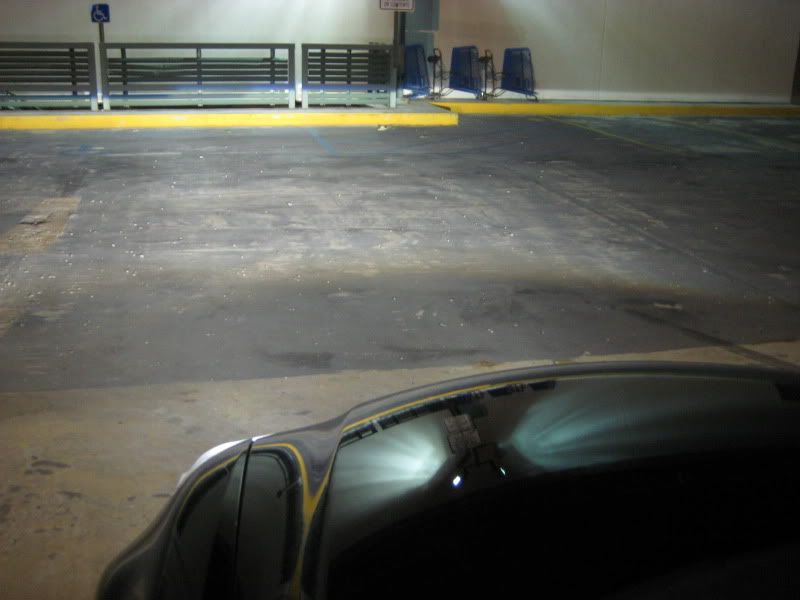
Just the fog lights alone on the wall:
I had to take the pictures pretty close because these are fogs and they're pretty low.
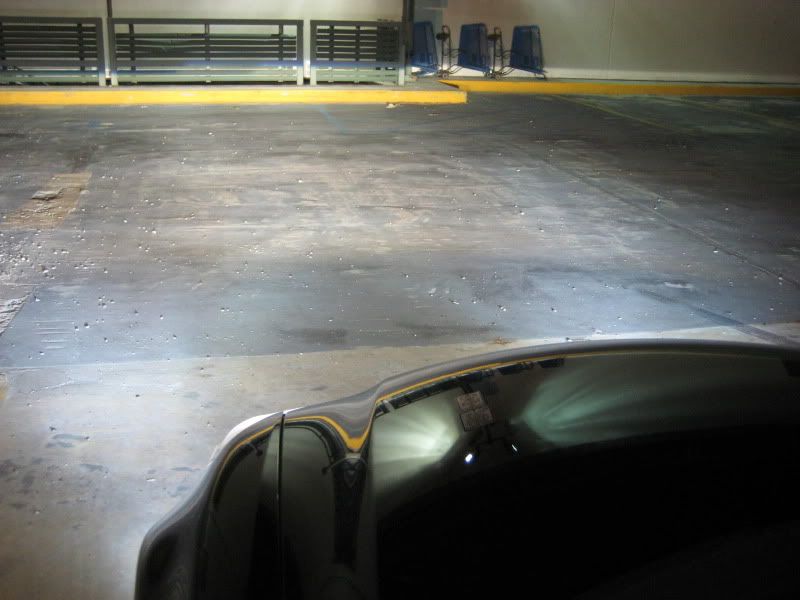
Just headlights on (SC430/E30 55w)
Both on
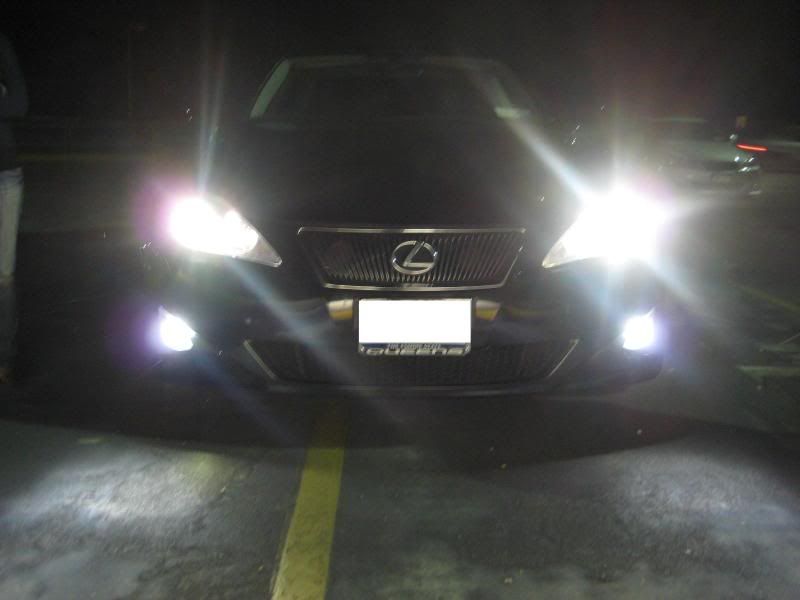
As you can see, the color does not match perfectly. This is due to the age of my headlight bulbs, as well as the inherent inaccuracy of the color temperature of the kit bulbs in my fogs. I'm still happy with it, because at least I do not toss up glare now. Having said that, I will almost never actually turn on these fog lights, since there's really few reasons which call for their use.
Thanks for looking
Thanks to Tchan1 for his own very informative HID Fog retro thread (Which helped me tremendously as well as provided me inspiration for this project), 100Plus for his awesome knowledge of bumper removal techniques, and Nabbun for just bumming around, hahaha
Parts Used:
Fog lights
2000 Grit Sandpaper
Some Car polishes and a hand polishing pad
Black Spraypaint
JB Weld
H3 Bosch Mini projectors
-Their output is pretty acceptable for fogs:
DDMTuning H3 HID kit in 4500k
ACE brand Plumbing flanges
L Brackets
Total Cost: ~$160.00
So first thing you want to do is remove the bumper. The fog lights are right behind it. Disconnect the fog wiring (Bulb connection to harness on both sides as well as another connection on the driver side fog only)
The actual fog is held on by one 10 mm bolt, and then you just slide it out of the clips (both shown at the top in this picture). There might be another clip somewhere which you can easily remove
Next, preheat your oven to 275 degrees. Place one fog light in and let it bake for approximately 5 to 10 minutes at this temperature. Remove the lamp. Loosen the clips at the top and bottom of the fog with a small screwdriver, and then pry apart with your hands.
OPTIONAL NEXT STEP:
My lens were worn out and pitted, so I polished them. Get some soapy dishwashing detergent dishwasher water and 2000 grit sandpaper. Sand the entire surface, being sure that the soapy water is generously applied.
It'll look like this:
Then, I used an intermediate abrasive swirl remover/polish with an orange pad and polished the hell out of it. Following that, I used a light swirl removal to get the lens clear again.
Meanwhile, I painted the whole thing black and used JB weld to mount the shrouds, which fit PERFECTLY.
I dremeled the back of the original reflector out, and mounted the projector in it with L brackets. Rather than removing the entire original reflector piece, I chose to just remove parts of it so that I can retain the stock vertical adjustment that is built into it.
I used some JB weld to help keep the screws tight and the projectors rock solid, then sealed up the entire unit. Same thing here- bake them at 275 for 5 minutes, then put the pieces back together with some clips/ C-clamps.
The back of the unit still had some space that I had to seal from moisture and the elements,
so I used some double sided tape to help keep them out
^ Kind of ghetto, but didn't see any other readily available options.
Take off the bumper, put the fogs back in, and wire up the fog HIDs (mount the ballasts behind the metal bumper support)
Use a cable tie or some other method to keep the wires tidy, then put the bumper back on.
Before and After
Matches my headlight retrofit quite well:
Just the fog lights alone on the wall:
I had to take the pictures pretty close because these are fogs and they're pretty low.
Just headlights on (SC430/E30 55w)
Both on
As you can see, the color does not match perfectly. This is due to the age of my headlight bulbs, as well as the inherent inaccuracy of the color temperature of the kit bulbs in my fogs. I'm still happy with it, because at least I do not toss up glare now. Having said that, I will almost never actually turn on these fog lights, since there's really few reasons which call for their use.
Thanks for looking
Last edited by ELL Y; 05-31-09 at 07:56 PM. Reason: Added some night shots


 05-31-09, 04:11 PM
#4


Trending Topics
 05-31-09, 08:04 PM
#10
Lexus Test Driver
Thread Starter
iTrader: (1)
Join Date: Jun 2008
Location: NYC
Posts: 1,124
Likes: 0
Received 0 Likes
on
0 Posts
I also used H3 bulbs, which I spaced to match the focal point of the H3Cs (H3 are actually VERY close to the H3C in terms of output, which I have tested as well - thanks Nabbun for letting me test your bulbs)
Already have. Updated some pics. However, I went into this project fully knowing that I'd have little to no improvement in terms of visibility for regular driving, and it's certainly good that I didn't keep my hopes up with that respect.
For the others, thanks for the compliments, and I appreciate any criticisms, etc

