IS - 2nd Gen (2006-2013) Discussion about the 2006+ model IS models

DIY Rear GFX (Cutting Method)

Thread Tools
 
Search this Thread
 
Old 03-25-11, 11:58 AM
  #46  
Aman13AK
Driver School Candidate
 
Aman13AK's Avatar
 
Join Date: Feb 2011
Location: Texas
Posts: 27
Likes: 0
Received 0 Likes on 0 Posts
Default

Just did mine last night... Thanks for the write up. The pics helped immensly.

I started before I found this thread but it was nice to have confirmation that I was going about it the right way.

PROPS!
Old 04-12-11, 11:35 AM
  #47  
khpark928
Driver School Candidate
iTrader: (1)
 
khpark928's Avatar
 
Join Date: Feb 2011
Location: CA
Posts: 34
Likes: 0
Received 0 Likes on 0 Posts
Default

wow, impressive!!
Old 06-08-11, 03:47 PM
  #48  
gstarboy36
Driver School Candidate
 
gstarboy36's Avatar
 
Join Date: Jun 2011
Location: toronto
Posts: 5
Likes: 0
Received 0 Likes on 0 Posts
Default

great DIY. hopefully this lip will be in my near future
Old 06-08-11, 03:59 PM
  #49  
sick
Lexus Test Driver
iTrader: (1)
 
sick's Avatar
 
Join Date: Jan 2011
Location: Md
Posts: 833
Likes: 0
Received 0 Likes on 0 Posts
Default

Yup, definitely great write up! Made by install a breeze!
Old 06-08-11, 04:01 PM
  #50  
Bigrahizzl
Lexus Champion
iTrader: (8)
 
Bigrahizzl's Avatar
 
Join Date: Apr 2007
Location: N. VA
Posts: 2,673
Likes: 0
Received 0 Likes on 0 Posts
Default

^^^ did u take ur bumper off?
Old 06-08-11, 04:05 PM
  #51  
sick
Lexus Test Driver
iTrader: (1)
 
sick's Avatar
 
Join Date: Jan 2011
Location: Md
Posts: 833
Likes: 0
Received 0 Likes on 0 Posts
Default

^Yeah.....
Old 06-08-11, 04:18 PM
  #52  
Bigrahizzl
Lexus Champion
iTrader: (8)
 
Bigrahizzl's Avatar
 
Join Date: Apr 2007
Location: N. VA
Posts: 2,673
Likes: 0
Received 0 Likes on 0 Posts
Default

^^^ damn lol too much work hahaha
Old 10-30-11, 09:41 AM
  #53  
TaYLoRGanG
Driver
 
TaYLoRGanG's Avatar
 
Join Date: Sep 2011
Location: SC
Posts: 114
Likes: 0
Received 0 Likes on 0 Posts
Default

Originally Posted by PhoNoodles
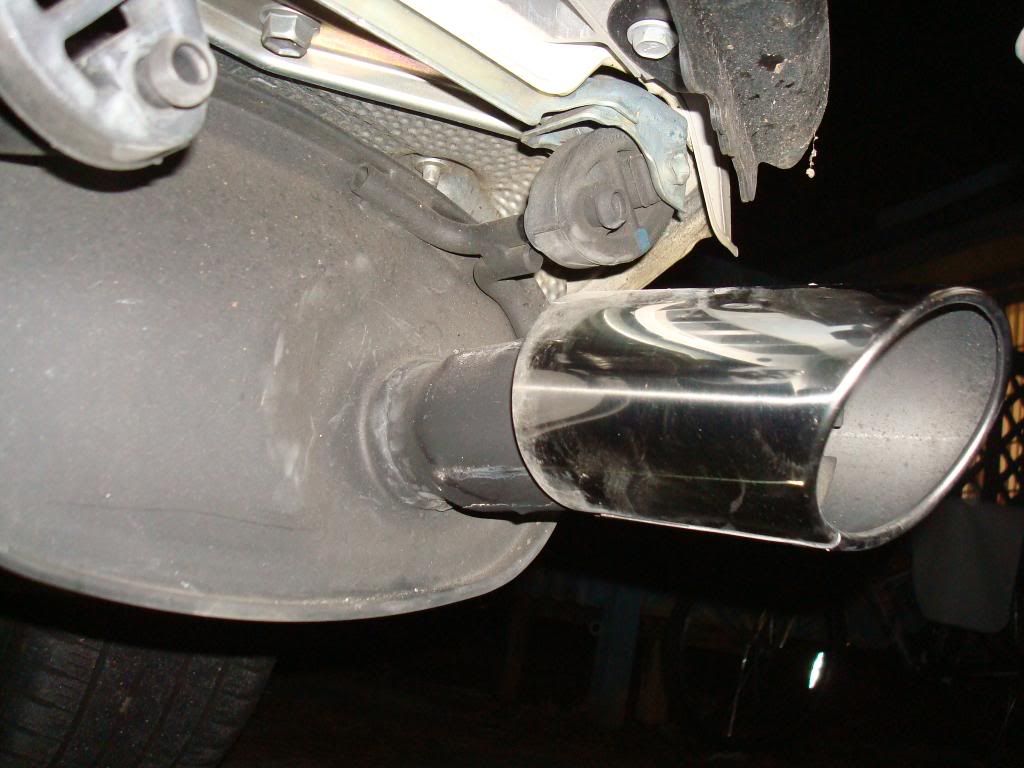
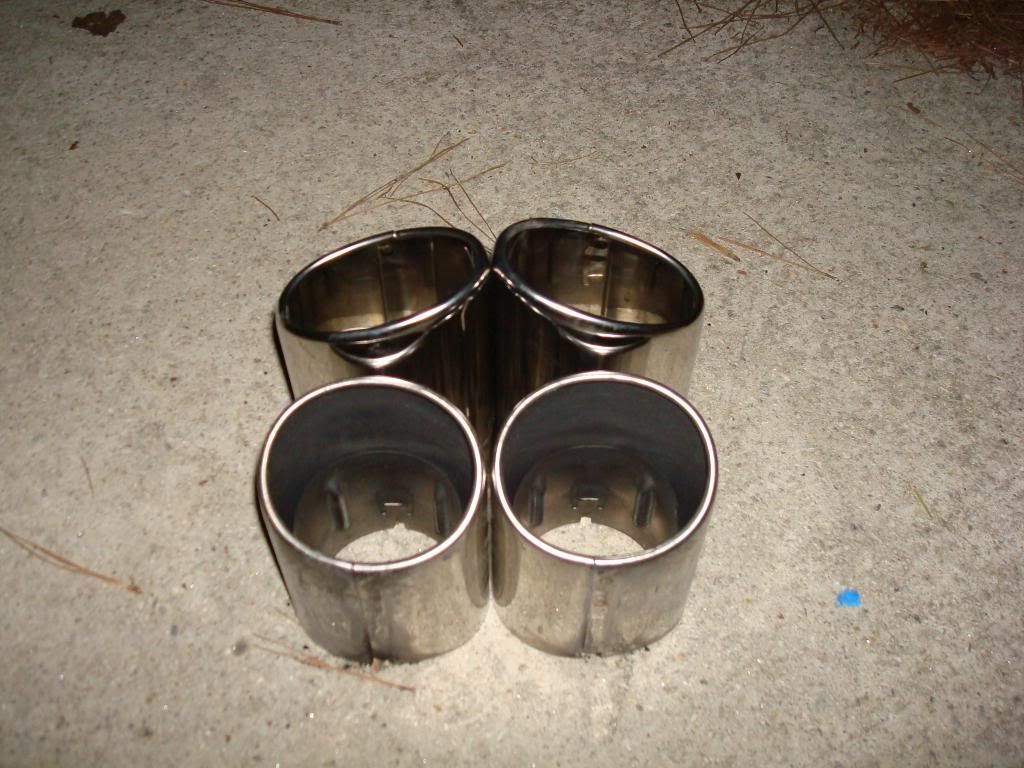
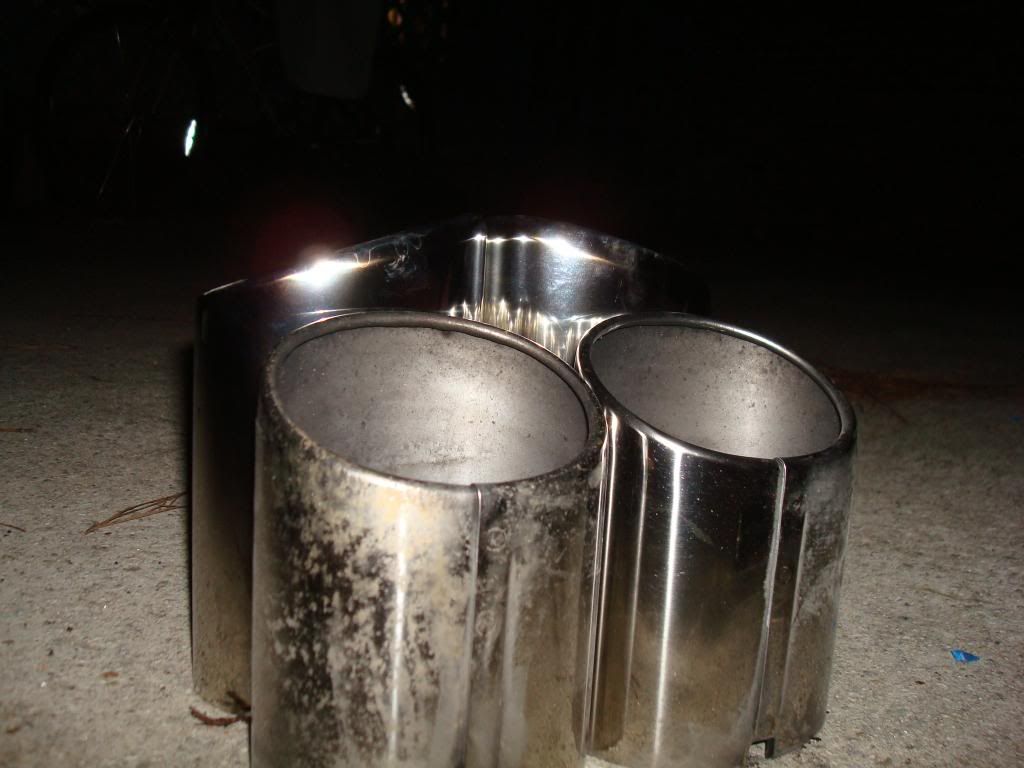
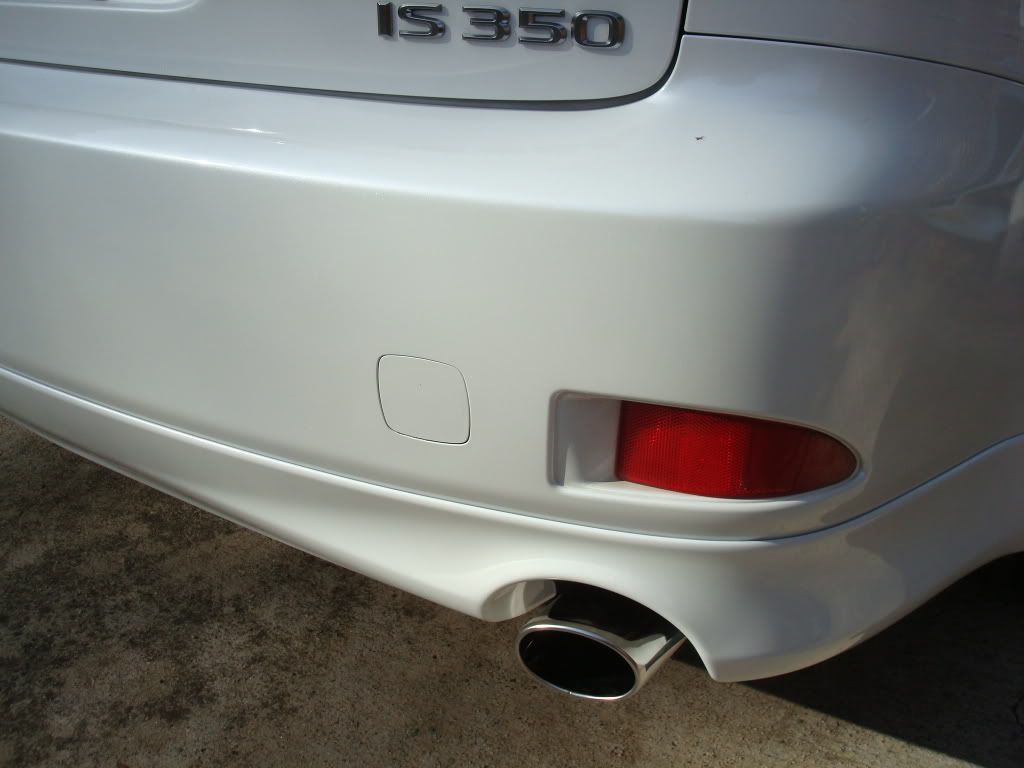
Gotta remove the old exhaust tips. Mine were a pain to get off. You'll have to wiggle the tip side to side, up and down and twist. Once it's off, tap the new one in. In the instructions it said from the muffler can and the end of the tip it's about 14mm. To me I have it sticking out a tiny bit more than that though. Really up to you how far in you want it.


Now everything is snugged and secure, time to put it back on. Everything is reverse as you taken it off. It's a lot easier putting it on then taking it off, it just slides and pops into place. I would put where the 2 screws in the little squares first after you have the bumper in place.


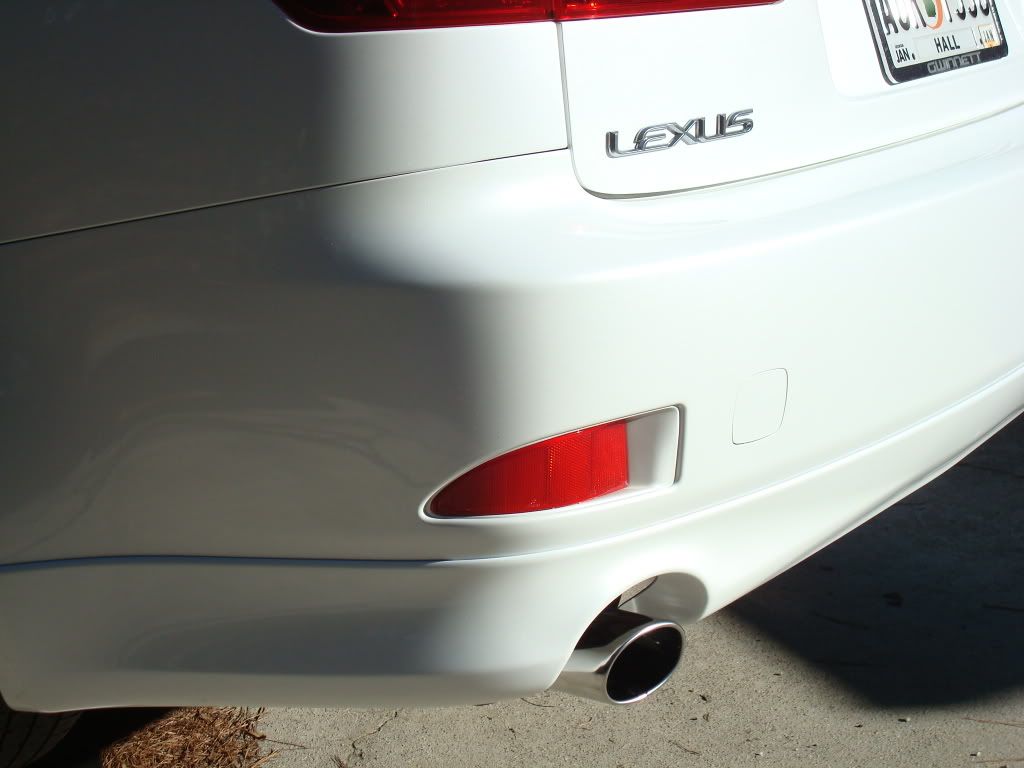
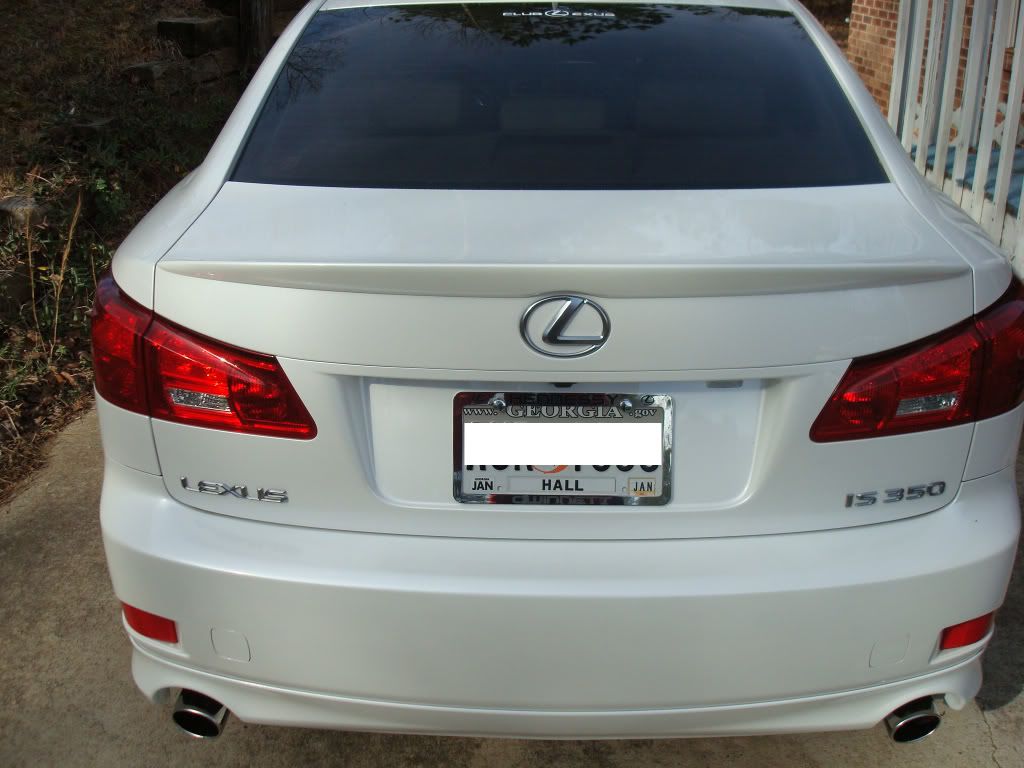
Finally, just stand back and admire Hope this was useful to anyone kinda on the fence bout doing it.
Hey PhoNoodles, are you Vietnamese? I happen to be and love Pho Bo. I recently moved to SC and drive to Georgia to go to the market and stopped by at a Pho Dai Loi 2 in Georgia but wasn't so good. Nothing beats homemade pho.
Old 10-30-11, 03:58 PM
  #54  
birador
Lead Lap
iTrader: (10)
 
birador's Avatar
 
Join Date: Feb 2011
Location: land of lincoln
Posts: 568
Likes: 0
Received 0 Likes on 0 Posts
Default

great DIY - +1 for very detailed pictures
Old 10-30-11, 09:51 PM
  #55  
BE715
Driver School Candidate
iTrader: (1)
 
BE715's Avatar
 
Join Date: Sep 2011
Location: ca
Posts: 38
Likes: 0
Received 0 Likes on 0 Posts
Default

Great Write Up!
Old 12-29-11, 11:38 PM
  #56  
kegleyb
Driver
 
kegleyb's Avatar
 
Join Date: Jul 2011
Location: Texas
Posts: 110
Likes: 0
Received 0 Likes on 0 Posts
Default

Does anyone have a picture of what their GFX look like inside the rear wheel well? I received mine yesterday and it doesn't look like it's painted completely where it forms the "L" shape bend around the wheel well (the color fades out toward the edge). Is this normal? I'm worried that it can be seen when looking behind the rear wheel once it's installed. Any help is greatly appreciated.
Old 01-03-12, 11:34 PM
  #57  
kegleyb
Driver
 
kegleyb's Avatar
 
Join Date: Jul 2011
Location: Texas
Posts: 110
Likes: 0
Received 0 Likes on 0 Posts
Default

Originally Posted by Aman13AK
Just did mine last night... Thanks for the write up. The pics helped immensly.

I started before I found this thread but it was nice to have confirmation that I was going about it the right way.

PROPS!
Aman, what year is your IS? If it's 2011+ I'm curious if you had any issues similar to jmhtx with the markings not being on the backside of the bumper.
Old 10-31-12, 01:24 PM
  #58  
Low Life
Pole Position
iTrader: (1)
 
Low Life's Avatar
 
Join Date: Sep 2008
Location: utah
Posts: 295
Received 1 Like on 1 Post
Default

Originally Posted by MashinA
just to clarify you DONT HAVE to cut the bumper to install this correct? there is other ways?
BUMP.. Just recieved mine. do you have to cut the bumber exhasut cut outs to make this fit snug? I would really like to just have this lip held on by nothing more than 3m tape, since the color doesn't match as well as i'd hoped. that way i can just take it off if i need to when i sell the car.
Old 11-20-12, 02:22 PM
  #59  
Lexusjsis
Driver School Candidate
 
Lexusjsis's Avatar
 
Join Date: Oct 2012
Location: N/A
Posts: 14
Likes: 0
Received 0 Likes on 0 Posts
Default

thx great job! easly done with ur instruction!
Old 07-21-13, 06:17 PM
  #60  
bob4256
Lexus Champion
iTrader: (17)
 
bob4256's Avatar
 
Join Date: Sep 2010
Location: Weston, FL
Posts: 4,965
Likes: 0
Received 10 Likes on 6 Posts
Default

Anyone know if the rear gfx was removed, would a myride rear fit and cover up the holes?

My gfx rear was installed at a dealer was cut, and now I'm looking to switch up my rear lip.
Related Topics
Thread
Thread Starter
Forum
Replies
Last Post
PAVGR
IS - 2nd Gen (2006-2013)
1
06-03-12 07:33 AM
my1stis
IS - 2nd Gen (2006-2013)
19
10-03-11 10:27 PM
MyIS350G
IS - 2nd Gen (2006-2013)
11
12-16-10 02:32 AM
iSpeed250
IS - 2nd Gen (2006-2013)
12
09-05-09 12:20 PM
xlegend25x
IS - 2nd Gen (2006-2013)
4
09-08-08 10:11 PM


Quick Reply: DIY Rear GFX (Cutting Method)


All times are GMT -7. The time now is 01:35 PM.