switch led swap guide
 01-05-11, 01:03 PM
#1
Driver School Candidate
Thread Starter

Join Date: Aug 2010
Location: sweden
Posts: 16
Likes: 0
Received 0 Likes
on
0 Posts
Club lexus Workshop Guides Disclaimer - Once you have read the Workshop Guide, go back and read it again. These Guides are to assist you, nothing more. If there are parts you do not understand, post a question in the forum about it, or to the author of the Guide. Making sure you understand the task at hand, and then with proper preparation for it should mean the task will be easier. Remember all safety precautions, if the guide says it is a two person task, ignore at your peril. These are by no means full workshop maintenance instructions, nor comprehensive modification data, they are written by Club lexus members intended to be informative DIY instructions to assist other Club Members. If you feel the job in hand is too complex, or too difficult in some way, do not attempt it. Consult a professional automotive expert. If in any doubt, do not attempt it. Neither the Club Lexus or the Author of the Guide will be held liable for any damage, loss, personal injury, or loss of use howsoever caused by following these guides.
Tools needed for 2 switches
Screwdriver flat small type
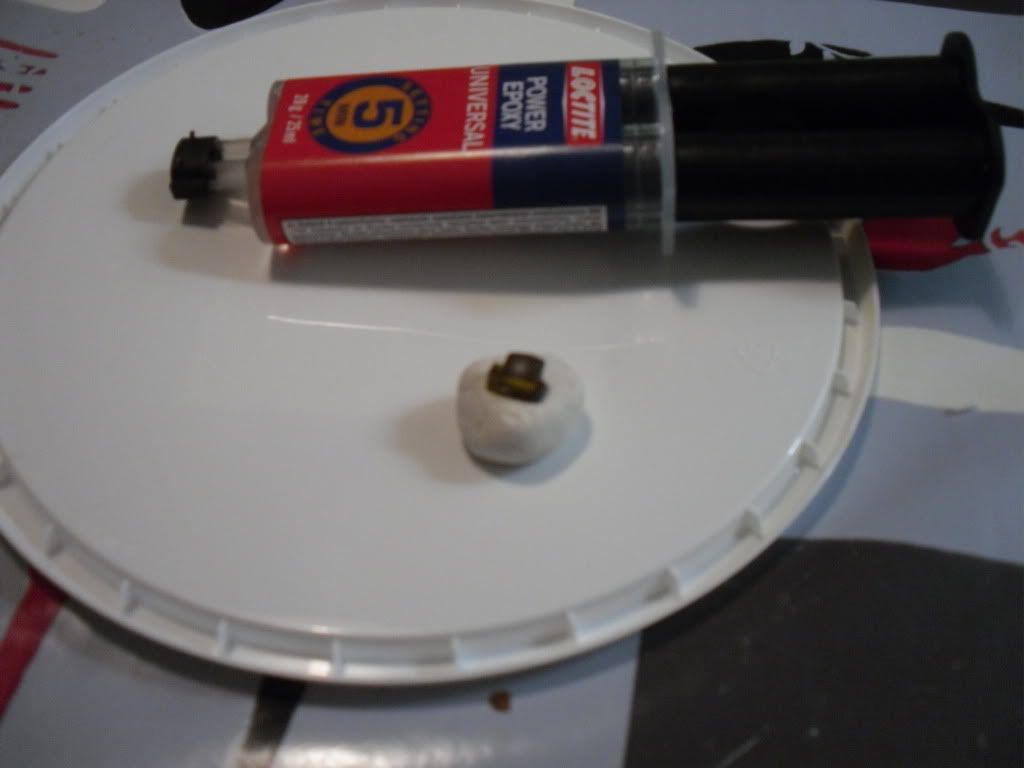
Epoxy resin clear type
Craft knife
Super glue
4 t5 type led�s colour to match your dashboard lights
Plasticine (small ball)
Small heat shrink tubing
Small paint brush and lolly pop stick
Time about 1.5 hours
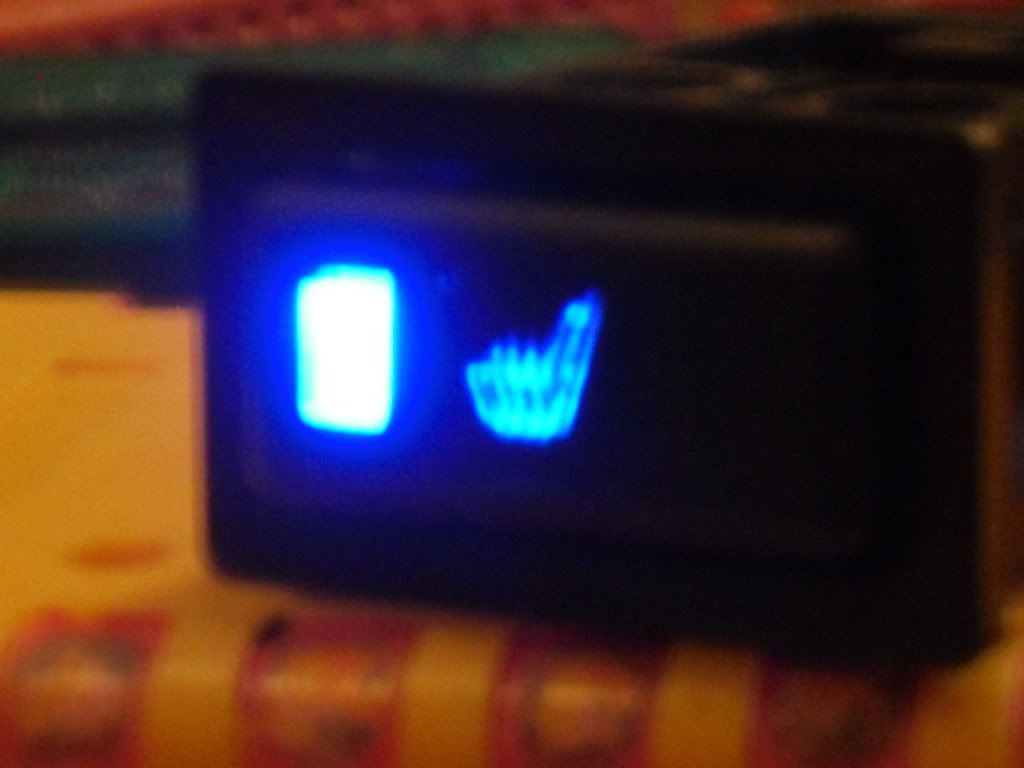
The first thing you will need to do is remove the heater switches from the car ready for this mod.
Next is to dismantle the switches ready for fixing the heater light
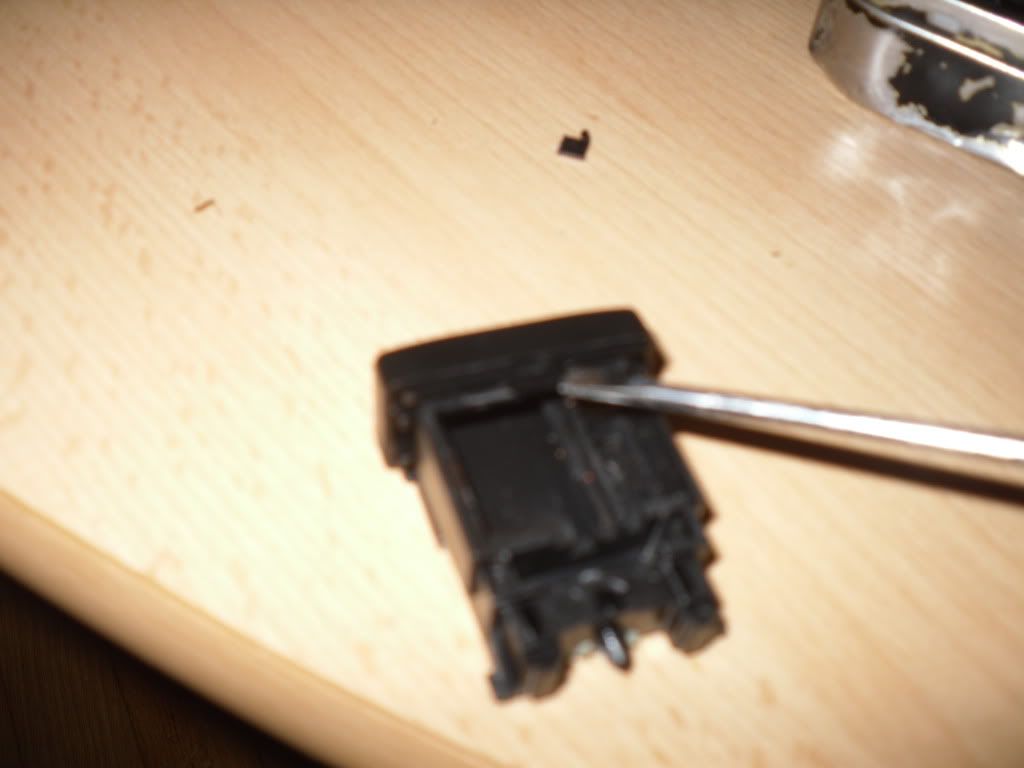
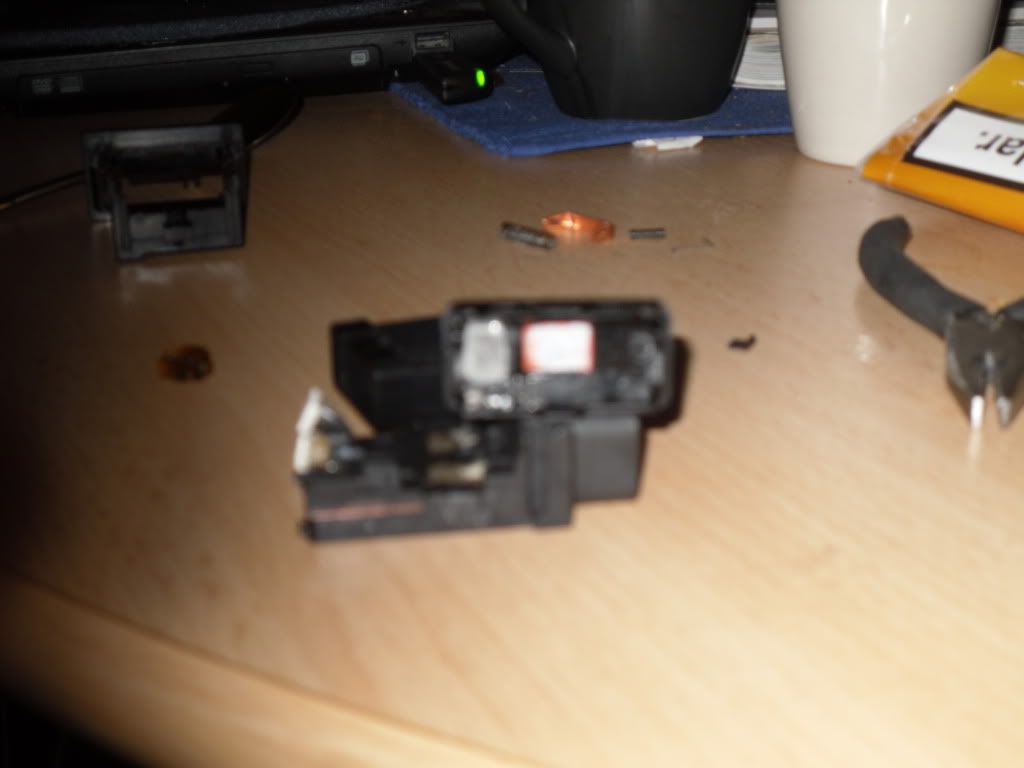
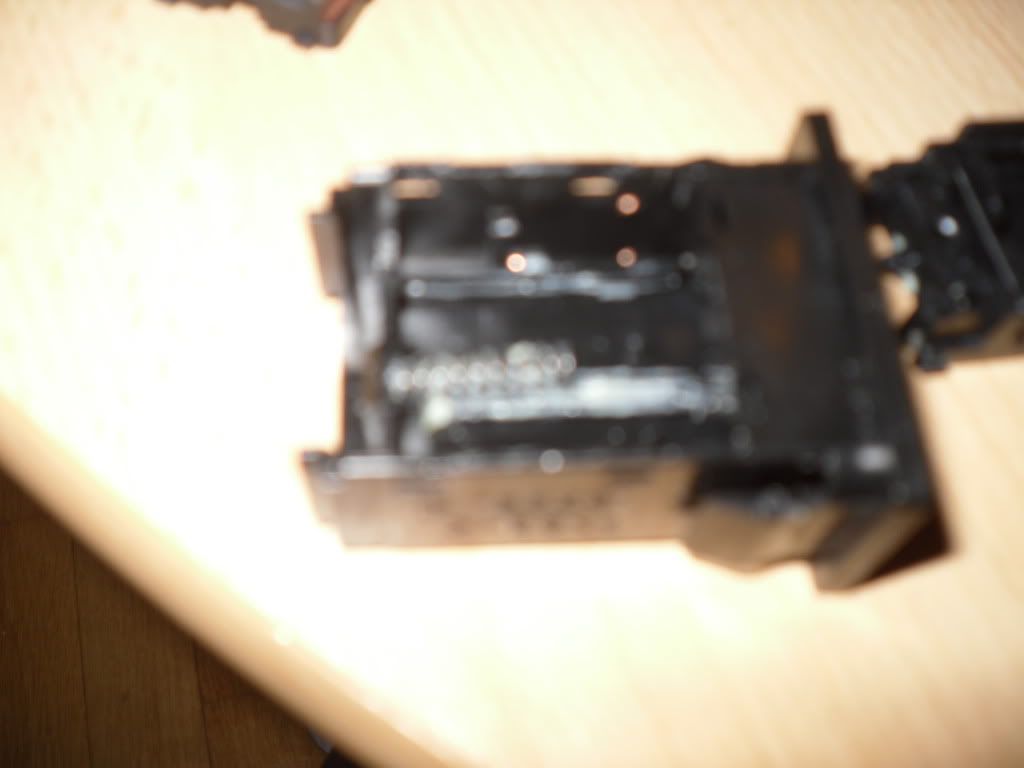
The first thing you will need to do is remove the bulbs then take a flat screwdriver and place it down the sides of the switch so the middle comes out from the switch.
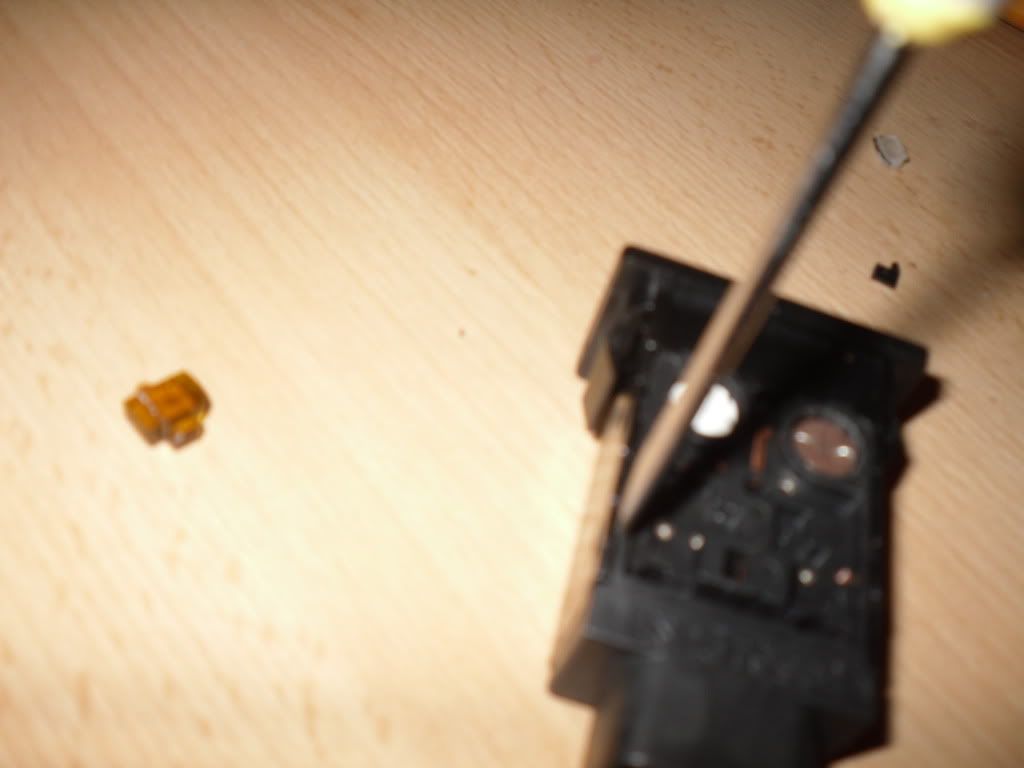
Next is to remove the parts inside and put the safe. There are 2 springs and 3 wire parts that need to come out.
After you have removed them you need to take the flat screwdriver into the side of the switch and pull it so you pop out the centre part of the switch from the housing. This will pop out with a small bit of force but make sure your pushing on the top of the plastic button and not the middle part.
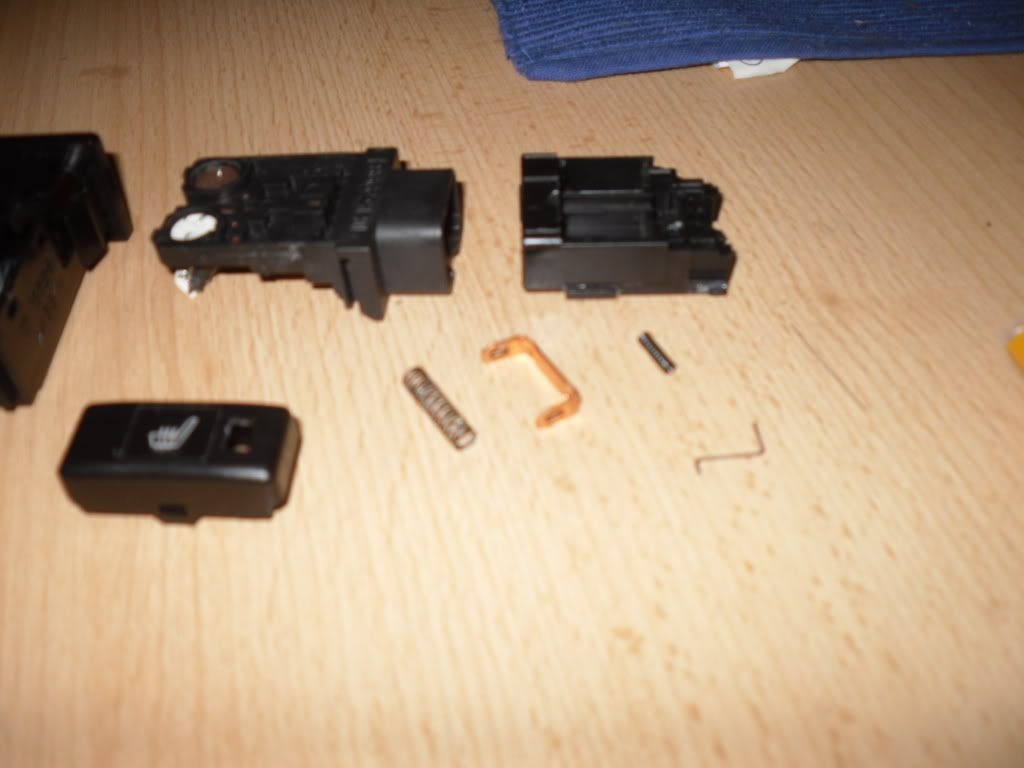
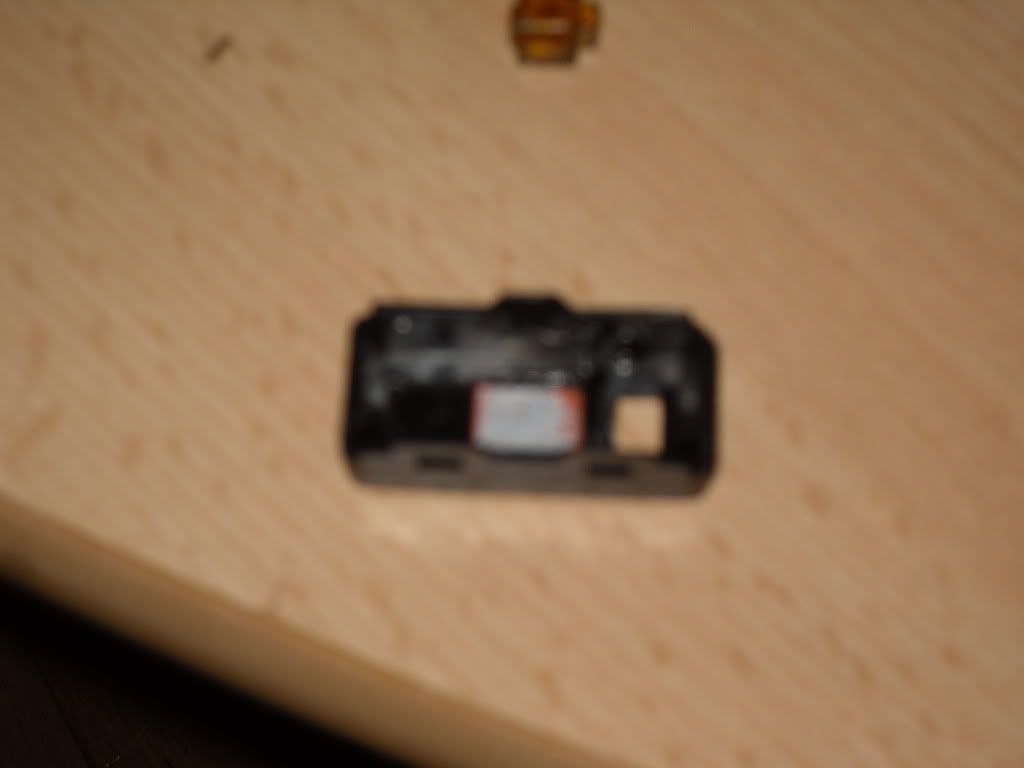
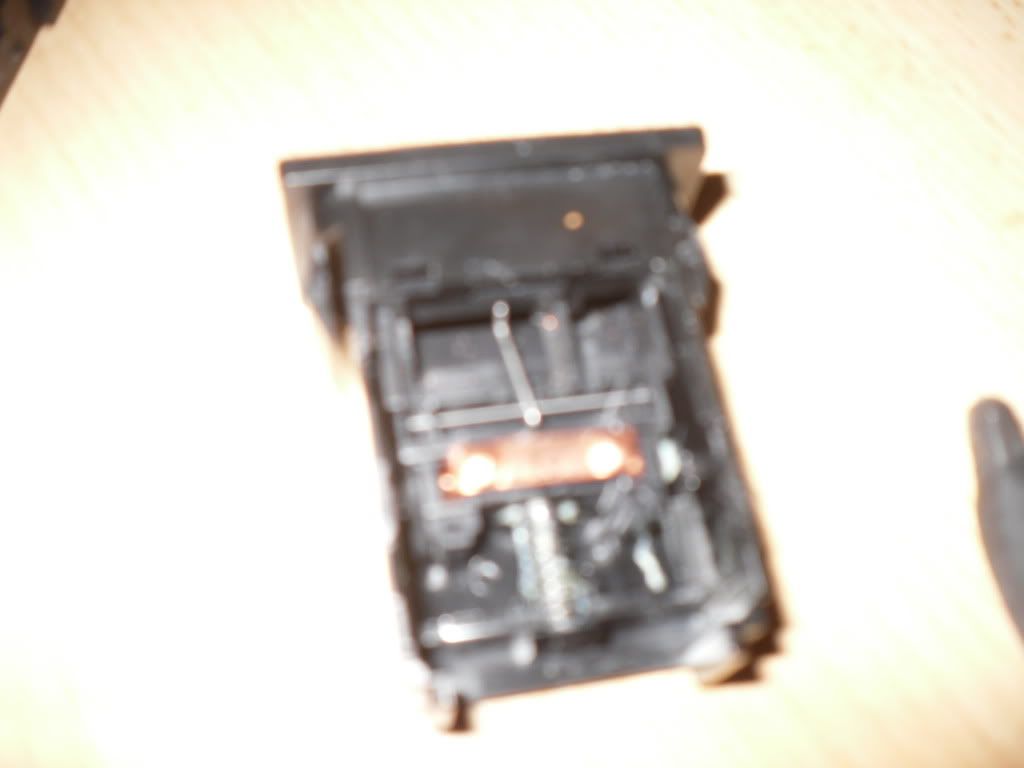
Now that this is apart you need to remove the front button from the inner part of the switch. This has 1 clip at the top and 2 at the bottom.
Just use the flat screwdriver to lift the over there locking parts. Now you should have the front free and you will see the brown plastic light part and the heated seat symbol part.
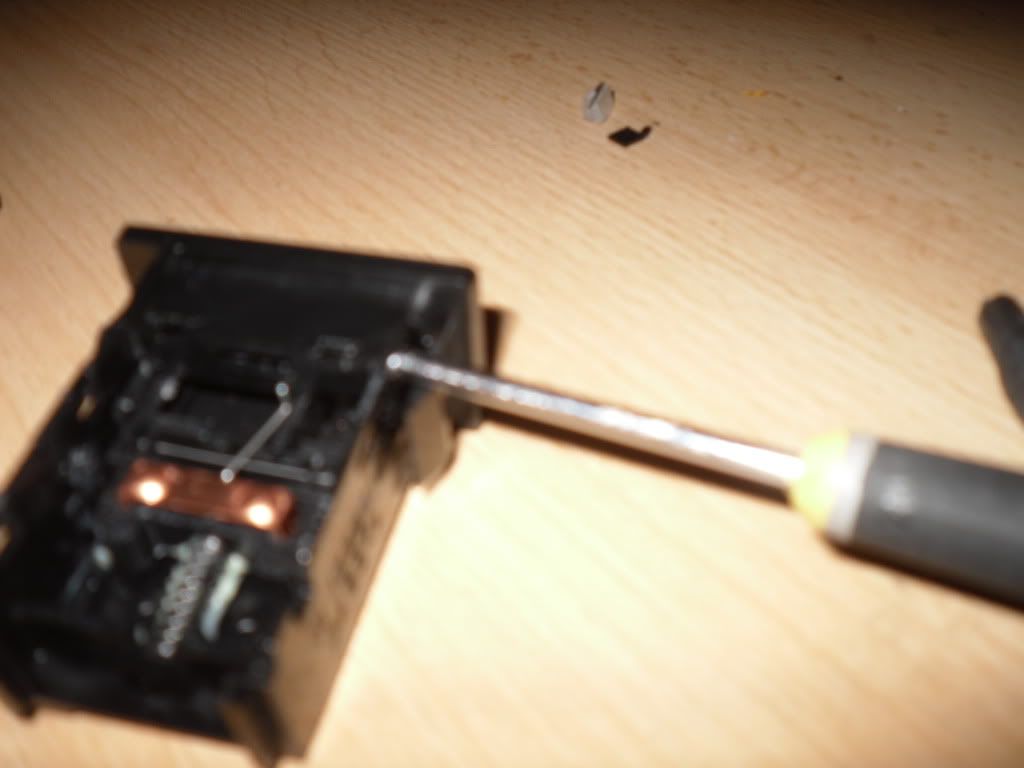
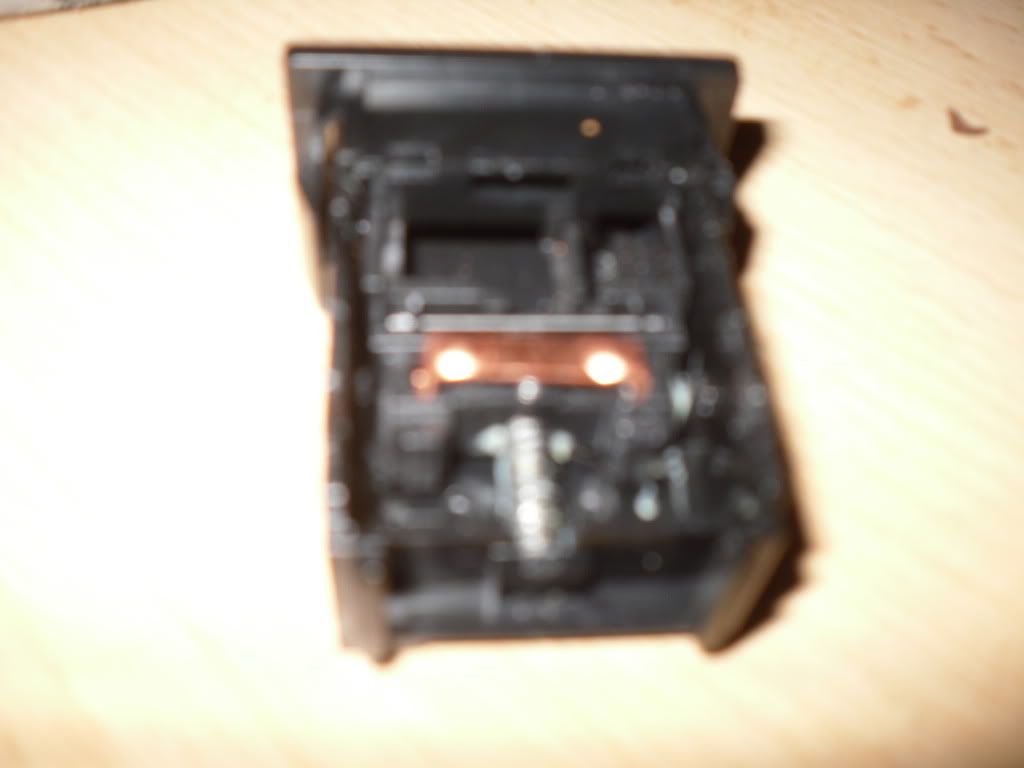
You will need to remove the symbol part and take a sharp blade from a craft knife and remove the orange paint from it but be sure not to scratch the grey under the orange paint. Go slow and use a light touch when doing this part. If you scratch the grey it will show up on the front later on.
Now you�re ready to make a mould of the front part of the light piece and pour a clear one to replace the brown one.
You don�t need to make the whole part of this just the first 4 mm of or so with the checker part pushed into the mould first. Remove this very carefully to leave a mould of the part you need.
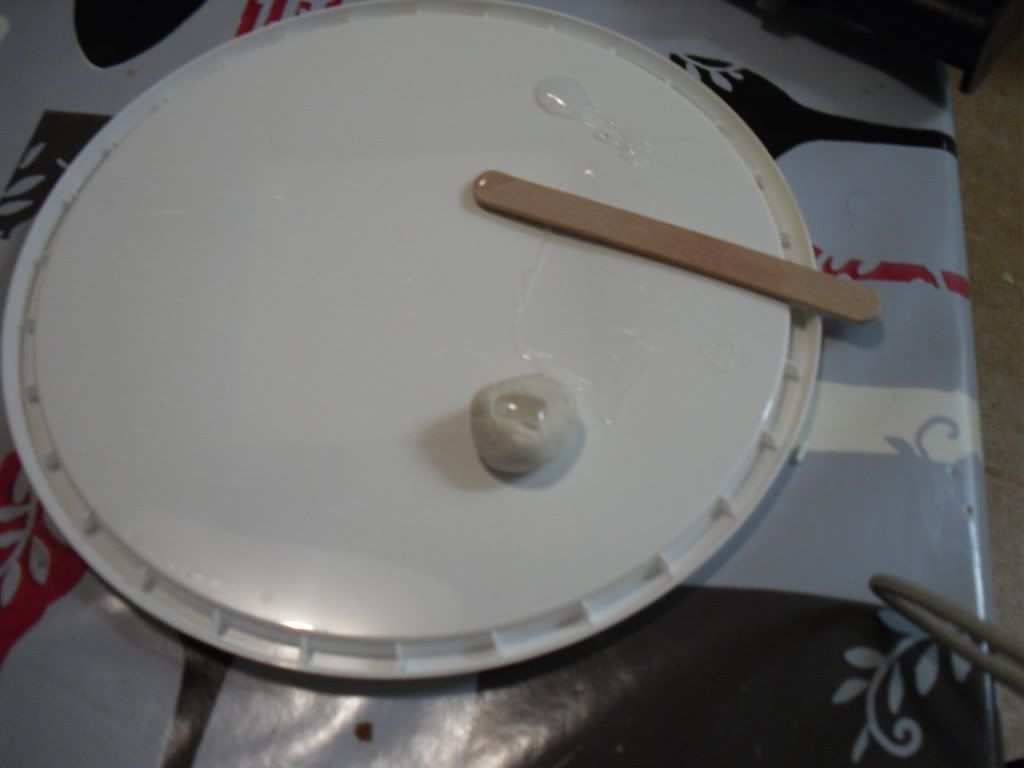
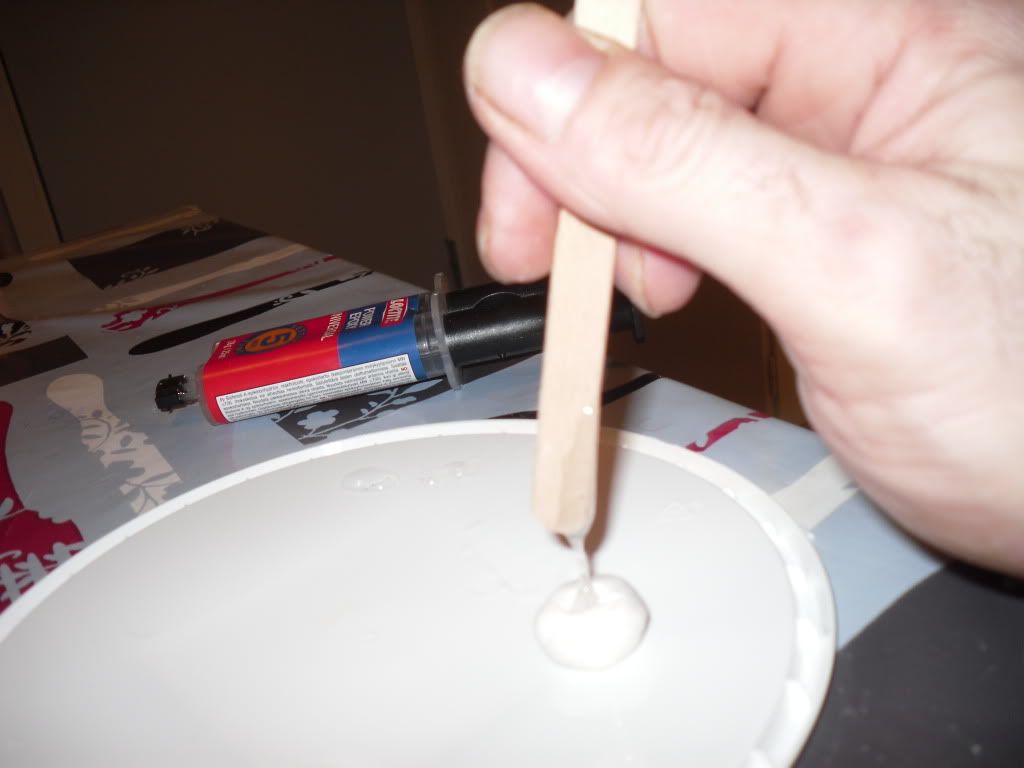
Now take your 2 part epoxy and mix a small amount and try not to mix any bubbles into it as these will show. Then with a lollypop stick pick up the resin from where you�ve mixed it and let it pour into the mould,
Let this dry for an hour or more then take a knife and remove as much of the Plasticine as you can. Then take a small hard paint brush (kid�s type) and some dish washing liquid and under warm water wash off all the left over Plasticine.
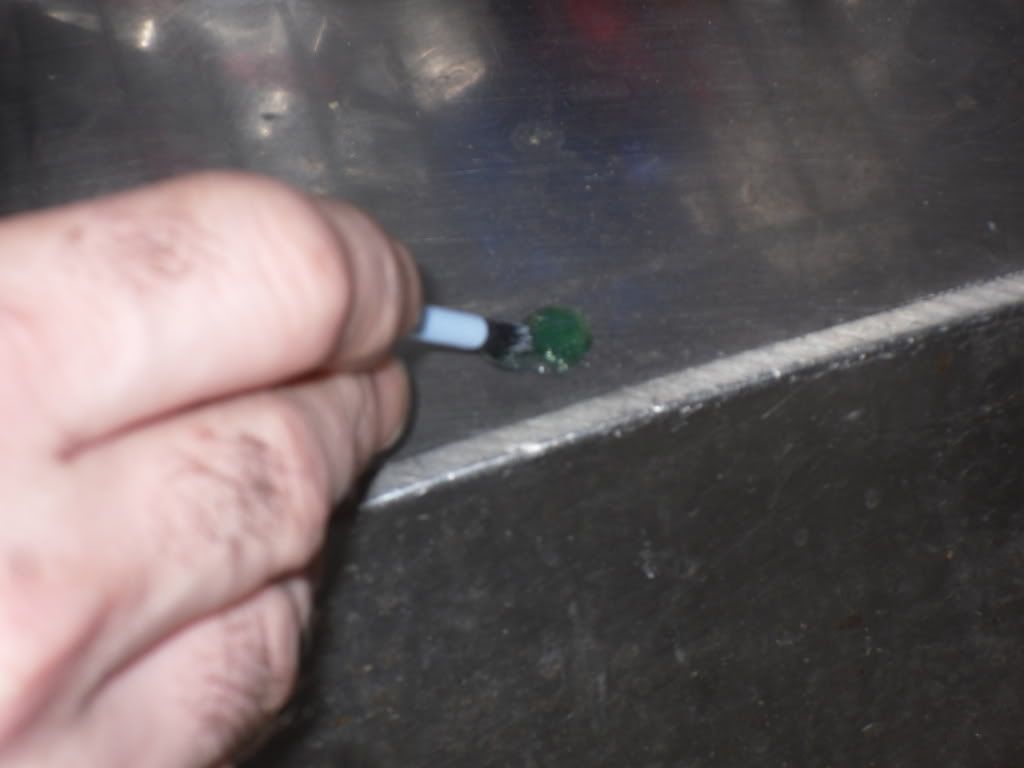
Now you should have a clear epoxy copy of the main part for the switch. You can now try and fit this into the button part and check the fitting of it. If it�s too big you can trim the bits from the sides away with the knife or make a new one. Now you�re ready to glue these parts back into the button.
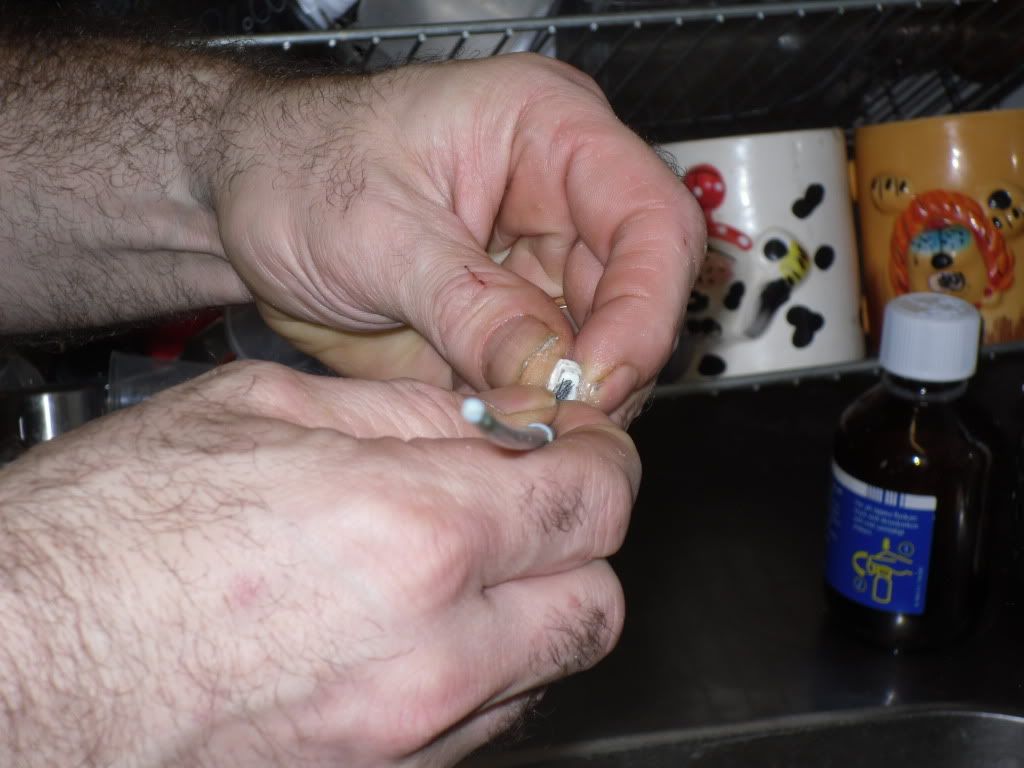
I used just a small drop of super glue to glue both the epoxy part and the switch symbol part into the button.
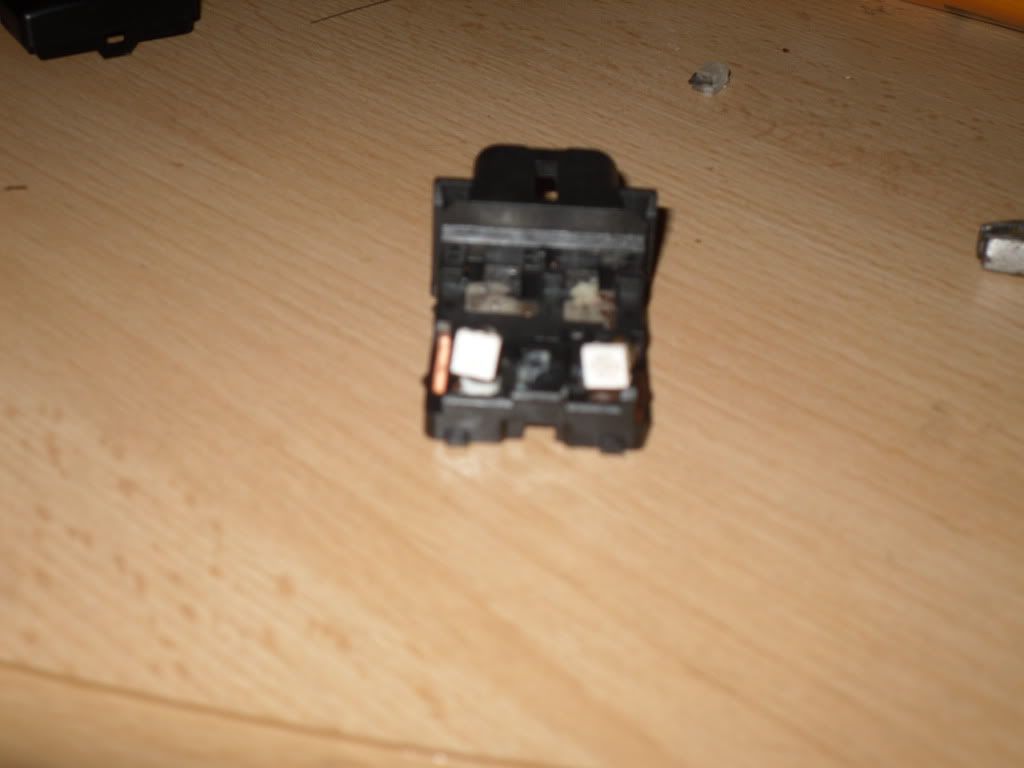
Now you�re ready to put the switch part back together ready for the fitting the new lights.
First put the button part back into its housing.
Then fit the spring at the back of the unit and fit the small wire across the switch
Then put the bent wire in place. This goes big end into the hole.
Then the small spring goes in place and the copper plate over the spring.
So now this is all back together you will need to put this to one side and fix the led�s.
I used some 3smd type ones from a t5 style bulb holder I got from eBay.
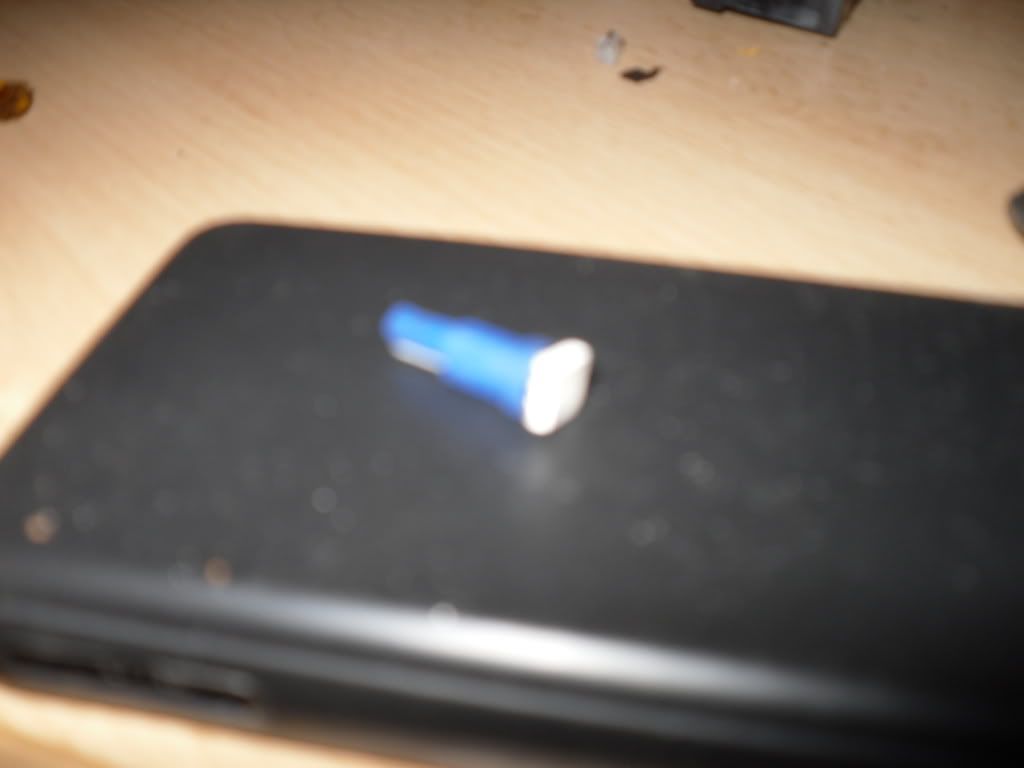
Now I lifted up the wires from the blue plastic holder and removed the bulb from the blue holder. You will need 2 for each switch
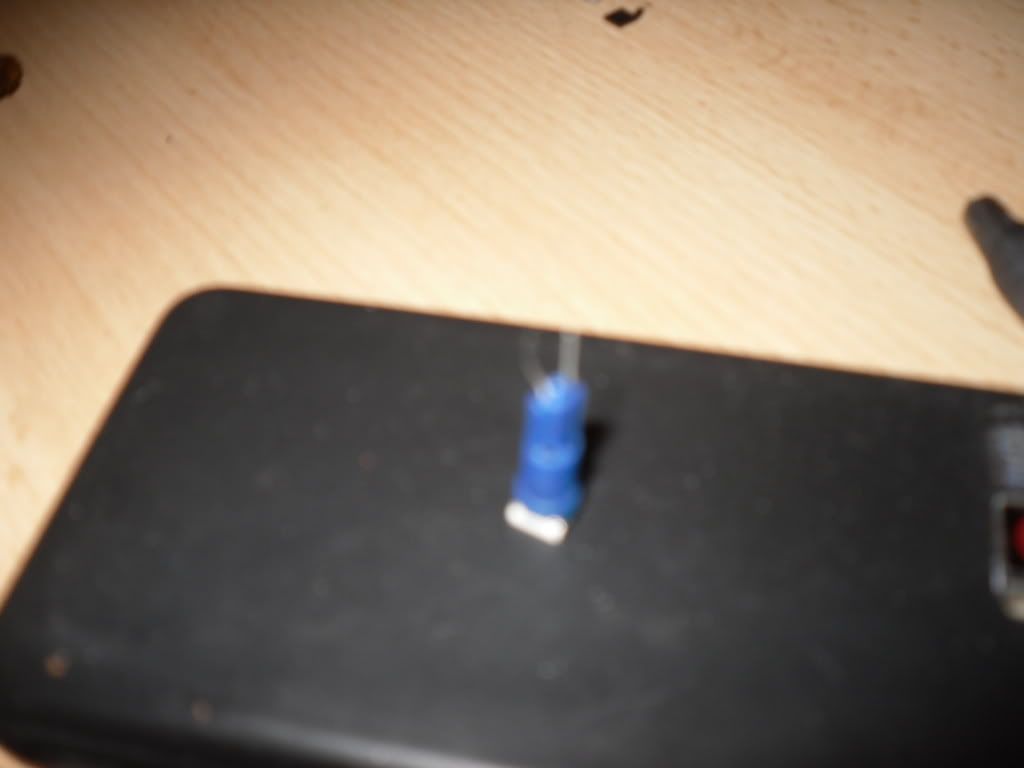
I now placed a small amount of heat shrink over the 2 wires so they won�t touch and short out. I heated they up to shrink over the wires
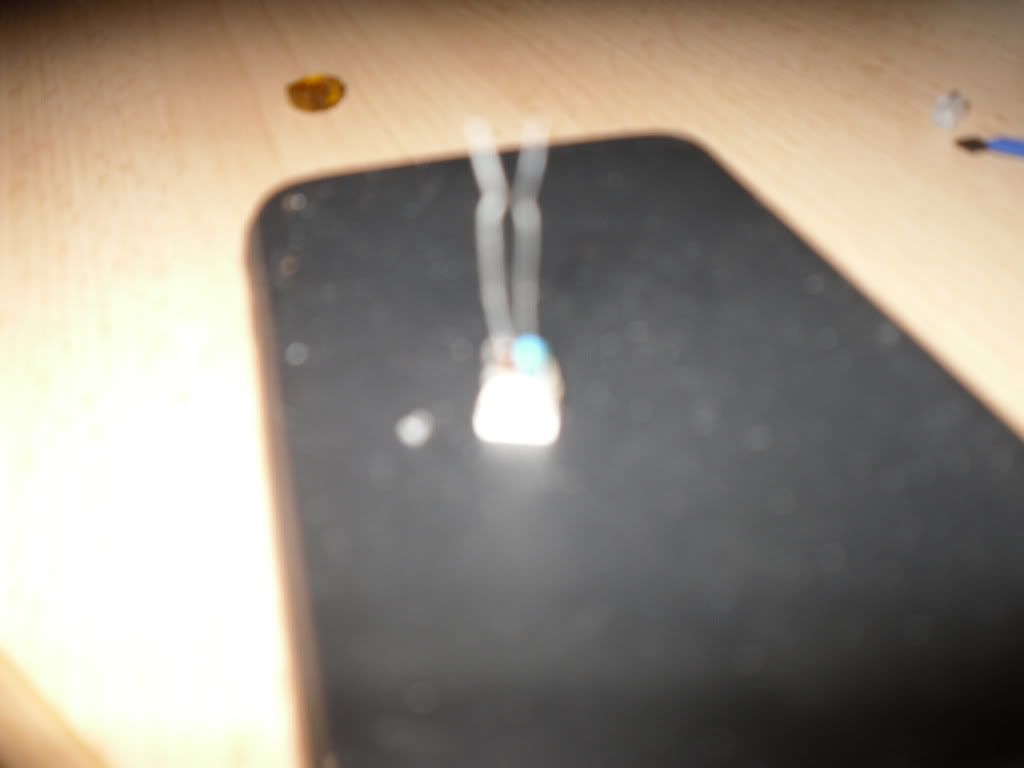
Now these are too big to go in from the outside so I put the bulbs in place and then fitted the connectors to them from the outside, you may want to use the same type bulbs that are in the lights. (Grain of wheat bulbs) but I wanted a bright clear light on mine.
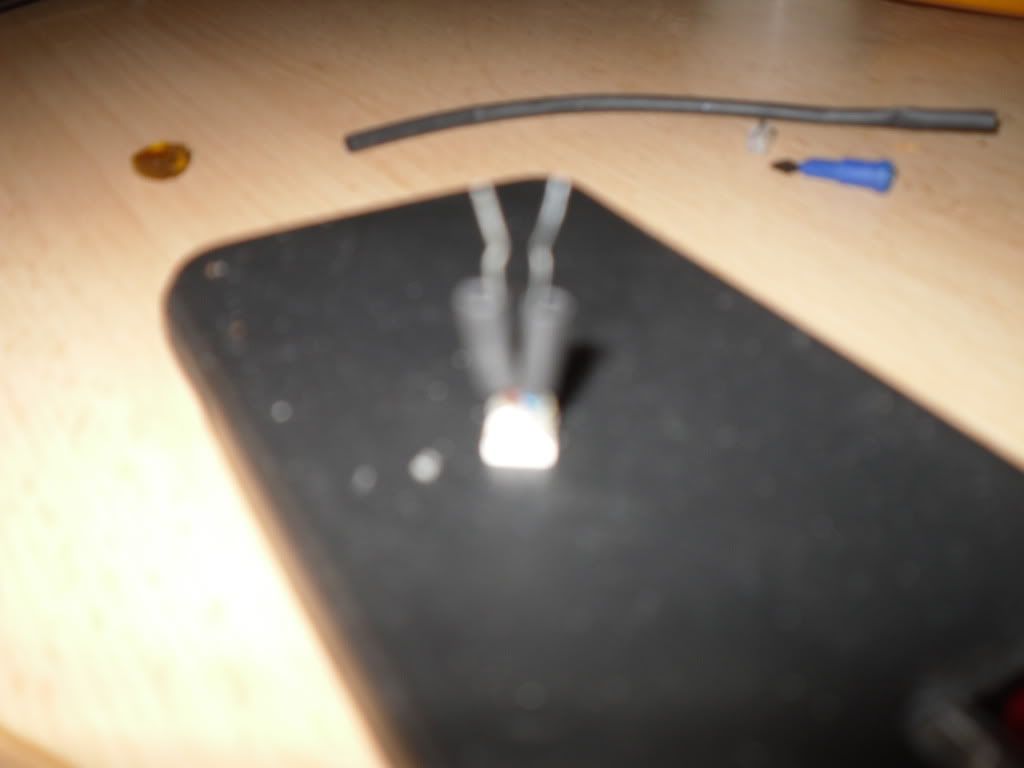
After the bulbs are fitted you can put the 2 parts back together
And check that the switch is still locking in and coming out.
Now with led�s you will need to make sure they are the right way around. I took them to the car with the flat screwdriver and checked them. If they are the wrong way around you just need to open up the switch and turn the bulb holder around. Then put them back together.
Check again and job done


Thread
Thread Starter
Forum
Replies
Last Post