When you click on links to various merchants on this site and make a purchase, this can result in this site earning a commission. Affiliate programs and affiliations include, but are not limited to, the eBay Partner Network.
Hey guys,
I finally received my LED fog lights from TRS and they are great. Quality is top notch and feels solid!
Their customer service was great and very responsive. Although shipping took 4 weeks but I'm sure that was the post office's fault.
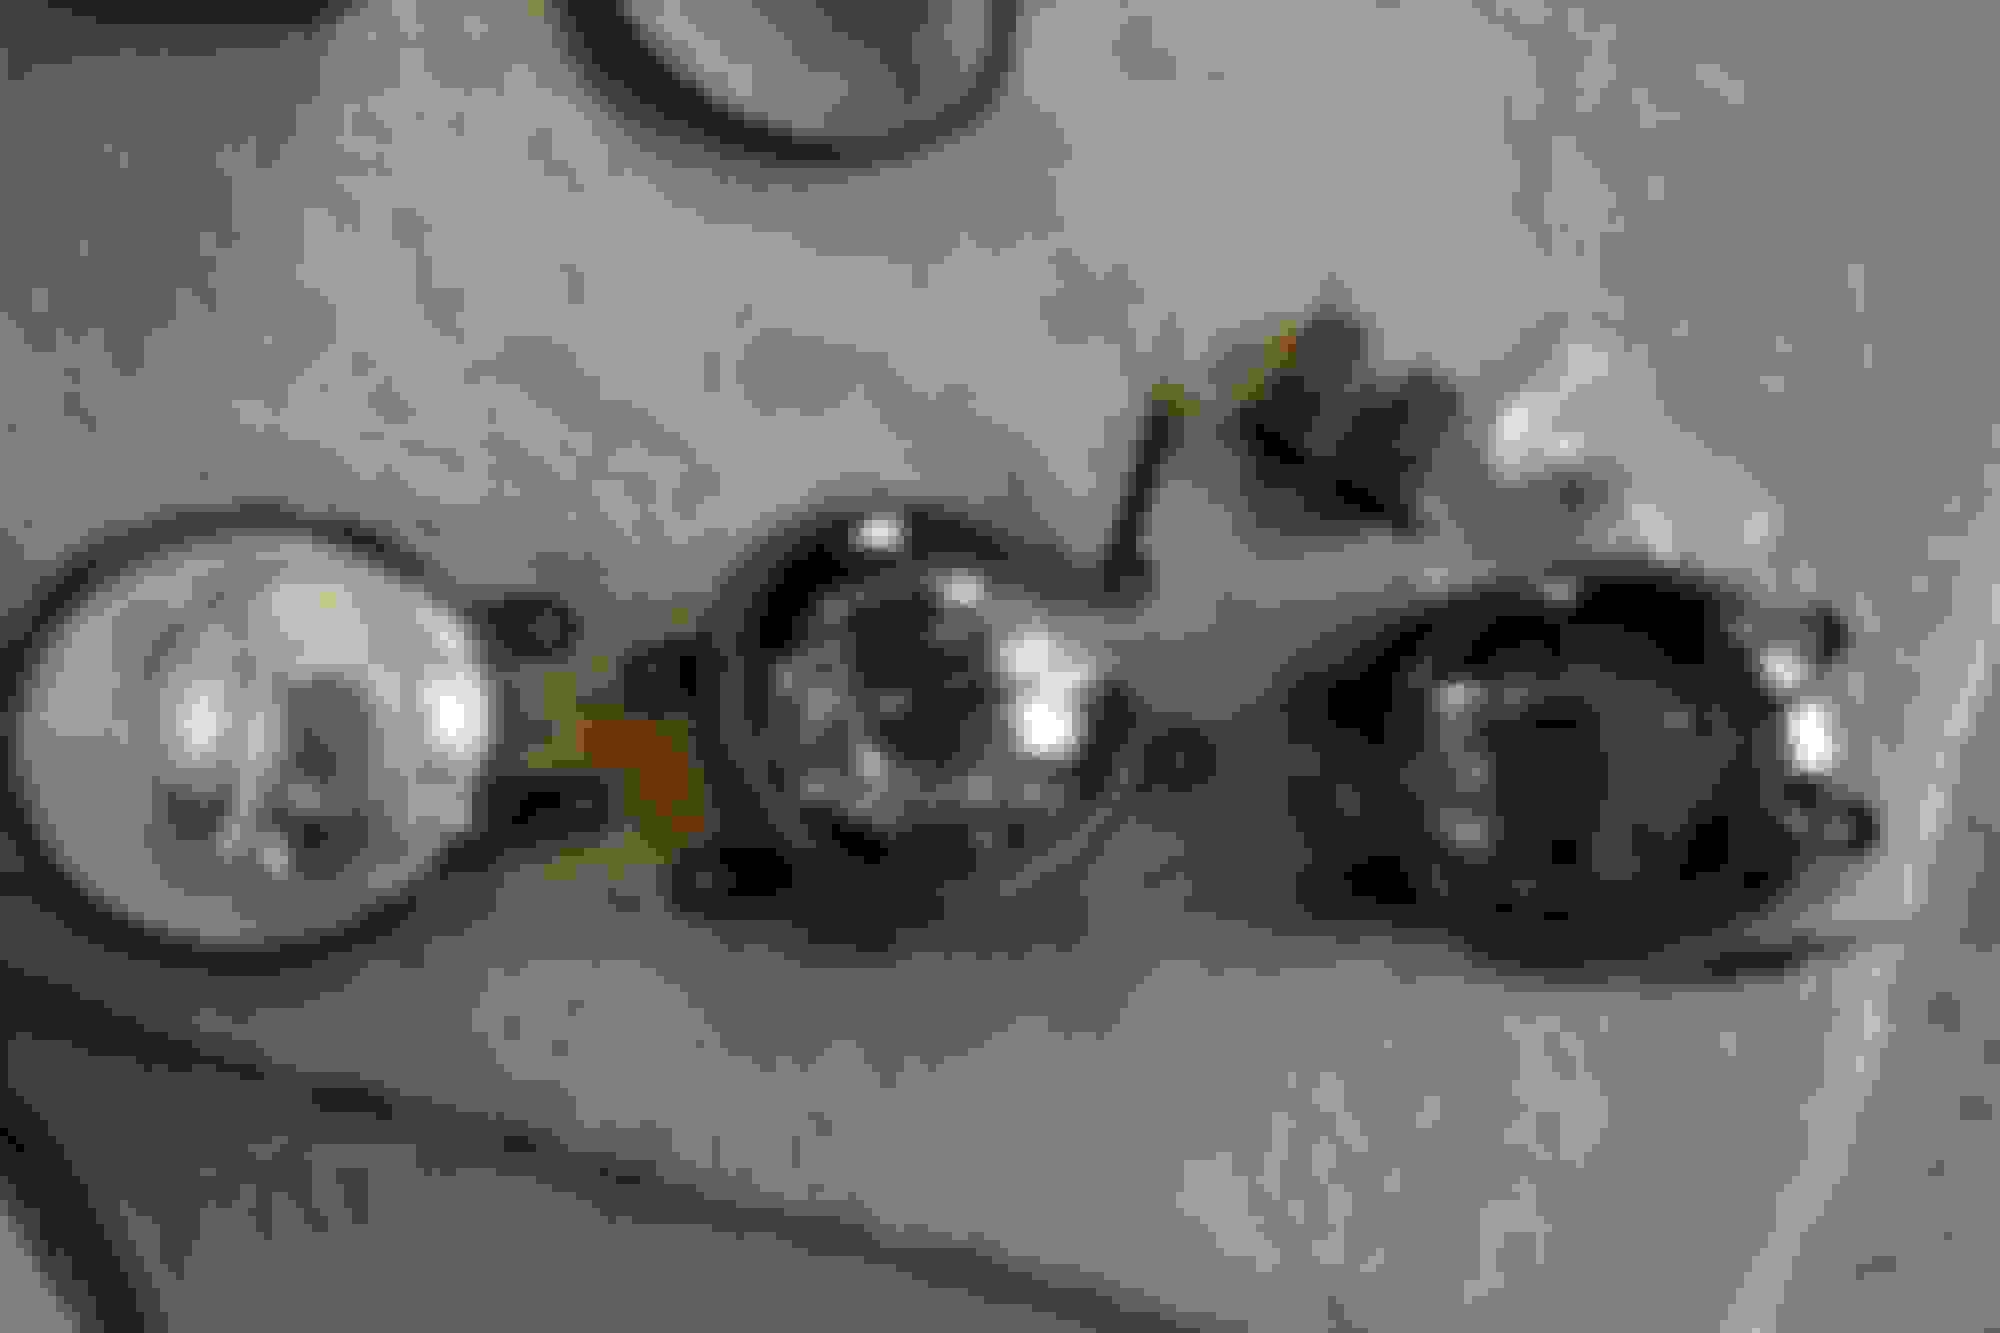
Here are the parts that comes in the box :
1) Pair of LED fogs (far left is my OEM fog housing)
2) 2 connectors
3) 2 phillips head screws
Tools needed:
1x 10mm, 12mm wrench
1x Phillips screwdriver
1x flat head screwdriver to pry clips off
1x sander / cutters
Steps:
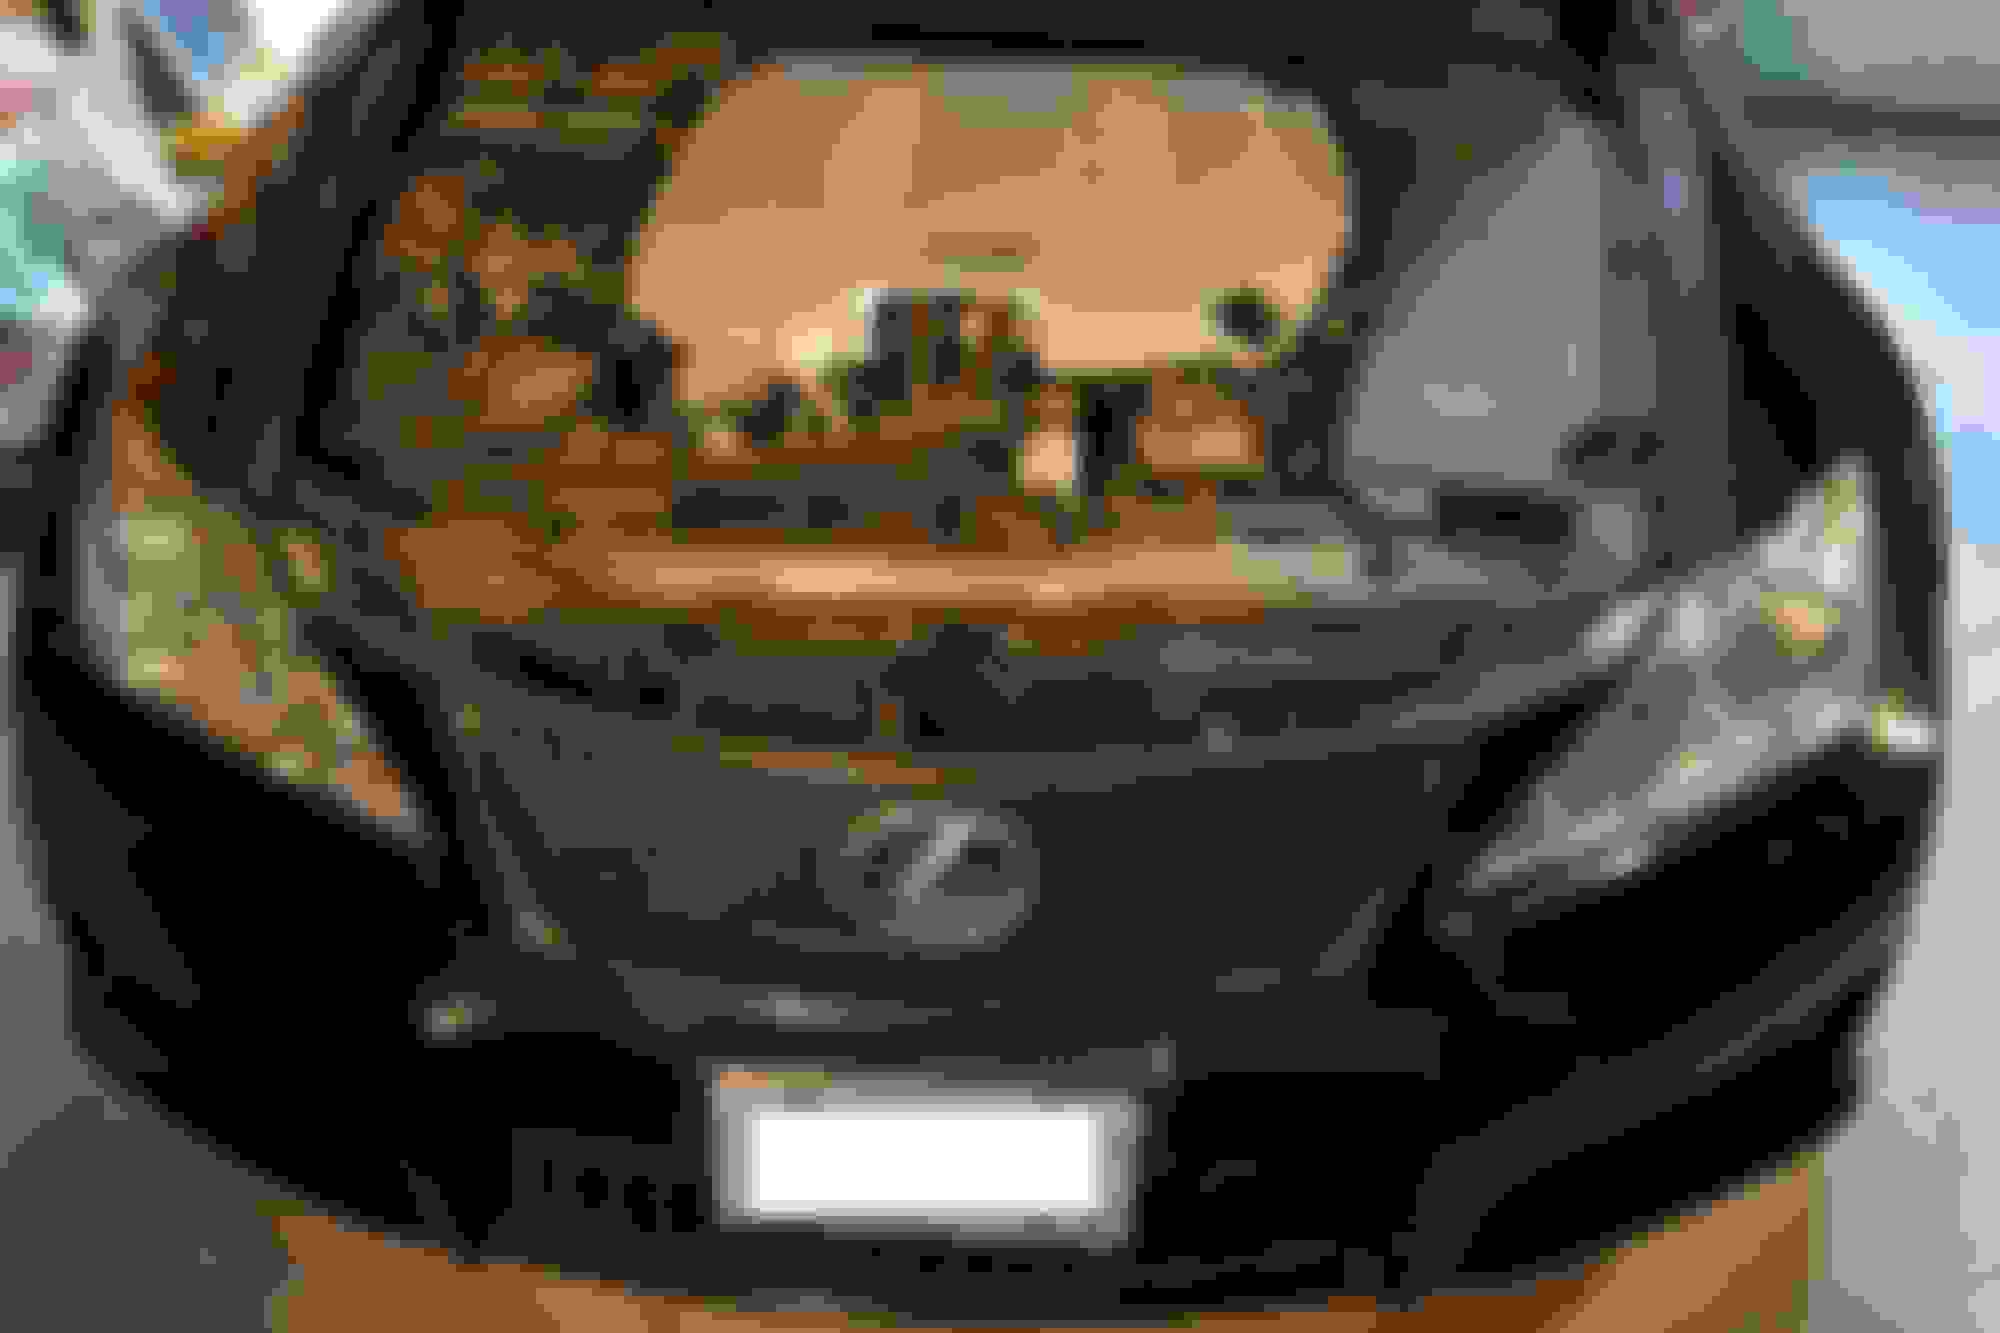
1) Remove the engine bay covers . They are a few clips. they are all visible. Just push down and pull them out. This was pretty easy and the end result should be something like this:
2) Turn you wheel to the opposite side of where the side you want to work with. (ie. if you want to install driver side, turn your wheel all the way to the right) This gives you just enough room to push the fender enough and stick your arm in the work with it.
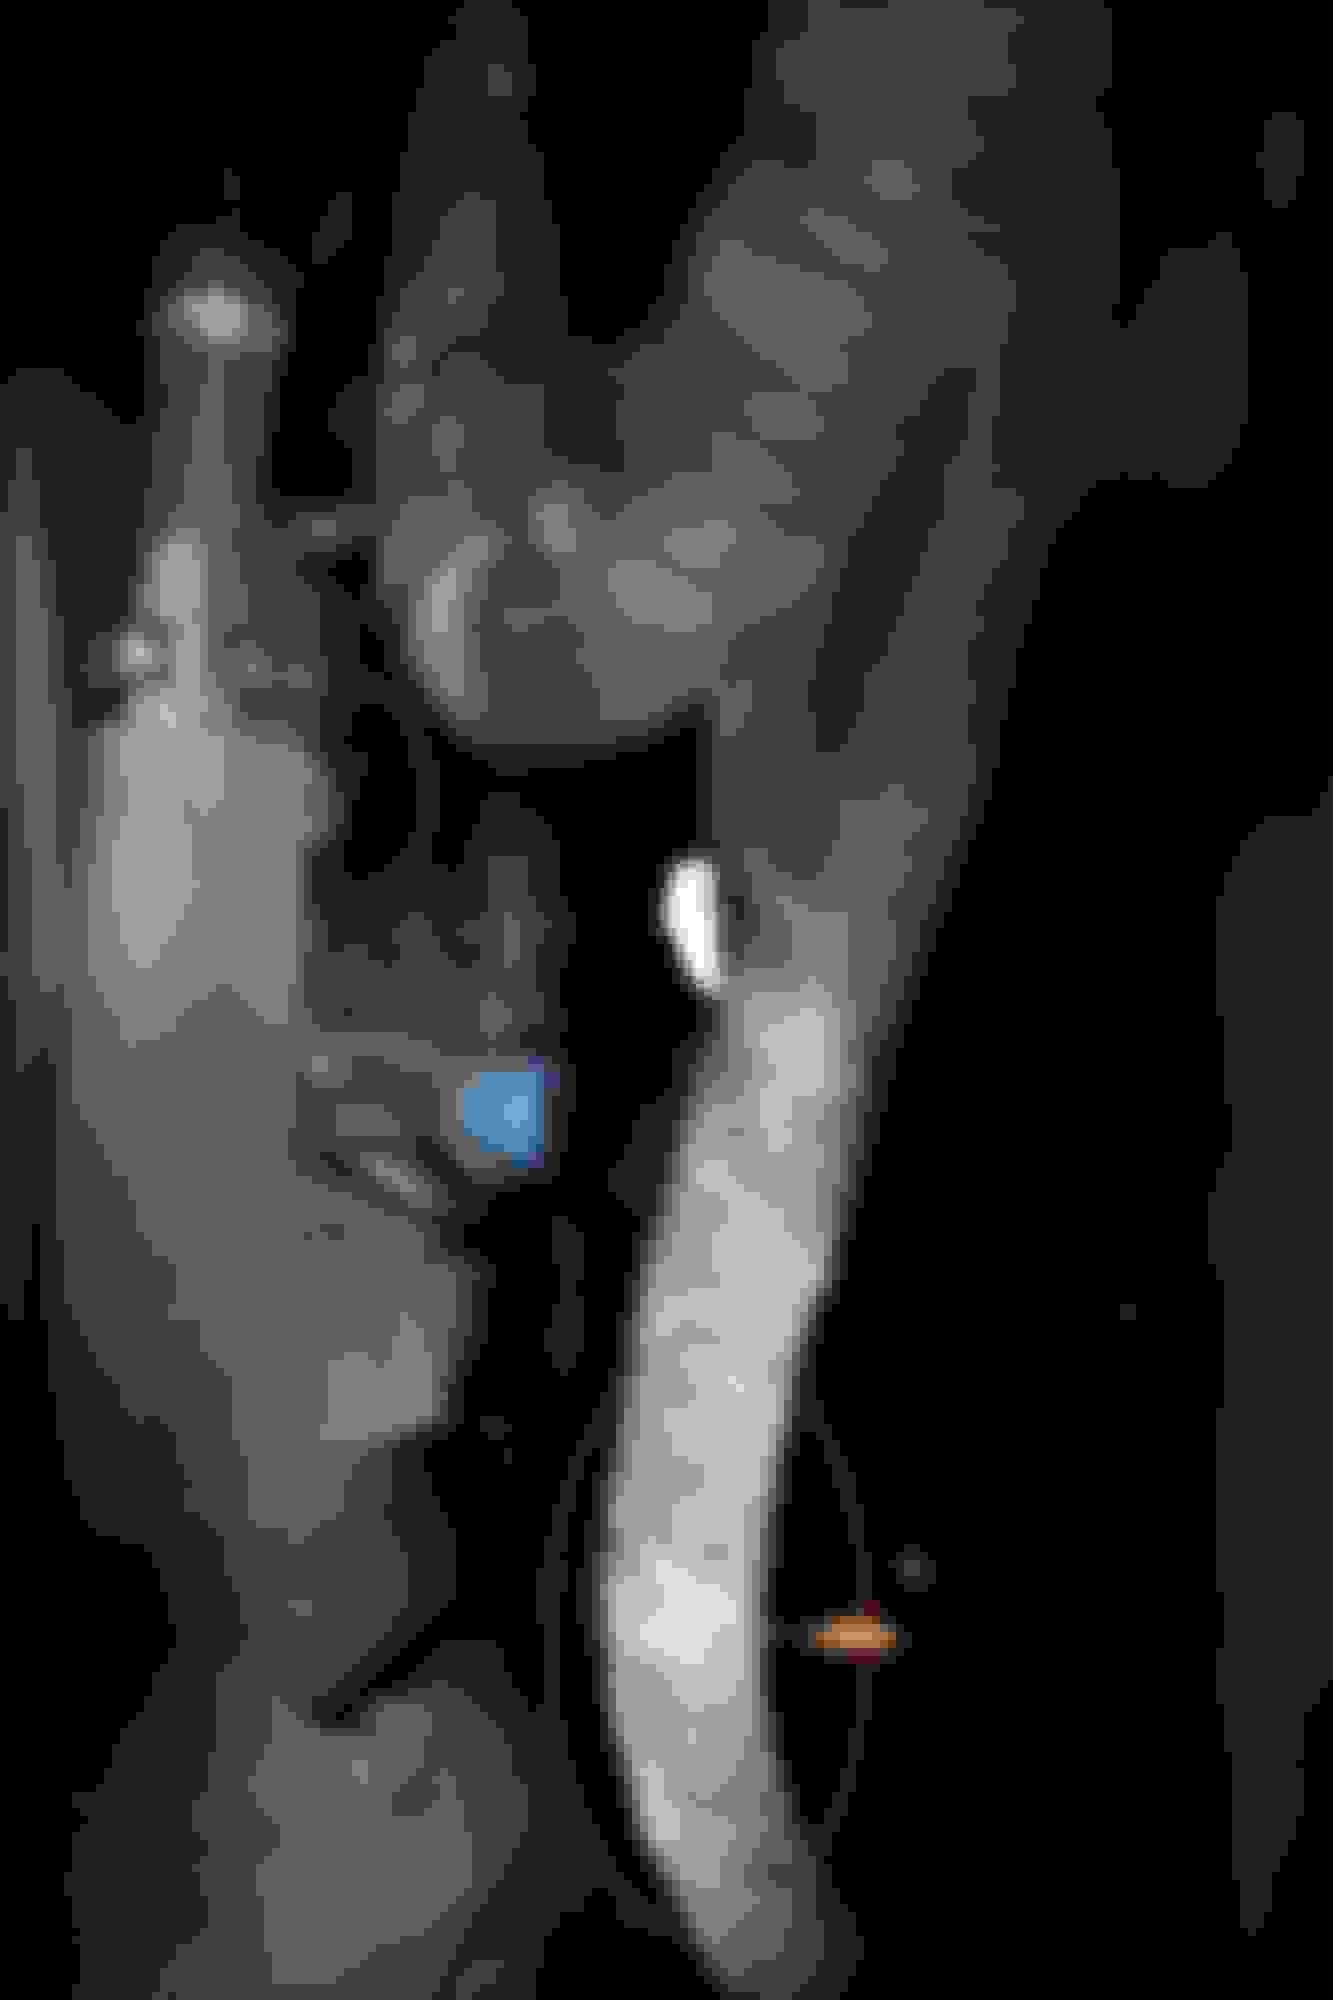
3) Take out the single bolt from underneath (10mm) and take out the 2 clips from the fender liner. The clips turn 90 degrees and it should come out. If not, turn another 90degrees and pull.
4) Unplug the connector and unscrew the top left corner phillips screw . There is only one screw holding it in.
5) The whole housing will slide out. The fog light can be squeezed out between the liner and the bumper. You'll have to pull a bit.
6) (Optional) I had to shave off some of the inner tabs (ie. Right side of the housing on Driver's side) for the lights to fit properly. If not, the tabs will not go in all the way and the housing is not aligned properly.
7) Connect the connectors to the prongs and then connect the LED connector to the feed line from the car. TIP: you can test the prongs to see which side is + / - . The connector that you push the prongs in only go one way. If you have the terminals switched, then you'll have a tough time taking the prongs back out. i messed up one side and had to splice the wires and resolder.
8) Squeeze the LED housing in and then fit the tabs into place. The side with the screw should sit flush and then screw the phillips screw back in. It should look the same as step 4.
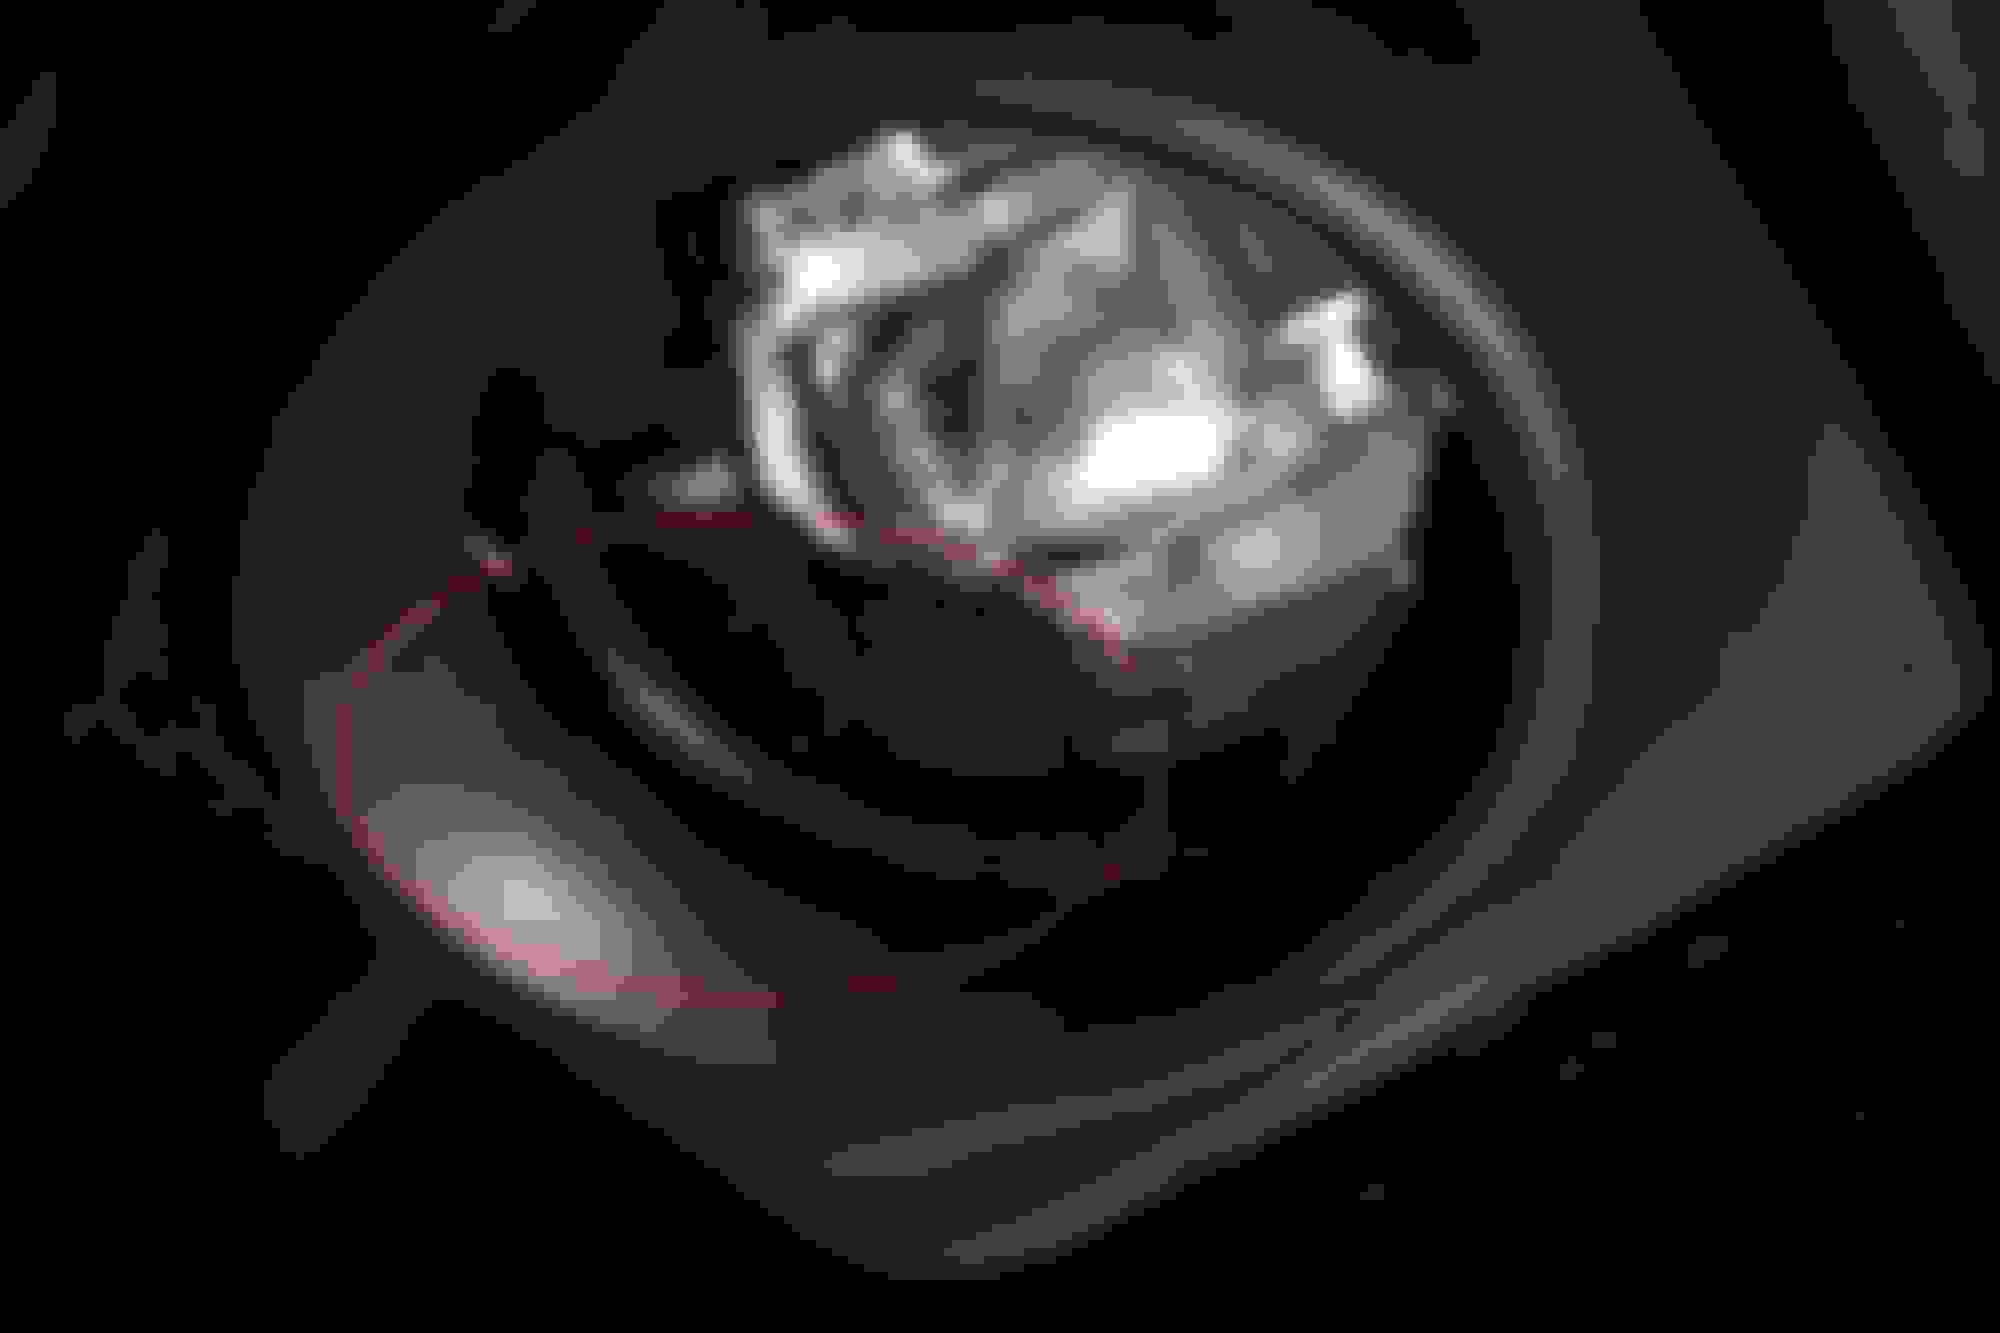
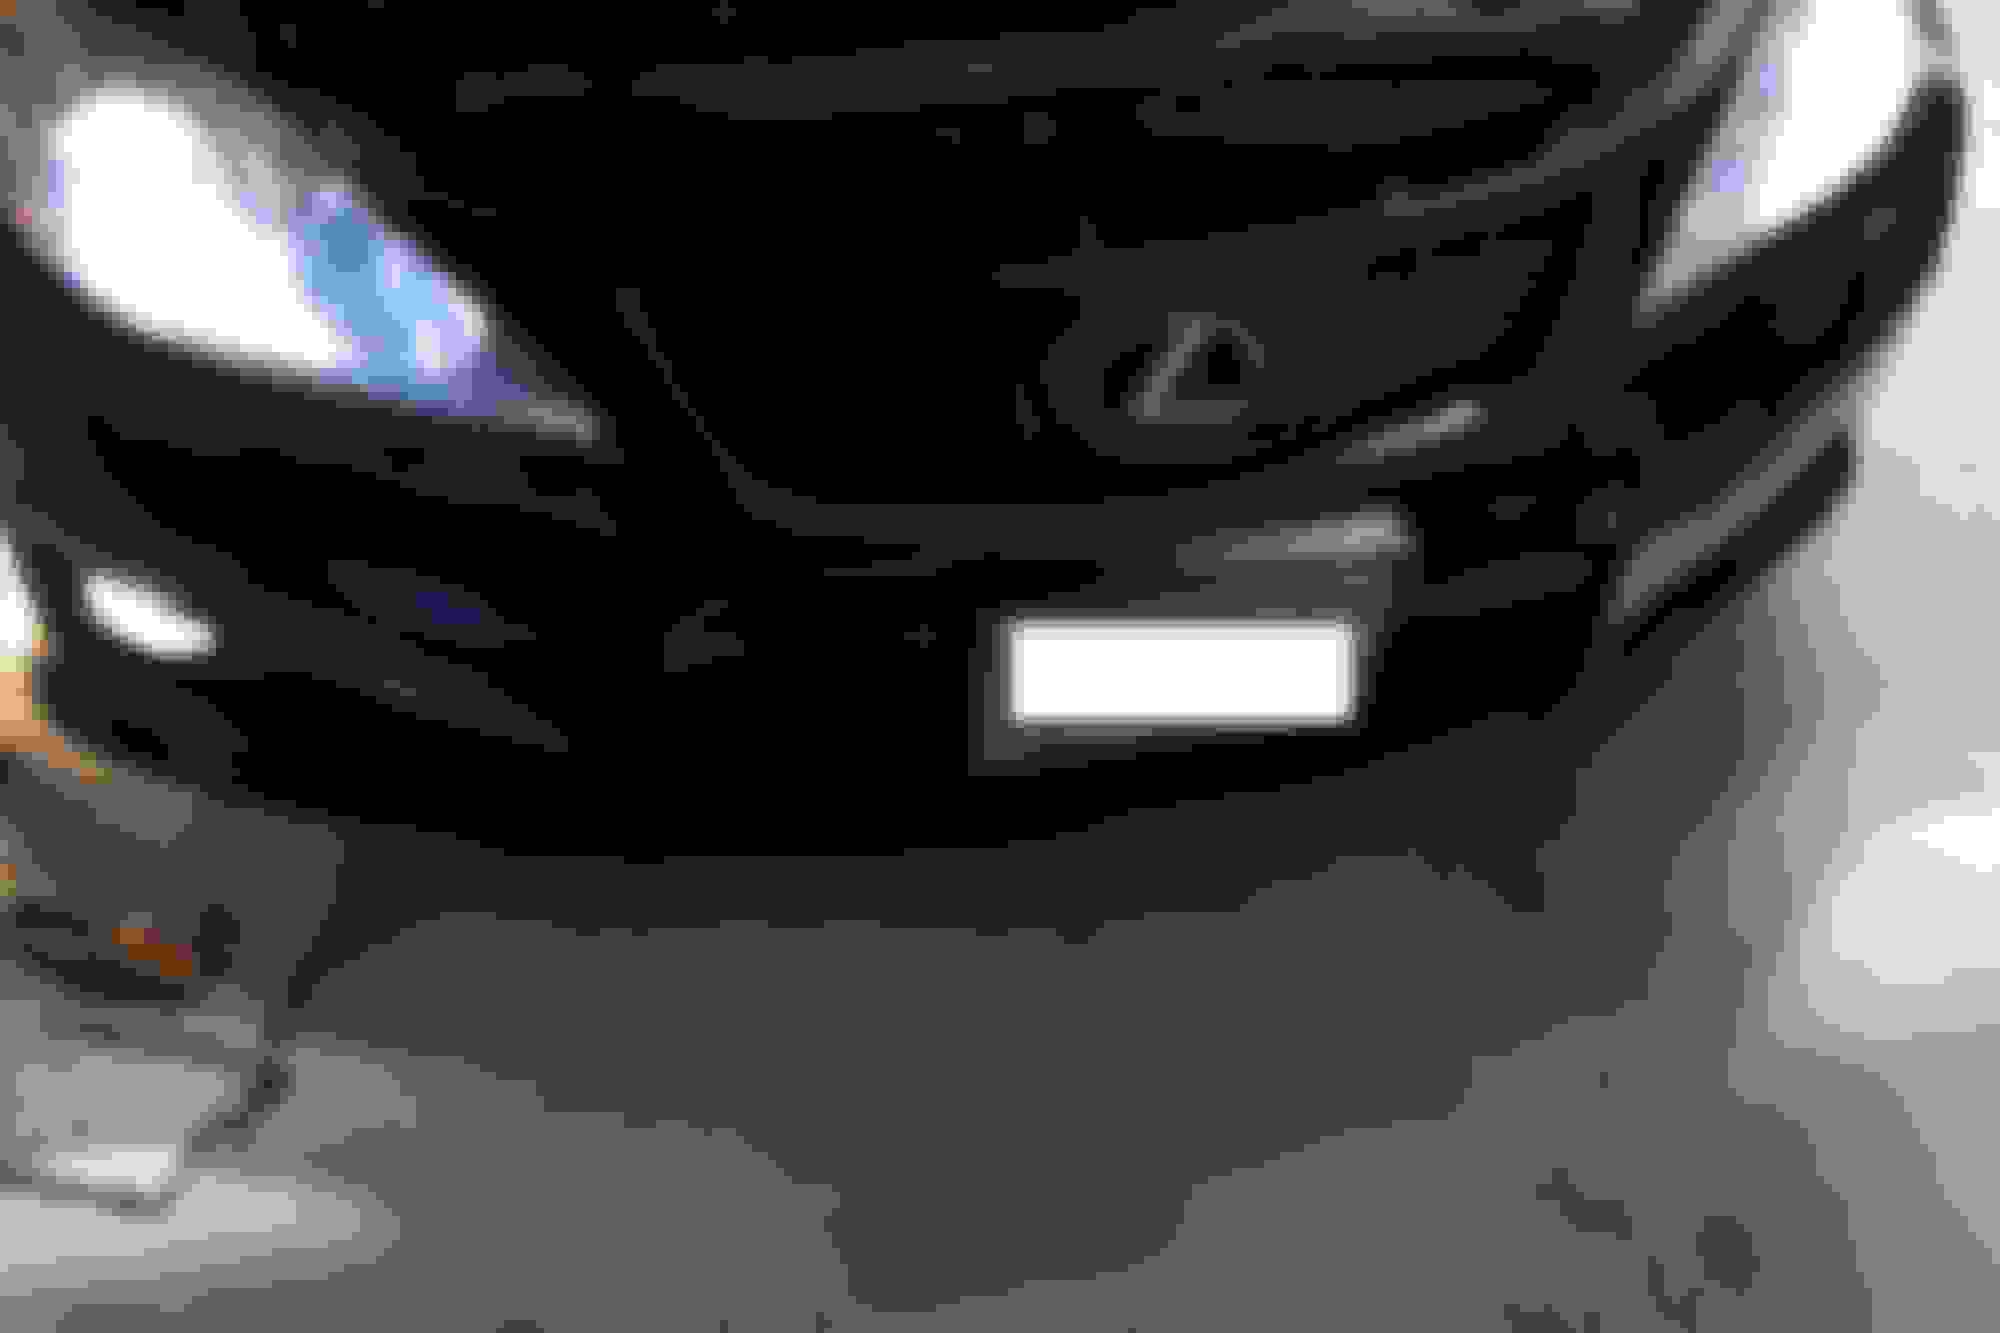
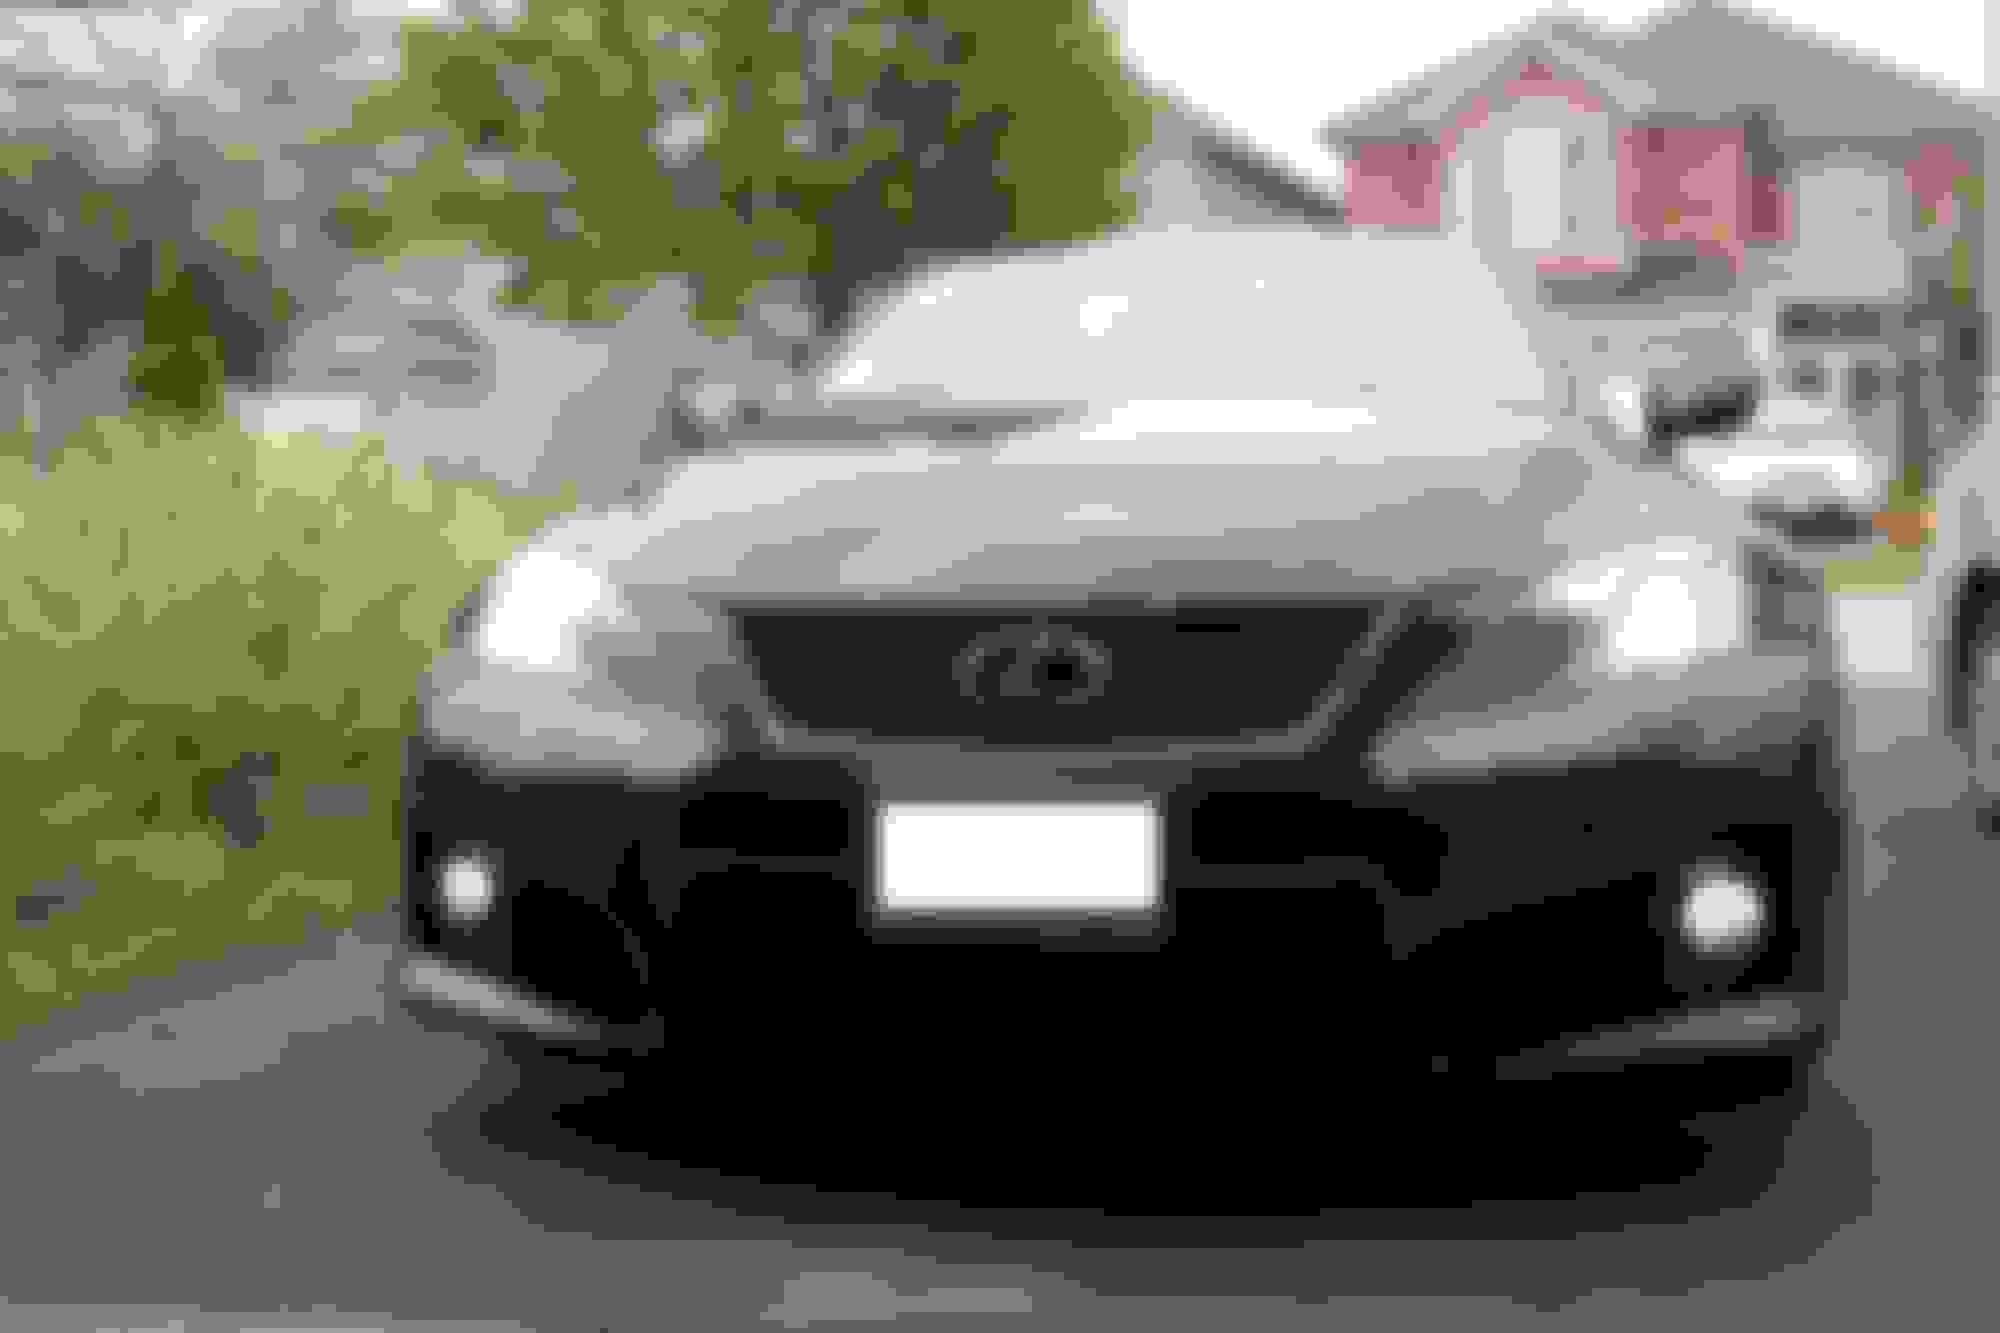
Here is a picture once the LED housing is back in. There is a small gap between the LED housing and the fog light opening. It does not sit flush to the plastic opening.
You can see the small gap in the picture.
9) Ensure the lights work and the housing is secured.
10) Repeats steps 3 in reverse and the liner and bumper should be reconnected with all tabs in.
11) Repeats all steps for opposite side as they are identical.
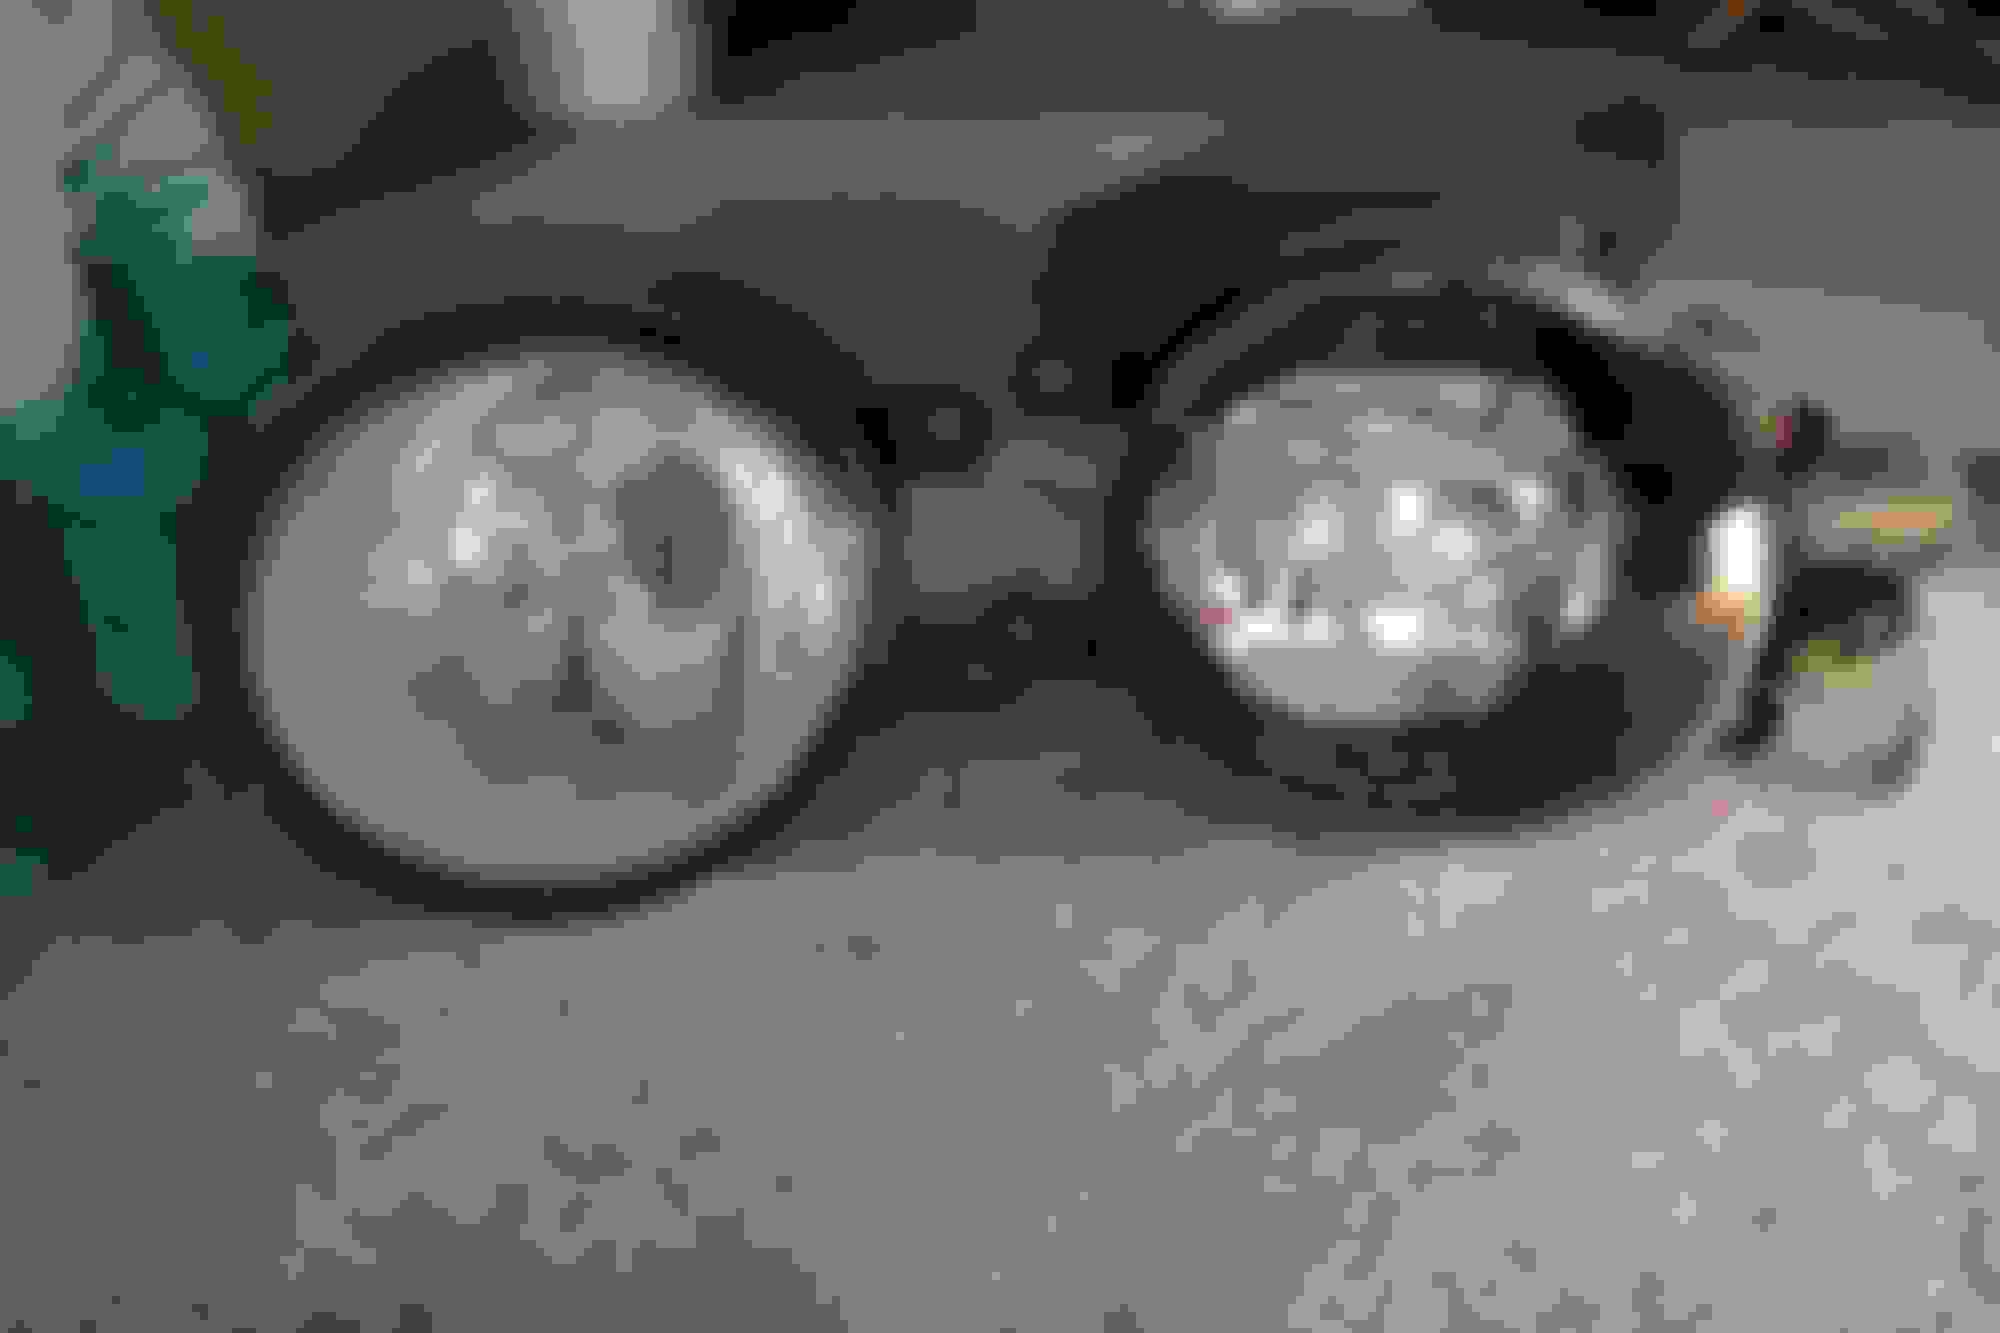
Some comparisons of the LED housing to the OEM one.
The OEM one is a bit bigger (longer in height) and the front plastic sits higher on the inner edge, so the clear plastic sits flush on the bumper opening.
The LED housing tabs are also a bit wider and sits a bit higher.
The fog lights although don't sit perfectly flush but they still fit great.
The lights have a define cut off. i'll get some pics of the cut off later.
Great write up! I found out the hard way about trimming the tabs for proper fit. It was allot of trial & error-trim the tabs, test fit, again & again. Like the OP said the fit is not perfect but close. A bit extreme, but if you took off the bumper I'm sure you could get the fitment spot on.
A flush fit can probably be achieved if the front bumper is actually removed since you'd be able to see exactly what you're working with. I'd get frustrated anyways with my arm through the fender liner not being able to actually see anything.
I recently replaced my front bumper and kind of wish I grabbed a set of these fogs to work with while it was off. I'm not going through the trouble of removing it again though unless I ever actually update the headlights.
I have a Beltronics laser shifter/radar unit yet to be installed. I need to remove the front bumper to install the shifters. That's when I'll finish the LED fogs.
Spacers would push the housing even further back. its not the spacing . When the tab that has the screw going through it sits flush onto the bumper, the other side won't fit flush . Also , the tabs stuck out too much and u won't be able to get it all in. So if you don't shave it, it won't fit at all unless you modify the bumper .
Took me some time to test fit as Rickna mentioned. took me 2.5h or so.
I got mine to sit pretty flush. Instead if putting the tabs in the actual slots, put it in front of the slots and it will push the housing closer to the front making a more flush appearance. I can take a picture if needed.
I got mine to sit pretty flush. Instead if putting the tabs in the actual slots, put it in front of the slots and it will push the housing closer to the front making a more flush appearance. I can take a picture if needed.

 08-24-14, 09:15 PM