When you click on links to various merchants on this site and make a purchase, this can result in this site earning a commission. Affiliate programs and affiliations include, but are not limited to, the eBay Partner Network.
Ive seen people throw steel wool in them as well, guess any of the cheap fixes are worth a shot. For the above one at $95 each, it would make more sense to go with the proven O2 conditioner from Sikky ($224.99) or PPE ($130.00 shipped)
For now I am ok with clearing the codes every few weeks, seeing that I can do it while driving.
Sikkys are $120 shipped unless they changed pricing from a month ago
To update this post, the codes kept on coming back with the O2 spacers, so I ended up buying the conditioners and PPE.. $130 shipped in the US vs. $220 from Sikky.
No codes and I am a happy camper. (Got a little scared soldering into the ECU harness.. but didnt take long)
Very odd. Ive emailed twice from different accounts using different stories and both were the same price.(One saying I bought used headers that didnt come with the Sim, one just asked about buying) I asked about the $1XX price and was told all of their prices recently went up. Ah well. 130 shipped vs 110 is pretty close.
Very odd. Ive emailed twice from different accounts using different stories and both were the same price.(One saying I bought used headers that didnt come with the Sim, one just asked about buying) I asked about the $1XX price and was told all of their prices recently went up. Ah well. 130 shipped vs 110 is pretty close.
They must have noticed this thread and others buying just the sim made them think why? Well maybe because there has been speculation that deleting primary cats will give the same amount of power as SIKKY or PPE. Just my .02 cents. so up goes the prices on something that's a bit higher in demand for the F.
They must have noticed this thread and others buying just the sim made them think why? Well maybe because there has been speculation that deleting primary cats will give the same amount of power as SIKKY or PPE. Just my .02 cents. so up goes the prices on something that's a bit higher in demand for the F.
Nice guess but not accurate. We recently spoke with them about this after having a customer reach out to us to buy one. He didn't buy Sikky headers but wanted to replace his ppe sim with the Sikky one. We too asked why the price was higher and this is what was said.
"we are not in the business of making and selling sims, we developed this micro processor specifically for use with our headers and it was never intended to be sold on its own. If people would like to buy this unit outside of the headers they are priced accordingly."
Also, having first hand experience gutting cats does not produce the same power. We did this for a customer over a year ago. It does have an improvement over non gutted or stock headers for obvious reasons but I would have to say roughly half the increase from the full replacement header if memory serves me correct. I would seriously doubt this has had nothing to do with the price change.
So, hope this helps shed some light on things. The Sikky micro processor is hands down the best sim out there IMHO so I know which one we will get if we need one in the future regardless of price. The good news is you have options and can get what works for you and fits your budget.
Hey guys, I came up with another option to deal with the O2 sensors after CAT delete.
Materials:
2x Model 42002 spark plug non-foulers
Leftover 'honeycomb' from CAT delete Tools:
Dremel
Lathe (if you have the resources)
Drill
1/2" drill bit
O2 sensor socket
Small adjustable wrench (not sure the exact wrench size)
Ruler/caliper
PPE (safety first!)
Other tools as necessary
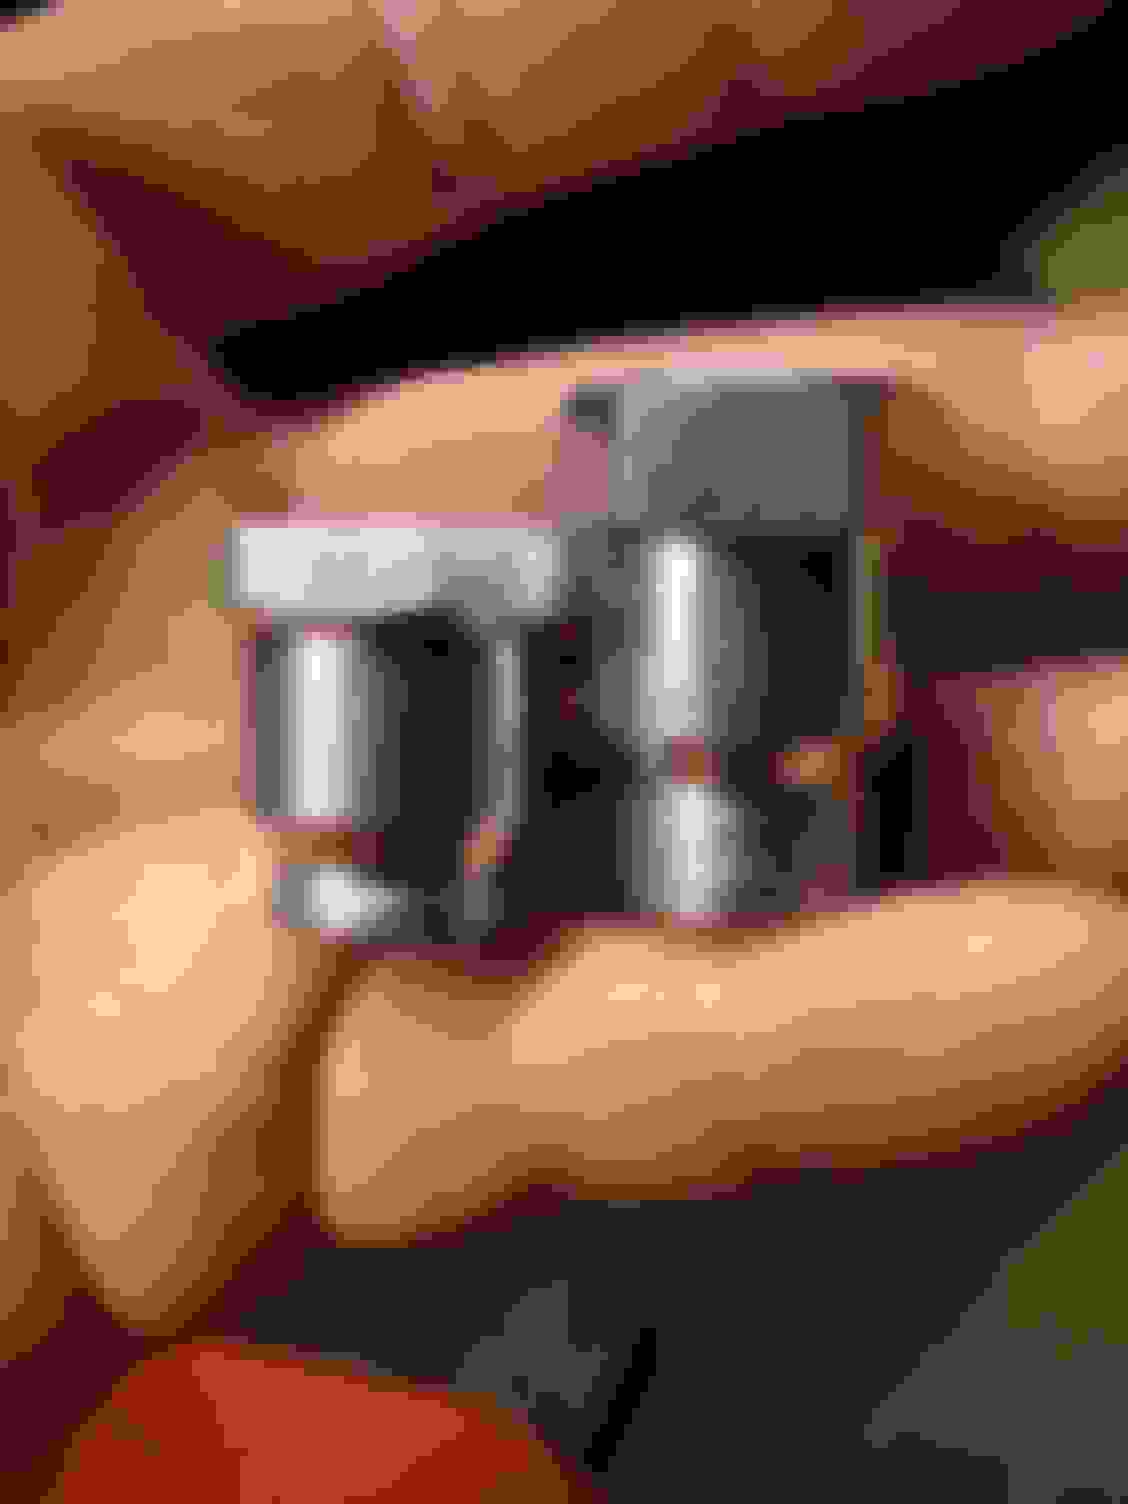
I used two spark plug non-foulers on each side with a cylinder of CAT 'honeycomb' in the first spark plug non-fouler. Due to clearance issues, I had to use a lathe and remove about 1/4" off of the second non-fouler for each side. The leftover 'honeycomb' from the CAT delete was shaped with a Dremel to fit tight in the non-modified non-fouler that screws into the exhaust system. The second non-fouler on each side was drilled out with a 1/2" bit for O2 sensor clearance. I shaved 0.1" off of the hex head and 0.15 off of the threads. I found that there are way too many threads to be able to screw the O2 sensor into the second non-fouler.....wiring gets crazy-twisted.
So far so good with tricking the ECU.....drove soft and hard for 25 miles or so over 40 minutes....no check engine or VSC light. More testing to come depending on weather.
'Honeycomb' in non-fouler.
Shaved and non-modified.
Assembly: screw O2 into second, first into exhaust, then screw together.
Spark plug non-foulers used.
Assembly together.
Thanks for the thread guys.....helped me out with my Borla CAT-back system!
Hmmm...you shouldn't have any issues with a Borla Cat back exhaust....You probably have a leaky fitting or something of that nature.
So what you're trying to say is that with a CAT-back exhaust and CAT removal there shouldn't be any issues with the O2 sensor after the CATs? Everything was checked for leaks upon test drive after installed, btw.
So what you're trying to say is that with a CAT-back exhaust and CAT removal there shouldn't be any issues with the O2 sensor after the CATs? Everything was checked for leaks upon test drive after installed, btw.
Great work..!! And I applaud you on the DIY post & info..
The most important part of reinstalling any O2 or A/F sensor is too never allow the wiring to be wound up on the reinstall.. It creates a problem and eventual failure.
Simple solution is to counter twist the exact amount of turns before threading in, to ensure the wires are perfectly straight once installed..
On the stock sensor and thread it's approx 2 & 3/4 counter clockwise turns from a perfectly straight 4 wires..
Joe Z
Thanks Joe Z.
I tried untwisting the wires before screwing it in, but apparently not enough. I will take another stab at it and maybe make some adjustments. Thanks for the catch!

 10-01-14, 10:57 AM