IS-F Spark plug change- photos test
 07-01-12, 08:55 PM
#1
Driver School Candidate
Thread Starter

Inspired by caymandive's DIY on the brakes ( https://www.clublexus.com/forums/is-...ke-rotors.html ), I figured I would document with photos this part of the 60k service. I hope it's helpful. Please feel free to add helpful info about this job.
Things to note. Be sure to tighten the plugs to the correct torque spec. of 21 Nm (214 kgf-cm,15ft-lbf). Thank you staman. Also, you will be removing a lot of components for access to the plugs. Since the engine is completely cool when doing spark plugs, just stuff a towel down between the apron and the engine below the screw/object you are removing. If you drop it, no big deal. Move plug and coil at a time. Starting and finishing each one as you go.
The tools I needed.
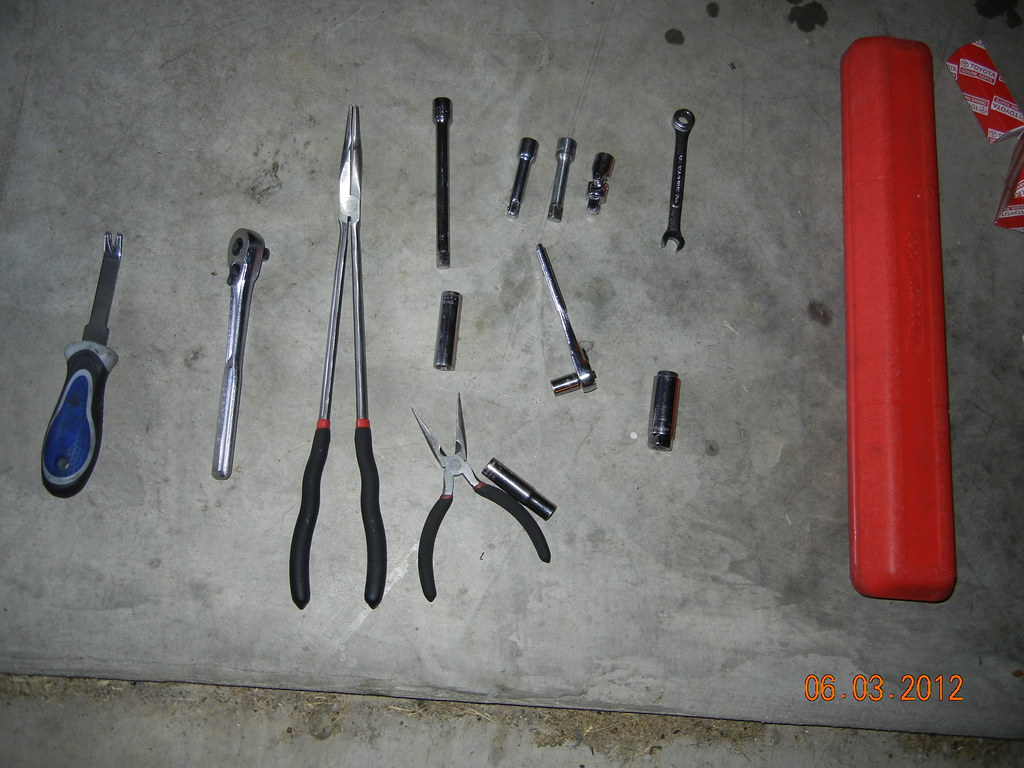
I bought the OE Denso spark plugs and be sure to get a few engine bay cover clips. You will probably have a few break or already broken.
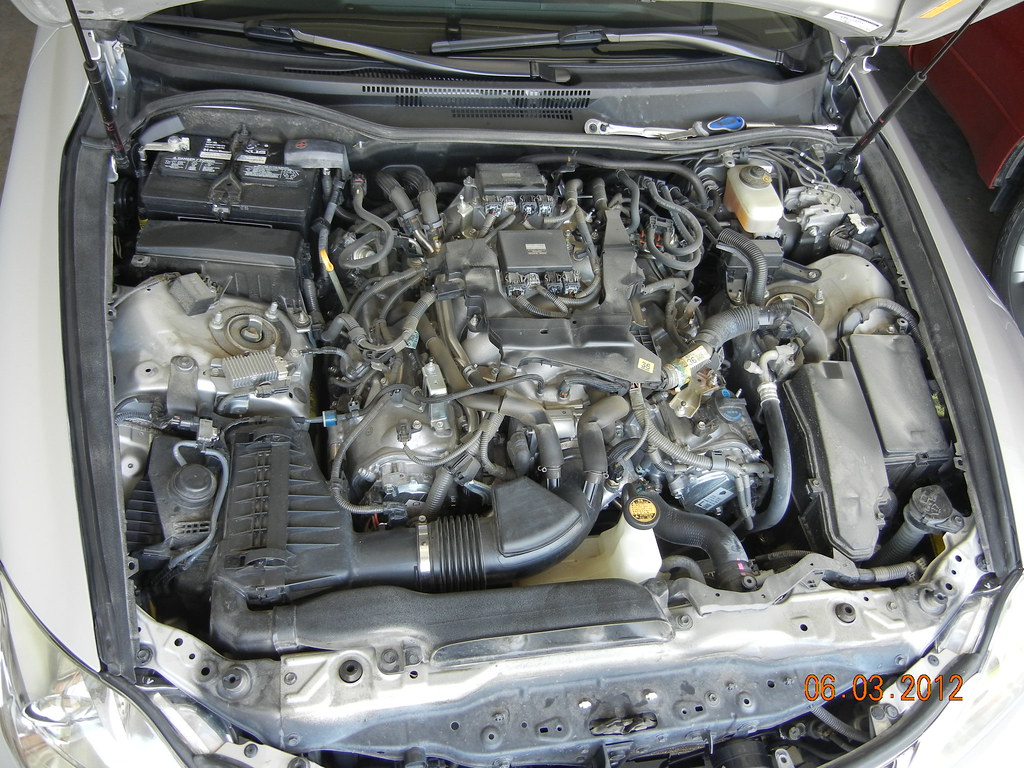
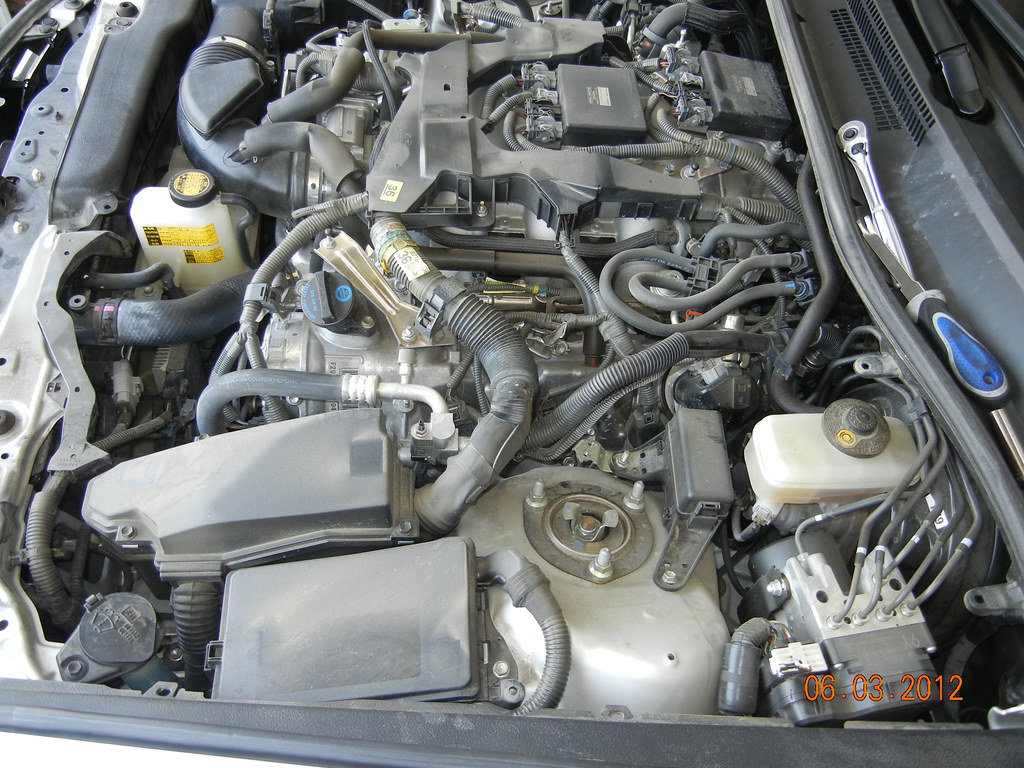
Engine with covers and without
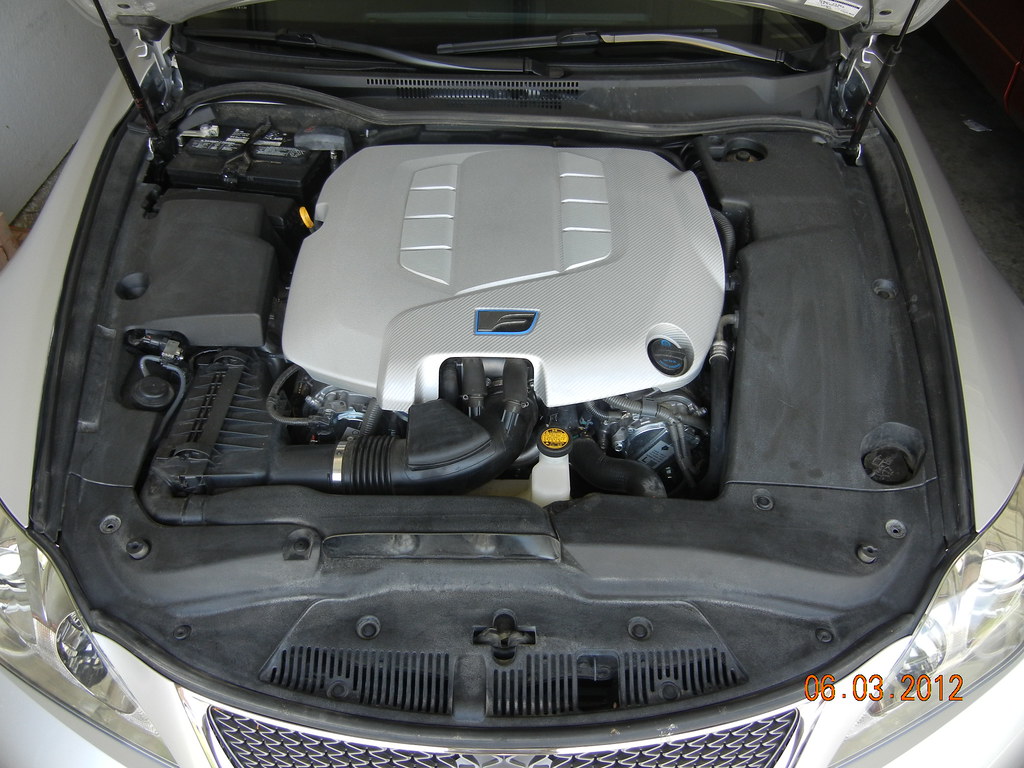
Once you have all the clips out the two outer covers have a 12mm plastic "nut' on the middle inside that you have to unscrew to finish getting them out.

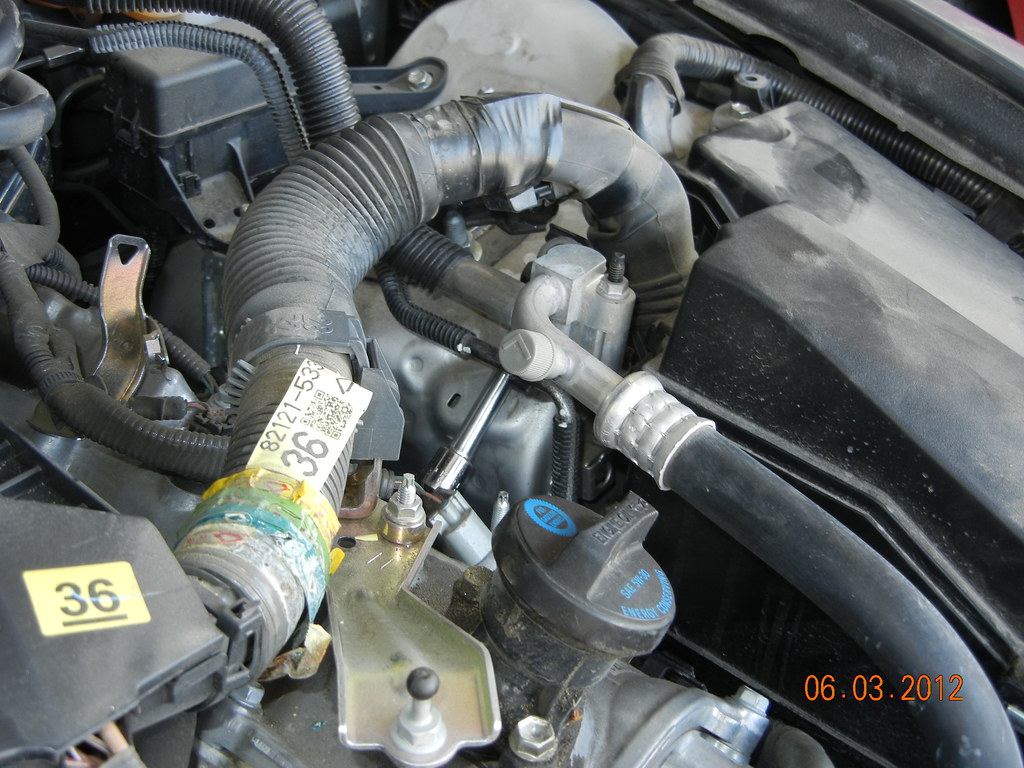
I went at the passenger side first, working from front to back.
The first one was much like all the others. You are moving components out of your way throughout the job for each cylinder. This one was a small heat sinked control/computer unit that I just moved enough to get access. I didn't have a long enough extension for most of the cylinders so I had to add a couple together. If you have a 12" ext. and a swivel, you are in good shape.
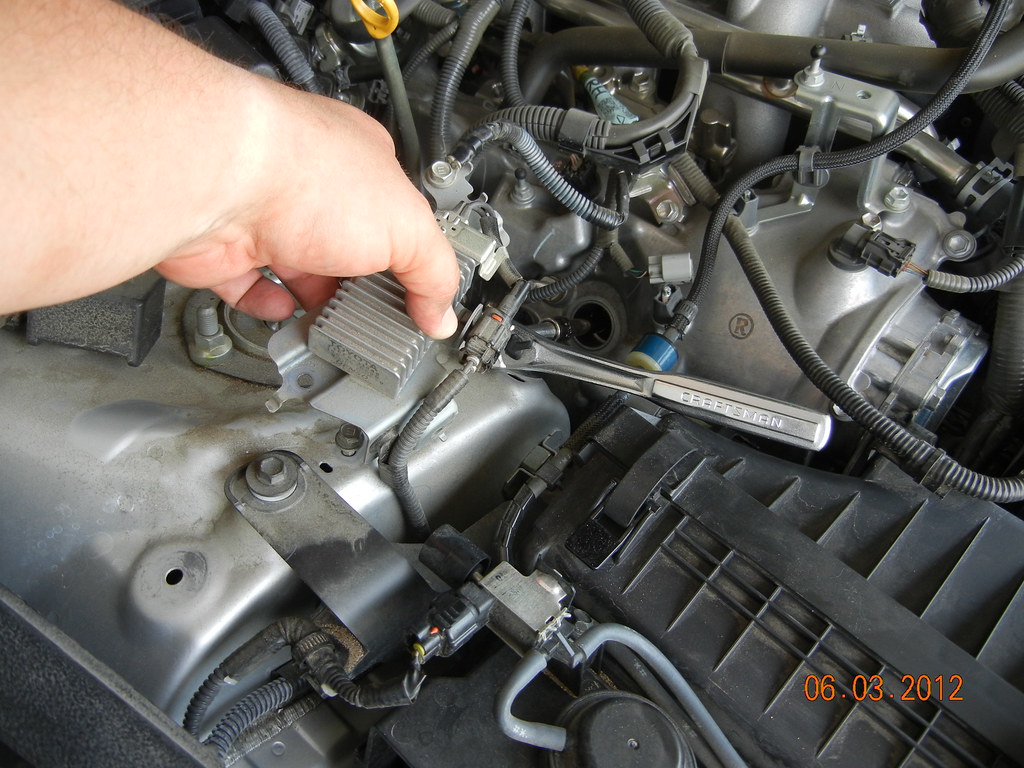
A 5/8" or 16mm spark plug socket was used. But do yourself a favor and skip the rubber tube insert. I find it doesn't offer that much help with removing the spark plug. And you end up messing with removing it all the time. The plugs came out and went in fine without the tube. Just move slow and smooth to keep from dropping things.

The second plug (sorry, I don't know the cylinder numbers) was the pass. side from front. It required the curved needle nose pliers to get behind the bracket on the strut tower and unclip that area of wiring harness. I took the oil dipstick out and carefully moved the harness around the dipstick tube, keeping it out of the way.
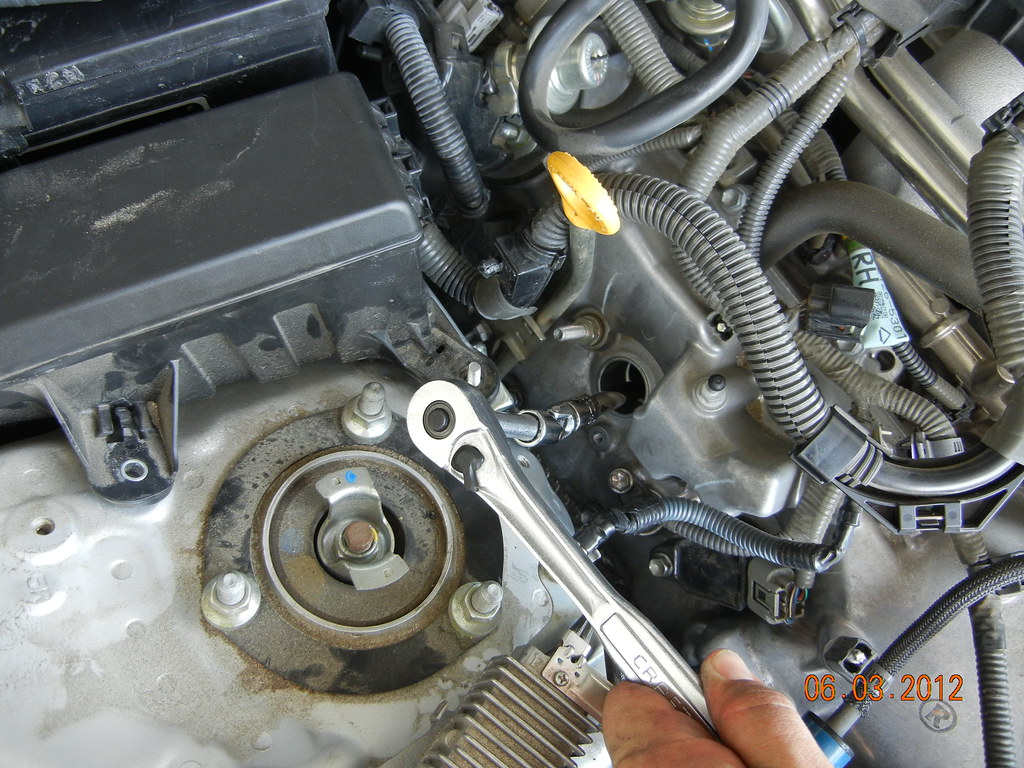
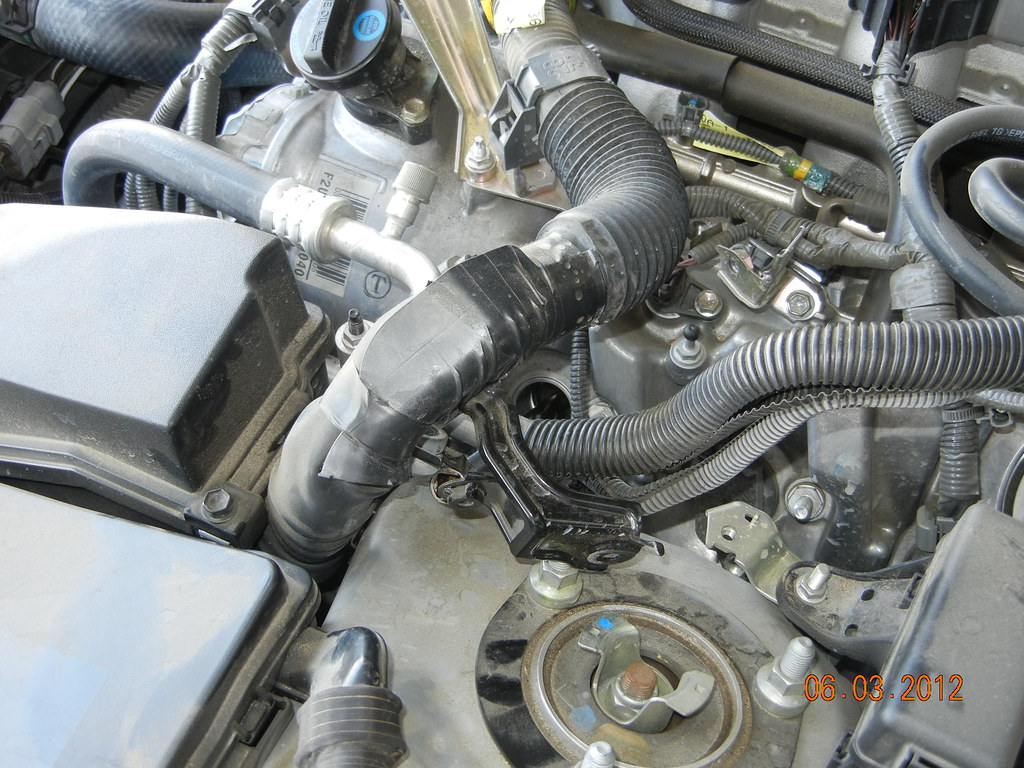
In trying to keep a good pace I decided at this point to move to the driver's side front. The 3rd in on the pass. side looks daunting. (and is). The first one on the driver's side requires and A/C bracket to be removed. That allows just enough movement to get access to the plug.
The second one in on the driver's side needed the small relay/fuse box removed and set aside. I removed it with it's bracket attached for more room. It will need to stay off for the next 2 plugs as well. I left the A/C lines loose too.

The 3rd one was easy
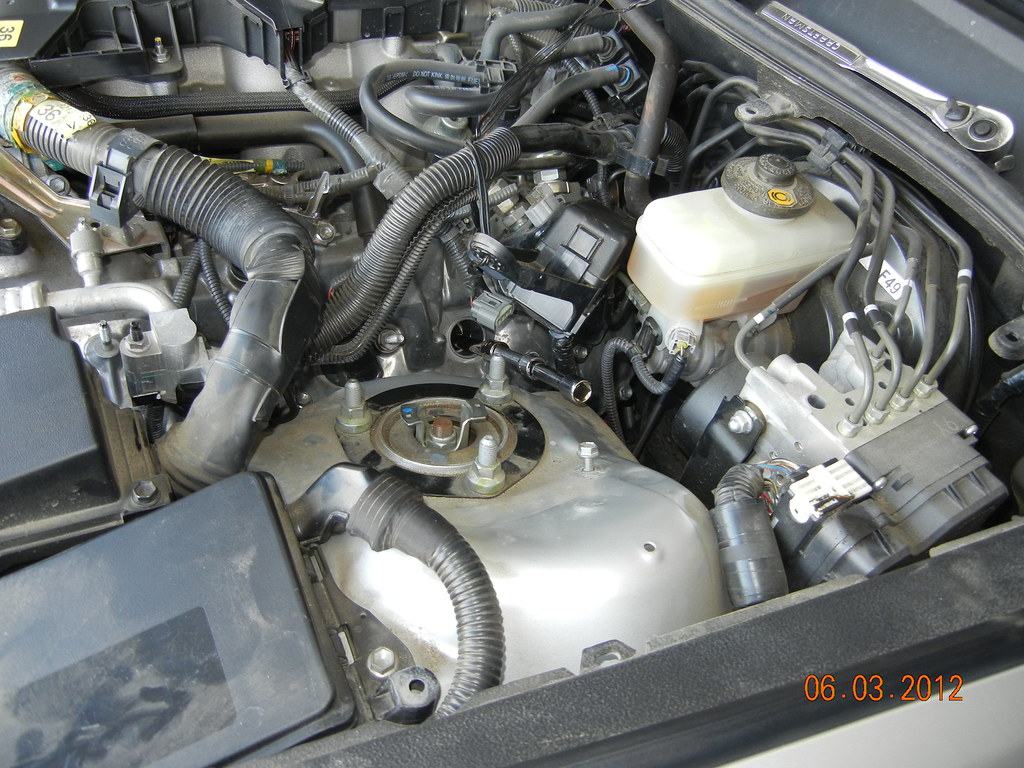
Now reattach the A/C line with bracket. The fit for the 4th plug on driver's side rear is tight but I was able to get in under the master cylinder lines and remove the plug. Once changed reattach the fuse/relay box.
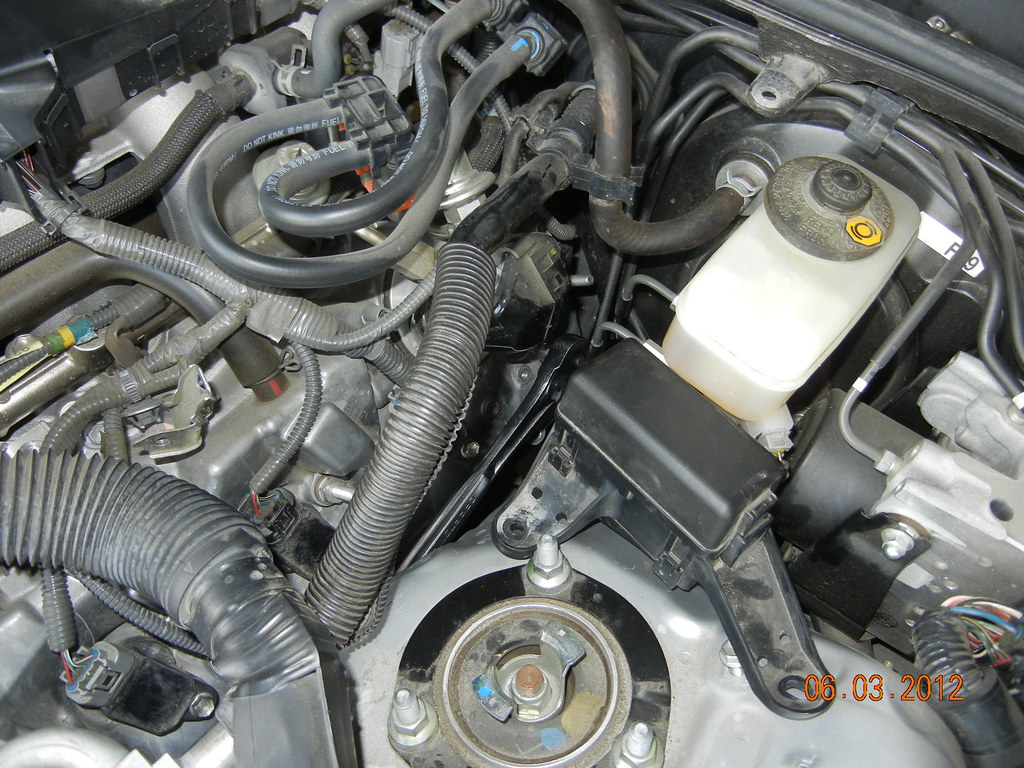
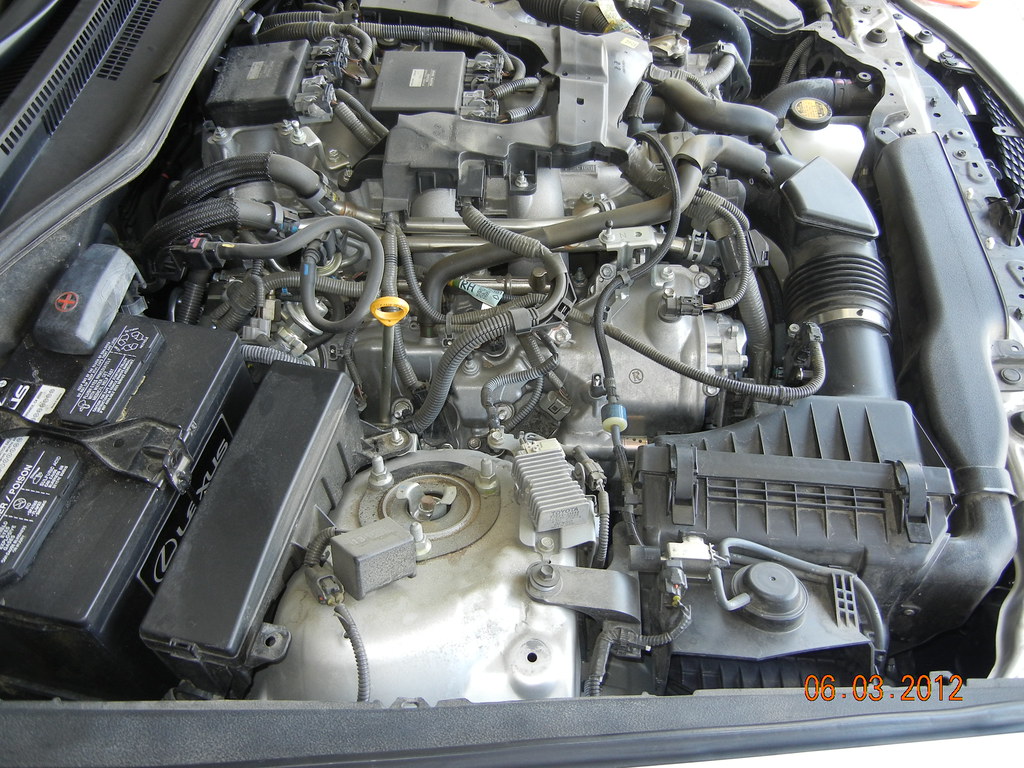
Going back to the passenger side 3rd from front, remove the battery. That larger fuse box needs to be loosened. Remove the little black box on top of the strut tower. Remove the bracket holding the fuse box on the front of the strut tower. Move the wiring harness back to the other side of the dipstick tube. The fuse box's rear lower leg is attached underneath the battery's tray. To remove the battery's tray you have to disconnect the ECM that is under it. I didn't want to do that so I GENTLY set the fuse box back just enough to access the 3rd plug.
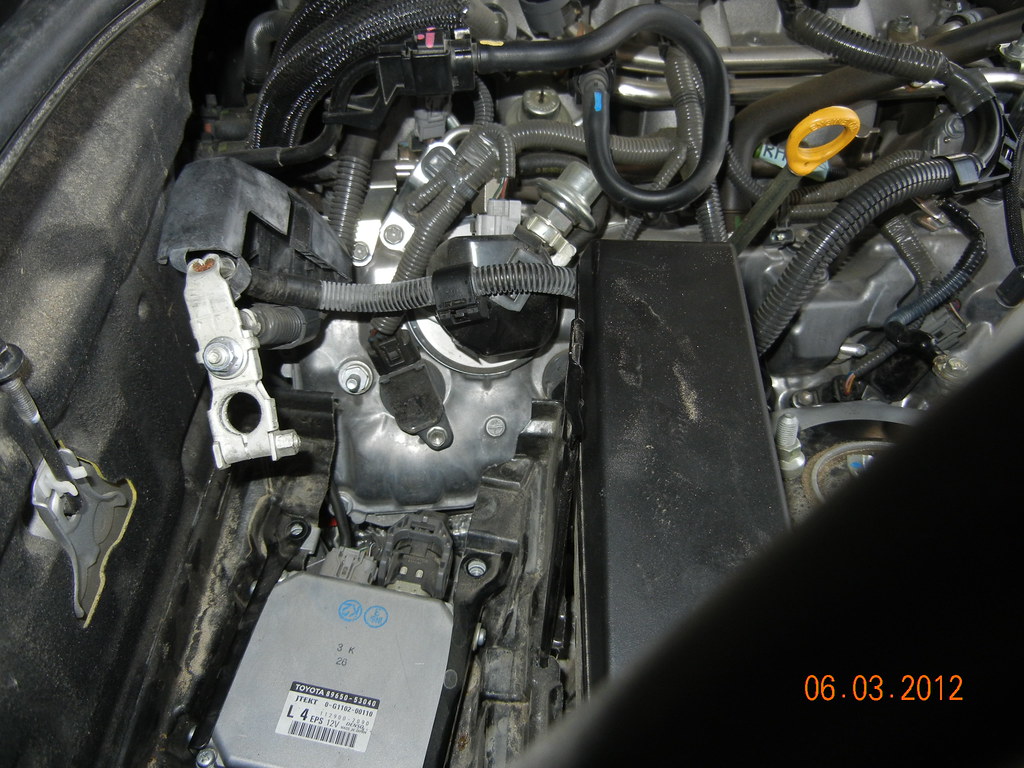
Finally the last plug. It is the easiest of them all. Notice the ECM's location in the photo. Once the last plug is done reinstall the battery and reattach the fuse box with the other components. Then double check all the components that were removed and reinstall covers.
Things to note. Be sure to tighten the plugs to the correct torque spec. of 21 Nm (214 kgf-cm,15ft-lbf). Thank you staman. Also, you will be removing a lot of components for access to the plugs. Since the engine is completely cool when doing spark plugs, just stuff a towel down between the apron and the engine below the screw/object you are removing. If you drop it, no big deal. Move plug and coil at a time. Starting and finishing each one as you go.
The tools I needed.
I bought the OE Denso spark plugs and be sure to get a few engine bay cover clips. You will probably have a few break or already broken.
Engine with covers and without
Once you have all the clips out the two outer covers have a 12mm plastic "nut' on the middle inside that you have to unscrew to finish getting them out.
I went at the passenger side first, working from front to back.
The first one was much like all the others. You are moving components out of your way throughout the job for each cylinder. This one was a small heat sinked control/computer unit that I just moved enough to get access. I didn't have a long enough extension for most of the cylinders so I had to add a couple together. If you have a 12" ext. and a swivel, you are in good shape.
A 5/8" or 16mm spark plug socket was used. But do yourself a favor and skip the rubber tube insert. I find it doesn't offer that much help with removing the spark plug. And you end up messing with removing it all the time. The plugs came out and went in fine without the tube. Just move slow and smooth to keep from dropping things.
The second plug (sorry, I don't know the cylinder numbers) was the pass. side from front. It required the curved needle nose pliers to get behind the bracket on the strut tower and unclip that area of wiring harness. I took the oil dipstick out and carefully moved the harness around the dipstick tube, keeping it out of the way.
In trying to keep a good pace I decided at this point to move to the driver's side front. The 3rd in on the pass. side looks daunting. (and is). The first one on the driver's side requires and A/C bracket to be removed. That allows just enough movement to get access to the plug.
The second one in on the driver's side needed the small relay/fuse box removed and set aside. I removed it with it's bracket attached for more room. It will need to stay off for the next 2 plugs as well. I left the A/C lines loose too.
The 3rd one was easy
Now reattach the A/C line with bracket. The fit for the 4th plug on driver's side rear is tight but I was able to get in under the master cylinder lines and remove the plug. Once changed reattach the fuse/relay box.
Going back to the passenger side 3rd from front, remove the battery. That larger fuse box needs to be loosened. Remove the little black box on top of the strut tower. Remove the bracket holding the fuse box on the front of the strut tower. Move the wiring harness back to the other side of the dipstick tube. The fuse box's rear lower leg is attached underneath the battery's tray. To remove the battery's tray you have to disconnect the ECM that is under it. I didn't want to do that so I GENTLY set the fuse box back just enough to access the 3rd plug.
Finally the last plug. It is the easiest of them all. Notice the ECM's location in the photo. Once the last plug is done reinstall the battery and reattach the fuse box with the other components. Then double check all the components that were removed and reinstall covers.
Last edited by lobuxracer; 07-02-12 at 11:36 PM.

The following users liked this post:
Rossi (01-06-20)
 07-01-12, 09:46 PM
#4
Driver School Candidate
Thread Starter
Been too long since I was using this here internets. 
Any suggestions on a website that stores photos for free and then lets you link to them would be appreciated. I couldn't get it to work with flickr.com
Any suggestions on a website that stores photos for free and then lets you link to them would be appreciated. I couldn't get it to work with flickr.com
07-01-12, 10:01 PM
#6
Driver

Join Date: Aug 2011
Location: KS
Posts: 141
Likes: 0
Received 0 Likes
on
0 Posts
07-02-12, 11:37 PM
#7
Tech Info Resource

iTrader: (2)
Pics should be fixed now.
Trending Topics
07-03-12, 05:13 AM
#9
Driver School Candidate
Thread Starter
 07-08-12, 10:23 PM
#13
Driver School Candidate
Thread Starter
09-10-12, 09:24 PM
#14
Driver
iTrader: (1)

Join Date: Apr 2012
Location: Southern California
Posts: 128
Likes: 0
Received 0 Likes
on
0 Posts
Thanks for the thread. It helped. Just changed my plugs this weekend, and I had to remove exactly what you said. Not to hard and helped save money by doing it myself.
