
ISS Forged Track Exhaust Install and Video Clips
 02-18-11, 05:57 AM
#1
So I received my ISS Forged Track Exhaust this past Tuesday and went about installing it that night.
Took me a long 5 hours but that is mainly from having to craw out from under the car so many times due to only have about 14-16in of clearance under it with jack stands. The exhaust was however very easy to install though and looks absolutely amazing. The most difficult part of the exhaust install is removing the factory exhaust tip/air diffusers. Pretty sure it was expected your would remove the bumper to take these off but I didn't want to do that. If you have average size hands or smaller though and a ratchet wrench not socket you should be able to do it. Also make sure to get your self an exhaust hanger tool as some of the hangers are a *****. The muffler hangers are the worst but luckily since I had mine removed the new hangers were easy to get off. For doing it with jack stands I suggest bolting the two middle sections together first and then raising the back half up and hooking it into the exhaust hangers. then use your jack as a lift about placed in about the middle to light the exhaust into place so that way it is held there and you can easily connect the bolts.
I am hoping the including gaskets were to go between the first and second pipes of the exhaust and the connection to the factory header was to use the original factory gaskets. I hope this is right so I don't possibly have an exhaust leak. I don't have a check engine light so I don't think so but the exhaust is definitely louder than stock exhaust with the secondary cats and mufflers removed. There is definitely a good bit of drone between 1-2k rpm but I am hoping this is because its new and because the mufflers need to break in and should quiet up after a few hundred miles. I have had this experience with exhausts on other cars so I hope it will be the same here. If it doesn't tone down a little headers will definitely be out unless I switch to the street version mid pipe.
Well without any more waiting time for some pics and videos.
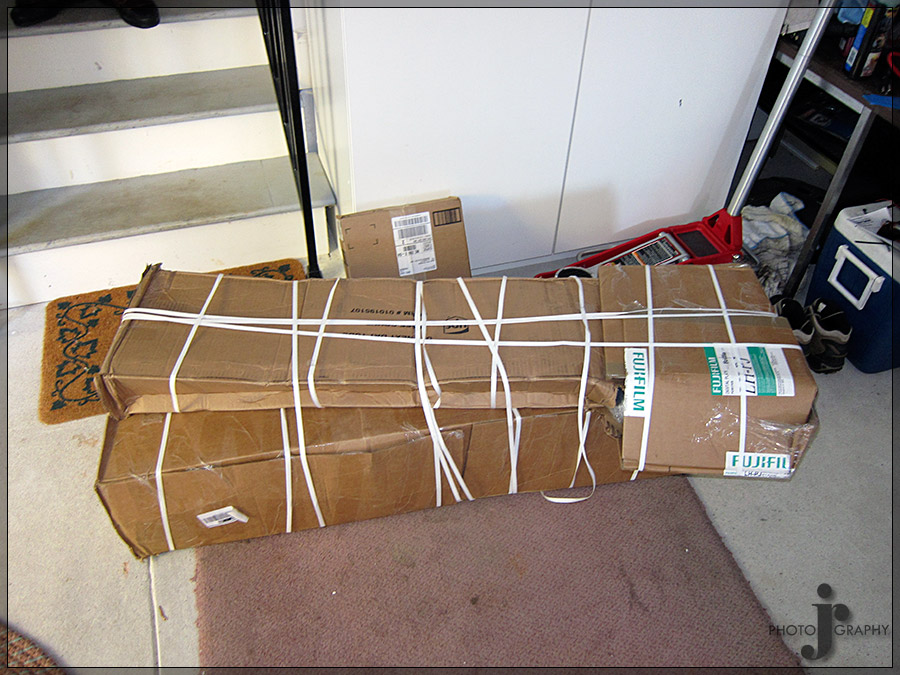
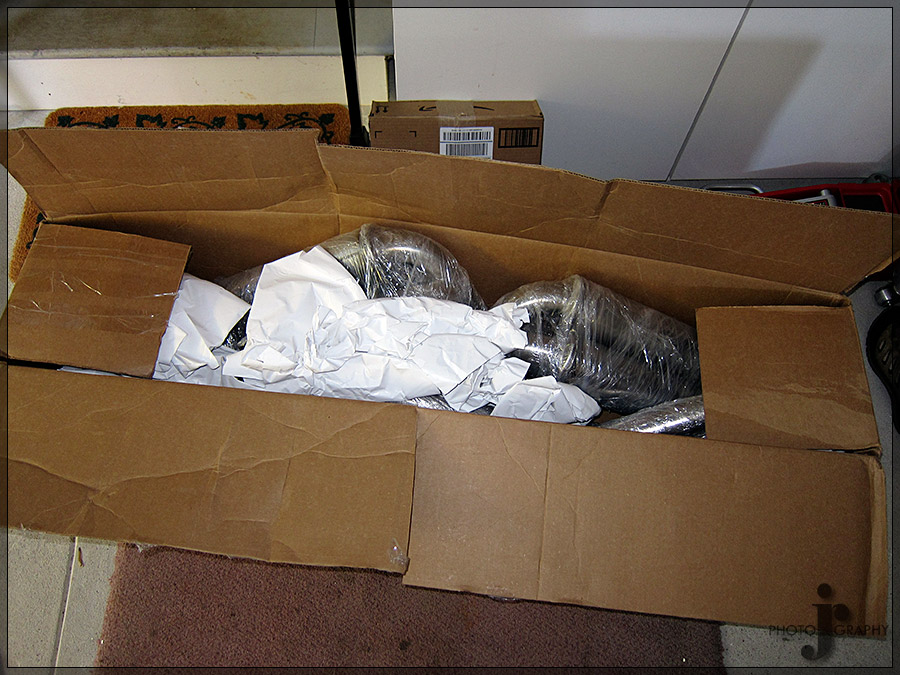
The packages and all the parts unpacked


Modified Factory Exhaust with 2nd Cat and Muffler Deletes

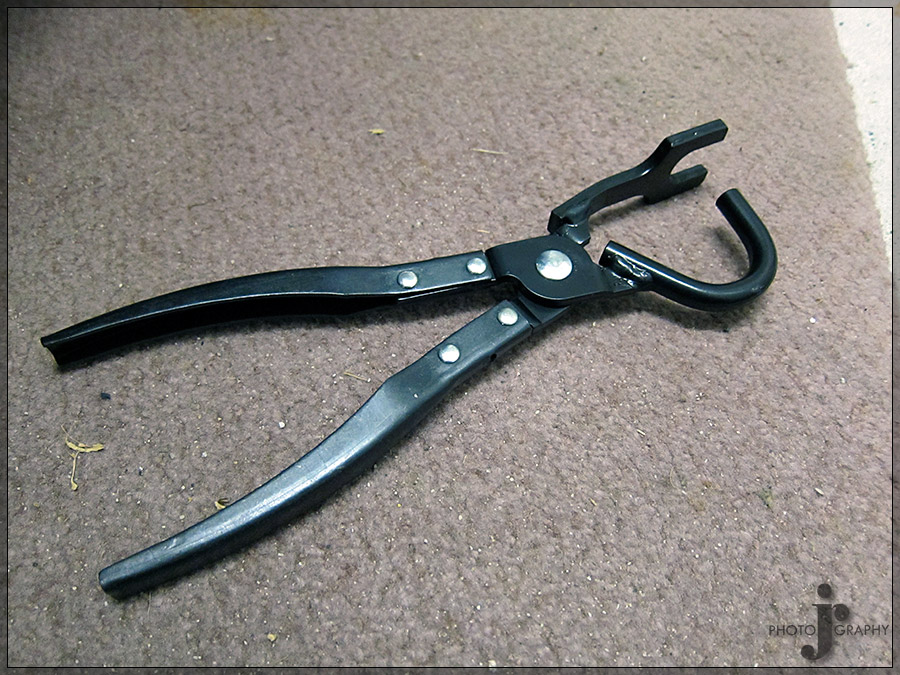
Essential exhaust hanger tool
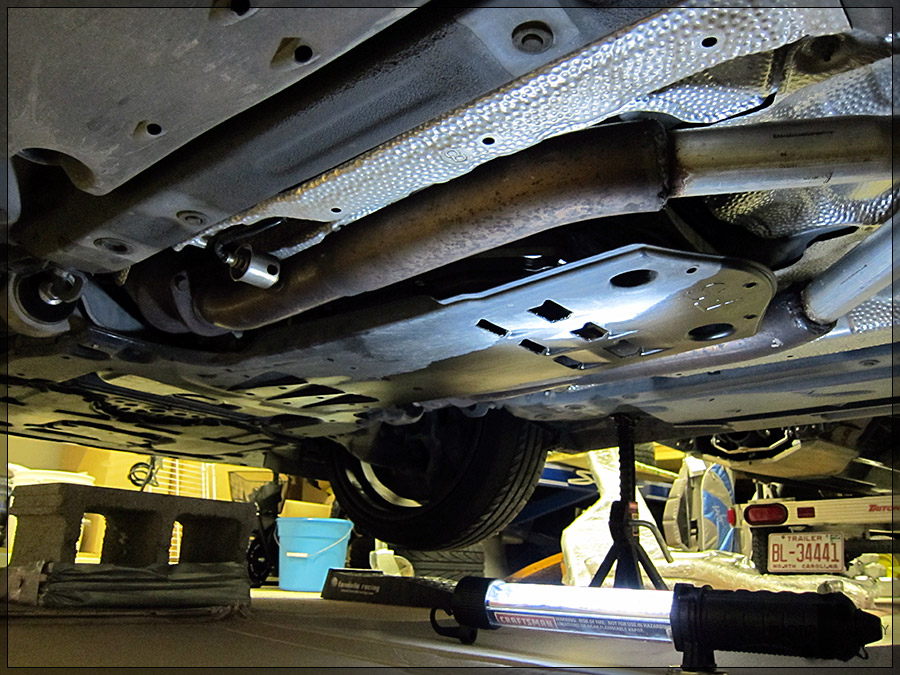
My work space for the evening

Removal begins

Unwrapped front and mid section
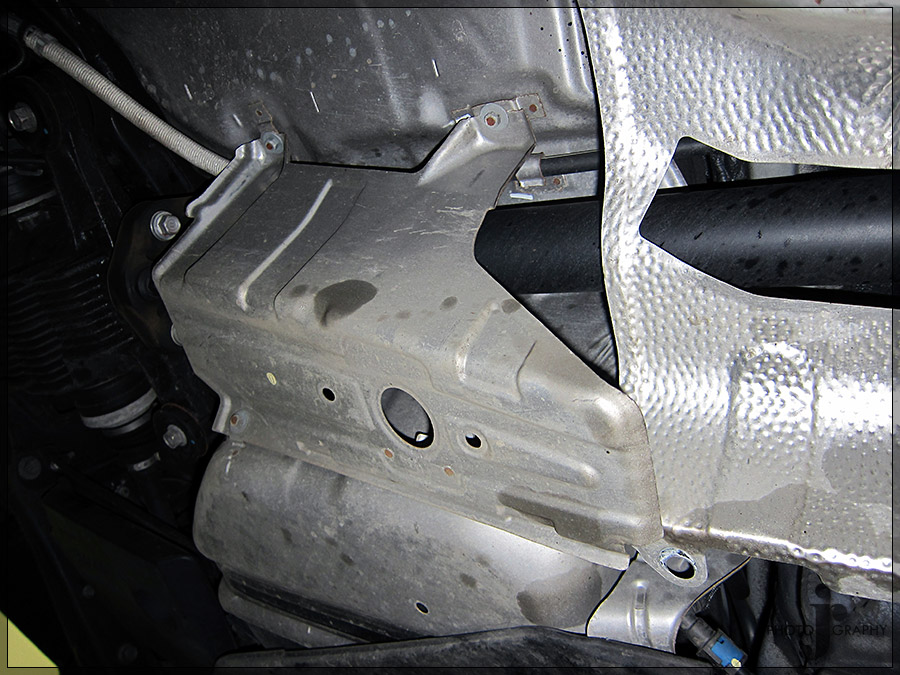
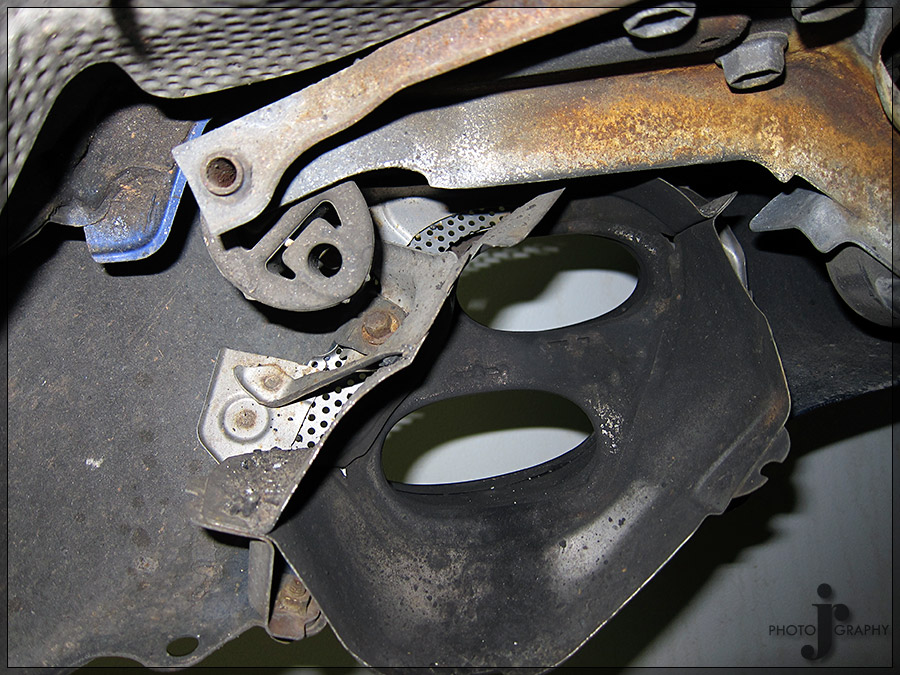
Heatshield piece that needs to be removed
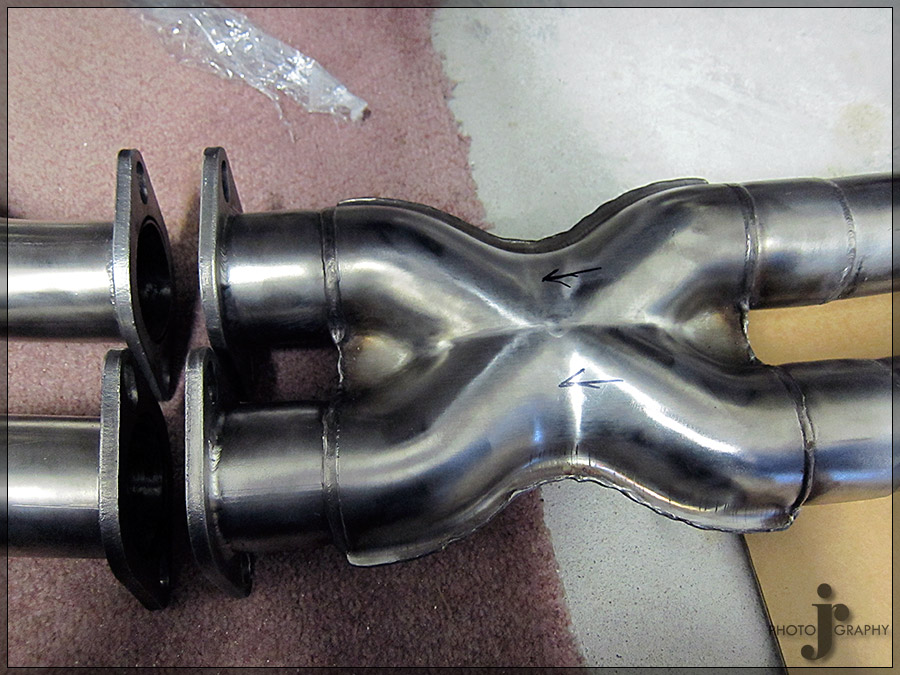
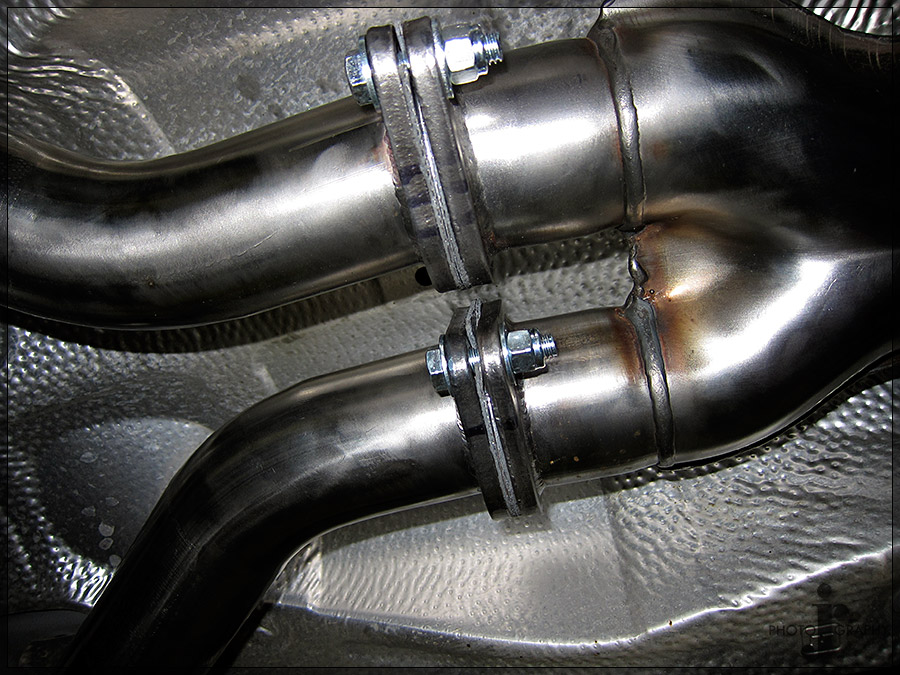
X-pipe close-up
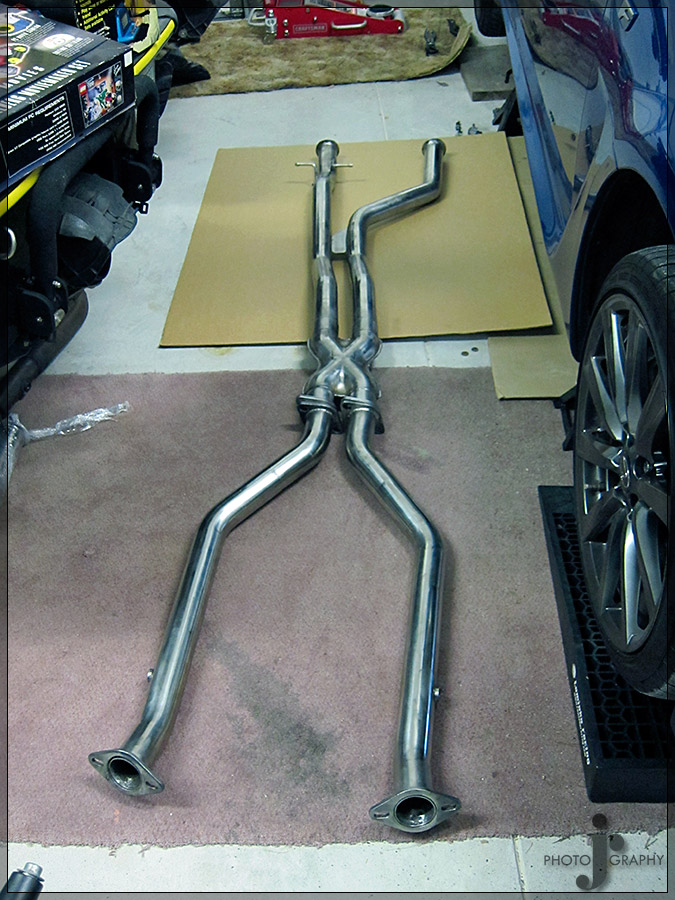
Front and mid section connected ahead of time. Only way I could really figure out how I was going to do it with jack stands. Also not sure how easy it would be to get to the one top bolt in the middle if it was installed in pieces on the car.

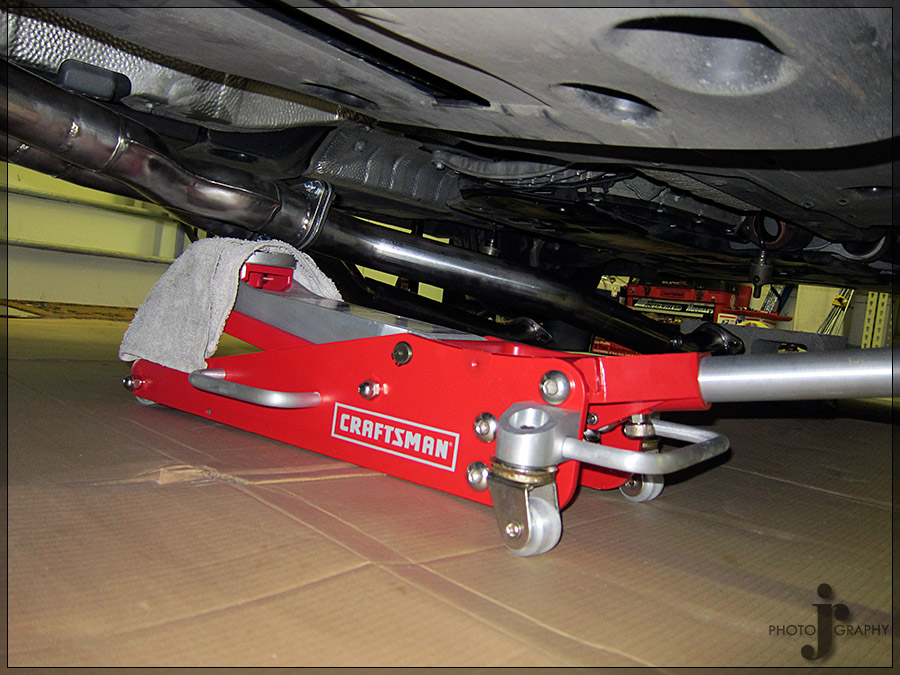
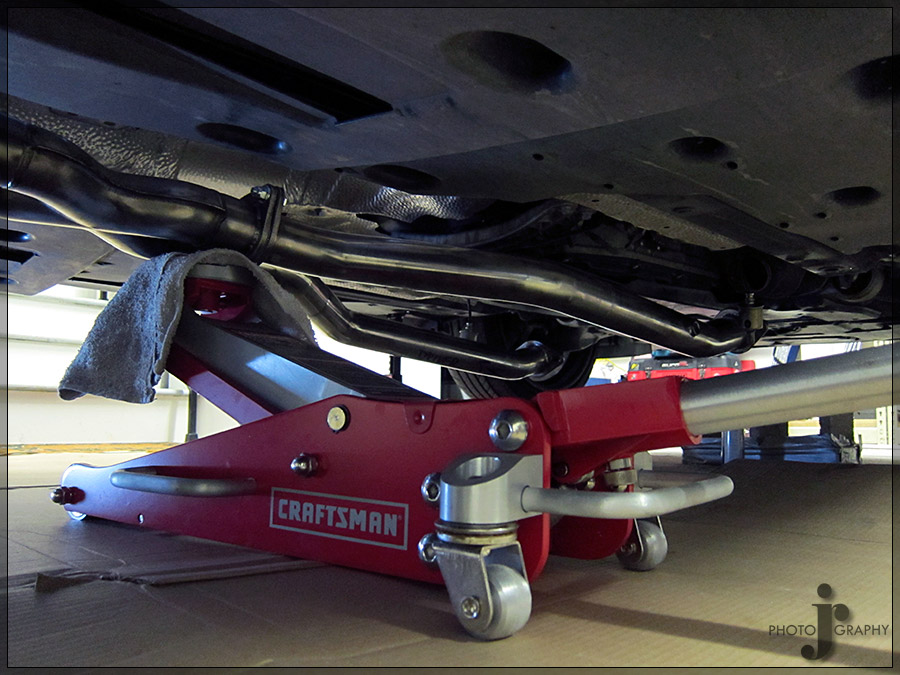
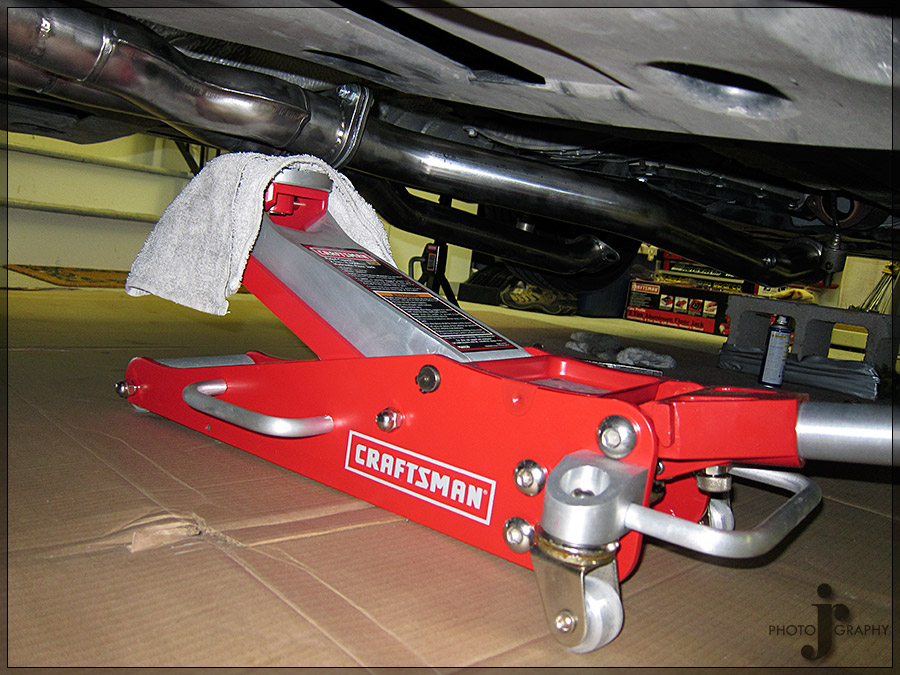
My method for installing with only one person. Actually worked even better than I had thought. Once the two pieces were bolted together I lifted the rear up and into the rubber hangers. Then raised the front into place with the jack. Also made it easy to put the bolts into place since I didn't have hold it at the same time.
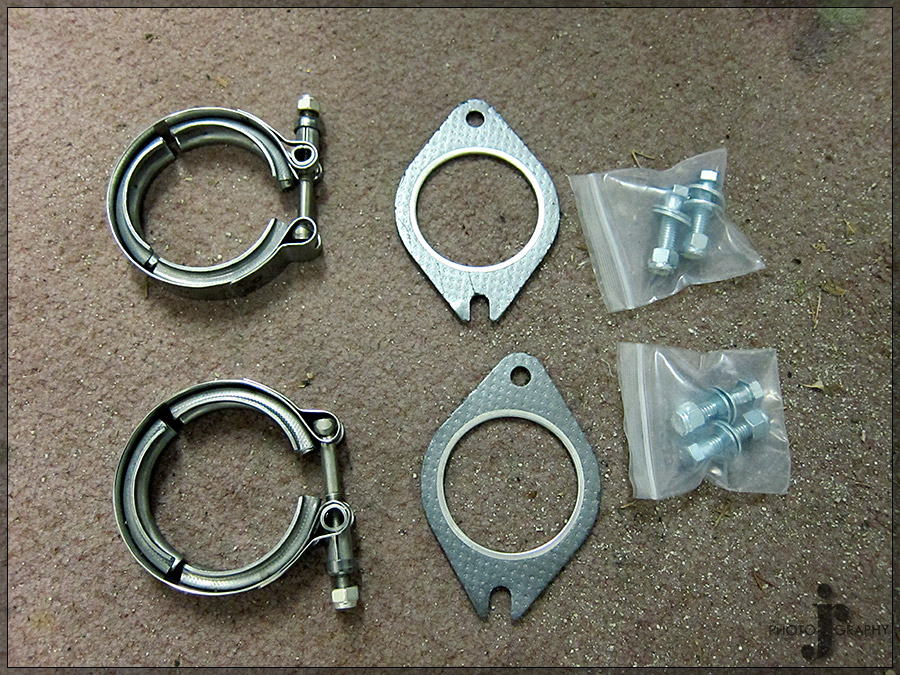
Gaskets between front and mid pipes. Hopefully these were for the header to exhaust connection. I used the factory gaskets.
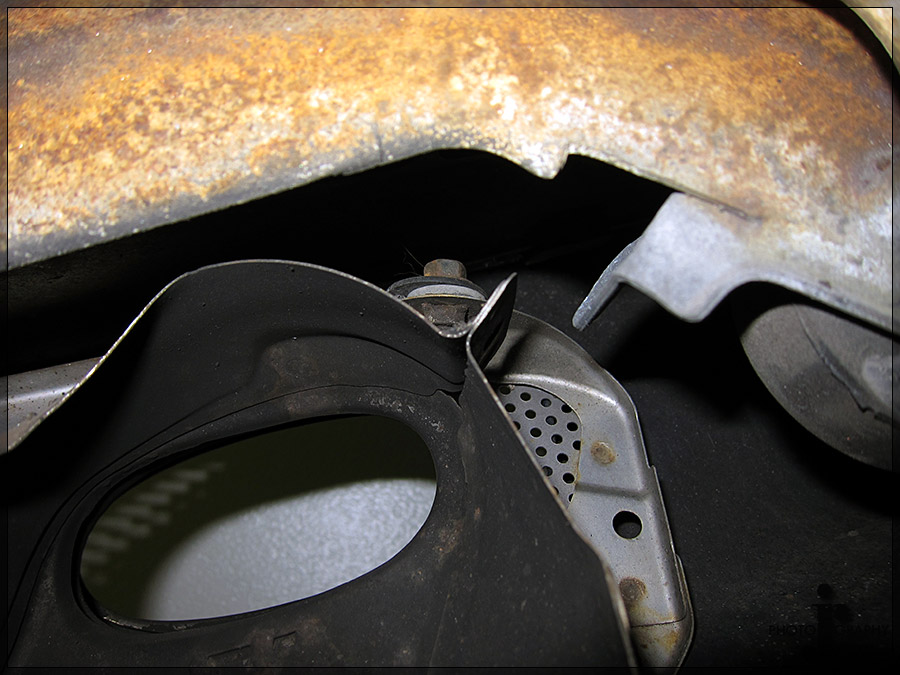
One side bolt on rear air diffusers
Top bolt on rear air diffusers. Hardest bolt to get off.
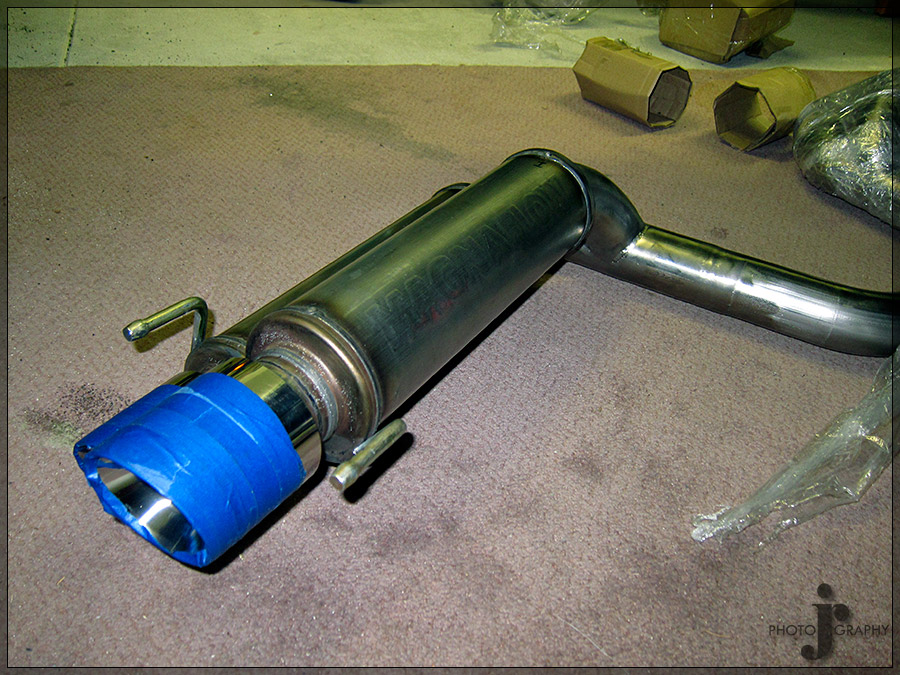
Tips protected from scratches during shipping
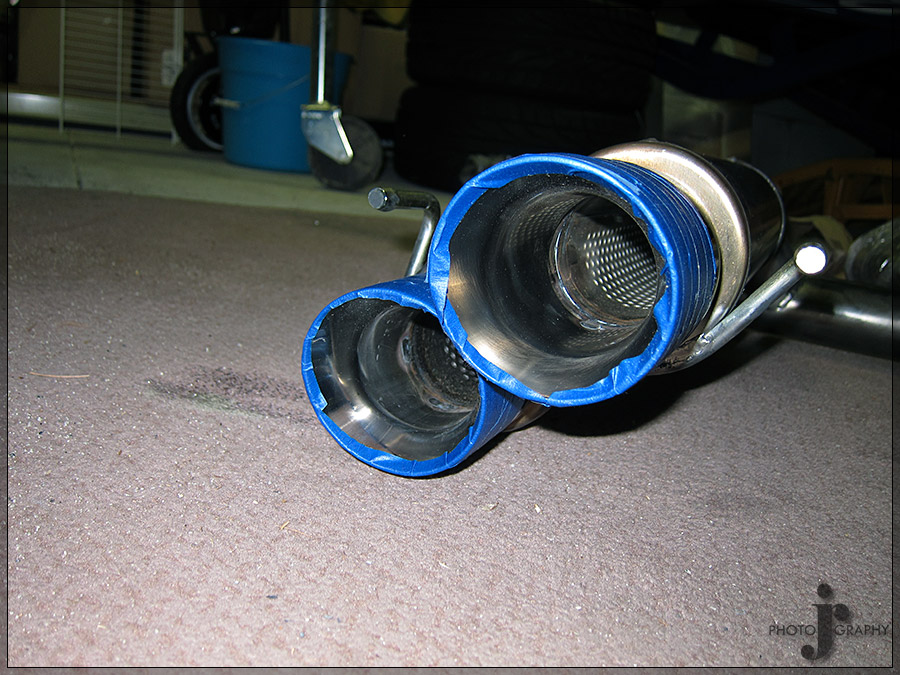
Inside mufflers
Took me a long 5 hours but that is mainly from having to craw out from under the car so many times due to only have about 14-16in of clearance under it with jack stands. The exhaust was however very easy to install though and looks absolutely amazing. The most difficult part of the exhaust install is removing the factory exhaust tip/air diffusers. Pretty sure it was expected your would remove the bumper to take these off but I didn't want to do that. If you have average size hands or smaller though and a ratchet wrench not socket you should be able to do it. Also make sure to get your self an exhaust hanger tool as some of the hangers are a *****. The muffler hangers are the worst but luckily since I had mine removed the new hangers were easy to get off. For doing it with jack stands I suggest bolting the two middle sections together first and then raising the back half up and hooking it into the exhaust hangers. then use your jack as a lift about placed in about the middle to light the exhaust into place so that way it is held there and you can easily connect the bolts.
I am hoping the including gaskets were to go between the first and second pipes of the exhaust and the connection to the factory header was to use the original factory gaskets. I hope this is right so I don't possibly have an exhaust leak. I don't have a check engine light so I don't think so but the exhaust is definitely louder than stock exhaust with the secondary cats and mufflers removed. There is definitely a good bit of drone between 1-2k rpm but I am hoping this is because its new and because the mufflers need to break in and should quiet up after a few hundred miles. I have had this experience with exhausts on other cars so I hope it will be the same here. If it doesn't tone down a little headers will definitely be out unless I switch to the street version mid pipe.
Well without any more waiting time for some pics and videos.
The packages and all the parts unpacked
Modified Factory Exhaust with 2nd Cat and Muffler Deletes
Essential exhaust hanger tool
My work space for the evening
Removal begins
Unwrapped front and mid section
Heatshield piece that needs to be removed
X-pipe close-up
Front and mid section connected ahead of time. Only way I could really figure out how I was going to do it with jack stands. Also not sure how easy it would be to get to the one top bolt in the middle if it was installed in pieces on the car.
My method for installing with only one person. Actually worked even better than I had thought. Once the two pieces were bolted together I lifted the rear up and into the rubber hangers. Then raised the front into place with the jack. Also made it easy to put the bolts into place since I didn't have hold it at the same time.
Gaskets between front and mid pipes. Hopefully these were for the header to exhaust connection. I used the factory gaskets.
One side bolt on rear air diffusers
Top bolt on rear air diffusers. Hardest bolt to get off.
Tips protected from scratches during shipping
Inside mufflers
 02-18-11, 05:58 AM
#2
Love these exhaust tips

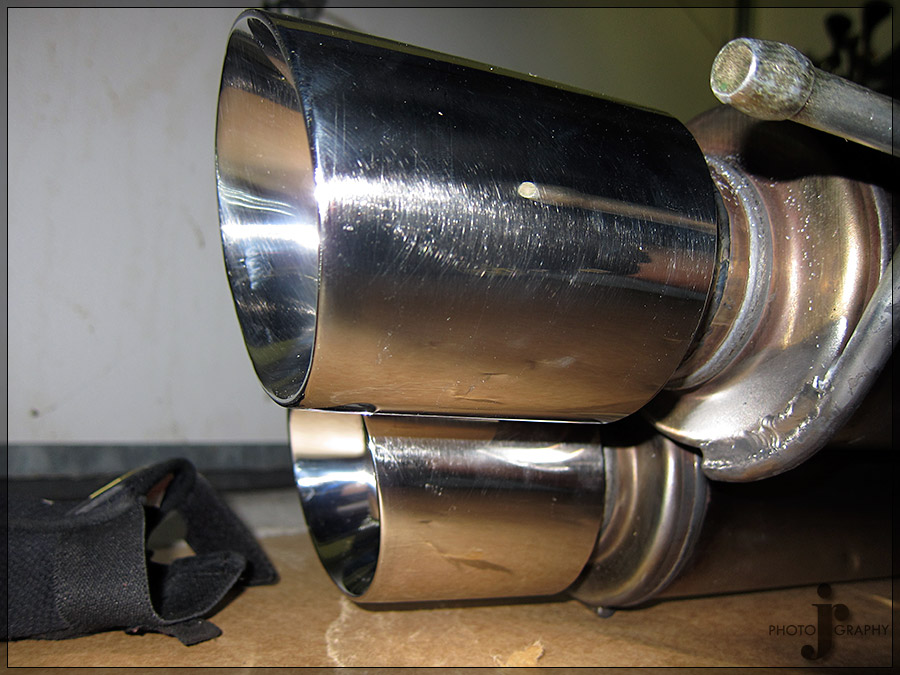
Clamps for muffler connection


Finally installed
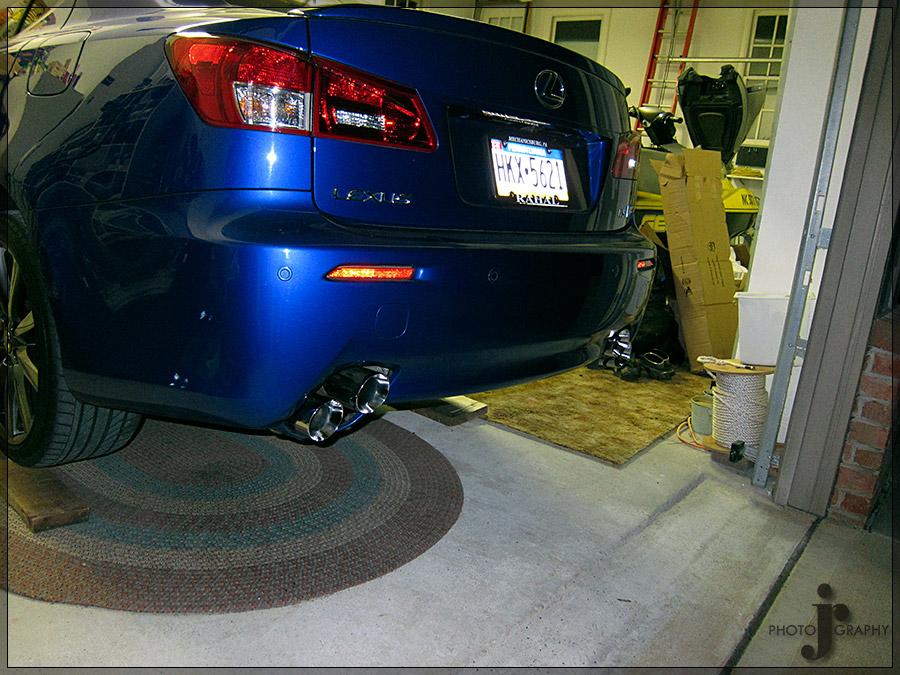
I will have to get some day time pictures later on maybe this weekend but I haven't had anytime yet.
Video Comparrision of 2nd cat & muffler delete and ISS Forged Track Exhaust.
http://www.youtube.com/watch?v=sKMYw_0ftFo
http://www.youtube.com/watch?v=NLD3nKEMcf8
http://www.youtube.com/watch?v=NUnnoE85fI0
http://www.youtube.com/watch?v=JKWCq4XvWnM
Clamps for muffler connection
Finally installed
I will have to get some day time pictures later on maybe this weekend but I haven't had anytime yet.
Video Comparrision of 2nd cat & muffler delete and ISS Forged Track Exhaust.
http://www.youtube.com/watch?v=sKMYw_0ftFo
http://www.youtube.com/watch?v=NLD3nKEMcf8
http://www.youtube.com/watch?v=NUnnoE85fI0
http://www.youtube.com/watch?v=JKWCq4XvWnM
Last edited by CCColtsicehockey; 02-18-11 at 06:27 AM.
02-18-11, 06:17 AM
#3
Lexus Champion
Nice job on the writeup and pictures! Thank you for posting these, they will come in handy  The exhaust should quiet down after a few hundred miles as it becomes "broken in." Let us know how it sounds and if you're still enjoying it after a few hundred miles or so
The exhaust should quiet down after a few hundred miles as it becomes "broken in." Let us know how it sounds and if you're still enjoying it after a few hundred miles or so
Trending Topics


 02-19-11, 06:50 AM
#14
Well on my long trip last night there were several times where I was going up a big hill that the drone bother me a little bit in the beginning but as the trip was towards the end it either was beginning to not be as intense or I was getting used to it. Guess I will find out on Monday when I head home.
Another thing I noticed which was completely unexpected and really nice actually is that I got my best gas mileage on this trip which I make at least once a month since getting the car with this exhaust. My previous best gas mileage was only about 25.8. I got 26.9 for an entire tank now. I wonder if I get an intake as well if I can get a consistent 27+ at that point.
Another thing I noticed which was completely unexpected and really nice actually is that I got my best gas mileage on this trip which I make at least once a month since getting the car with this exhaust. My previous best gas mileage was only about 25.8. I got 26.9 for an entire tank now. I wonder if I get an intake as well if I can get a consistent 27+ at that point.
02-19-11, 10:35 AM
#15
On the original design the bottom brace would not fit and had to be removed for fitment. There were also some rubbing issues (slight). I have one of the first designs. This new / final design seems to fit a lot better, and also the connectivity looks great as well. I am glad they took there time in fixing all of these issues. ISS Forged is about top quality and customer satisfaction. Thanks again ISS Forged for another choice in the exhaust selections.