When you click on links to various merchants on this site and make a purchase, this can result in this site earning a commission. Affiliate programs and affiliations include, but are not limited to, the eBay Partner Network.
Tip: Place the black plastic back on the car first and then put the painted housing on to close the side mirror. If you do it the other way around, it is a lot harder. Good luck!
Just finished these myself today too.
At fist when I pulled it out, I was nervous something may break because everything I touch turns to suck.
Once I pulled the mirror out, I realized it was actually very difficult for someone to break the mirror.
I find it easier to just make the mirror go all the way one side and just pull from the largest opening.
I did this install last week as well. Thanks to this DIY, it is actually pretty easy! Did anyone else have sticky putty on the driver's mirror only? Its placed on 4 points and gooey, but I was able to put it back for the most part.
This was really easy...only need to get past the fear of breaking something. I've gone through the process on each side 2x already. As someone else mentioned, getting the 1st one off takes some time (primarily to ensure you don't break something, but more because of the fear of breaking something). Once the first one is done, the 2nd one is a piece of cake.
Some tips:
#1: (The reason why I've done each side 2x) The mirror caps don't easily align during reassembly and there's not "click" to confirm they are properly placed.. I made the mistake thinking that the caps were fully on when I screwed the screws back in during reassembly and snapped the mirrors back on. I didn't notice they were off until I sat in the car to adjust the mirrors. I saw a gap near the mirror stalk on the window facing side, so had to redo both of them completely.
#2: When putting the mirrors back on, to get each clip to snap on, I put pressure on the opposite side/diagonal of the mirror to give an even pressure across the mirror surface. So when snapping a left side clip, put pressure on the right side.
Just take your time and line everything up.
I got that gooey mess too, I think it was placed there to remove the vibration issues with the mirrors when it is in motion. I remember driving an old vehicle without those dampers and the mirrors had a big problem with vibration.
I got that gooey mess too, I think it was placed there to remove the vibration issues with the mirrors when it is in motion. I remember driving an old vehicle without those dampers and the mirrors had a big problem with vibration.
Strange that it only appears on the driver's side mirror for me...did you have it on both mirrors?
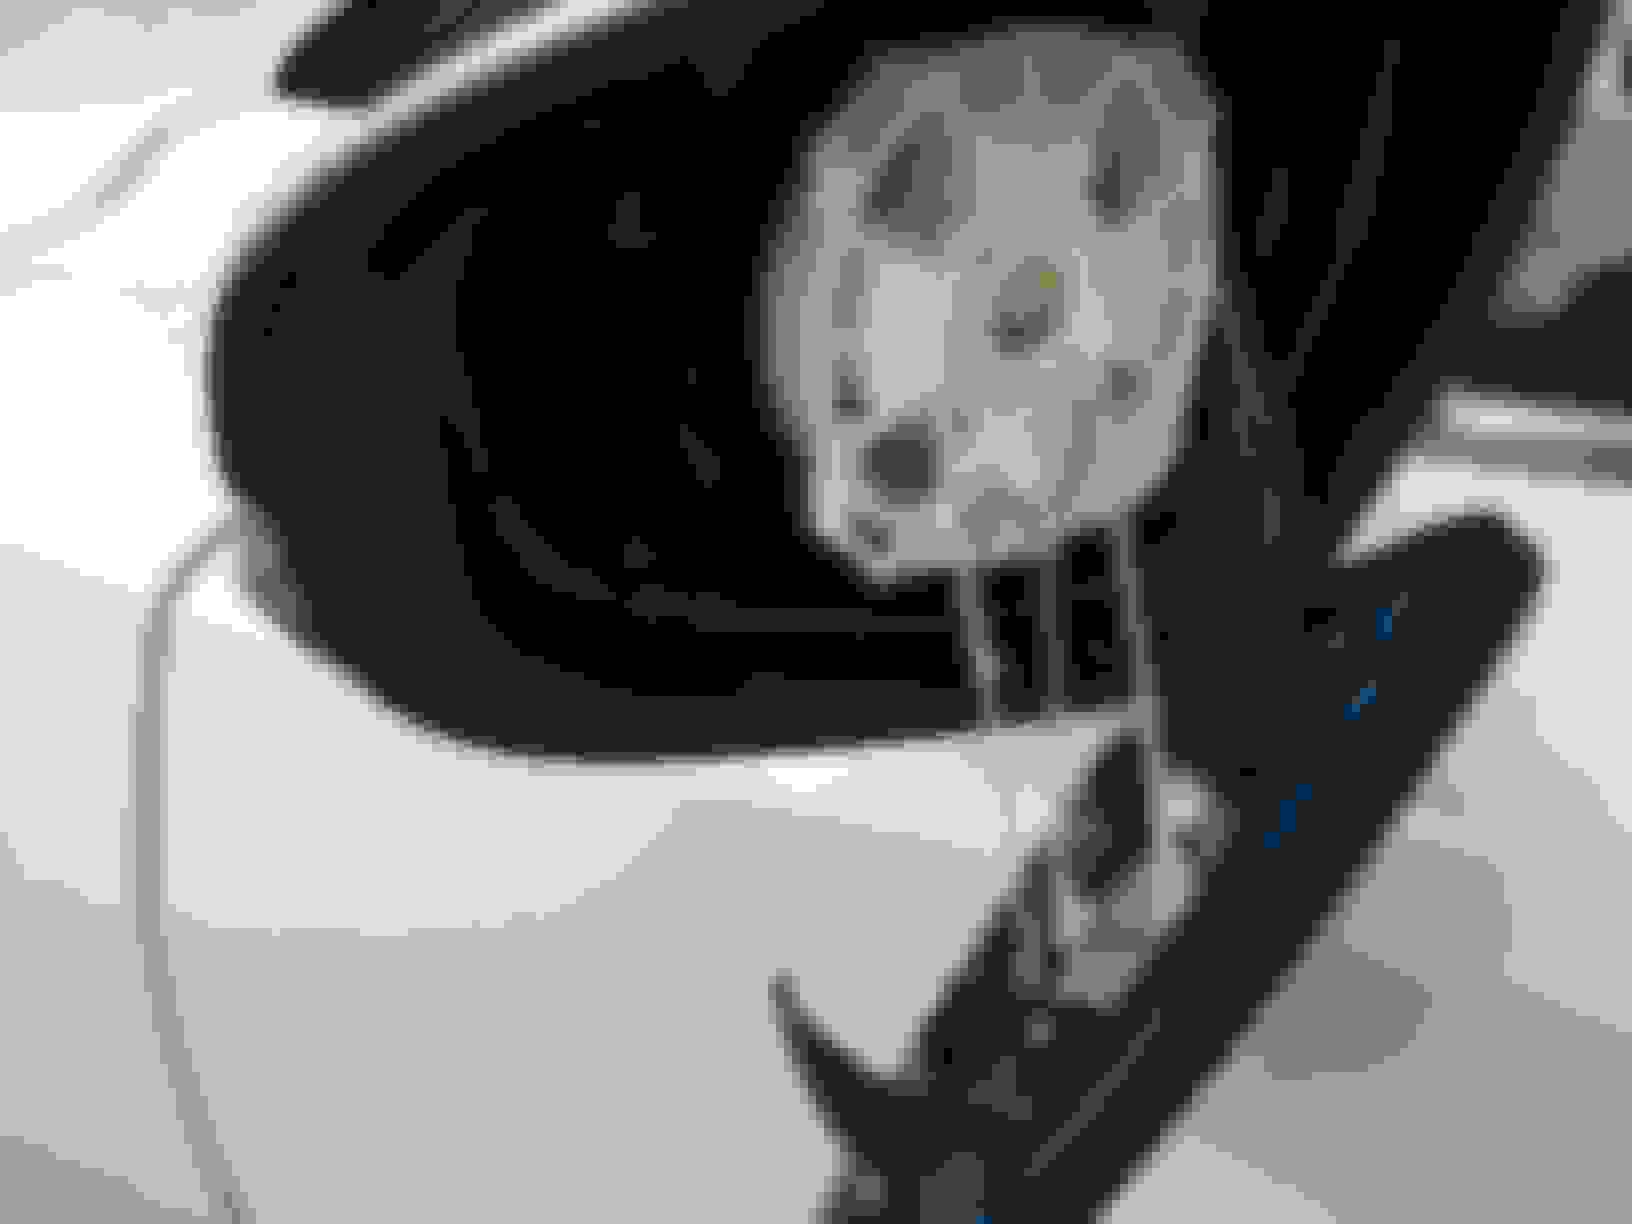
Just did mine. I did have an issue with getting the LED housing to get hooked back in so that I could put the cover back on. Also had a small issue with getting the clips clipped back in so that the painted cover was flush. After my wife came up and snapped it right in....she helped me with the other side lol.
 03-14-15, 11:40 PM