IS250 2nd gen Clutch and Transmission
#1
Driver School Candidate
Thread Starter
2008 IS250 clutch replacement / transmission removal
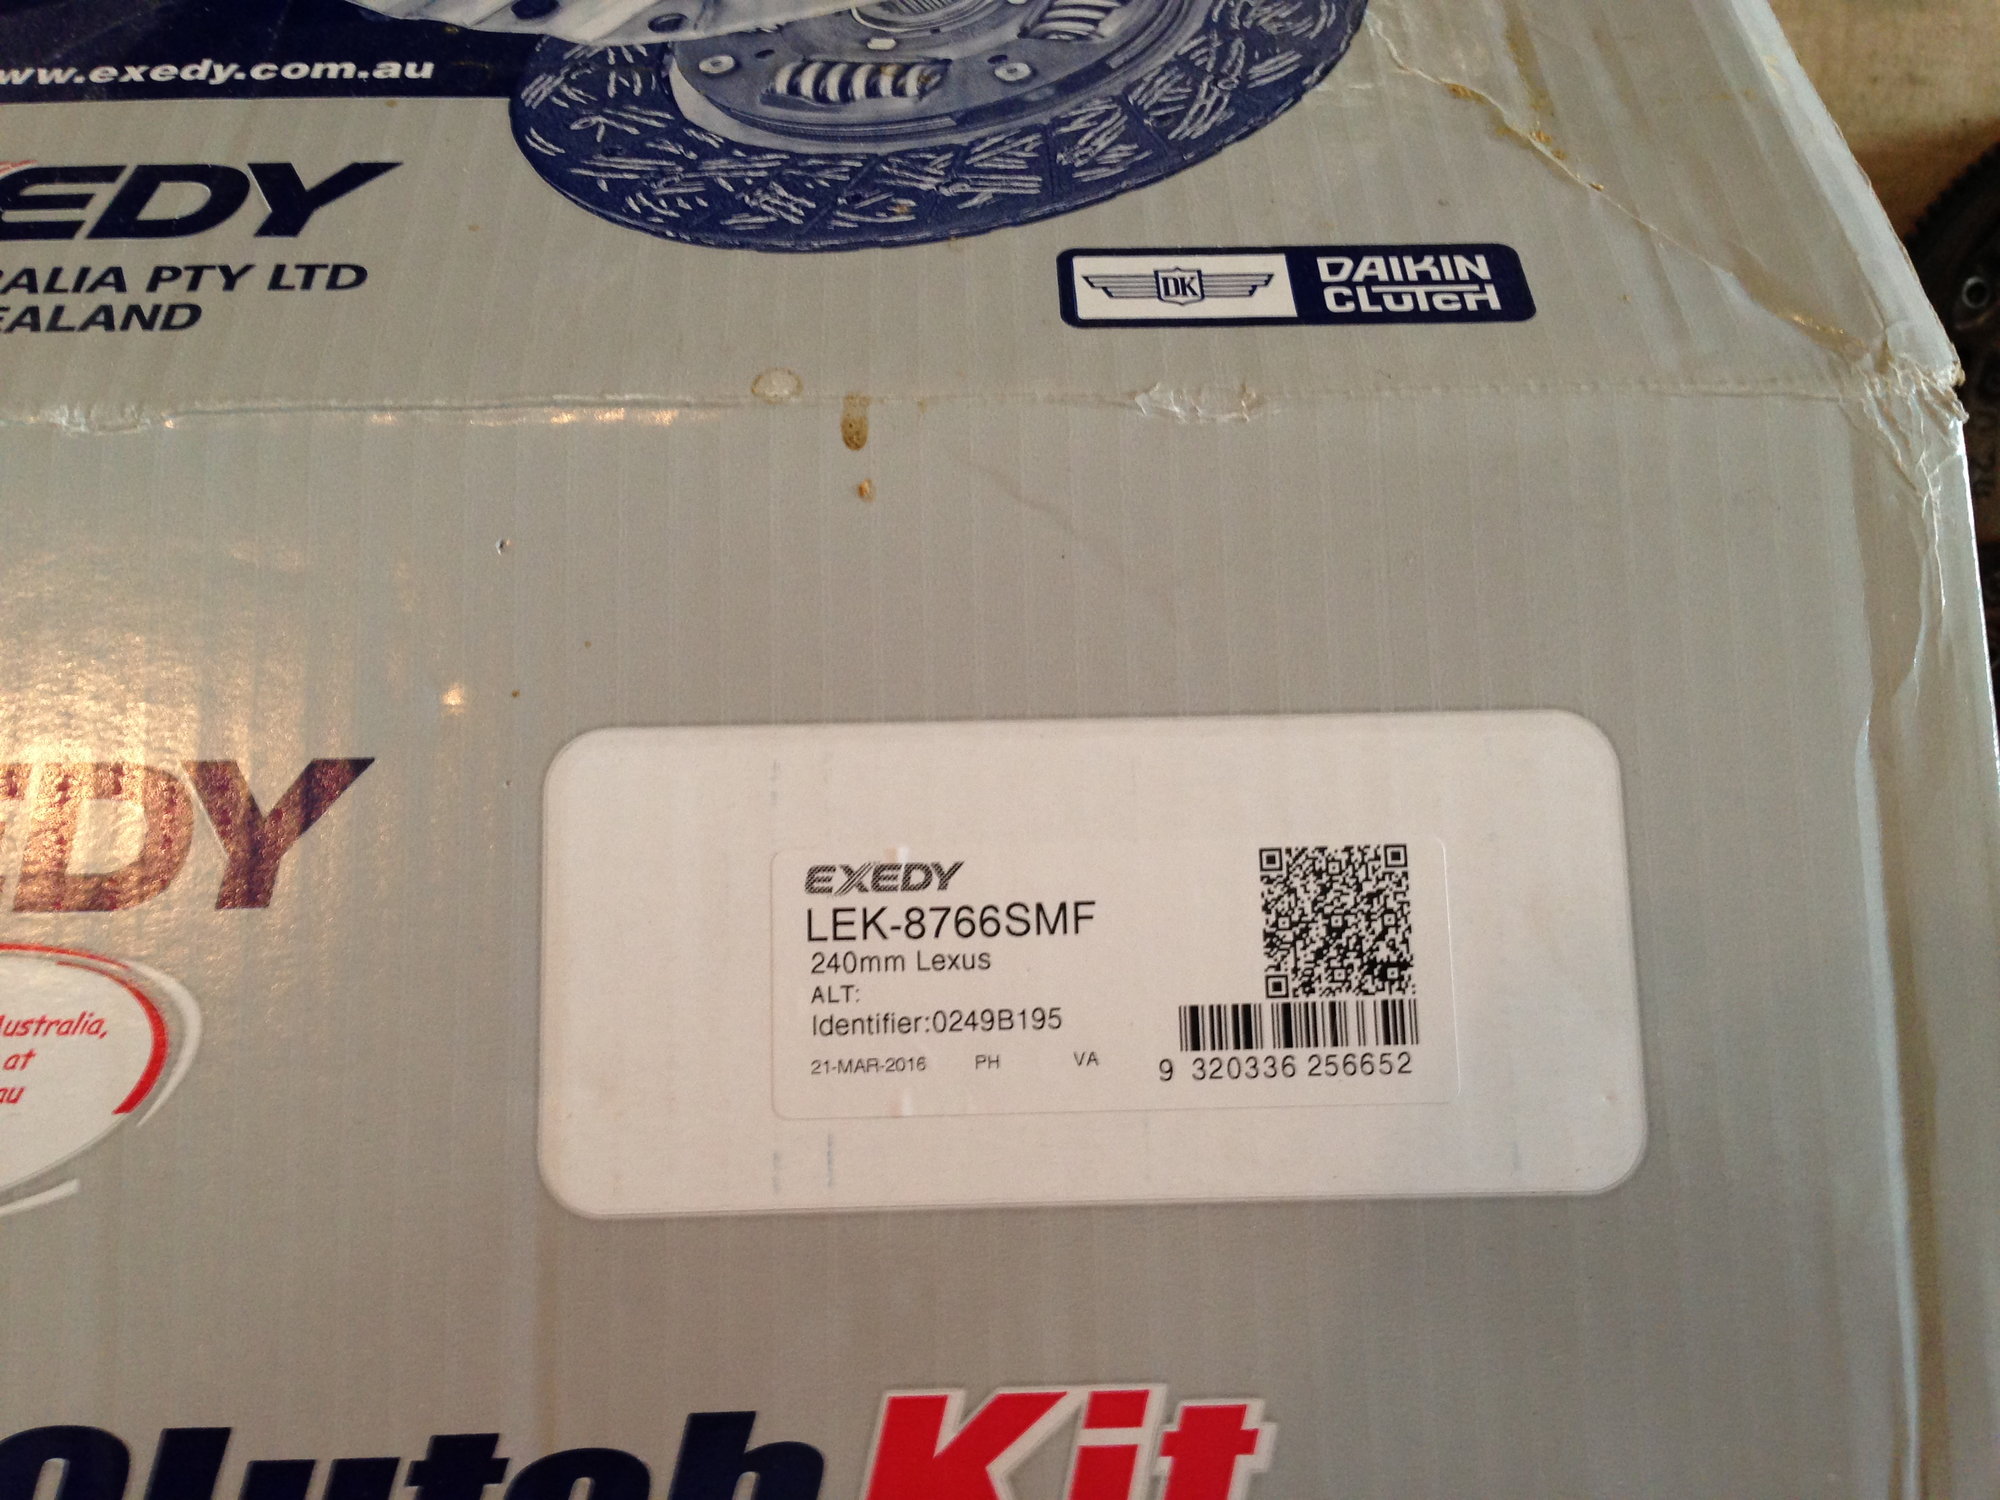
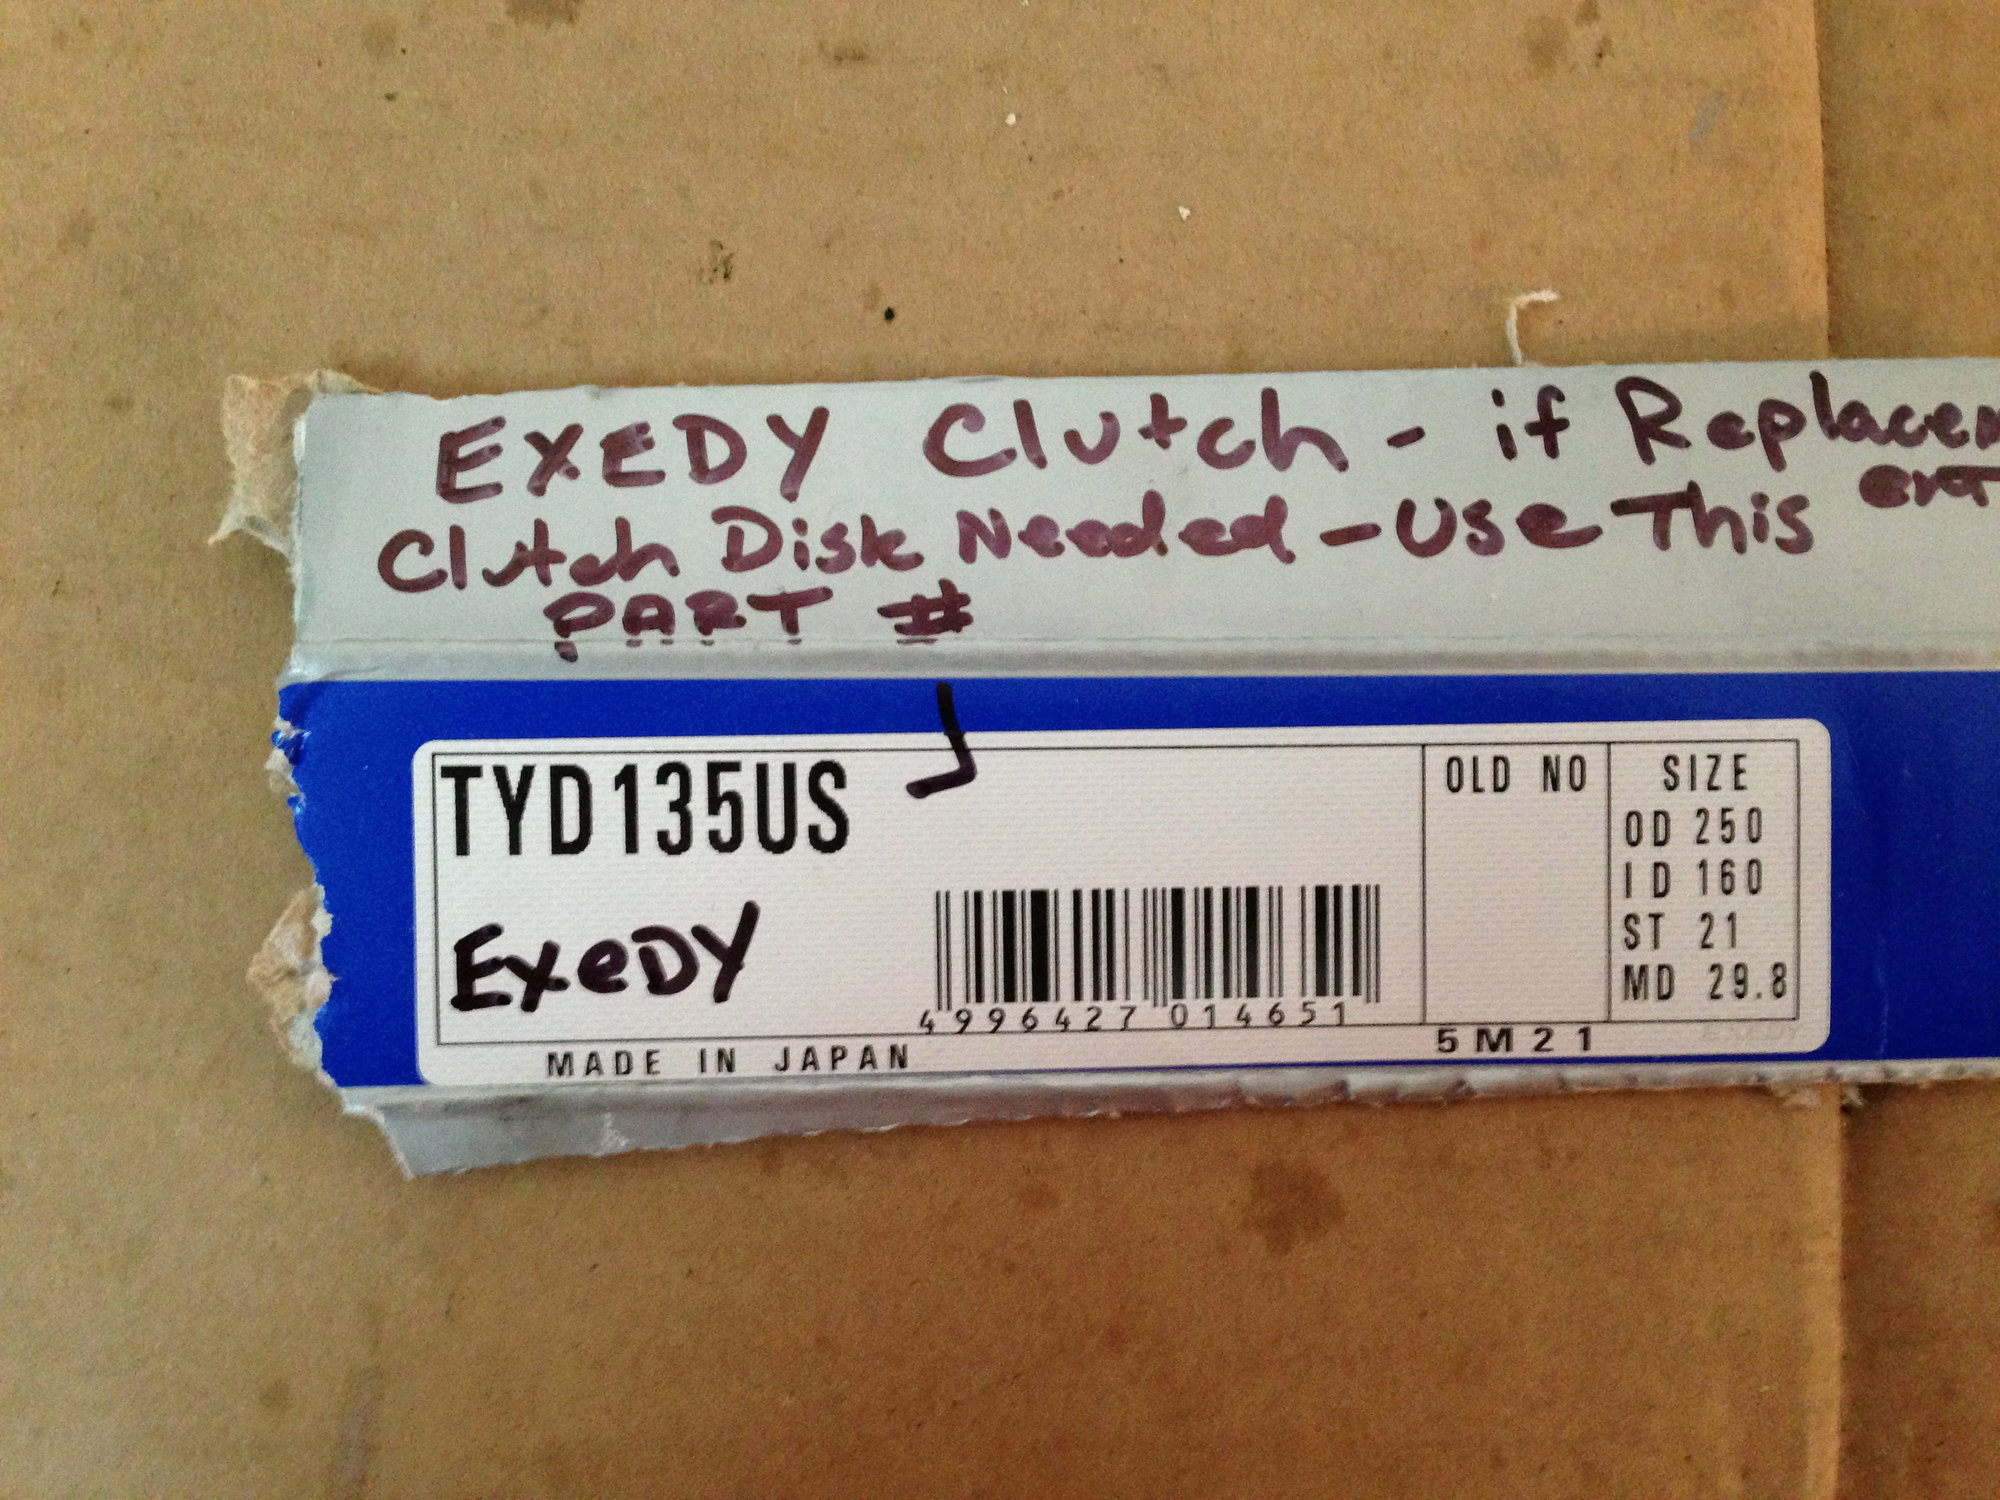
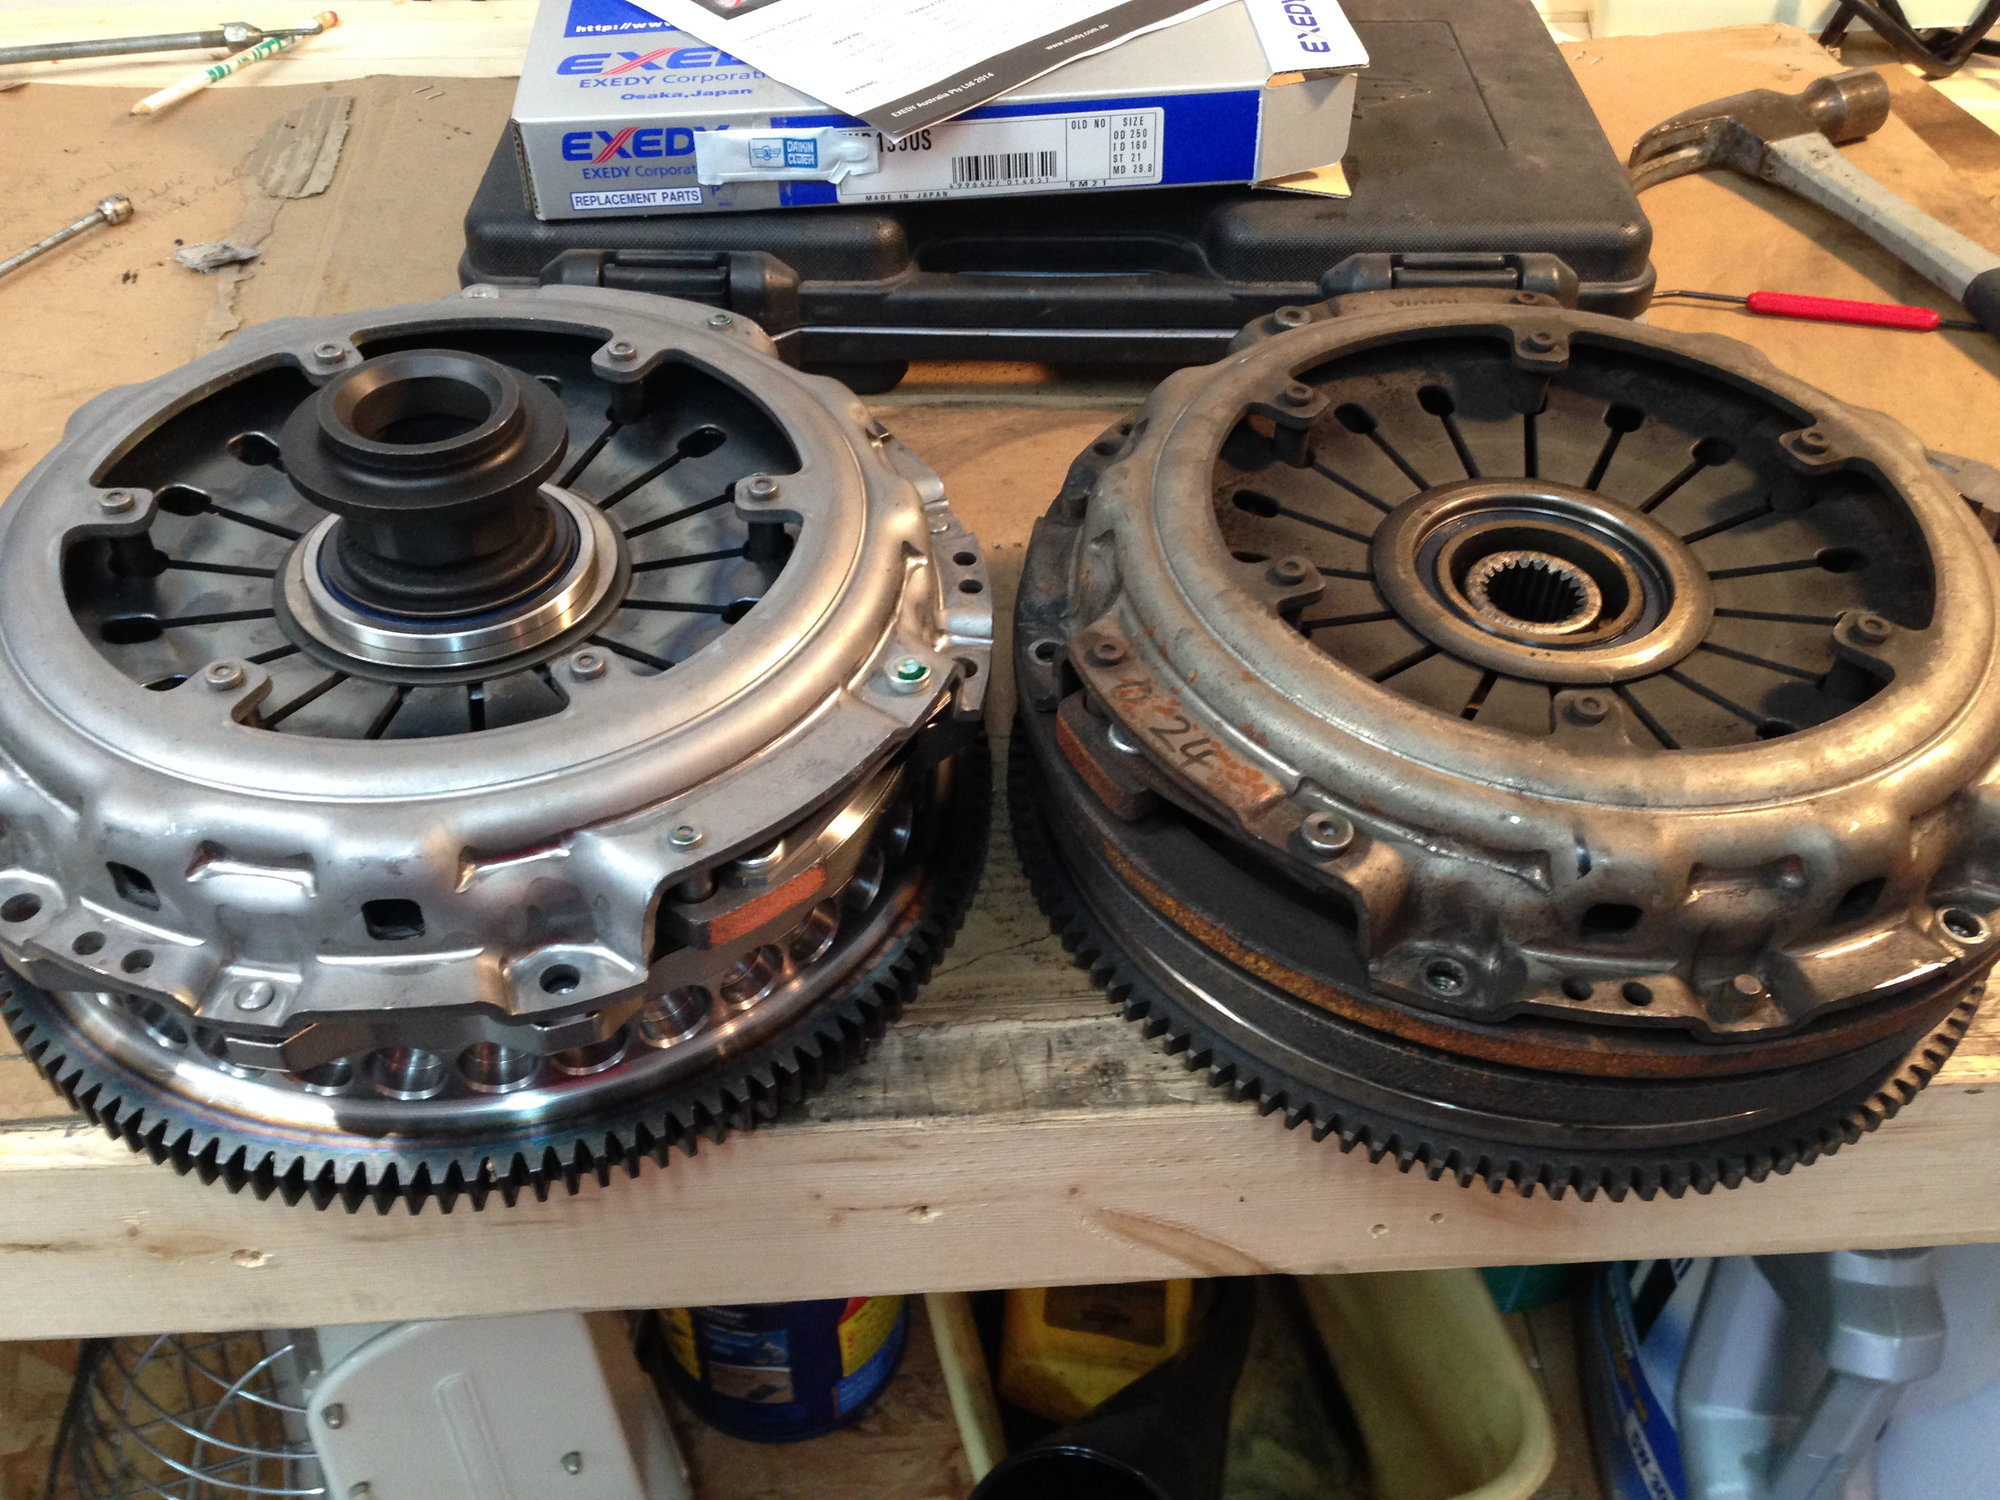
After 108K on the clutch of my wife’s IS250, it was finally time to replace the clutch. Although the clutch was not slipping, it has become grabby, and was sounding like it had marbles loose in the housing. After reading up on the various clutch and transmission issues others have had I figured it was the dual mass flywheel that was the culprit. I read other folks experiences with the various SPEC clutch options and FIDANZA flywheel, and I decided to get the EXEDY Clutch/flywheel kit out of Australia that included a solid flywheel with a sprung clutch, doing away with the dual mass flywheel problems.
Link to Exedy clutch kit:
http://www.ebay.com/itm/131638433122?_trksid=p2055119.m1438.l2649&ssPageName=STRK%3AMEBIDX%3AIT
I tried to locate a clutch / transmission DIY online - only thing I found was an automatic transmission replacement which did help. so I decided to write up my own DIY… Hope it helps. Note this was the first time I have changed a clutch, and it took me the better part of a week to complete the installation...
Photos included, but sorry I didn’t remember to do step-by-step pics.
Removal instructions:
1. Disconnect battery and remove main engine cover and driver side engine cover. Remove the metal bracket holding the small relay box to allow room to get your hands in to remove the upper exhaust manifold nuts.
2. Remove center section of exhaust – peel back carpet from the center tunnel area on both drivers and passenger side to disconnect the O2 sensors in interior of car and feed the wires down through the floor pan. Remove two metal brackets from center rear of drive shaft tunnel to allow exhaust to drop. Plan on replacing the two exhaust gaskets at the connection between the headers and center exhaust pipe.
3. Remove center heat shield underneath car to expose drive shaft - remove 4 drive shaft bolts and center drive shaft support – mark location on drive shaft parts so they can be reassembled in same position
4. Remove lower plastic cover from under engine. This is only done to reach the lower front exhaust manifold nut.
5. Unbolt and remove the DRIVER side exhaust manifold - 3 bolts from top, 3 from underneath car – they are difficult to reach….. disconnect 02 sensor and remove manifold from underneath car. You DO NOT need to remove the passenger side manifold.
6. Unbolt clutch slave cylinder and piping from transmission and zip tie our of way --no need to let out the fluid…
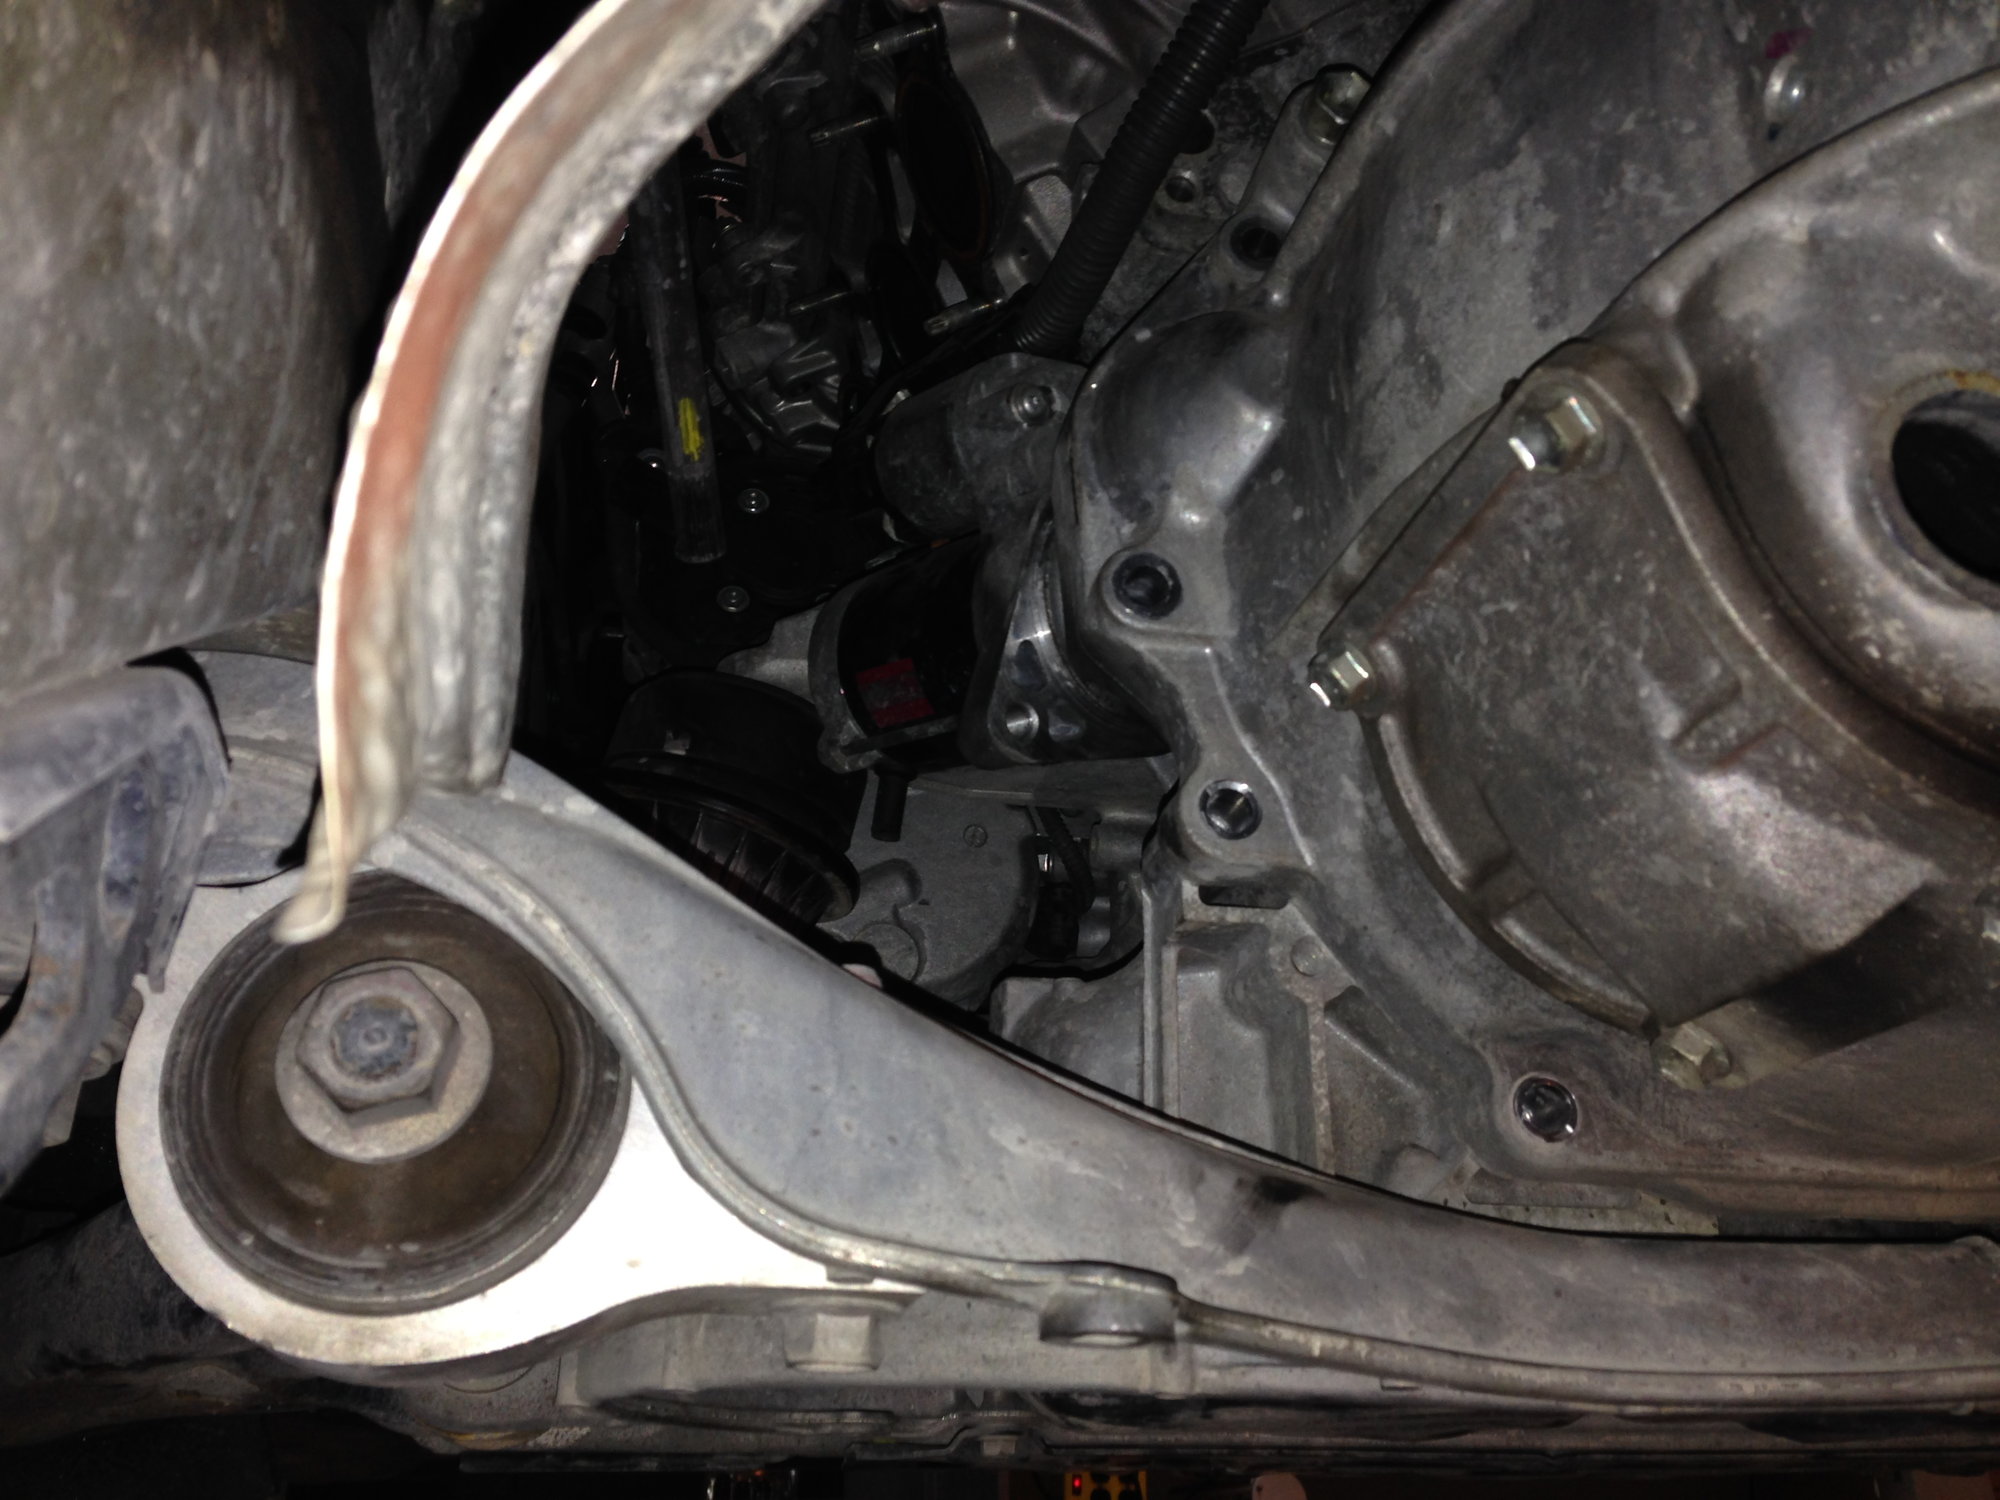
7. Unbolt starter motor and pull it forward from flywheel. No need to disconnect wiring or remove it entirely from the car – just pull it out of the way
8. NOTE – you do NOT need to remove the center console or the shifter inside the car - it is possible to remove the transmission by only disconnecting the shift linkage underneath the car, and removing the two pins which hold the aluminum A-frame shifter support to the transmission. The two pins have metal arms attached to them which you pivot upwards from transmission allowing the pins to be pulled out of the rubber bushings. It is a good time to replace these rubber bushings (mine were worn out with 108 k miles on car. You will need to pull back the rubber cover and remove the c-clip in order to disconnect the shift leaver underneath the car
9. Unbolt transmission from the engine - upper bolts will require at least 36 inches of extensions to reach them – drop the rear transmission support (support the rear of the transmission with a wood block) and lower the rear of the transmission to make room to reach the top bolts of the bell housing.
10. IMPORTANT - Prior to removing the transmission from the engine, Remove the driver side access cover, and remove the clutch release fork (take off c-clip and tap pivot pin upwards). Other write-ups for different cars tended to skip this step and I had a heck of a time removing the transmission until I removed the clutch fork. No need to rotate the transmission (angle if down in the rear to clear the shifter) - just pry and wiggle it backwards, making sure it is properly supported. No need to loosen the engine mounts or support the front of the engine – it doesn’t pitch forward.
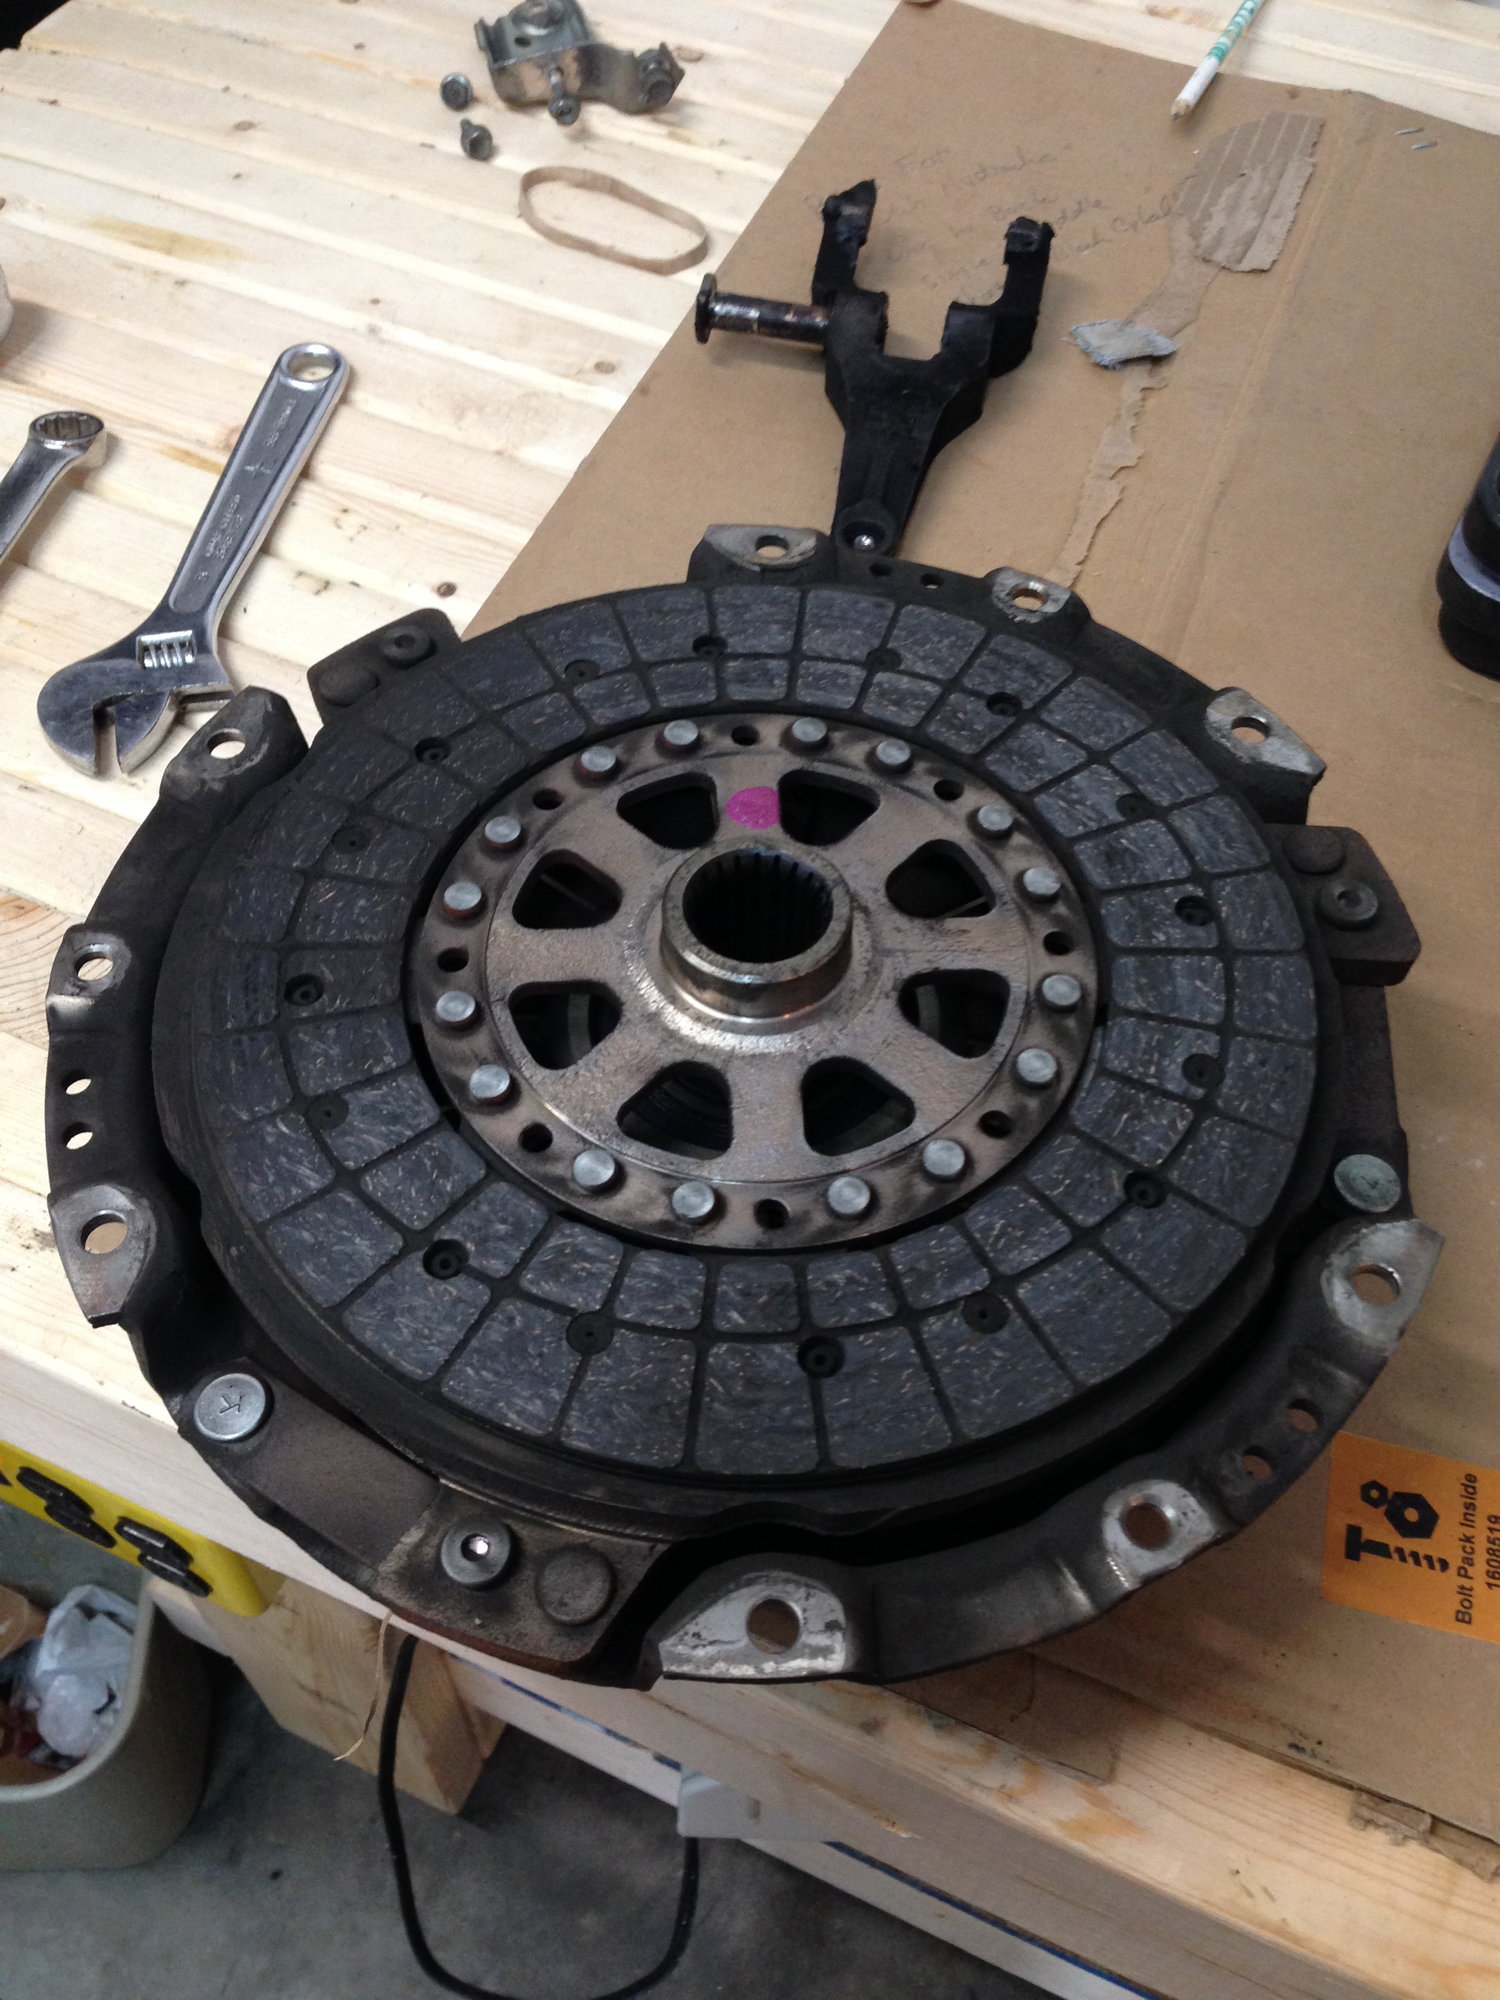
11. I then unbolted the clutch cover, and in my case took off the dual mass flywheel. It is heavy….. I replaced the clutch release (throw out) bearing and the pilot bearing. use online diagrams for the order of the washers and clips on the throw-out bearing hub.
12. Installation is in the reverse order of the above.
Best online source with diagrams that I found is at:
http://workshop-manuals.com/lexus/is...ce_and_repair/
Several things I found upon disassembly:
a. The clutch release fork pivot pin was badly worn - suggest you replace it along with the c-clip. This made a huge difference in pedal feel
b. With 108K miles, the OEM clutch was worn to just a hair above the rivets - would have probably made it to 115k before it was metal to metal. We did teach 3 teenagers to drive a standard with this car however…
c. Although I changed the pilot bearing, apparently it is not necessary to do so - nothing actually engages with the bearing – the shaft from the transmission does not ride in the pilot bearing, so I think it is used only for the clutch alignment tool. I used a small slide hammer with a hook in the tip to pop out the bearing from the crankshaft.
d. For reassembly, I greased the clutch release fork, release fork Pin and contact points where it engages the release bearing hub with a high temp ceramic grease along with a touch of grease on the transmission splines and inside the clutch release bearing hub (there is an internal grove to fill with grease). Grease for the splines came with the kit from Exedy.
e. The rubber boot on the shift linkage underneath the car was in tatters – good time to replace it along with the Rubber bushings in the aluminum A-frame that supports the shifter under the car.
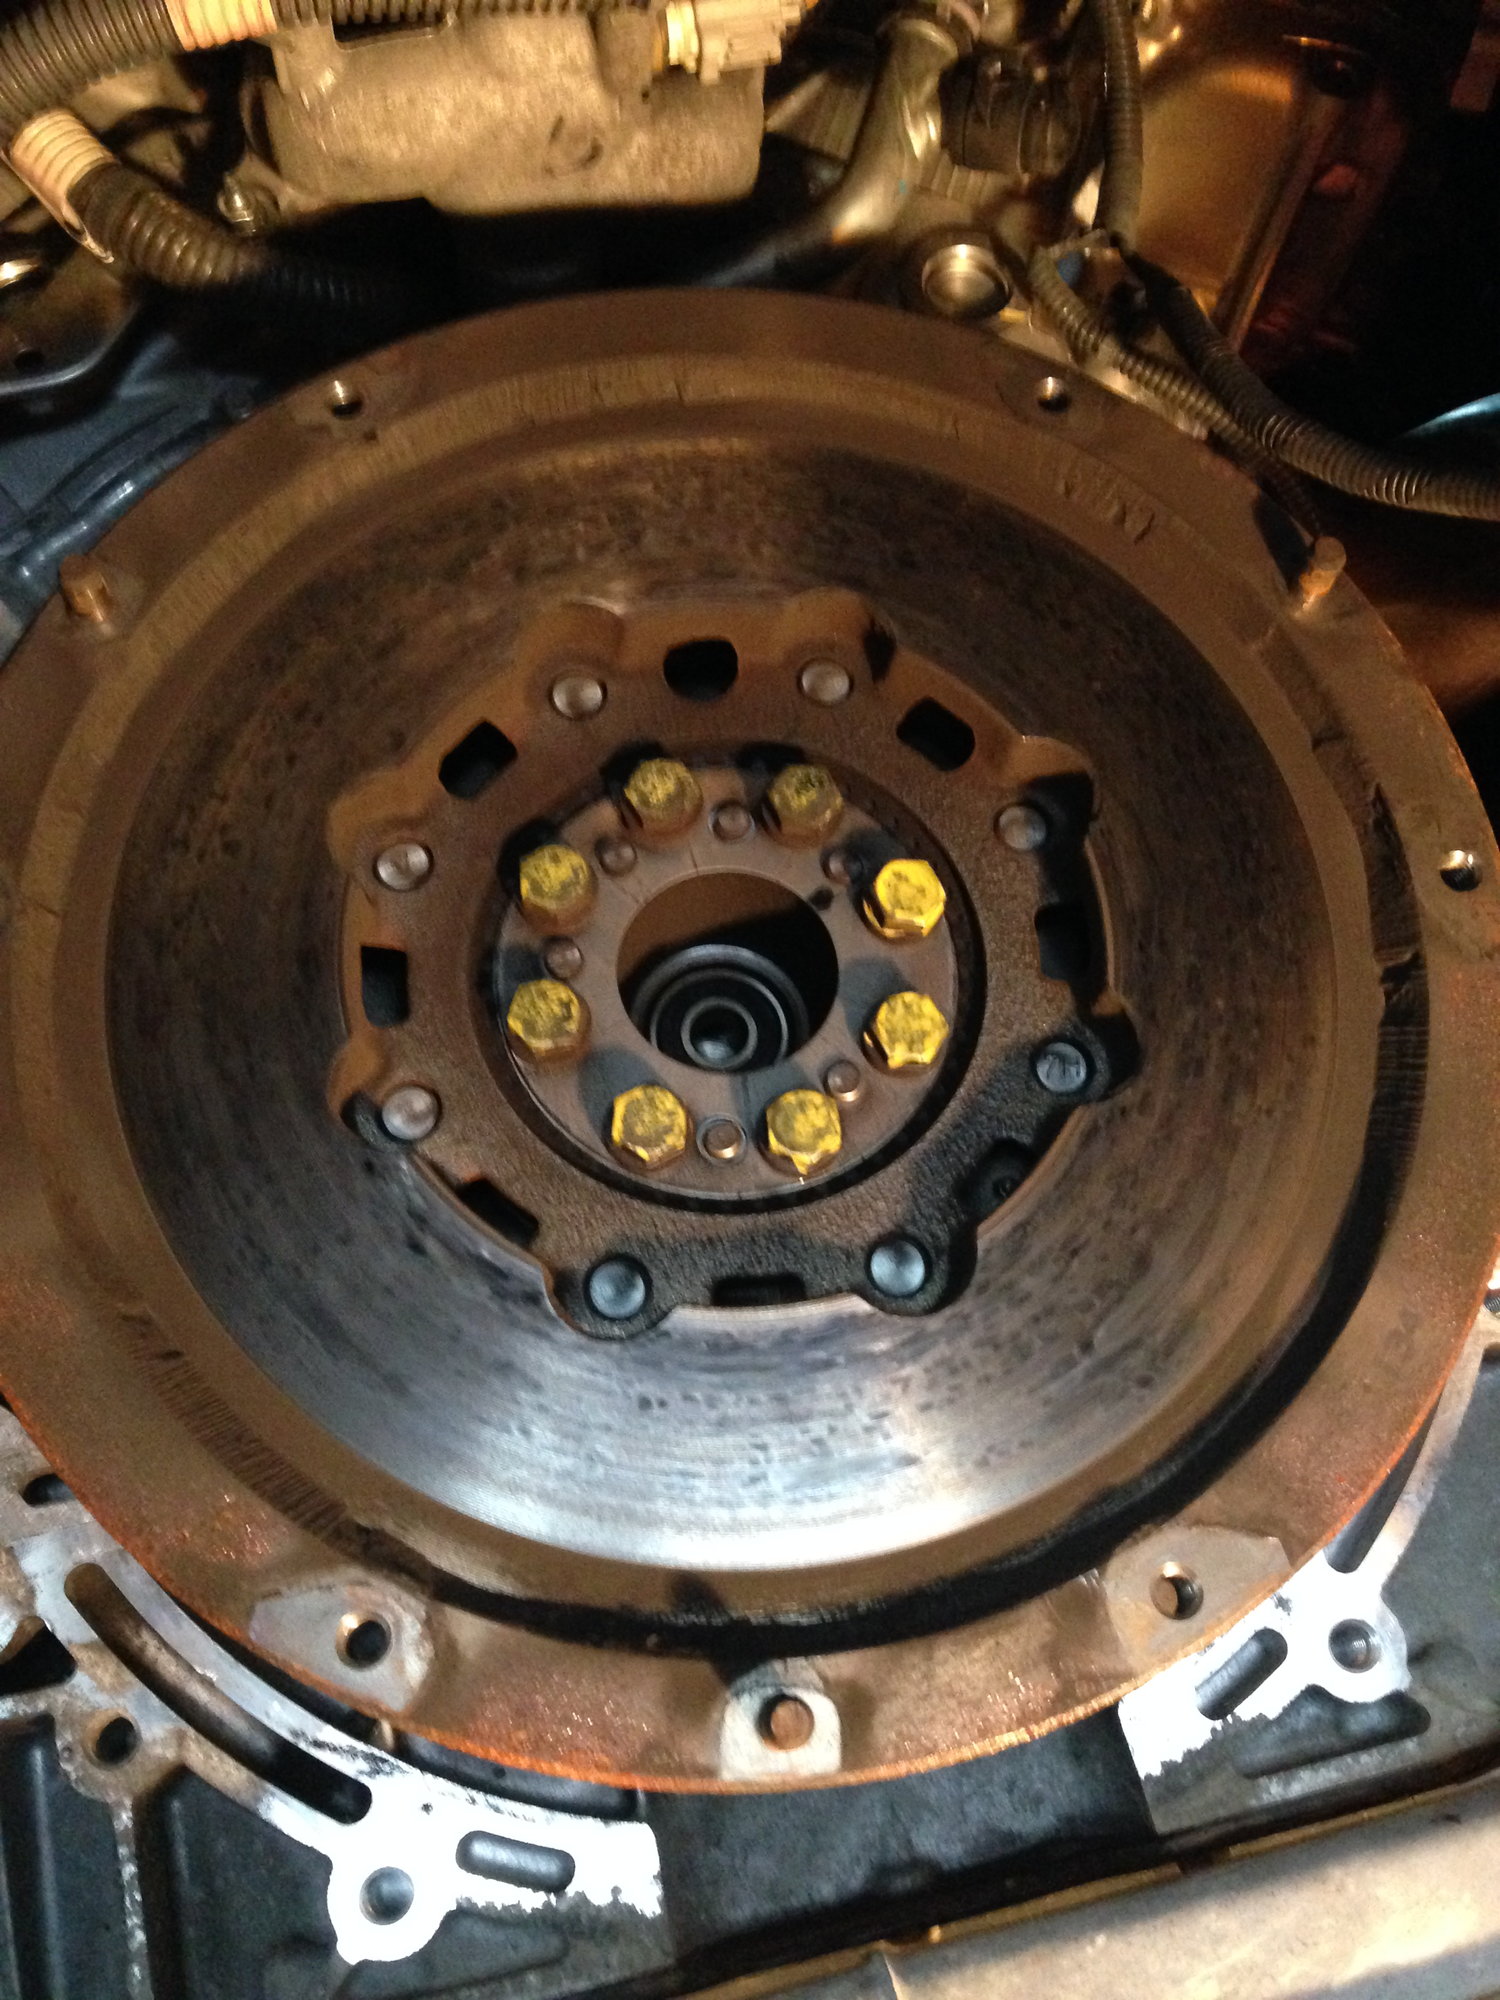
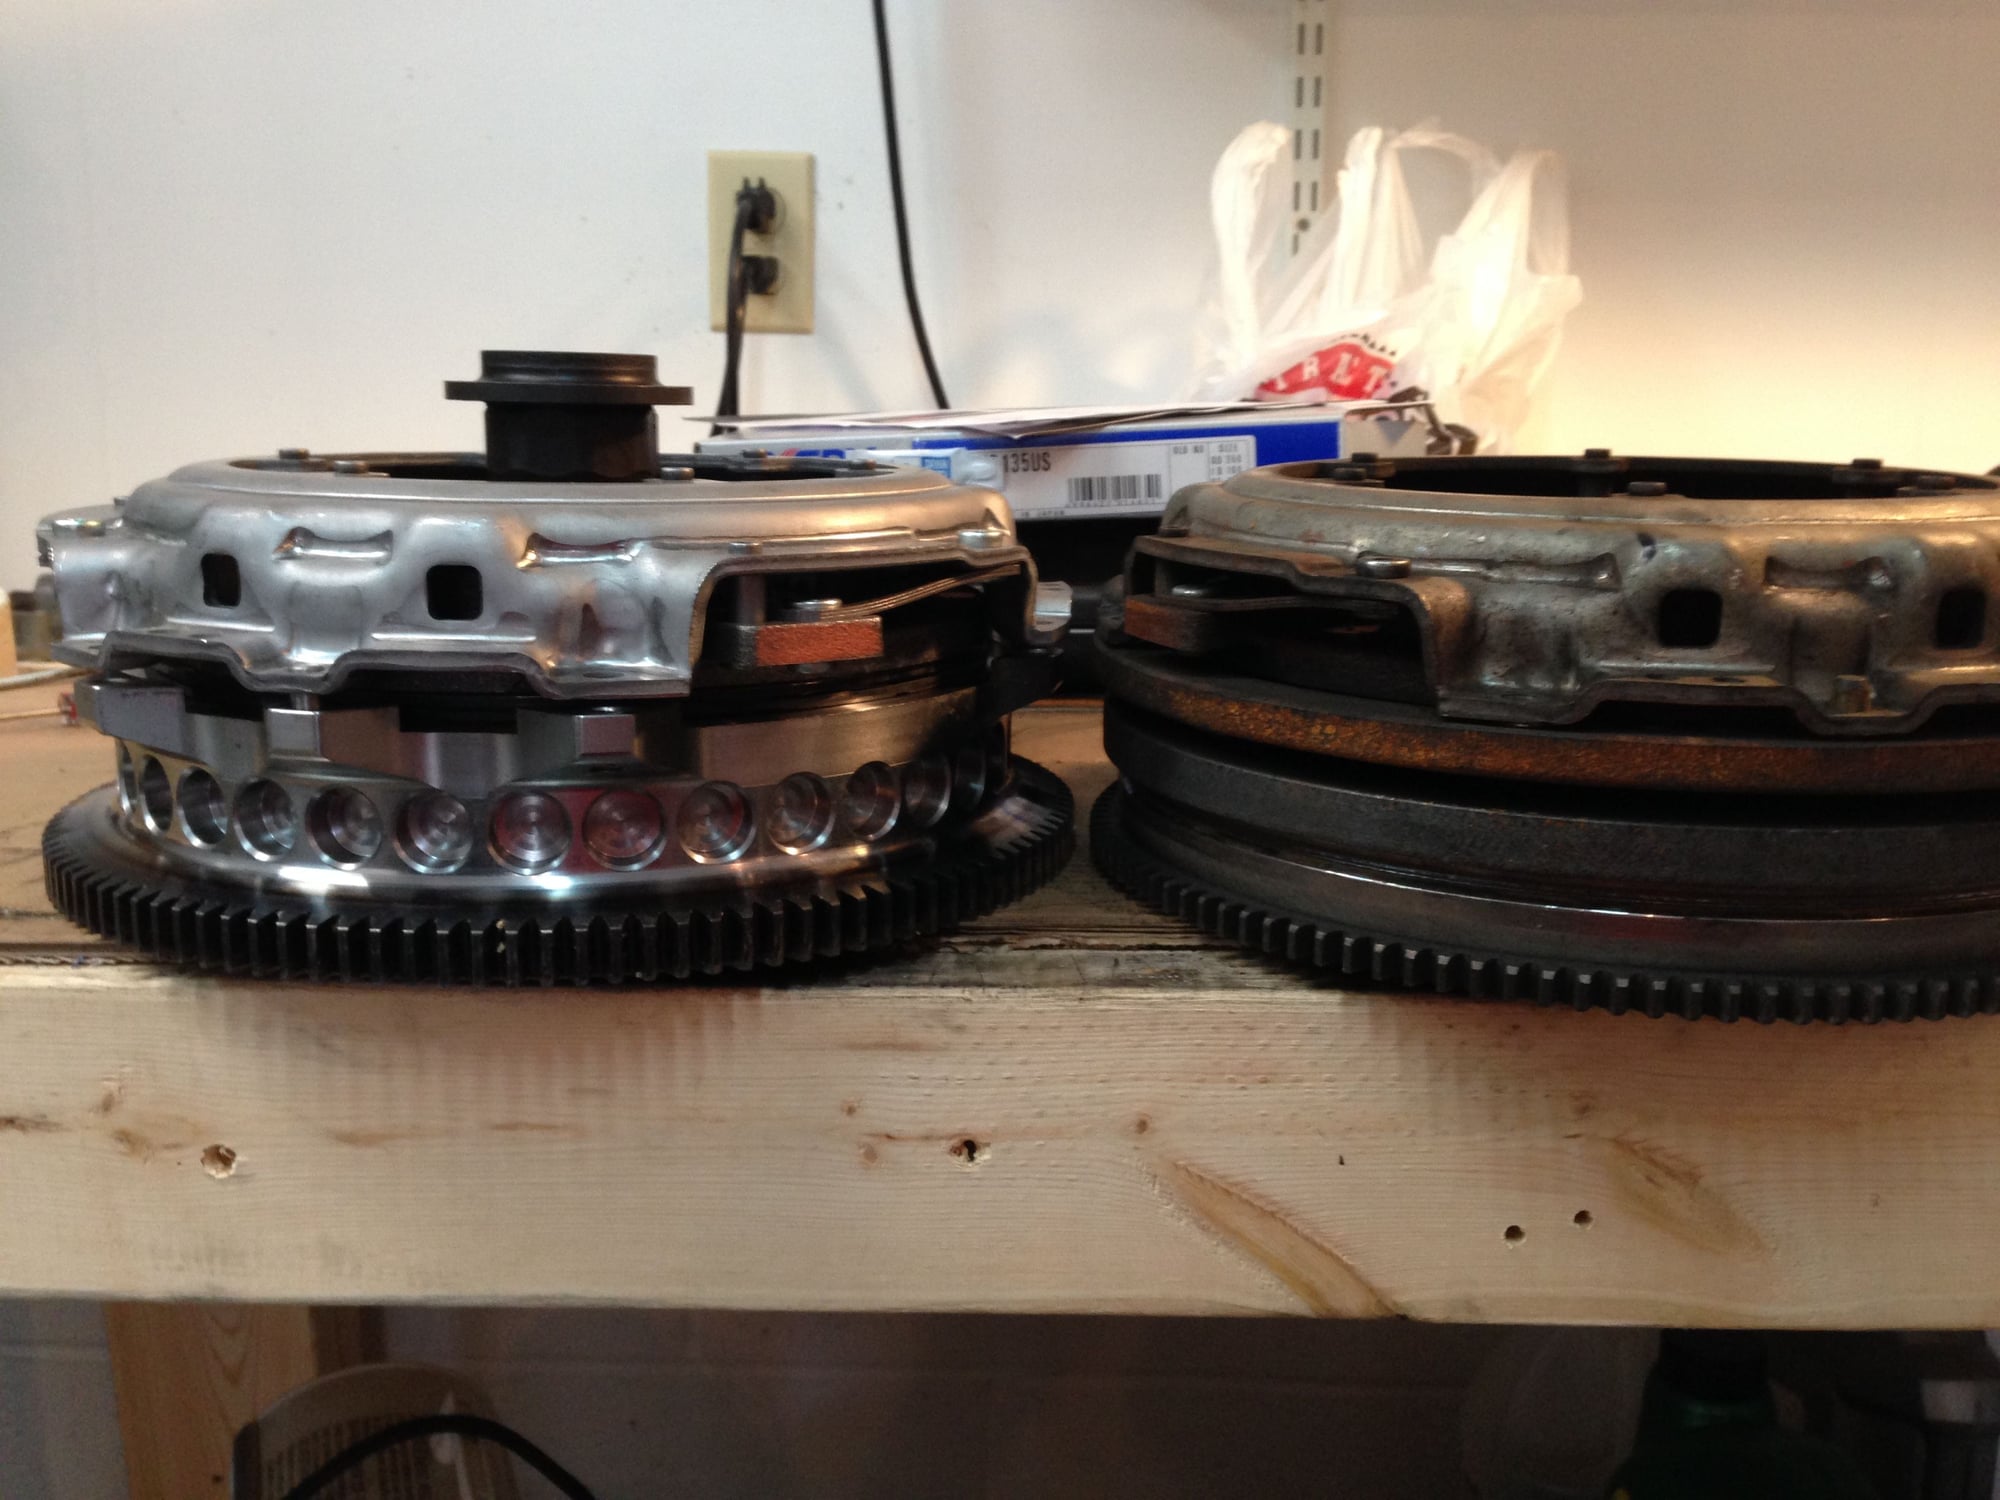
f. The OEM dual mass flywheel - with it on the bench, I can easily turn the inner section back a forth about 45 degrees - appears the internal springs are badly worn, and I suspect this is much of the bouncy feel I got when releasing the clutch in first gear. Likely the source of the marbles sounds as well.
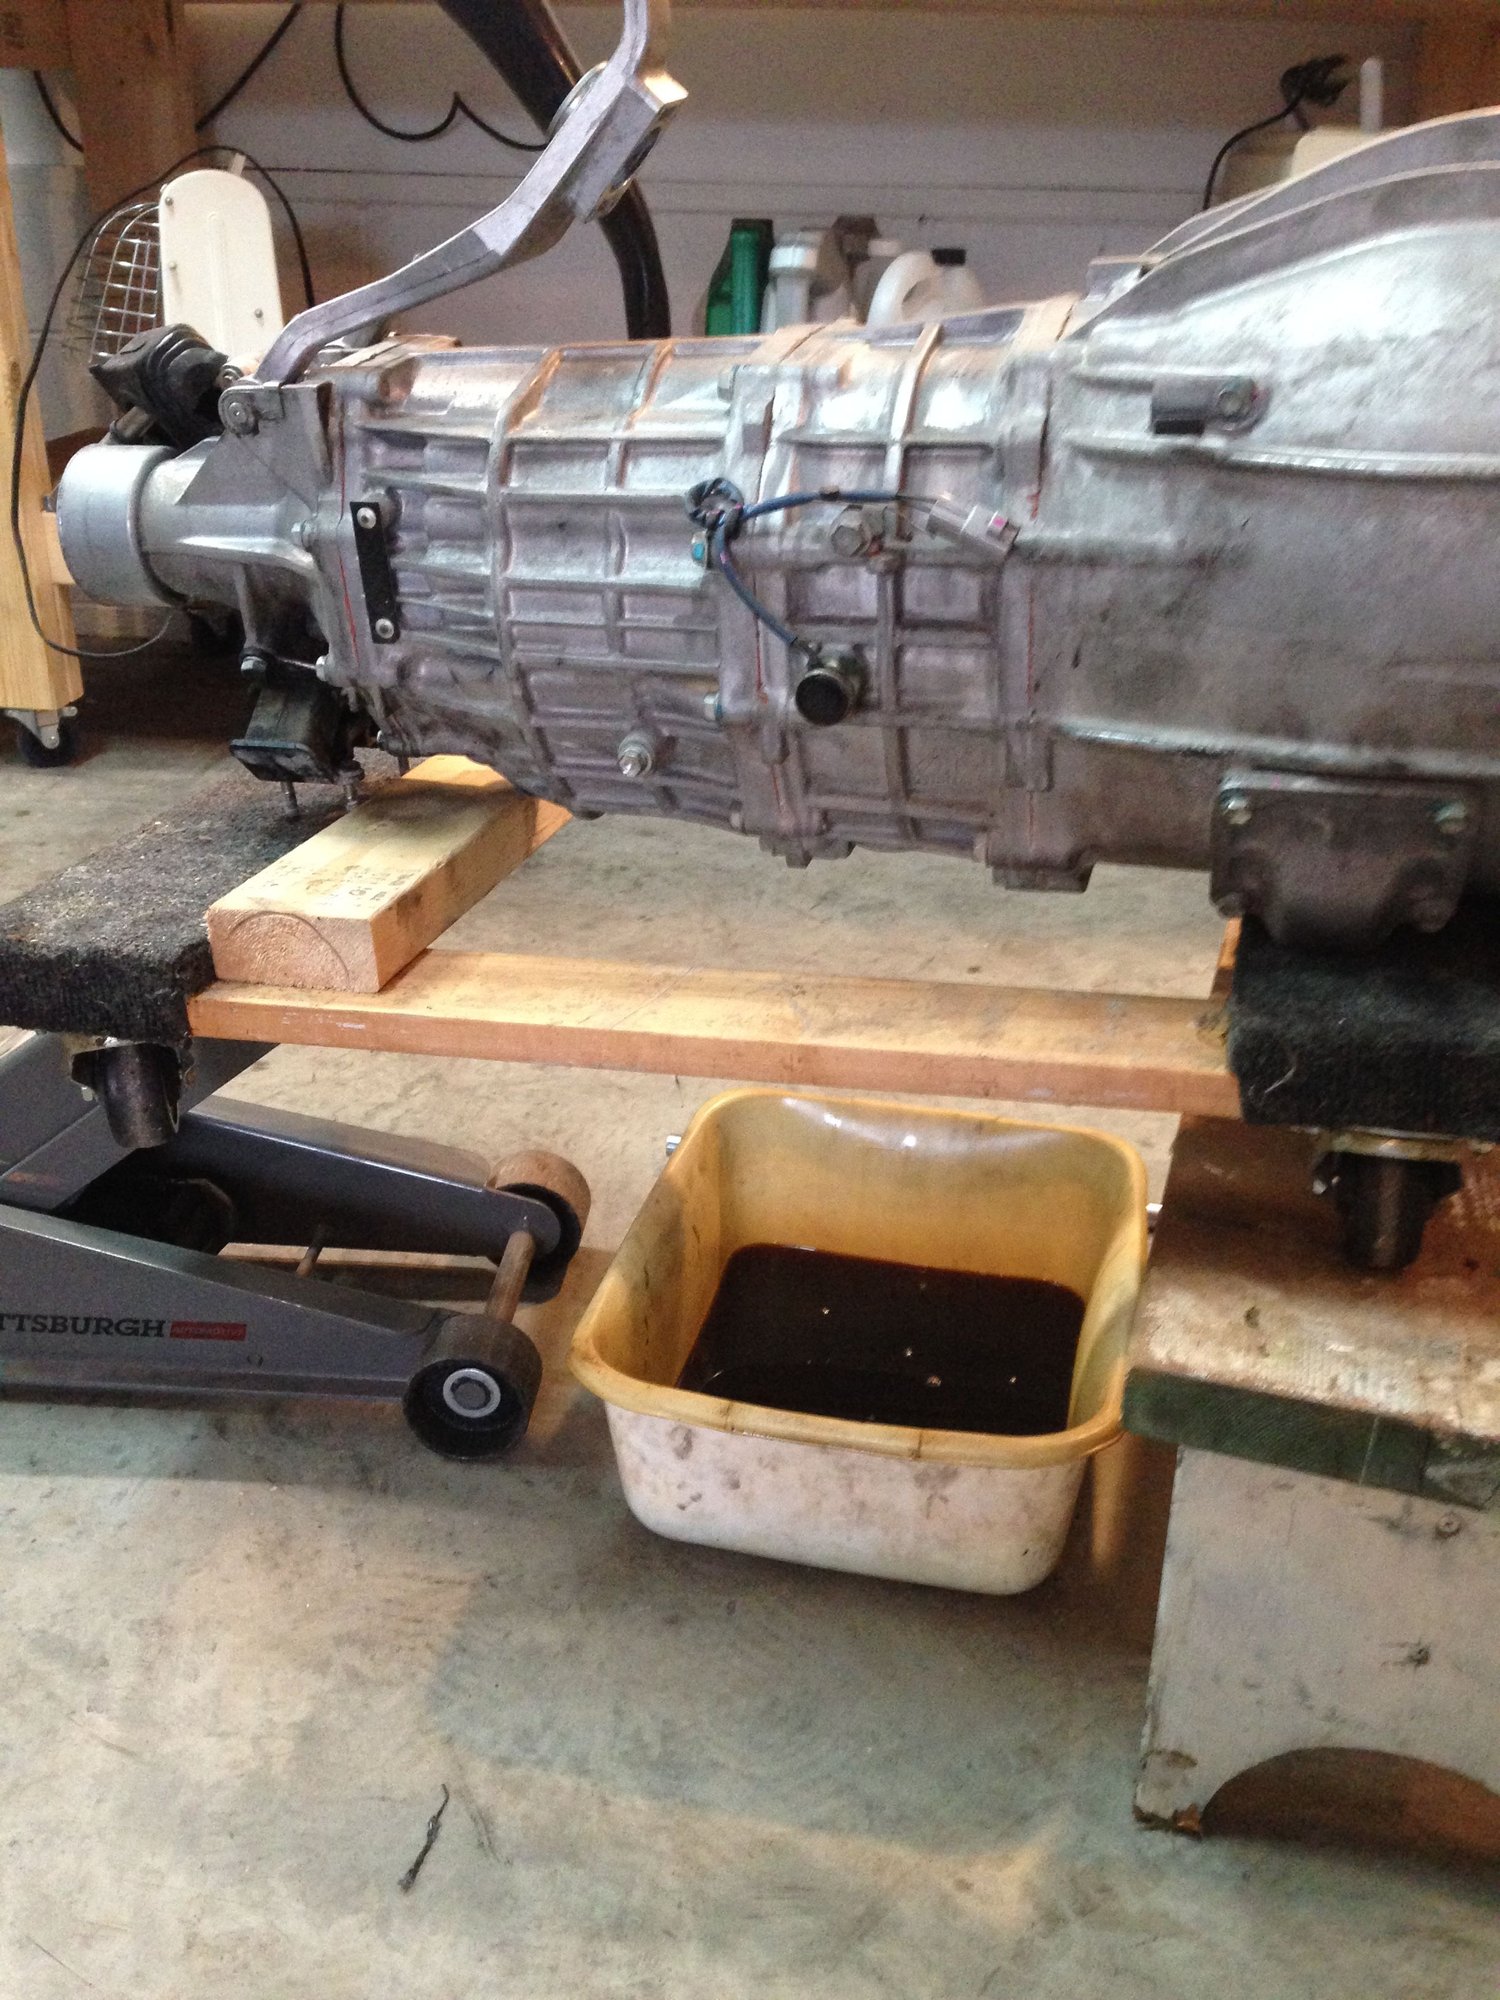
While I had the transmission out I went ahead and drained the oil and refilled with 2 quarts (capacity is 1.90 quarts) of REDLINE 75w-90 manual transmission oil (recommended by many members) I went ahead and filled the trans. while I had it out of the car, then drained out the excess using the side fill hole once I had reinstalled the transmission in the car. ( MUCH easier to fill it with the transmission out of the car.)
Note that the OEM flywheel bolts were way too long for the EXEDY flywheel, I needed flywheel bolts about 25mm long - so I sourced ARP 203-2802 flywheel bolts (10mm 1.25 pitch 27mm length) and ARP 200-8745 washers (3MM thick). The 27mm length was close to bottoming out in the crankshaft – ARP engineer indicated the best way to shorten them was to use their chamfered washers, rather than grinding off 2mm from the bolts. Torque to 70 ft/lbs
After a week of waiting for parts I finally have everything back together. While I cannot comment on other brands of flywheels / clutches, I am extremely happy with the feel of the Exedy clutch / solid flywheel, I’m not sure why Exedy doesn’t have this kit available for the IS250 in the USA. Shipping from Australian was only around 5 days. The Exedy flywheel is about 10 pounds lighter than stock - seems to rev a bit quicker, and engagement is much smoother. Happy wife – happy life!
please advise if any questions!
#2
Driver School Candidate
Thread Starter





The following users liked this post:
Ultra4 (06-13-19)
#5
Driver School Candidate
Thread Starter
other than torque wrench, it was helpful to have large snap ring pliers for the bearing hub although a couple of screwdrivers would have worked as well. I did use an impact wrench to remove the flywheel bolts but a socket wrench and hammer is fine.
#6
Driver School Candidate
Thread Starter
I FORGOT STEP 4 and a half - remove the steering linkage u-joint which is beside the driver side exhaust header.-- makes access to the header bolts and starter motor easier. First mark it's position on both the shaft and knuckle for reassembly, then Remove the two 12mm bolts. The steering u-joint and shaft will first slide upwards off of the steering rack and then down off of the steering shaft to remove it.
The following users liked this post:
brannan20 (12-30-22)
#7
I've been trying to get info from Exedy about the flywheel included with the kit and/or the clutch that fits it. From the pictures it looks like the factory sized clutch disc and pressure plate would be usable on their flywheel (in case you wanted a performance clutch setup that would work on their flywheel).
I like the setup. It looks good, and may actually be enough to have my forego designing my own with a larger diameter disc/heavier pressure plate.
Very interesting, I just wish they sold the flywheel by itself. I don't need their clutch setup.
Thanks for posting!
Jeff
I like the setup. It looks good, and may actually be enough to have my forego designing my own with a larger diameter disc/heavier pressure plate.
Very interesting, I just wish they sold the flywheel by itself. I don't need their clutch setup.
Thanks for posting!
Jeff
Trending Topics
#11
Driver School Candidate
Thread Starter
I was working from a mixture of IS300 manual trans. and IS250 automatic transmission instructions which called for removing both manifolds.
I would agree you could skip removing the manifold and possibly the steering knuckle, although with it removed it made access to the top bell housing bolts and starter much easier... I also pulled out my center console and shifter assembly, only to realize later it wasn't absolutely necessary. Thus the write-up to hopefully help others... thanks for the input.
I would agree you could skip removing the manifold and possibly the steering knuckle, although with it removed it made access to the top bell housing bolts and starter much easier... I also pulled out my center console and shifter assembly, only to realize later it wasn't absolutely necessary. Thus the write-up to hopefully help others... thanks for the input.
#12
I was working from a mixture of IS300 manual trans. and IS250 automatic transmission instructions which called for removing both manifolds.
I would agree you could skip removing the manifold and possibly the steering knuckle, although with it removed it made access to the top bell housing bolts and starter much easier... I also pulled out my center console and shifter assembly, only to realize later it wasn't absolutely necessary. Thus the write-up to hopefully help others... thanks for the input.
I would agree you could skip removing the manifold and possibly the steering knuckle, although with it removed it made access to the top bell housing bolts and starter much easier... I also pulled out my center console and shifter assembly, only to realize later it wasn't absolutely necessary. Thus the write-up to hopefully help others... thanks for the input.


