When you click on links to various merchants on this site and make a purchase, this can result in this site earning a commission. Affiliate programs and affiliations include, but are not limited to, the eBay Partner Network.
Finally got around to this. What a job! Got most of the parts from one donor car but had to source some other items.
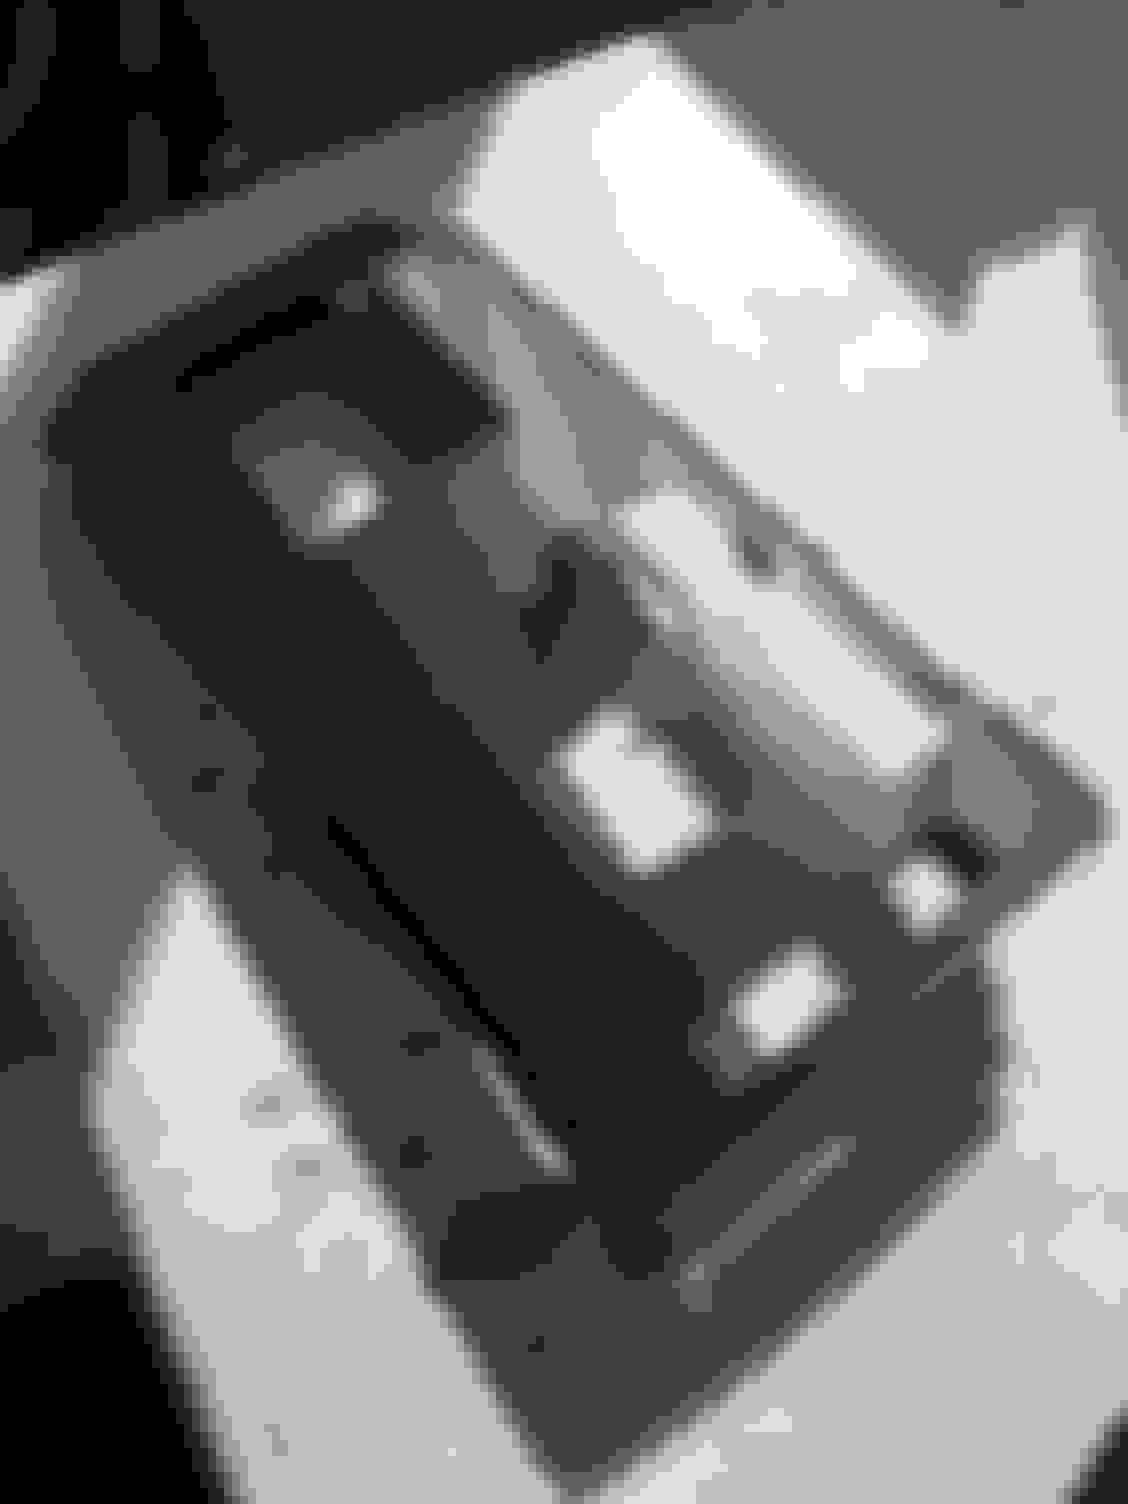
Donor 1. Seats, door panels most of the door trim next to rubber. Seat belts adjuster in the b piller. All the plastic bits and pieces. Donor 2. Glove box, black carpet, 3 door trim pieces that are next to latch.
Donor 3. Black sun visors from an F sport misc plastic trim
Donor 4. F streering wheel.
Donor 5. My stuff headliner, a, b, c pillers, package deck dyed black.
Donor 6. Streering or drivers side cover below instruments.
The only thing I did not change was knee bags so I painted them black with a vinyl dye paint by Dupli-Color. Matched very good and as long as a knife is not used to scratch they hold color very well. They are up far enough away so they don't get kicked.
Dyed my headliner black using a product called Jacquard Screen Printing Ink with an added fixer added when used that's called Air Stop. Buy it from Darmha Trading co. It's an awesome product not paint. Fabrics soak it up and once set won't come out or rub off on your hand.
Had the carpet professionally cleaned at a detailer for 3O bucks and let it air dry for 4 days.
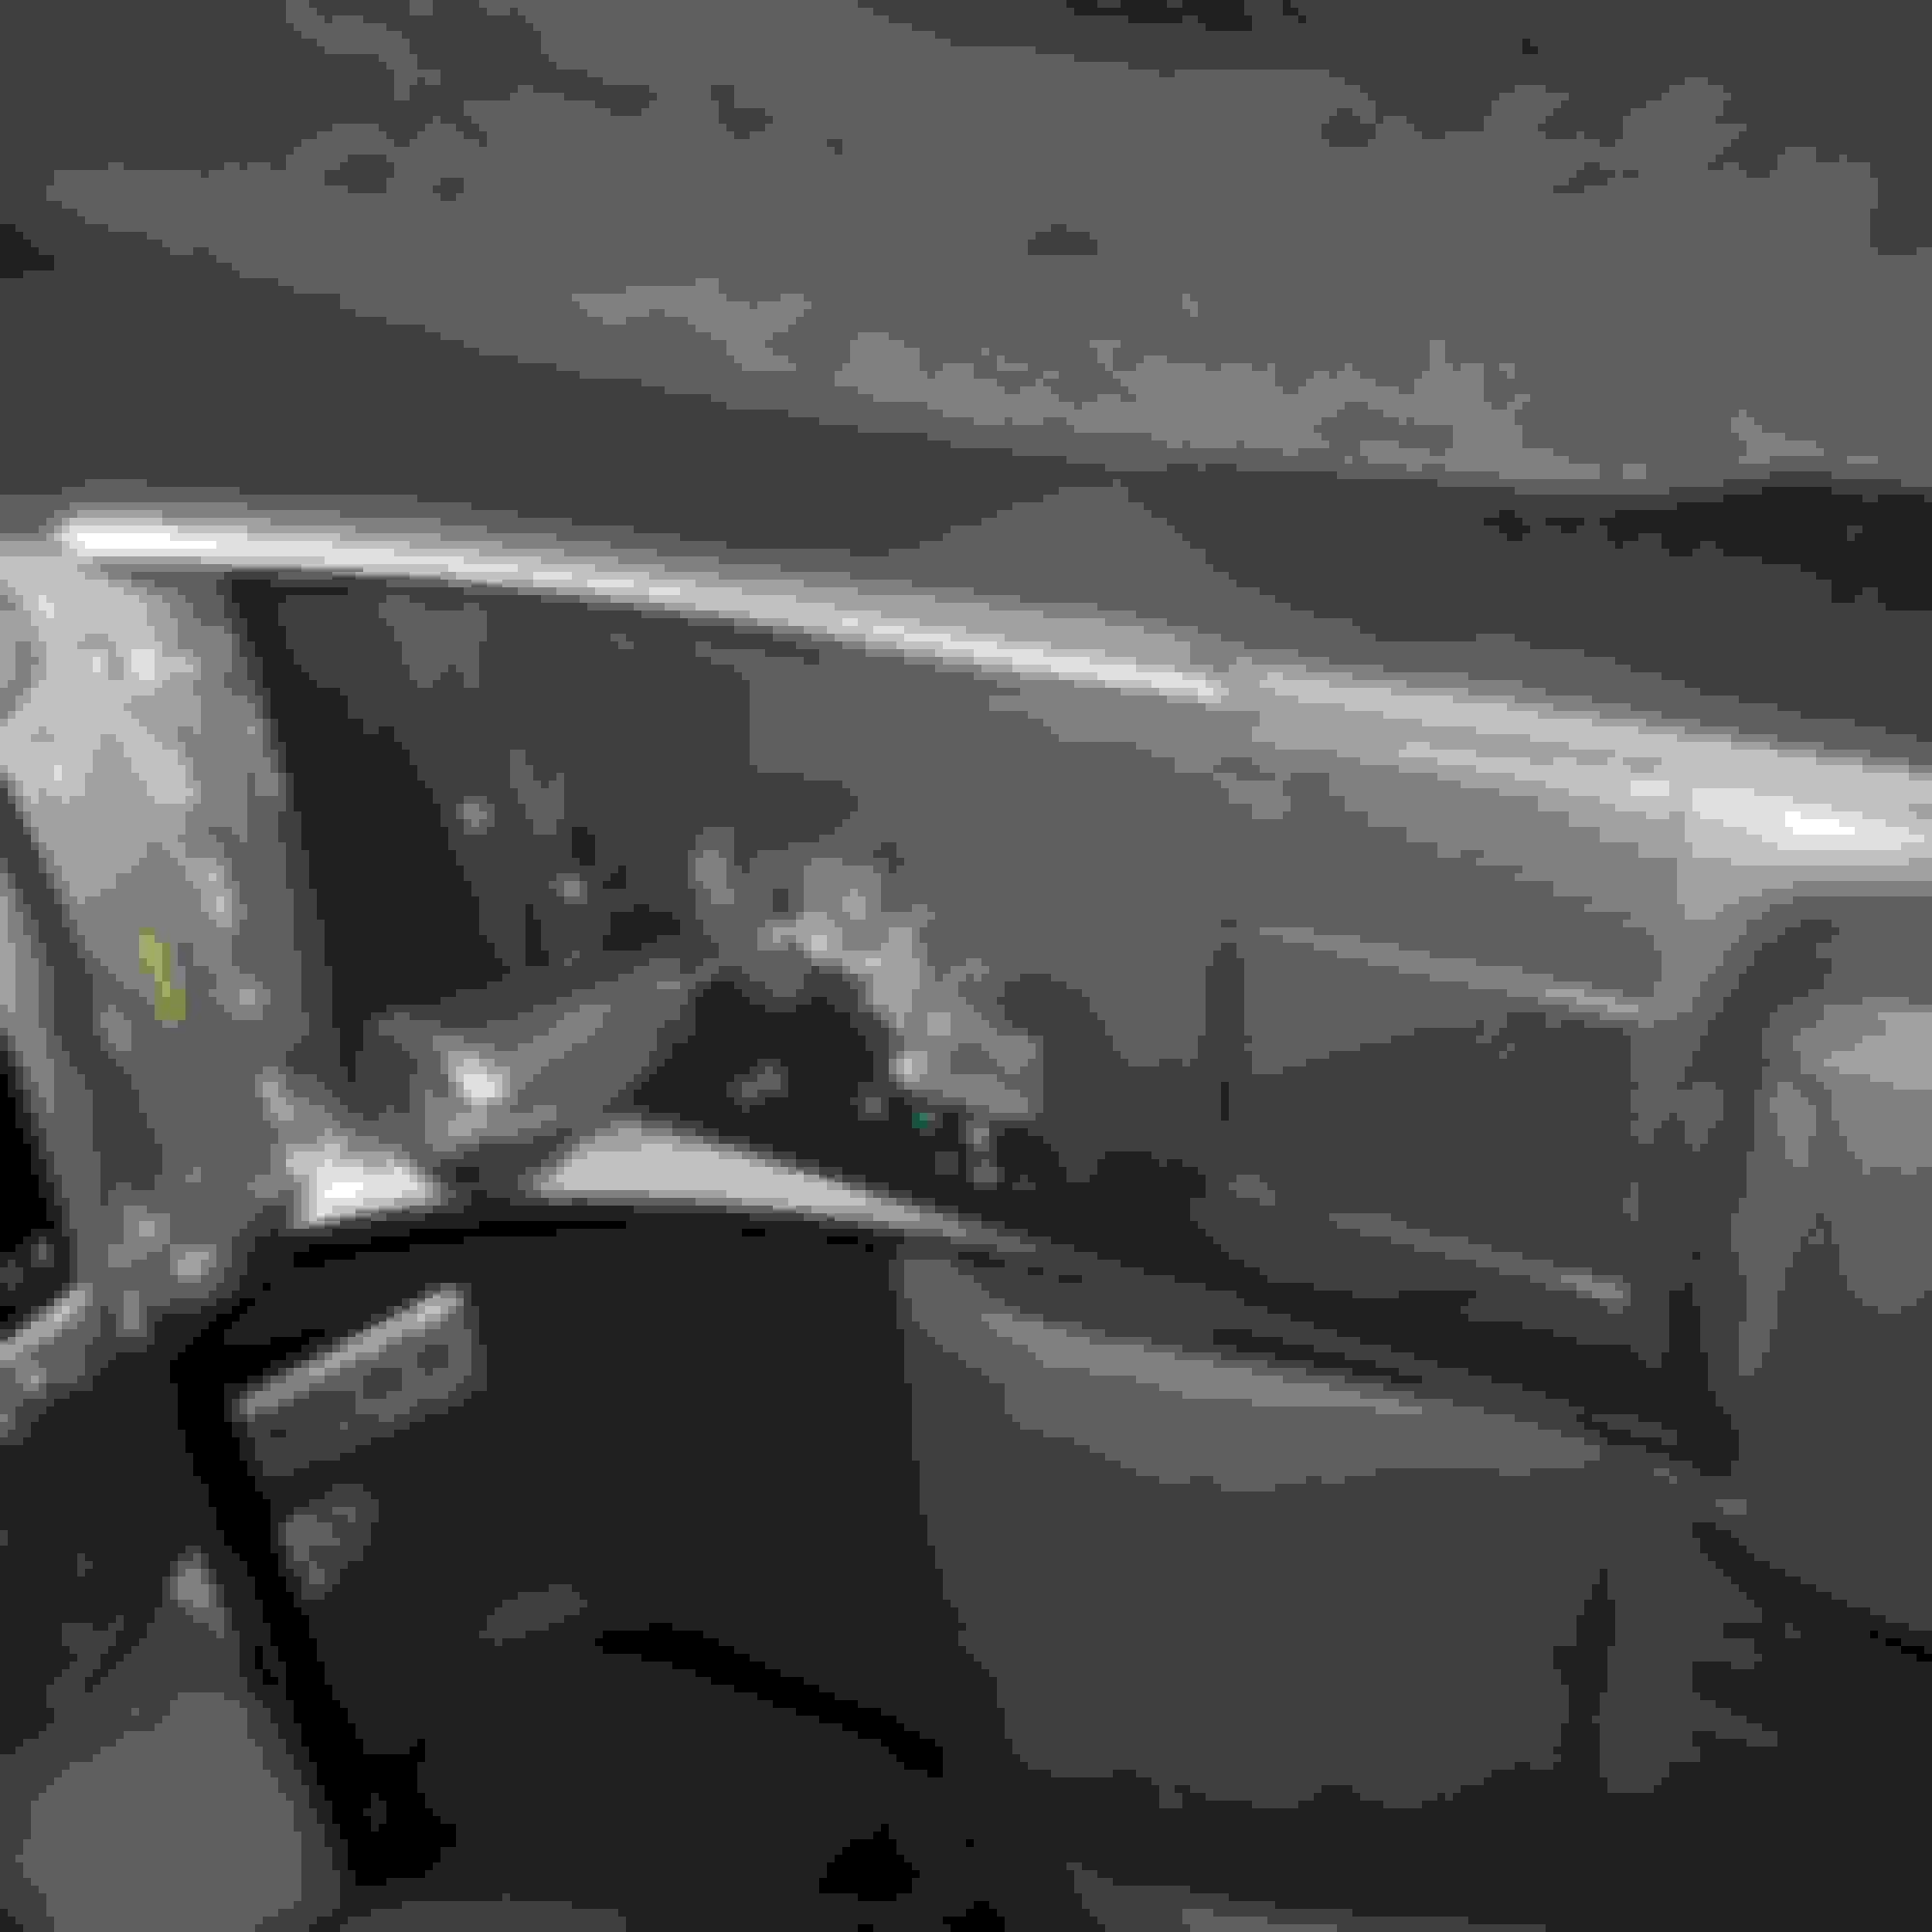
Had to repair some of the insides of the door panels where the clips pins go as the yard broke them off. Ended up removing one from my old panels removing the heat glue and heat gluing on to the ones I used. Had to do that 3 times.
For the mean time I am using grey headline switch and light rear with grey roof handles.
Carbon fiber hydro dipped the shift console and door switches.
One thing learned was they sometimes change stuff between model years that does not let one just transfer parts. I was going to install 2014 ISF or F Sport seats with grey over stitch. None of the connector were the same and if they were the pins different. So I ended up getting black leather seats from a 2009. The drivers seat plugged right in. The passenger seat in the 2007 (my car) uses a passenger sensor different then what they use now. I could move the seat motors and plug In side air bag but not sensor. That threw a CEL and shut off dash air bag. To get that to work I had the donor seat leather with all the black trim transferred to the original seat frame. Now I have the sensor back and it's fine.
While I was playing around with seats I had the seat bottom replaced on the driver seat and the bolsters raised 1/2 inch to grab me better. I learned leather does not come perforated. They have to order up a piece that way. No big deal just another thing to deal with.
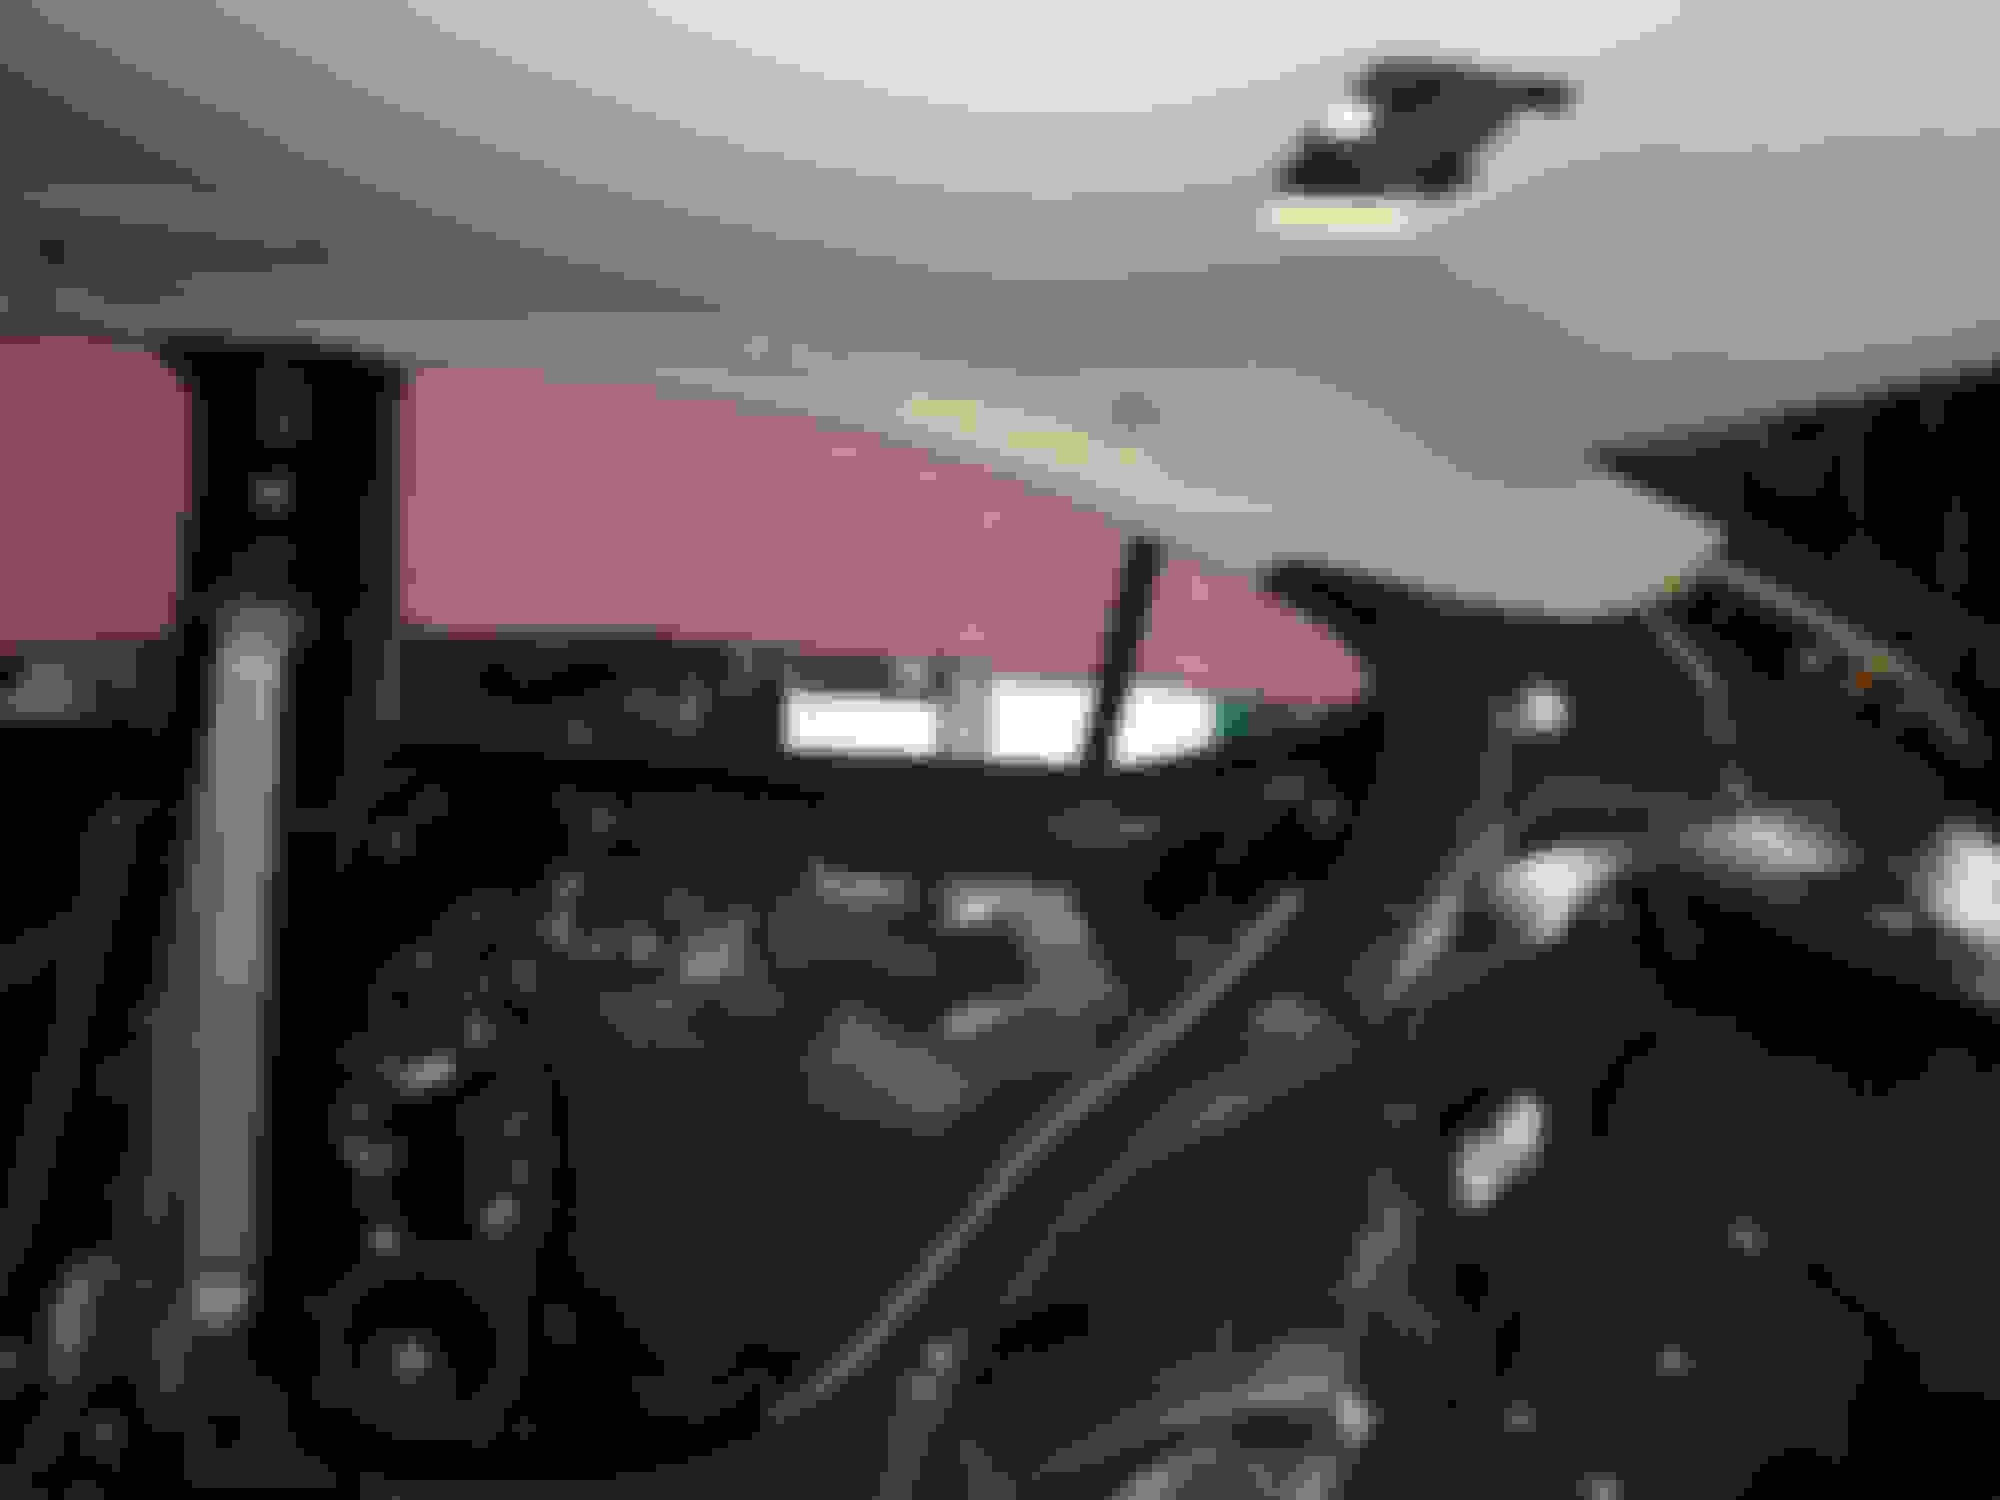
All in all very pleased. Looks factory with my added touches. The dye job came out better than I thought it would and BTW I dyed the headliner IN PLACE. Saw it done once just be patient and strip the car out and cover with plastic.
I modified a hand sprayer to spray semi-up wards and learned how to manipulate the dye in the fabric with a flat paint brush to spread it out in the fabrics.
If if any one wants to duplicate any of this just let me know and I will show you.
What dye did you use on the pillars? I've been thinking about switching out my pillars for black ones, along with my door panels, just not sure how it'd look leaving my white seats... Got any pics of the finished headliner? Surprised you didn't make a mess spraying the headliner inside.
I'll post a pic. Oh yeah it made a heck of a mess but everything was stripped out except the dash , wheel and center. I just covered them with plastic to keep the direct spray off. Tape off the windows. Part of the process is manipulating the dye on the surface. I just saturated and took a flat brush ( looks like carpet) and move the dye around till it was even. Different brushes for different areas. When I missed a spot in a tight spot just dab it with some dye. Then result is very even coverage I would say 9 out of 10. If I would have had the headliner out would have been easier.
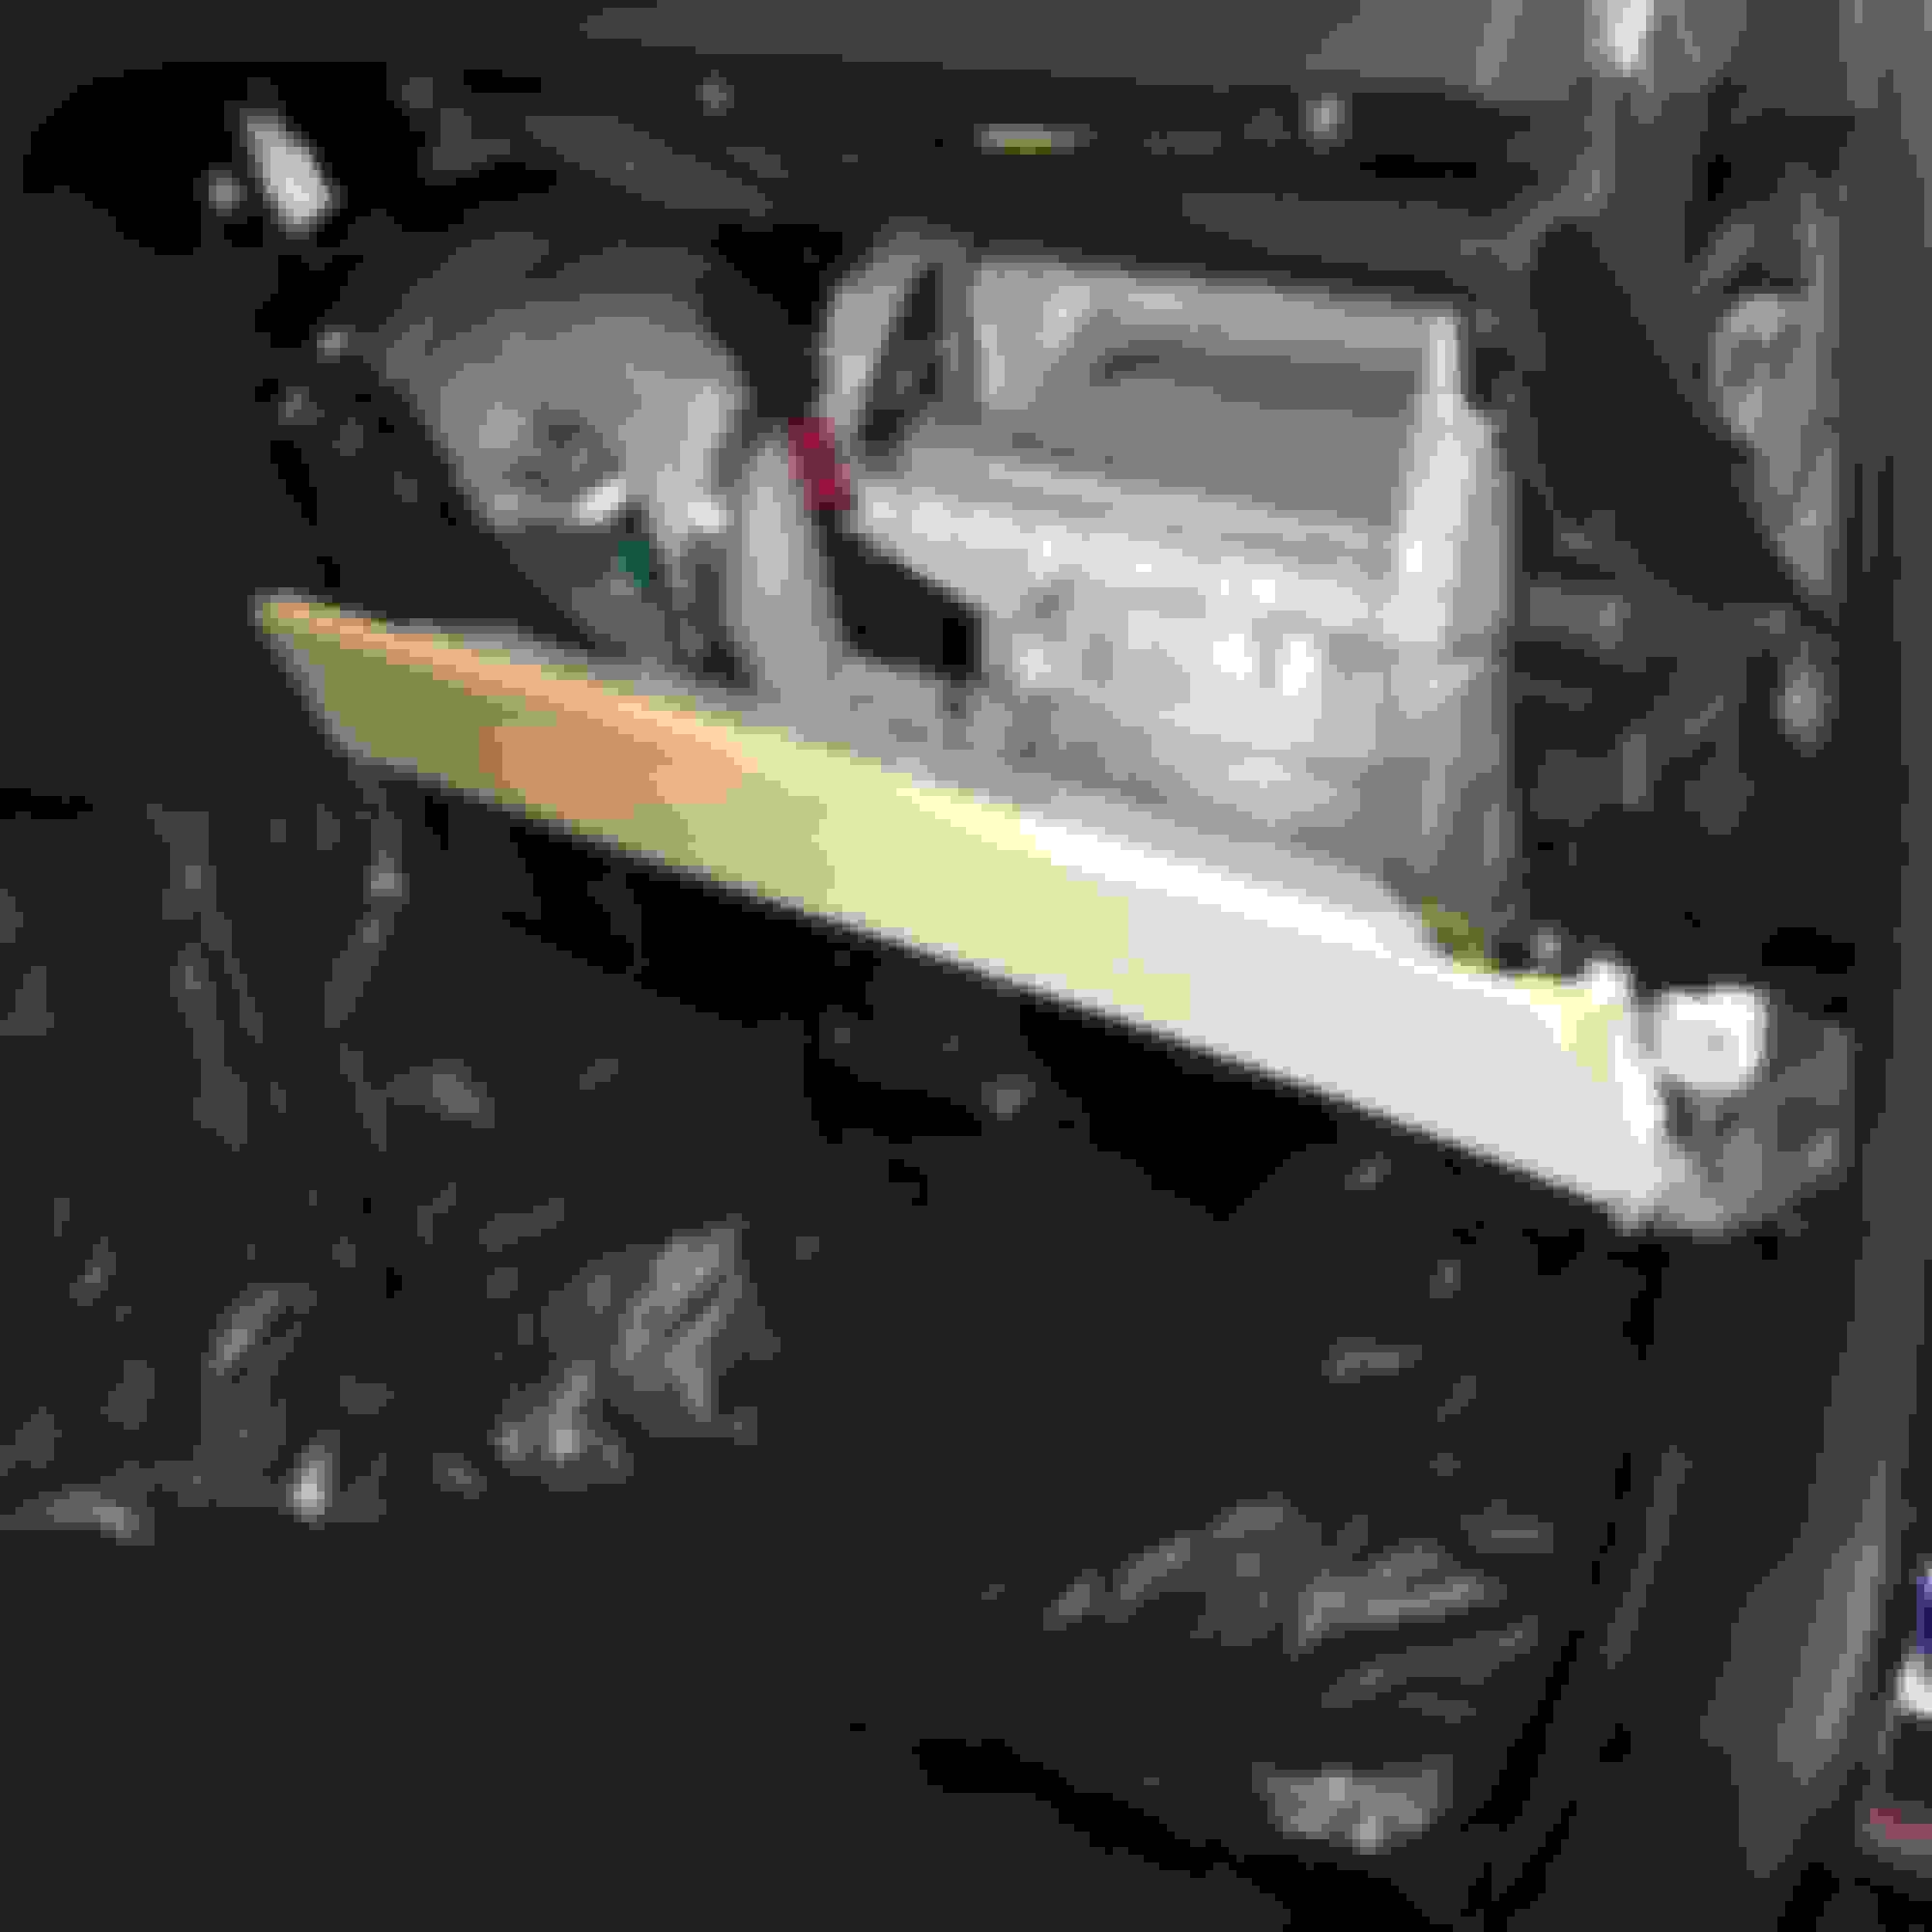
The package tray turned out 10 out of 10 because I could spray it at 90 degrees to the spray head.
The thing that makes it work is the dye itself. It's easy to control and water soluble till it dries then it's permanent.
If your going try it get the stuff in the text. It is pudding consistency cut with water about 1/4 or till you can pump it out the spray bottle. You can also roll it on using a weenie roller and dragging the roller over the fabric. Name of th place is called Dharma Trading. As for Paris. Tell her your dying your car interior like Roy did. She will walk you though the basics.
If you are going to do it order up a test interior piece and practice on it before you do yours. I also have 2 A pillers and 2 C pillers. They started out grey that I tested on. I was going to install them but found that different base colors end up differnt subtle shades different. Right next to a tan dyed piece , the grey dyed piece looked blacker. I used all my existing tan pieces for a uniform look. I'll sell you the four pieces. Just get the center piller piece and dye it. You will have to deal with the belt vertical adjuster though. I got a black one and installed in my piece. I did have to trim the plastic a tiny bit to fit but it works fine. Funny how from one year to another they change little things.

 08-16-16, 04:46 PM