When you click on links to various merchants on this site and make a purchase, this can result in this site earning a commission. Affiliate programs and affiliations include, but are not limited to, the eBay Partner Network.
As several Toyota/Lexus owners have reported, the locking tab for the ignition coil connector seems to break off after some time due to heat and wear. For my wife's 2007 Lexus IS250, 2 of the 6 connectors have broken off. Temporarily, I just had it connected without the locking tab which did work fine but since it was my wife's car, I wanted to fix it.
I did some searching which had following suggestions:
1. Leave it as is as it would be highly unlikely to come loose.
2. Put a dab of silicone or RTV to keep it in place.
3. Use zip tie to keep it in place.
4. Replace the connector housing.
I've decided to replace the connector housing.
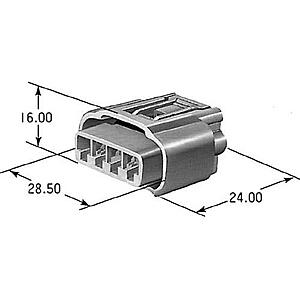
The part number for the connector housing for the 2007 Lexus IS250 is 90980-11885.
I then got following pricing:
1. Purchase directly from the Lexus dealer for housing only - $14 each.
2. Purchase directly from the Toyota dealer for the housing only - $8 each.
3. Purchase Six compatible generic brand through Ebay which includes short leads - $20 to $30 ($3.50 to $5 each).
4. Purchase Six used Toyota/Lexus connectors with leads through Ebay - $20 to 30 ($3.50 to $5 each).
I've ended up purchasing used Toyota/Lexus connectors as I wasn't comfortable with generic brand, having spare short leads may become useful later, and the price was more reasonable than brand new from Toyota dealer.
So here's what I did.
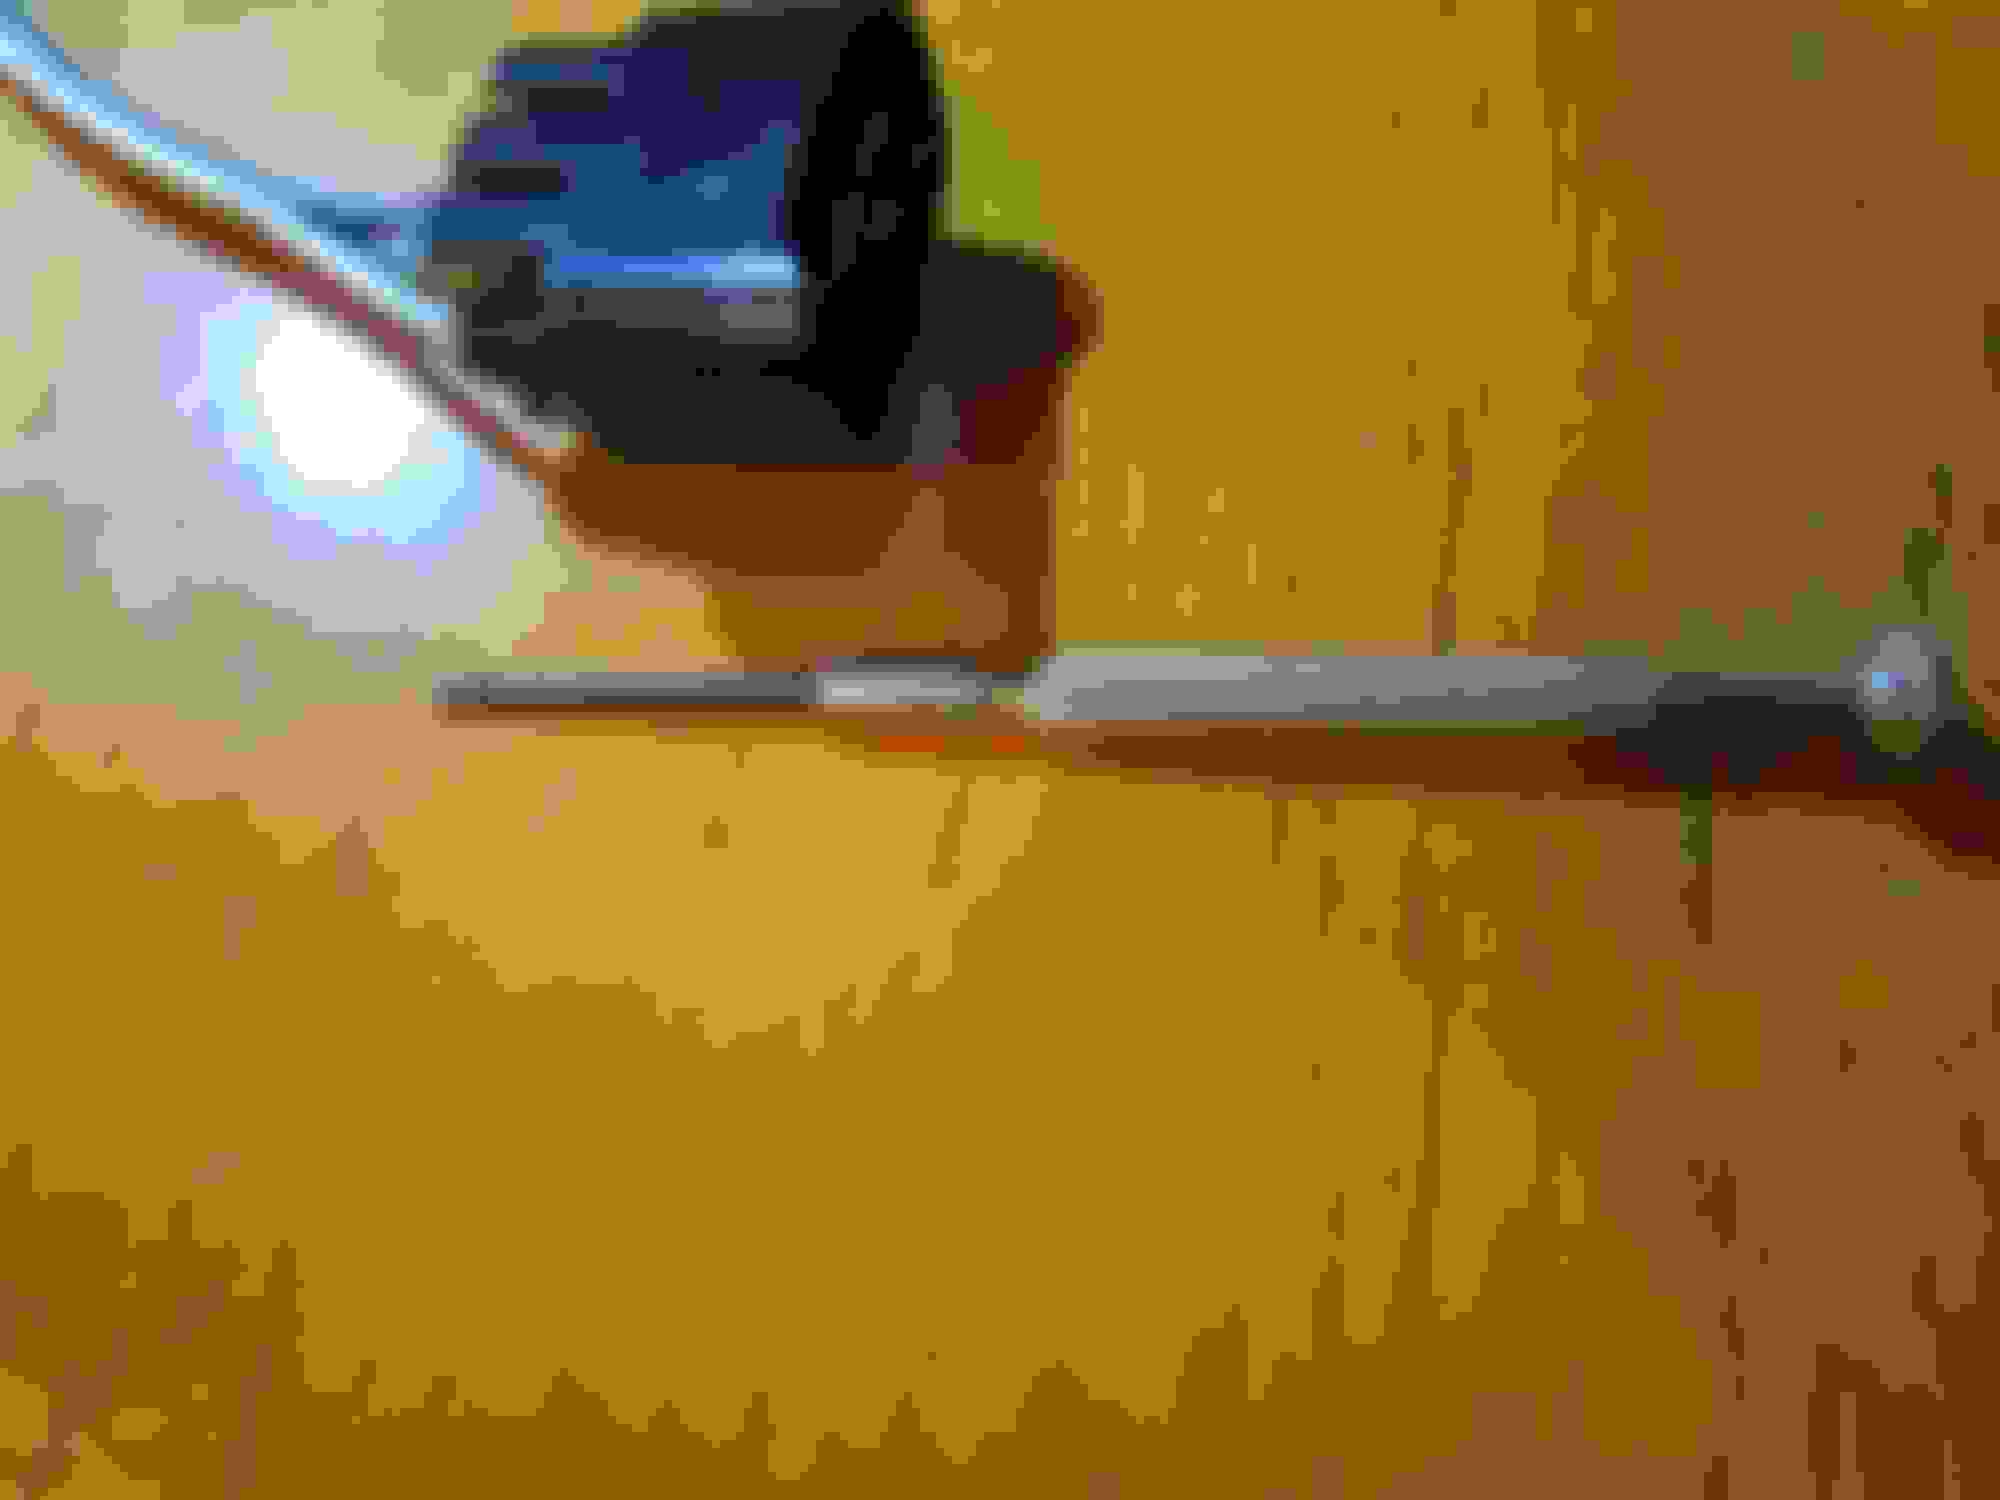
One of the broken connectors
Purchased Lisle 56500 terminal tool and used Toyota/Lexus connectors with leads. I had small concern that used connectors would also have some wear/brittle issue but these were in good shape.
I ended up not using the Lisle tool. Instead, all I used was the small screw driver.
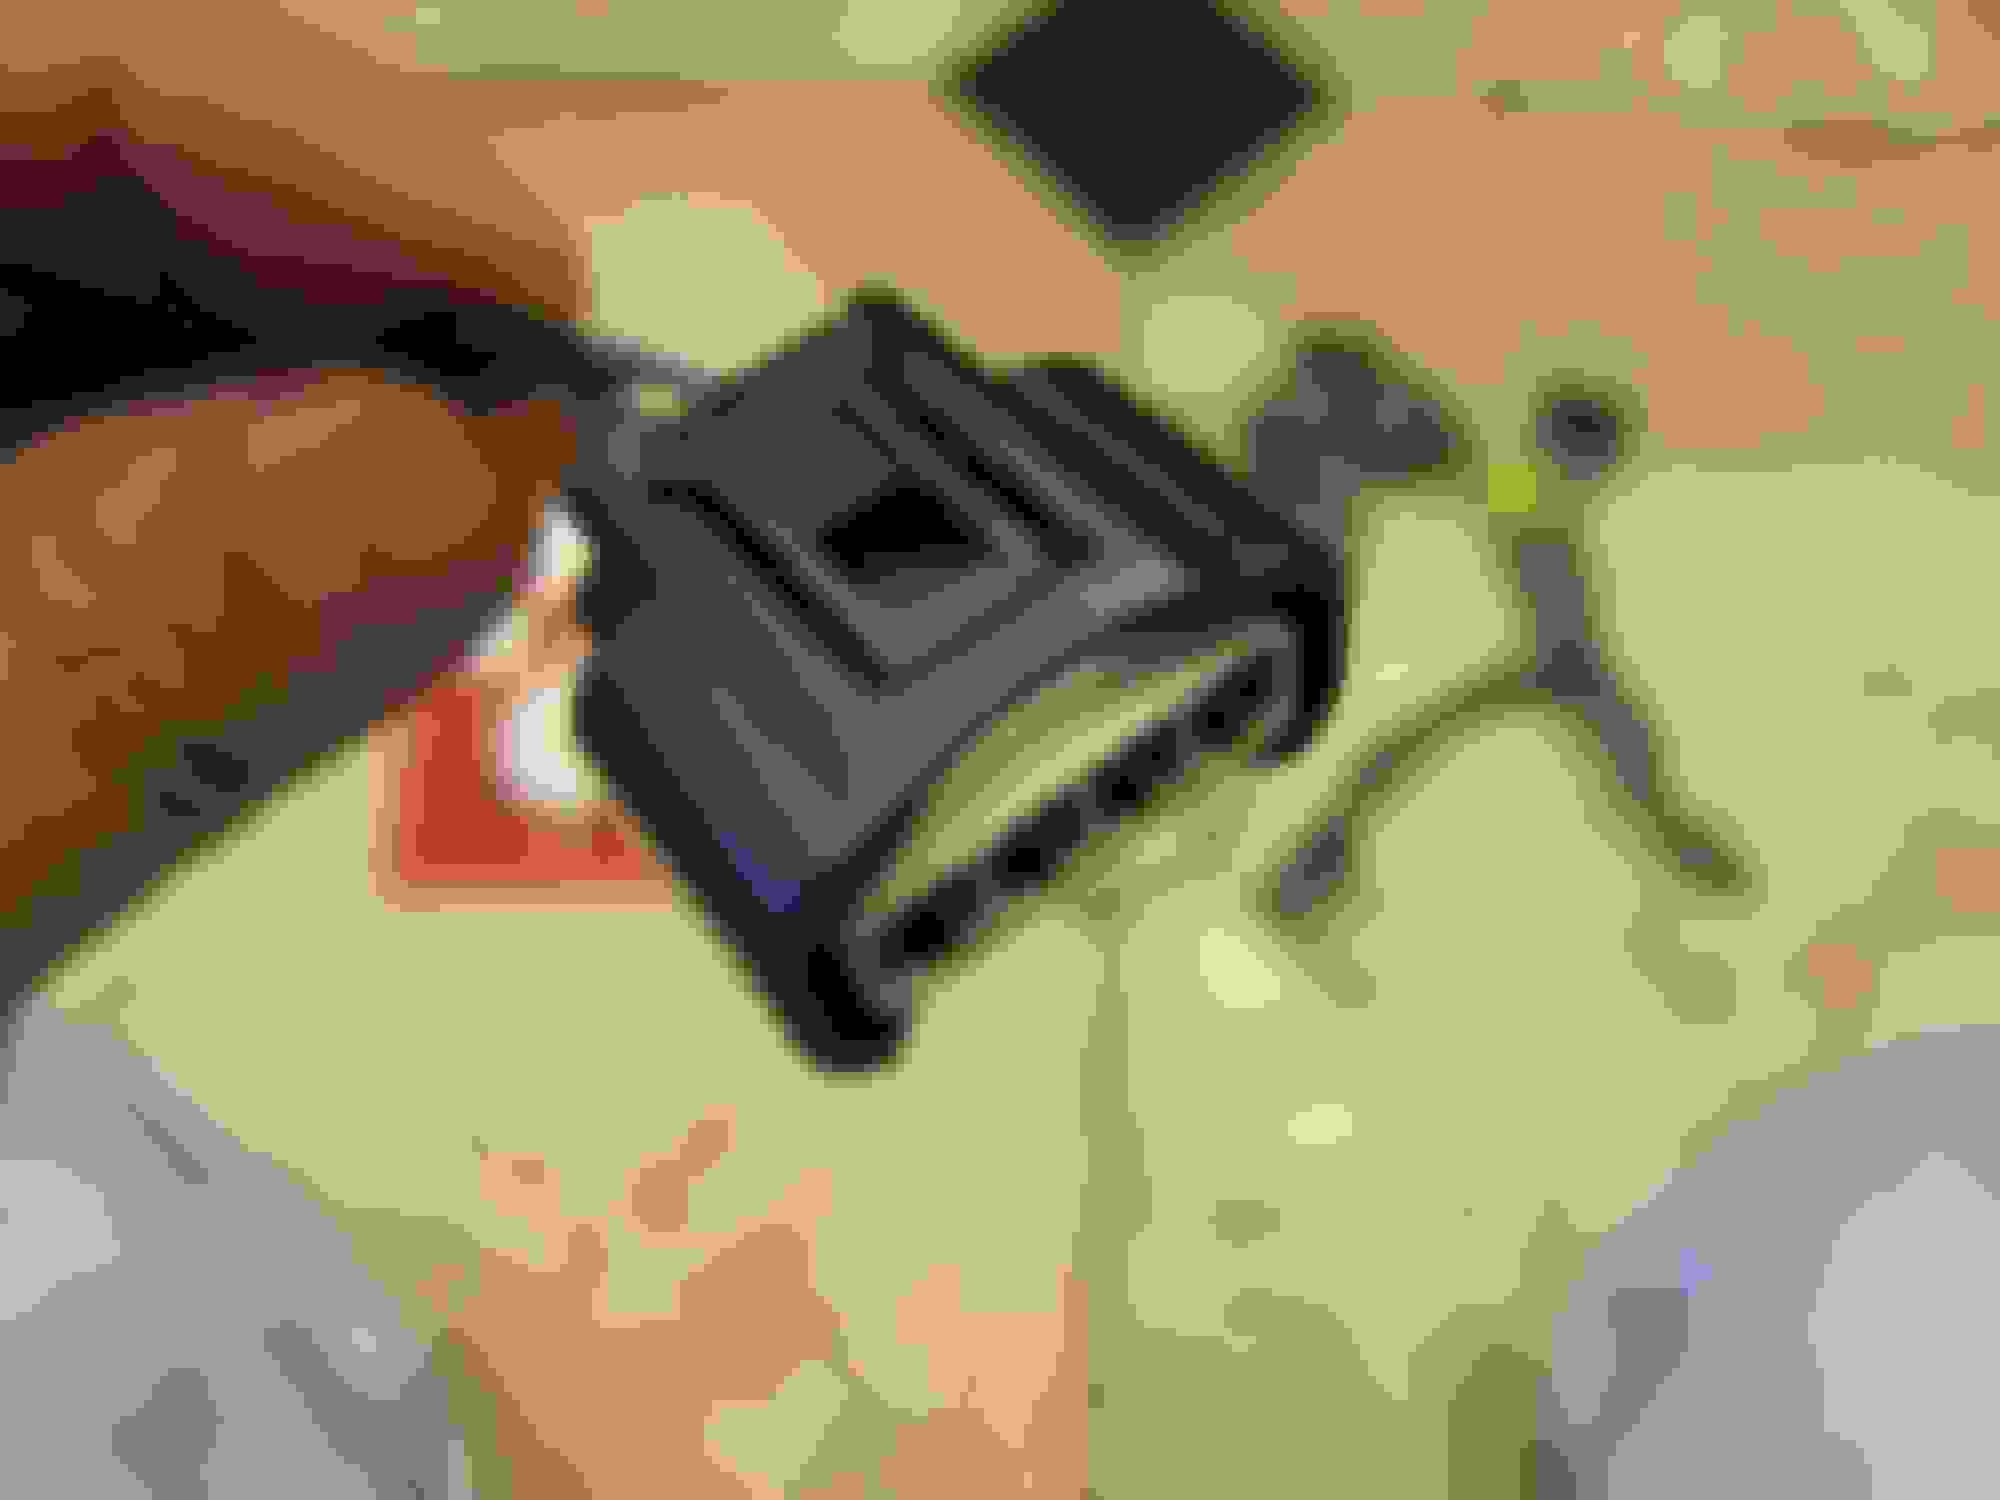
Here's the replacement connector
First step is to take the small screw driver, insert it in the notch, and push the white casing up.
You should hear a click when the white casing is up. You can then squeeze the white casing and pull it to take it out.
Here's what the inside looks like when the white casing is out. Now in order to release the leads, you need to push each individual black tabs (4 of them since there are 4 wires) in the outward direction. In this picture, that would be down.
Once you have the internal black tab pushed outwards, you can pull the leads and it will come off. I then put the wires back in the new connector housing (make sure the wire orientation is the same as it came out) and you should hear a "click". I also suggest taking a picture of which wire color goes where prior to disconnecting so that you won't make a mistake of putting the wire in the wrong location. For me, I took one step further and disconnected and connected the wires, one by one, before disconnecting the next wire.
Overall, it wasn't too difficult once you get the hang of how to disconnect the lead.
One additional suggestion is to be very careful on pulling the wire leads in the engine compartment as you can potentially damage the wire. I also suggest disconnecting the battery as added precaution.
If you have any questions, I can try to answer them but please note, as usual, that any information you used here will be at your own risk.
Same thing happened to me after doing my plugs. I did the zip tie method for now. Good to know there are options if I ever felt inclined to correctly fix.
As several Toyota/Lexus owners have reported, the locking tab for the ignition coil connector seems to break off after some time due to heat and wear. For my wife's 2007 Lexus IS250, 2 of the 6 connectors have broken off. Temporarily, I just had it connected without the locking tab which did work fine but since it was my wife's car, I wanted to fix it.
I did some searching which had following suggestions:
1. Leave it as is as it would be highly unlikely to come loose.
2. Put a dab of silicone or RTV to keep it in place.
3. Use zip tie to keep it in place.
4. Replace the connector housing.
I've decided to replace the connector housing.
The part number for the connector housing for the 2007 Lexus IS250 is 90980-11885.
I then got following pricing:
1. Purchase directly from the Lexus dealer for housing only - $14 each.
2. Purchase directly from the Toyota dealer for the housing only - $8 each.
3. Purchase Six compatible generic brand through Ebay which includes short leads - $20 to $30 ($3.50 to $5 each).
4. Purchase Six used Toyota/Lexus connectors with leads through Ebay - $20 to 30 ($3.50 to $5 each).
I've ended up purchasing used Toyota/Lexus connectors as I wasn't comfortable with generic brand, having spare short leads may become useful later, and the price was more reasonable than brand new from Toyota dealer.
So here's what I did.
One of the broken connectors
Purchased Lisle 56500 terminal tool and used Toyota/Lexus connectors with leads. I had small concern that used connectors would also have some wear/brittle issue but these were in good shape.
I ended up not using the Lisle tool. Instead, all I used was the small screw driver.
Here's the replacement connector
First step is to take the small screw driver, insert it in the notch, and push the white casing up.
You should hear a click when the white casing is up. You can then squeeze the white casing and pull it to take it out.
Here's what the inside looks like when the white casing is out. Now in order to release the leads, you need to push each individual black tabs (4 of them since there are 4 wires) in the outward direction. In this picture, that would be down.
Once you have the internal black tab pushed outwards, you can pull the leads and it will come off. I then put the wires back in the new connector housing (make sure the wire orientation is the same as it came out) and you should hear a "click". I also suggest taking a picture of which wire color goes where prior to disconnecting so that you won't make a mistake of putting the wire in the wrong location. For me, I took one step further and disconnected and connected the wires, one by one, before disconnecting the next wire.
Overall, it wasn't too difficult once you get the hang of how to disconnect the lead.
One additional suggestion is to be very careful on pulling the wire leads in the engine compartment as you can potentially damage the wire. I also suggest disconnecting the battery as added precaution.
If you have any questions, I can try to answer them but please note, as usual, that any information you used here will be at your own risk.
Does any on have a schematic for the coils? My #3 broke and crumbled.
Does any on have a schematic for the coils? My #3 broke and crumbled.
I was able to buy the Denso replacements and repair each of the connectors. I followed the post for repairing them. It was great.
My my new problem is the wiring on the number 3 coil came out all at once and I might have got them crossed. I need the wiring for the connector. I put the wires in the order they looked like they came out. Since it is under the intake in the back of the engine I would like to know for sure.
Toyota/Lexus Part Number: 90980-11885 (Housing Only, available online for $5-10 USD ea) - if required Toyota sells repair wires with terminals crimped on, part number: 82998-12790
Dorman Part Number: 645-940, these (or equivalent) can be found for around $3 USD ea and often come in sets
GM Part Number: 88974044
Original manufacturer: Yazaki
Housing Part Number: 7283-7449
Terminal Part Number: 7116-4025
Wire Seal Part Number: 7158-3030-50
Hope this helps in anyone's searches.
Jeff
Props to you sir! Found the Yazaki connector at Corsa Technic for $5.46 each. All 6 connectors shipped came to $37 via USPS
 12-08-15, 11:59 AM