When you click on links to various merchants on this site and make a purchase, this can result in this site earning a commission. Affiliate programs and affiliations include, but are not limited to, the eBay Partner Network.
If you have a non-navigation ISx50; your SOL for any type of plug n' play simple solution to upgrade your factory head unit. After a few weeks of research, here are the main challenges I've been able to identify:
1.) If you value and want to retain your vehicle's ability to heat and cool its interior, you have no choice but to retain the factory board from the CD changer as the circuitry for the HVAC is routed through the factory head unit.
2.) Even if you stash the factory HU's board somewhere within your vehicle (or don't care about your HVAC), the factory amp is digital. This means that you either need an expensive integration unit, or the amp will need to be bypassed entirely (the route I'm planning on going).
3.) Given 1.) and 2.) above, no "kit" to install an aftermarket head unit currently exists. Scoshce may, or may not come out with the LS2151B (late this fall at the earliest I was told by a rep), but IMHO, I wouldn't spend over 400 dollars for something that looks like it came out of a 1985 Buick.
available; however, this does not overcome issue 1.), or 2.) above. IMHO, a single DIN unit at the bottom of the IS console stack looks cheap, and is too low for any type of practical use / visibility (I feel the same way about a double DIN unit http://www.diymobileaudio.com/forum/build-logs-project-install-gallery/104440-2008-lexus-is250-double-din.html of the IS console stack.)
SO... given the 4 issues above, this leaves me to a custom fabricated dash to house the aftermarket head unit. The best one I've seen out there was done with the head unit below the HVAC controls which looks decent, but I'm really shooting for something that has the head unit in the upper portion of the dash (similar to how the factory / OEM Navigation console looks)... Ideally, something like this:
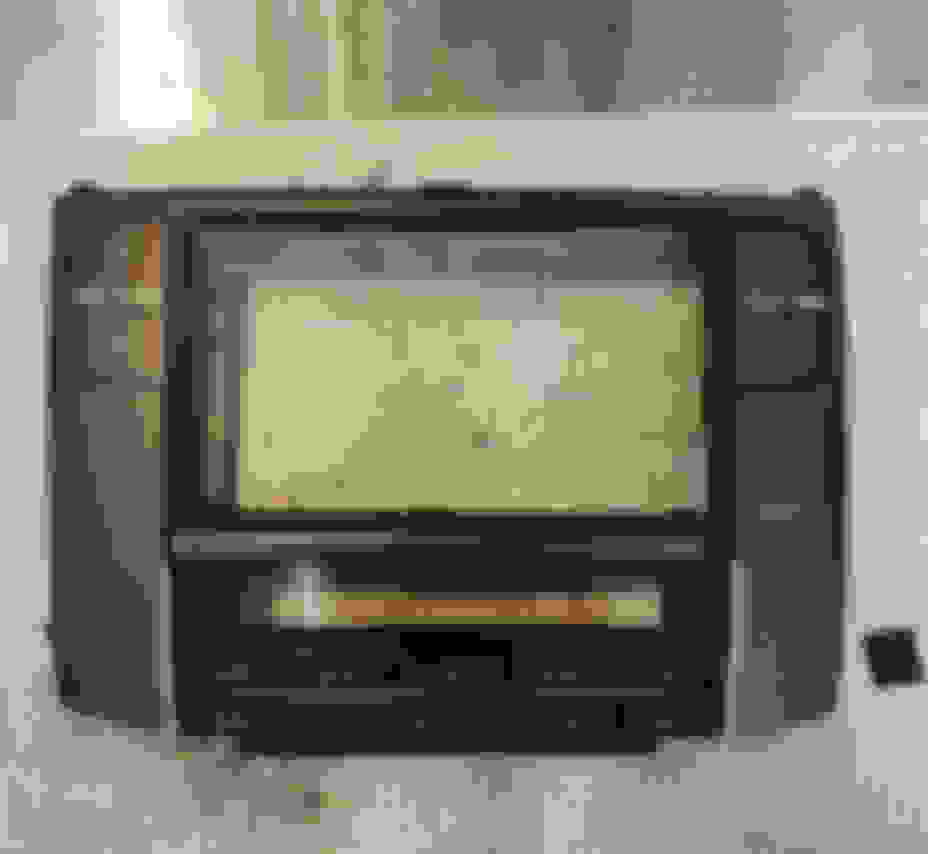
Off to the races. Picked up a temp control / display, and a factory CD changer unit from eBay and got to work with my Dremel. Here's how the console ended up after a few hours of chopping and cutting. Since the board which controls the HVAC functions will obviously be moving below the aftermarket double DIN head unit, I'm going to run wires to new custom fabricated circuit boards which will connect the temperature adjusting buttons (and their illumination LEDs) to the HVAC board.
Just wanted to let everyone know that it may be a while before I finish this build (and update it). Our second son was just born two days ago, so I'm not going to have a ton of spare time in the foreseeable future to get this done quickly, but it will happen (slowly but surely).
Unfortunately, I realized there are slight differences between the 09-10 temp units vs. the 06-08 units (yes... I should have researched this better). Because I'm a perfectionist, I purchased an 06 temp unit and started over... Oh well, at least I have a few more extra parts and more material to work with...
SO, on with the project. Because I'm relocating the temp board to the lower section of the console, but leaving the temp buttons in their original location for a more OEM/Factory look, I need to make a board to hold the LEDS and temp buttons in place from behind. I had a lot of ideas ranging from making an actual copper, acid-etched circuit board, to just gluing the components to the yellow backing. I ultimately chose an acrylic sheet, about the same thickness as the actual temp board itself. Because the acrylic is transparent, I'm able to easily trace where the buttons and LEDs will need to end up and cut out the template using my dremel (pics below):
With a couple of trace bases, I was able to make a good enough foundation for the soldier to pool before placing the component on the trace.
After vigorous and thorough testing to ensure a clean and permanent connection had been made with the soldier, I covered everything with a generous coat of JB Quick Weld to ensure that nothing would become disconnected:
Now, onto the other parts of the build. I used the thinnest possible double DIN kit I could find to trace the cutout area onto the plastic trim piece:
After I was satisfied with the cutout area, I JB welded the double DIN frame into the trim piece:
Here's a rough idea of what the trim piece will look like with the temp controls in place:
Seeing as I have extra scraps, and bits/pieces of parts to work with, I may try and use the leftovers to help back fill cutout space (along with Bondo gel):
Regarding the selection of the unit that will eventually fill this space; I'm thinking the Pioneer AVIC-8100NEX is a solid choice for a head unit. Afterall, you can't make this kind of an effort and throw a cheap app radio in, now could you?
I've previously consulted with Metra regarding this issue when doing my research. The person who responded claimed that they don't actually produce a "harness" that is compatible with our vehicles (see Metra's response below):
My thought is that you'll need to keep the ASWC-1 to interface the steering wheel controls to the aftermarket head unit, but you'll probably need to hard-wire the AXBOX directly to your aftermarket head unit, then tap the wires heading out of the appropriate connector from the factory HU board (or bypass the factory amp entirely)...marcsis250, or Slammer1 should have some insight on this issue. When I get down to this part of the project, I'm planning on running new wires from my new headunit to the speakers and leaving all harnesses connected to the factory board, but i'd be very interested to learn about what you discover regarding this issue (in the event that I change my mind and decide to keep the factory amp).
I was thinking of doing the same thing as you.. but ended up just taking the CD Changer out and using a single DIN flip out monitor that is compatible with my iPhone. Same issues though.. had to retain the mother board, and used a signal processor for my amps.
If I plug all plugs back into the stock board... which radio wires do we need to Tap back from the aftermarket radio. if we tap all the wires back... wont both radios be powered and conflict somehow.
Originally Posted by LeXmanG
Antiloop-
I've previously consulted with Metra regarding this issue when doing my research. The person who responded claimed that they don't actually produce a "harness" that is compatible with our vehicles (see Metra's response below):
My thought is that you'll need to keep the ASWC-1 to interface the steering wheel controls to the aftermarket head unit, but you'll probably need to hard-wire the AXBOX directly to your aftermarket head unit, then tap the wires heading out of the appropriate connector from the factory HU board (or bypass the factory amp entirely)...marcsis250, or Slammer1 should have some insight on this issue. When I get down to this part of the project, I'm planning on running new wires from my new headunit to the speakers and leaving all harnesses connected to the factory board, but i'd be very interested to learn about what you discover regarding this issue (in the event that I change my mind and decide to keep the factory amp).
If I plug all plugs back into the stock board... which radio wires do we need to Tap back from the aftermarket radio (see schematics attached. This is for a 2006 IS250/350, I remember you saying your vehicle is a 2007/2008, but it should be the same).
if we tap all the wires back... wont both radios be powered and conflict somehow. (This shouldn't create an issue since the stock board is just being used as a pass-through conduit for the HVAC controls. Also, it won't be powered up, so there won't be any conflicting signals coming or going from the stock board)
I'm interested to know what others have encountered regarding this issue.
Way to tackle this job!!! Looking good so far and having patience.
Thanks man! It isn't going to look or sound anything like yours, thats for sure! I was originally just going to go with a FlyAudio HU, but it looks like they are out of business now, and the closest things I found were over-priced Chinese units on Alibaba and AlliedExpress... so I figured, why not have the unit I want in there for that kind of cash?
I appreciate the support, and I'll try to get some type of progress on this build at least every other week.
 08-15-15, 10:28 PM