When you click on links to various merchants on this site and make a purchase, this can result in this site earning a commission. Affiliate programs and affiliations include, but are not limited to, the eBay Partner Network.
This is looking promising guys! It's really going to streamline this project (check it out). A bit on the pricy side; but if it works and the audio output is decent, this is a big win!
I still want it to be on the upper side and replace the whole thing since i dont have navi :/
I still want it to be on the upper side and replace the whole thing since i dont have navi :/
Yeah... I kinda feel that way too. I figured since the HU i purchased (AVIC 8100NEX) has 3 sets of pre-outs, I can easily connect aftermarket amps for an aftermarket setup. This way, I've got the flexibility of easily going back to a functional stock/OEM setup, should I decide to trade my car in for an F (then transfer my setup to the F )
Just an FYI; this interface also works with Non NAVI and non ML setups as well.
So this is basically the wire harness and the two pieces that goes on the side of the center console correct? You will still have to fab a dash kit that will remove those lower 6 radio preset buttons? Am I correct or am I missing anything?
Either way, it's a great product. Just want to clarify.
So this is basically the wire harness and the two pieces that goes on the side of the center console correct? You will still have to fab a dash kit that will remove those lower 6 radio preset buttons? Am I correct or am I missing anything?
Either way, it's a great product. Just want to clarify.
no, you would remove the lower cd changer and use the stock brackets if Beat Sonic doesn't provide new ones for you. I personally used the stock brackets to install a double Din in that area.
the side trims that Beat Sonic provides will clean up the edges and make it flow back into the dash.
no, you would remove the lower cd changer and use the stock brackets if Beat Sonic doesn't provide new ones for you. I personally used the stock brackets to install a double Din in that area.
the side trims that Beat Sonic provides will clean up the edges and make it flow back into the dash.
hope that helps!
Marcsis is correct; if you end up using this interface, you only need to fabricate a custom dash if you want the HU in the factory location. Personally, I'm not a big fan of having it located just above the shift console which is why i've gone this route.
My interface is pre-purchased and should be shipped at the end of February. I'll keep everyone posted on how it performs and functions.
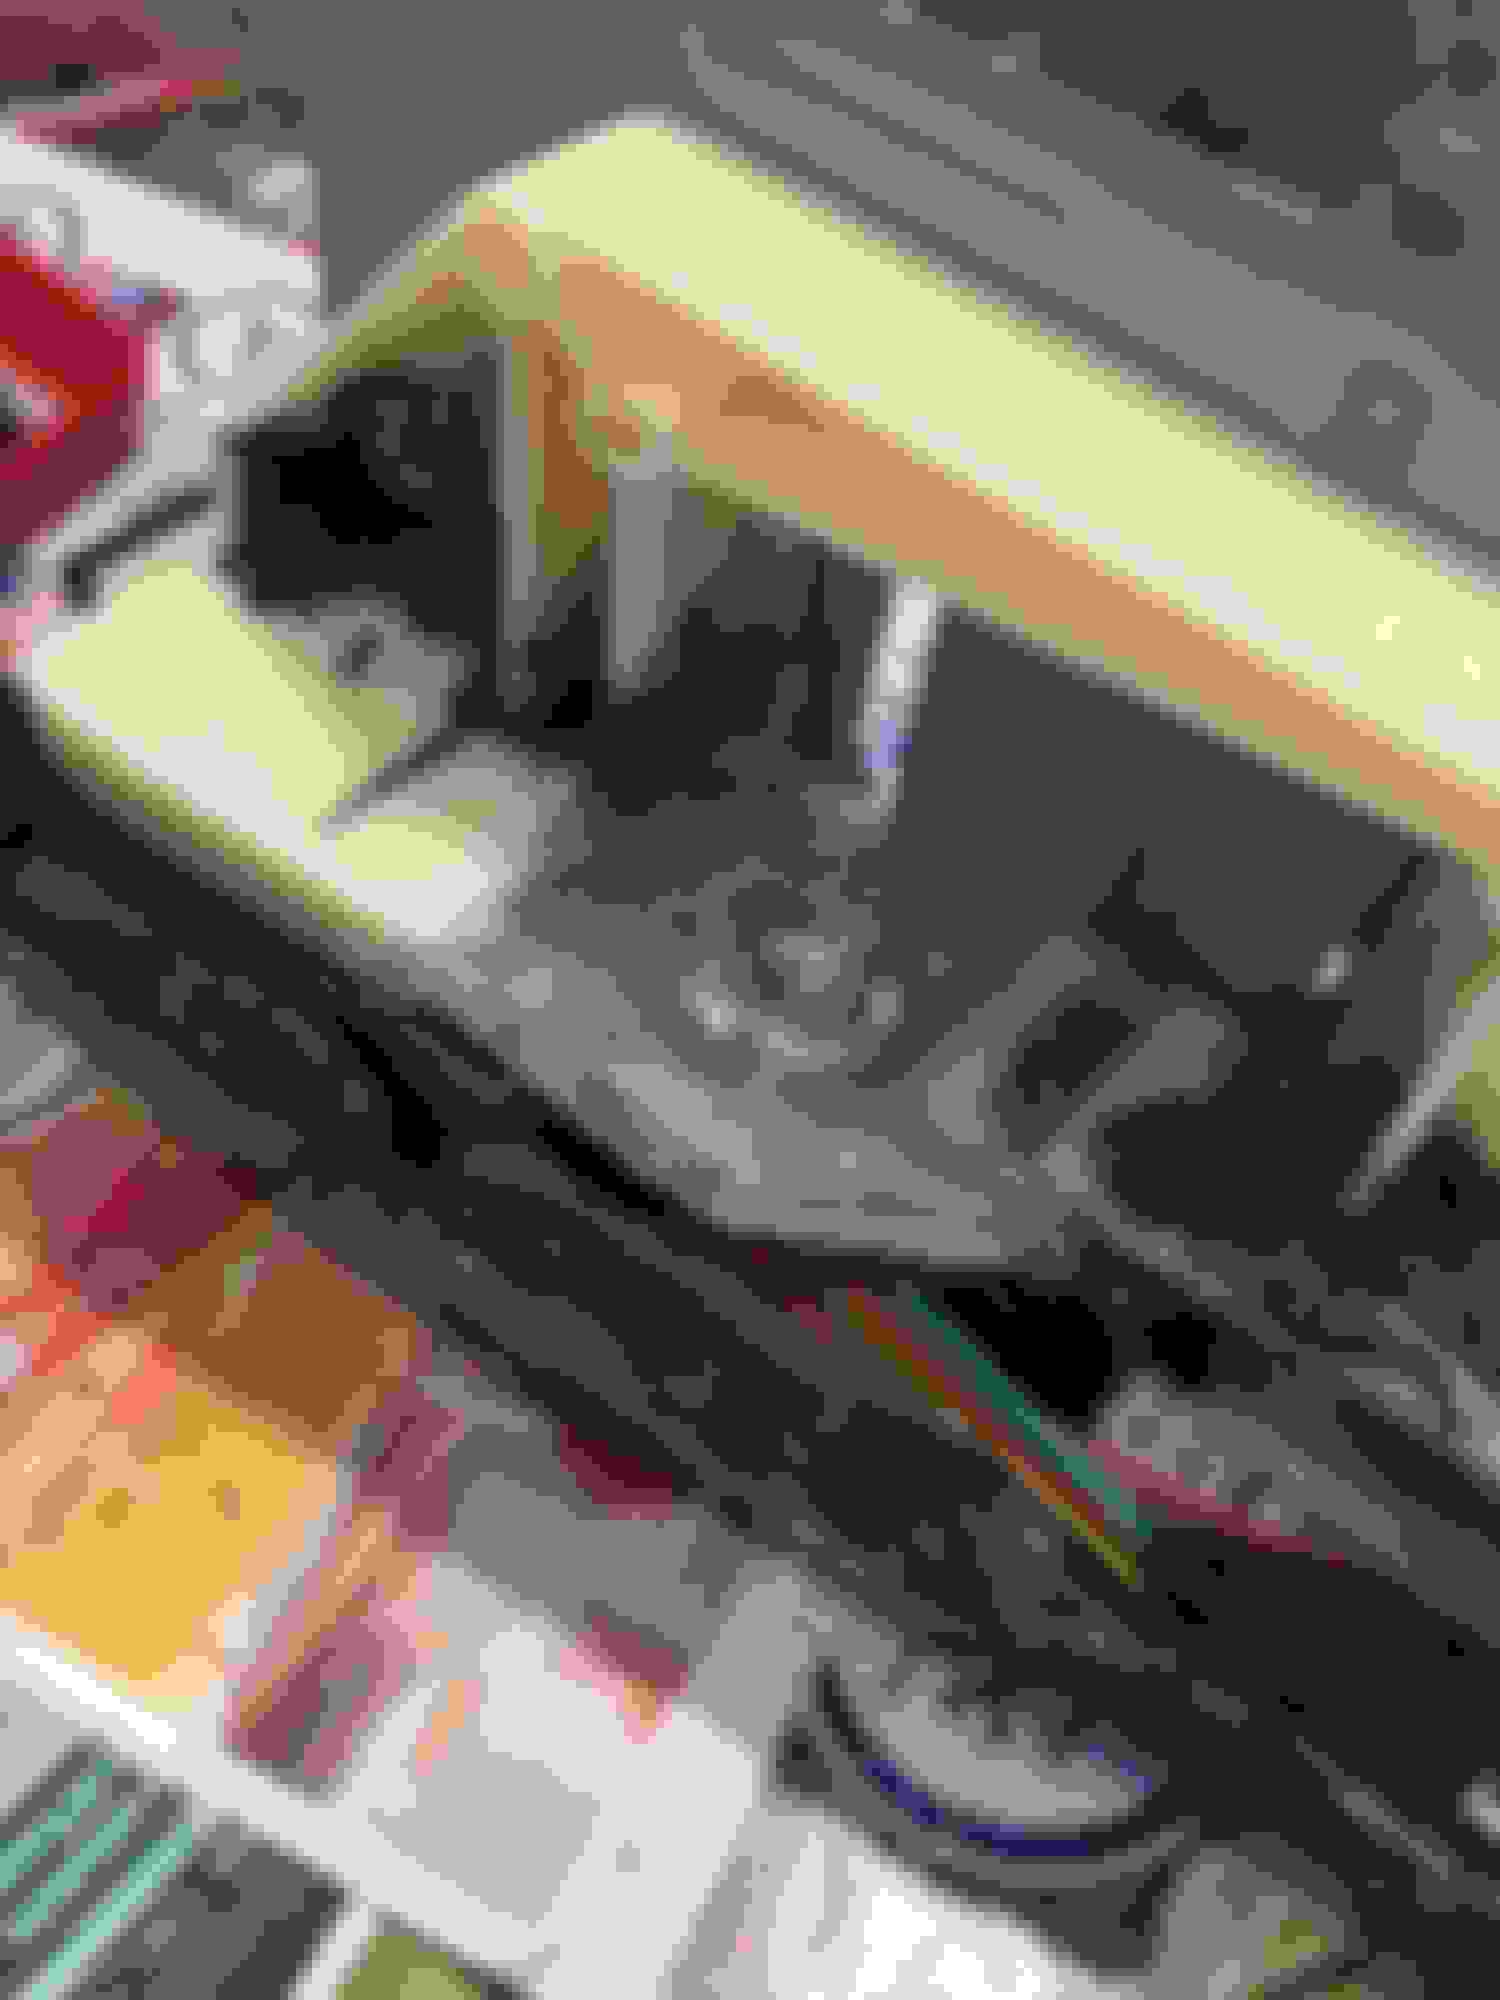
Quick pic of the rough draft (now that I have my HU). Next step is to skin the entire piece with carbon fiber and resin. Stay tuned, more to come shortly...
A few pics of the carbon fiber finishing progress. 3 coats of resin so far. Probably going to put on at least 3 more before I start the sanding and finishing process. Not as easy as it looks... trust me; but worth it in the end IMHO. The mirage blue woven strands look awesome... pics don't do it justice! Had an extra F Sport emblem left over from my caliper painting project, so I decided to use it. I have quite a bit of CF fabric left over, so I may do my paddle shifters and some of the other trim pieces and headlight shrouds when this project is completed
Hey guys. Sorry for the long delay between posts. This project is progressing, I've just been really busy with life, wife, kids, work... you know the story. Anyways, on with the project updates
Since the last post, I've completed the back plate for the console piece and developed a method by which to fasten it securely together:
I've completed the fabrication of the circuit boards for the temp switches and soldiered connectors to the main board and the temp buttons so they can easily be connected and disconnected if need be:
Last (and by far the most time consuming part), completed all of the finishing sanding to ensure all of the buttons properly function and travel the correct distance:
And now... a quick teaser of what it will look like all put together. This is the first time I've fired up the 8100NEX to test the motorized faceplate's range of motion and ensure free / unrestricted movement. End result... SUCCESS!:
From here, I need to find time to take my factory setup out of the vehicle so I can fabricate the support mounting brackets that connect to the dash from behind. Hope to have this all wrapped up in the coming month. Stay tuned and I will try to post more often going forward!


 01-12-16, 02:03 PM

 )
)