When you click on links to various merchants on this site and make a purchase, this can result in this site earning a commission. Affiliate programs and affiliations include, but are not limited to, the eBay Partner Network.
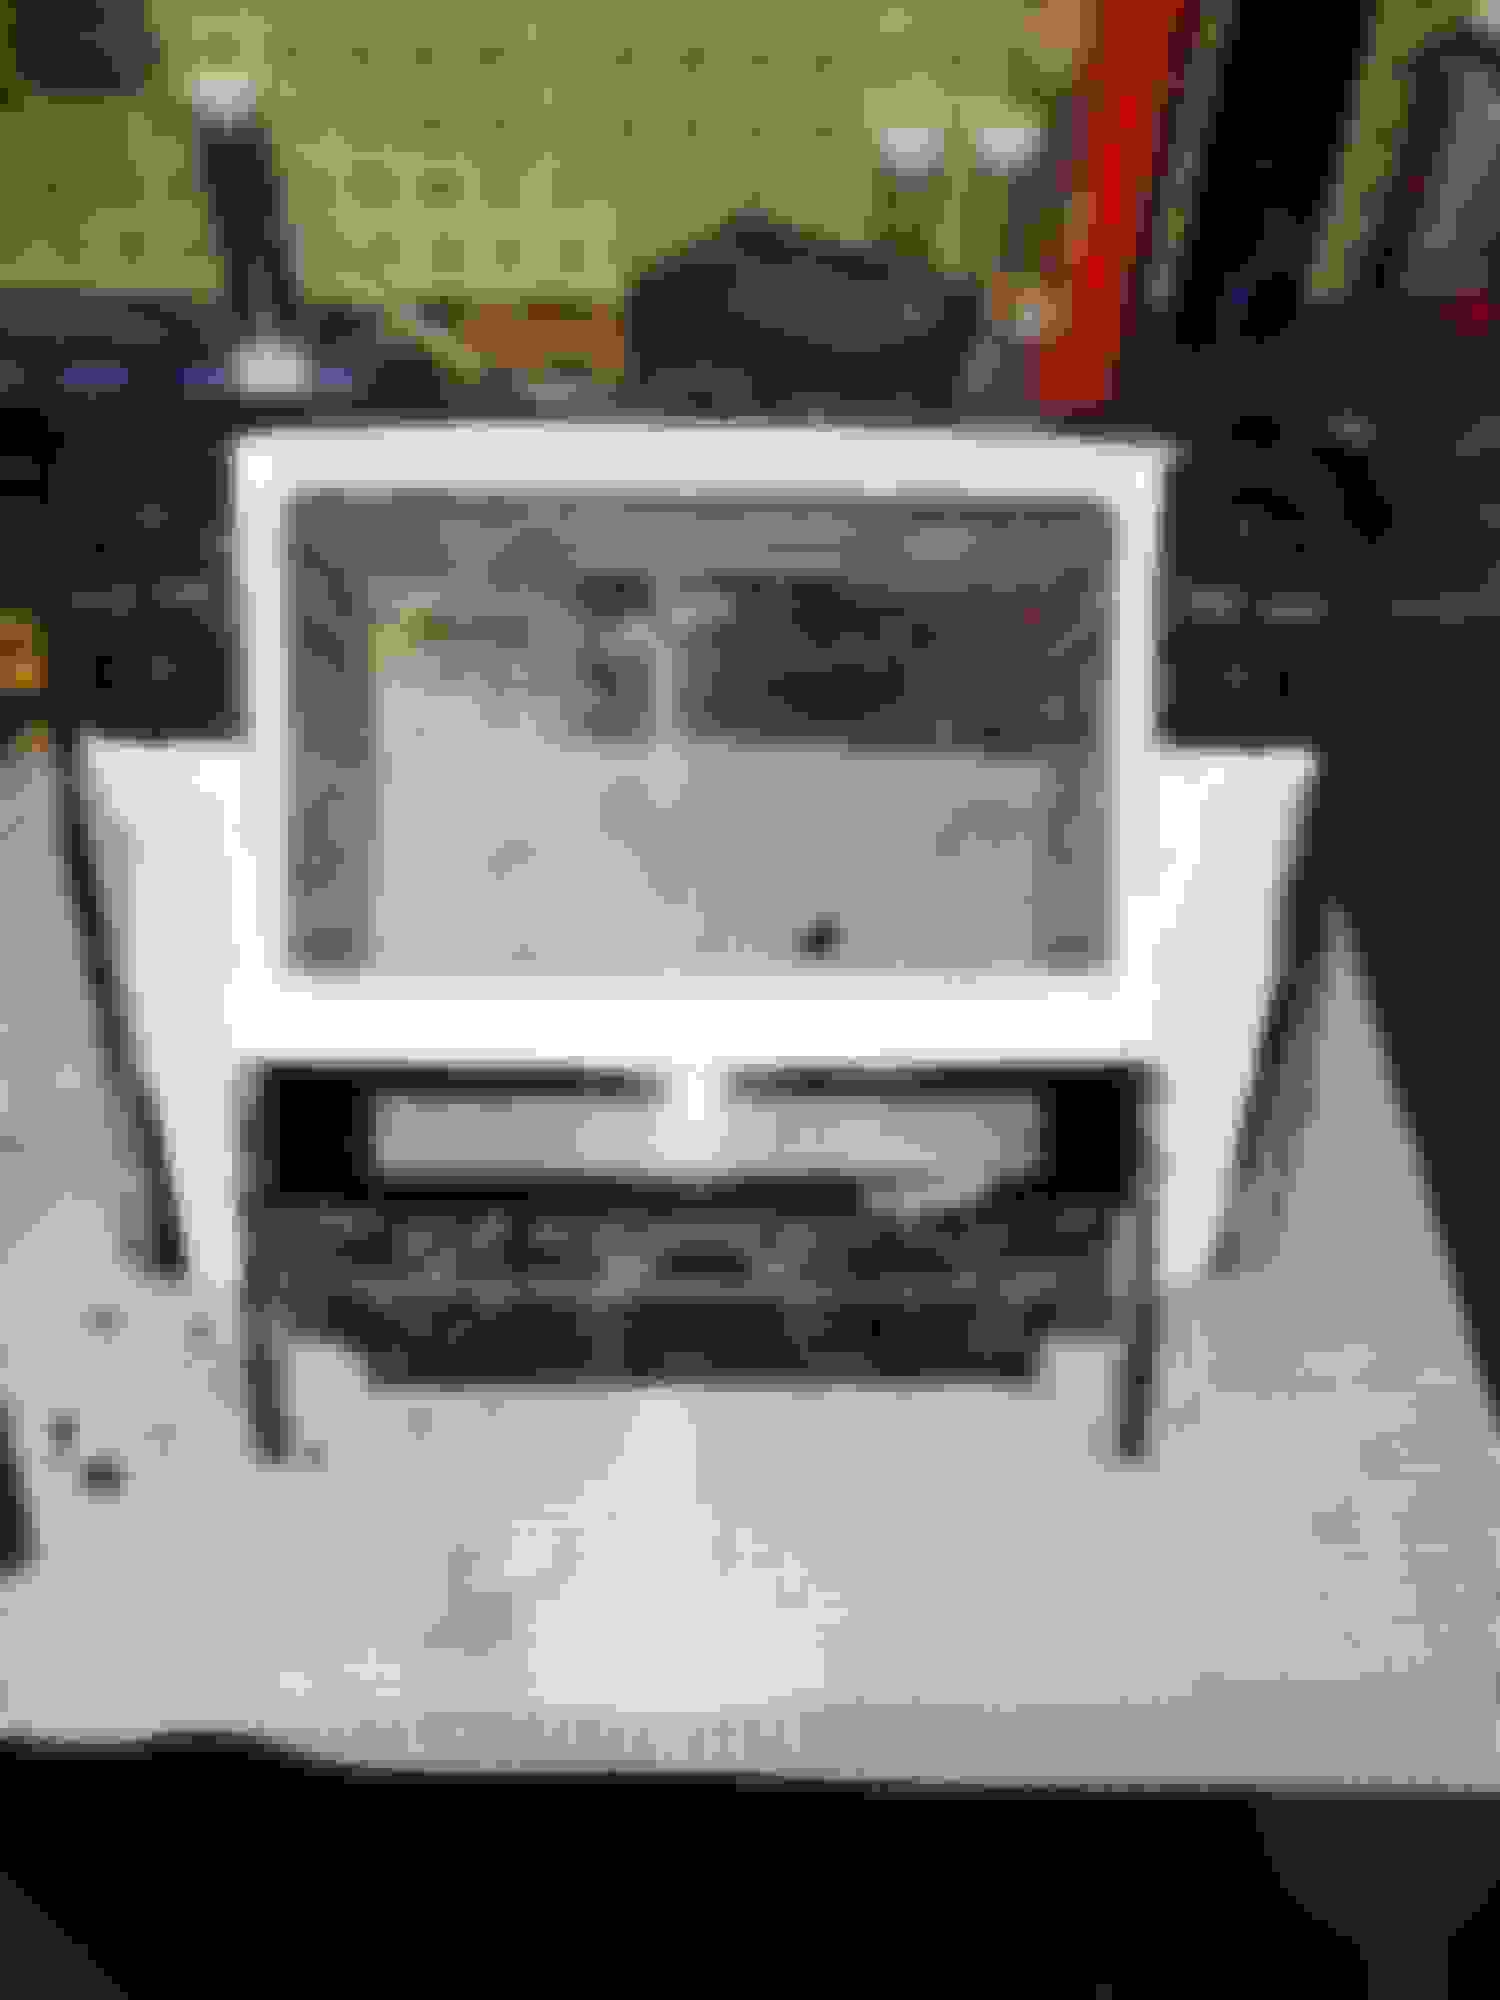
I got started on some of the finishing work on the console trim piece. So far, I've managed quite well using epoxy putty and leftover pieces from the original cutouts. Hand-sanding is a lot of work! It's finally starting to take form, and I think it will end up looking very nice. Keep in mind, this whole part will be skinned with carbon fiber / blue kevlar hybrid fabric and covered in clear epoxy resin when it is complete. I've attached a few pics below to show the progress:
Some of the shaping process using EP and cutout pieces:
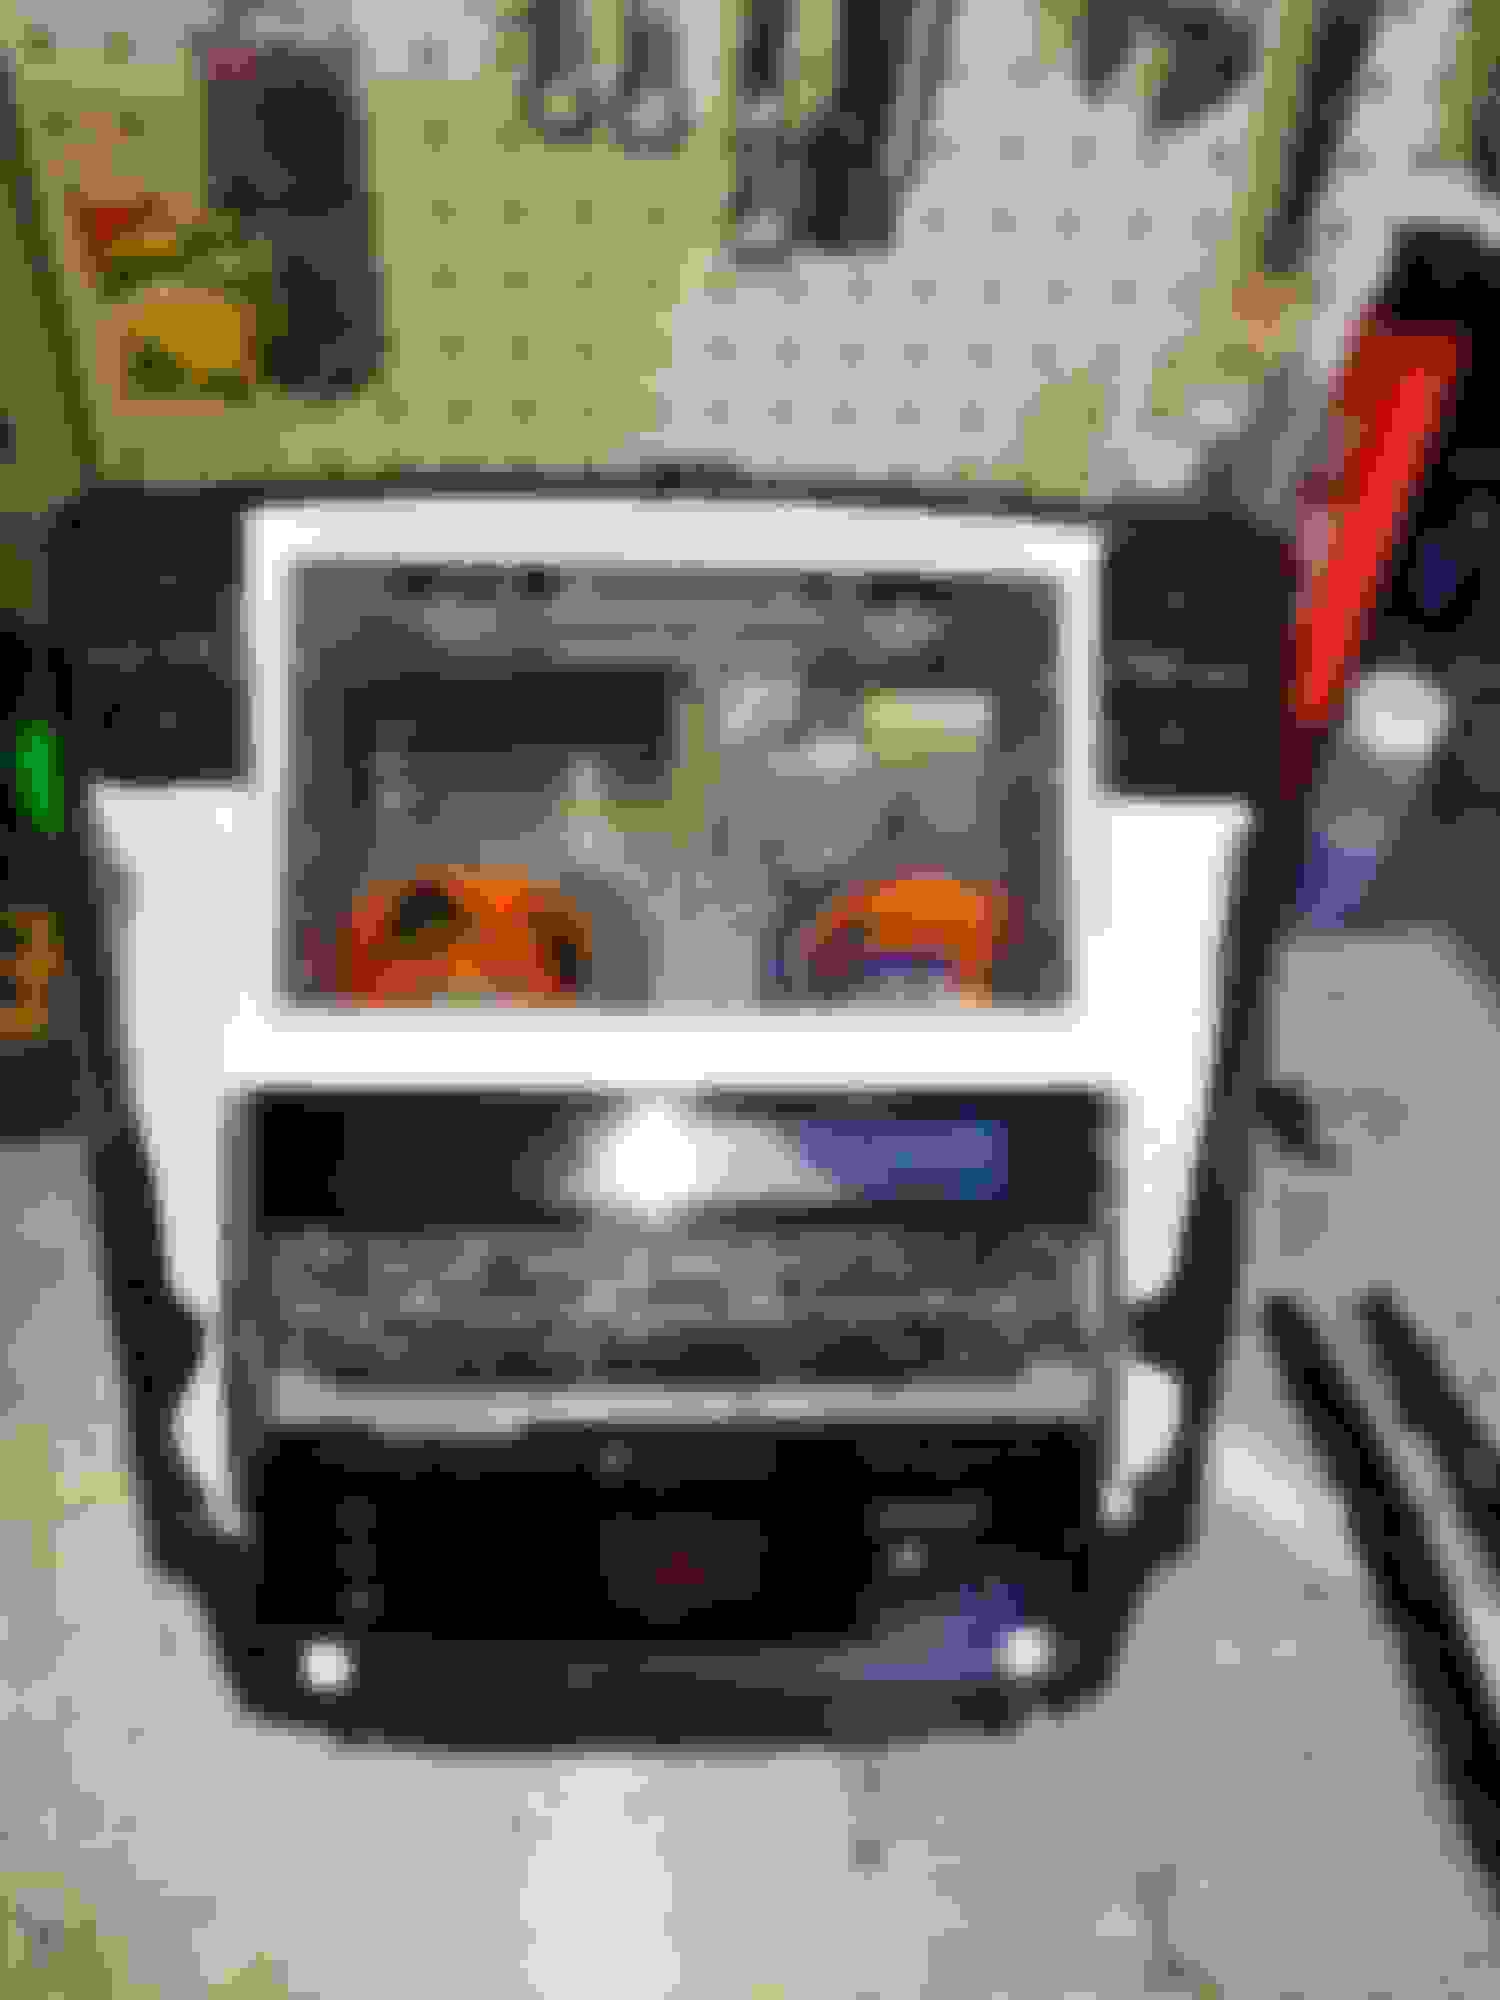
Here's an idea of where everything will end up once all the finishing work on the part is done:
Good project, this is above my technical knowledge, maybe studying the schematics it would not be as difficult as it appears. keep it up!
Thanks man! I agree that the schematics look confusing, and it doesn't help that there are so many different options (ML w/o Navigation, Non ML w/o Navigation, Navigation w/o ML, etc.).
For this reason, I'm not going to use any part of the factory system (i.e. the factory digital amp, and the factory wiring). If one really had a strong enough desire to maintain the factory wiring, the schematics can be used to bypass the amp in the trunk.
I'll be going the route of new wiring from the after-market head unit back, which will create more work in the end, but will it will be less difficult then trying to build a custom harness so the Metra Interface can be used with the digital factory amp.
Starred and waiting for progress.. Anything connected on the board you trimmed with the hvac and radio interface? Are they completely separate circuits just stuck on the same board with separate wire connectors? Just curious seeing how most boards are multilayer now a days.. Keep up the great work! I plan to follow in your footsteps.
PS. Congrats to your baby son! My baby girl is a month old and 9 year gap to my son so I it's back to zero. I hope you can still find time for this project. My wife will kill me when I start mine. Ahhaha
Last edited by Bryan858; 09-08-15 at 02:12 PM.
Reason: Congrats!
Plug the factory radio back in with all three plugs and just piggyback your aftermarket stereo to the wire harness. You can use quick connects to tee the wires. For the steering wheel controls cut the wires off the harness to the radio and connect to the modulator you purchased so it does not activate the original radio.
Starred and waiting for progress.. Anything connected on the board you trimmed with the hvac and radio interface? Are they completely separate circuits just stuck on the same board with separate wire connectors? Just curious seeing how most boards are multilayer now a days.. Keep up the great work! I plan to follow in your footsteps. I didn't have to do any trimming to the actual HVAC circuit board or board from the CD changer. Both boards are most definitely multilayered, so you are correct, no trimming can be done here. Thankfully, everything fits (snugly) the way I've configured the dash. For the temperature + / - controls to remain where they are in the factory location, I ended up making new boards that will interface with the factory HVAC board
PS. Congrats to your baby son! My baby girl is a month old and 9 year gap to my son so I it's back to zero. I hope you can still find time for this project. My wife will kill me when I start mine. Ahhaha
Thanks! Congrats to you and your wife as well! Had to chuckle a bit about your "wife killing you" comment; I'm sure mine feels the same way about my project. Doing my best to keep things on the "family-side" of the balance during the day, and working on the project in the early morning hours while everyone is asleep. So far, it has worked out okay, but I'm sure my card will get pulled soon
Plug the factory radio back in with all three plugs and just piggyback your aftermarket stereo to the wire harness. You can use quick connects to tee the wires. For the steering wheel controls cut the wires off the harness to the radio and connect to the modulator you purchased so it does not activate the original radio.
My understanding of the way the system works is that the factory head unit feeds a digital signal from the head unit to the factory amp; where it is then converted into an analog signal from the amp to the speakers. For this reason, you can't directly tap into the inputs of the factory amp with an aftermarket head unit because the after market head unit's output is an analog signal (and it needs to be digital). Metra appears to make an integration unit (AX-ADBOX1) that would work (at least in theory), but doesn't make a "harness" that interfaces with our vehicles (see my previous post from page 1 of this thread). You would therefore need to couple the outputs of the ADBOX1 with appropriate outputs of the factory harness and connect the outputs of the factory head unit to the inputs of the ADBOX1 (by cutting, splicing and pairing everything manually without a harness connector).
Given that the ADBOX1 is another $100-$150, it isn't worth it for me to retain the digital factory amp and wiring.
For the OEM steering wheel control integration, I'm planning on using Metra's ASWC-1 which has been confirmed by the manufacturer as "compatible" with our vehicles.
Thanks! Congrats to you and your wife as well! Had to chuckle a bit about your "wife killing you" comment; I'm sure mine feels the same way about my project. Doing my best to keep things on the "family-side" of the balance during the day, and working on the project in the early morning hours while everyone is asleep. So far, it has worked out okay, but I'm sure my card will get pulled soon
ahahah, I'm trying to keep the wife at bay as well. So much I want to do but between work and family everything is just sitting in boxes.. I'm going to try and wait till baby and mom are sleeping through the night..
Good luck again, I'll definitely be checking for progress.
Oh and I don't know what happened but the other post was actually for the guy that lost his hvac control who already had the metra converter and modulator. Sorry about that. I'm typing all this from my phone so it didn't go where I intended.
Just a quick update. I've got all the required components of the dash / console in their proper location. Had to trim the back of the clock / hazard switch part so that it would fit in the location of the picture on the right. Everything fits nicely with the HVAC board installed, and the ribbon cable that connects the HVAC board to the clock display reaches the part in its new location.
In the coming weeks, I'll focus on filling in the remainder of the gaps in the console with epoxy putty so I can use polyester finishing compound to get everything feather-smooth, and prepped for the carbon fiber finish.
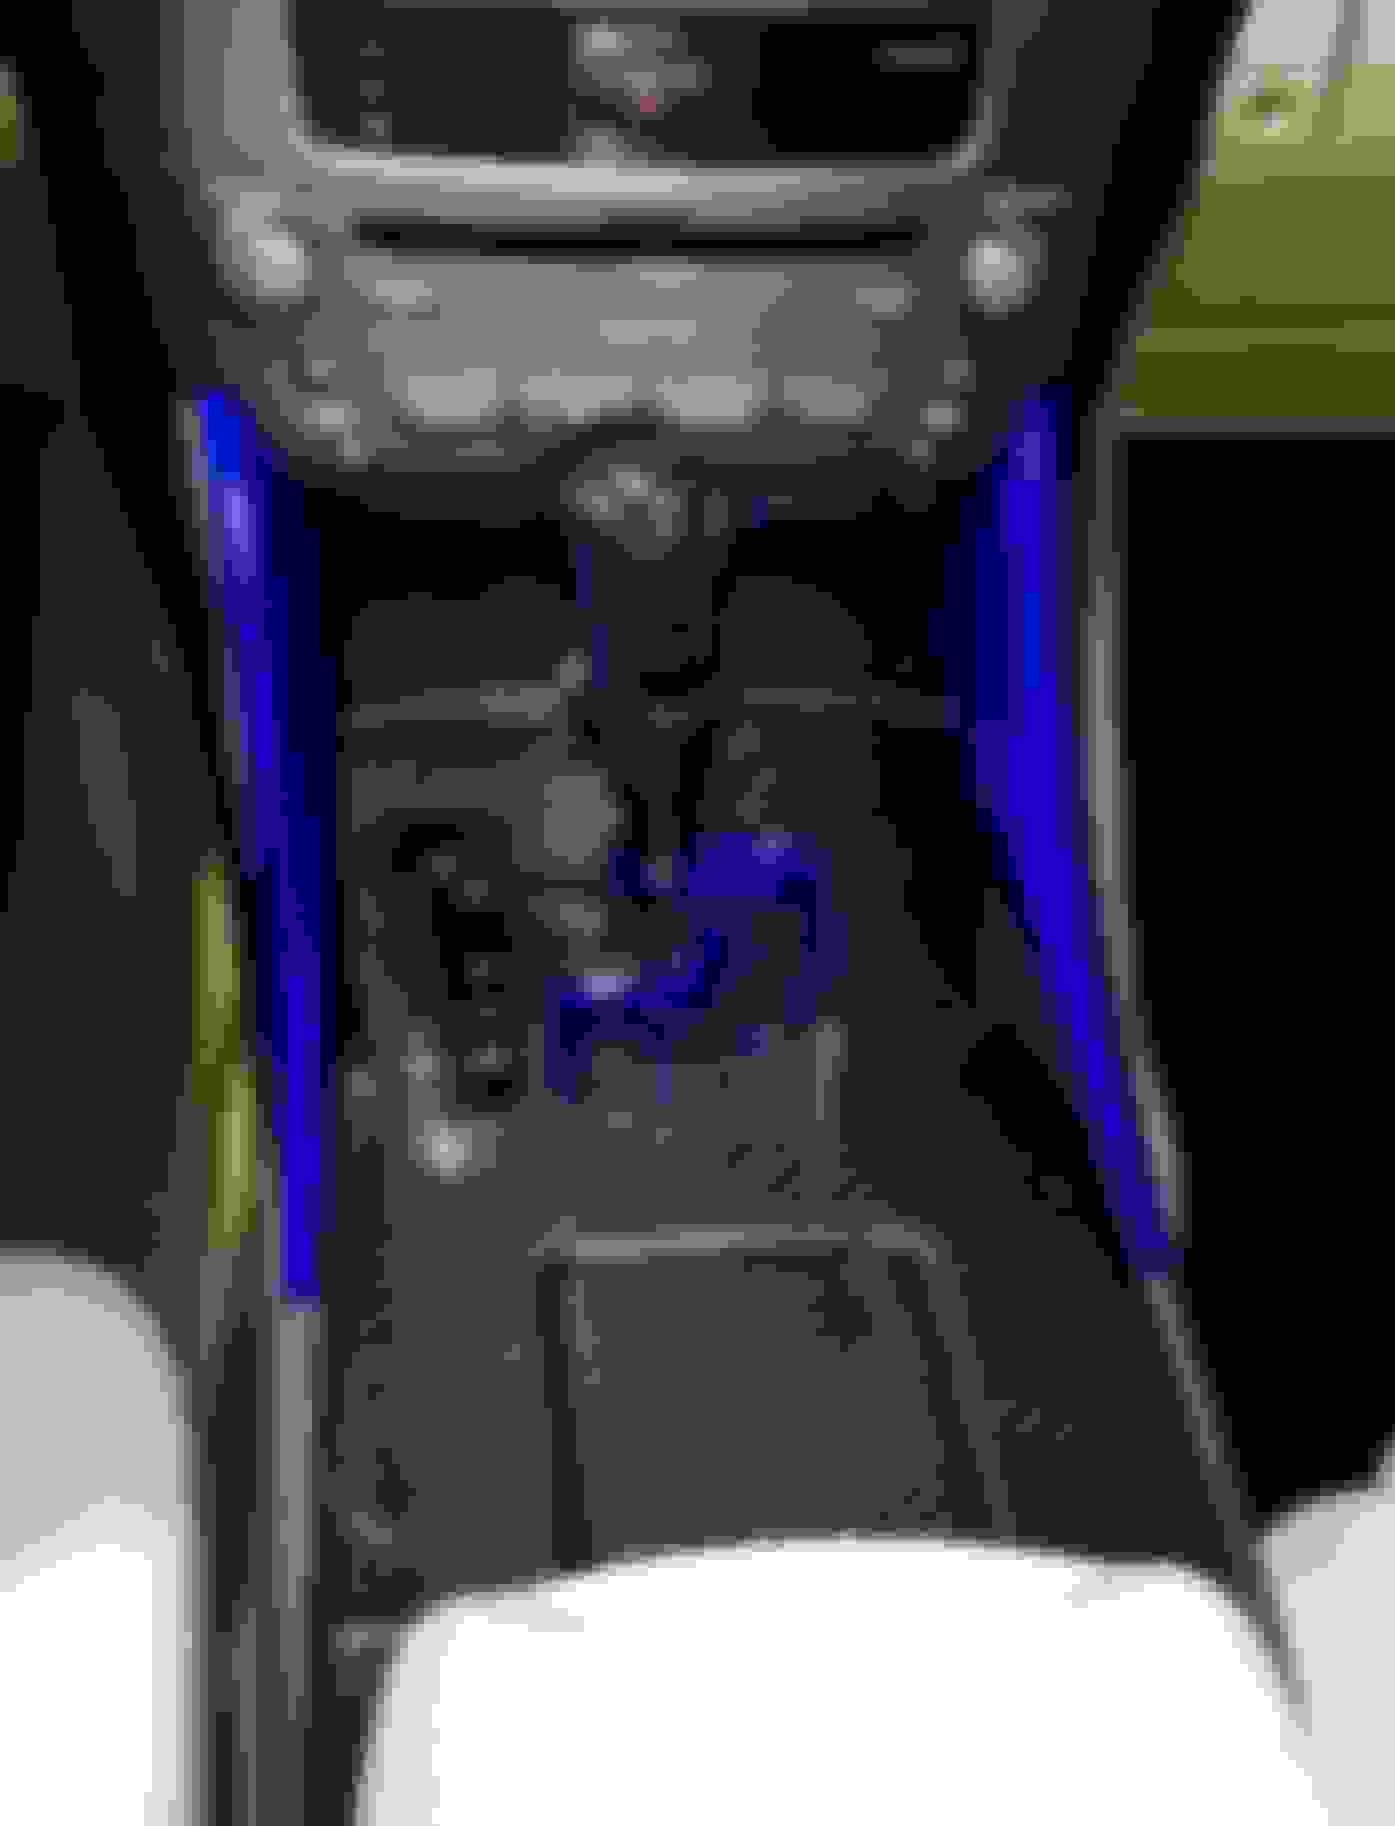
Either option will compliment the existing carbon fiber shift console I've previously fabricated very nicely:
Read your whole thread and well darn this is impressive. I had the OEM radio system in my 06 350 as well. I d not have the capability to so what your doing lol so I'm pretty much scrwred out of a NAVI system.
Quick question however. How'd you get the middle console area to look carbon fiber? Is that vinyl wrapped?
Thanks Topher; it took more than a little elbow grease to get it looking like it does today. It's not 3M Di-Noc vinyl wrap, it's a real carbon fiber composite part that I fabricated by skinning the original part with carbon fiber fabric and coating it with multiple layers of epoxy resin (then hours and hours of finishing sanding to get it looking like its pictured here.)
And it's almost like it was made from the factory with just enough room for this mod!
I'm off this Friday, so I'll have some time to work on relocating the mounting brackets for the unit, and the finishing work (fairing compound) on the front this weekend

 09-04-15, 09:27 AM