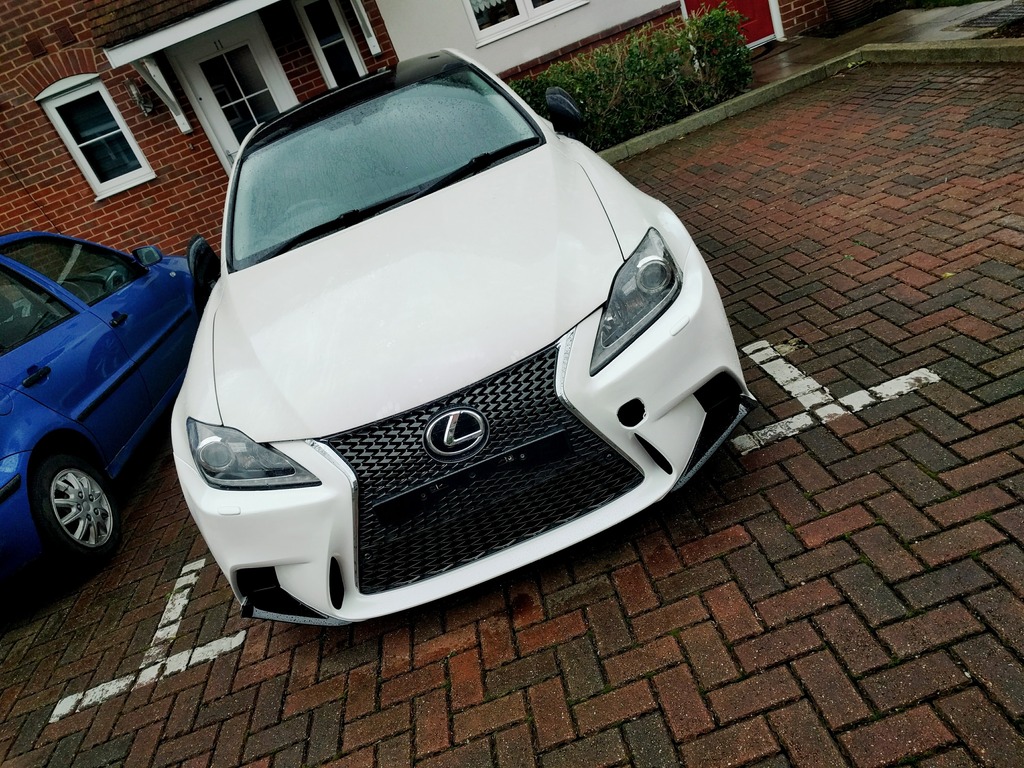
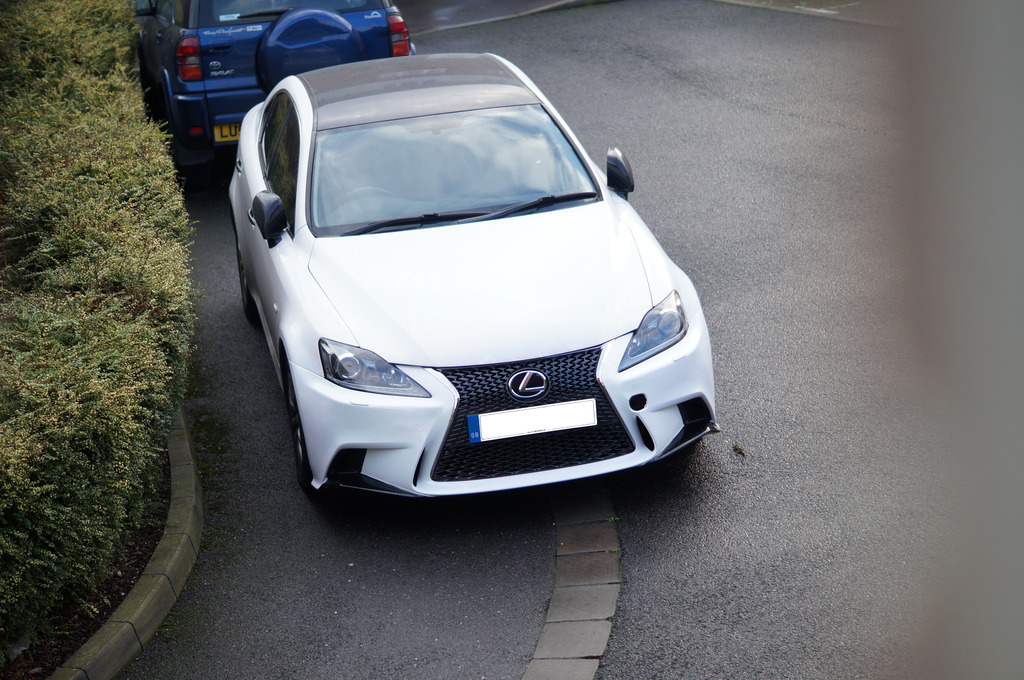
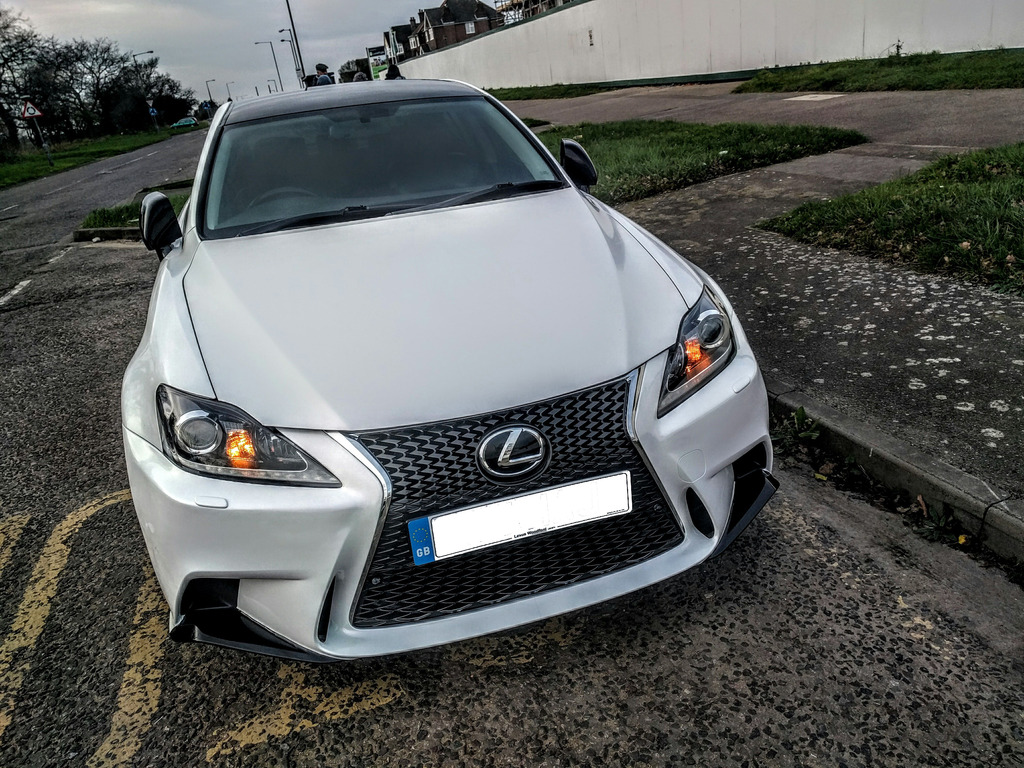
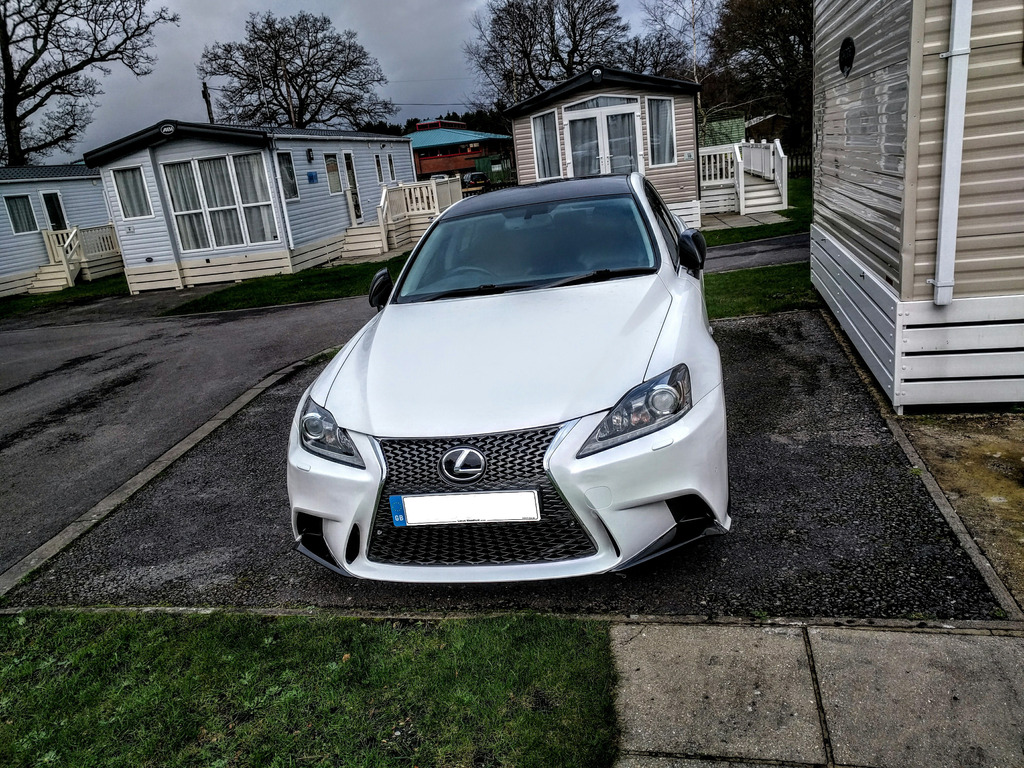
2014 3IS F-Sport Bumper Conversion

 05-11-15, 02:57 PM
#17
Intermediate
Thread Starter
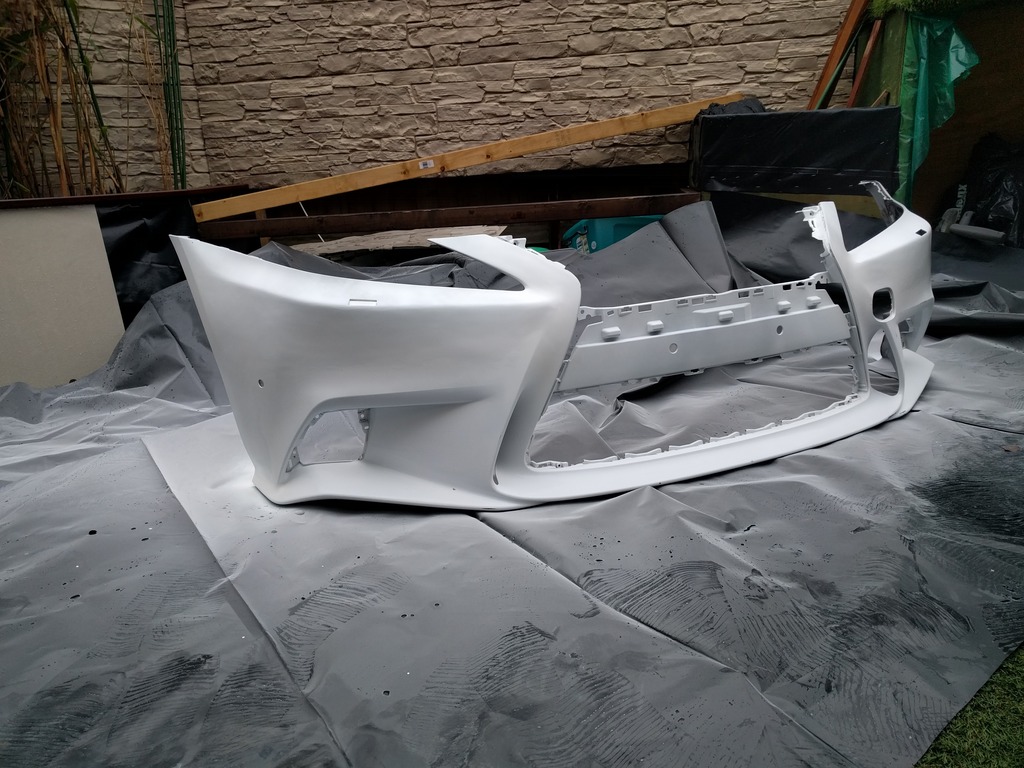
Are you referring to the brake cooling ducts? The air scoops on the bumper don't actually line up with the exisiting brake ducts. I was thinking of customizing the brake ducts to re-locate it to the air-scoops, but might not have enough time. The existing brake ducts fall behind the centre lower grille and therefore should get the air needed to go through the existing ducts.
05-11-15, 02:58 PM
#18
Intermediate
Thread Starter
***UPDATE***
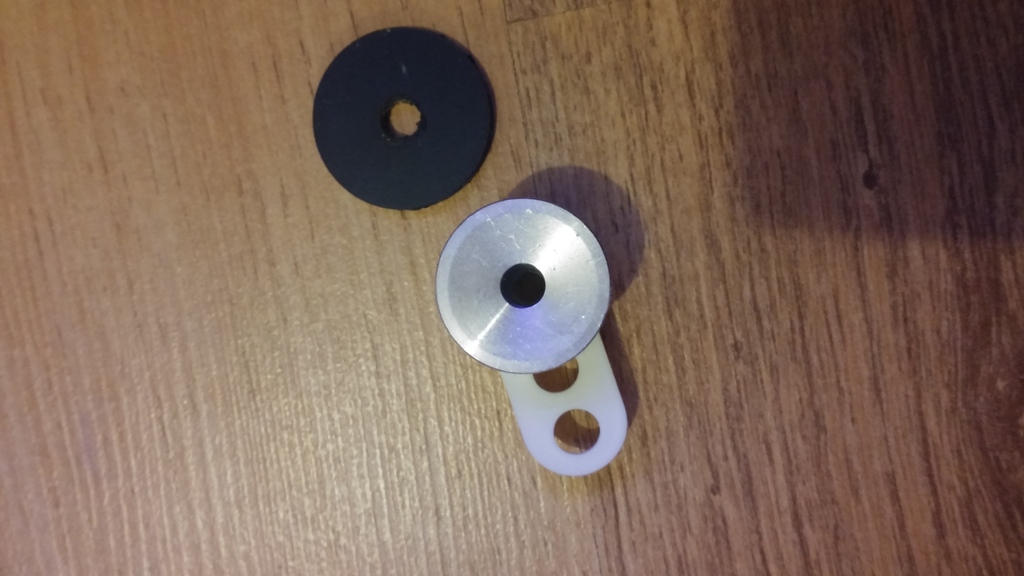
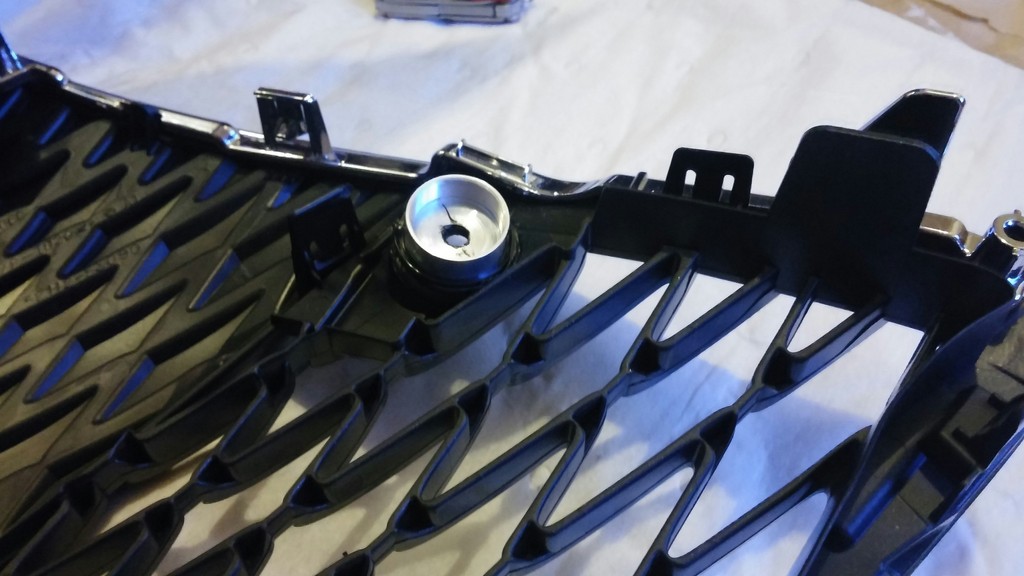
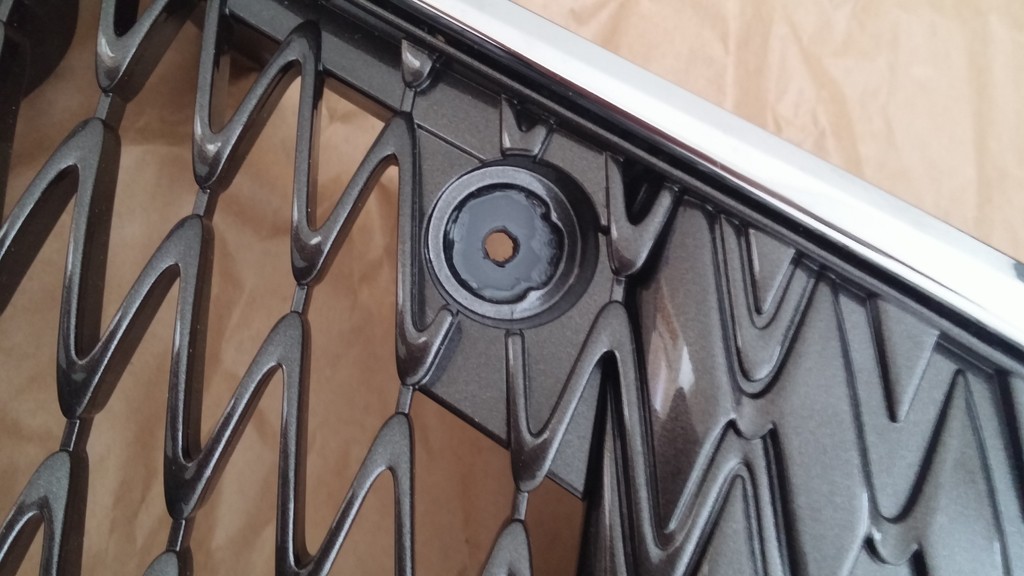
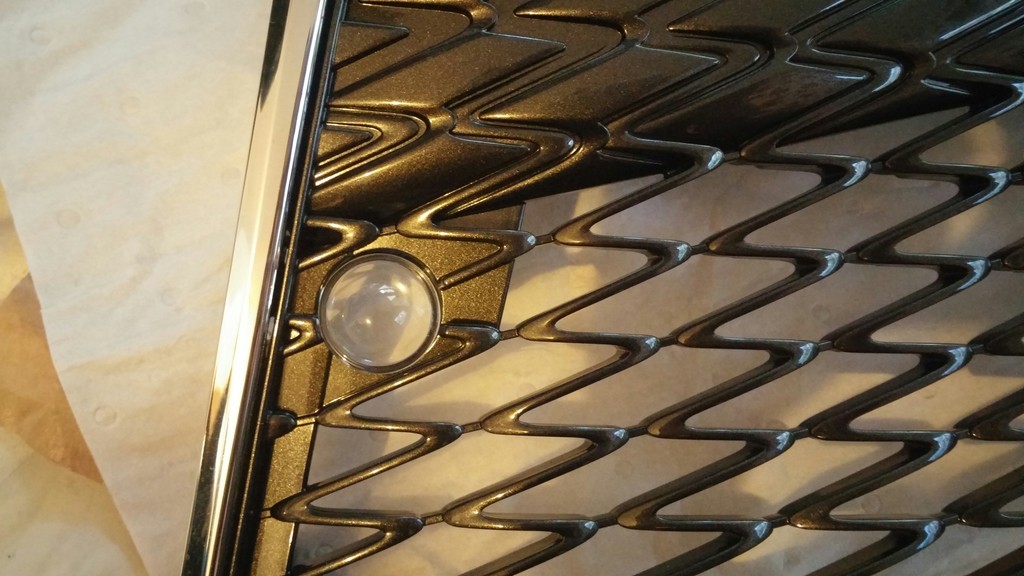
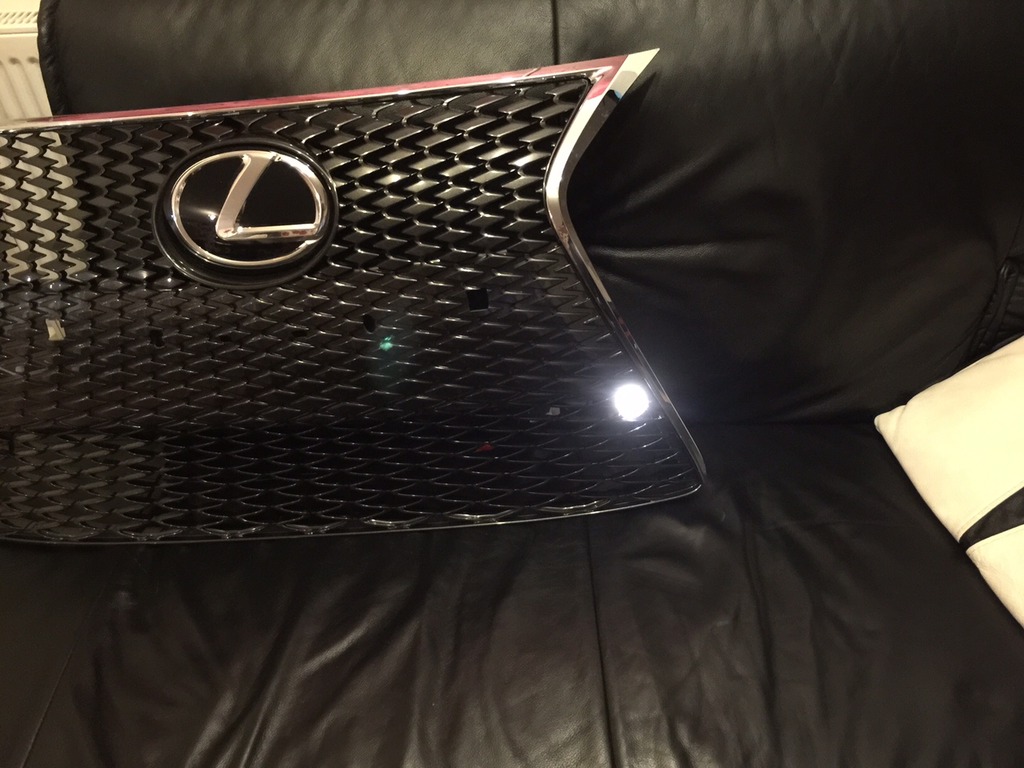
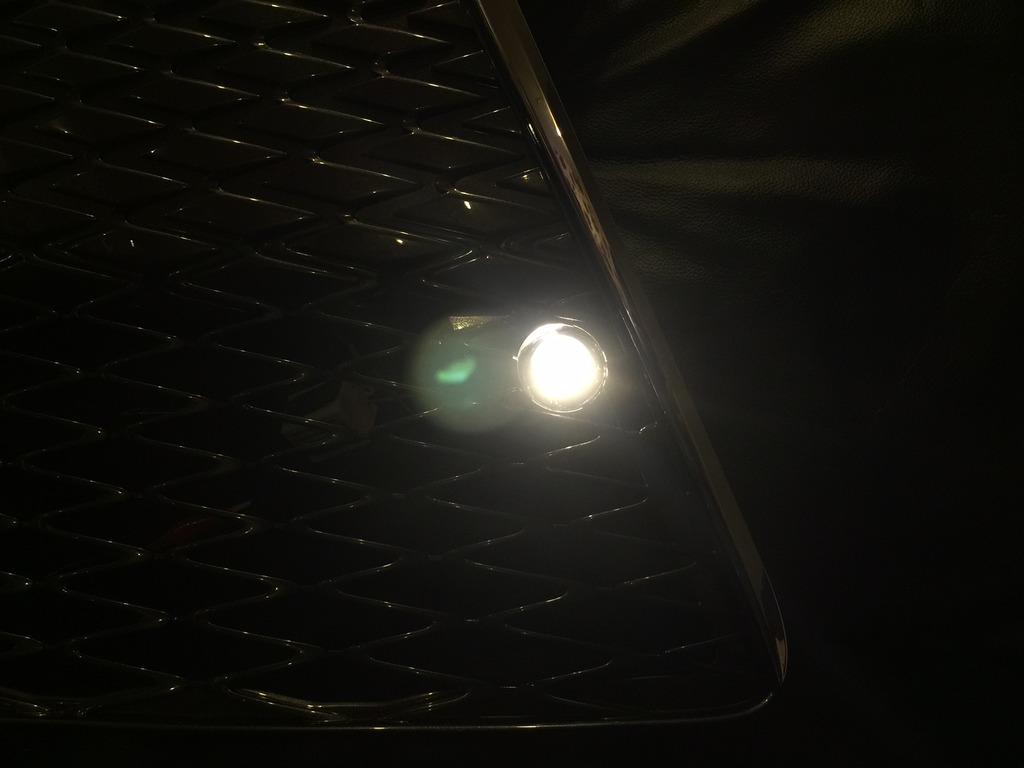
I've had a busy week so have not got round to doing much. Hoping to have a more productive week this week. I've almost finished the custom LED fog light and pictures are below. I'm going to build the LED driver to drive the LED's each at 3W.
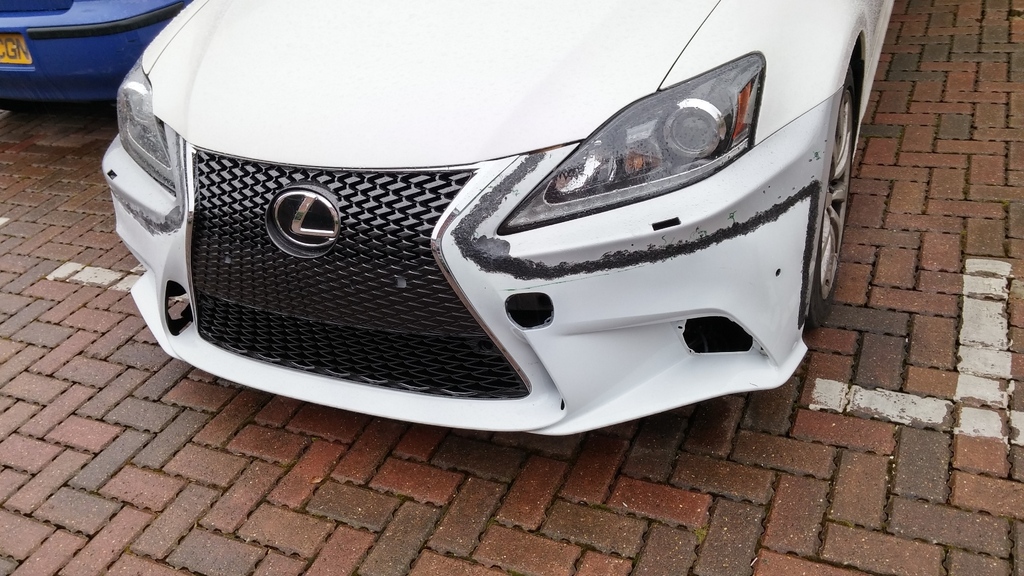
Here are some recent update pics:
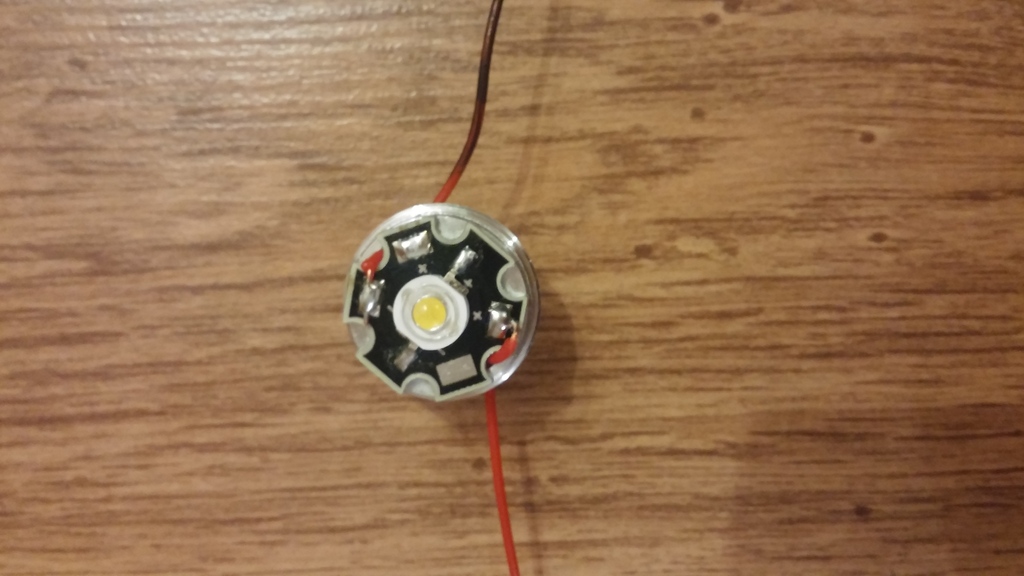
I've had a busy week so have not got round to doing much. Hoping to have a more productive week this week. I've almost finished the custom LED fog light and pictures are below. I'm going to build the LED driver to drive the LED's each at 3W.
Here are some recent update pics:
05-12-15, 12:39 AM
#20
Intermediate
Thread Starter
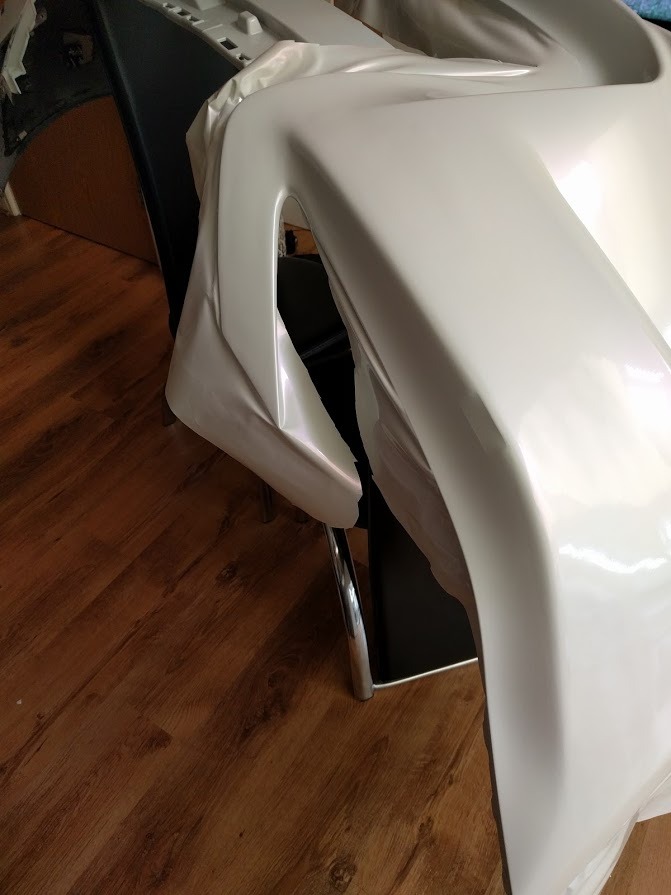
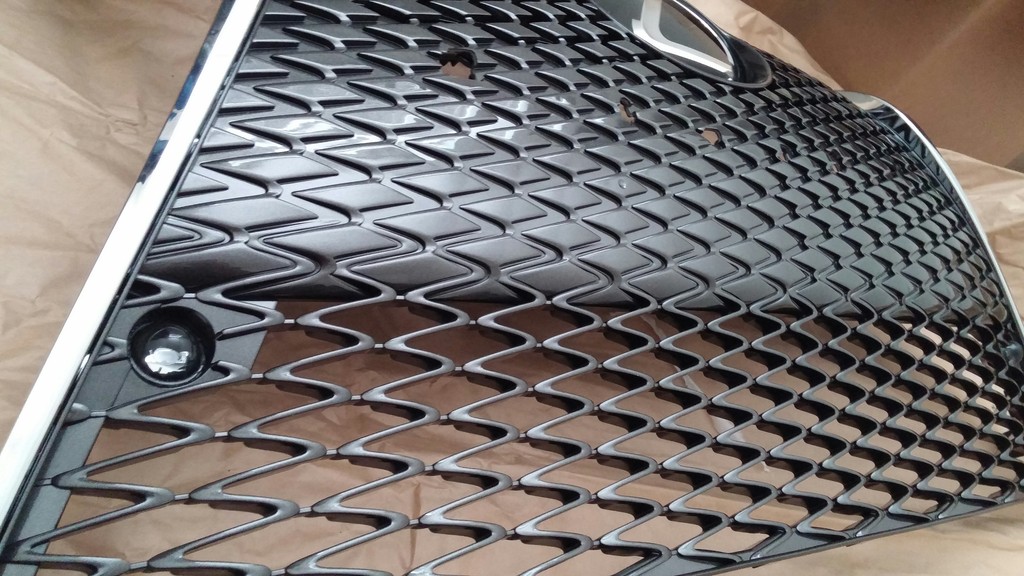
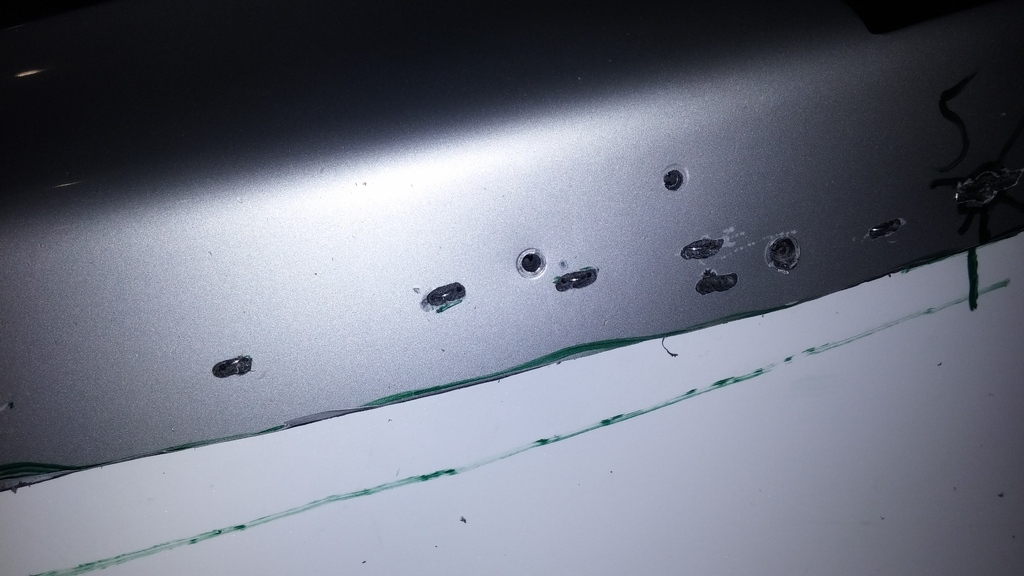
I then use heavy duty paper-clips which i opened up and used as metal wires to stitch the two panels at intervals of 25mm. the stiches were countersunk and recessed into the plastic and later covered up. Once it all cured, i covered the metal stitching with the adhesive to prevent corrosion on clips.
In the picture below you may be able to see the stitch/staple points and all the temporary holes.
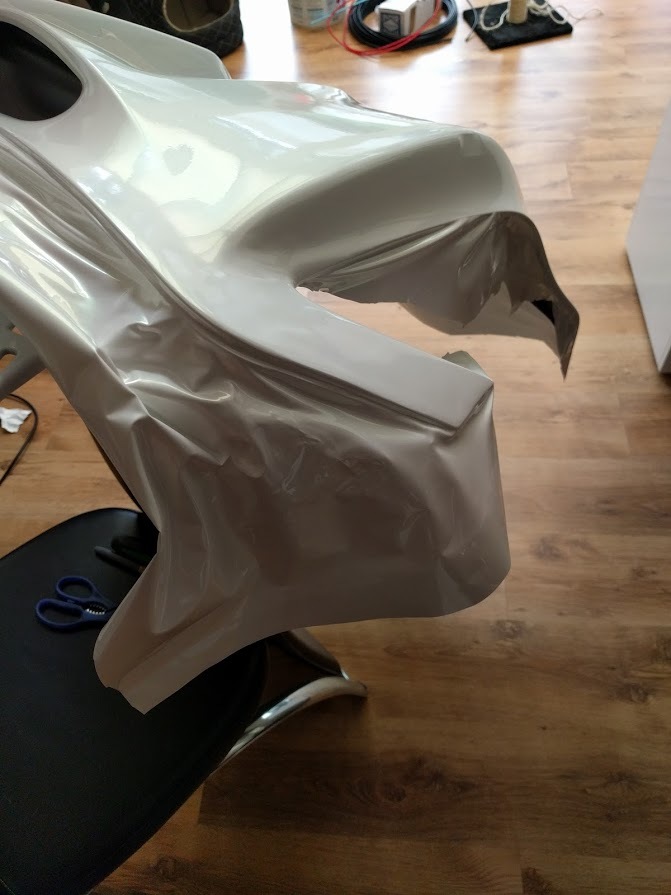
I then used a big flat-head attachment to my soldering iron to melt the joints and blend them in, this can be seen in the following pic:
Then everything filled in, here's how it looks all filled in:

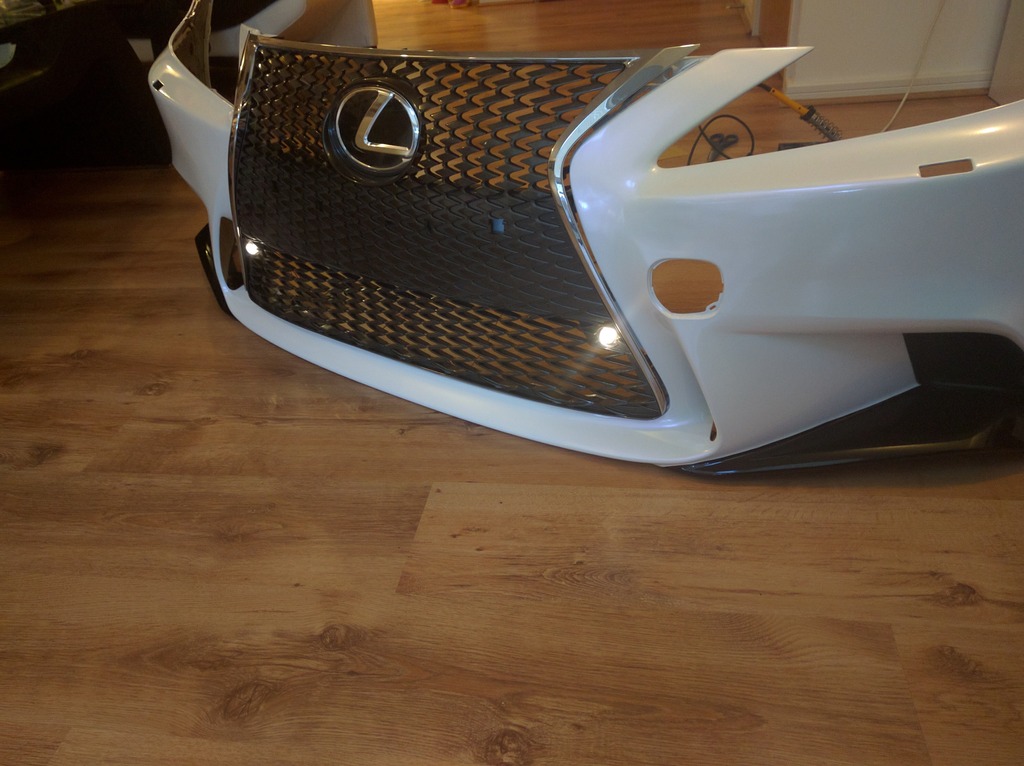
After filling it and sanding it, i applied a layer of 2 part ePoxy paint.
The LED projector lens I bought are from here: http://www.ebay.co.uk/itm/221270527801