
In progress iPad Air dash mod
 04-22-14, 02:31 PM
#1
Rookie
Thread Starter

Join Date: Jan 2011
Location: Ontario
Posts: 90
Likes: 0
Received 0 Likes
on
0 Posts
Where to start lol:
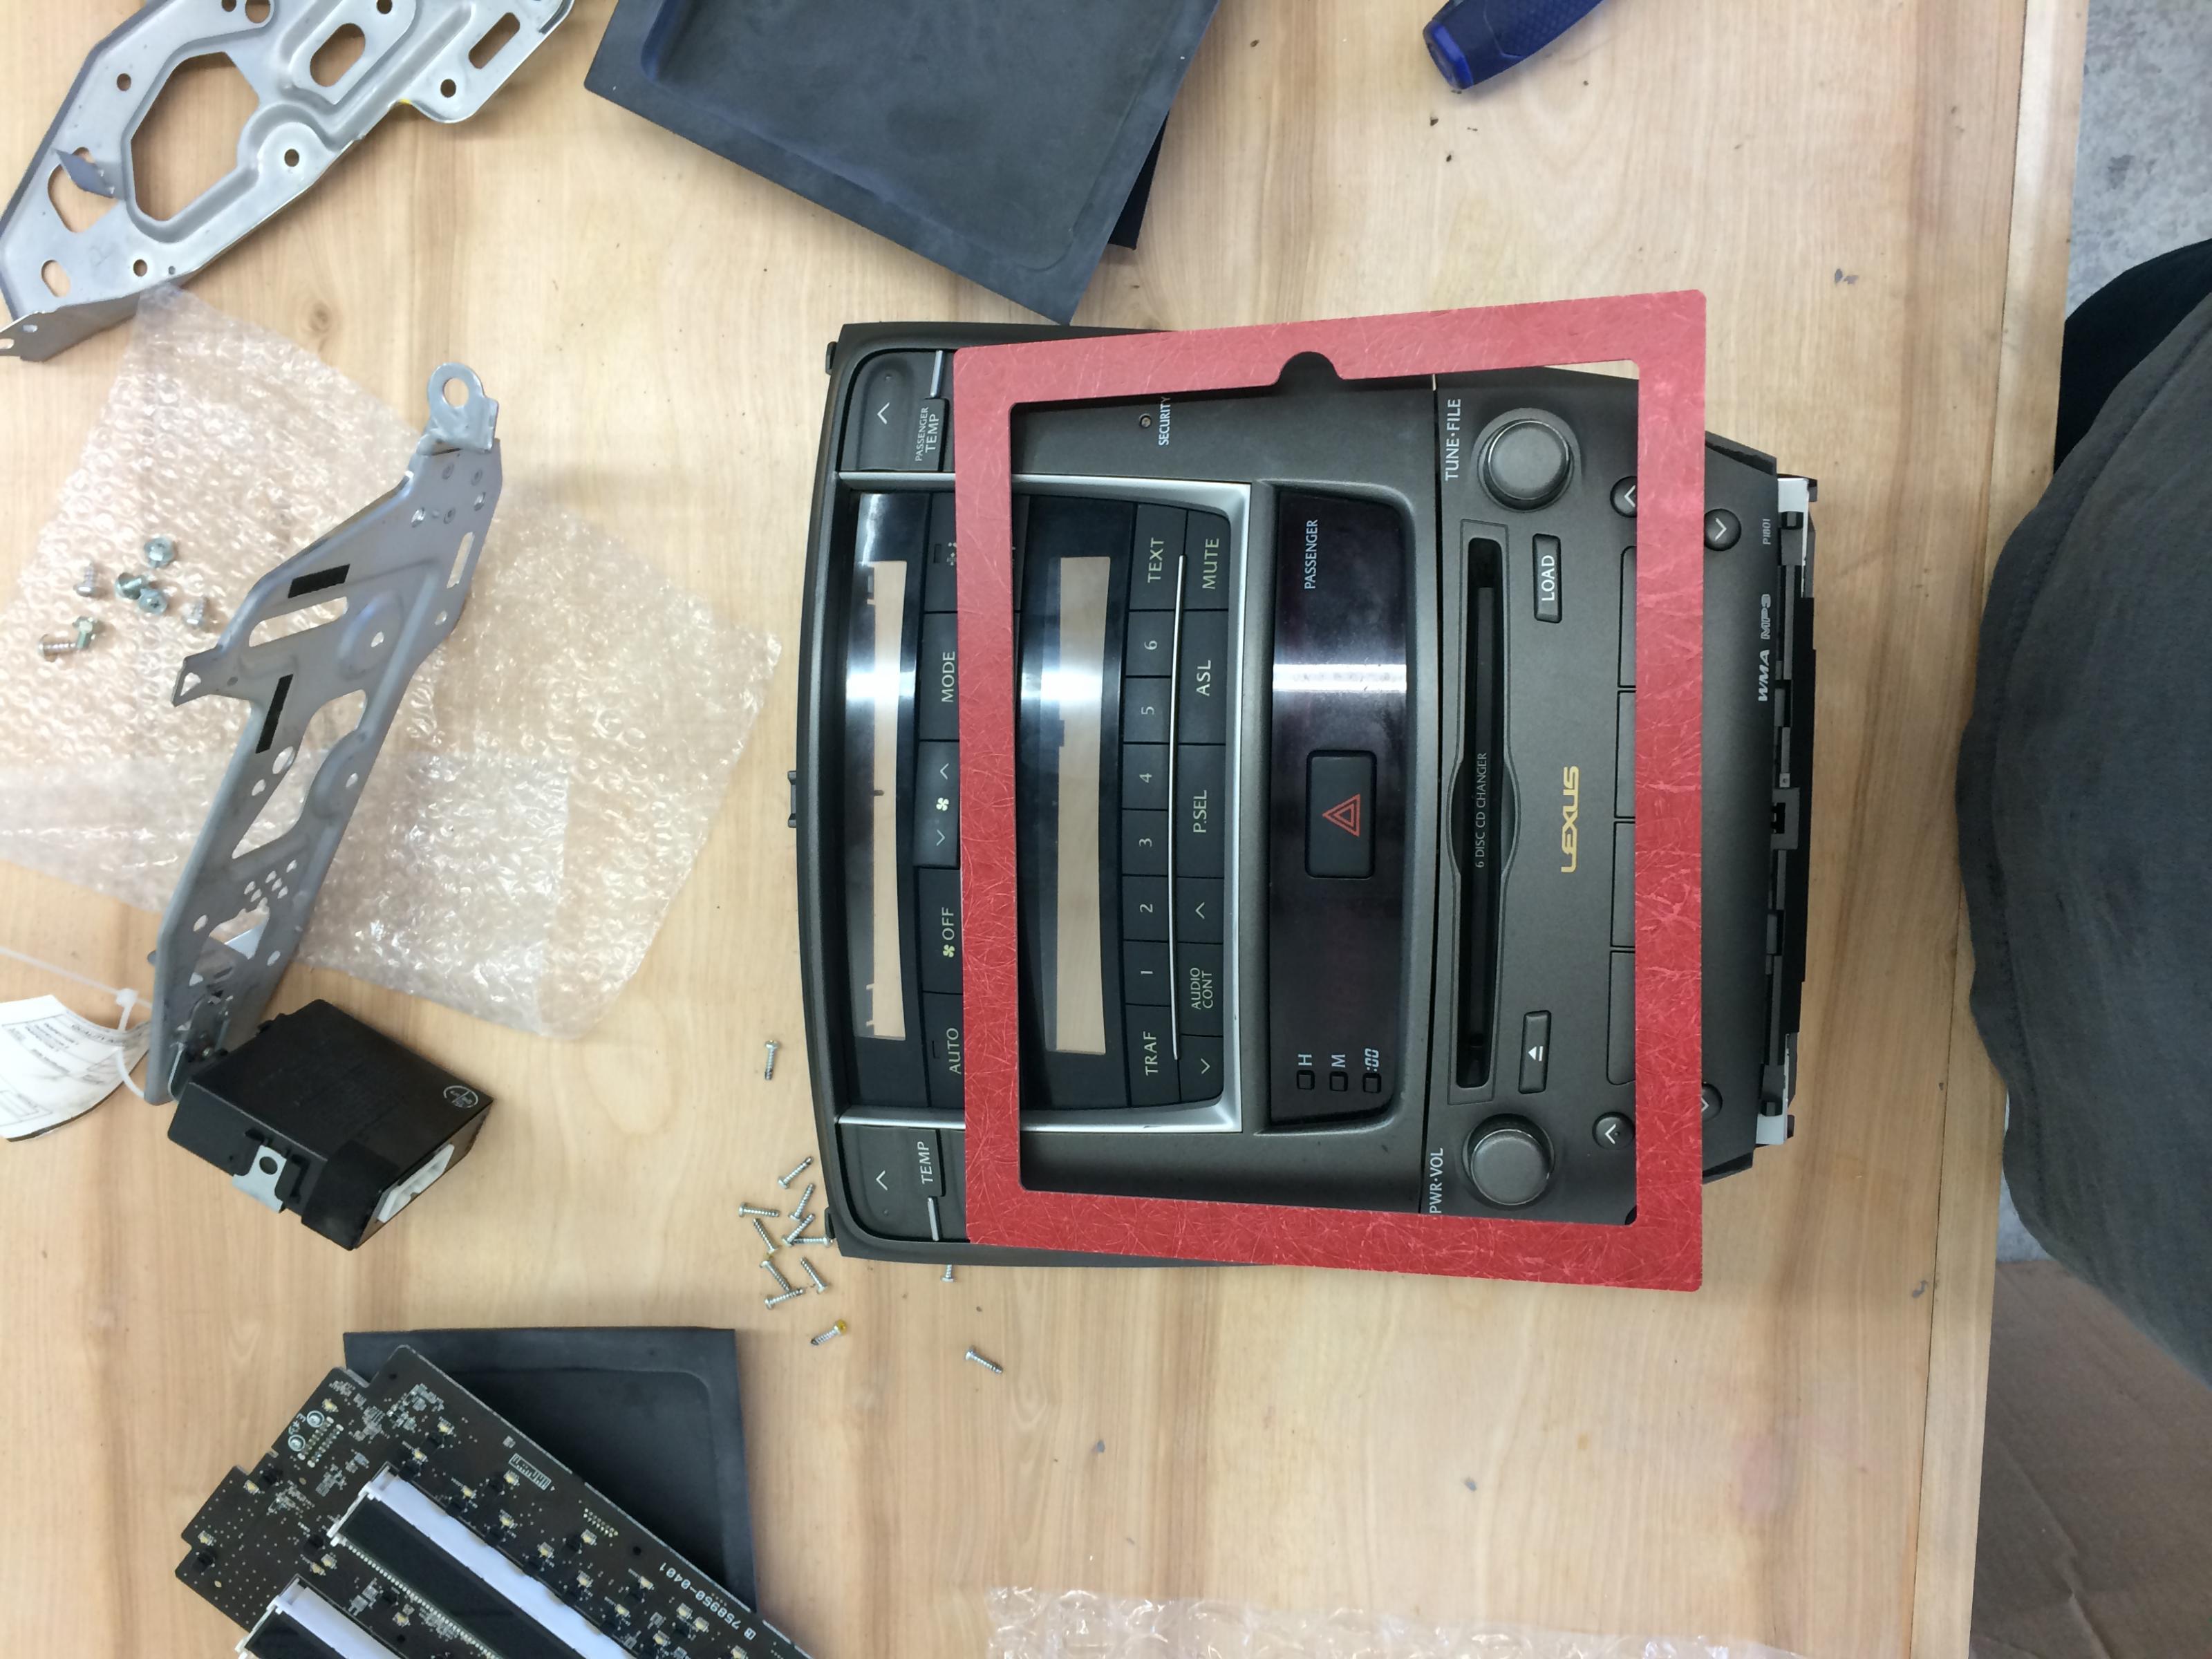
Let's preface this with, yes, I know the 2 main issues. The factory amp turn on (solved with a PAC TATO adapter) and the circuit board for the HVAC is in the changer (solved by removing it and relocating it by Rafa of Soundman Car Audio).
For those who don't know who SoundMan is. It was a car audio shop out in California that has a web series which is syndicated on the web network Revision3. They specialize in iPad dash kits. One of their installers (and hilarious characters on the web show I might add) Rafa, has agreed to take on this job.
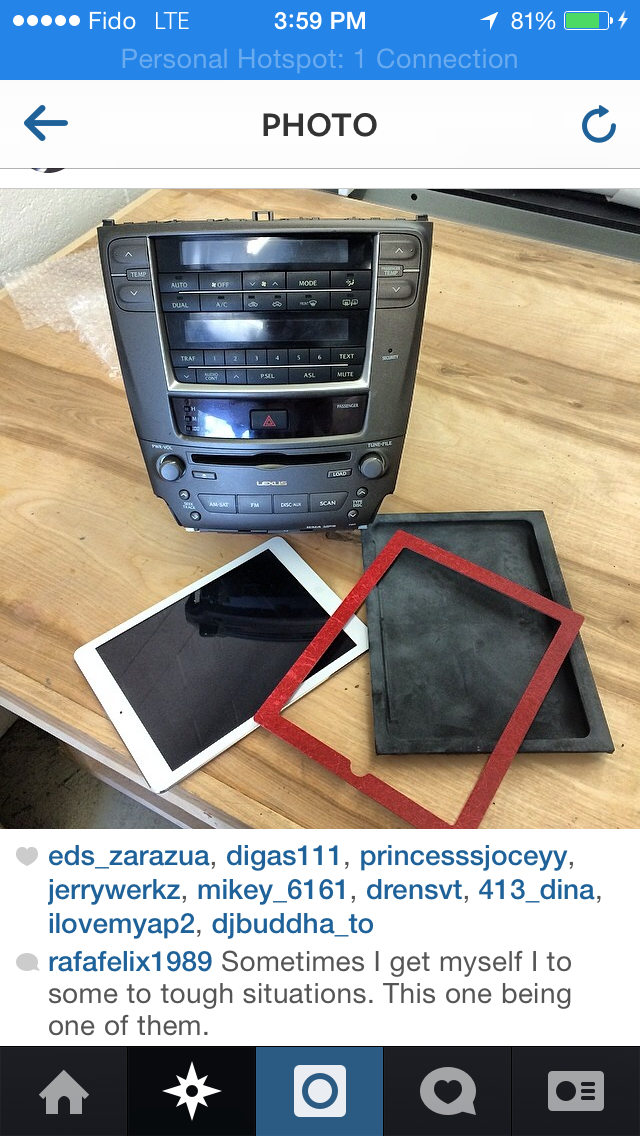
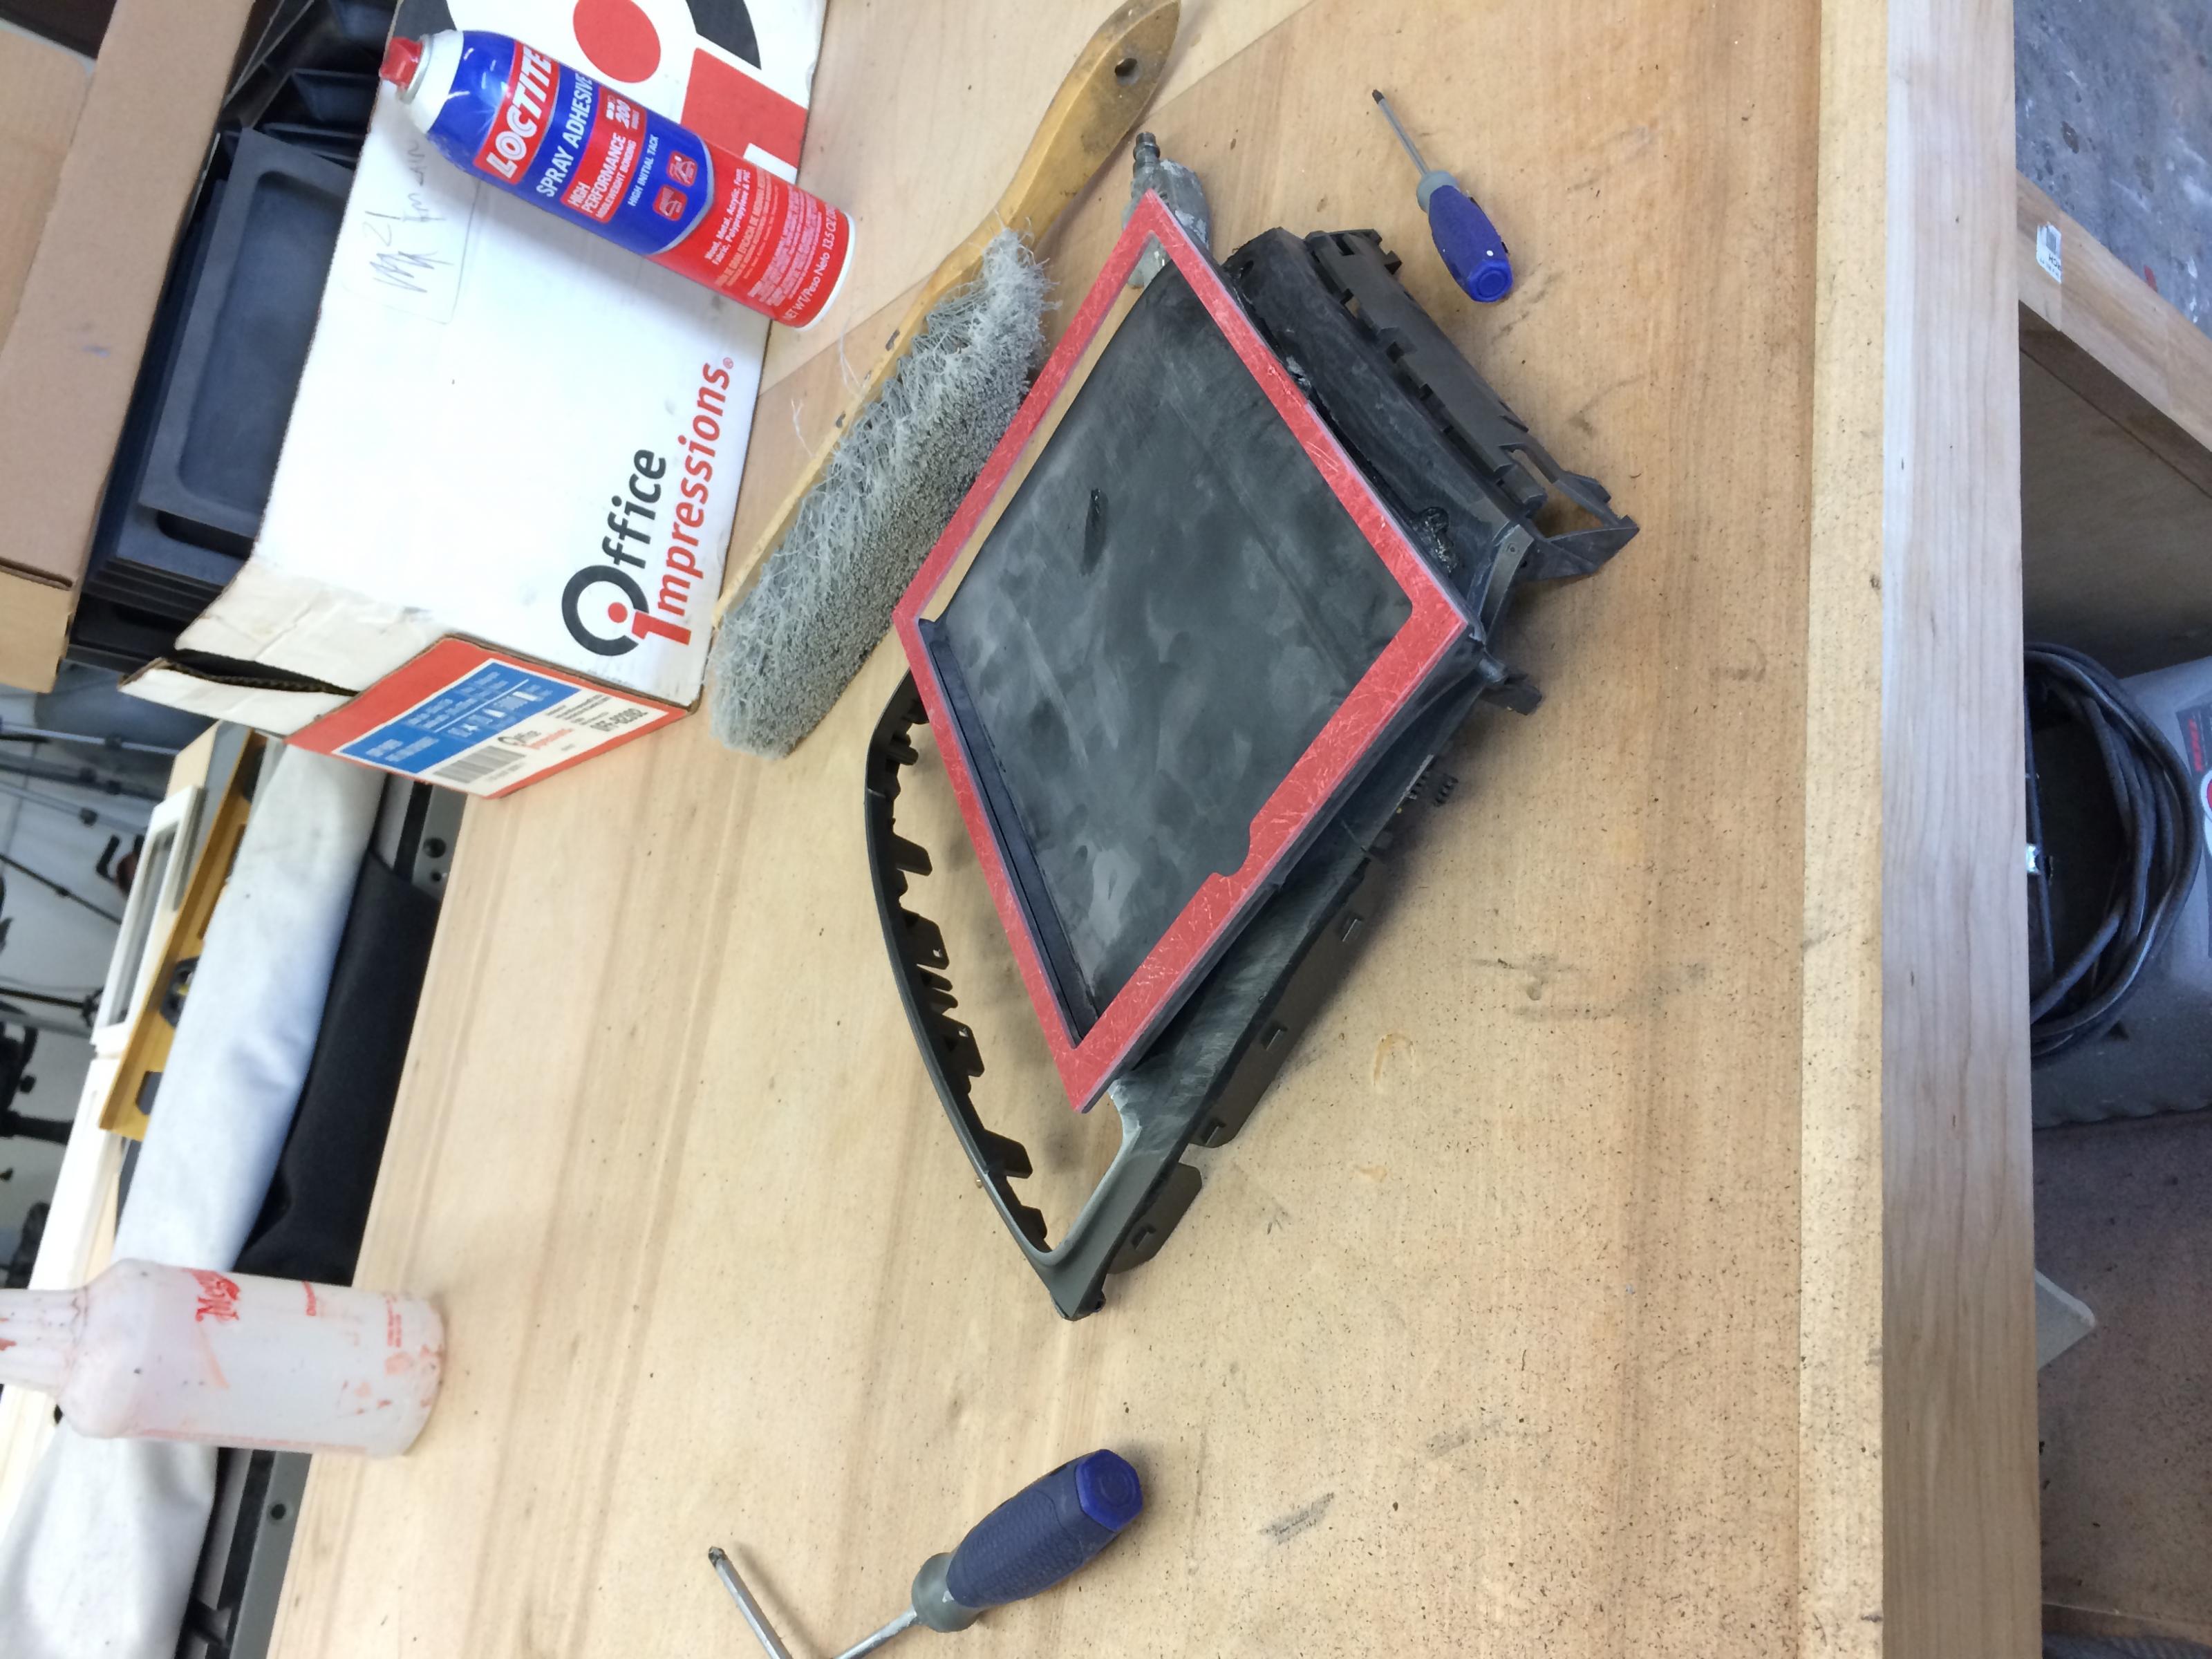
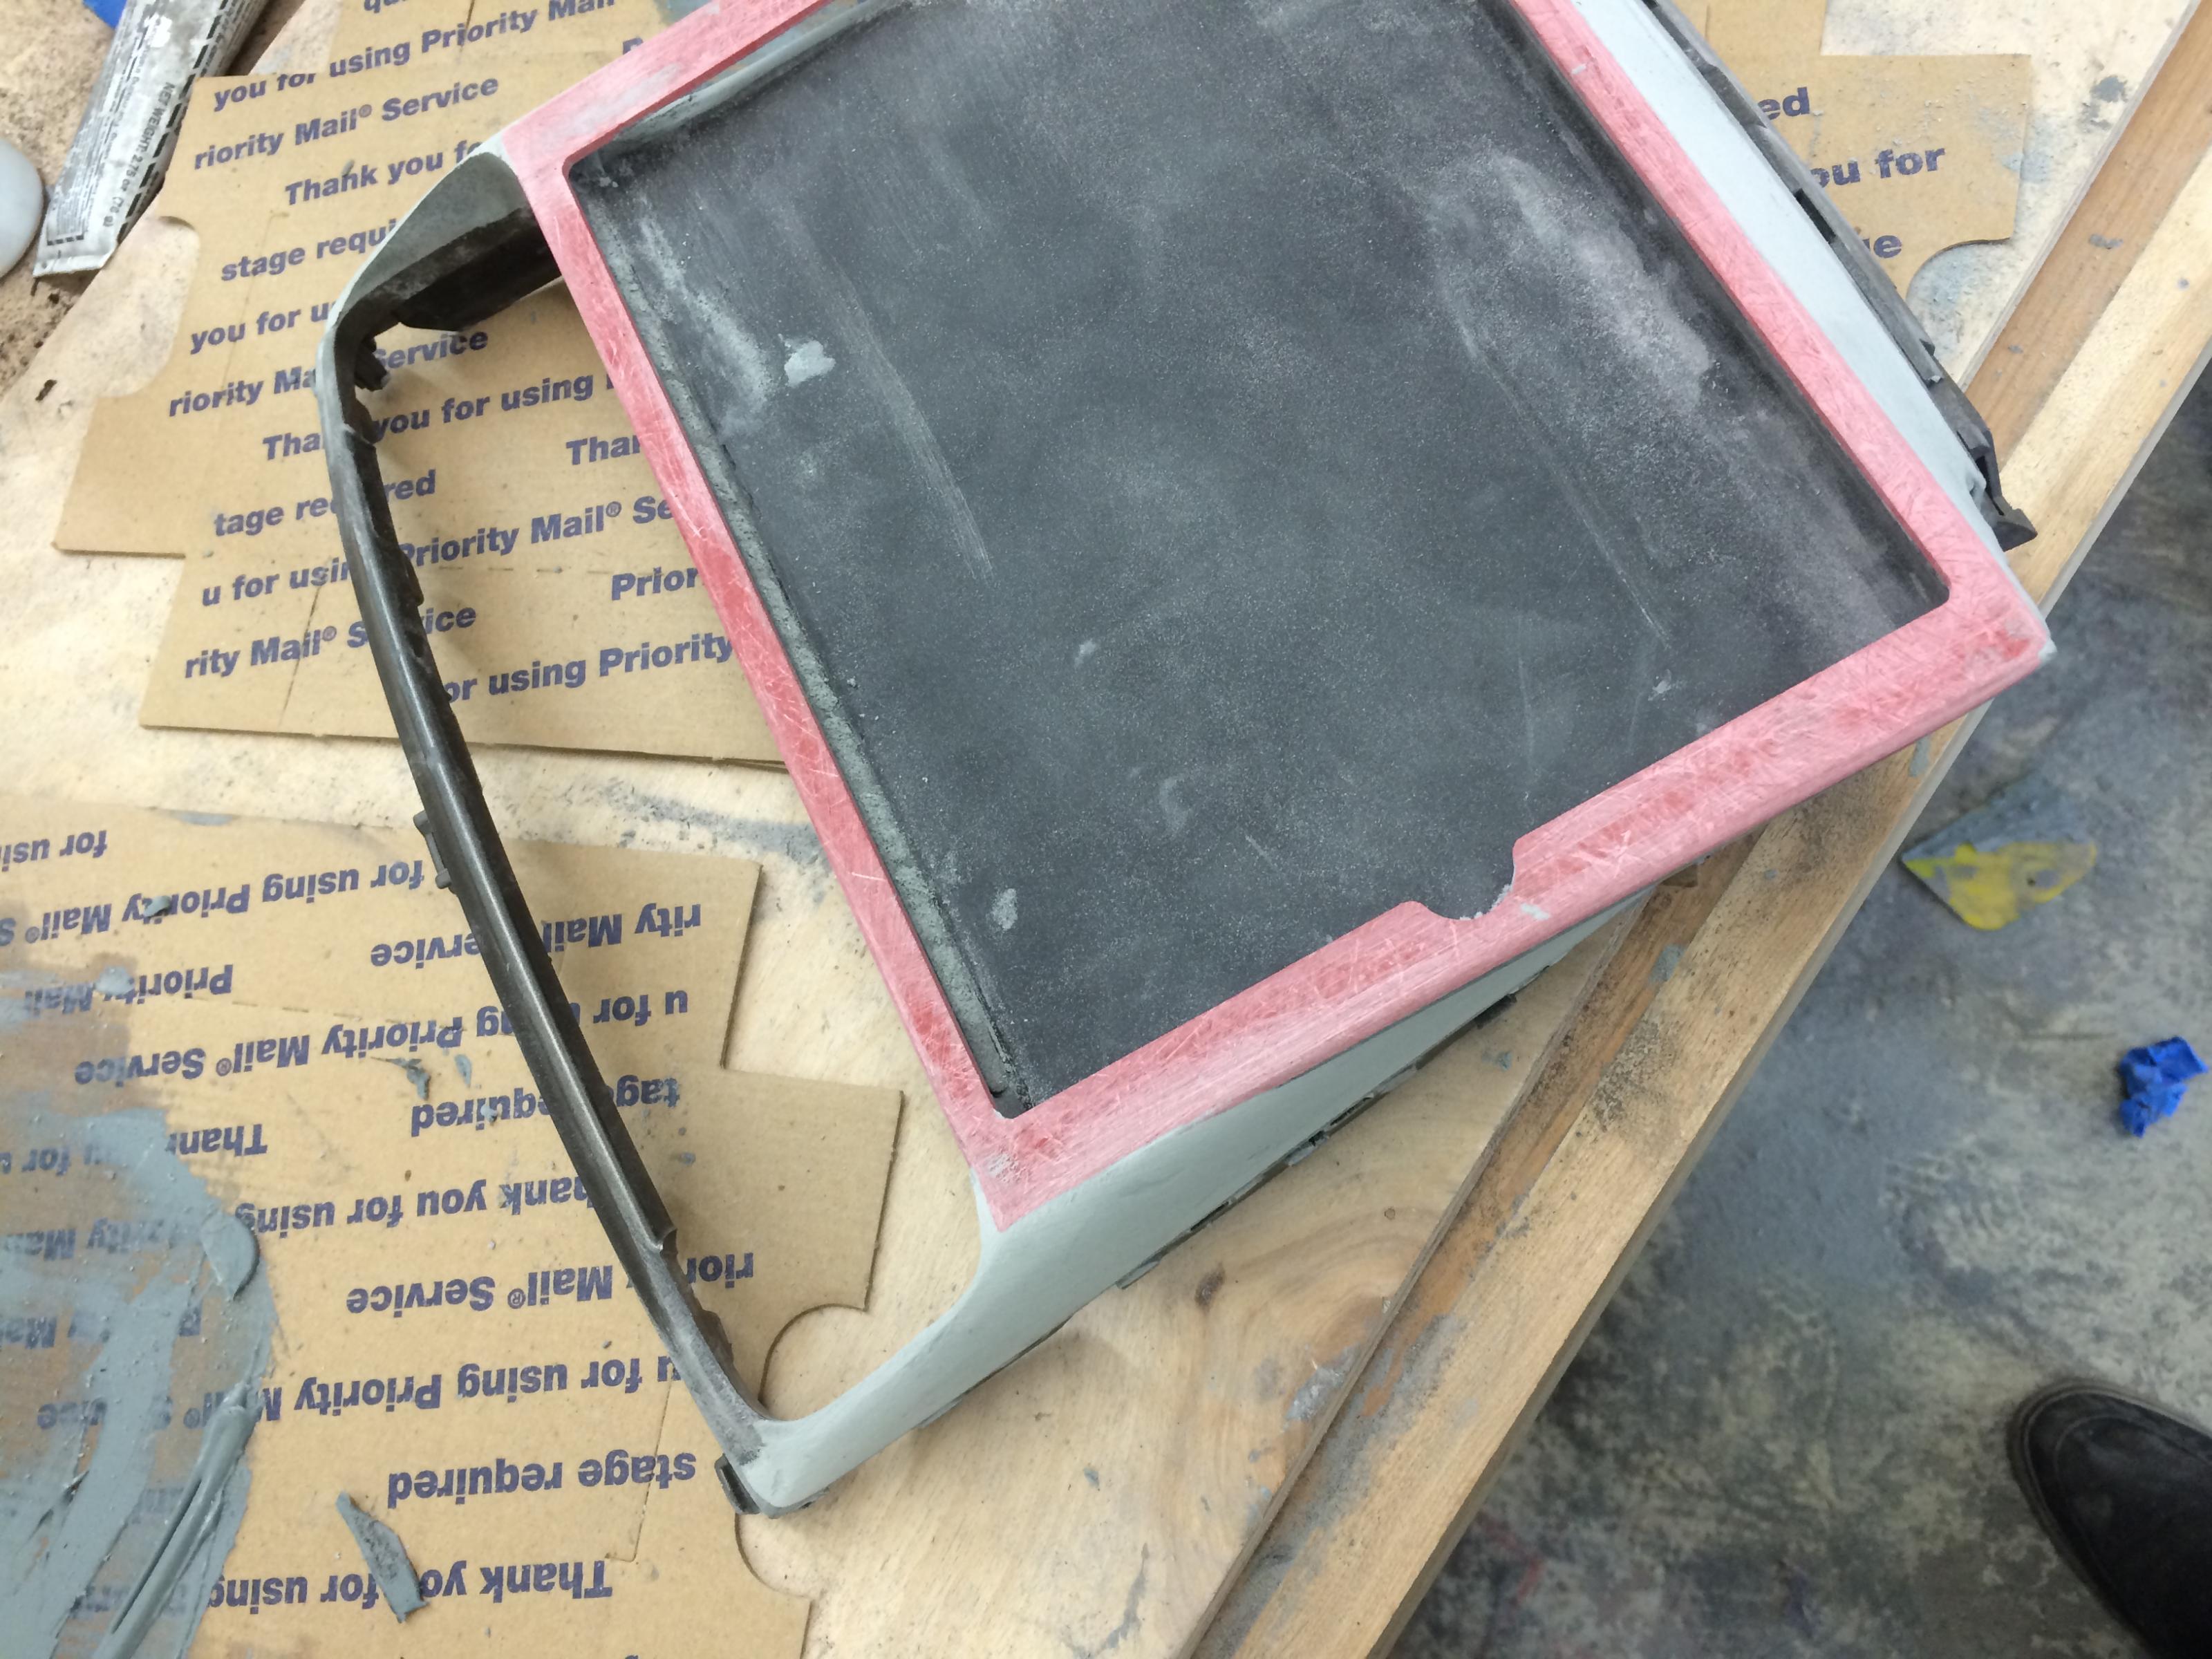
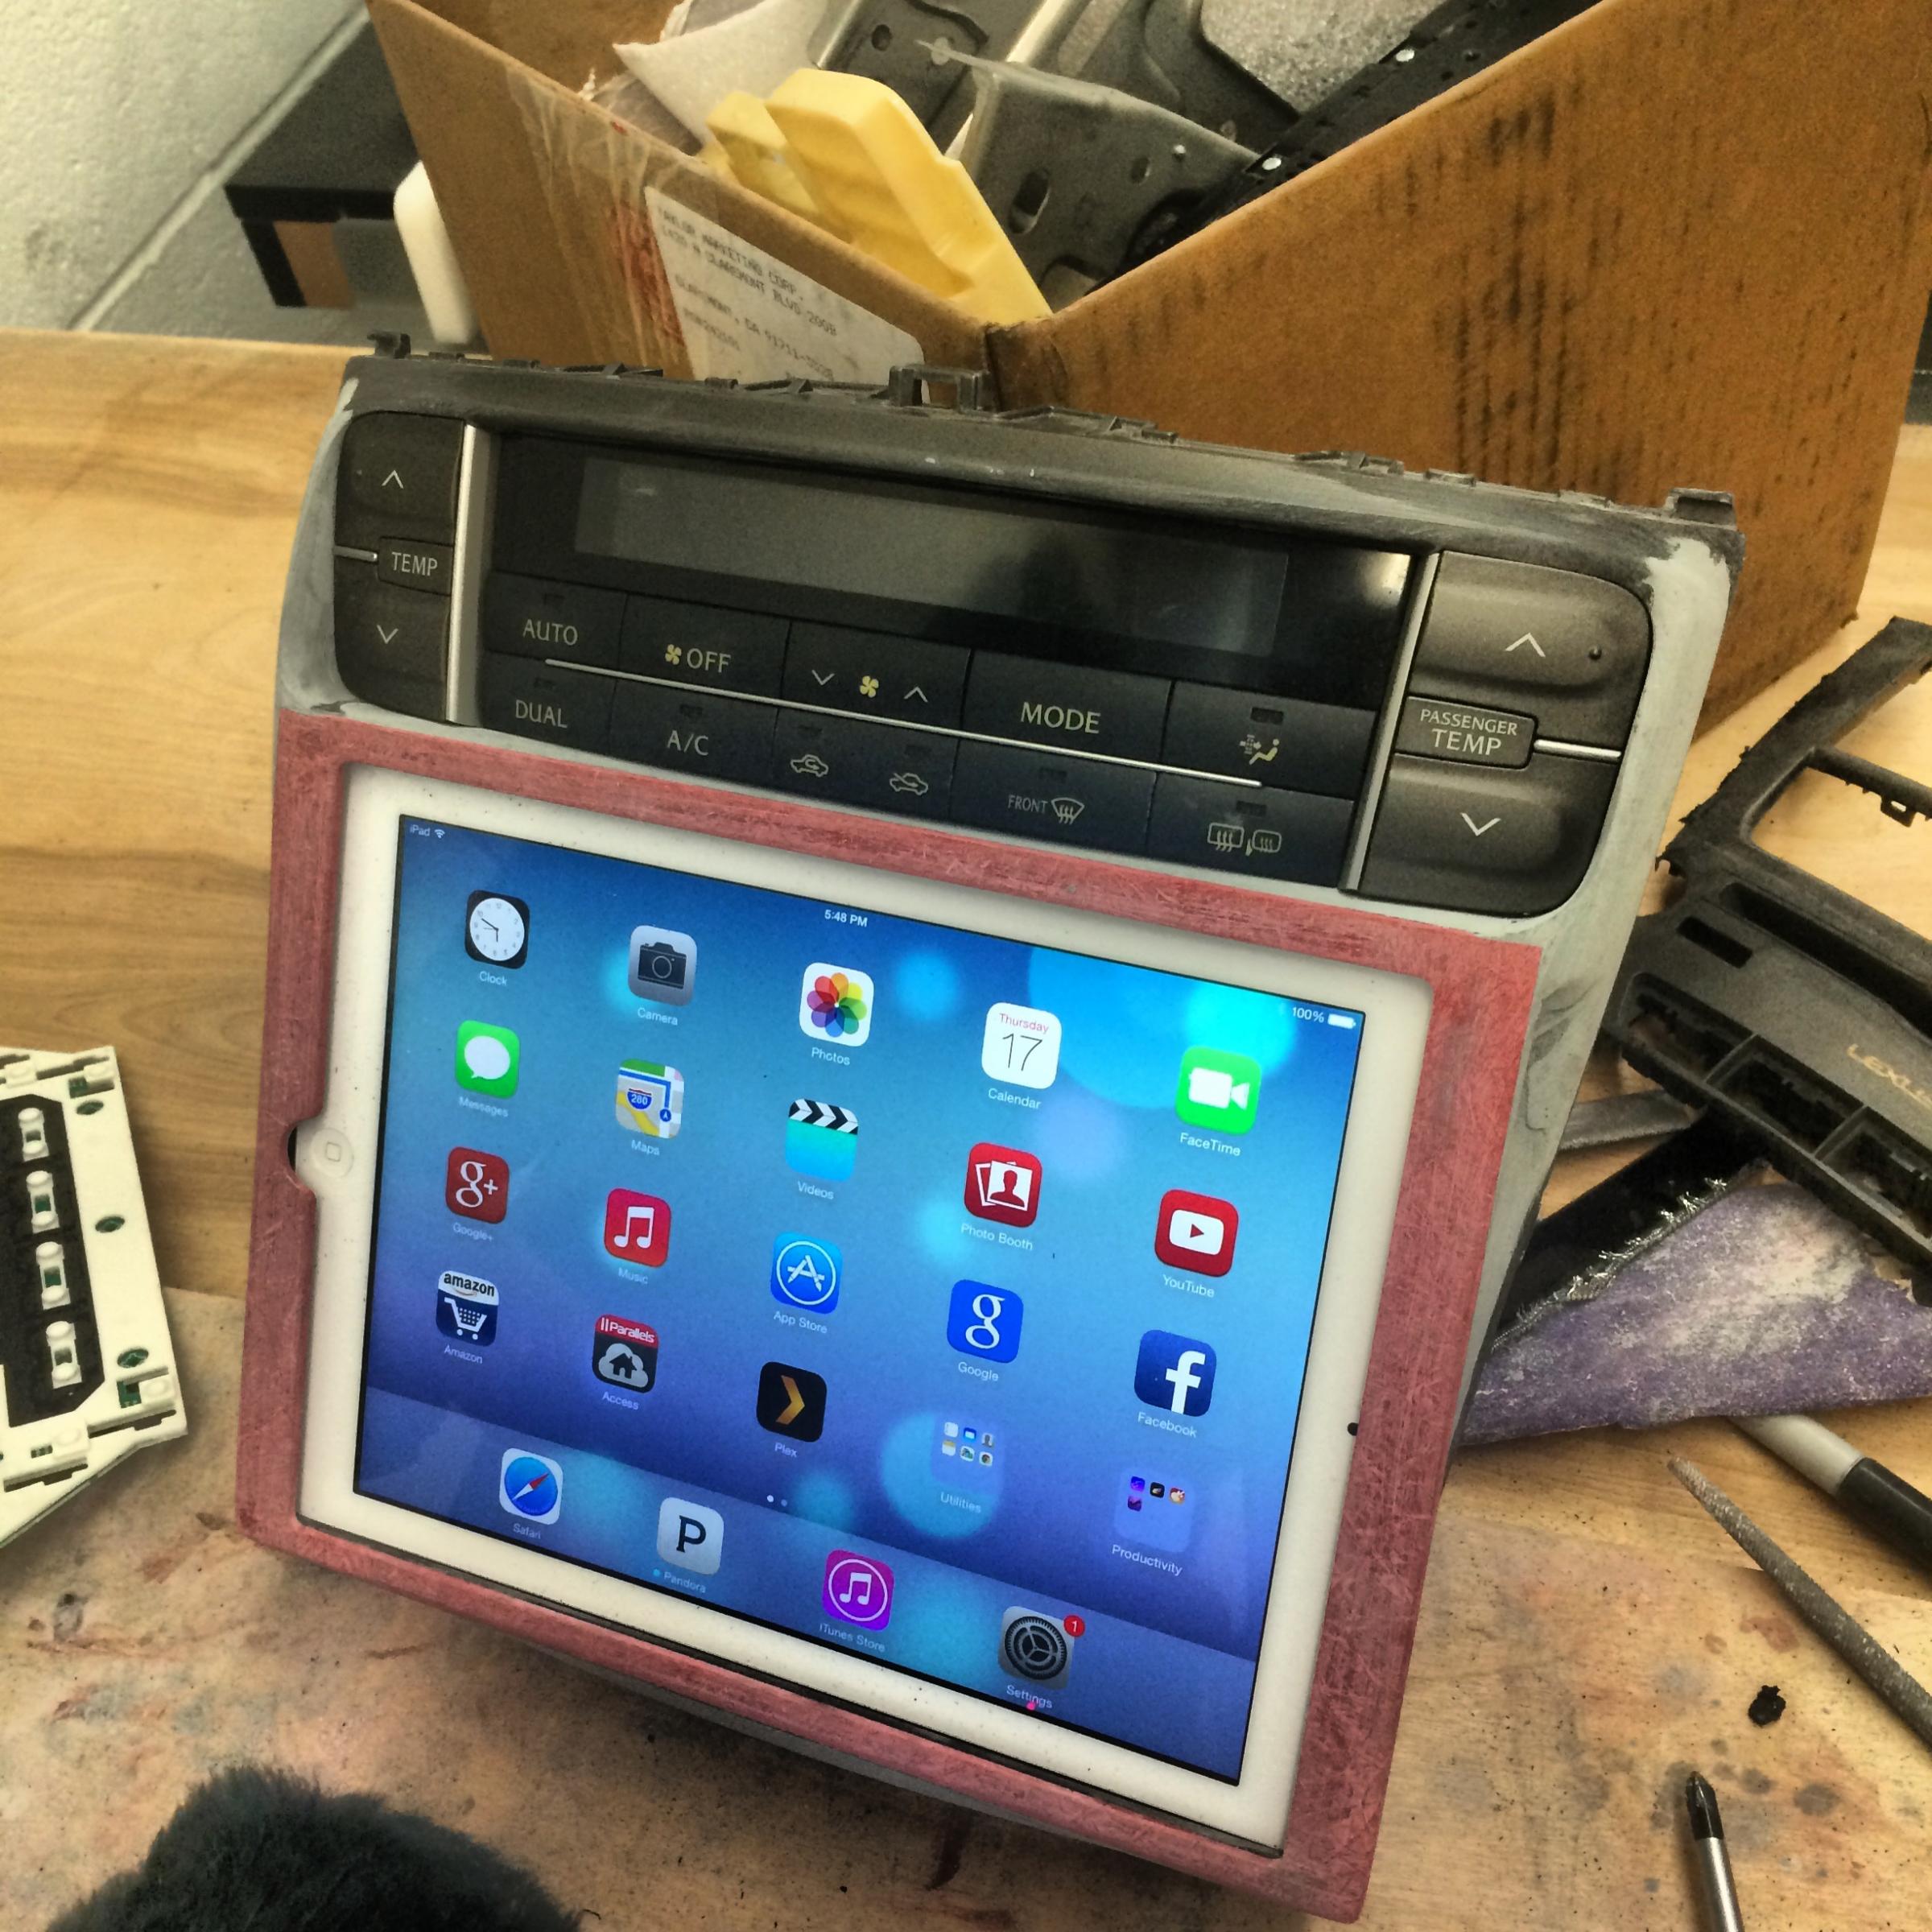
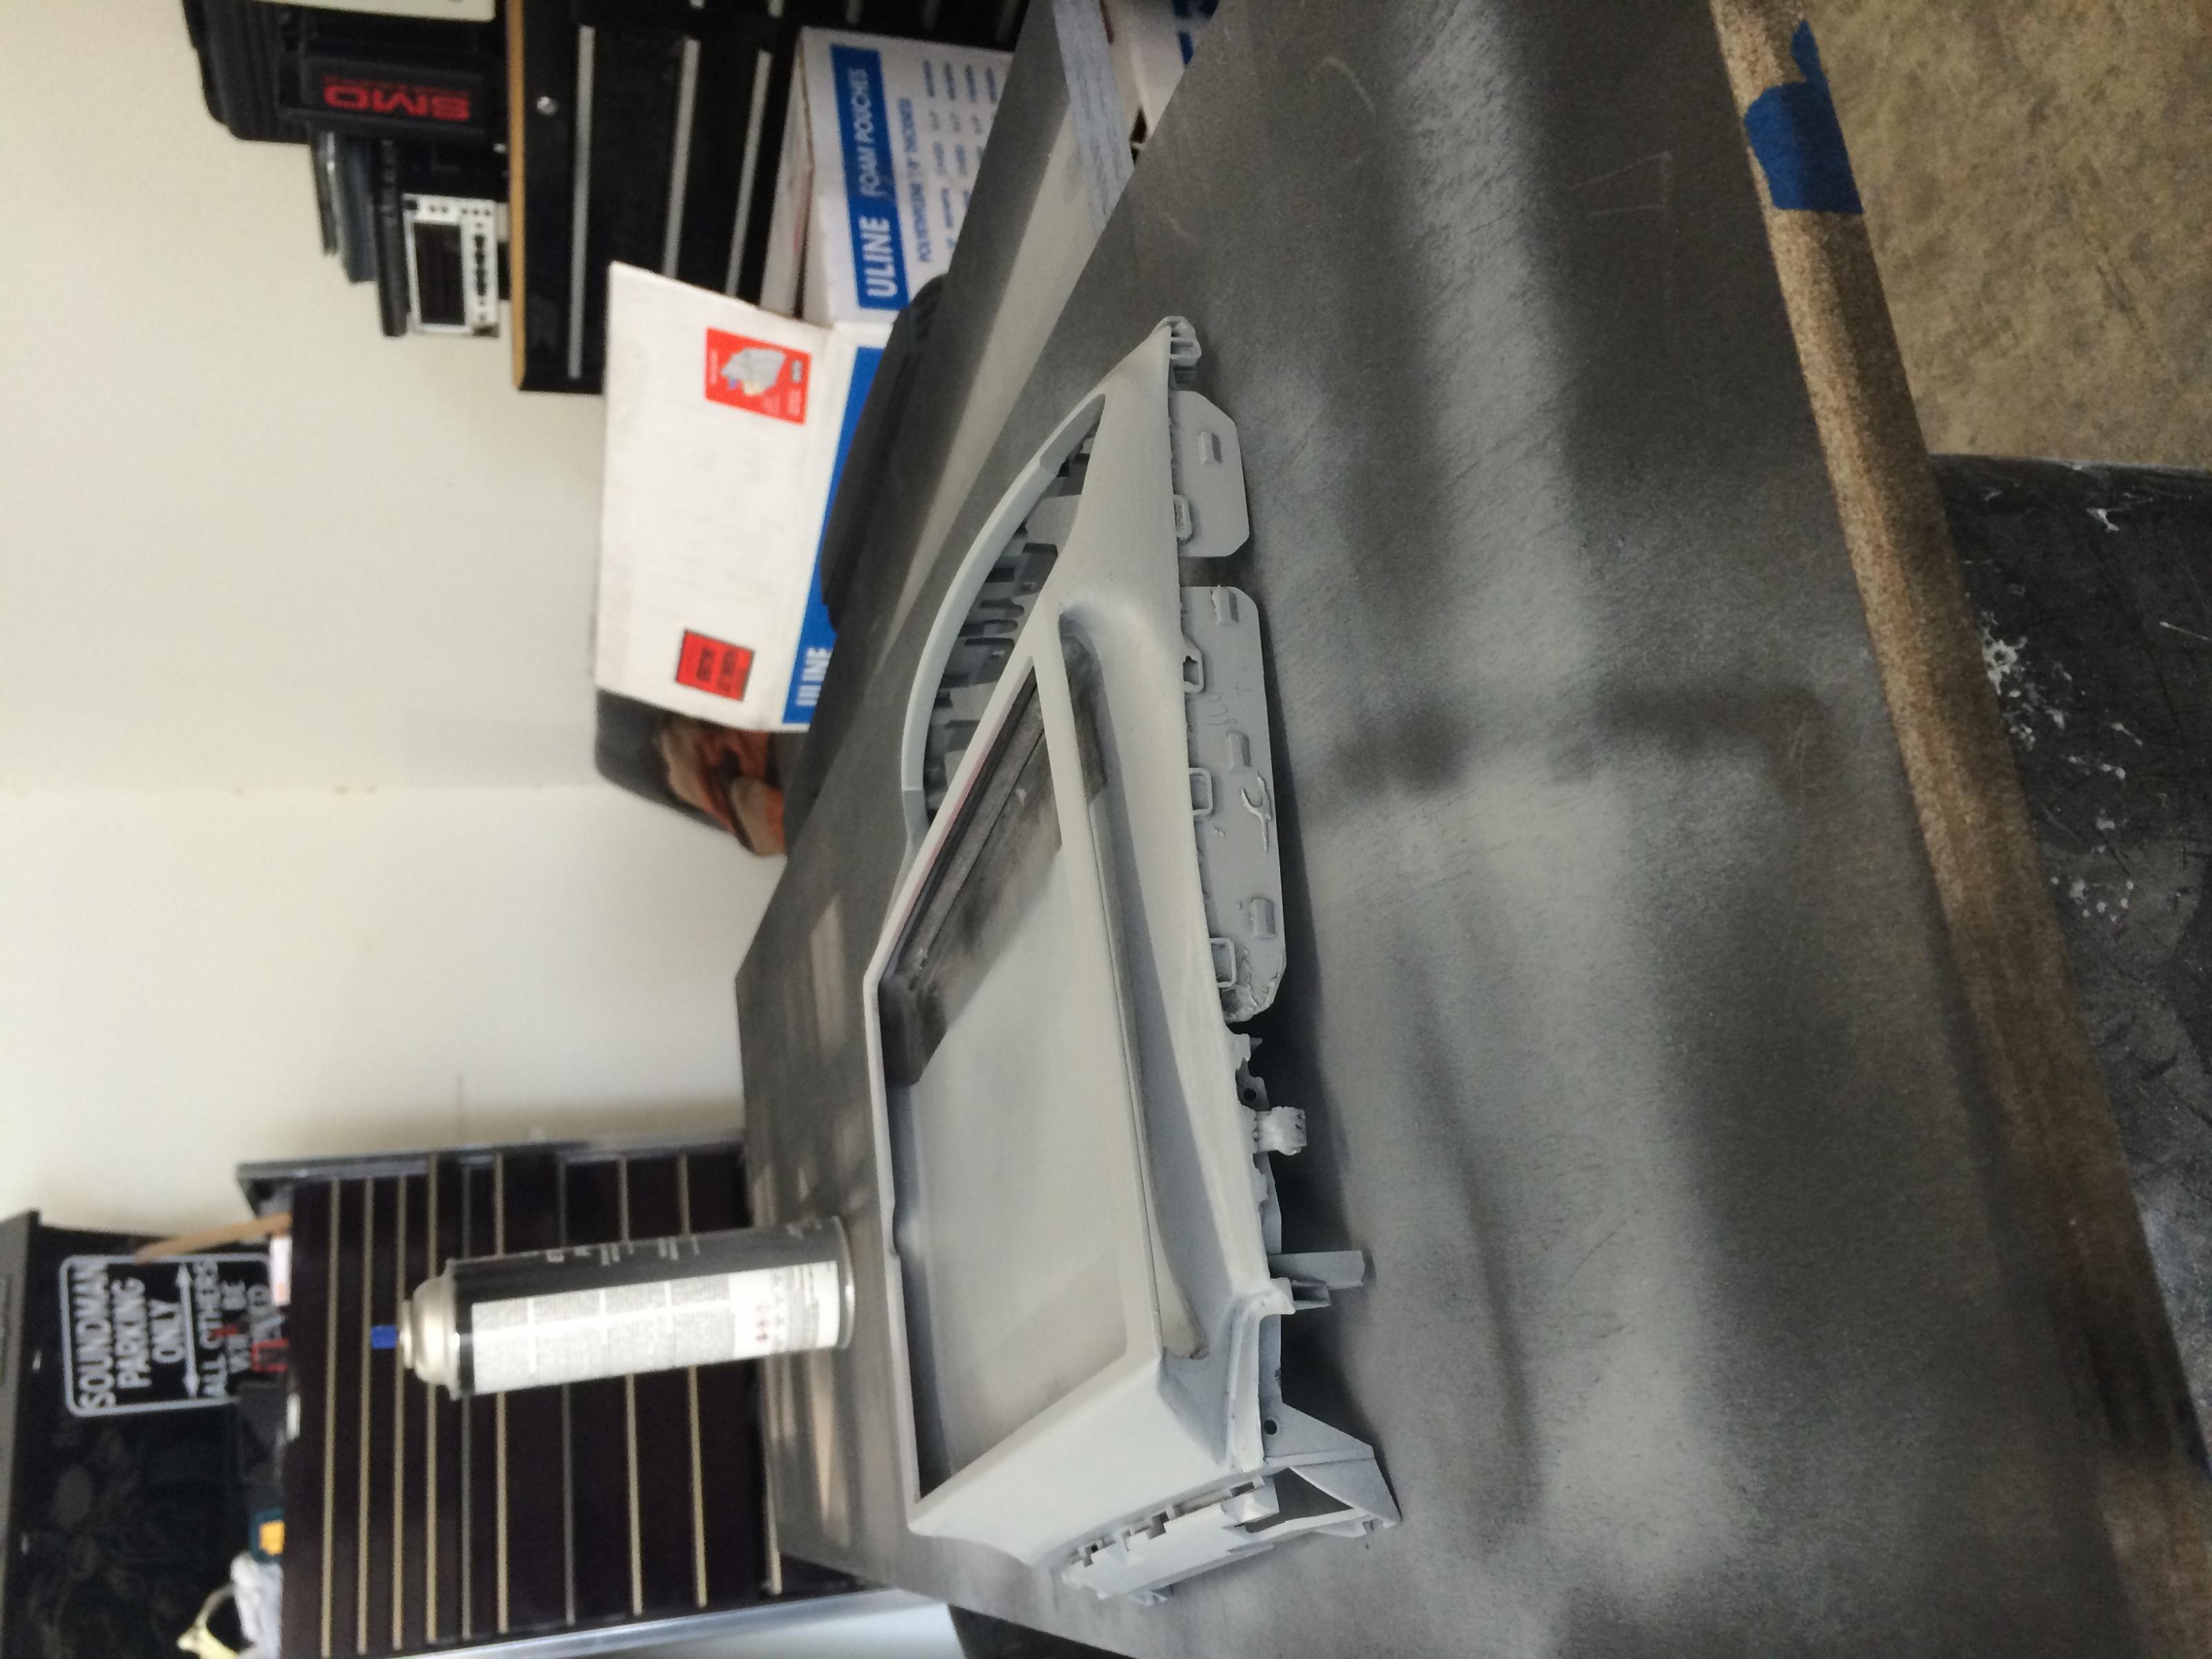
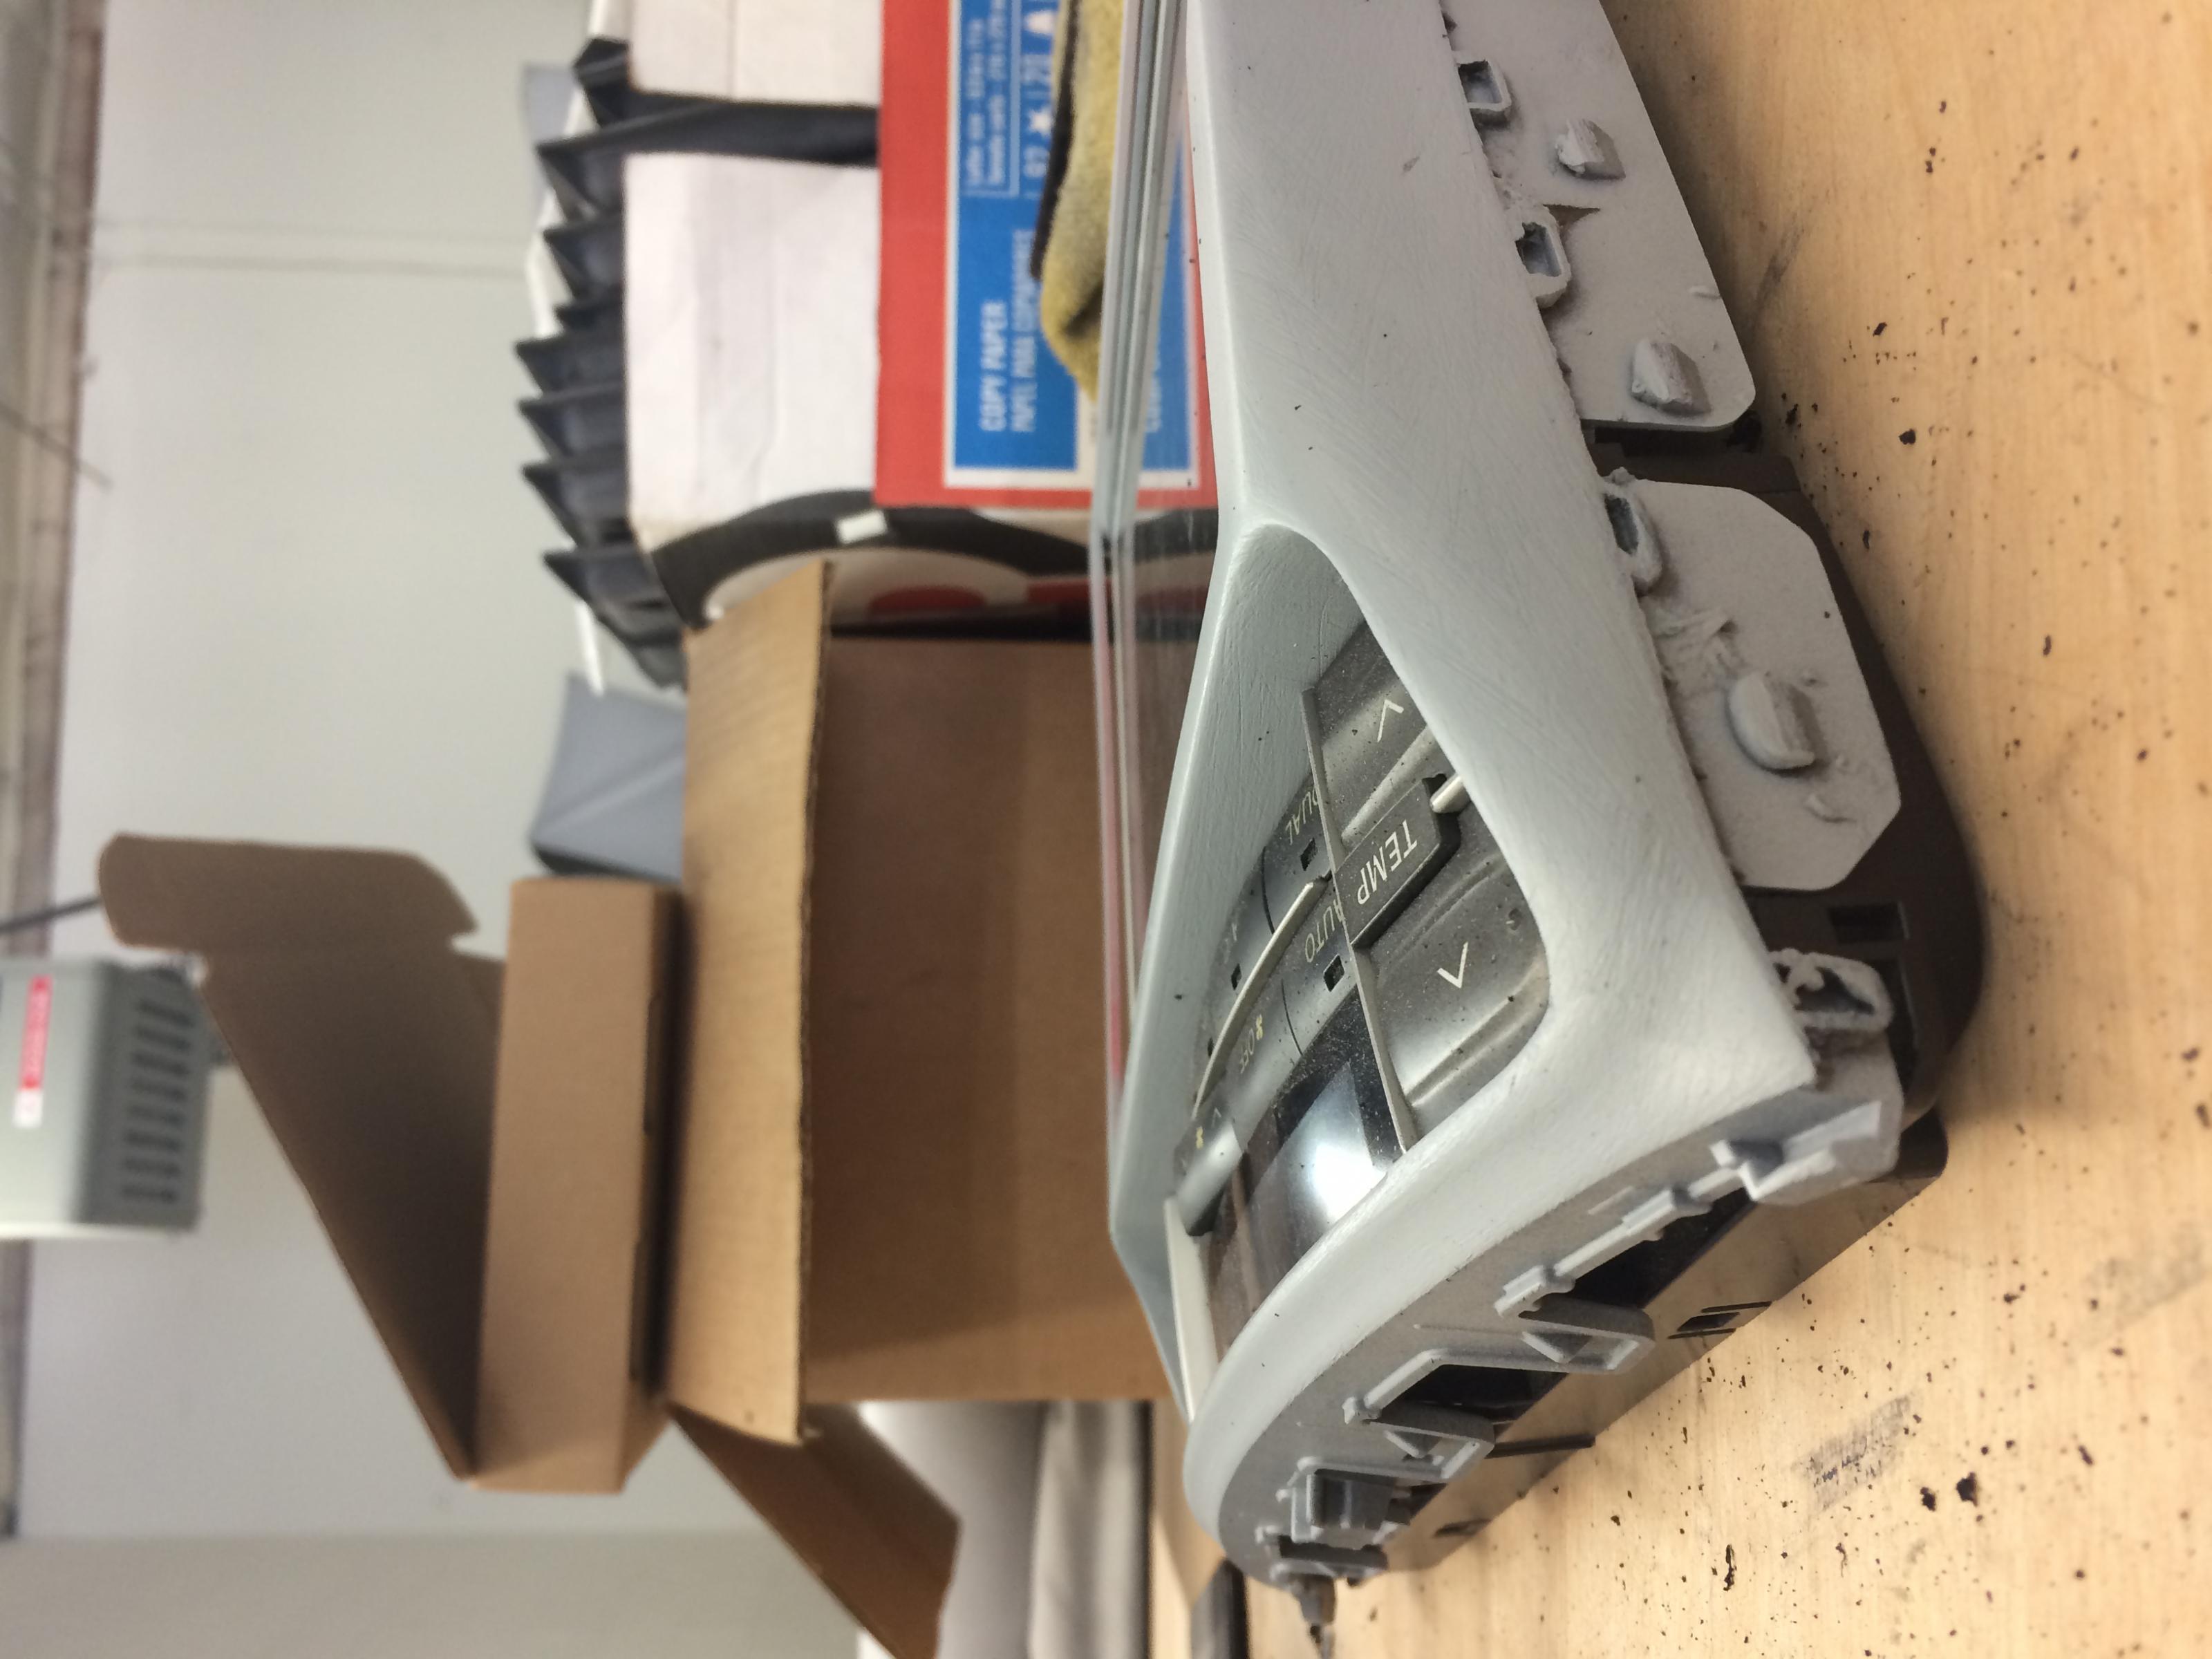
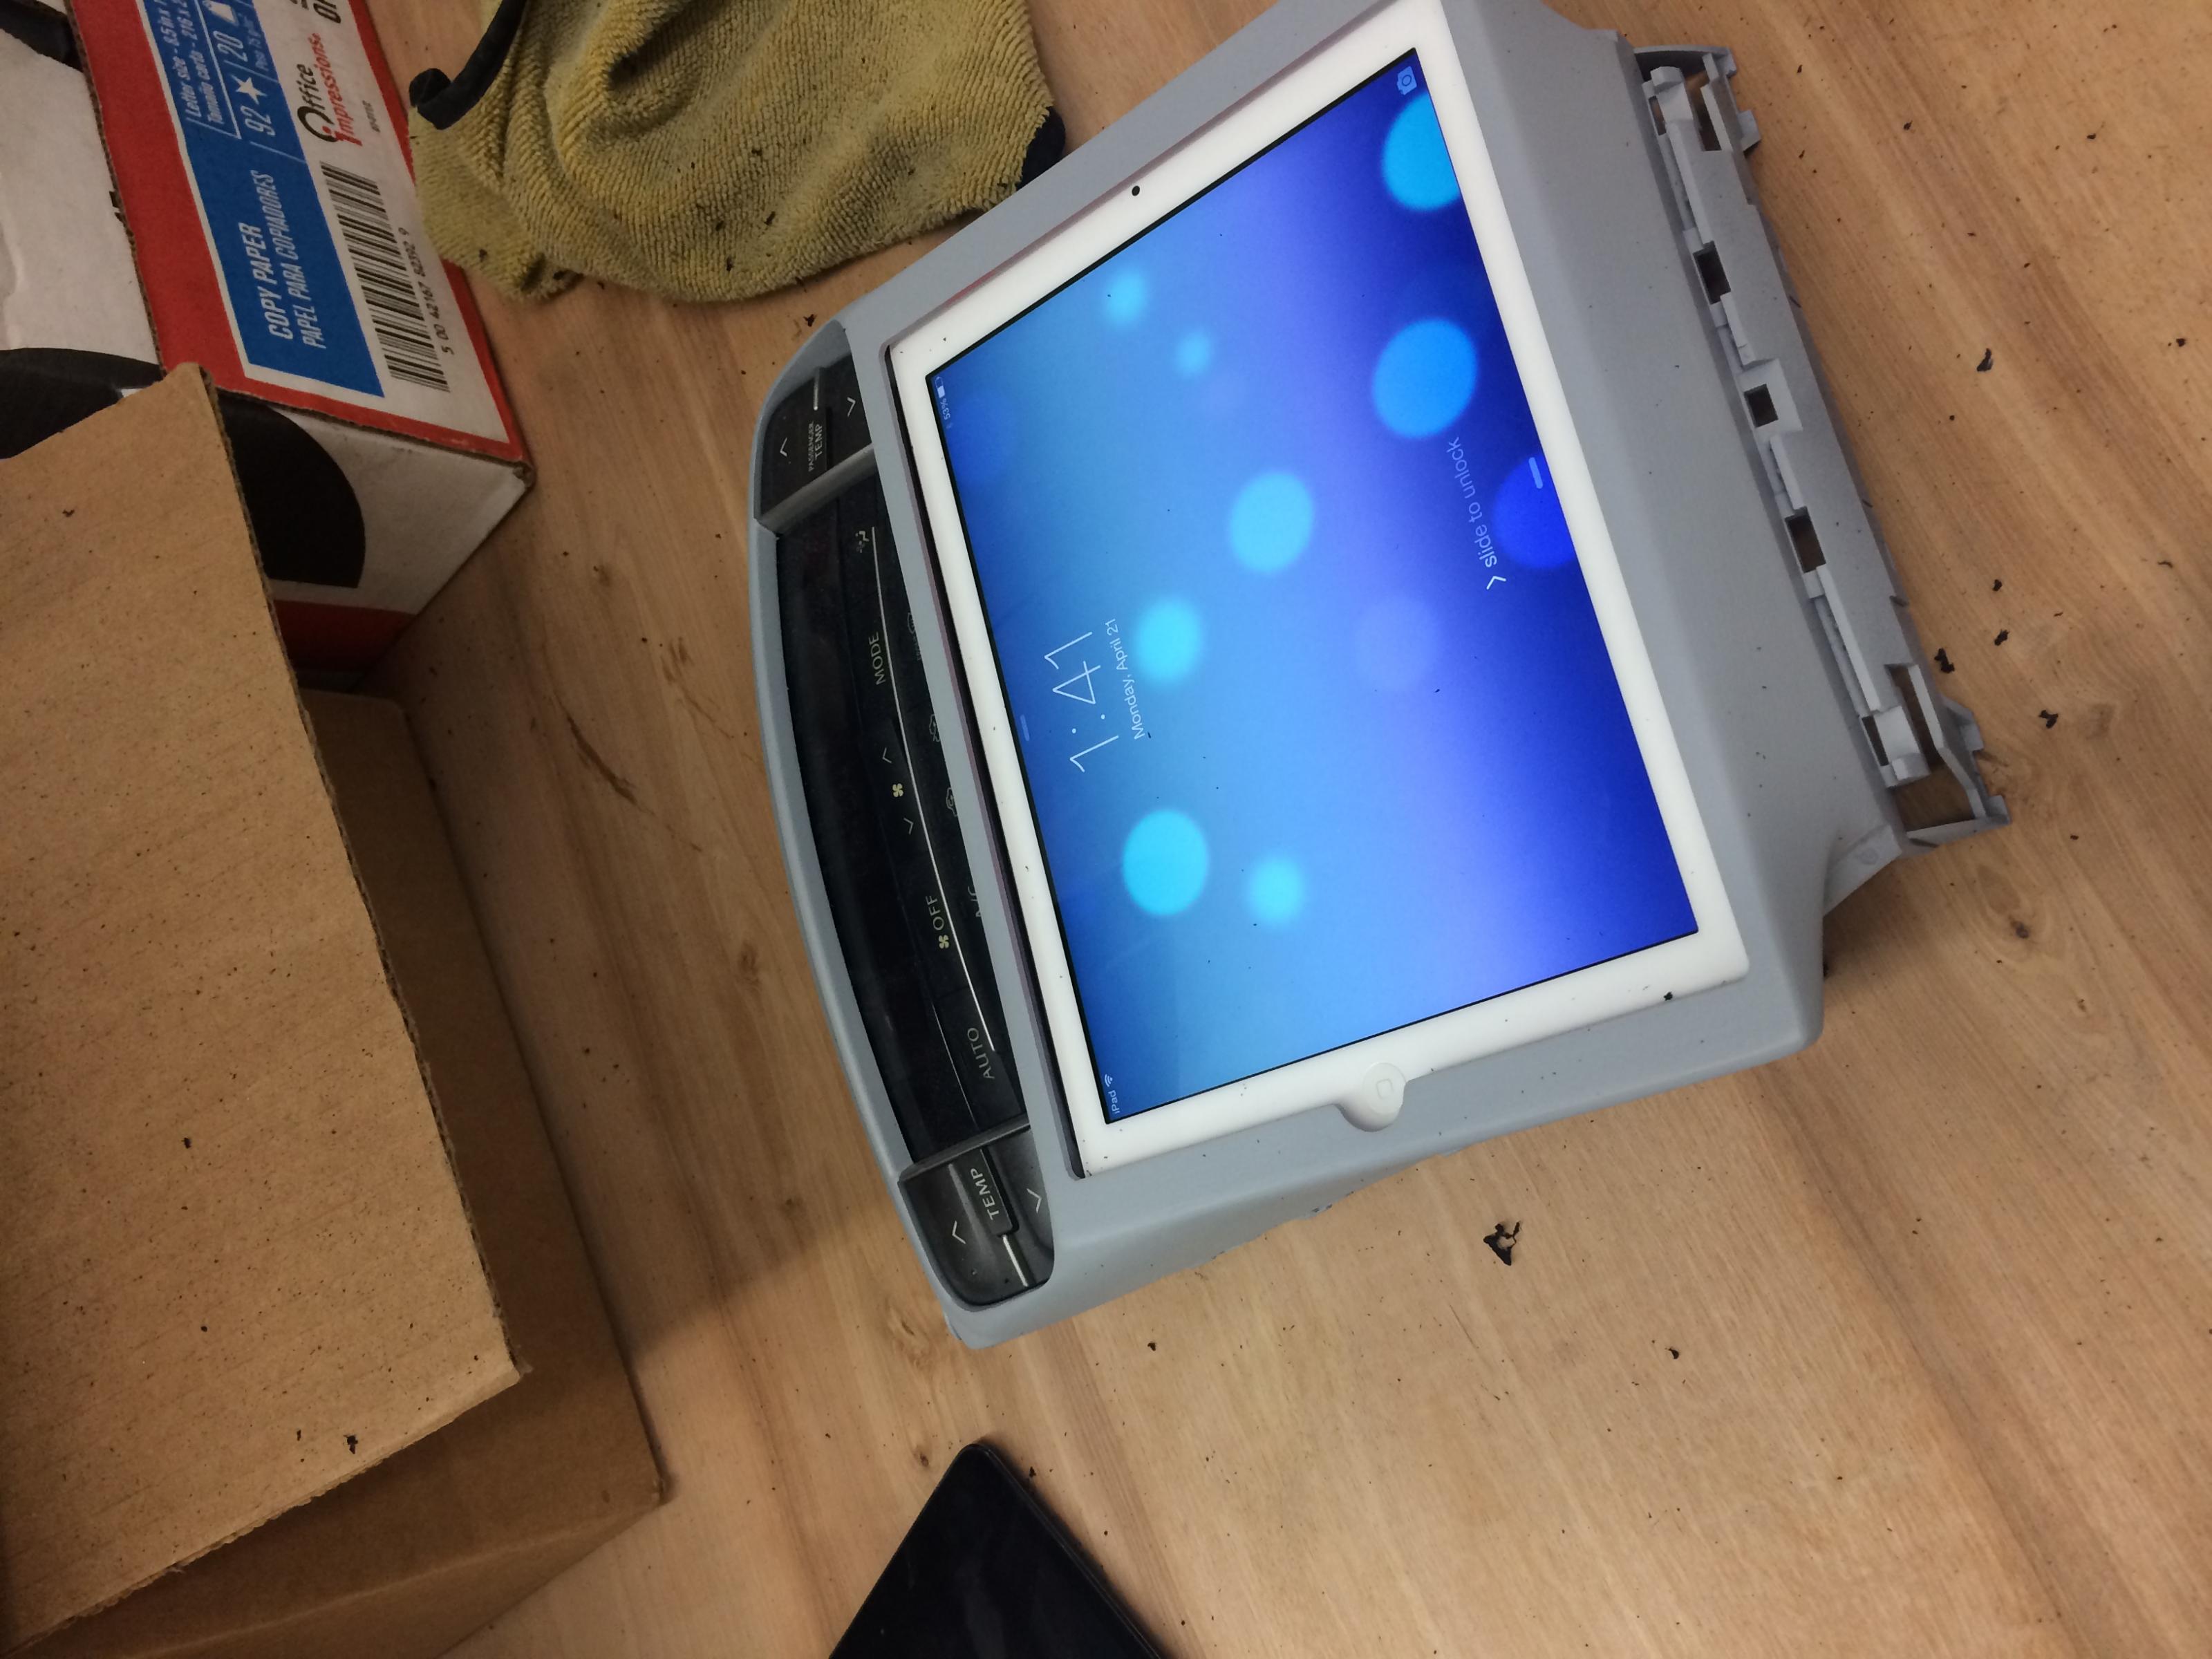
At the time of writing this post, the dash is about 50% complete. Below will be some YouTube links as it was featured on 2 episodes of the web series "Amplified". Also, here are some pics of the progress so far.
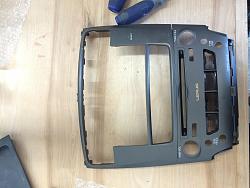
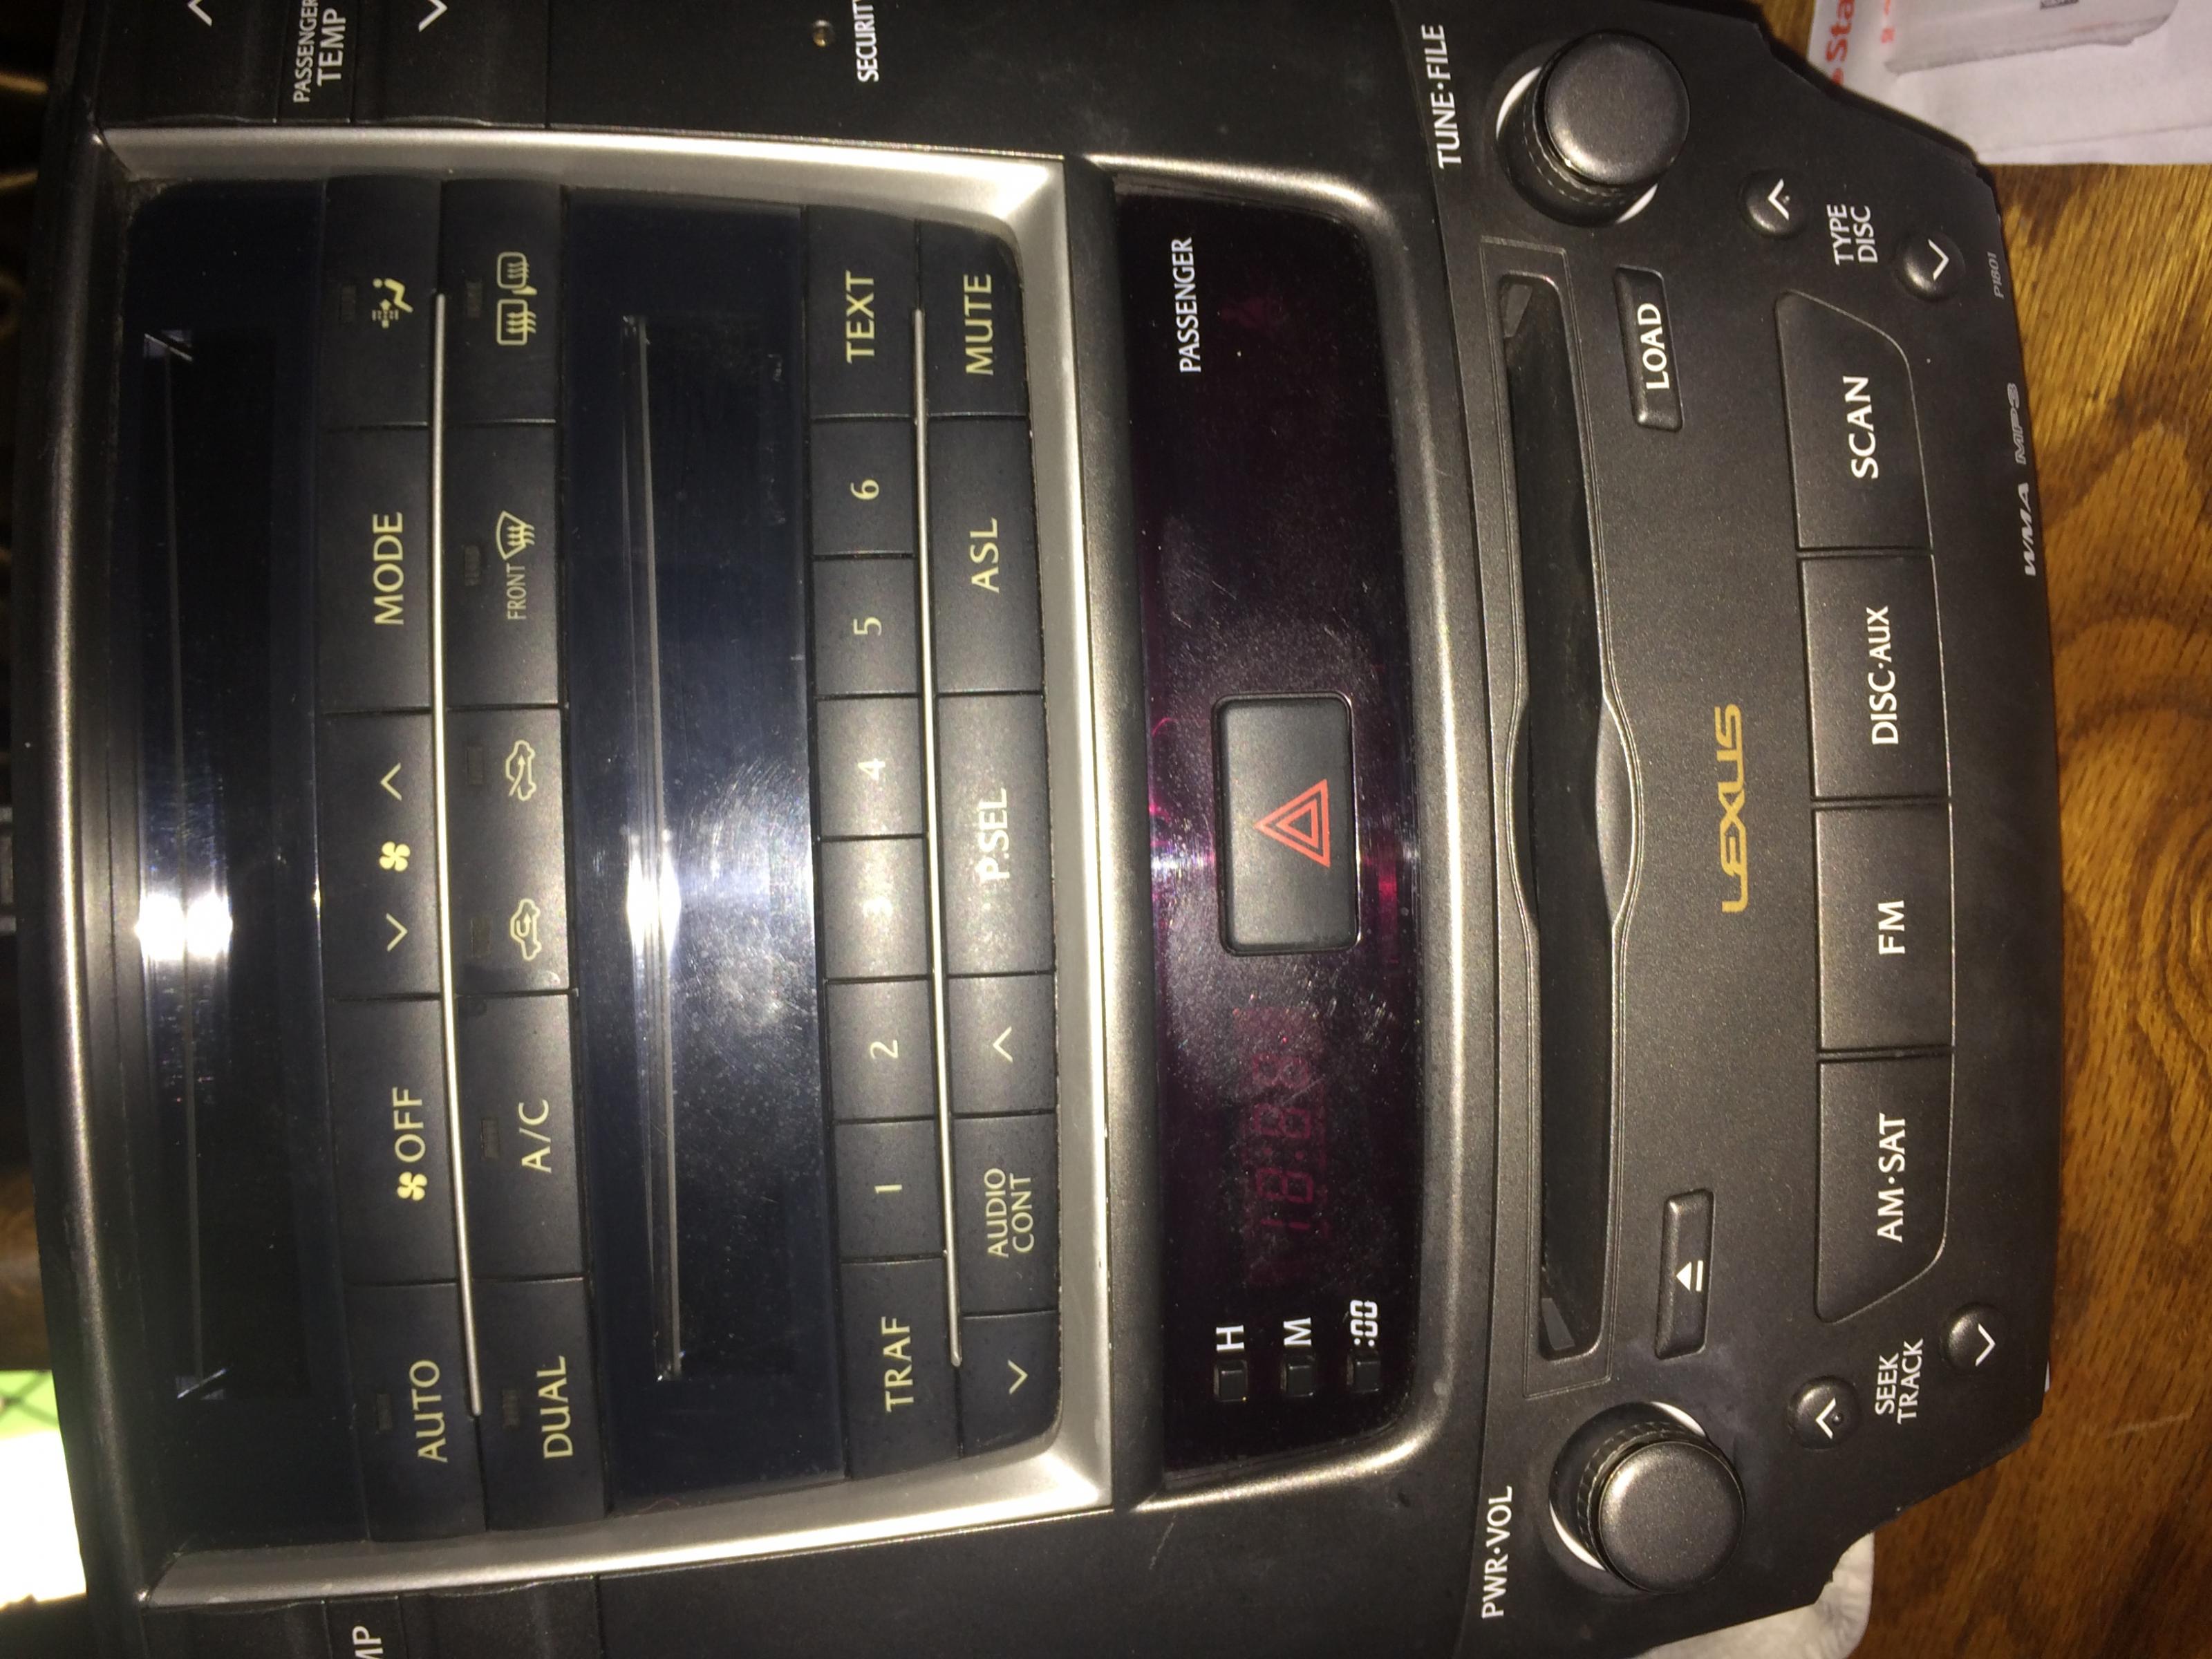
I just sent Rafa the ashtray assembly to relocate the Airbag lights and hazard buttons into, and I also sent the silver trim pieces so that he can guarantee a flush fit.
As far as the head unit, it's the Sony MEX-GS600BT app remote controlled radio. It's going to be mounted behind the iPad.
Enjoy and wish me luck lol


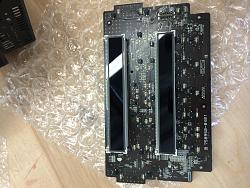

Let's preface this with, yes, I know the 2 main issues. The factory amp turn on (solved with a PAC TATO adapter) and the circuit board for the HVAC is in the changer (solved by removing it and relocating it by Rafa of Soundman Car Audio).
For those who don't know who SoundMan is. It was a car audio shop out in California that has a web series which is syndicated on the web network Revision3. They specialize in iPad dash kits. One of their installers (and hilarious characters on the web show I might add) Rafa, has agreed to take on this job.
At the time of writing this post, the dash is about 50% complete. Below will be some YouTube links as it was featured on 2 episodes of the web series "Amplified". Also, here are some pics of the progress so far.
I just sent Rafa the ashtray assembly to relocate the Airbag lights and hazard buttons into, and I also sent the silver trim pieces so that he can guarantee a flush fit.
As far as the head unit, it's the Sony MEX-GS600BT app remote controlled radio. It's going to be mounted behind the iPad.
Enjoy and wish me luck lol


Last edited by djbuddha; 04-22-14 at 02:47 PM.


Trending Topics

 04-22-14, 10:57 PM
#11
Rookie
Thread Starter
Join Date: Jan 2011
Location: Ontario
Posts: 90
Likes: 0
Received 0 Likes
on
0 Posts
He started on it a week ago. I told him to take his time and not rush as I never sent him anything from my actual vehicle. He requested I send him my dash pieces so he can guarantee the fit.
Keep in mind that him and Doug install a LOT of these mounts and the business is this. So you're getting good experience. Mine is the first one they ever did for our generation Lexus, but everybody is super excited about it. If you want it to turn out very well, be patient with them. You're lucky if you're in Socal, I'm from Toronto and had to do everything via shipping and prayers lol.
Keep in mind that my dash is halted until he gets the ashtray and the trim pieces (he has to relocate the hazard button and airbag lights) .. and he has to do some extra shaping to the bottom to line up with the trim. As he does more progress / videos, I'll post them here.
04-22-14, 11:41 PM
#14
Rookie
Thread Starter
Join Date: Jan 2011
Location: Ontario
Posts: 90
Likes: 0
Received 0 Likes
on
0 Posts
A day is probably impossible, he has to let the filler dry, sand, prime it, paint it. It's a real process.
Besides, something like this shouldn't ever be rushed. It's not just body work, it's an electrical nightmare with our car. (Search the forum and you'll see, I contemplated this for almost 2 years until I had a plan, then I recently began execution)
Besides, something like this shouldn't ever be rushed. It's not just body work, it's an electrical nightmare with our car. (Search the forum and you'll see, I contemplated this for almost 2 years until I had a plan, then I recently began execution)