Rear GFX lip installed without screw or cutting bumper

 09-18-08, 08:08 PM
#47
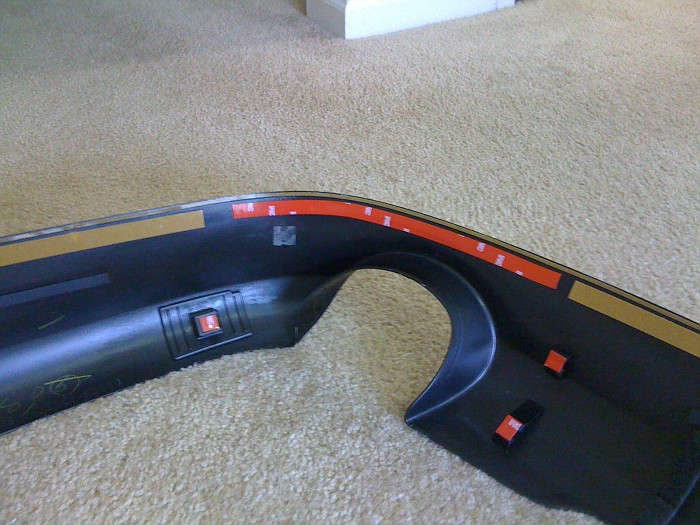
Just completed putting my rears on, pretty easy to do.
How to Instructions:
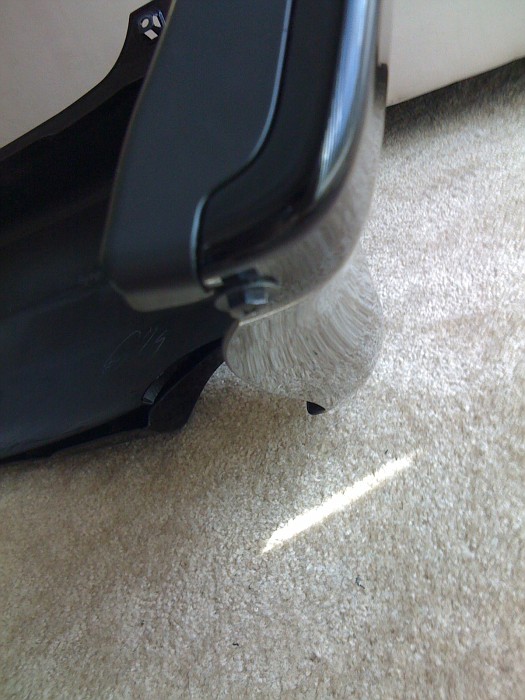
***Remove rear exhaust tips, they are a pain in the **** to get off, if anyone has a secret technique let me know. I took a screw driver and rubber mallet and pried them off from the back and then pulled with all my mite and they came off, they're on there good, so it'll take about 30 minutes to get them off unless youre like super strong. Clean the exhaust with a metal polish before installing the new tips. Don't know why it just seemed like the right thing to do.***
1. Remove Bumber from Box, LOL
2. Lay out a blanket or sheet so you wont scratch the bumber while placing the tape on.
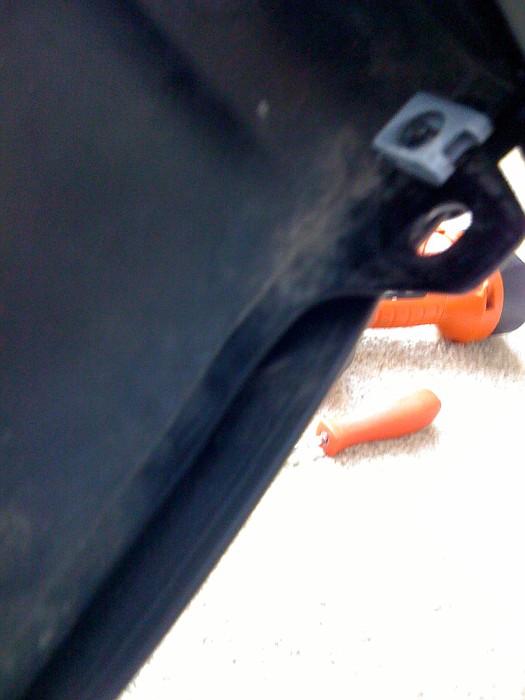
3.Remove the two screws held on with double sided tape and the other pieces of plastic held on with double sided tape
4. DO NOT REMOVE ANY OF THE DOUBLE SIDED TAPE WITH THE BROWN PAPER OVER IT YOU WILL NEED IT.
5.Make sure the tape that held the plastic pieces on is removed so the newly placed double sided tape will make a good contact.
6. I even shaved off the little plastic pieces from the previous parts that were there, hard to describe, but when you remove those pieces you'll see the little pieces of plastic.
7. Prefit the lip on the bumper so you know how it will fit once the tape is exposed and you dont mess up.
8.Clean the inside of the bumber from any debris and make sure your car bumber is clean, (be sure to get all of the rear bumper)
9. Place the doubled sided tape where you removed the plastic pieces and on the tabs for the screws along the middle of the bumper.
10. I added additional tape all over the inside of the bumper although im not for sure which parts of the lip actually makes contact with the bumper, but its better to be safe than sorry.
11. Once you've done that simply slide the lip on and press firmly where the double sided tape is located, be sure to press firmly along the edges.
12. Install the rear tips by first placing them on there and then banging the crap out of them with the rubber mallet, be sure to check the Left and Right tip, otherwise itll look funny, I installed the wrong tip and had to pull it off, which was a pain
13. Do that (I KNOW, WHAT A DUMBASS, LOL) and you have it.
If this is unclear to anyone let me know, Ill help you as much as I can but its pretty easy!
**FYI the only problem i see is that along the bottom edge of the bumper its not secured tightly along the edge where youre suppose to drill the OEM bumper to pull the lip in, this should not be an issue.**
**Also the plastic edge covers will not be able to be put on without drilling.**
***Save all the pieces you removed incase you decide to sell the kit and they want to install it the correct way***
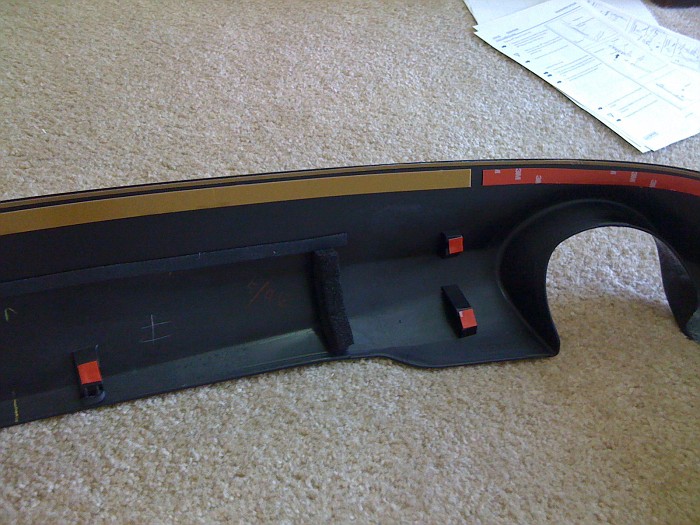
How to Instructions:
***Remove rear exhaust tips, they are a pain in the **** to get off, if anyone has a secret technique let me know. I took a screw driver and rubber mallet and pried them off from the back and then pulled with all my mite and they came off, they're on there good, so it'll take about 30 minutes to get them off unless youre like super strong. Clean the exhaust with a metal polish before installing the new tips. Don't know why it just seemed like the right thing to do.***
1. Remove Bumber from Box, LOL
2. Lay out a blanket or sheet so you wont scratch the bumber while placing the tape on.
3.Remove the two screws held on with double sided tape and the other pieces of plastic held on with double sided tape
4. DO NOT REMOVE ANY OF THE DOUBLE SIDED TAPE WITH THE BROWN PAPER OVER IT YOU WILL NEED IT.
5.Make sure the tape that held the plastic pieces on is removed so the newly placed double sided tape will make a good contact.
6. I even shaved off the little plastic pieces from the previous parts that were there, hard to describe, but when you remove those pieces you'll see the little pieces of plastic.
7. Prefit the lip on the bumper so you know how it will fit once the tape is exposed and you dont mess up.
8.Clean the inside of the bumber from any debris and make sure your car bumber is clean, (be sure to get all of the rear bumper)
9. Place the doubled sided tape where you removed the plastic pieces and on the tabs for the screws along the middle of the bumper.
10. I added additional tape all over the inside of the bumper although im not for sure which parts of the lip actually makes contact with the bumper, but its better to be safe than sorry.
11. Once you've done that simply slide the lip on and press firmly where the double sided tape is located, be sure to press firmly along the edges.
12. Install the rear tips by first placing them on there and then banging the crap out of them with the rubber mallet, be sure to check the Left and Right tip, otherwise itll look funny, I installed the wrong tip and had to pull it off, which was a pain
13. Do that (I KNOW, WHAT A DUMBASS, LOL) and you have it.
If this is unclear to anyone let me know, Ill help you as much as I can but its pretty easy!
**FYI the only problem i see is that along the bottom edge of the bumper its not secured tightly along the edge where youre suppose to drill the OEM bumper to pull the lip in, this should not be an issue.**
**Also the plastic edge covers will not be able to be put on without drilling.**
***Save all the pieces you removed incase you decide to sell the kit and they want to install it the correct way***
Last edited by 350PsDMeuP; 09-23-08 at 07:12 PM.
09-26-08, 05:40 PM
#49
Lexus Champion
iTrader: (21)
Join Date: Apr 2008
Location: california
Posts: 2,970
Likes: 0
Received 0 Likes
on
0 Posts
Installed my rear GFX lip. I don't even know how to remove the stock tips.
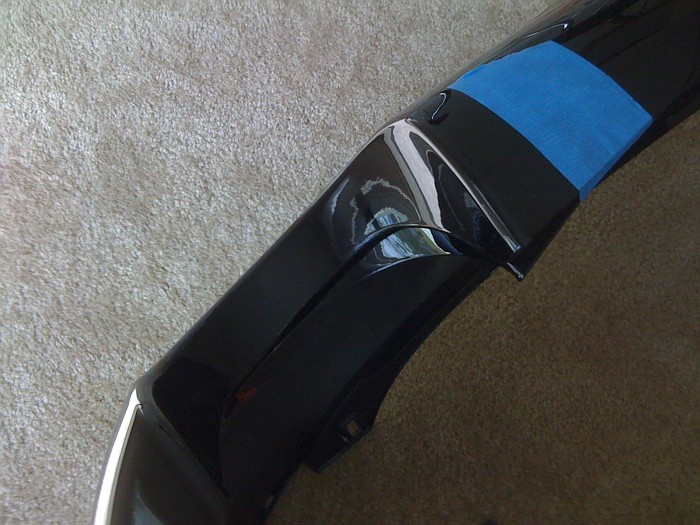
Also, I just installed the lip with just 3m tape and glue. if you look down while your walking, there is a gap the size of a dime. do you guys have the same issue? seems like the stock tape that came with the GFX kit isn't holding up.
Also, I just installed the lip with just 3m tape and glue. if you look down while your walking, there is a gap the size of a dime. do you guys have the same issue? seems like the stock tape that came with the GFX kit isn't holding up.
09-27-08, 05:31 AM
#50
Lexus Champion
I just installed the rear GFX piece last weekend. I followed the instructions included with the kit. If you think the drilling of the bumper is nerve wracking, the cutting of the exhaust cut outs will make you pass out!!  Needless to say, it took me a good 3 hours, following the measure twice (and 3 times and 4 times....) cut once technique. The cutting and drilling is pretty much idiot proofed as Lexus premarked the back side of the bumper skin with all the points that need to be drilled and cut. So it's just a matter of lining up your drill with the center of "targets". If I had to do it again, I could probably do it within an hour or so. I have ZERO gap between the kit and the bumper skin. If you have some gap, I would think this may have something to do with not cutting the exhaust cut out off the bumper as the two don't exactly line up. BTW, I also have a Tanabe exhaust, and it fits perfectly into the cutout. This kit does however kind of hide your nice tips.
I wasn't really worried about drilling and cutting since I wasn't planning on ever taking this thing off or changing body kits. I'd rather have it on the way the factory intended it to go on and not have to constantly wonder if it's not there when I get home.")
Needless to say, it took me a good 3 hours, following the measure twice (and 3 times and 4 times....) cut once technique. The cutting and drilling is pretty much idiot proofed as Lexus premarked the back side of the bumper skin with all the points that need to be drilled and cut. So it's just a matter of lining up your drill with the center of "targets". If I had to do it again, I could probably do it within an hour or so. I have ZERO gap between the kit and the bumper skin. If you have some gap, I would think this may have something to do with not cutting the exhaust cut out off the bumper as the two don't exactly line up. BTW, I also have a Tanabe exhaust, and it fits perfectly into the cutout. This kit does however kind of hide your nice tips.I wasn't really worried about drilling and cutting since I wasn't planning on ever taking this thing off or changing body kits. I'd rather have it on the way the factory intended it to go on and not have to constantly wonder if it's not there when I get home.
10-19-08, 10:04 AM
#52
heres what I did with the additional tape.
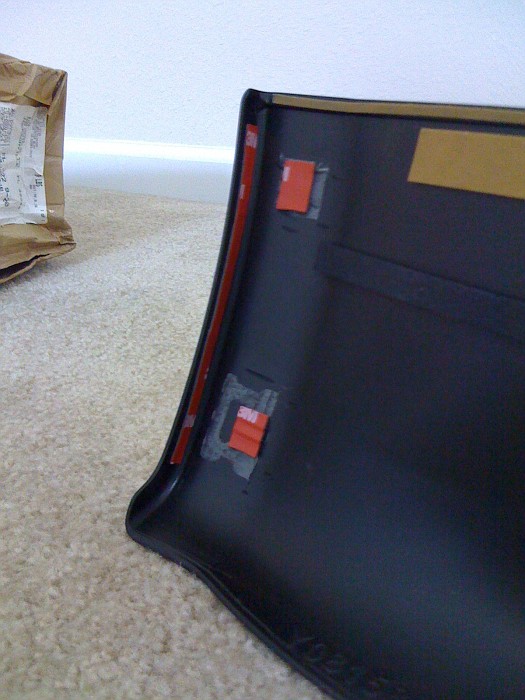
Around the exhaust are without cutting
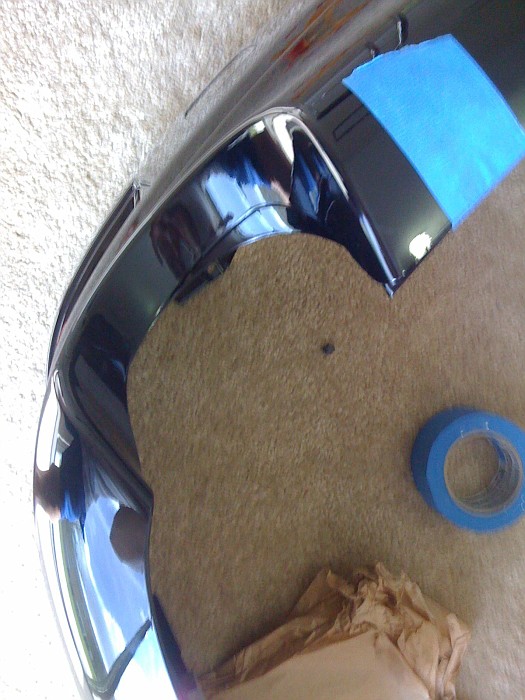
Are the edges I had to drill a hole at the bottom that isnt visible near the screw tab at the bottom. i used the screws and tabs that were not used in the bag.
Around the exhaust are without cutting
Are the edges I had to drill a hole at the bottom that isnt visible near the screw tab at the bottom. i used the screws and tabs that were not used in the bag.

 11-01-08, 09:48 PM
#57
Lead Lap
Join Date: Mar 2006
Location: FL
Posts: 665
Likes: 0
Received 0 Likes
on
0 Posts
whatever is in the 3rd pic...and i guess that is not the f style bumper...i dont like. go back to what you had in the 1st pic. well thats my opinion. looks more refined. the 3rd pic that has the mod looks to be a cheap mod. something you can just pick up at autozone and put on your civic. just .02 
11-01-08, 10:11 PM
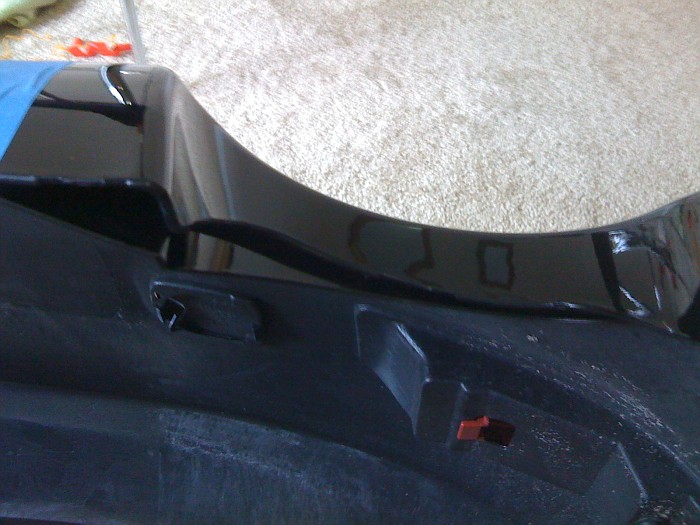
#58
it works...just put extra tape around the curve of the bumper. I think i should have put more tape closer to the thin strip of factory tape.
01-31-11, 01:09 AM
#59

Anyone here that used the tape method have any problems yet? Im about to install my gf's rear lip next weekend. Just put the front one on for now and it has the gaps everyone was talking about. Im probably going to raise the car up on jacks and try to redo it and get rid of the gap as best as I can.